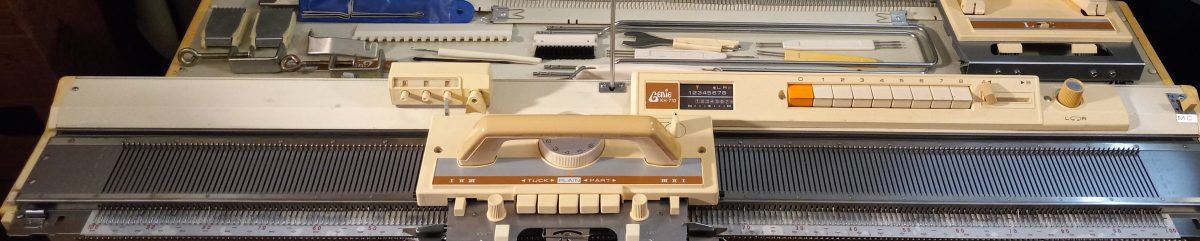
The pictures below are applicable to most 8-push-button knitting machines.
Showing which screws go on top
Showing screws around the pattern center
The look of partially disassembled pattern center
Position of the “foot”. Also, a small screw hole is shown in the middle. Well, it is not for a screw. Not sure what for. But nothing goes in there. I see this small hole on many machines. Side screws and needlebed screwsThe image shows the position of the “feet”: the wide opening faces the “teeth).Inside the pushbutton mechanism. Check out the video, in which I show how to (re) insert the buttons and the staples.Position of the guiding plate. It goes against the wall of the pushbutton mechanism. Long staples go through it, and this is how the buttons are retracted. Wiggly staples do not go through this guiding plate. View of the pushbutton from below.Partially inserted pushbuttons. The sponge strip is replaced with a fresh one.Same as above but a different view angle.Same as above: different view angle.The picture shows that I propped the selecting plates assembly with a tool to keep it out of the way while I was inserting the pushbuttons.