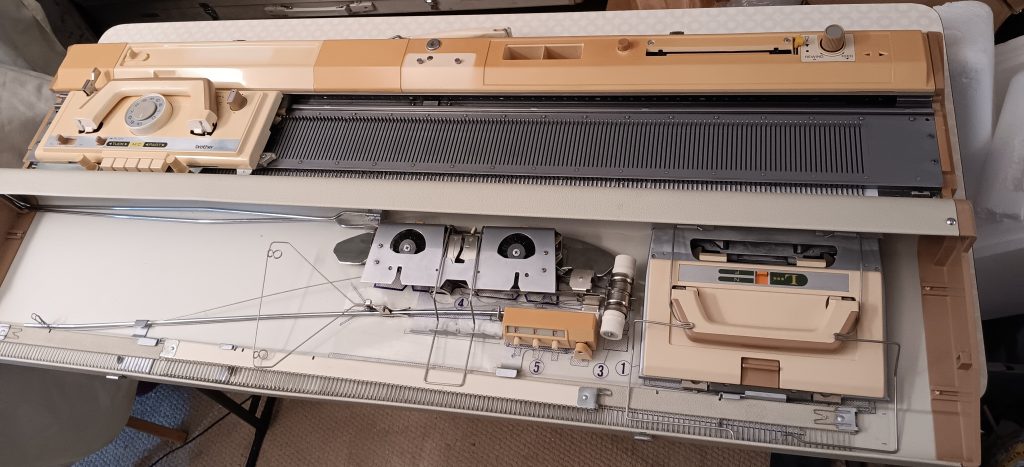
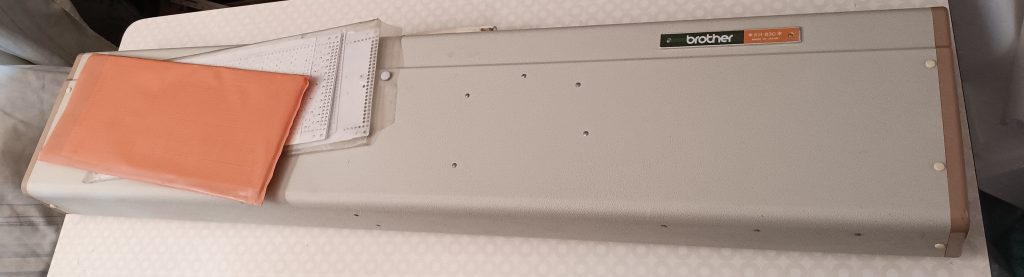
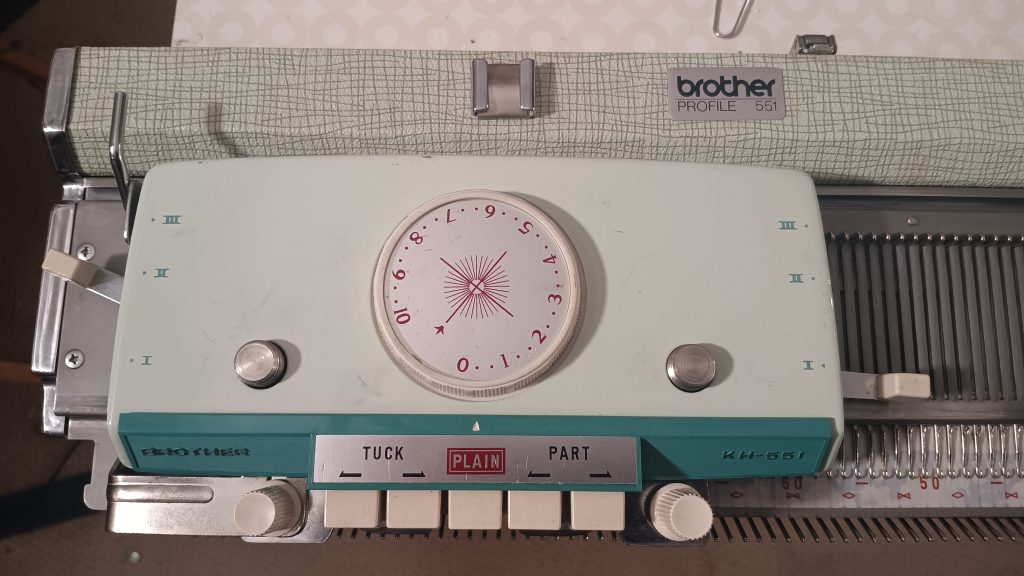
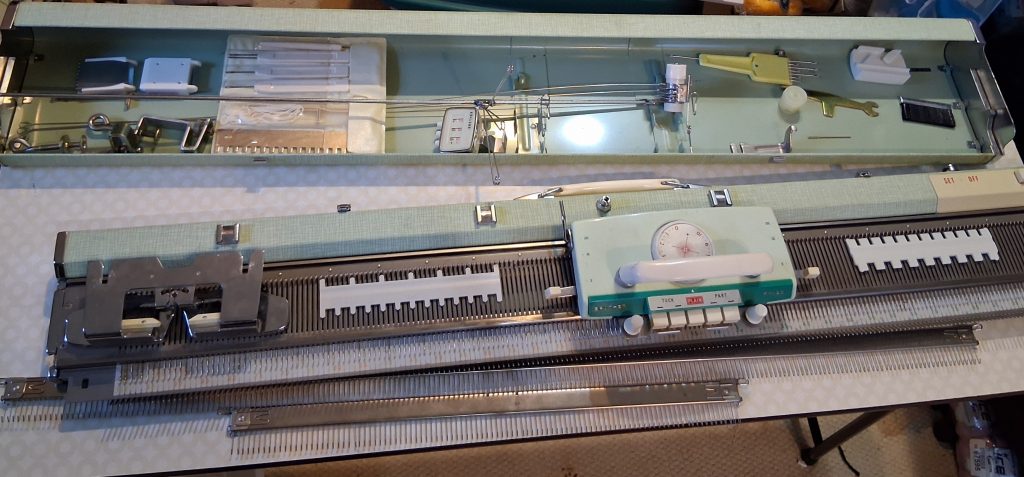
Brother Profile 551 knitting machine is an amazing miracle of Japanese engineering. This knitting machine has 200 needles, 4.5 mm apart, and all mechanical patterning capabilities. Read more about the pros and cons of this model in my Knitting Machine Encyclopedia. The rest of this post is dedicated to a specific Brother Profile KH551 serviced and tested in my shop in May 2016.
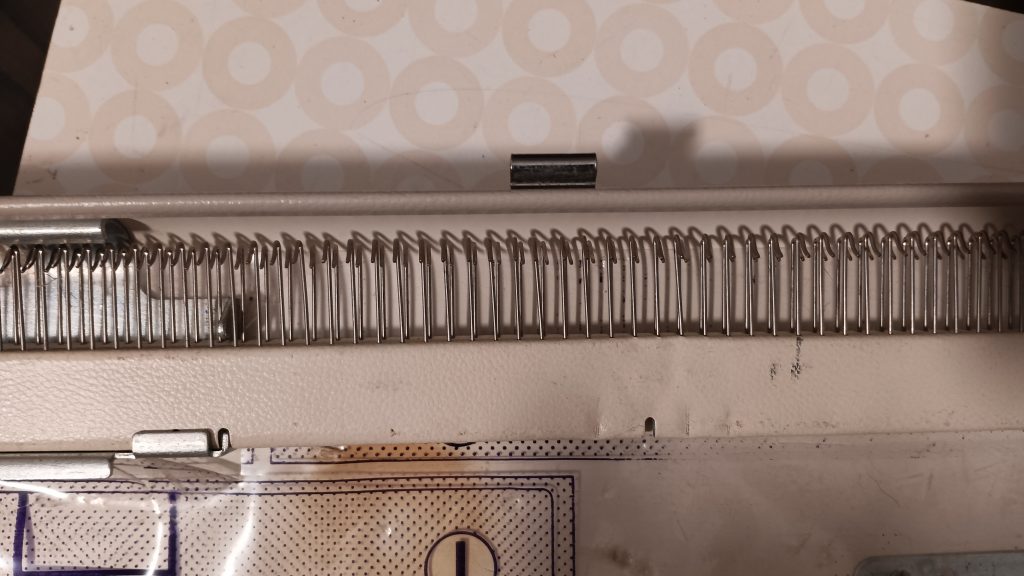
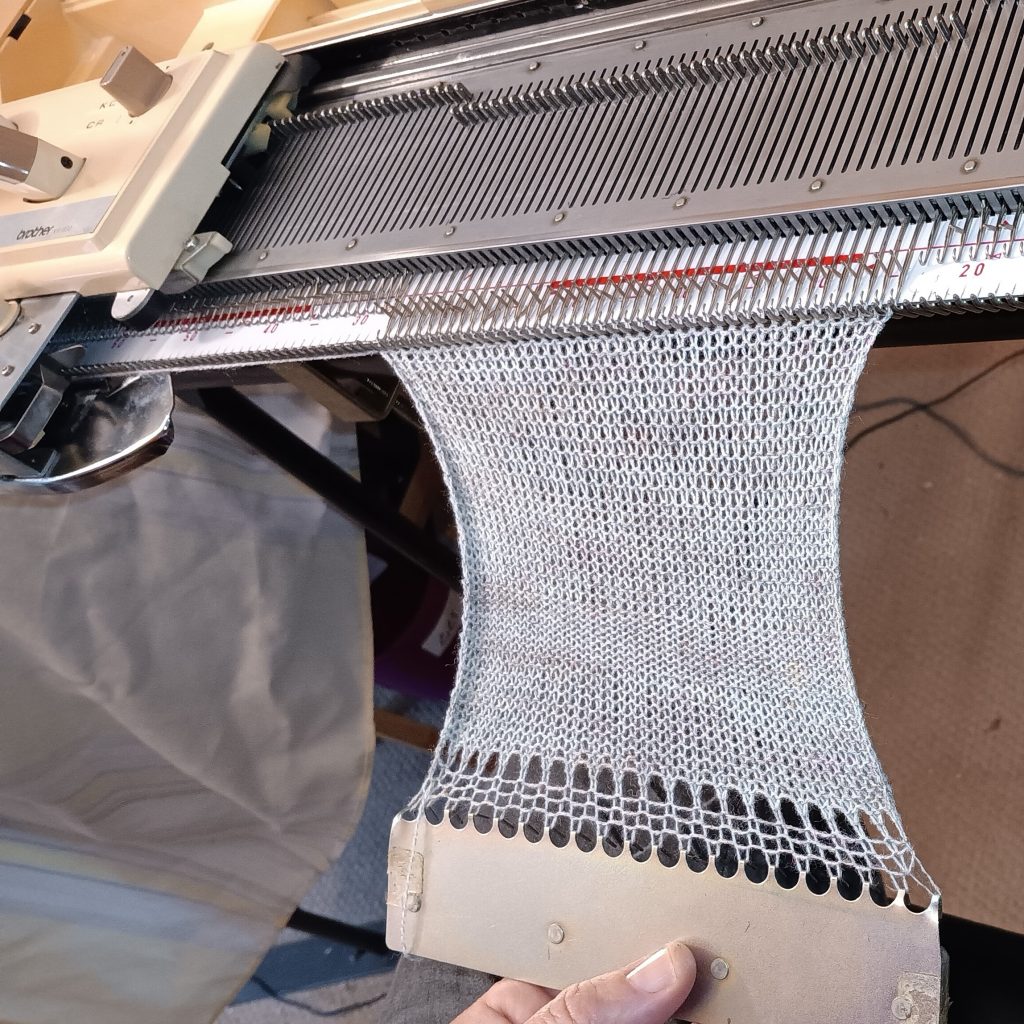
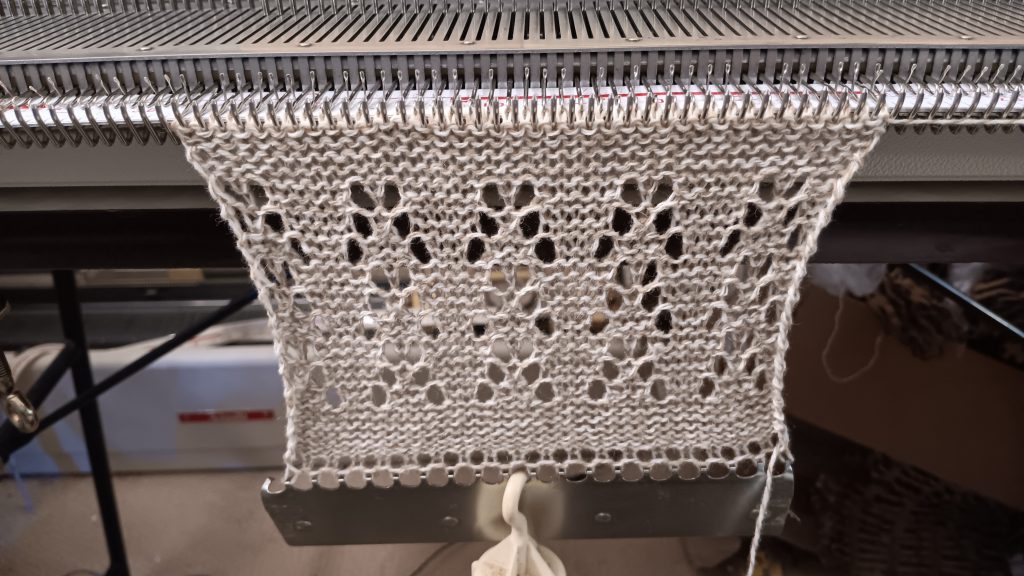
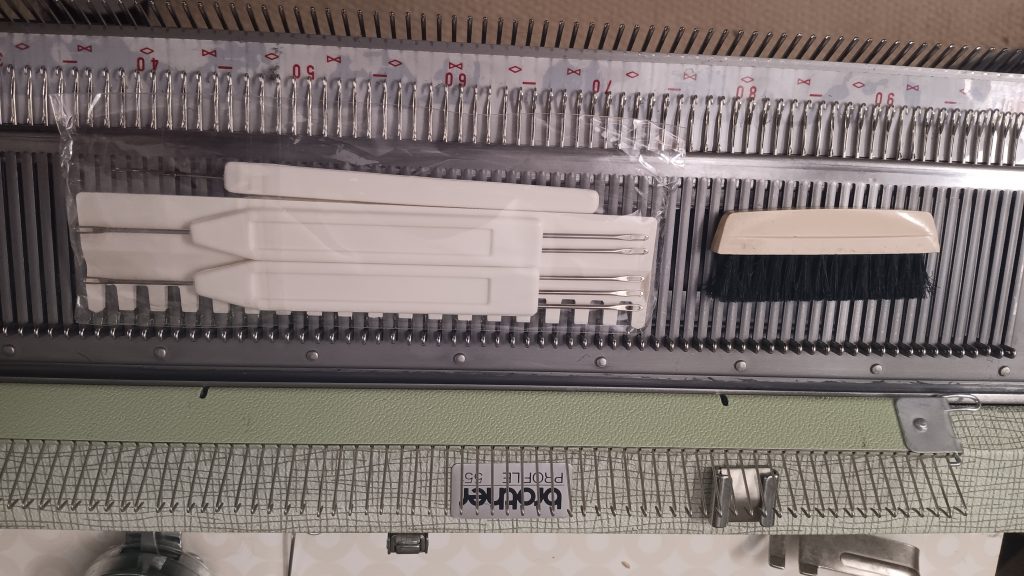
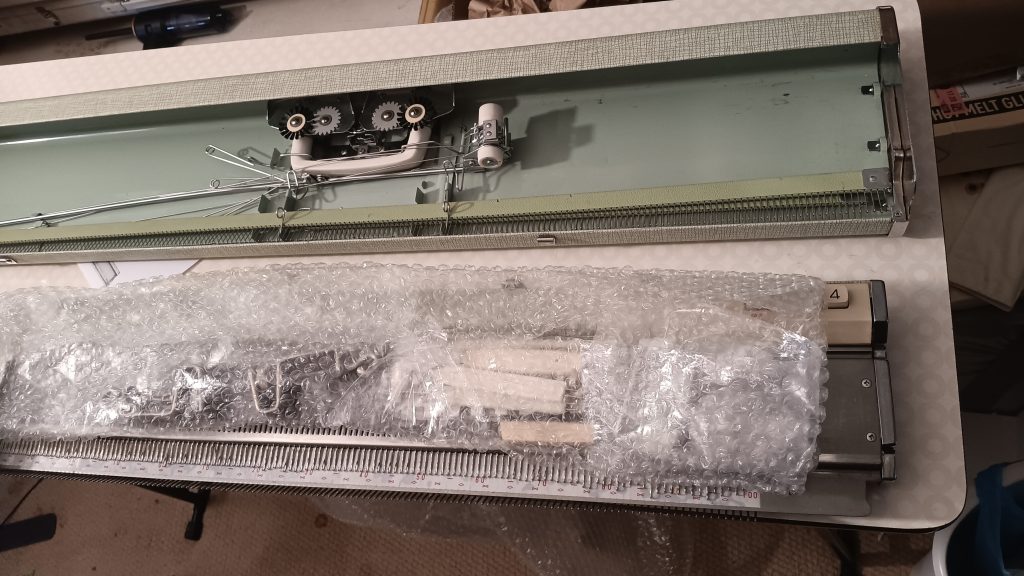
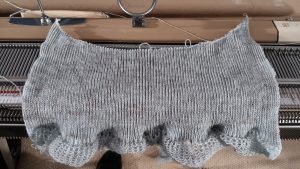
I performed the usual maintenance on this machine as I always do: removed all the needles, cleaned and inspected them. The bent needles were discarded and replaced with new ones. Some needles were polished until they were smooth. To further ensure that all needles formed correct stitches, I knitted on the full needlebed (see the video). I knitted stockinet, hold-, tuck-, and slip/part stitches, and all went really well! In addition, read my short article on tuck stitch if you experience problems with tuck stitch.
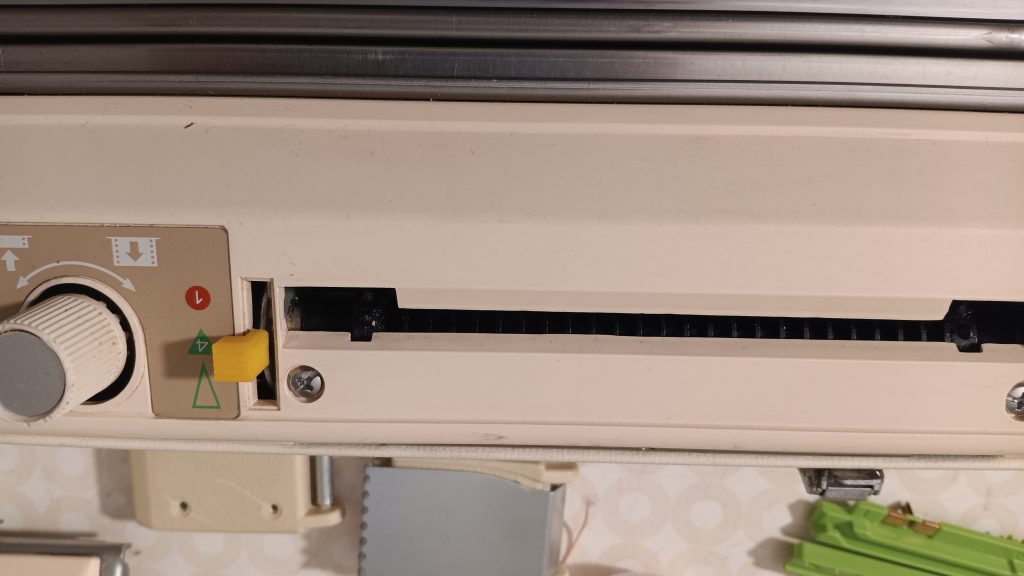
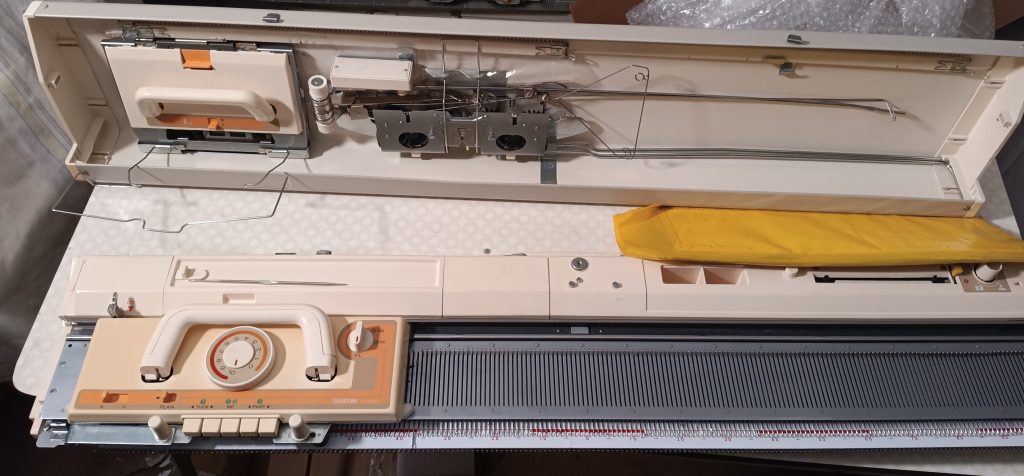
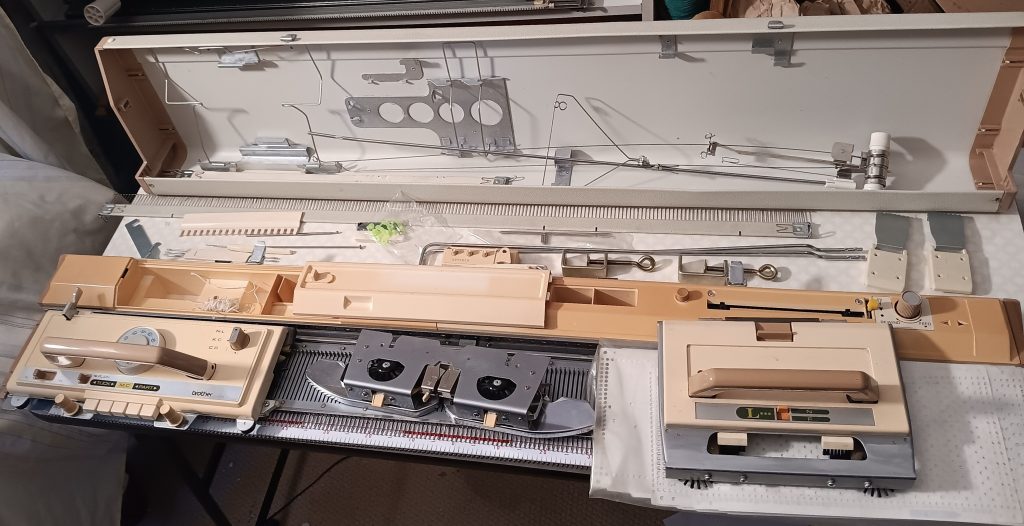
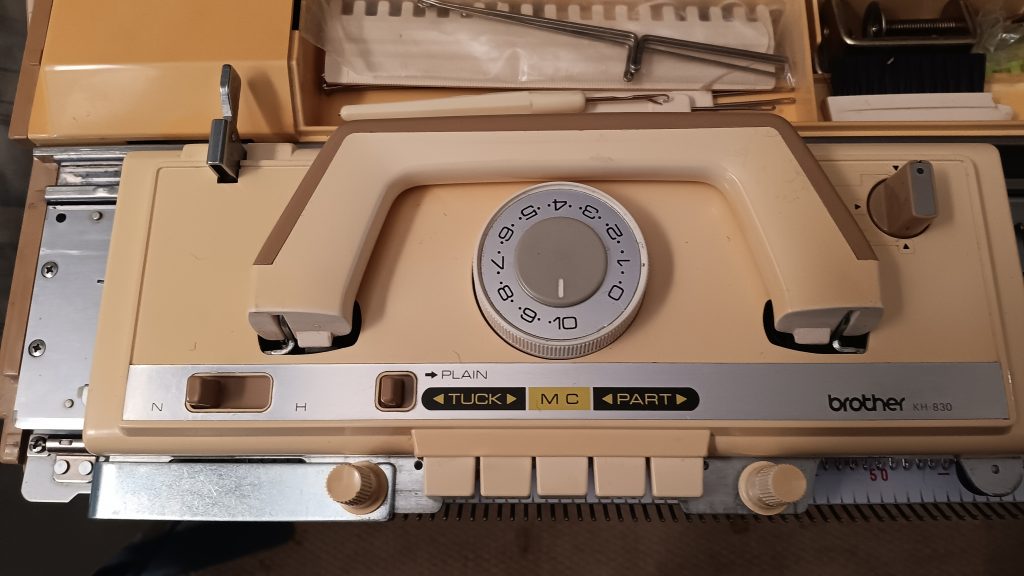
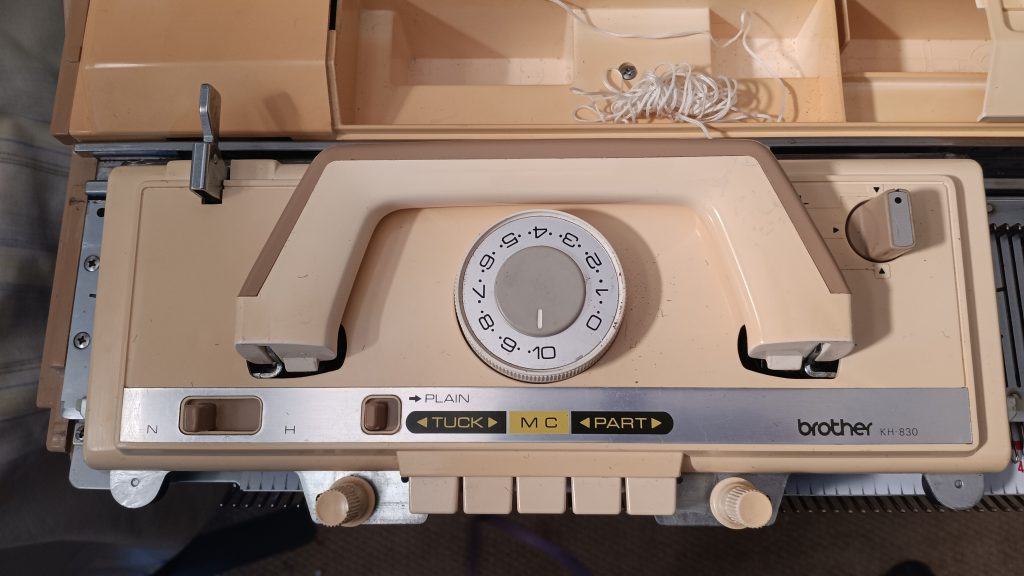
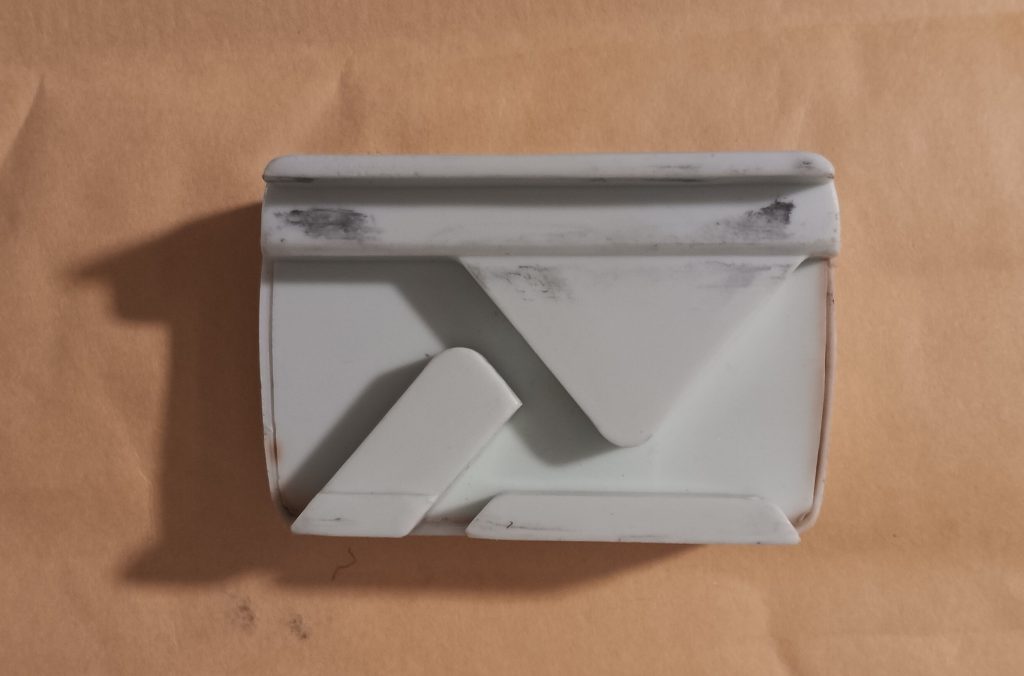
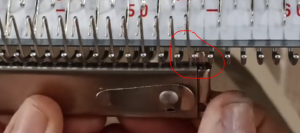
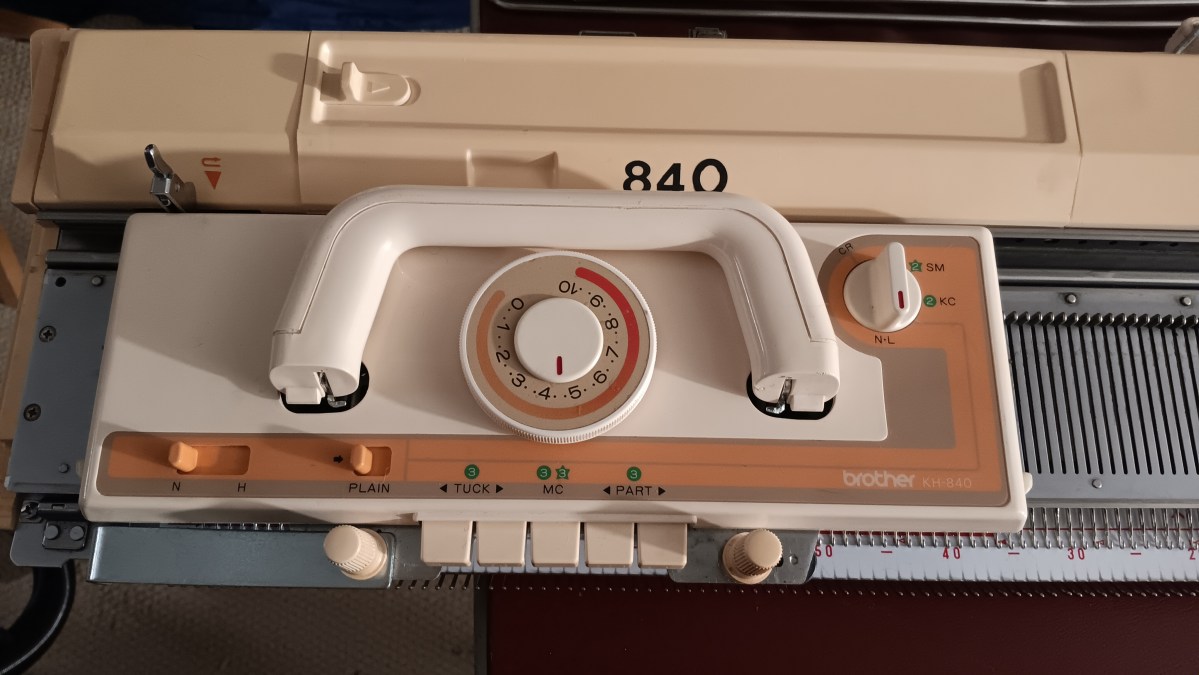
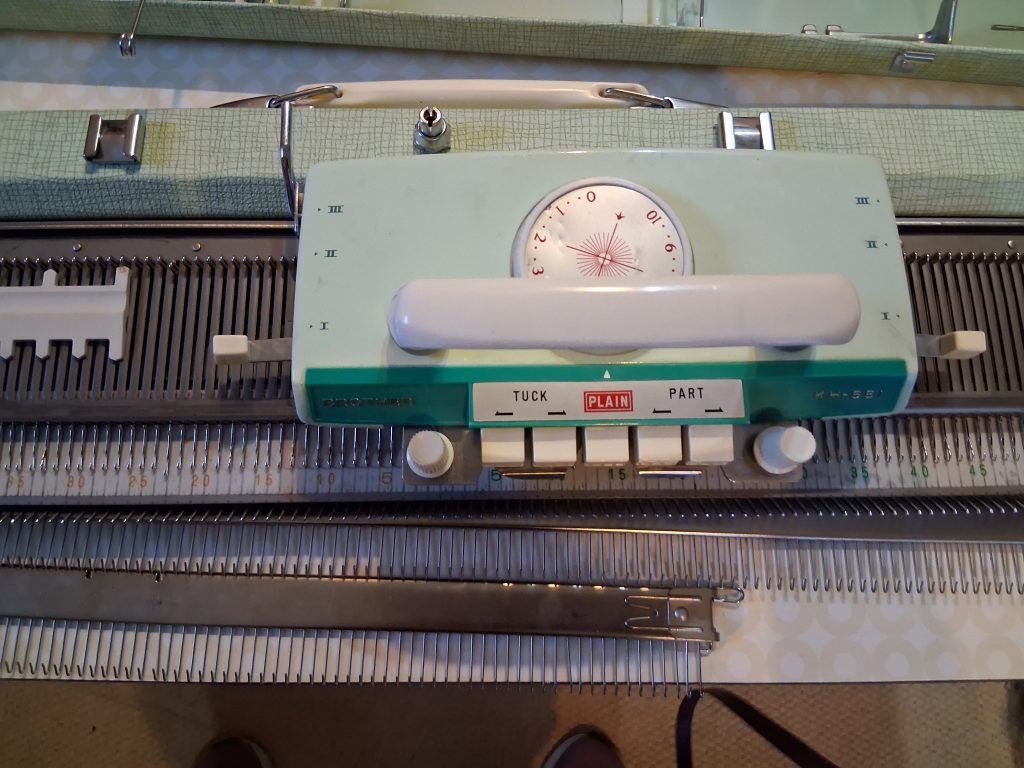
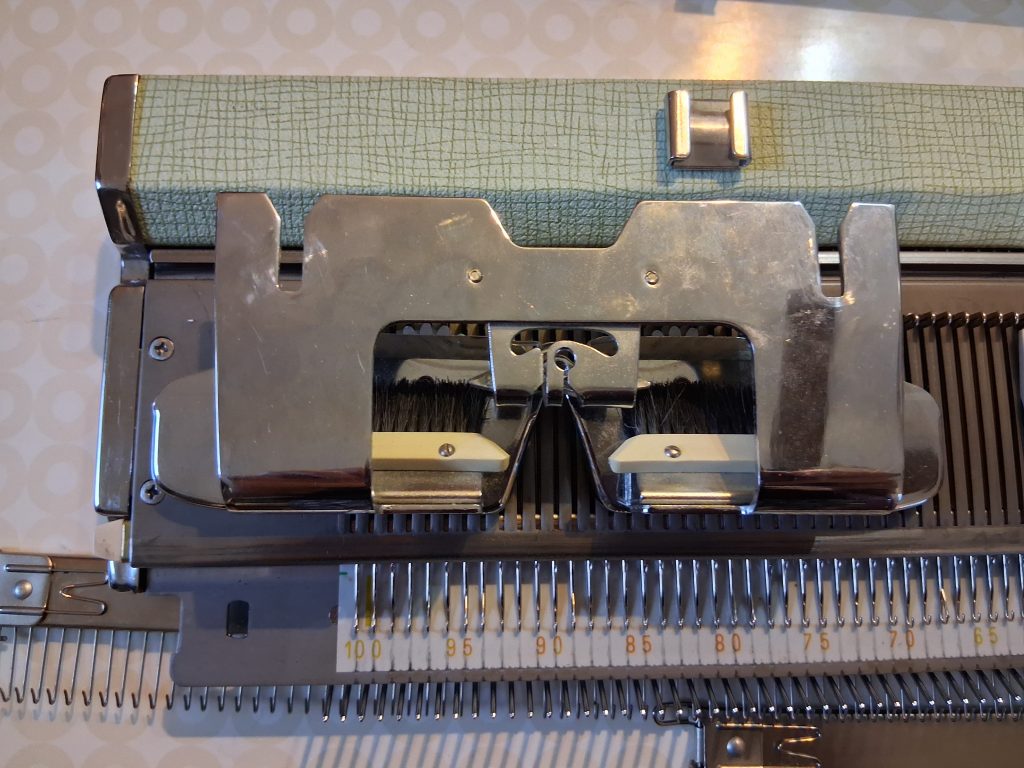
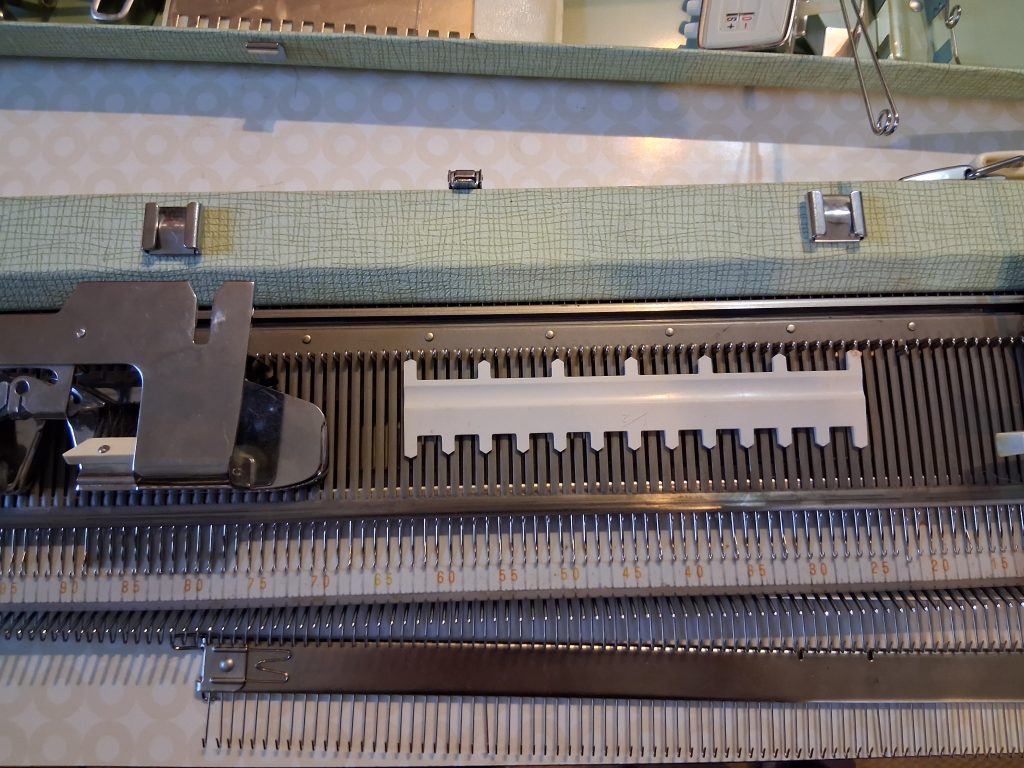
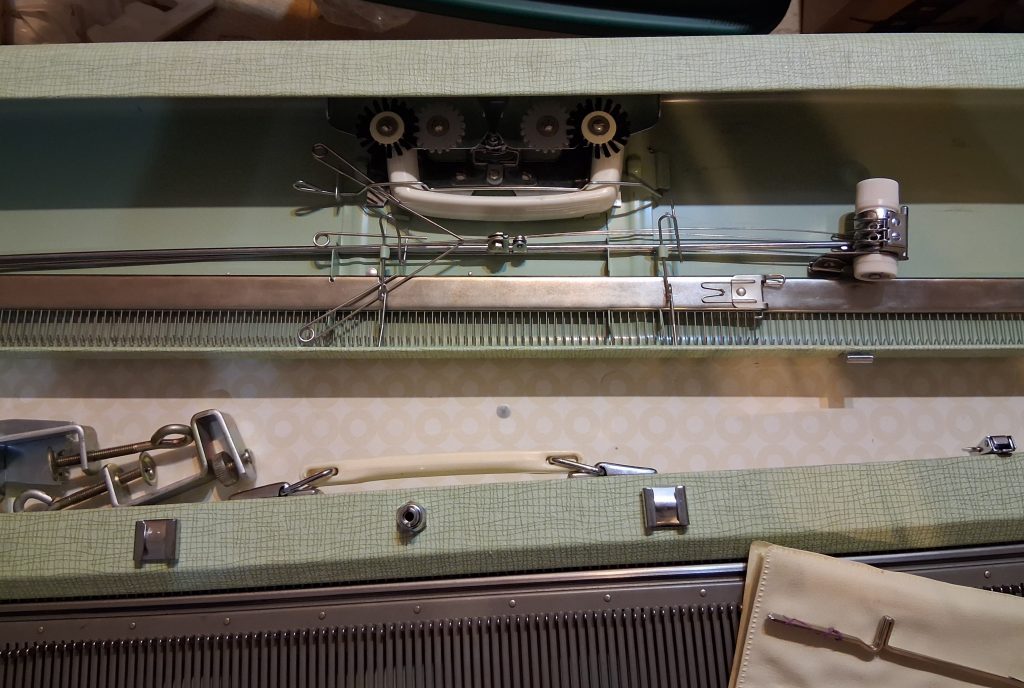
The needlebed, the carriage, and the sinker plate are in good shape, especially considering the age of this machine. See below some cosmetic imperfections on the carriage. The carriage runs very smoothly. Suppose you feel it does not run smoothly, oil (as shown in the manual), and reattach the sinker plate. The needle selection and the buttons work great, too. Also, at the end of my video, I show how to correctly activate the needle selection mechanism.
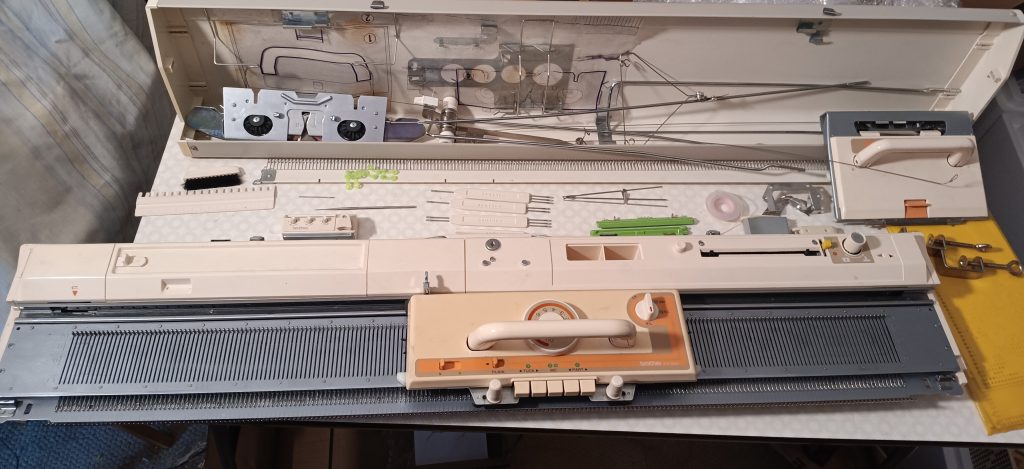
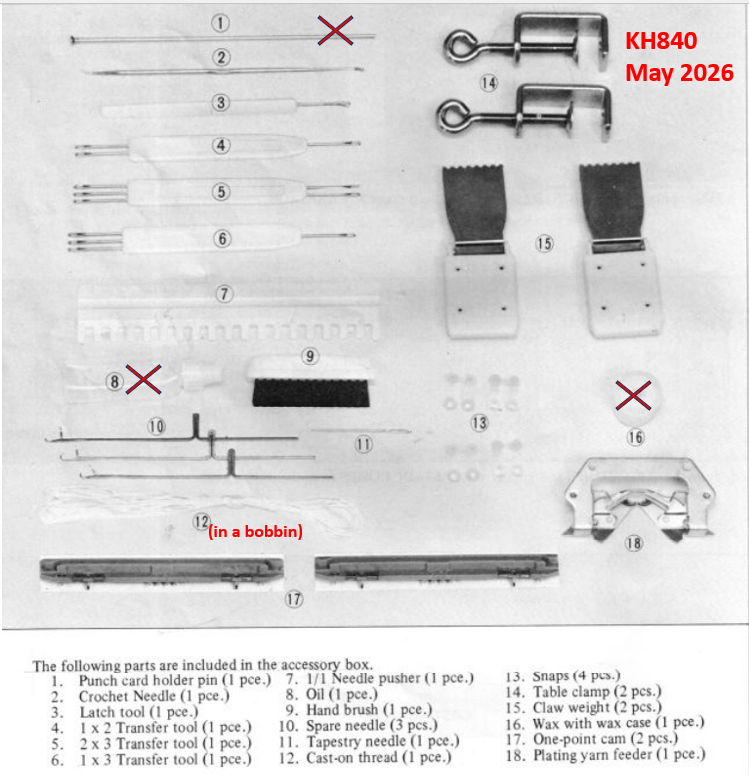
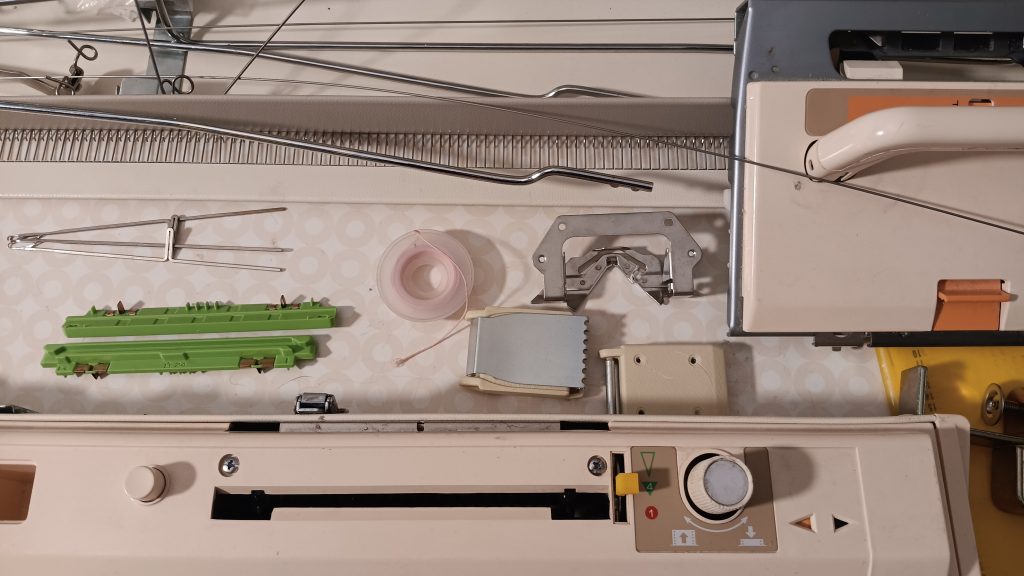
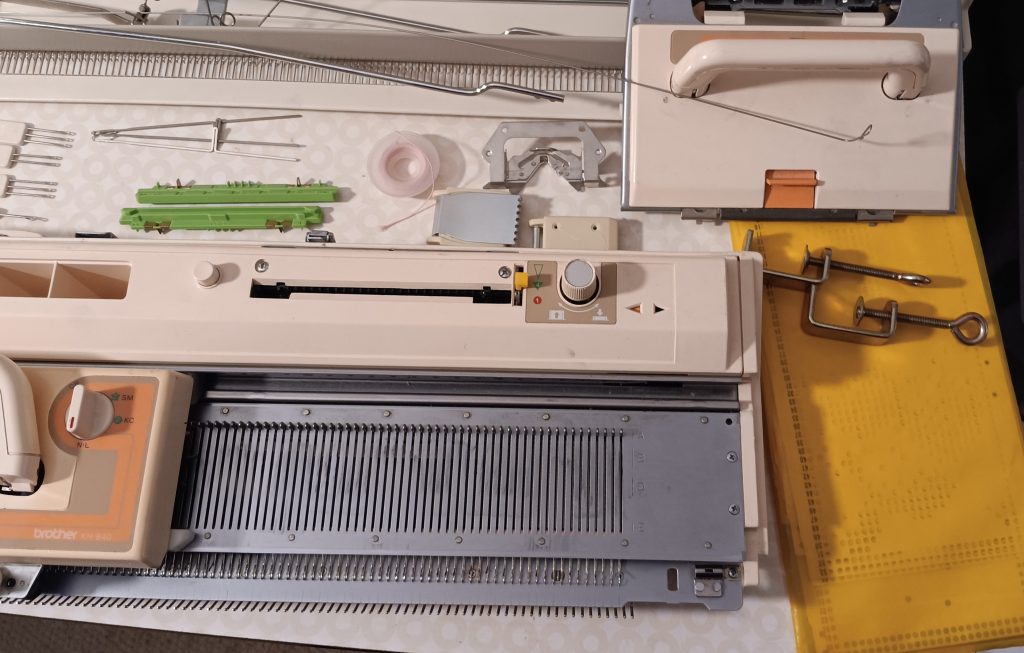
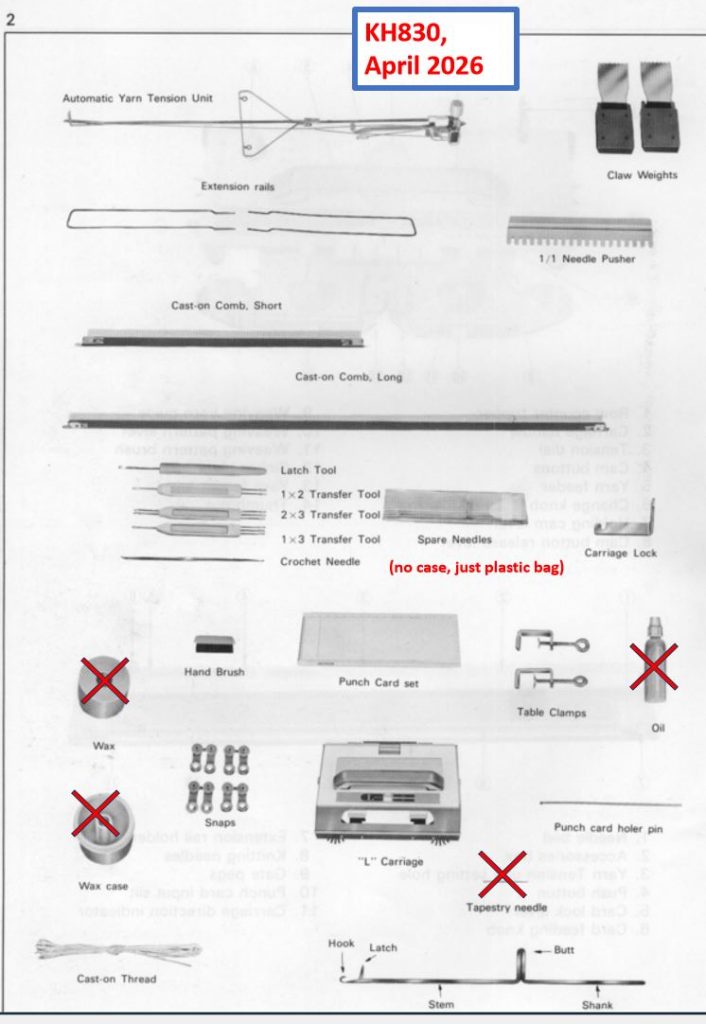
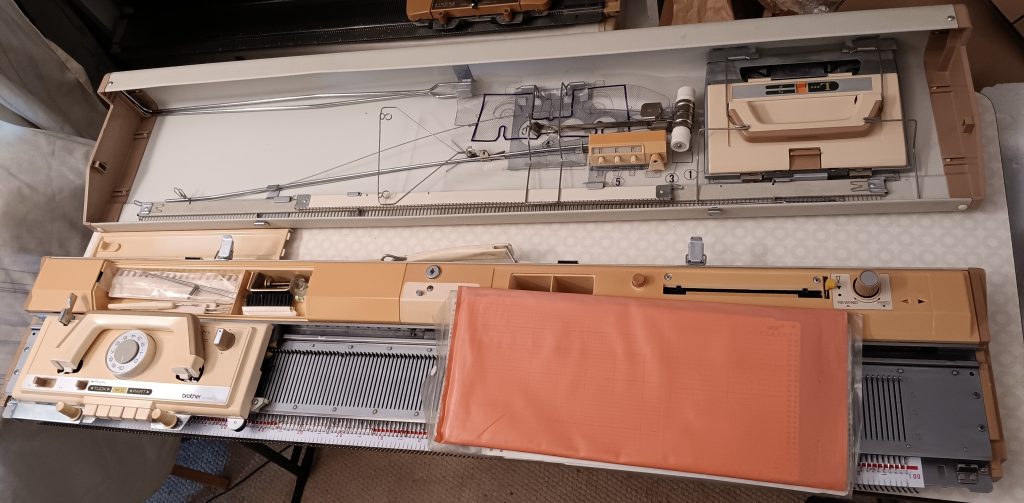
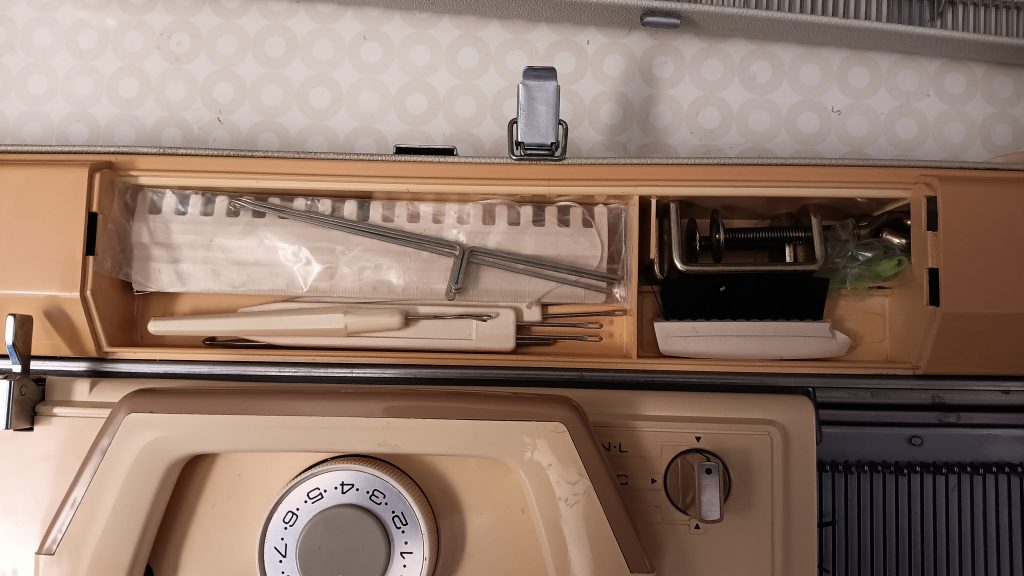
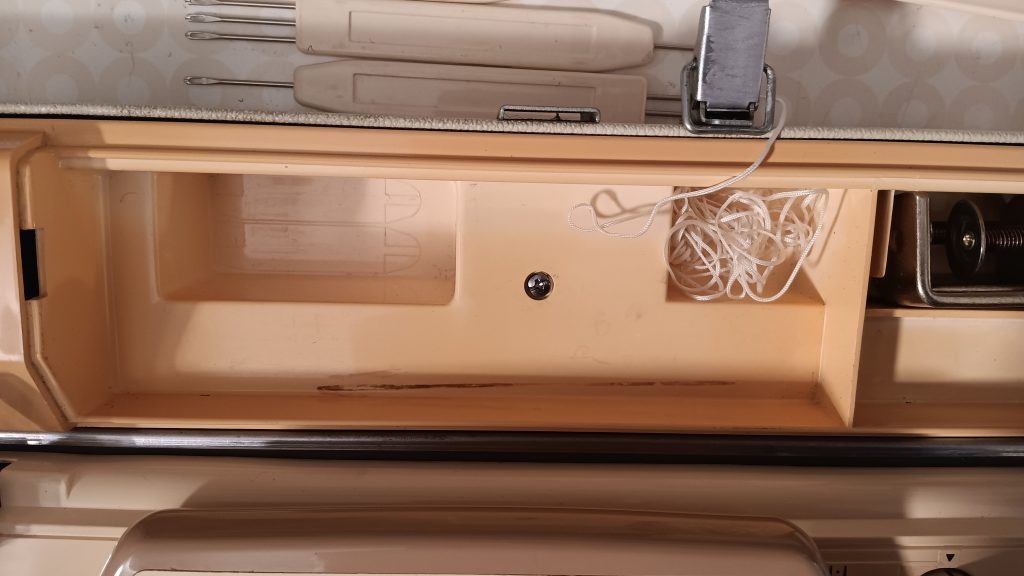
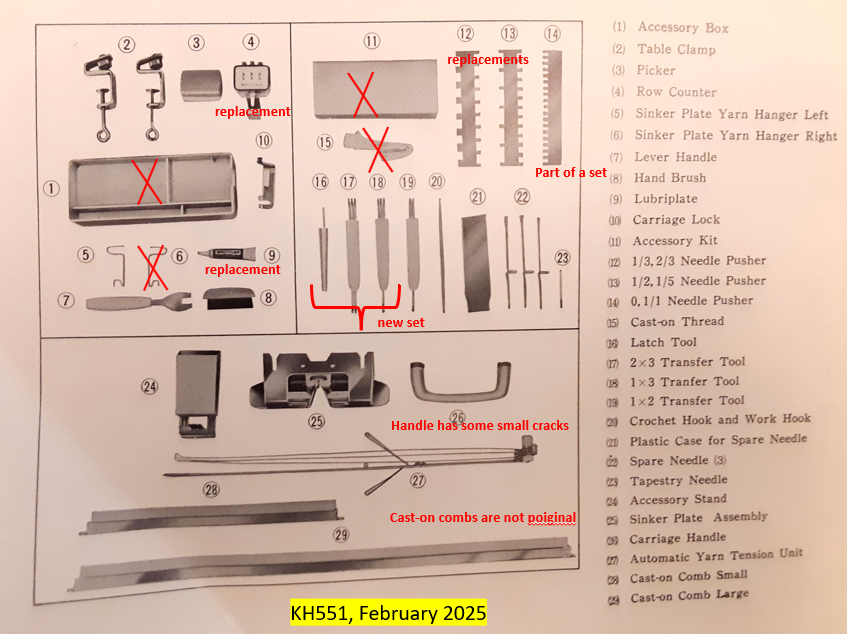
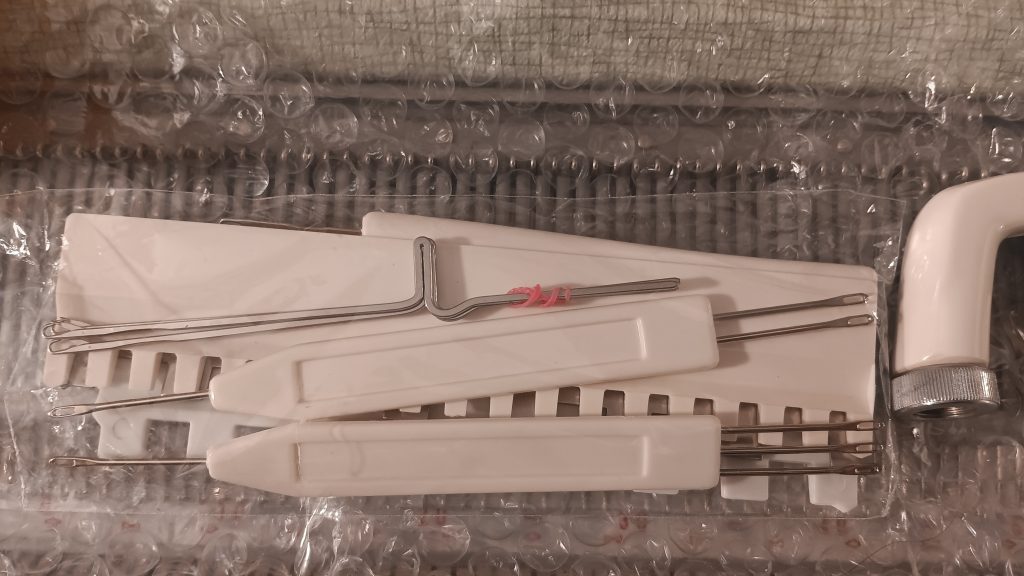
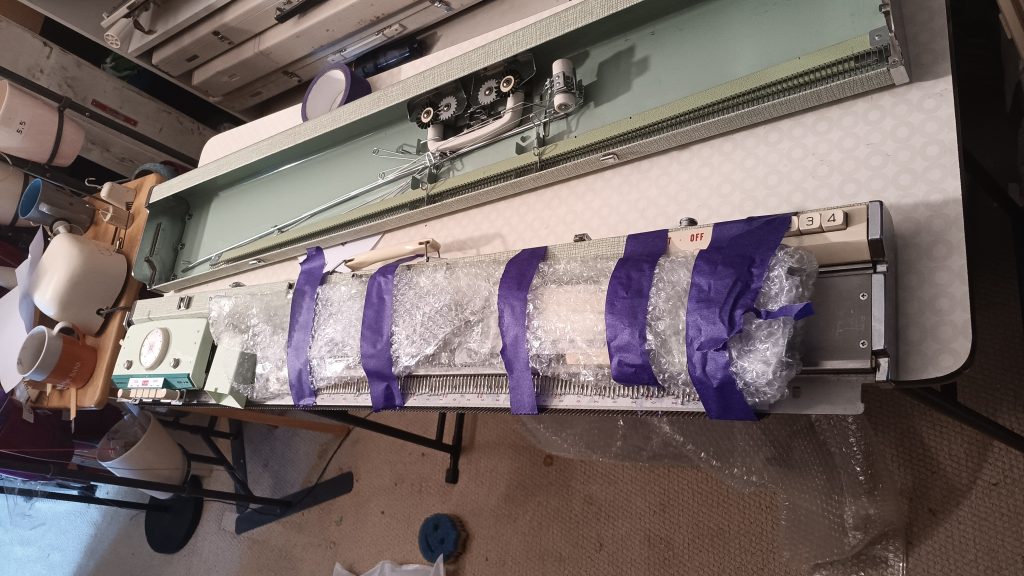
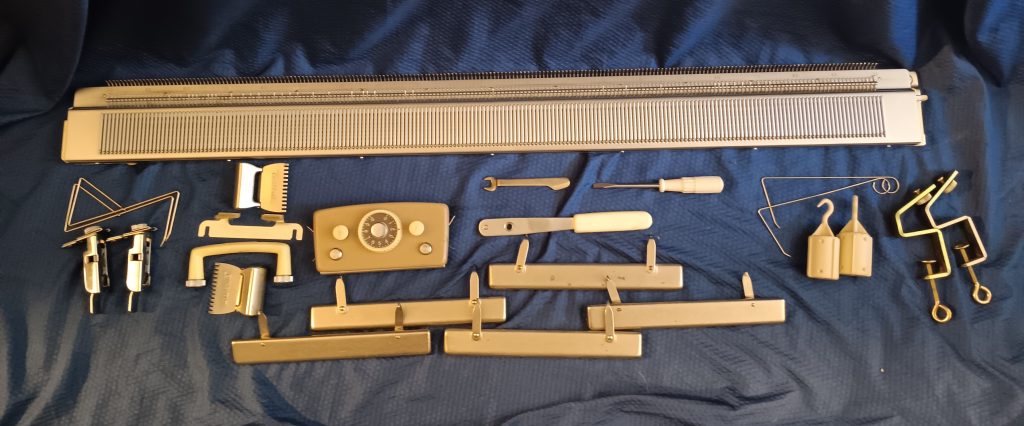
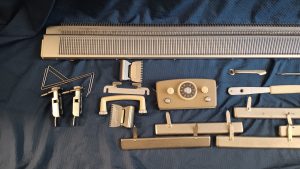
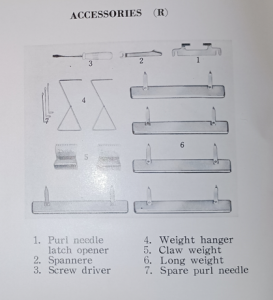
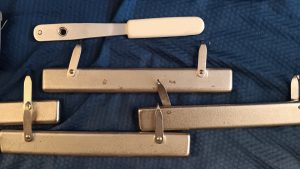
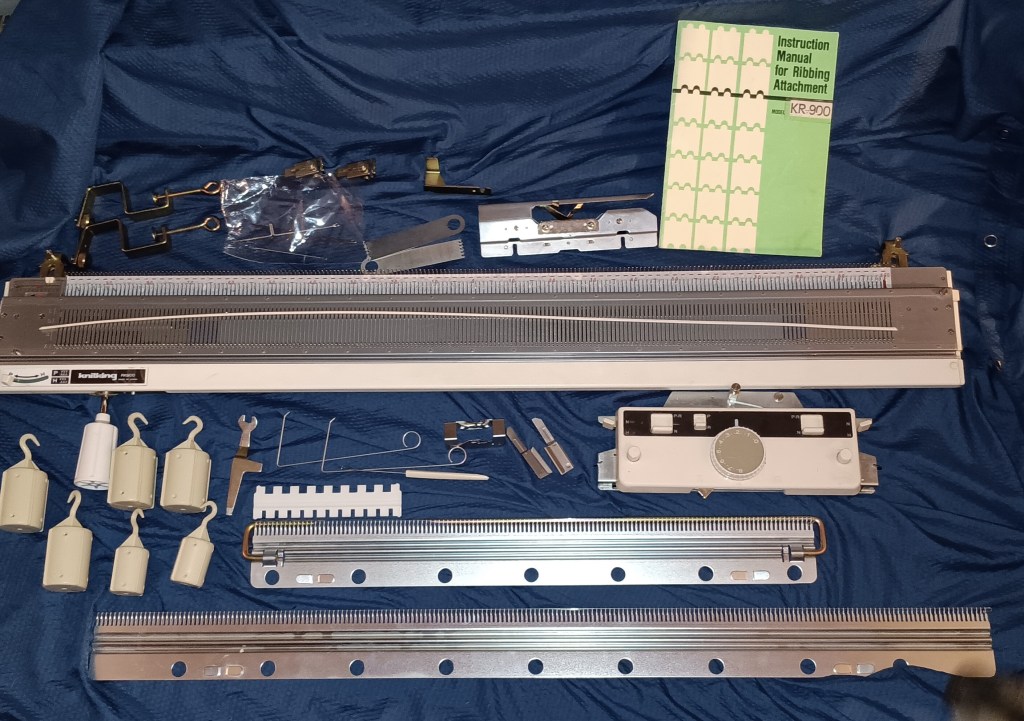
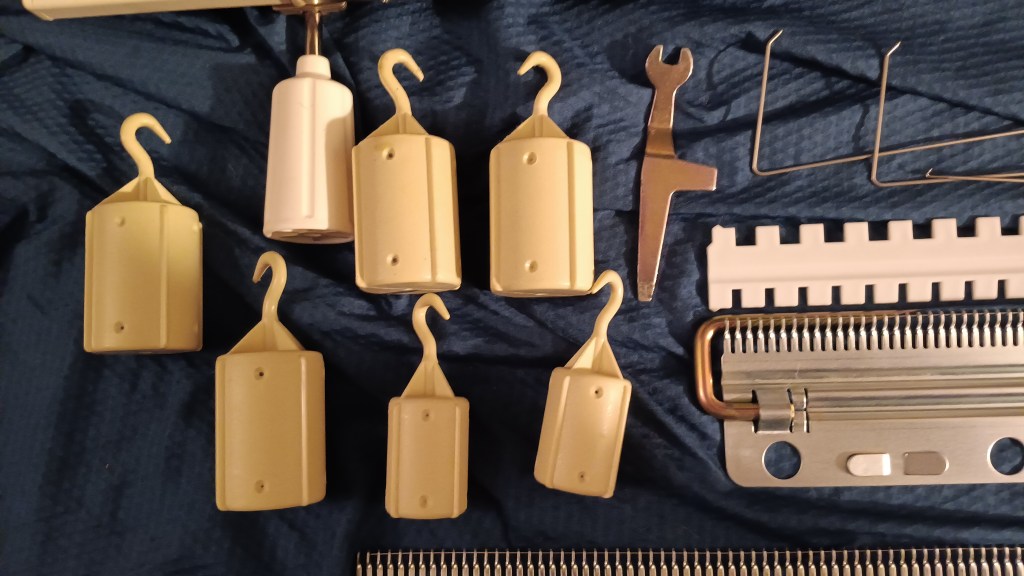
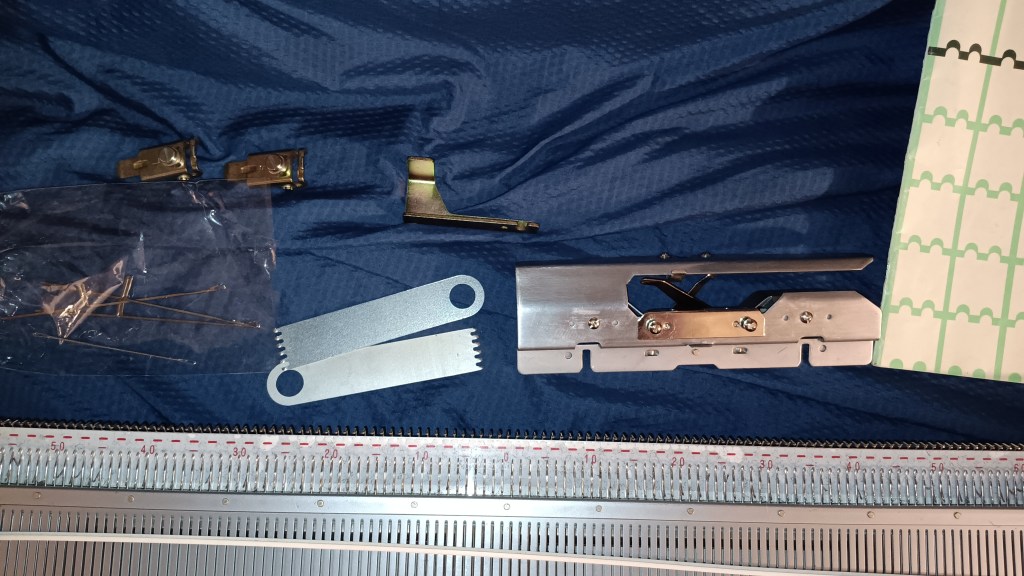
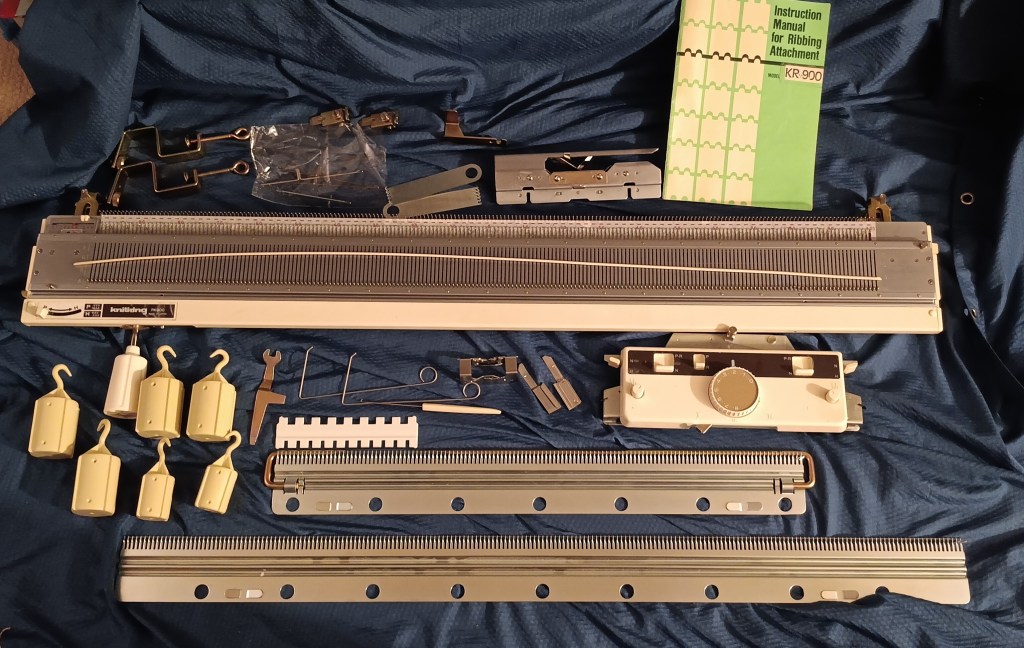
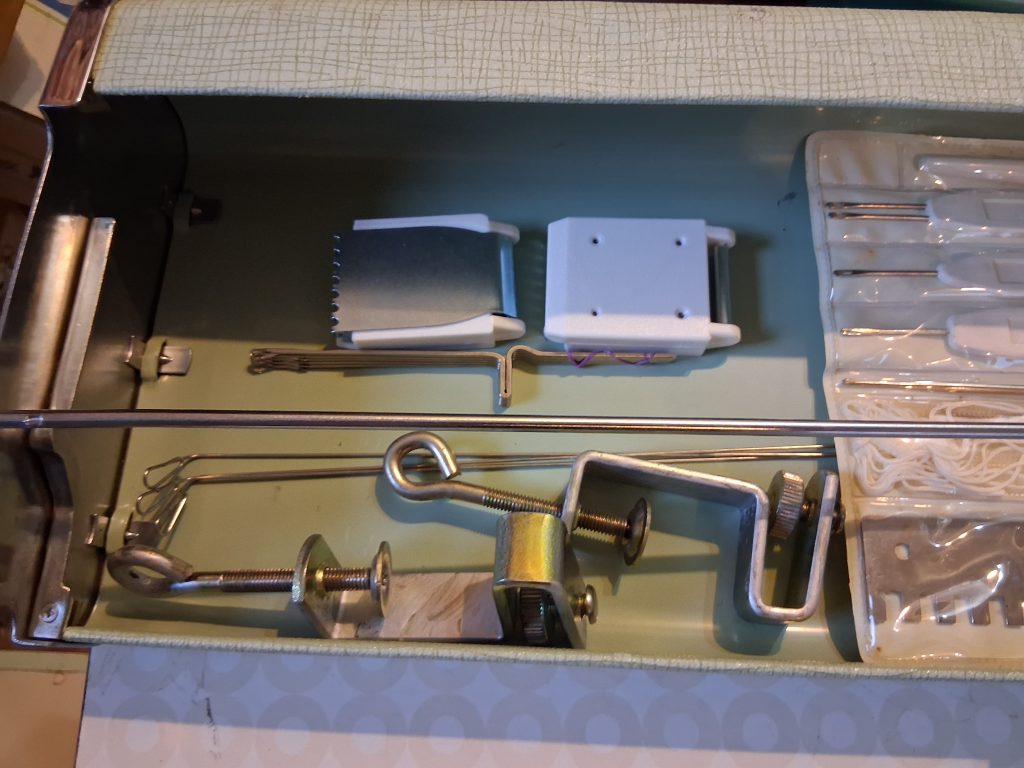
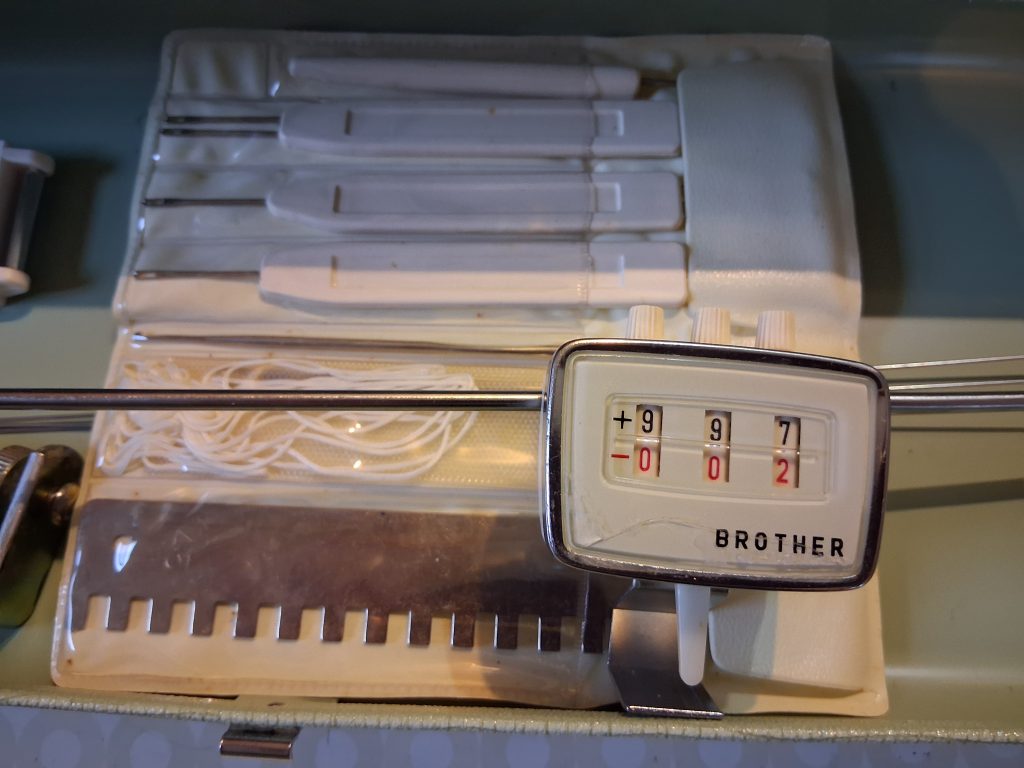
The machine will come with all necessary accessories. A lot of original accessories with a couple of minor exceptions. The S-shaped table clamps are original, but I had to cover them with a layer of Rustoleum. The transfer tools are original as well and are even in the original case (a better picture is below with a row counter). A set of claw weights is not part of the original setup, but I am including a pair because it is a very handy accessory to have. They are brand new (new stock).
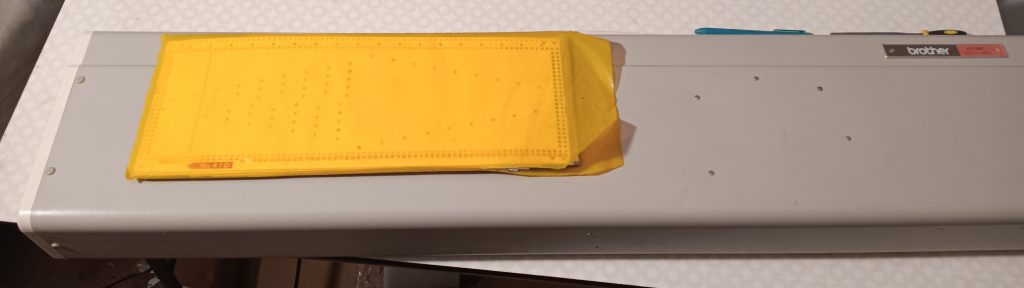
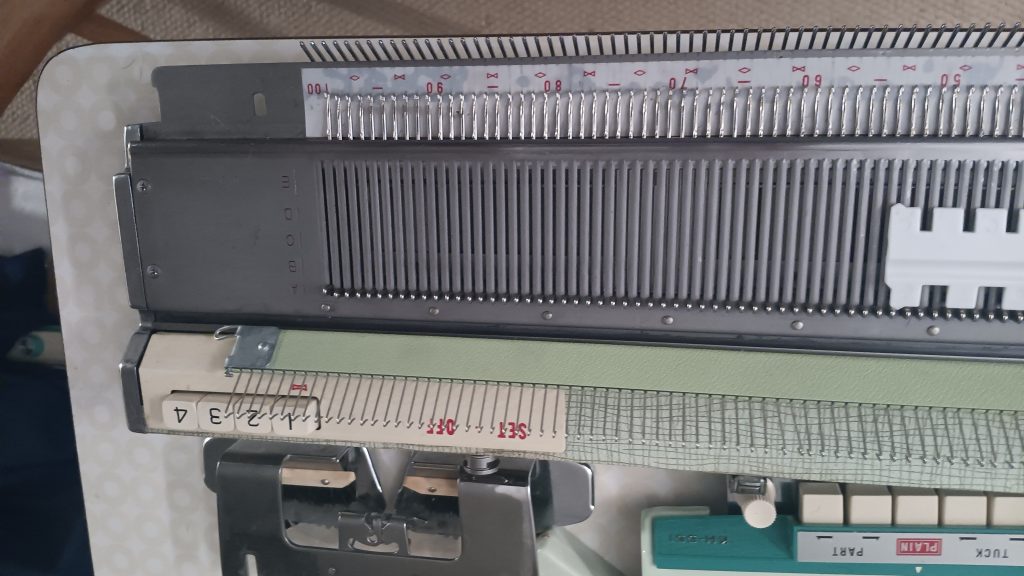
The 1×1/0 needle selection ruler is original, but the other two are plastic replacements from new stock.

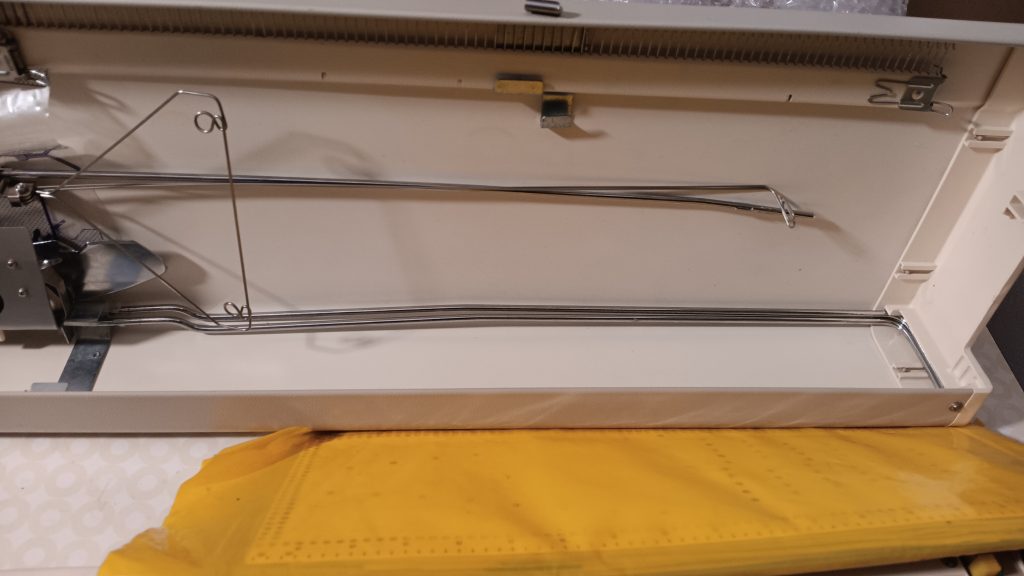
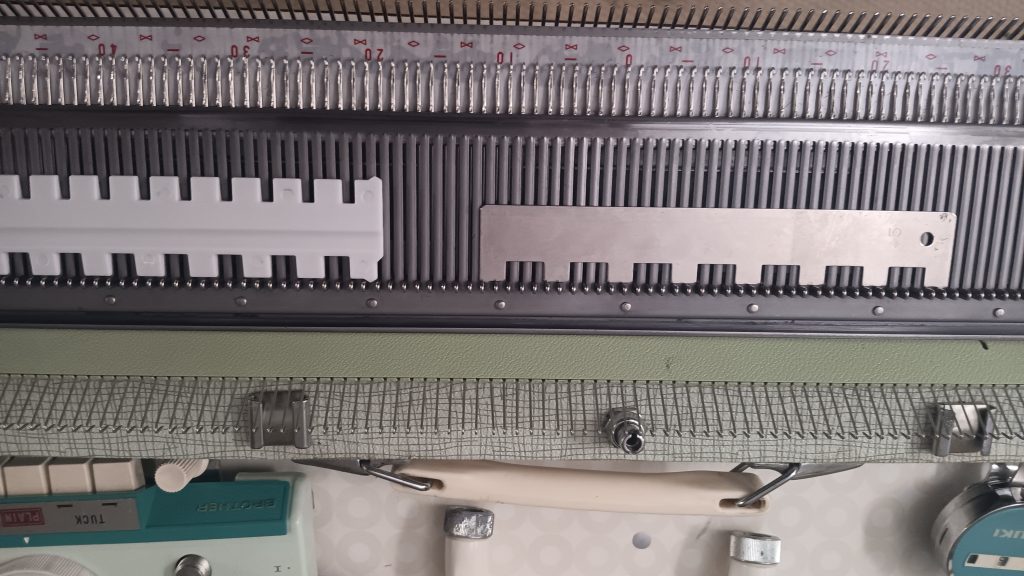
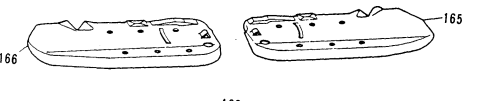
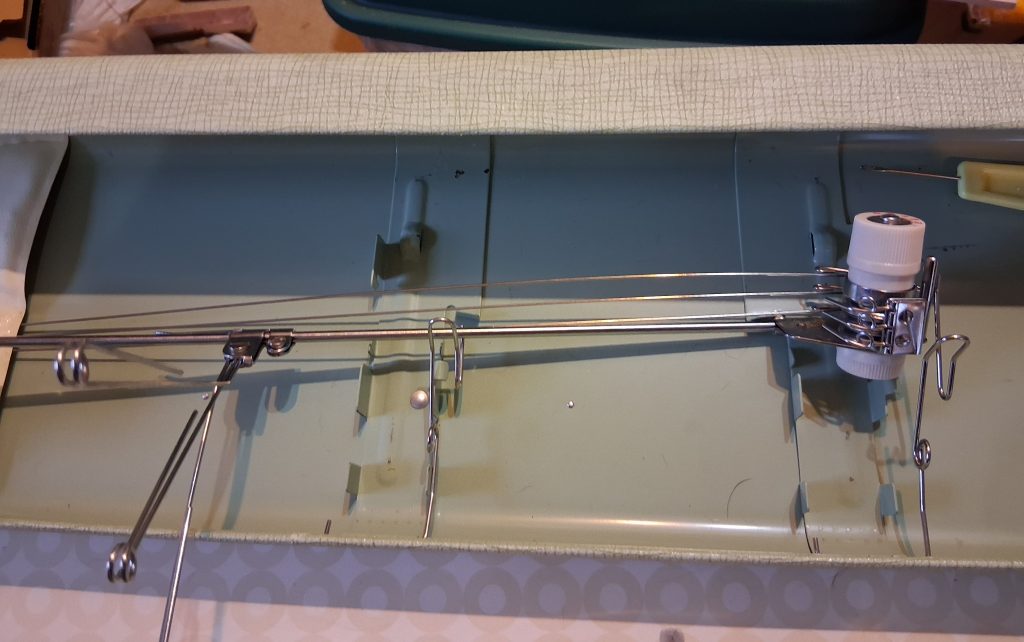
The tension mast and the cast-on combs are in great shape, especially considering their age.
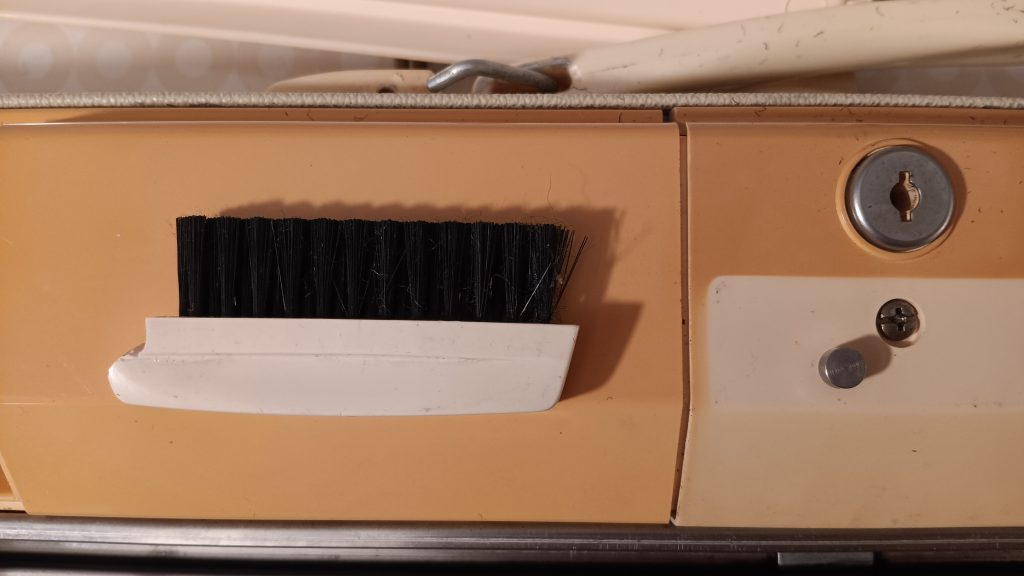
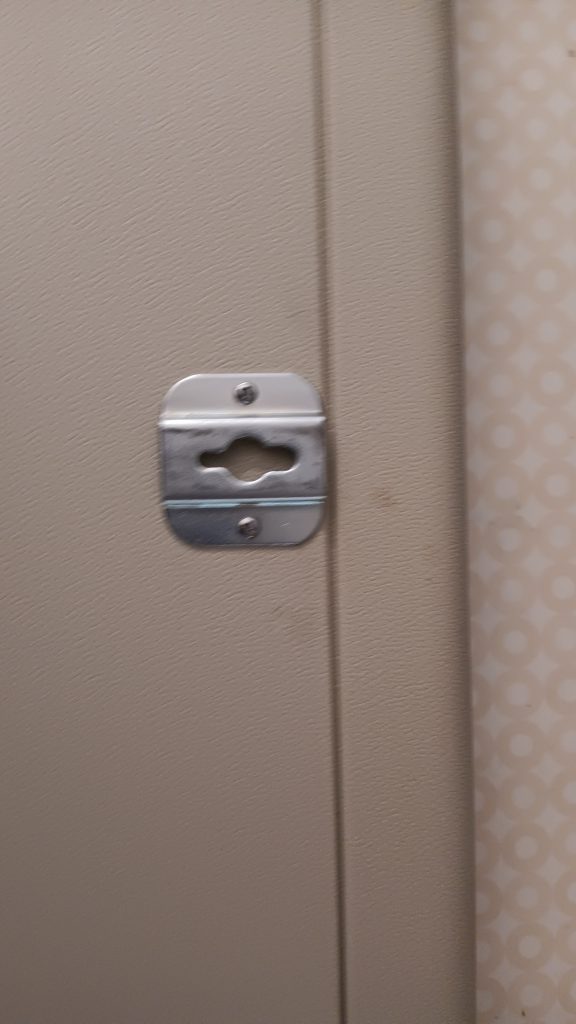
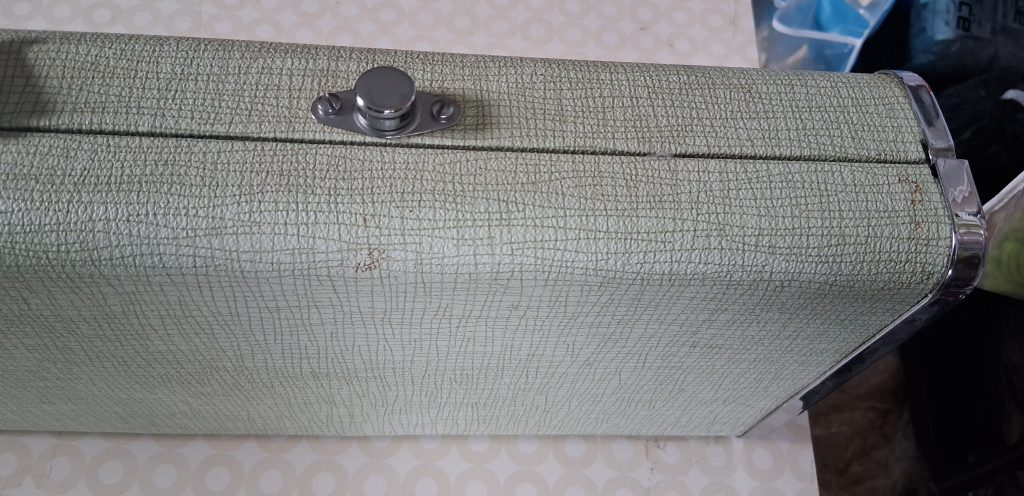
The carriage lock is original.
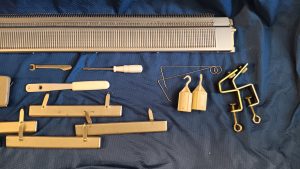
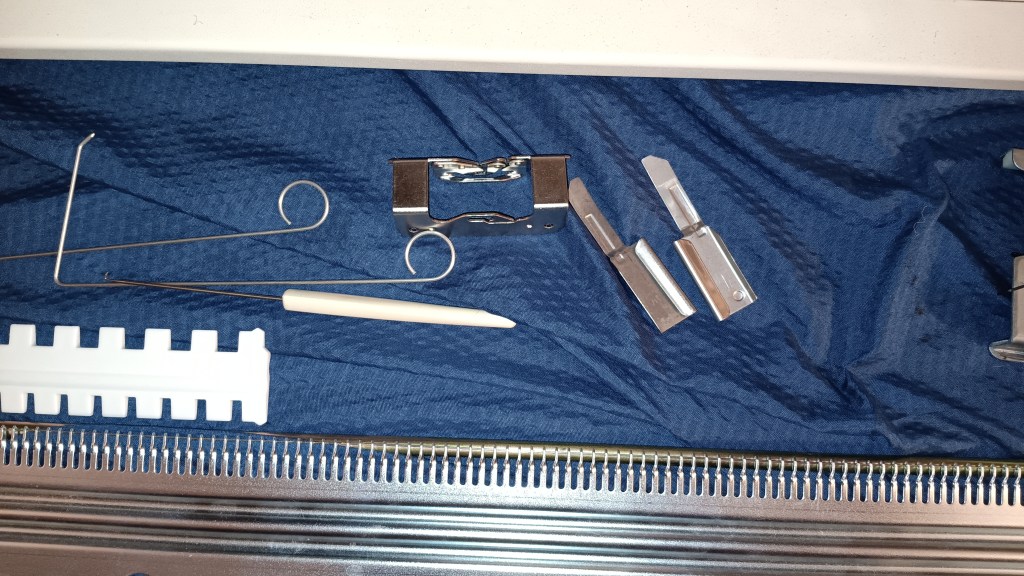
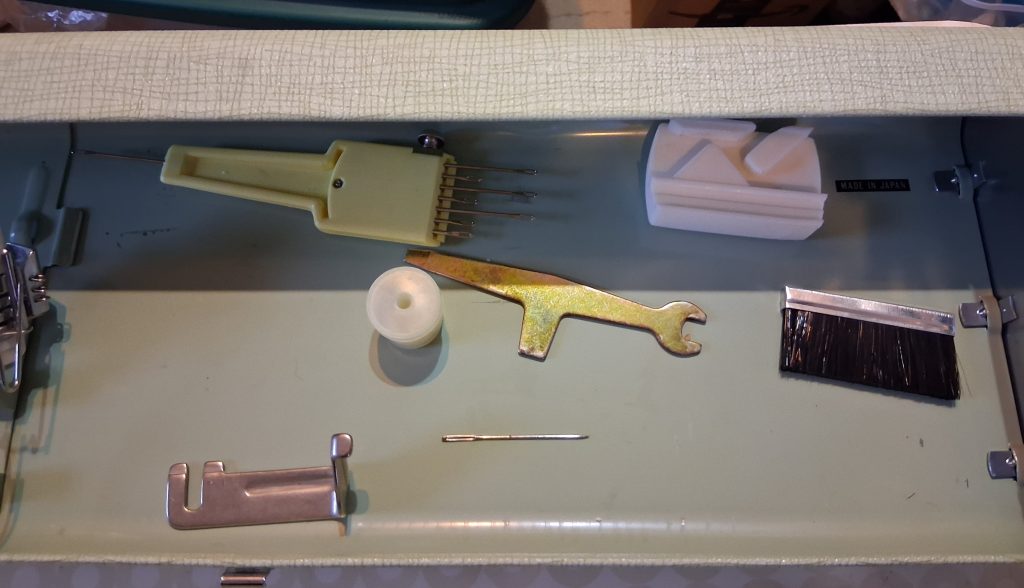
The ratchet tool is a replacement. I used it during all the tests shown in the video. The needle picker is a 3D-printed copy and works well. The cleaning brush is a generic replacement. Not sure if the tapestry needle is the original, but it came with the machine. The wax is a bit crumbled, but if you need it, it will provide a good starting point. As a thank you for your patience and an apology for not having all other original tools in stock, I am including an adjustable needle transfer tool. I think it is original (not the new-stock generic), but the sticker is no longer attached to it.
The accessories that are missing are: the toolbox and its lid, the tool holder, and yarn hangers (easy to replace with a paper clip), and machine oil (use Hoppe’s gun oil available on Amazon).
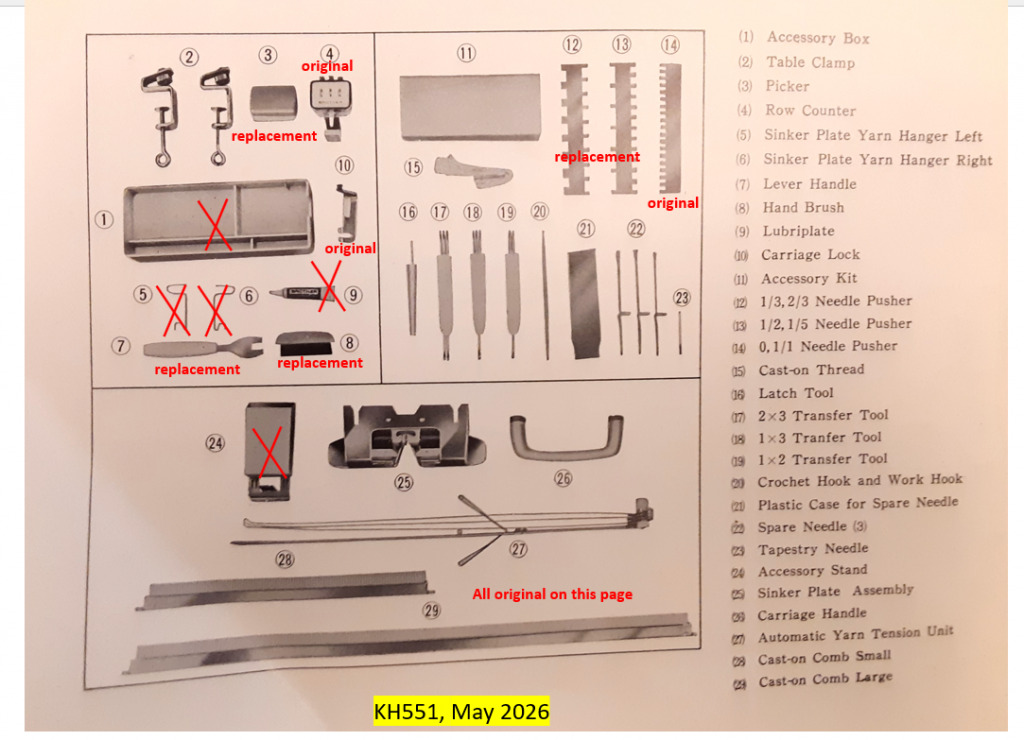
I included a replacement needle indicator strip. The original ones that come with KH551 machines are transparent. The strip that I included is not new, but from one of the older machines to complement the vintage look of this machine.
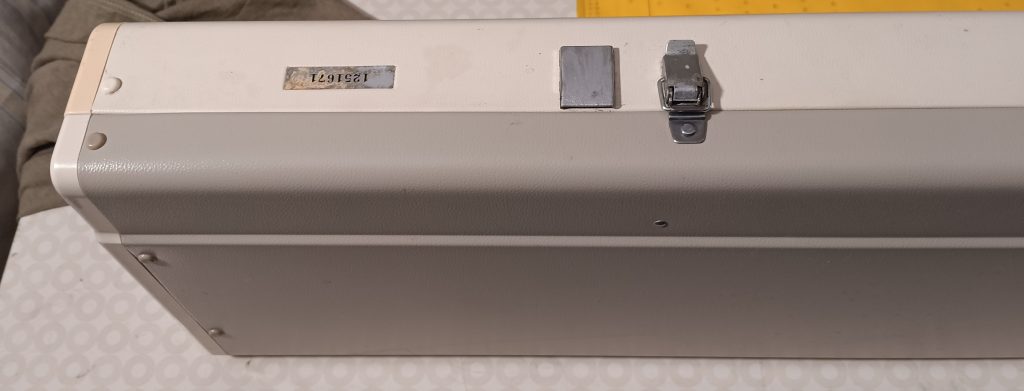
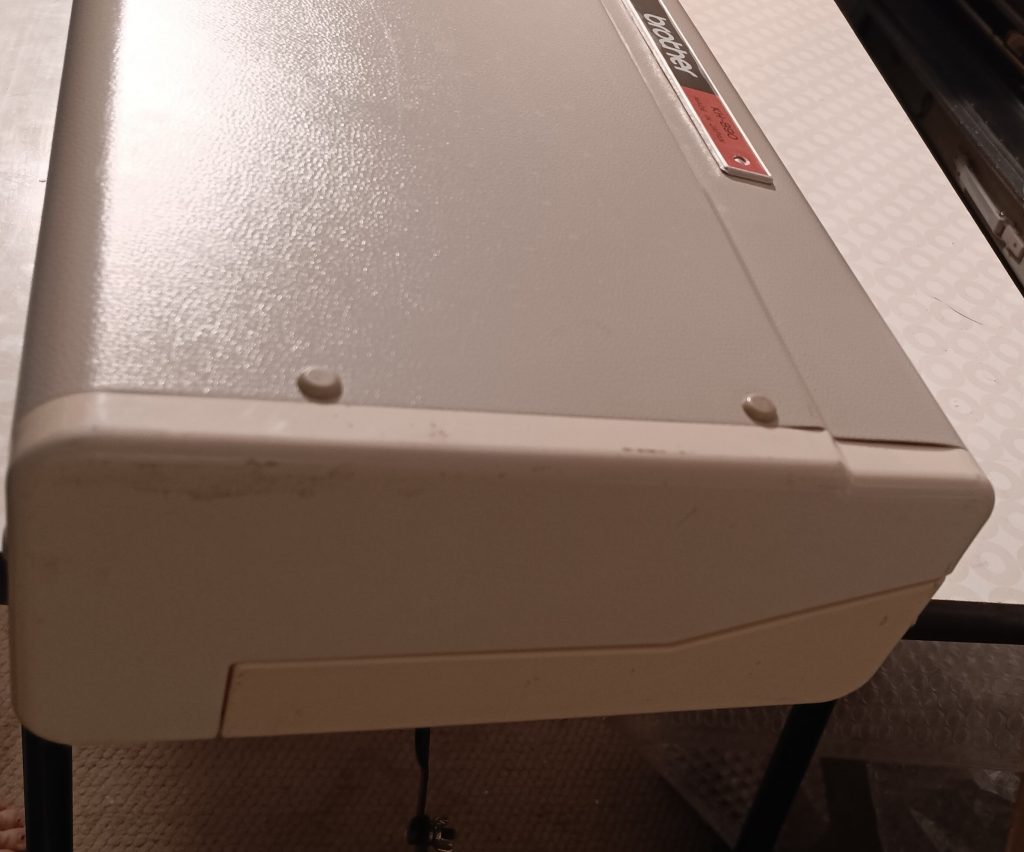
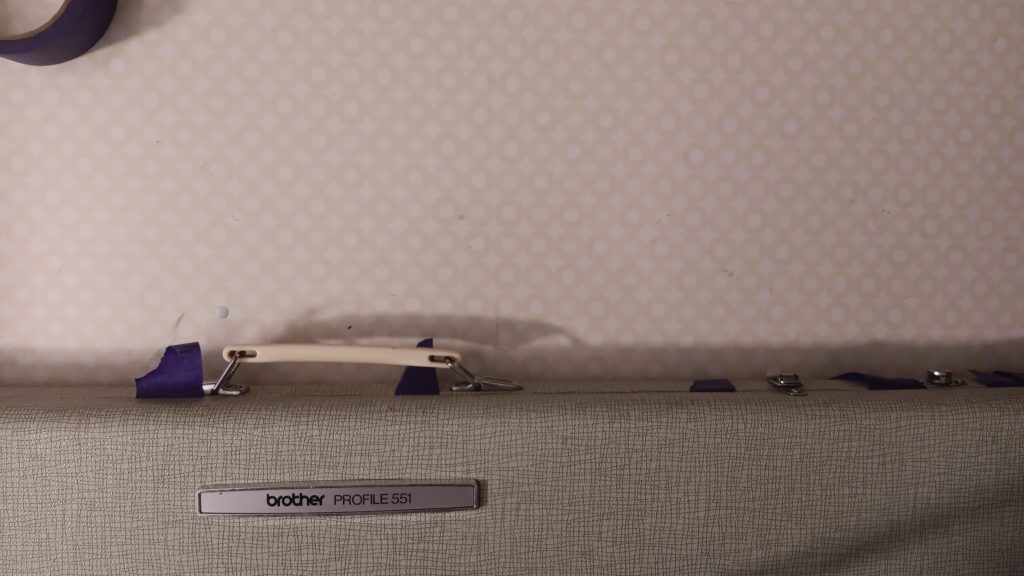
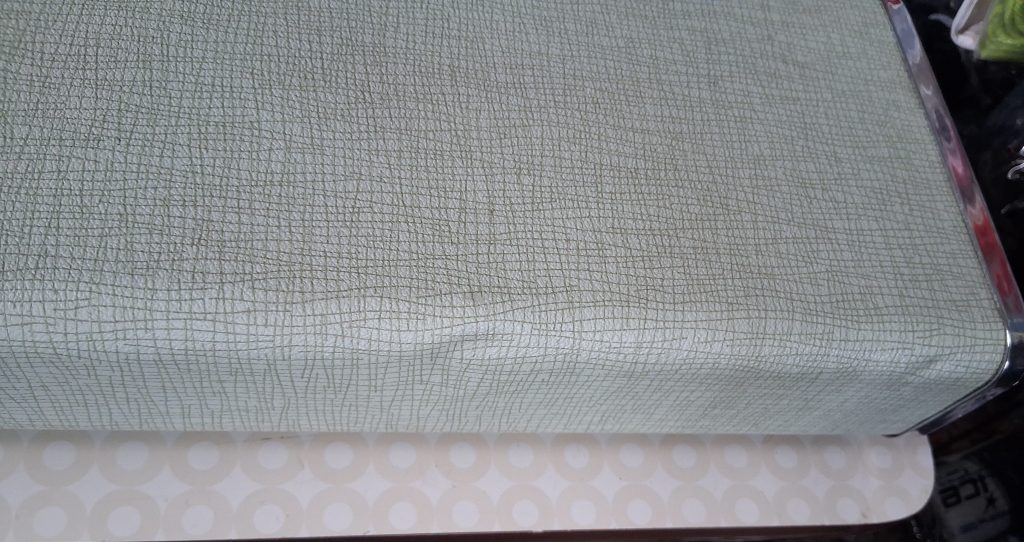
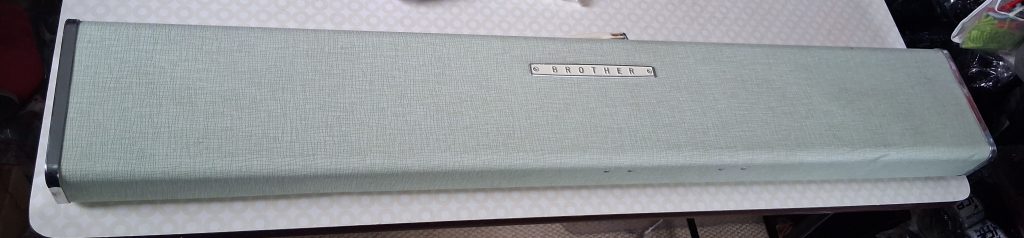
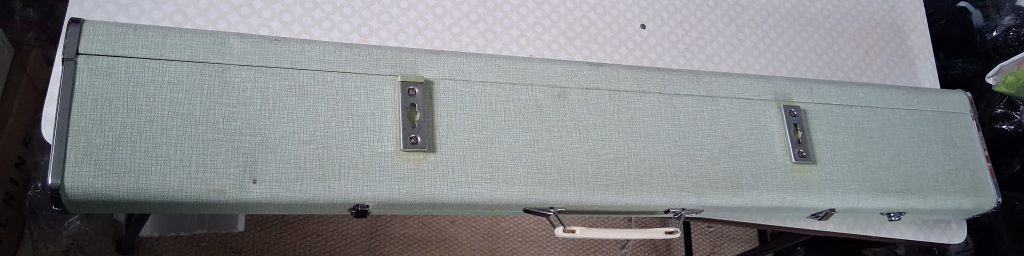
The case and the lid are in great shape. Read below about some minor cosmetic imperfections.
About imperfections:
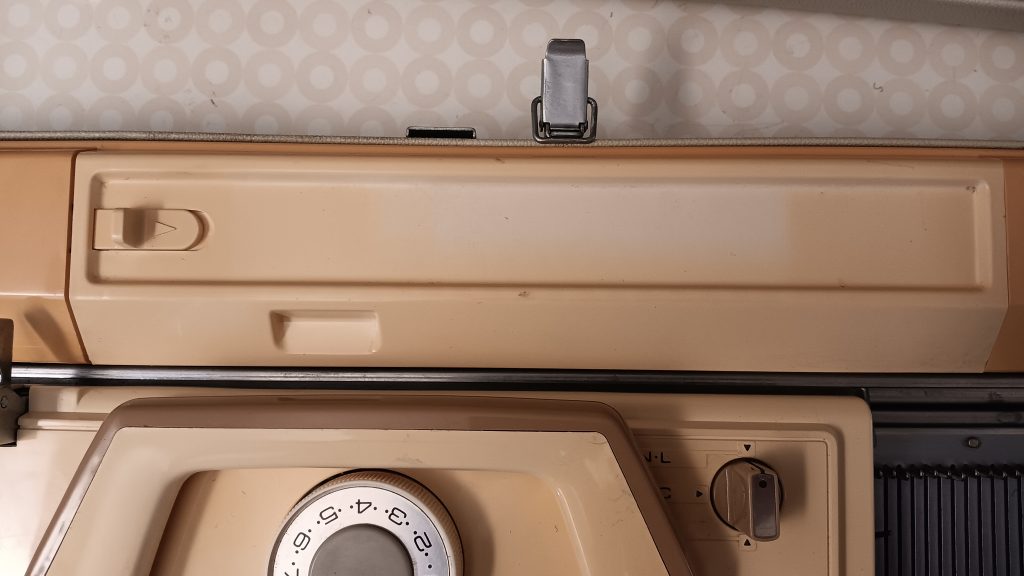
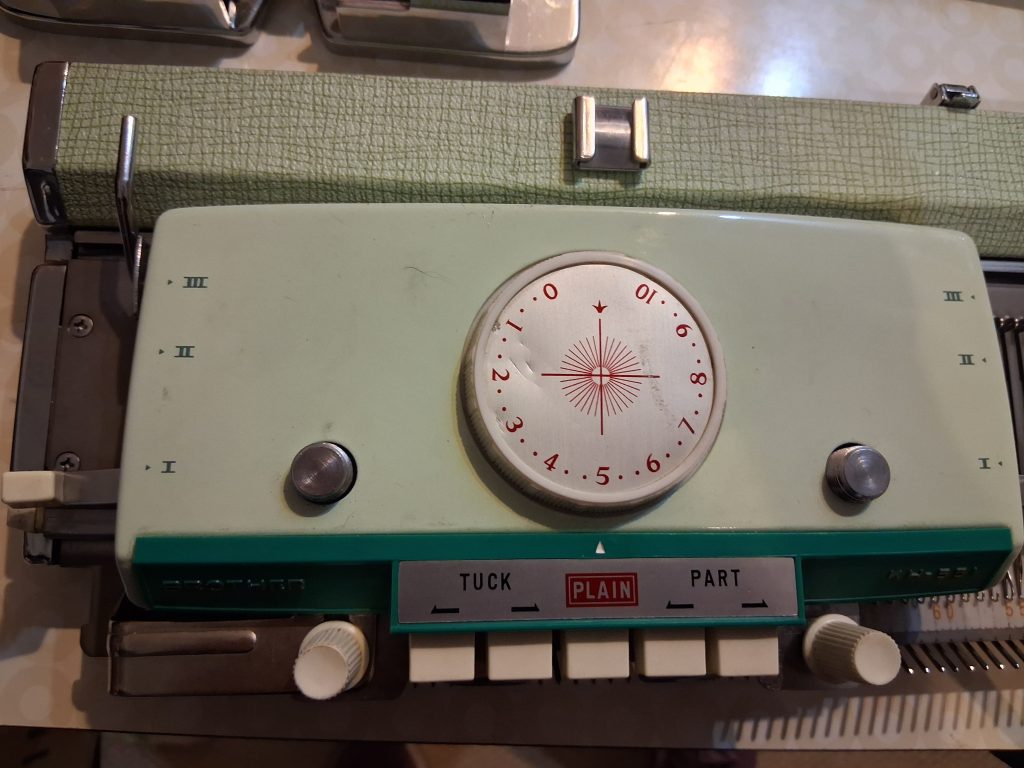
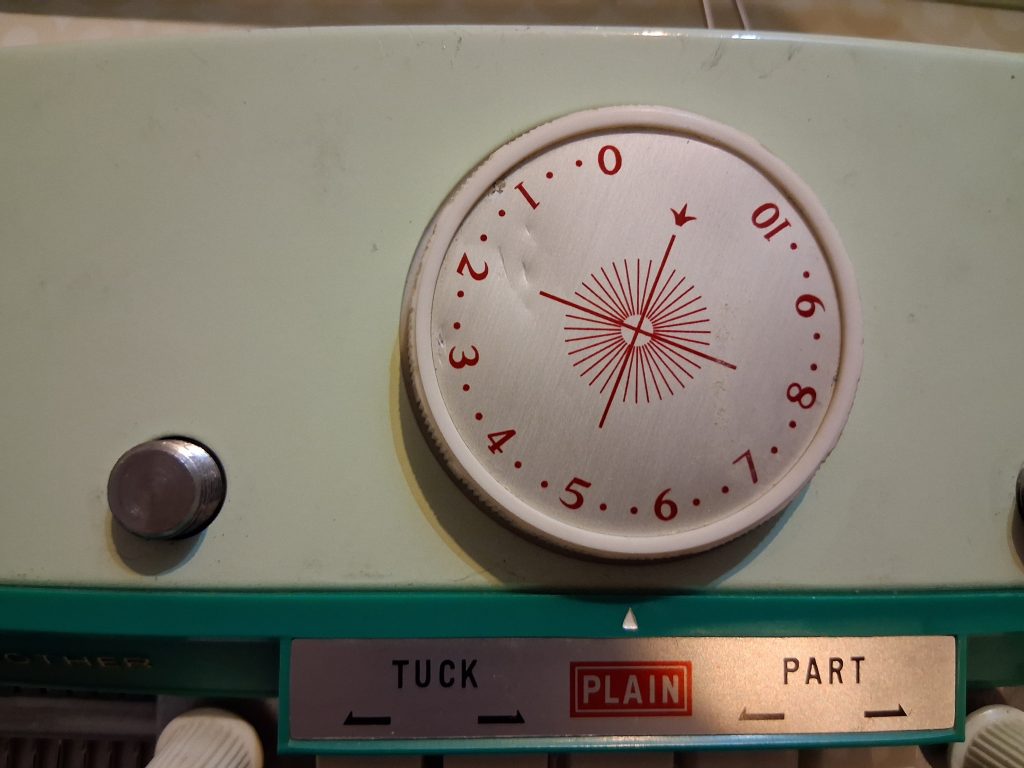
The tension dial on the carriage has some dents. It, however, still works well and provides reliable tension.
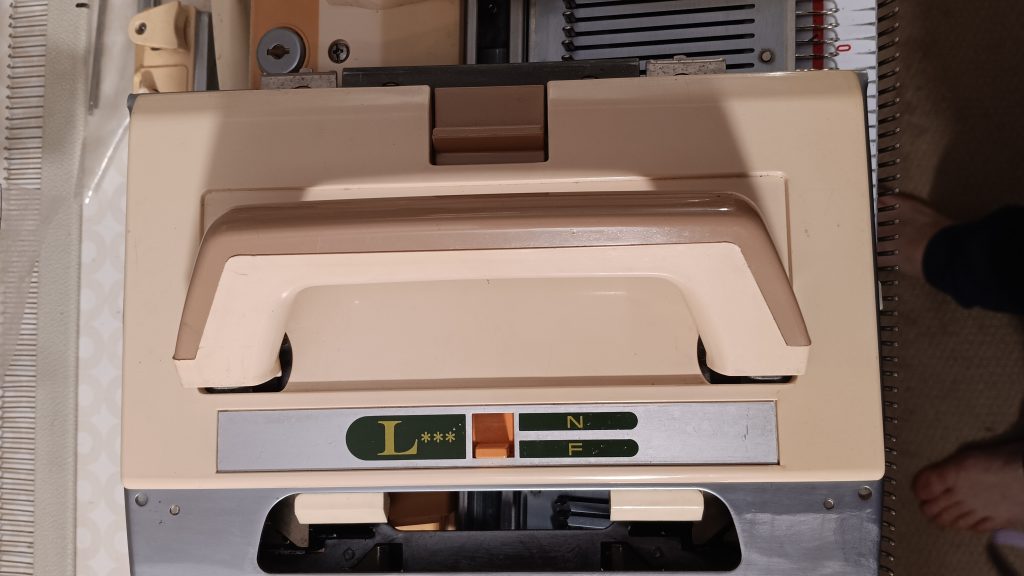
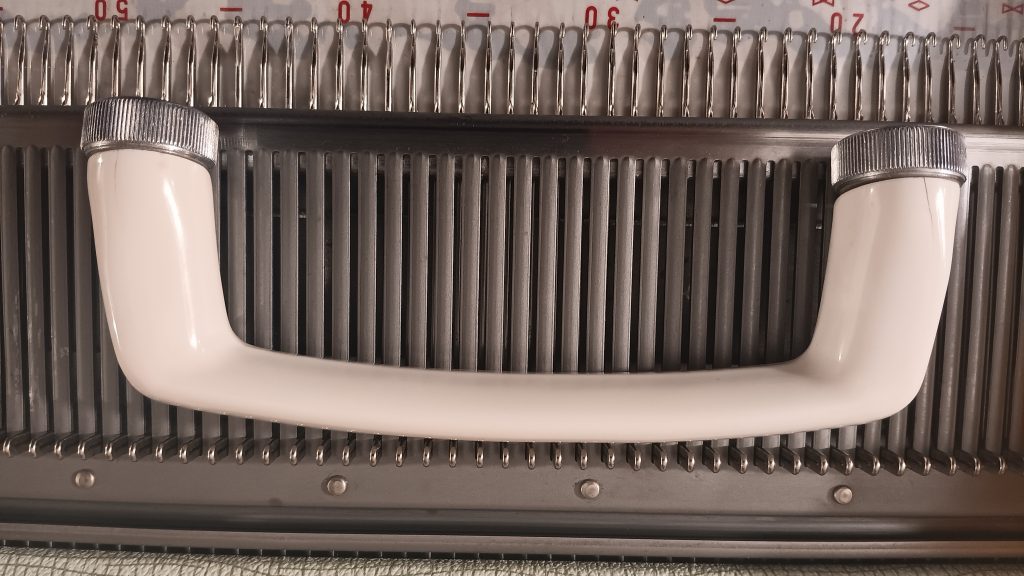
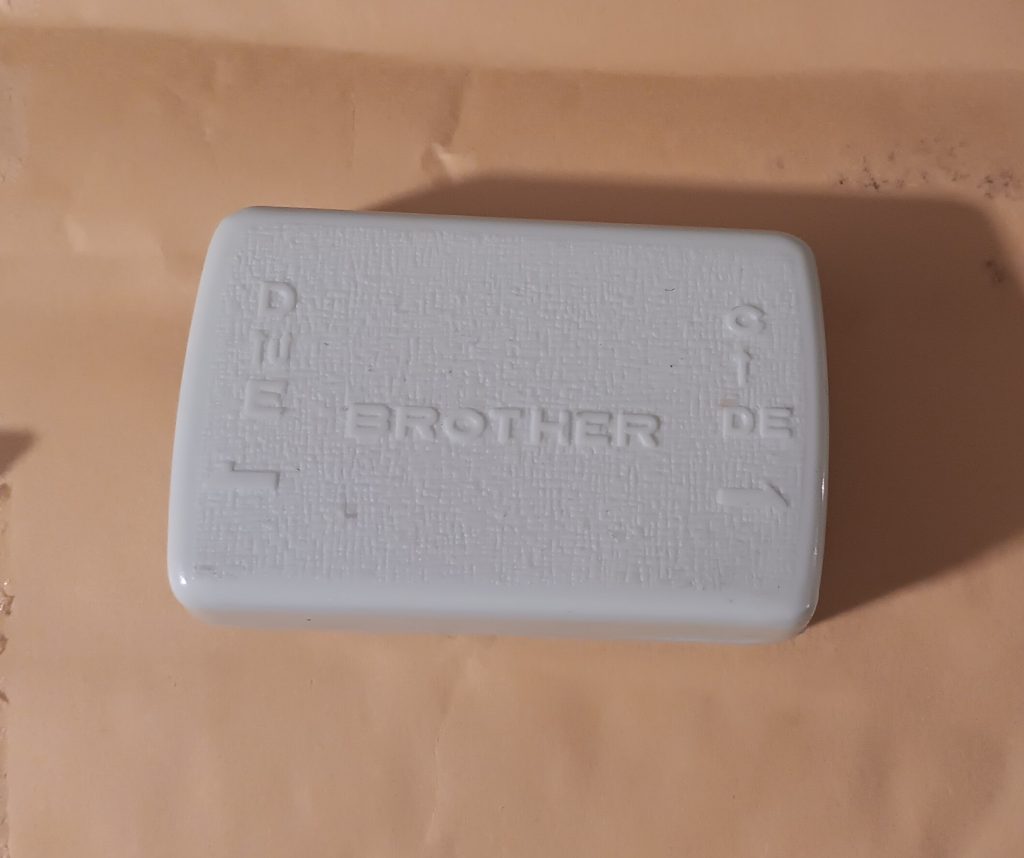
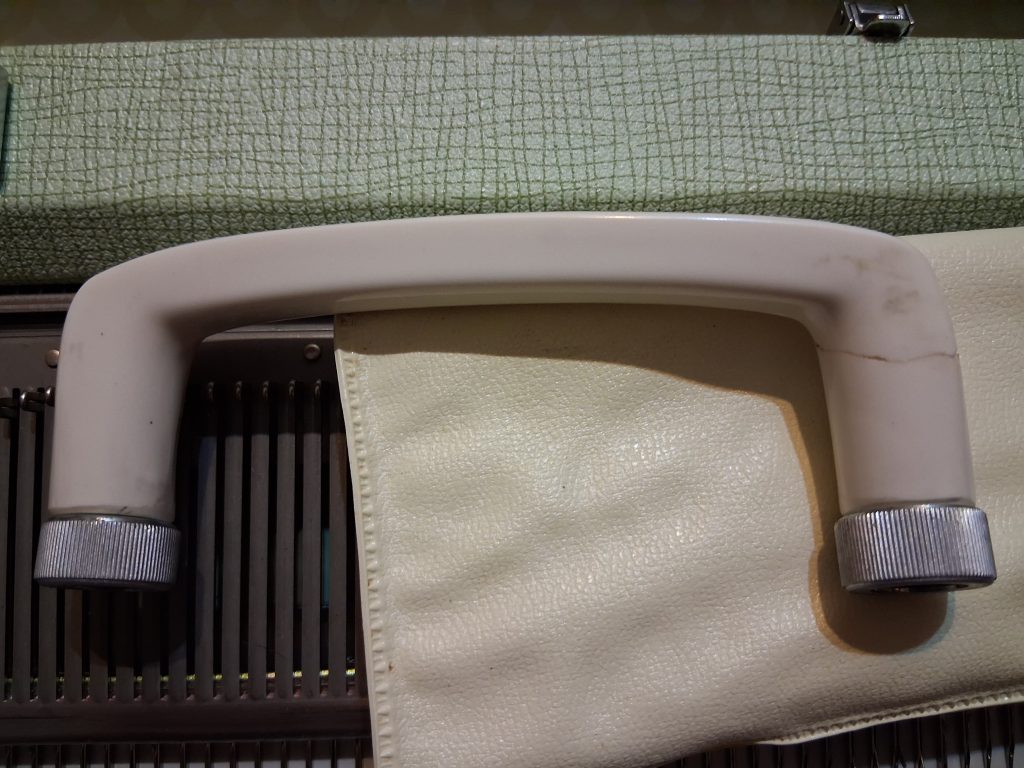
The carriage handle has a minor crack. It is, at the moment, the best handle I have to offer. I’ve seen handles in much worse shape, and they were still working fine. When attaching the handle onto the carriage, screw both sides at the same rate: a couple of turns on the left, then a couple of turns on the right, etc. The same with unscrewing/removing.
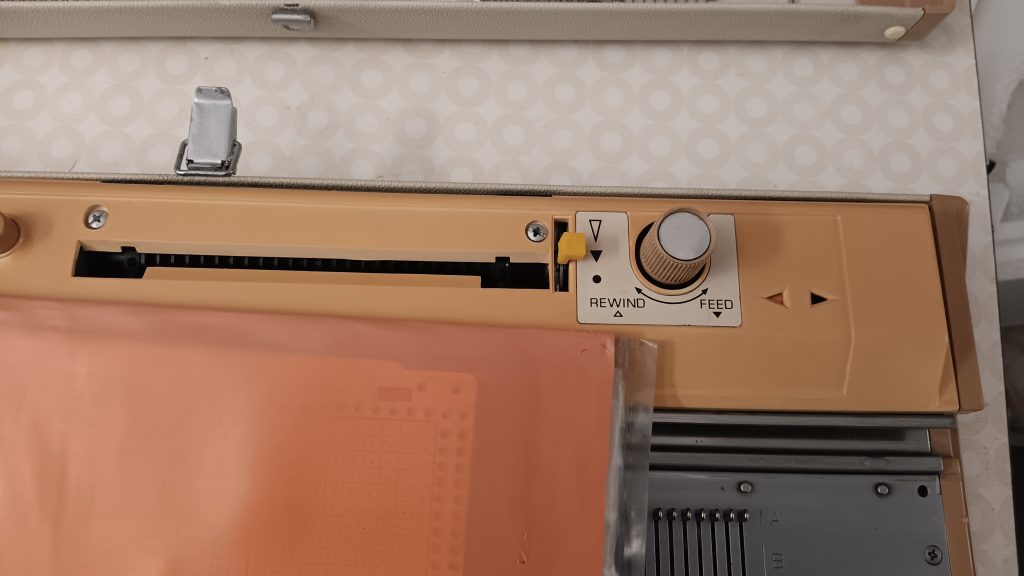
The raw counter is original, but the front panel had a crack. I secured it with super glue. The row counter otherwise works well (see the demo at the end of the video).
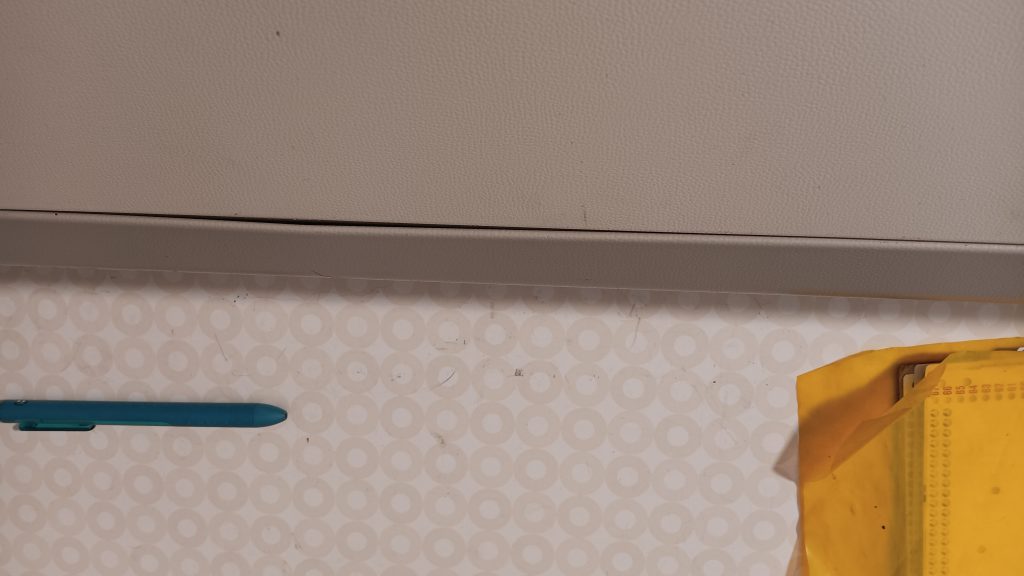
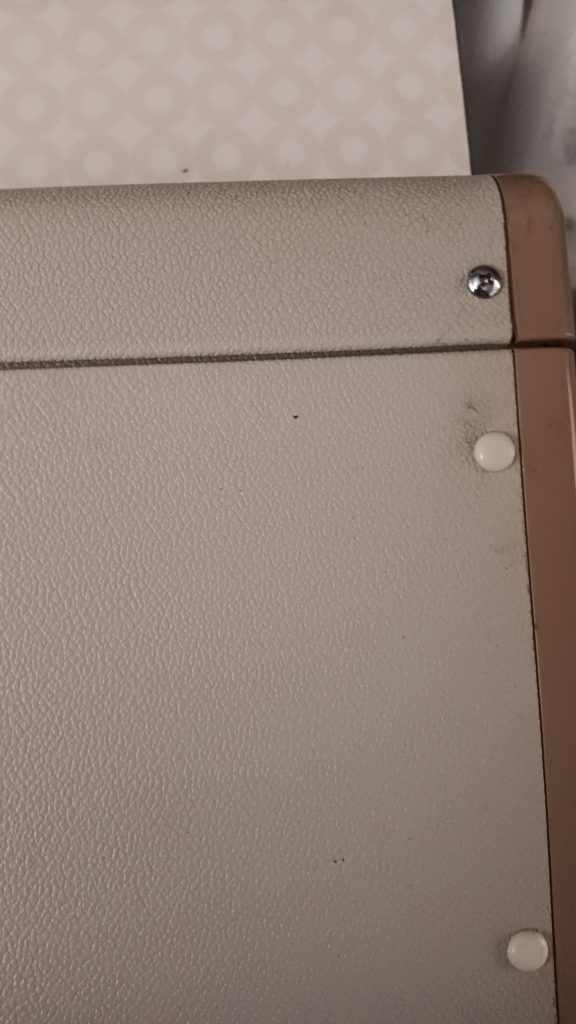
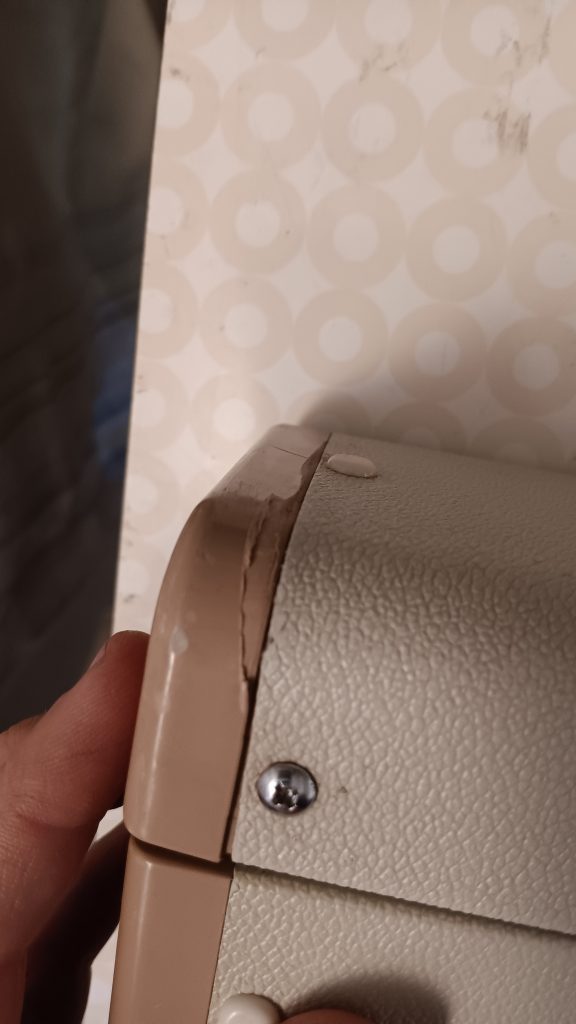
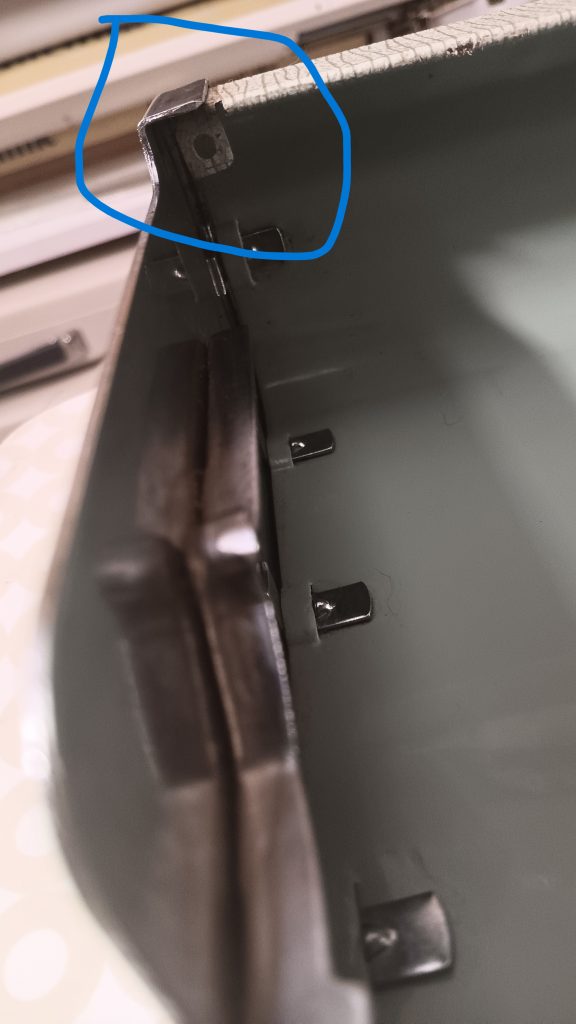
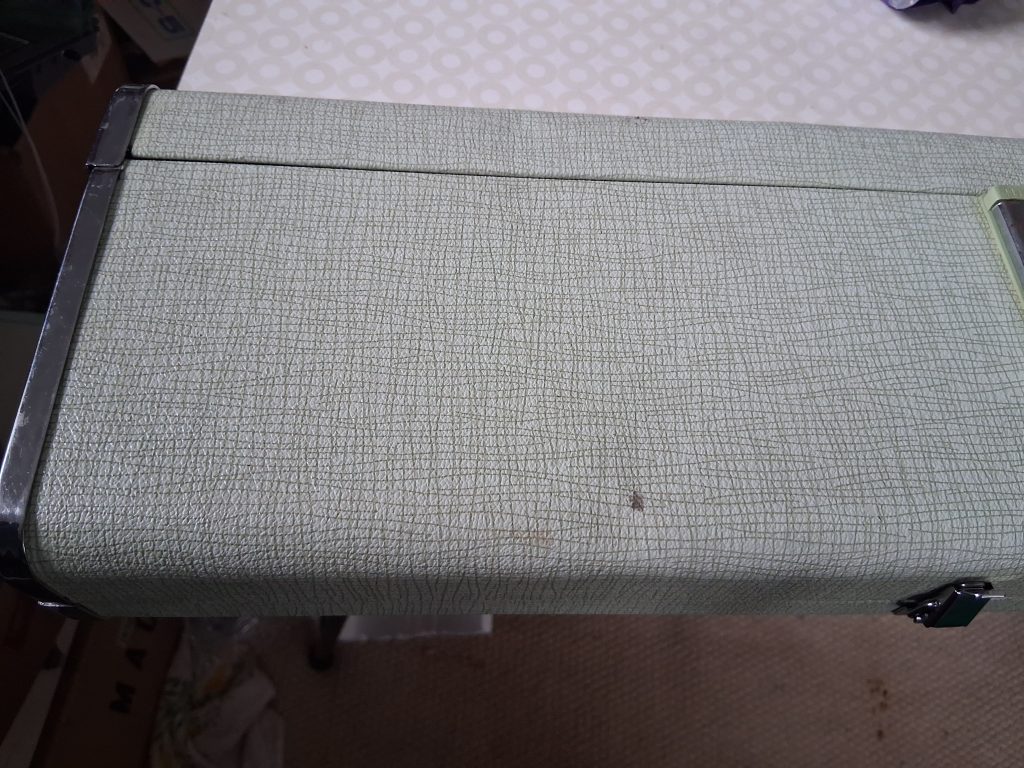
The lid and the case have some very minor stains and dents. Some of them are shown below.
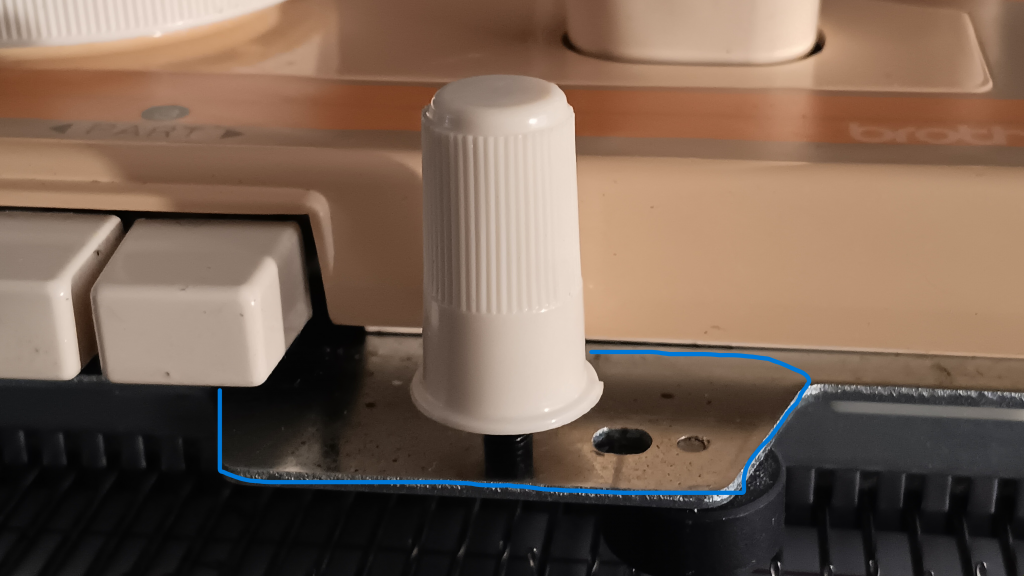
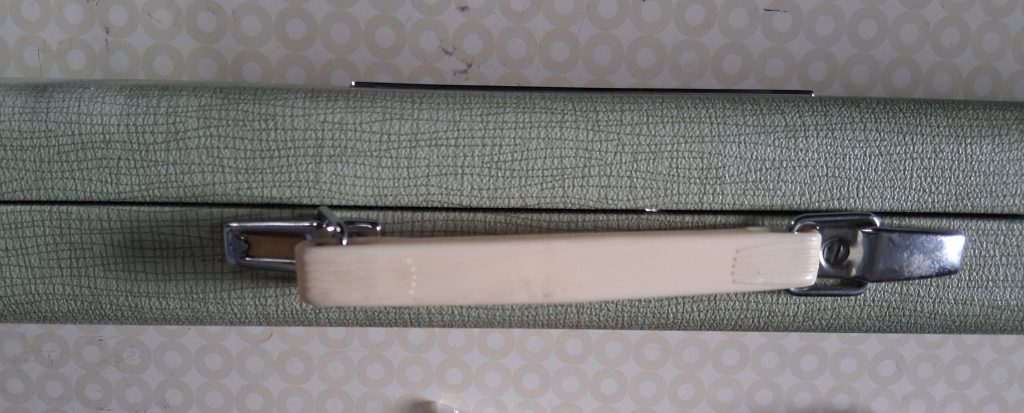
Apparently, the handle has an opening in the metal cover. First, I thought it was a defect, but all other machines have the same feature. So, no alarm here.
None of these imperfections affected any functioning of the machine.
Happy knitting!