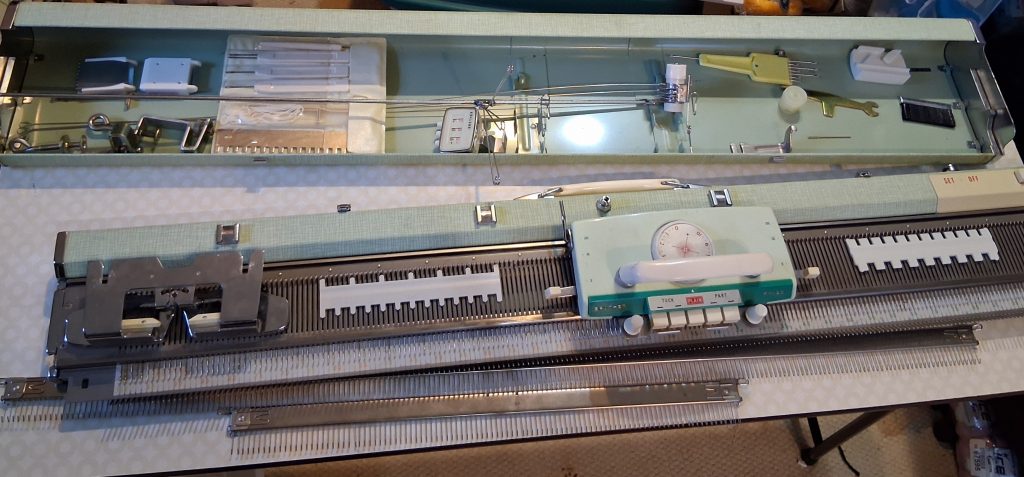
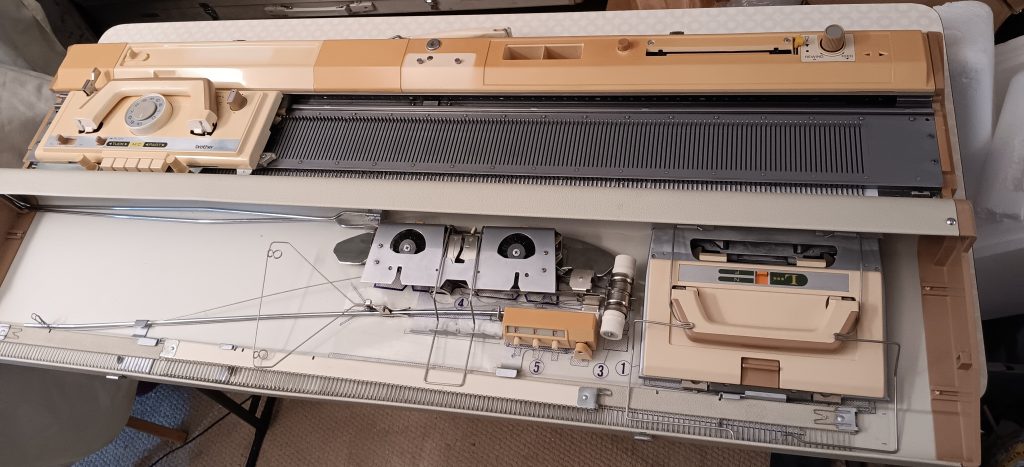
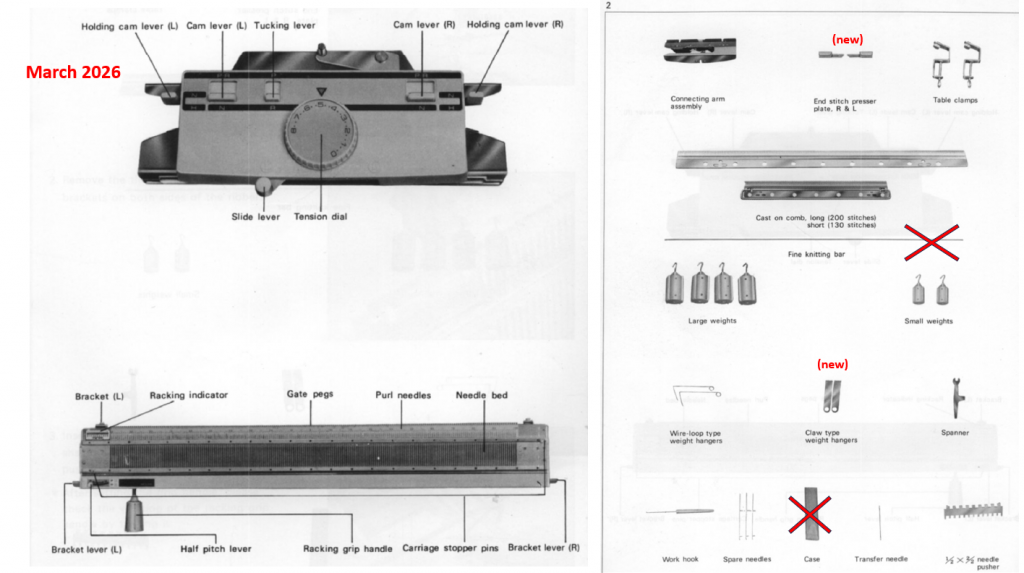
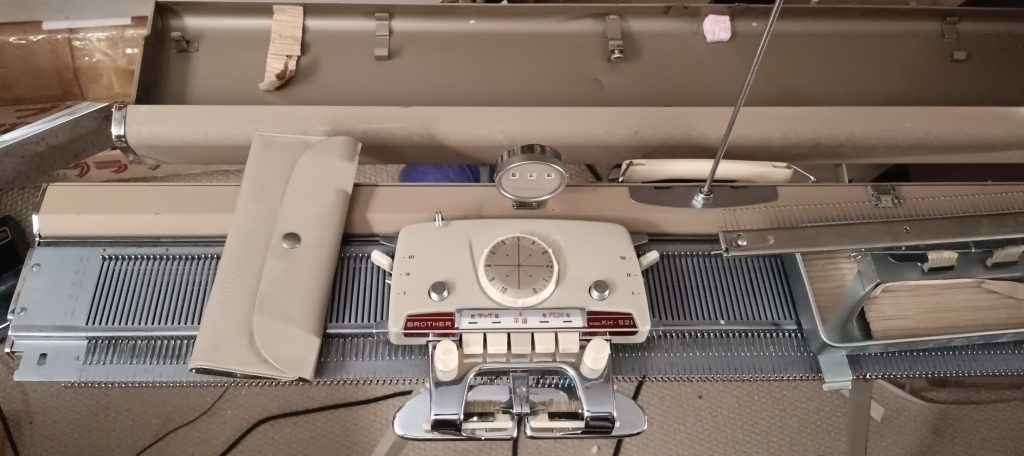
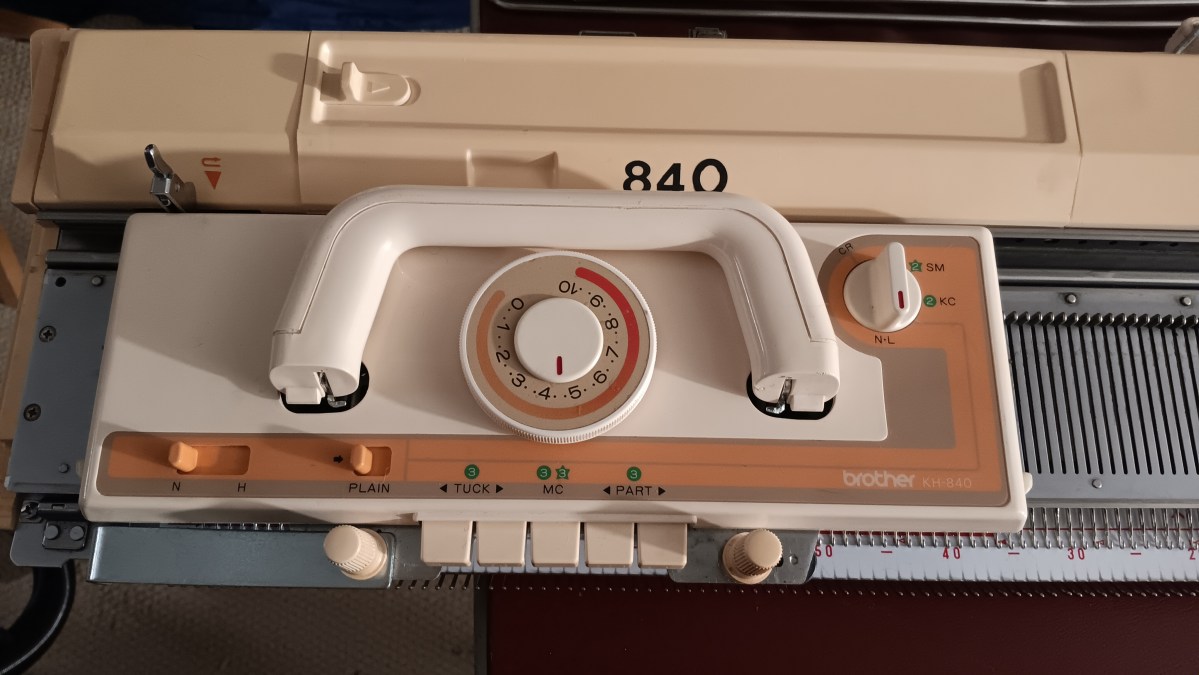
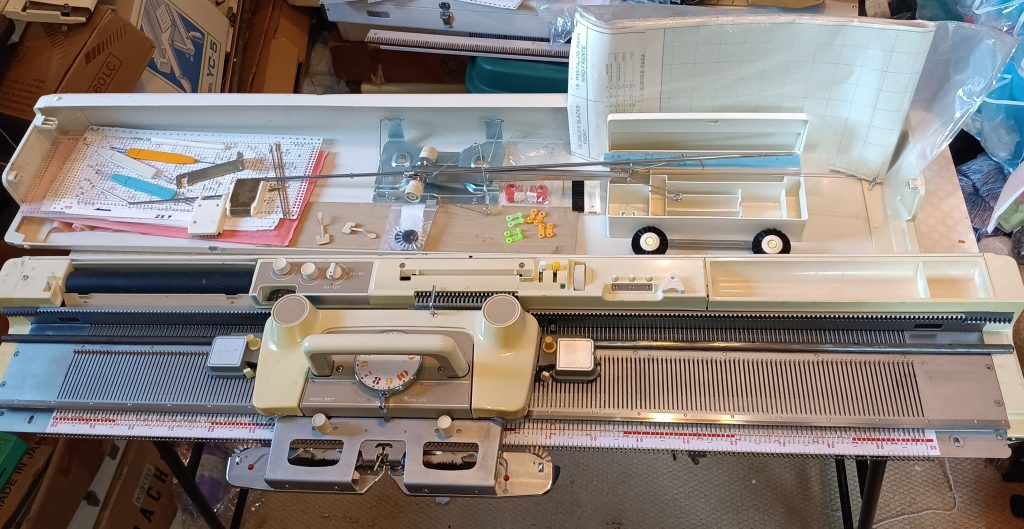
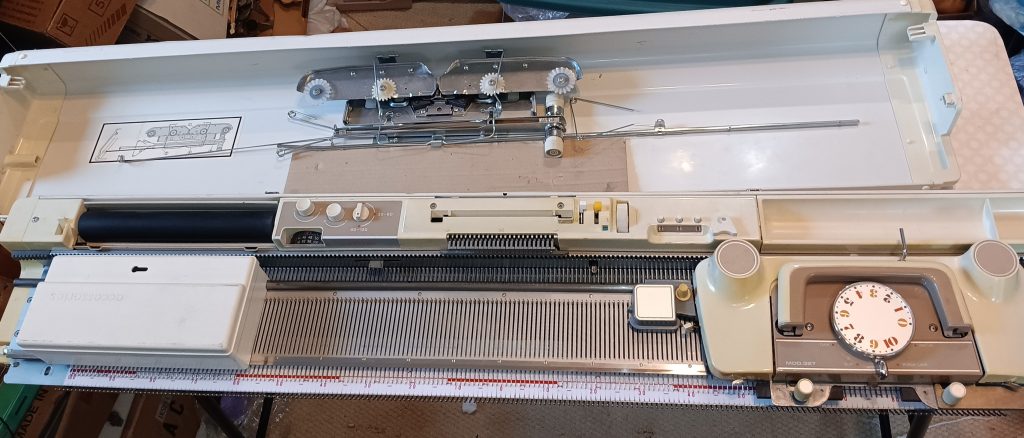
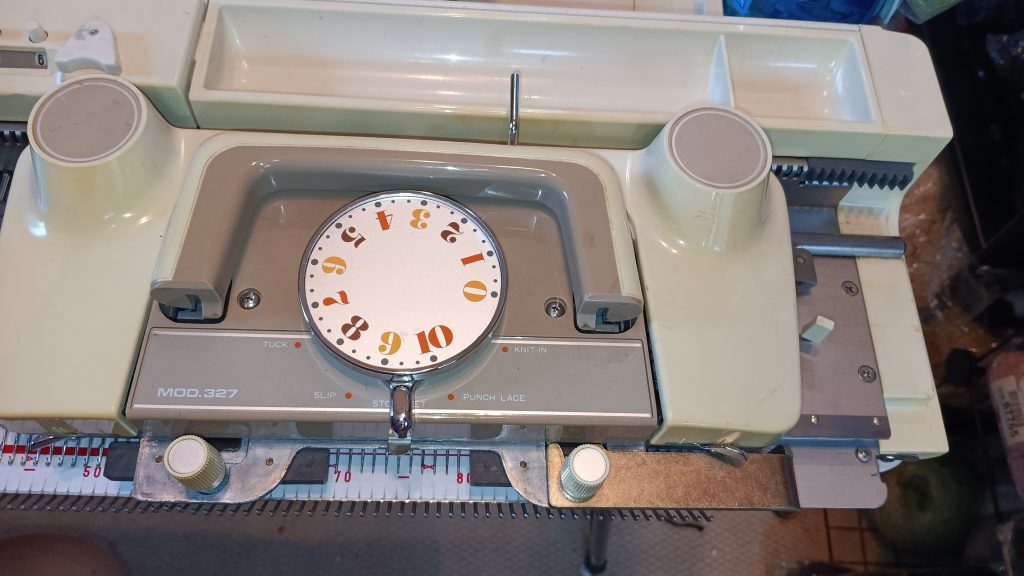
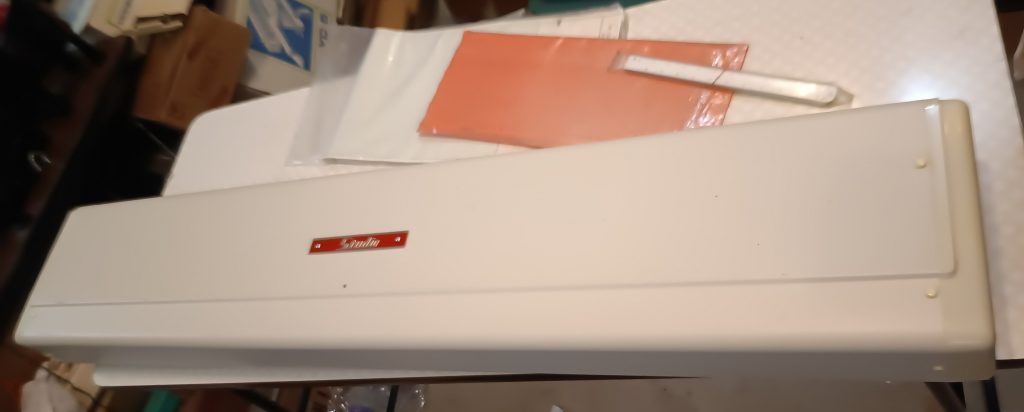
Studo mod. 327 knitting machine is a standard-gauge machine with 200 needles, 4.5 mm apart. There are a lot of resources on how to use this and similar knitting machines (such as Studio mod. 326, Silver SK327, etc.). Read more about this model in my Knitting Machine Encyclopedia. The post below is dedicated to a specific machine serviced and tested in my shop in May 2026.
Maintenance performed on this machine:
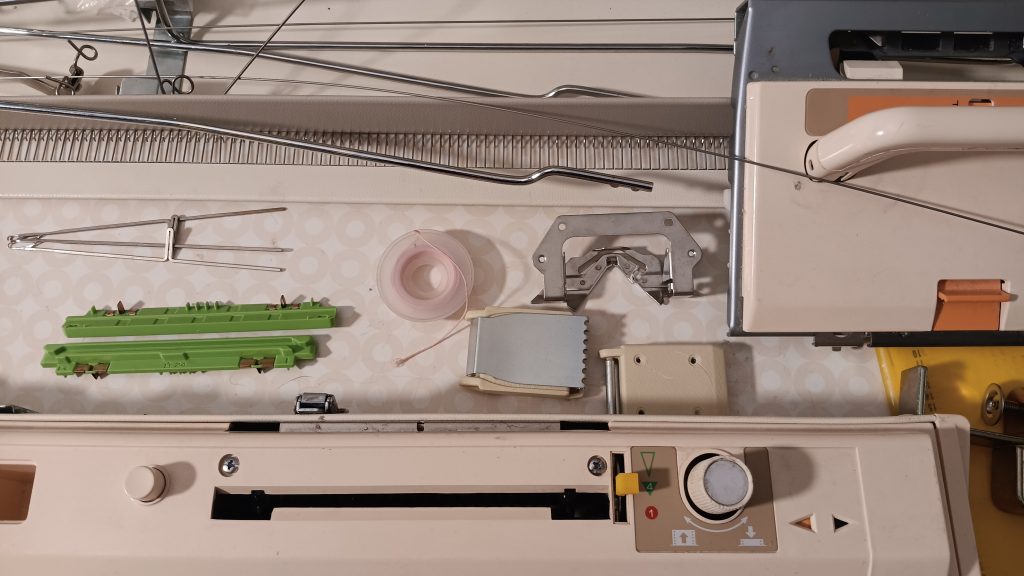
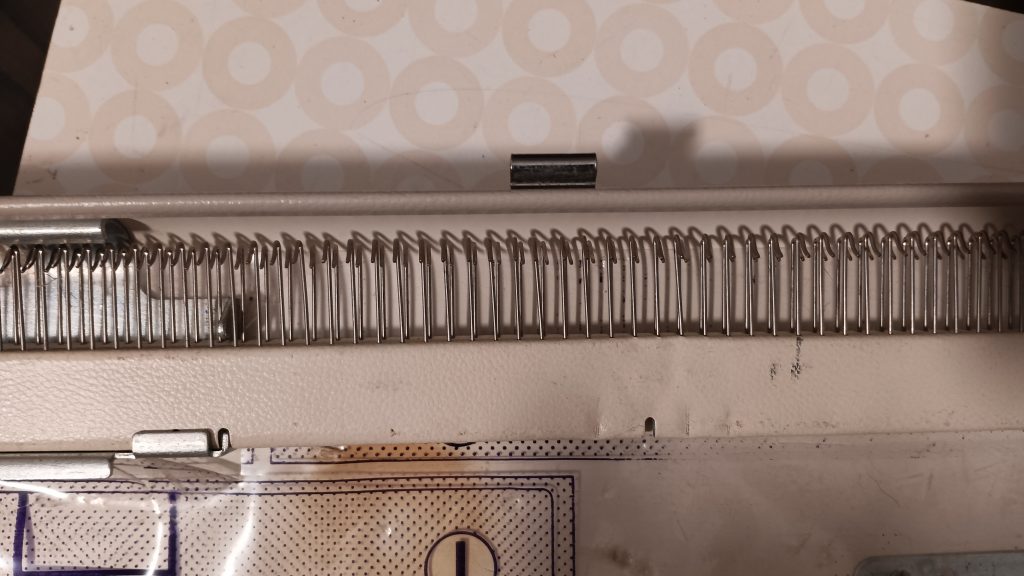
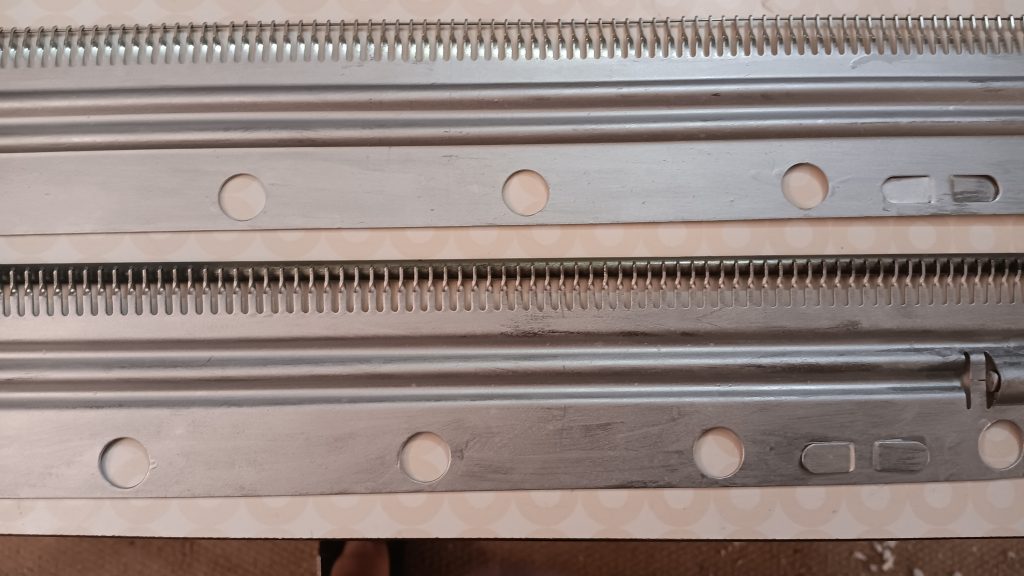
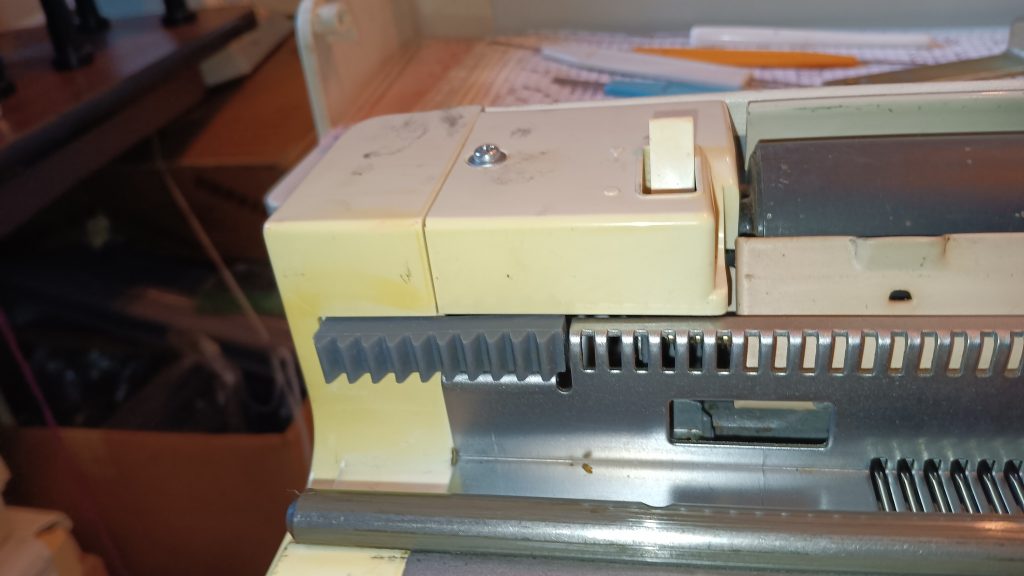
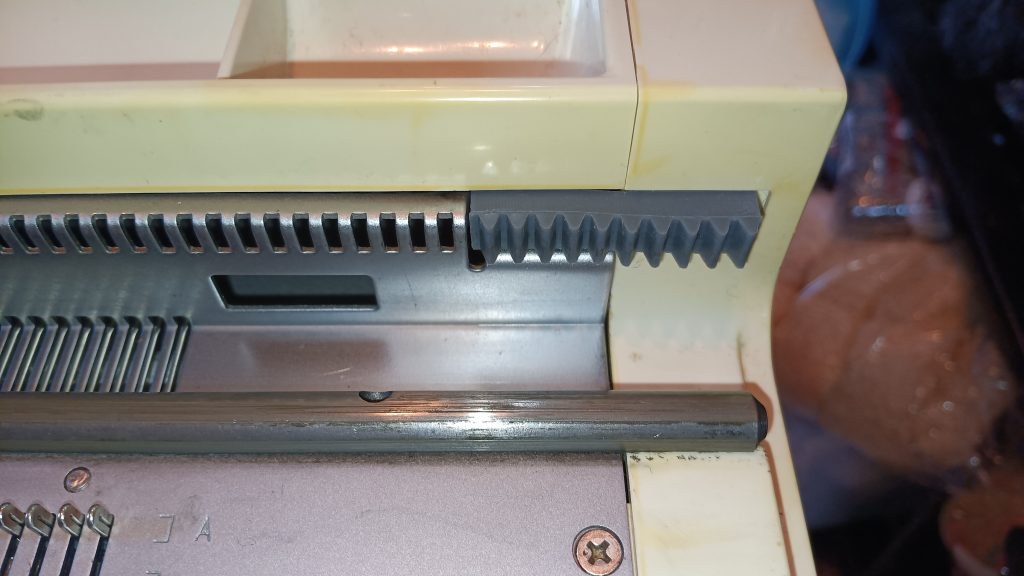
- I replaced the side racks with new ones
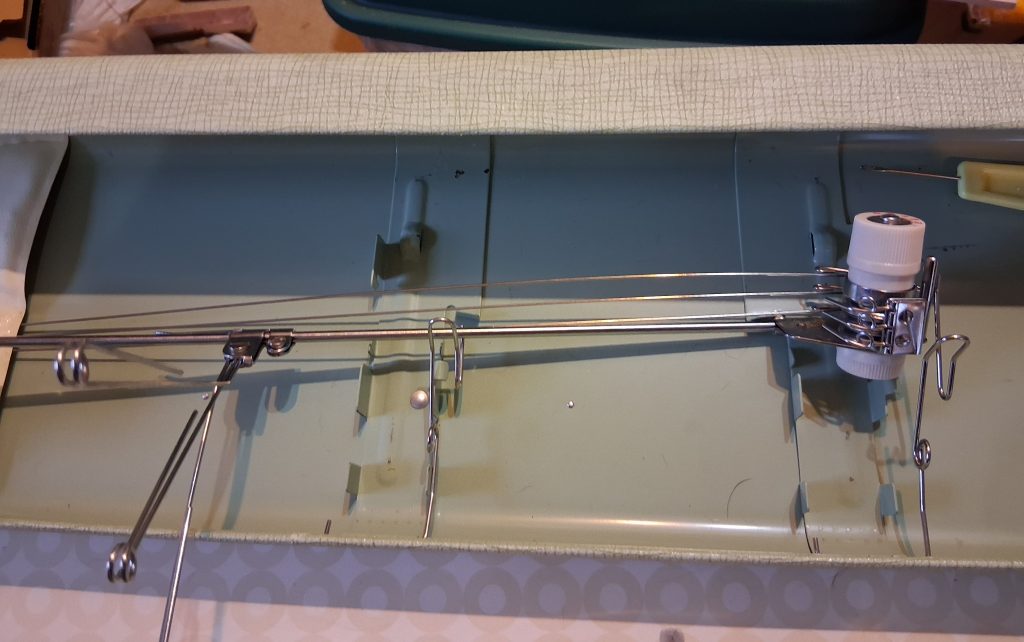
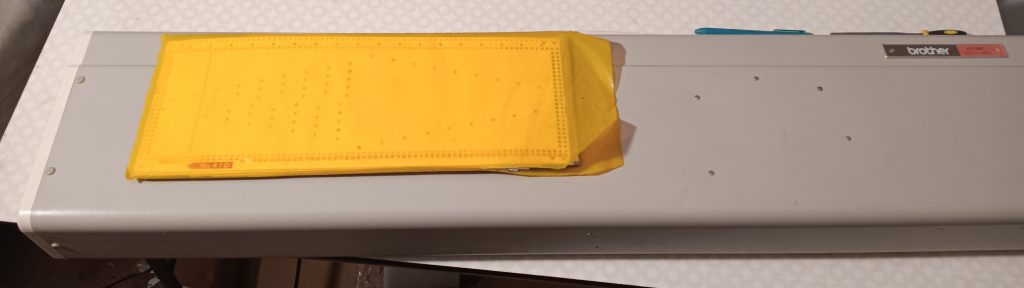
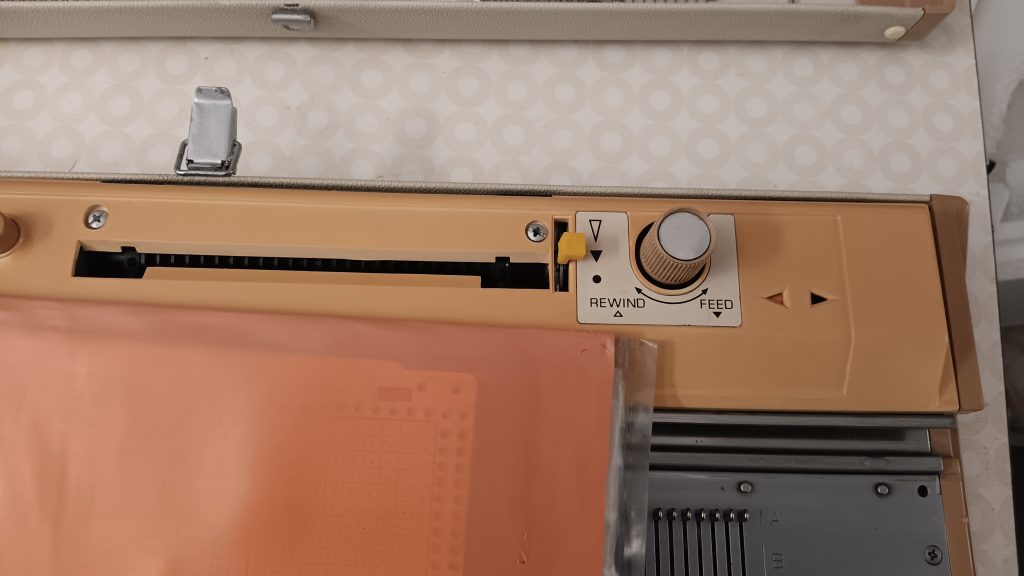
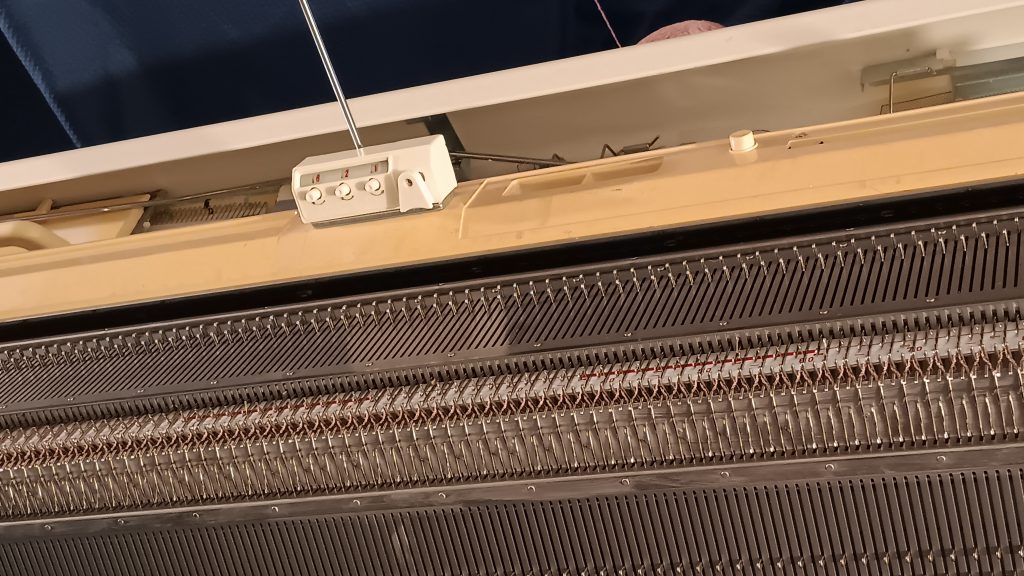
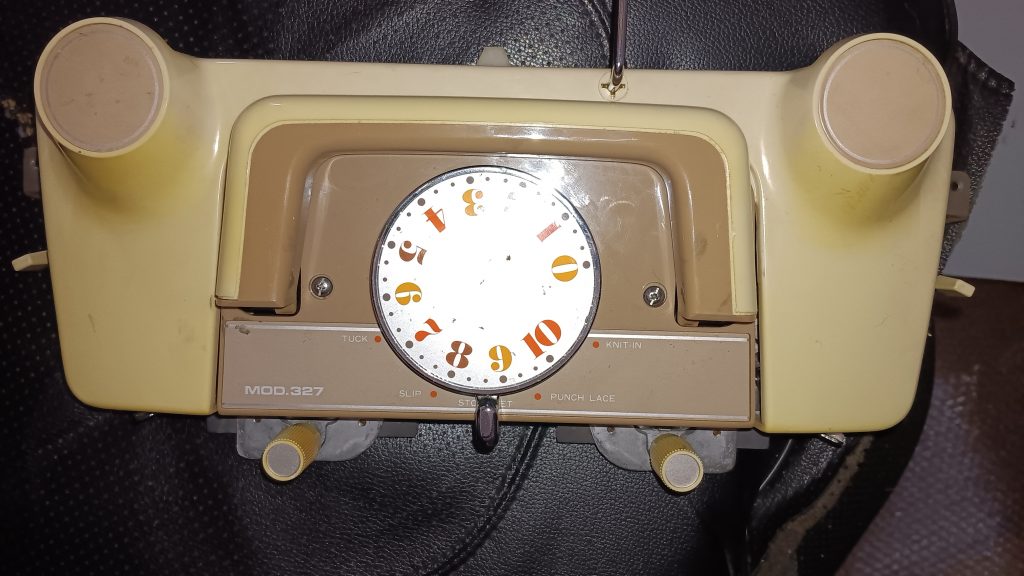
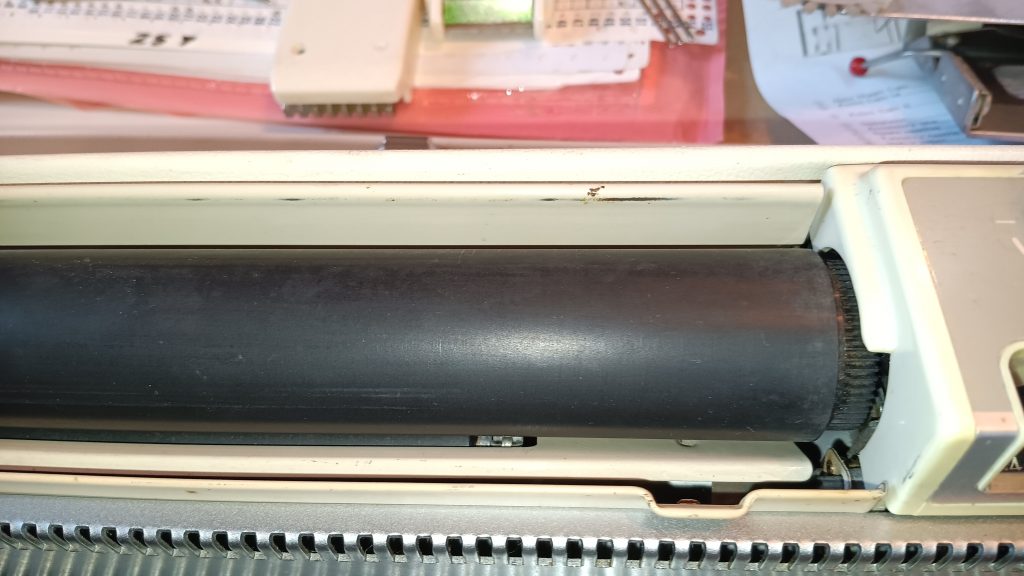
- The knitradar was tested: the paper moves freely, and all the knobs and levers move freely too.
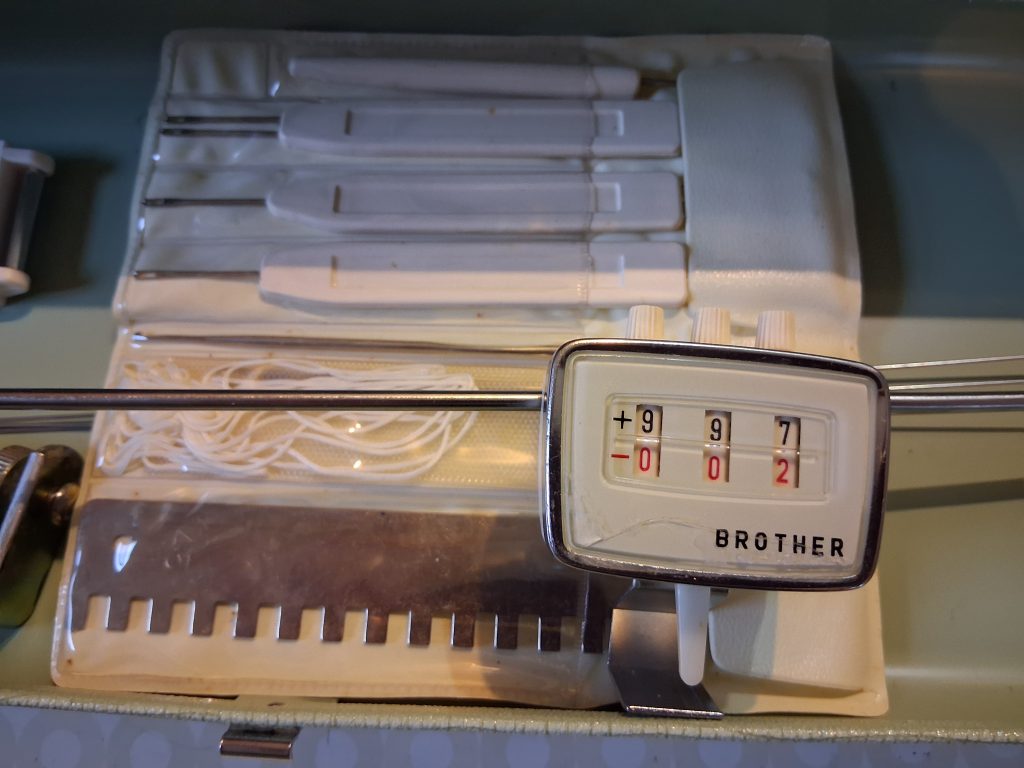
- The row counter works great.
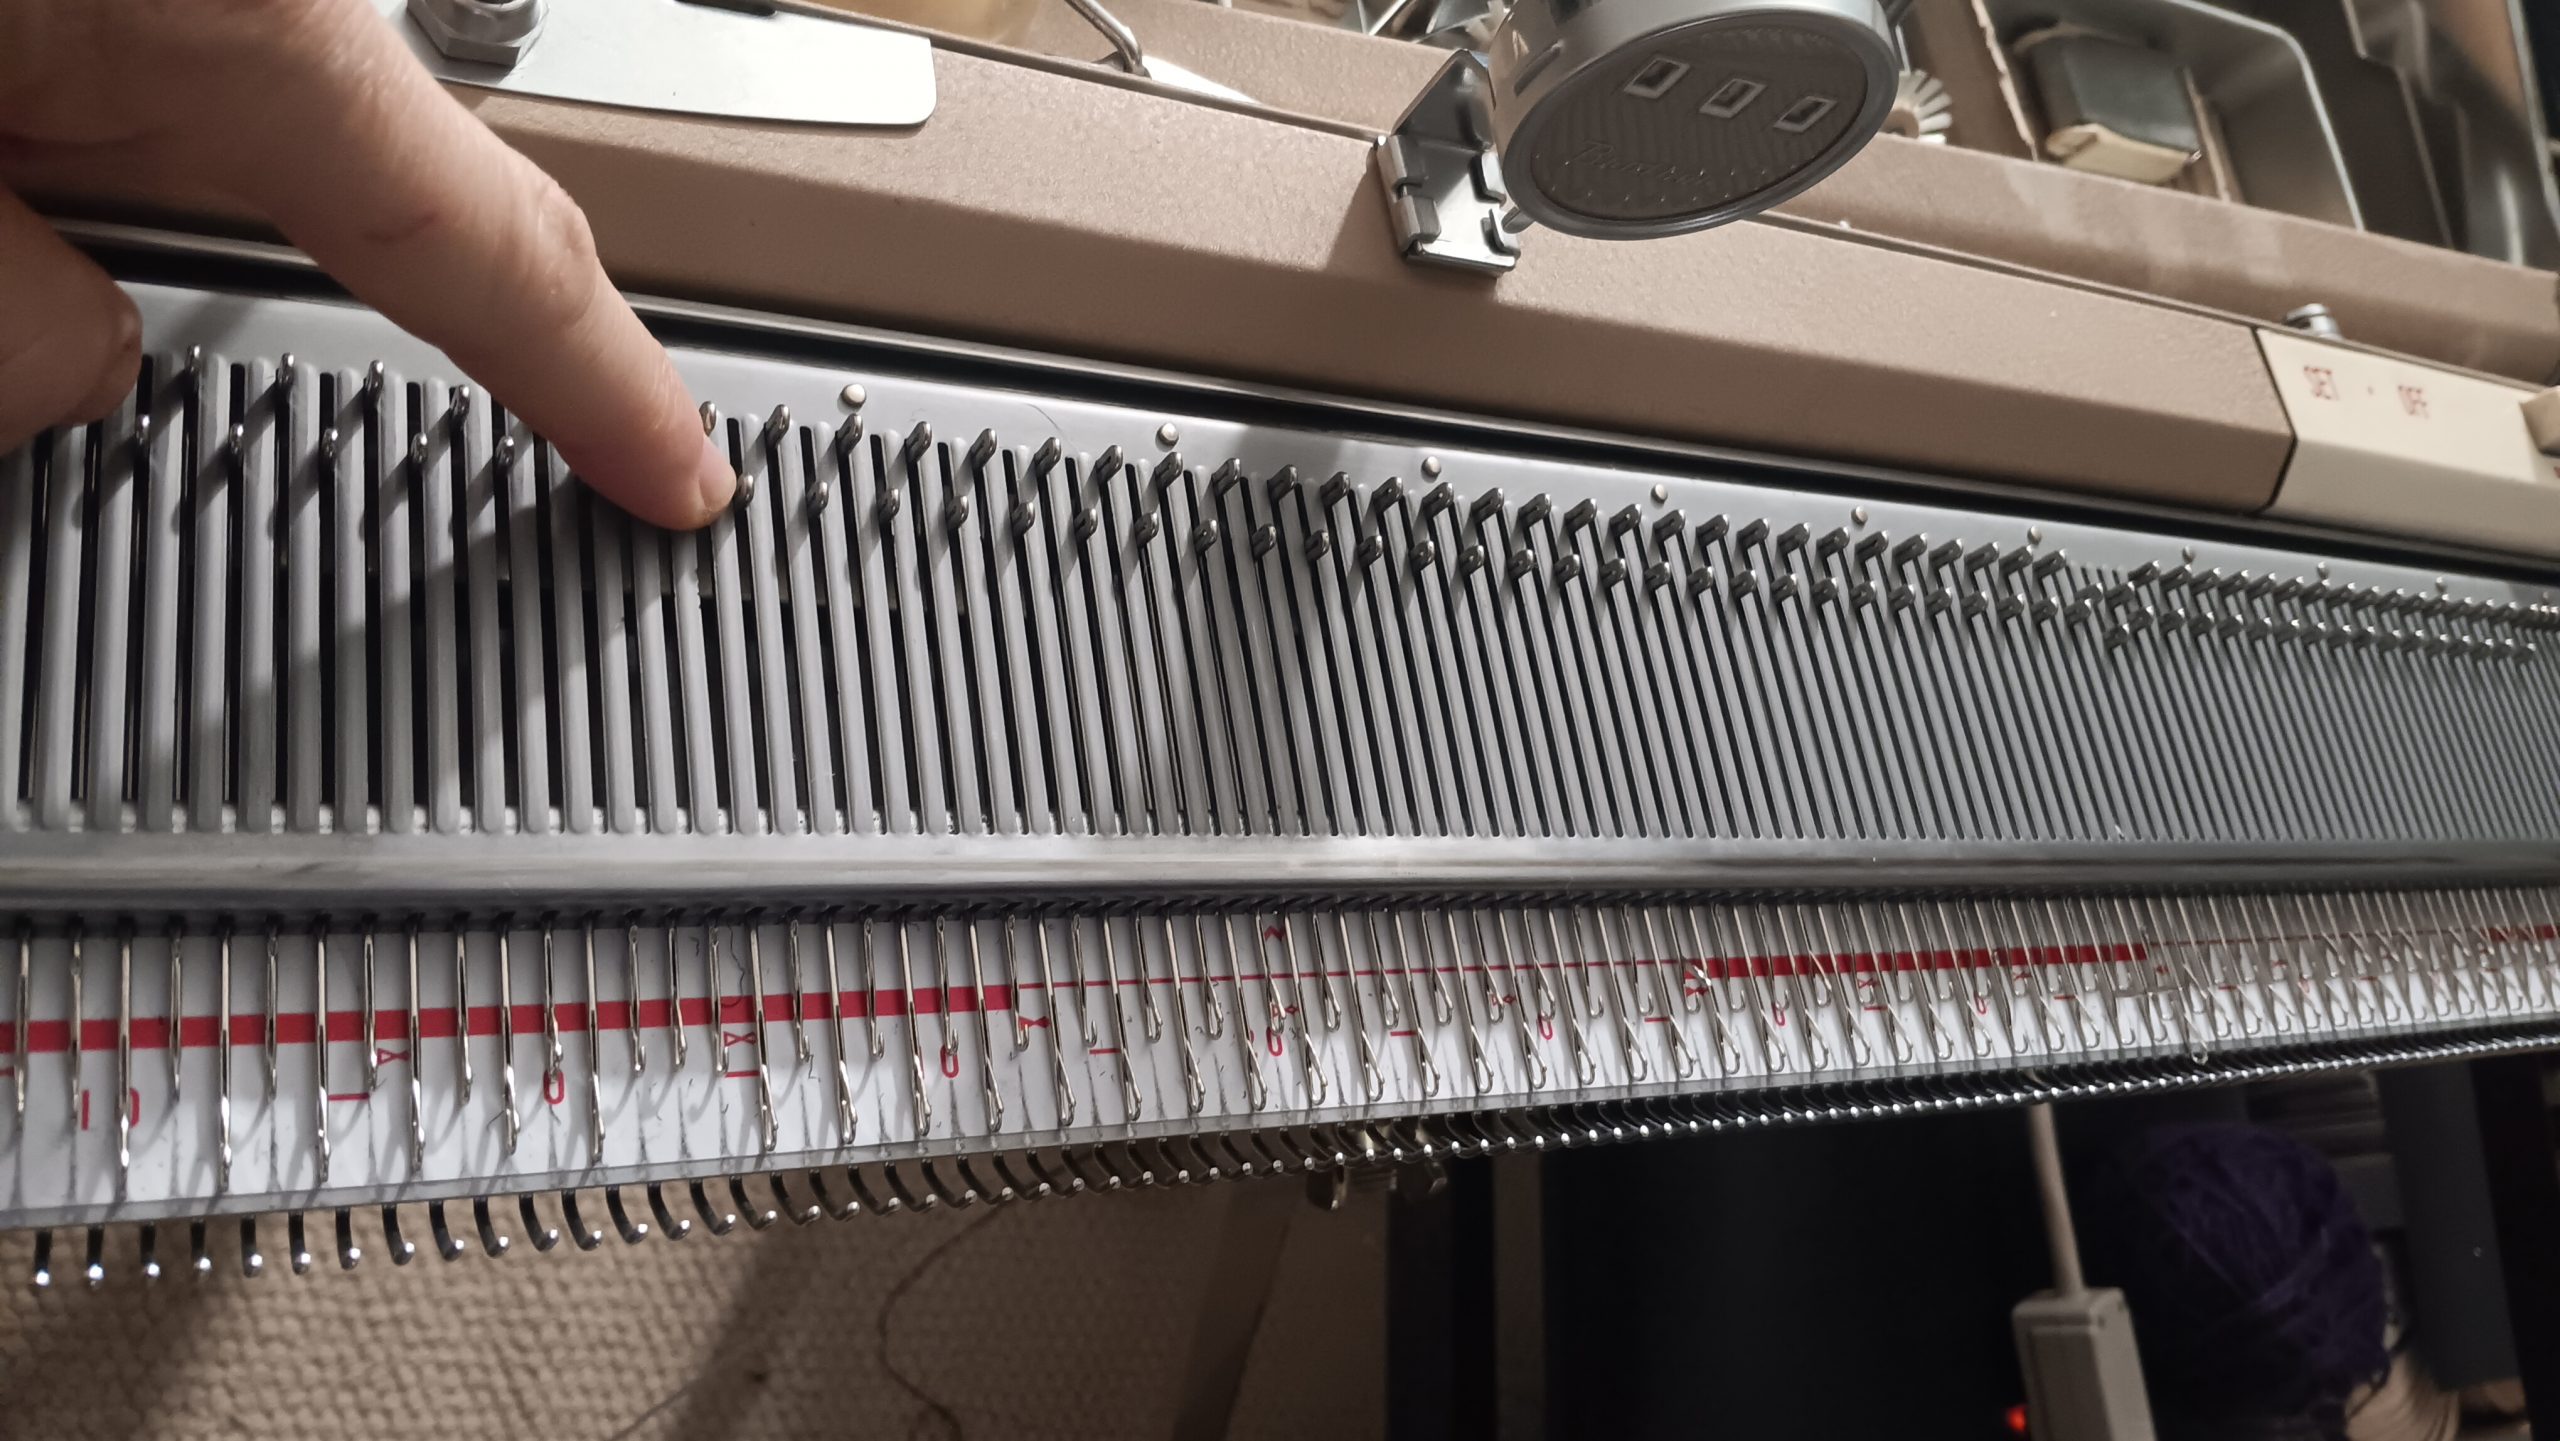
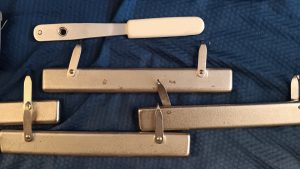
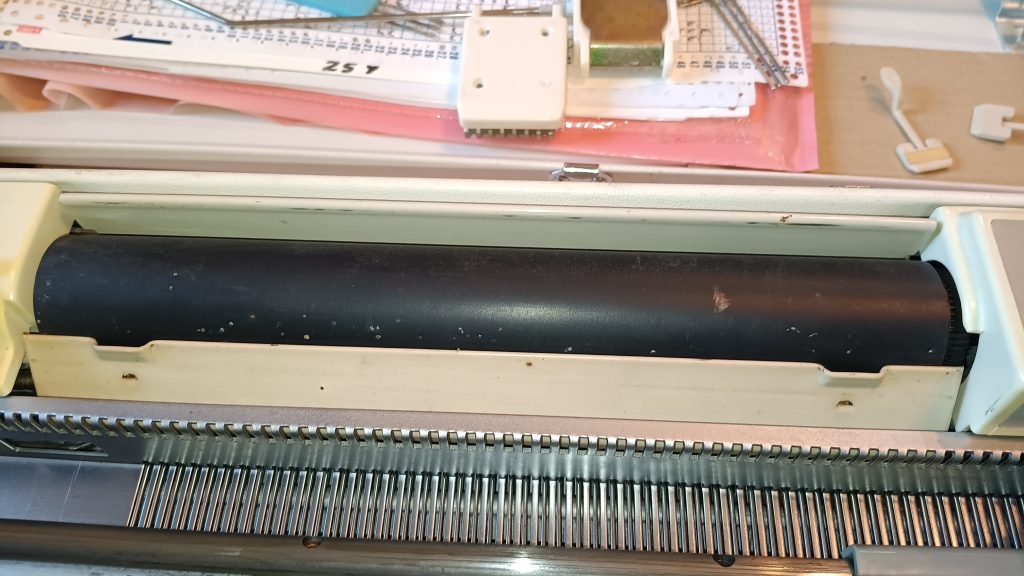
- All needles were removed, cleaned, and inspected. Bad needles and those with sticky latches were replaced with new stock generic needles for similar machines (read more on that below).
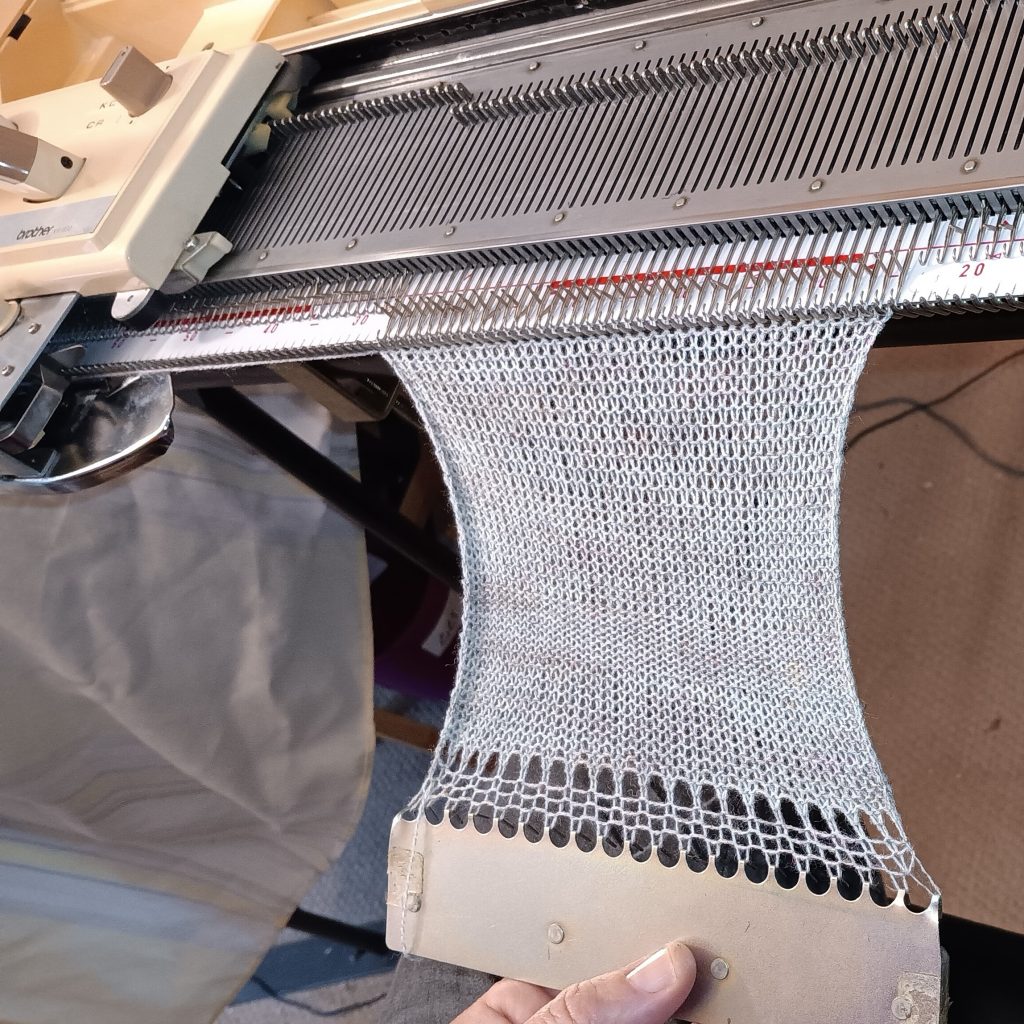
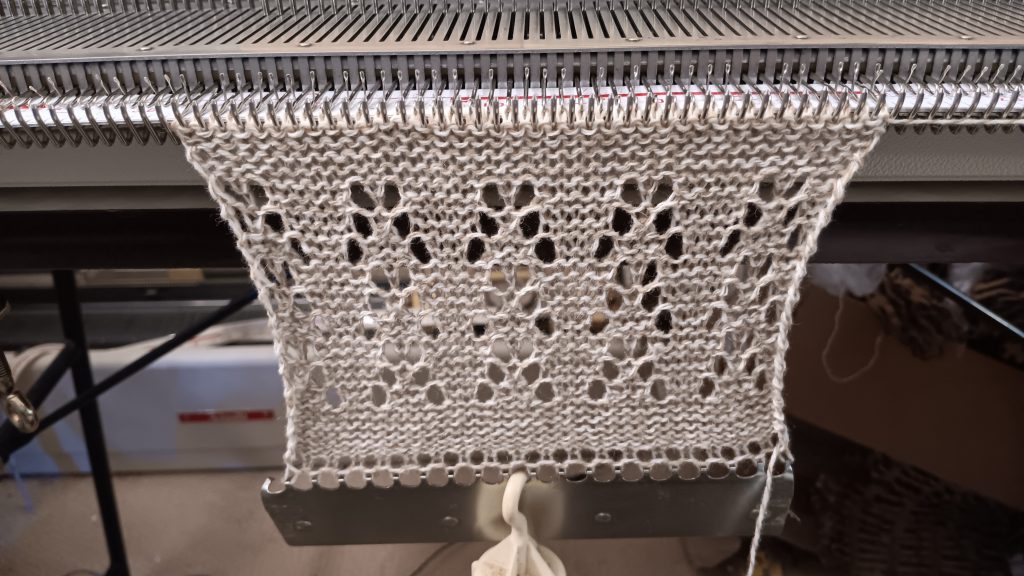
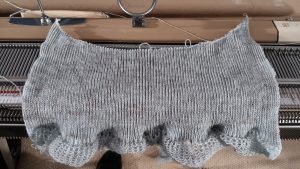
- The needles were also tested during the knitting on the full bed: all stitches formed beautifully (see the video of these tests). More on full-bed tests below.
- The sponge bar was replaced. I recommend getting a very thin medical tape: if you need to remove it to replace the needles, the tape I applied to the replaced spongy strip might tear.
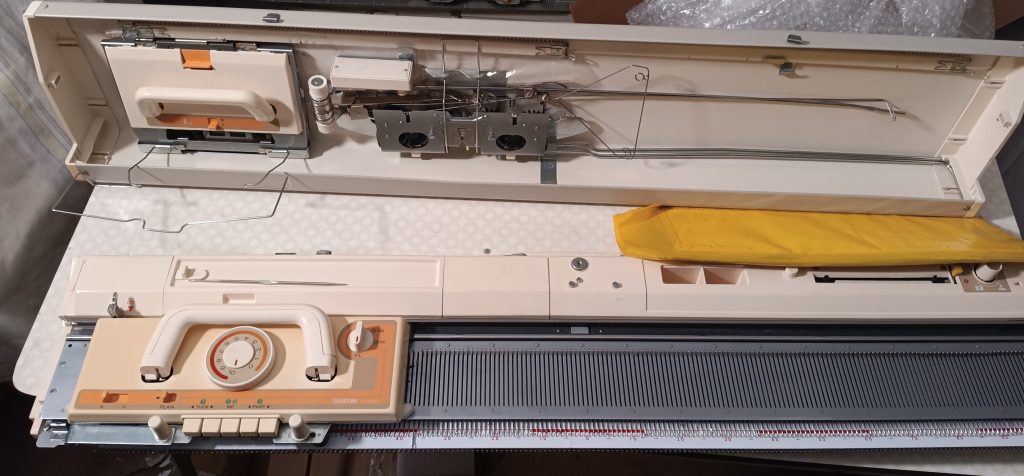
- The case was opened and deep-cleaned. The needlebed was cleaned from various angles as well.
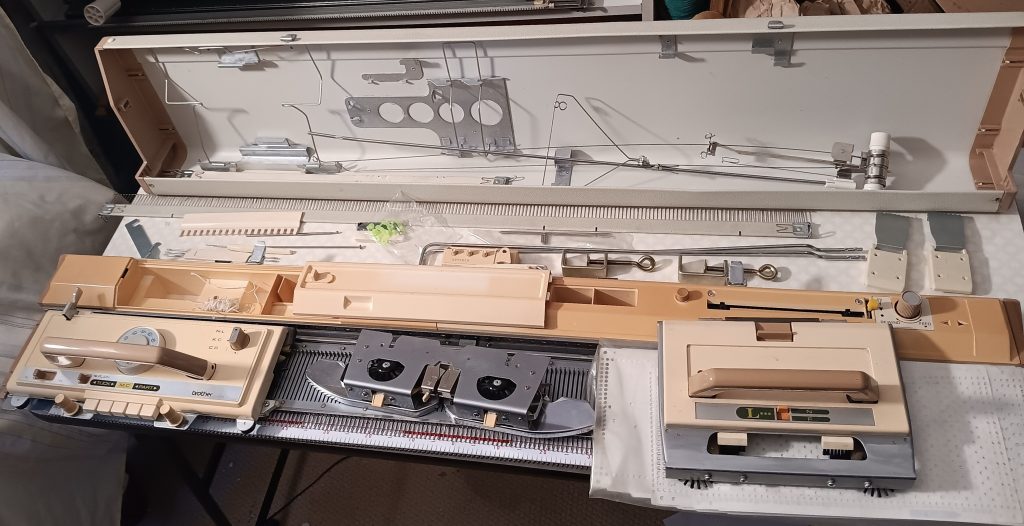
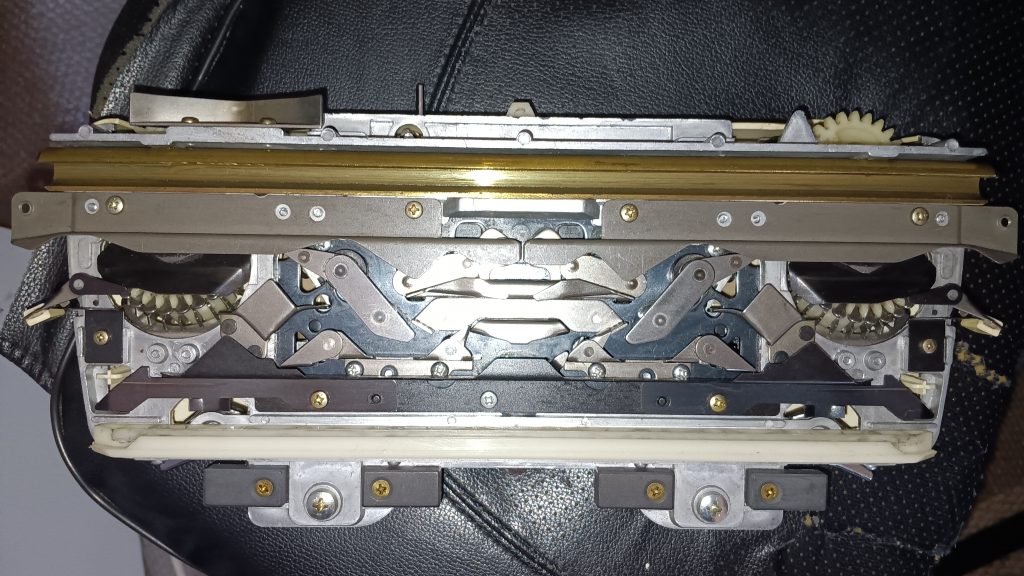
- I opened the carriage and cleaned the mechanisms inside. Inspected and cleaned patterning drums. They move freely.
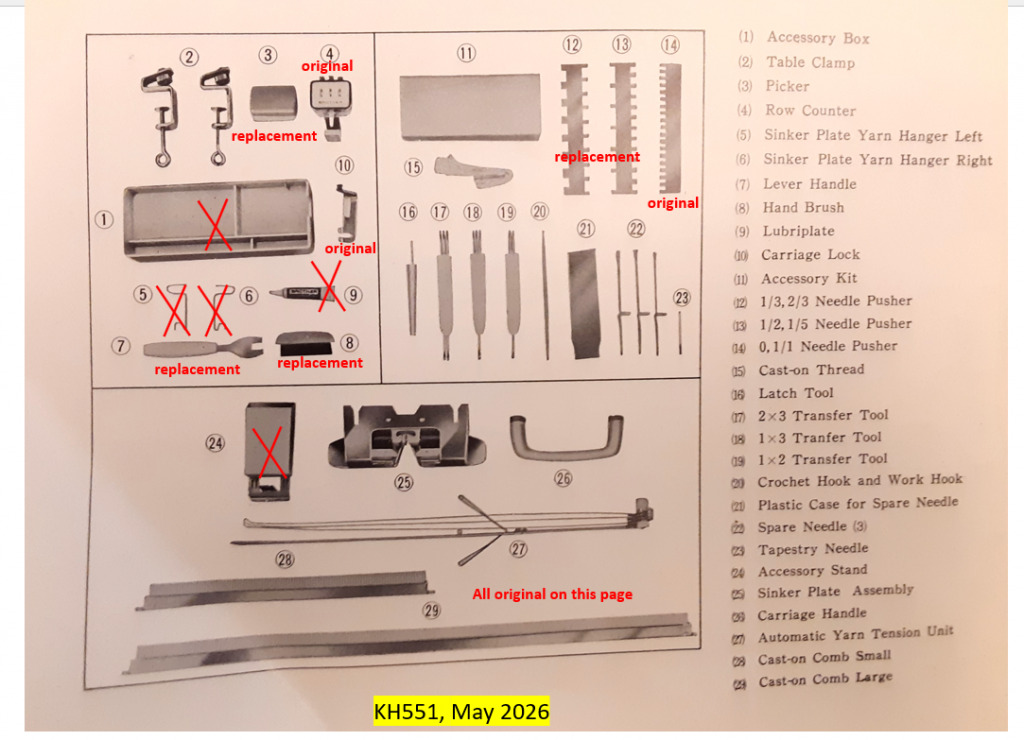
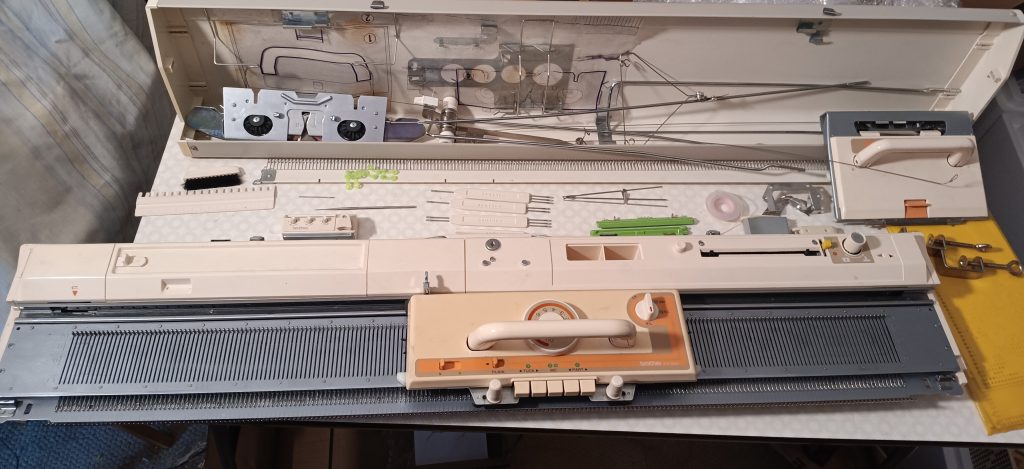
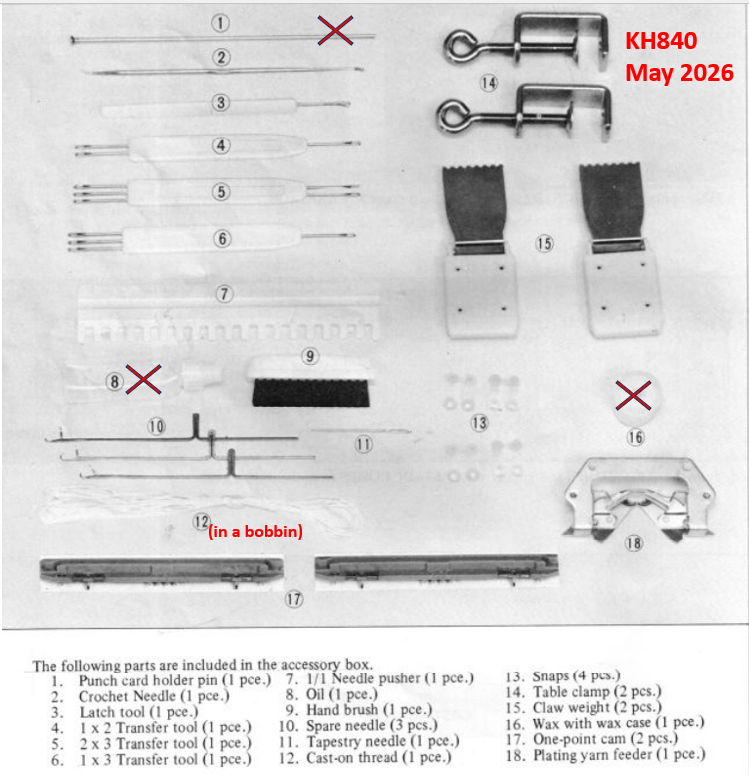
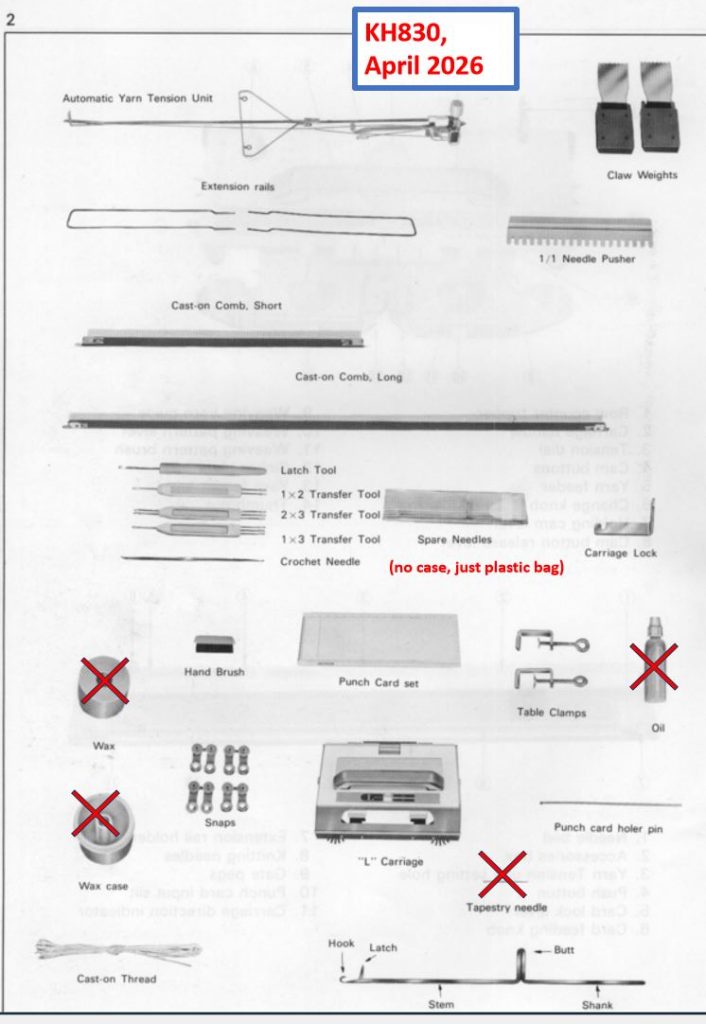
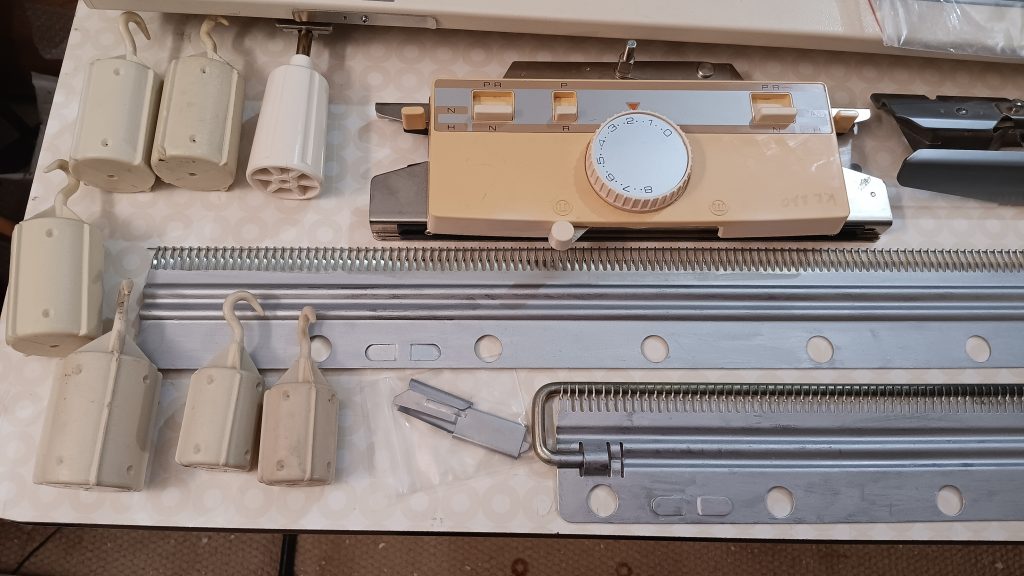
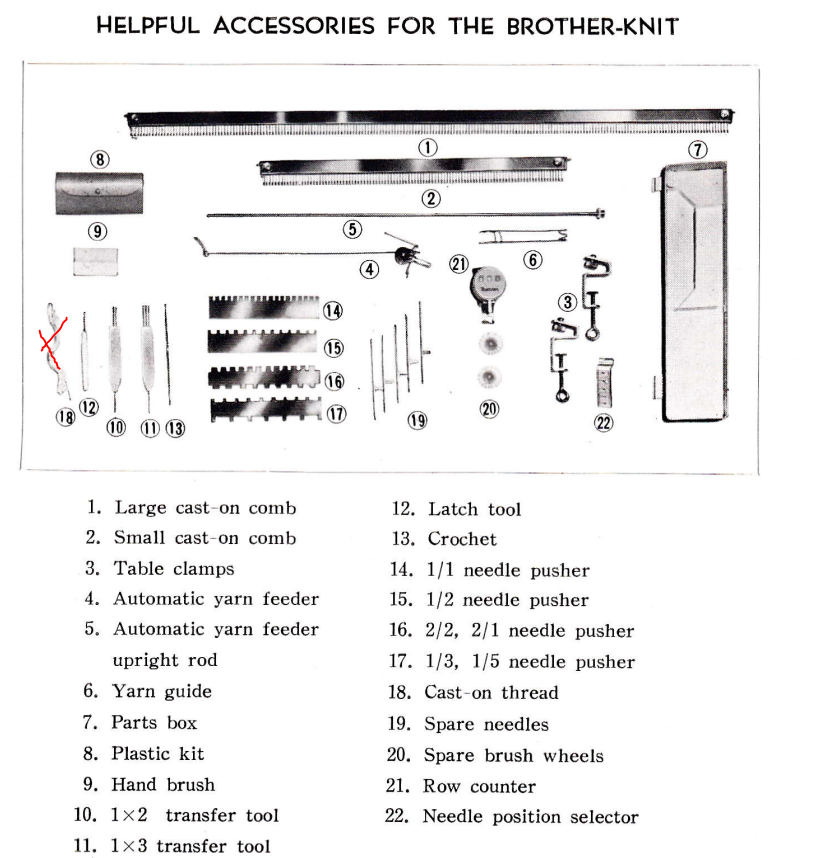
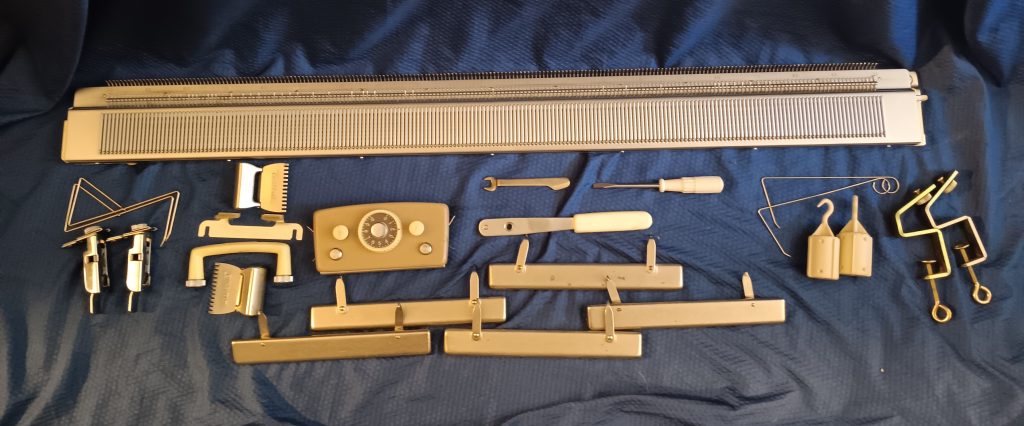
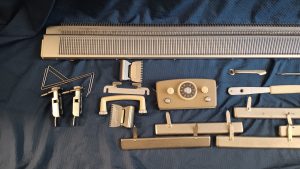
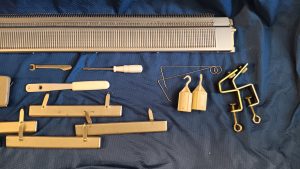
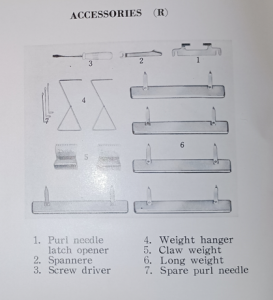
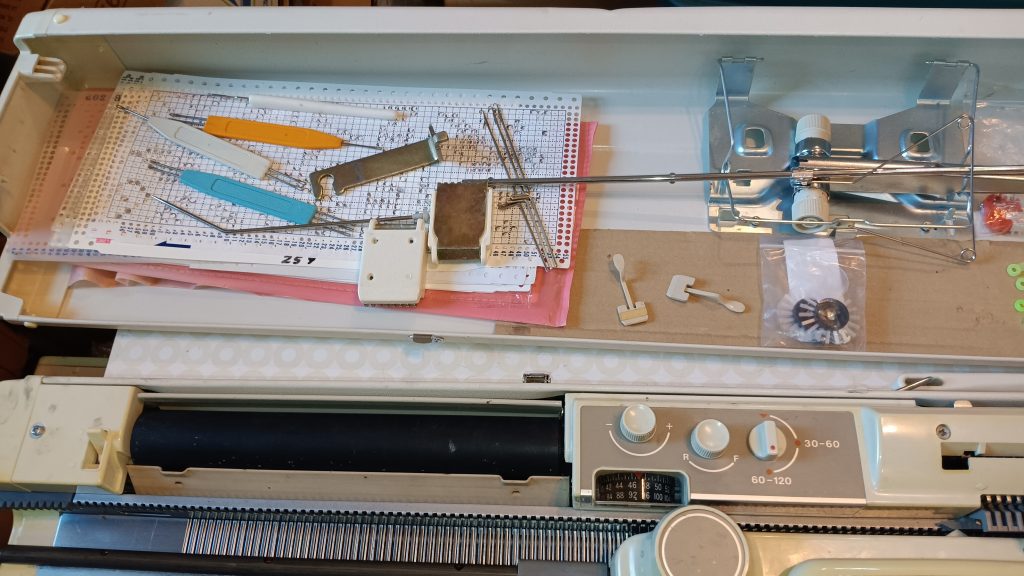
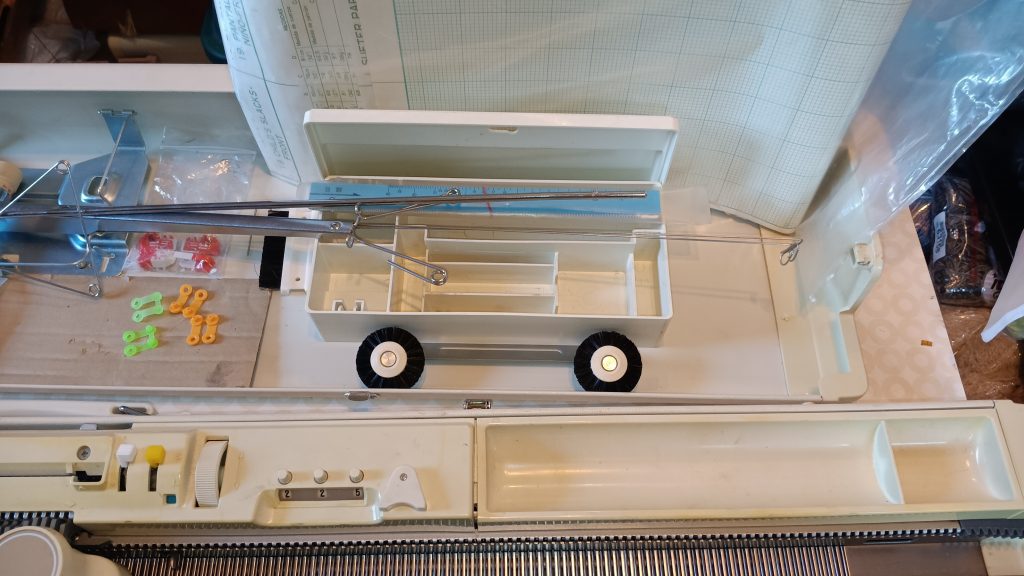
This Studio mod. 327 will come with all major and almost all minor accessories.
The missing accessories are:
- Oil: use Hoppe’s gun oil available on Amazon
- A pair of E point cams (read more on that below)
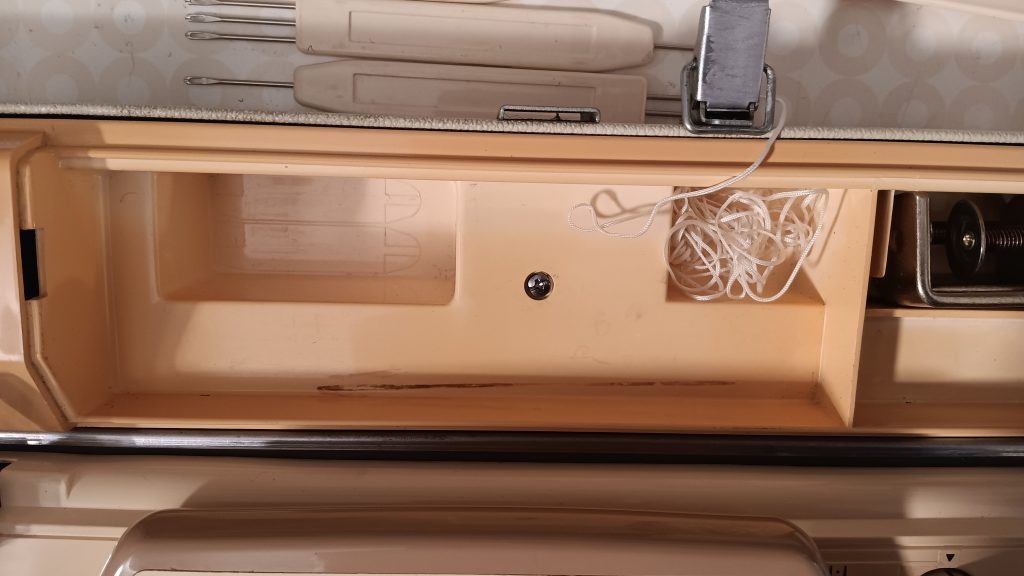
- Cast-on thread: Any silky and strong thread will work
- Name paper: it typically accompanies a machine to write your name on it
A hard copy of the manual will not be included. However, a manual for the Singer 327 machine is available online for free. However, the manual for the 328 model (on the same website) is of a bit better quality. Use that one as well.
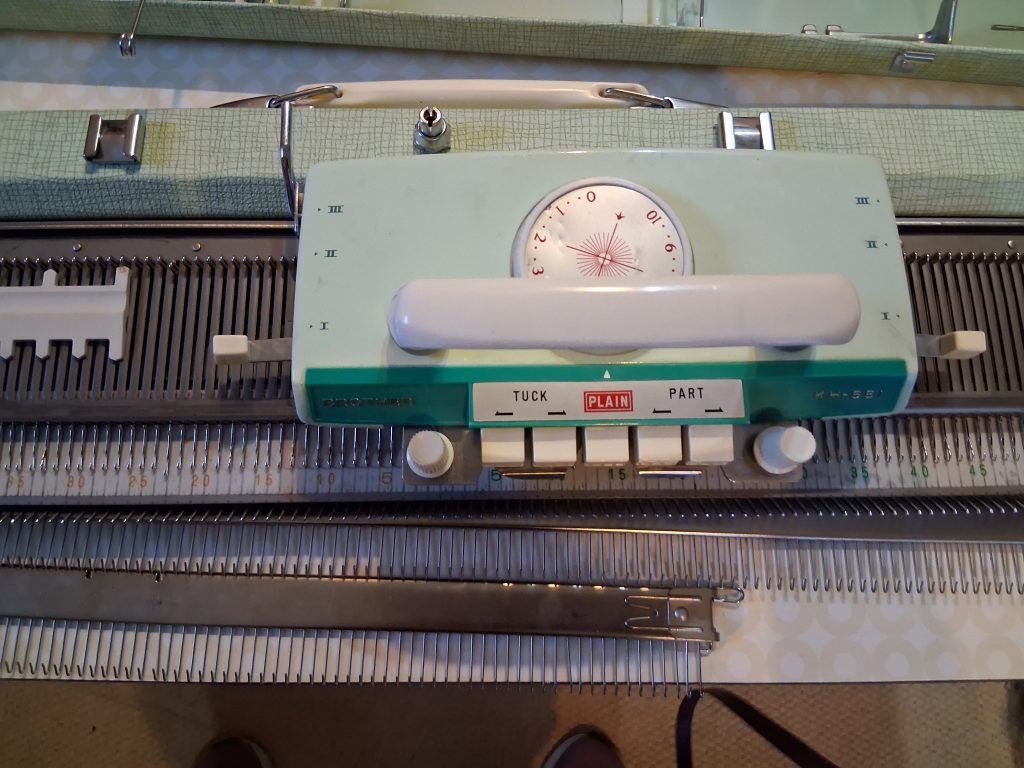
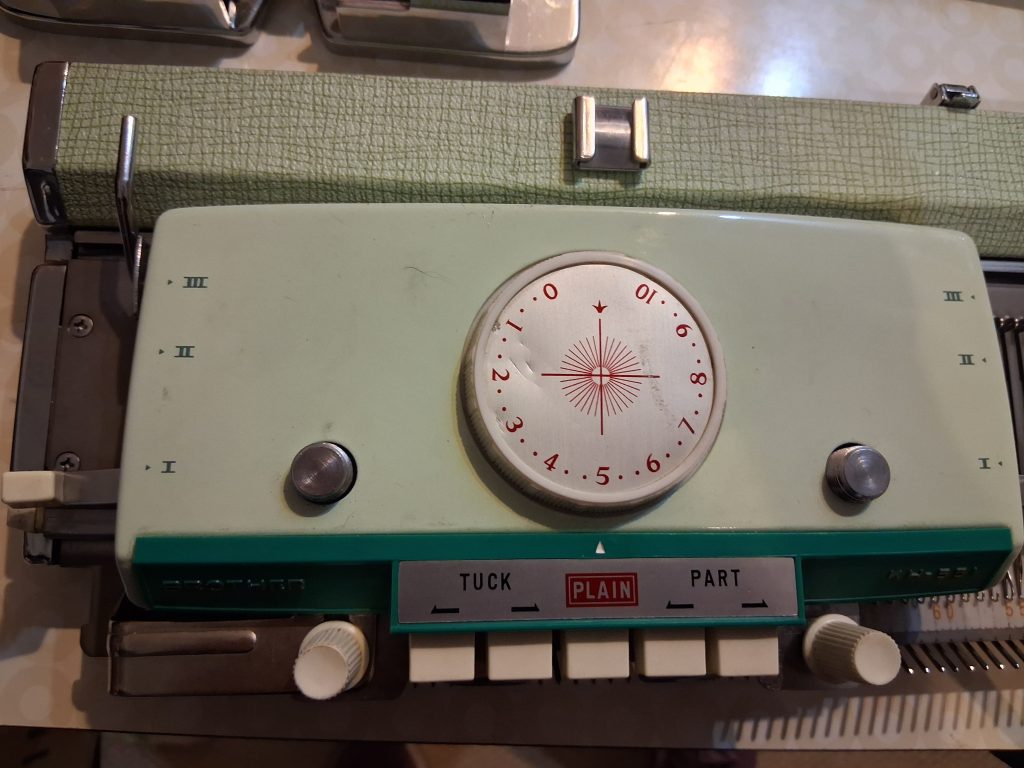
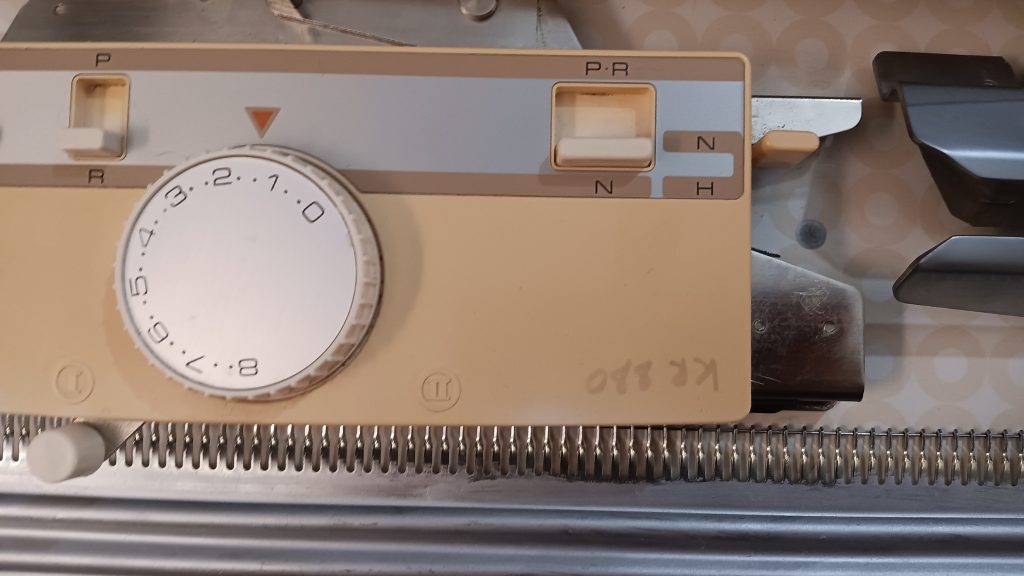
“New Magic cams” are not from the original mod. 327 machine, but from one of the later models. It does not have M and E positions. Thus, point cams E are not included (well, those did not come with this machine anyway). But I am including an additional pair of point cams M (the later models have two pairs of them).
On the subject of the magic cams: The manual describes very poorly how to use the “magic cams”, cams E and cams M as well as yarn separators. Look on the same website for a manual for Singer/Studio 360 machine for two reasons: it explains the usage of magic cams for single motif knitting much better. And also because I do not have the original Magic Cams for the Studio mod. 327 machine.
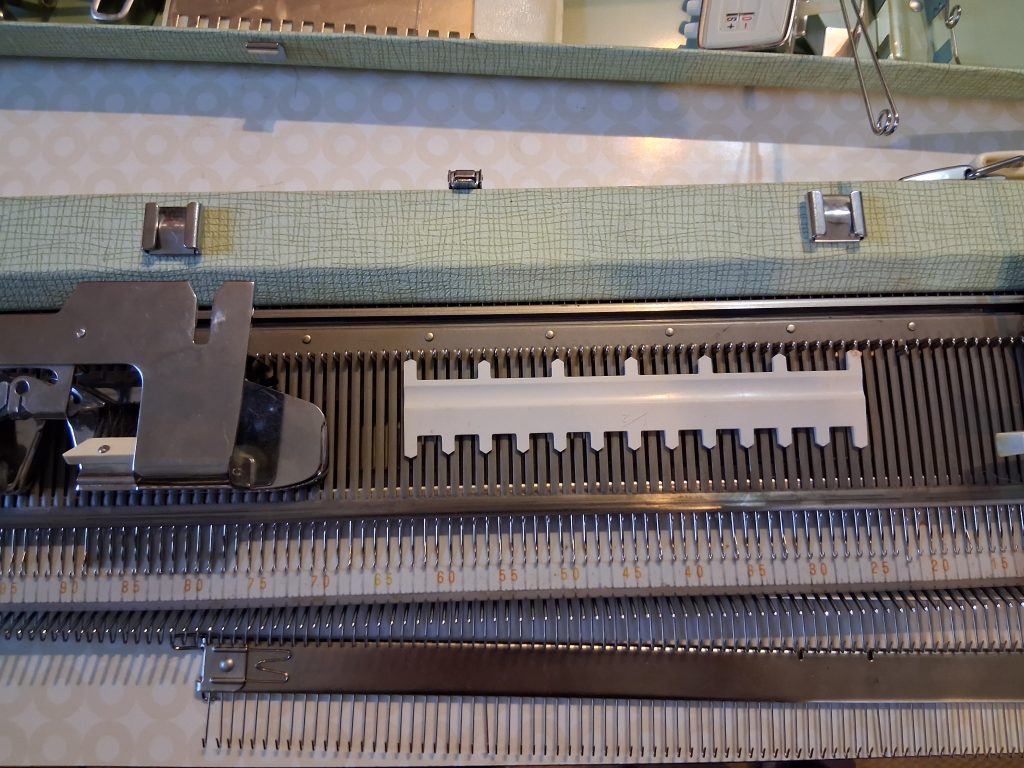
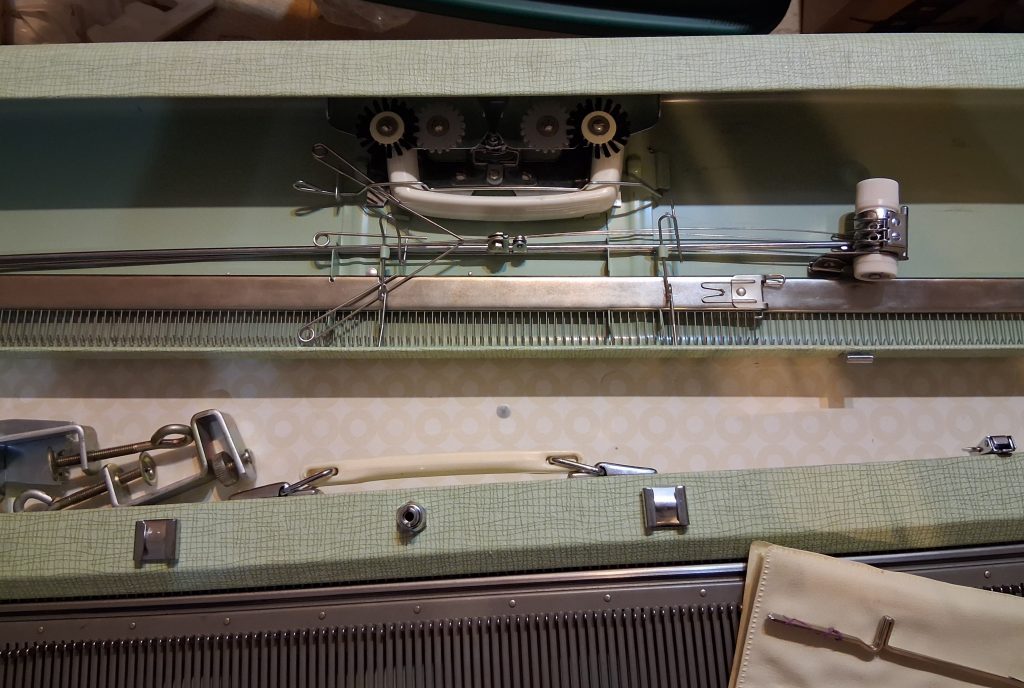
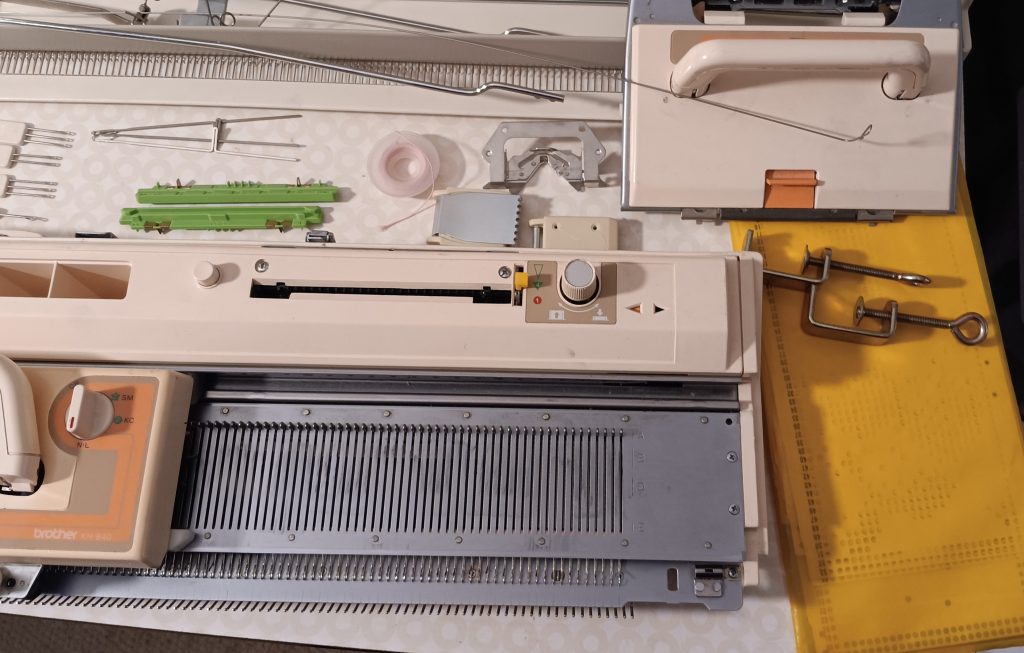
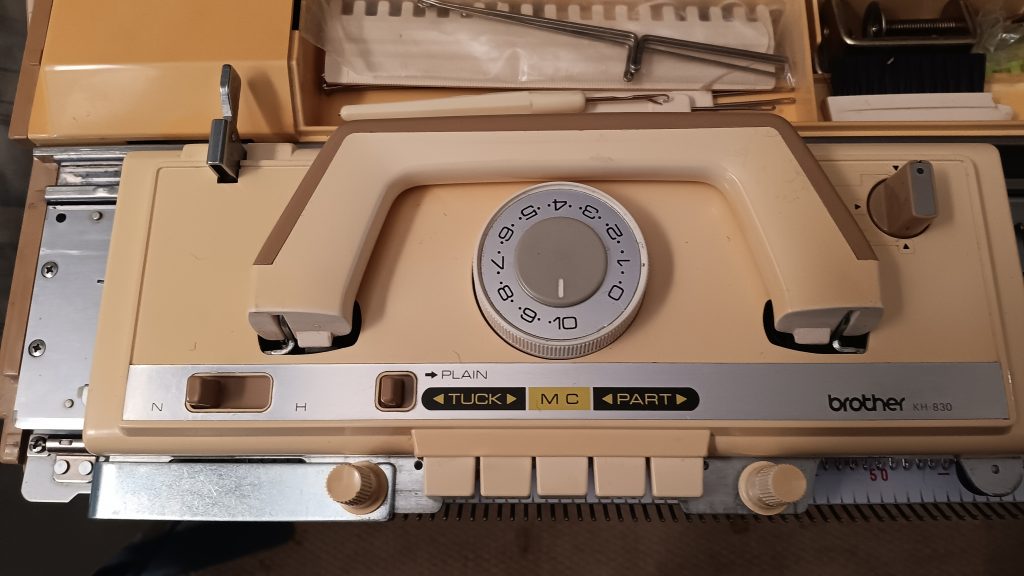
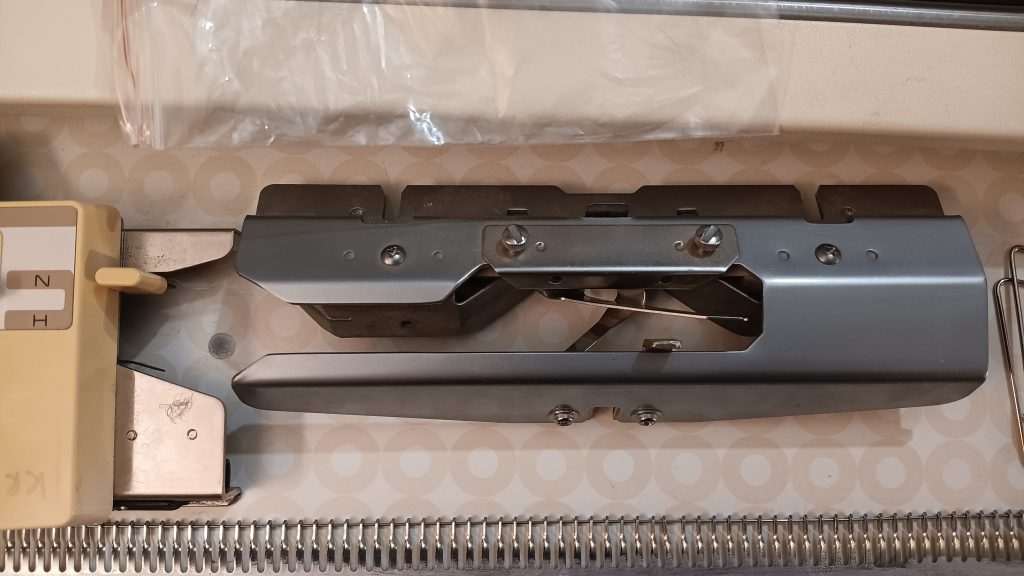
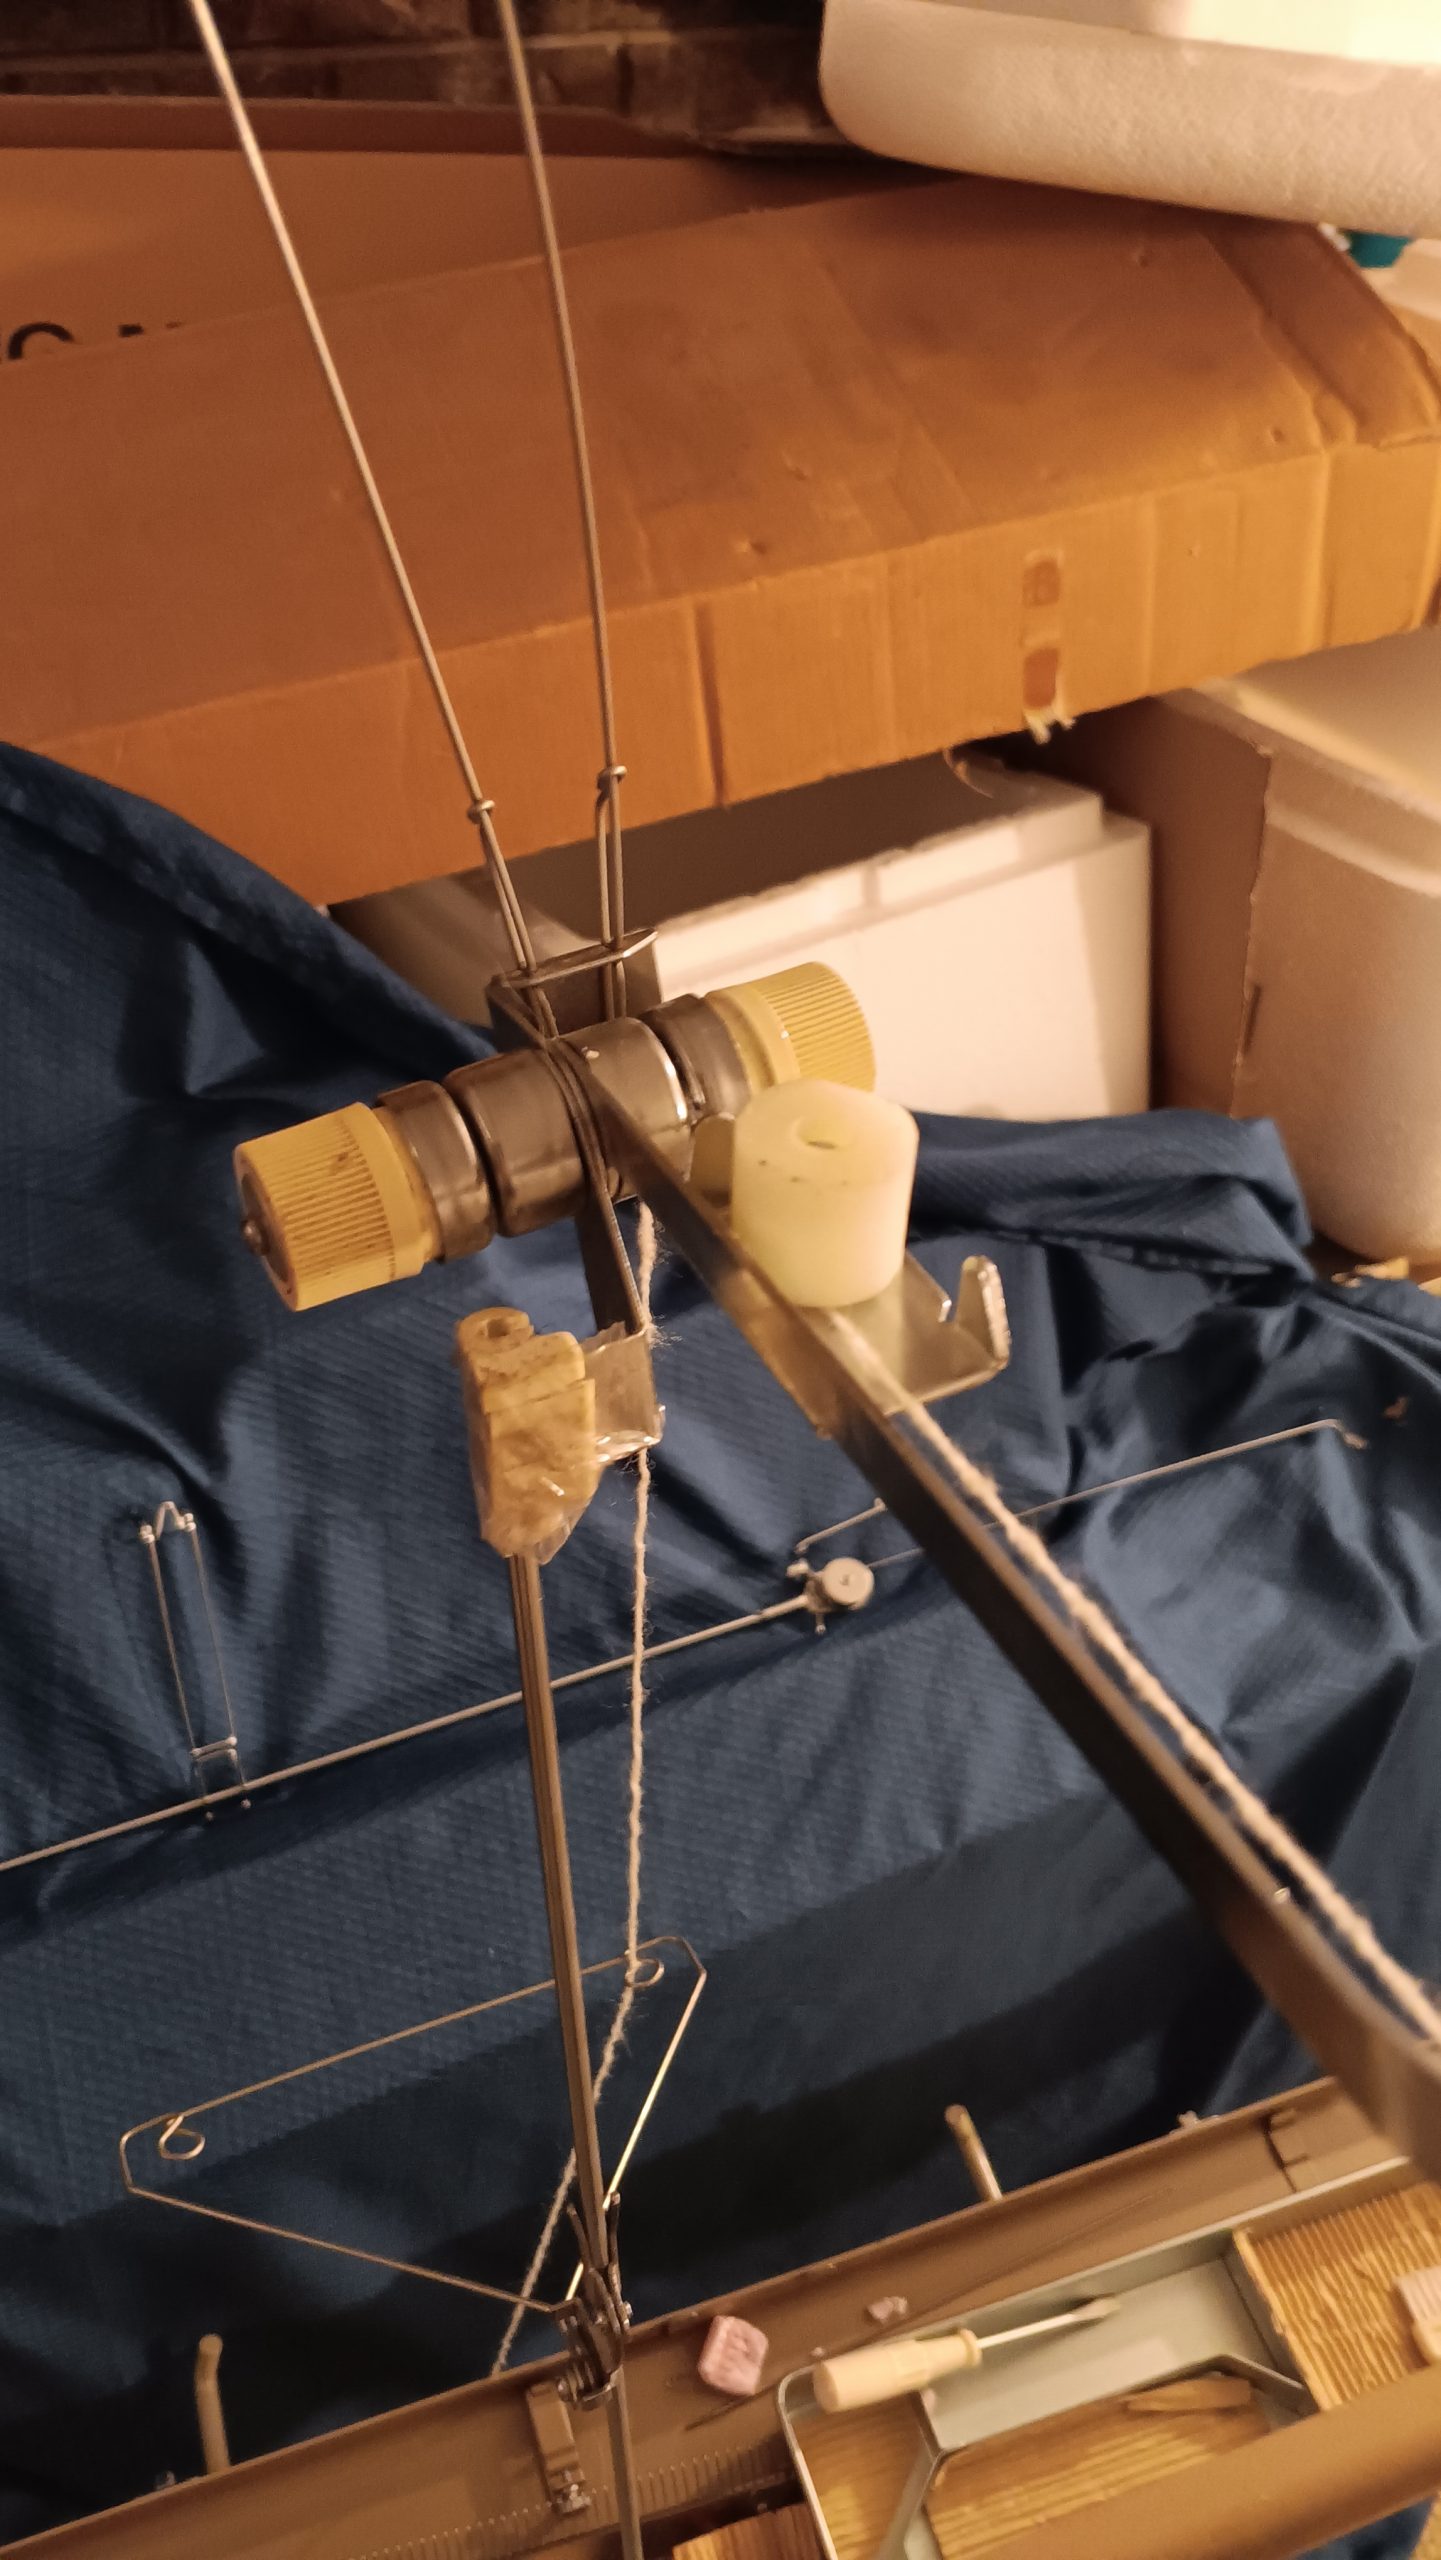
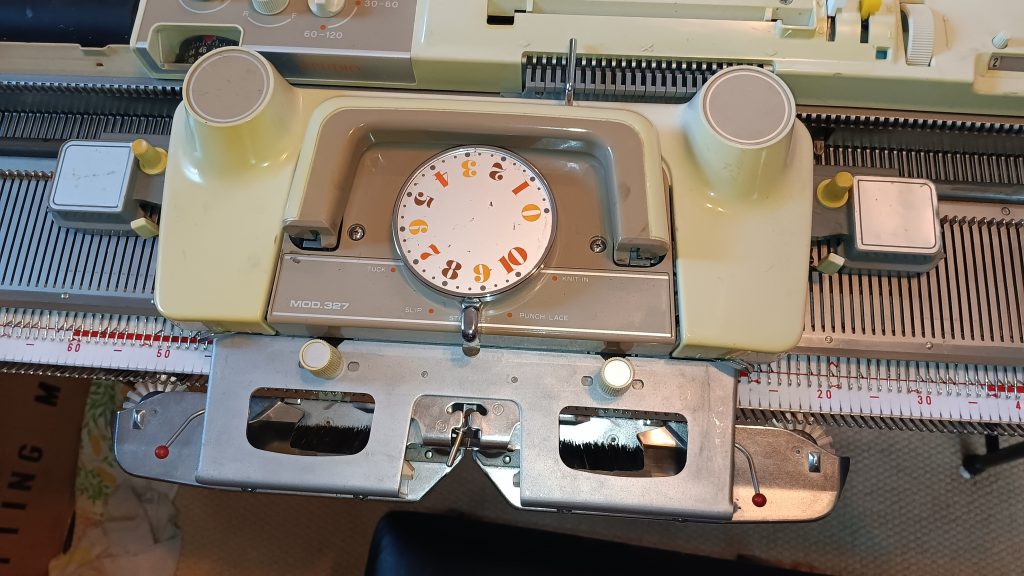
So, according to the (poorly-written) manual: Studio mod. 327 comes with “new magic cams”, point cams M and point cams E. Point cams M are more standard and come with almost all Singer/Studio machines. However, these point cams E are unicorns. In fact, it was my first encounter with these point cams E while researching this machine. I found a pair of point cams E on eBay, but since I don’t have “new magic cams” with markers M and E, it is better to use those. So, only regular, point cams M are included. So, the single motif cams are those for other models, but I am sure they will work with this Studio mod. 327 as well. I attached them to the carriage (see the image above), and the whole assembly moved well on the needlebed.
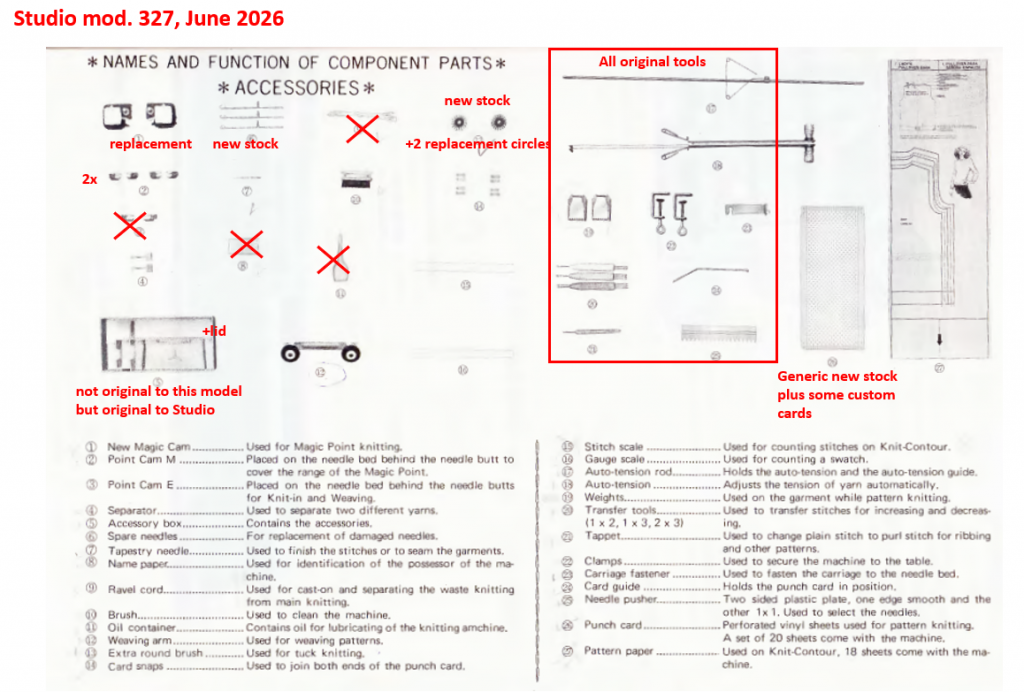
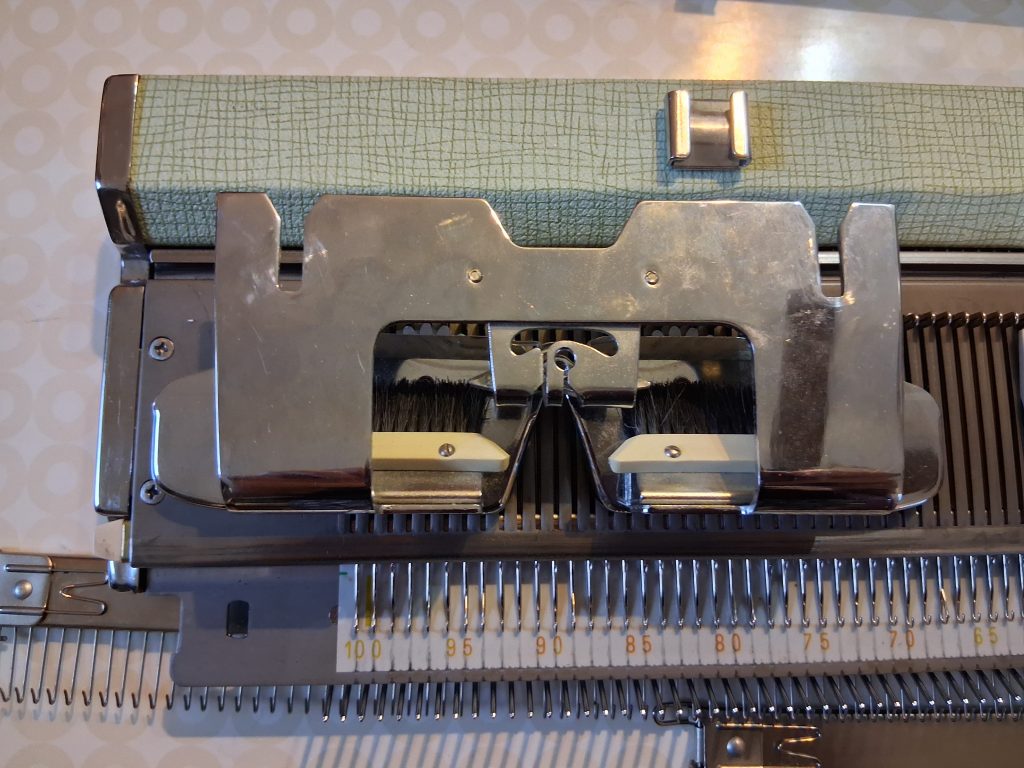
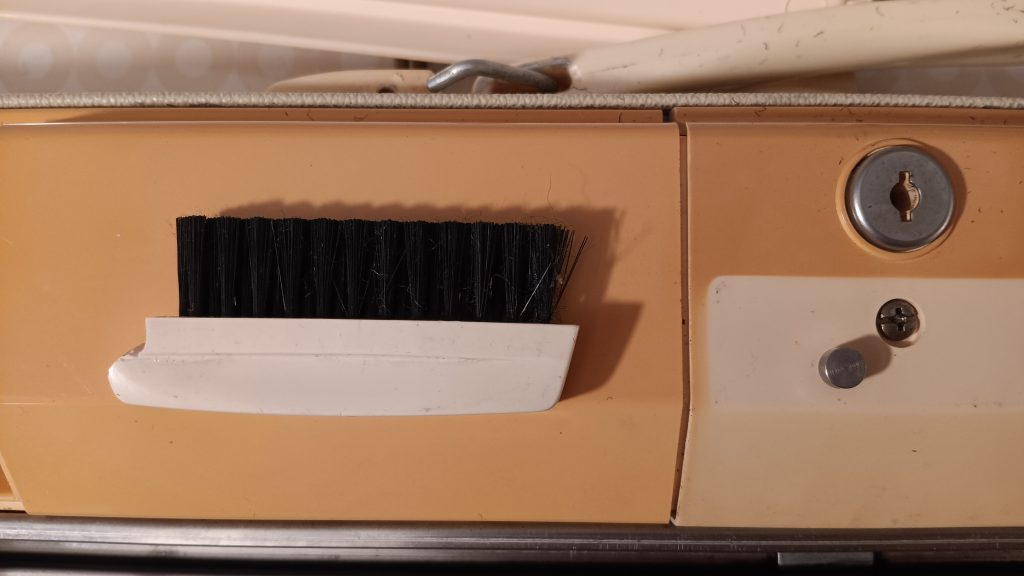
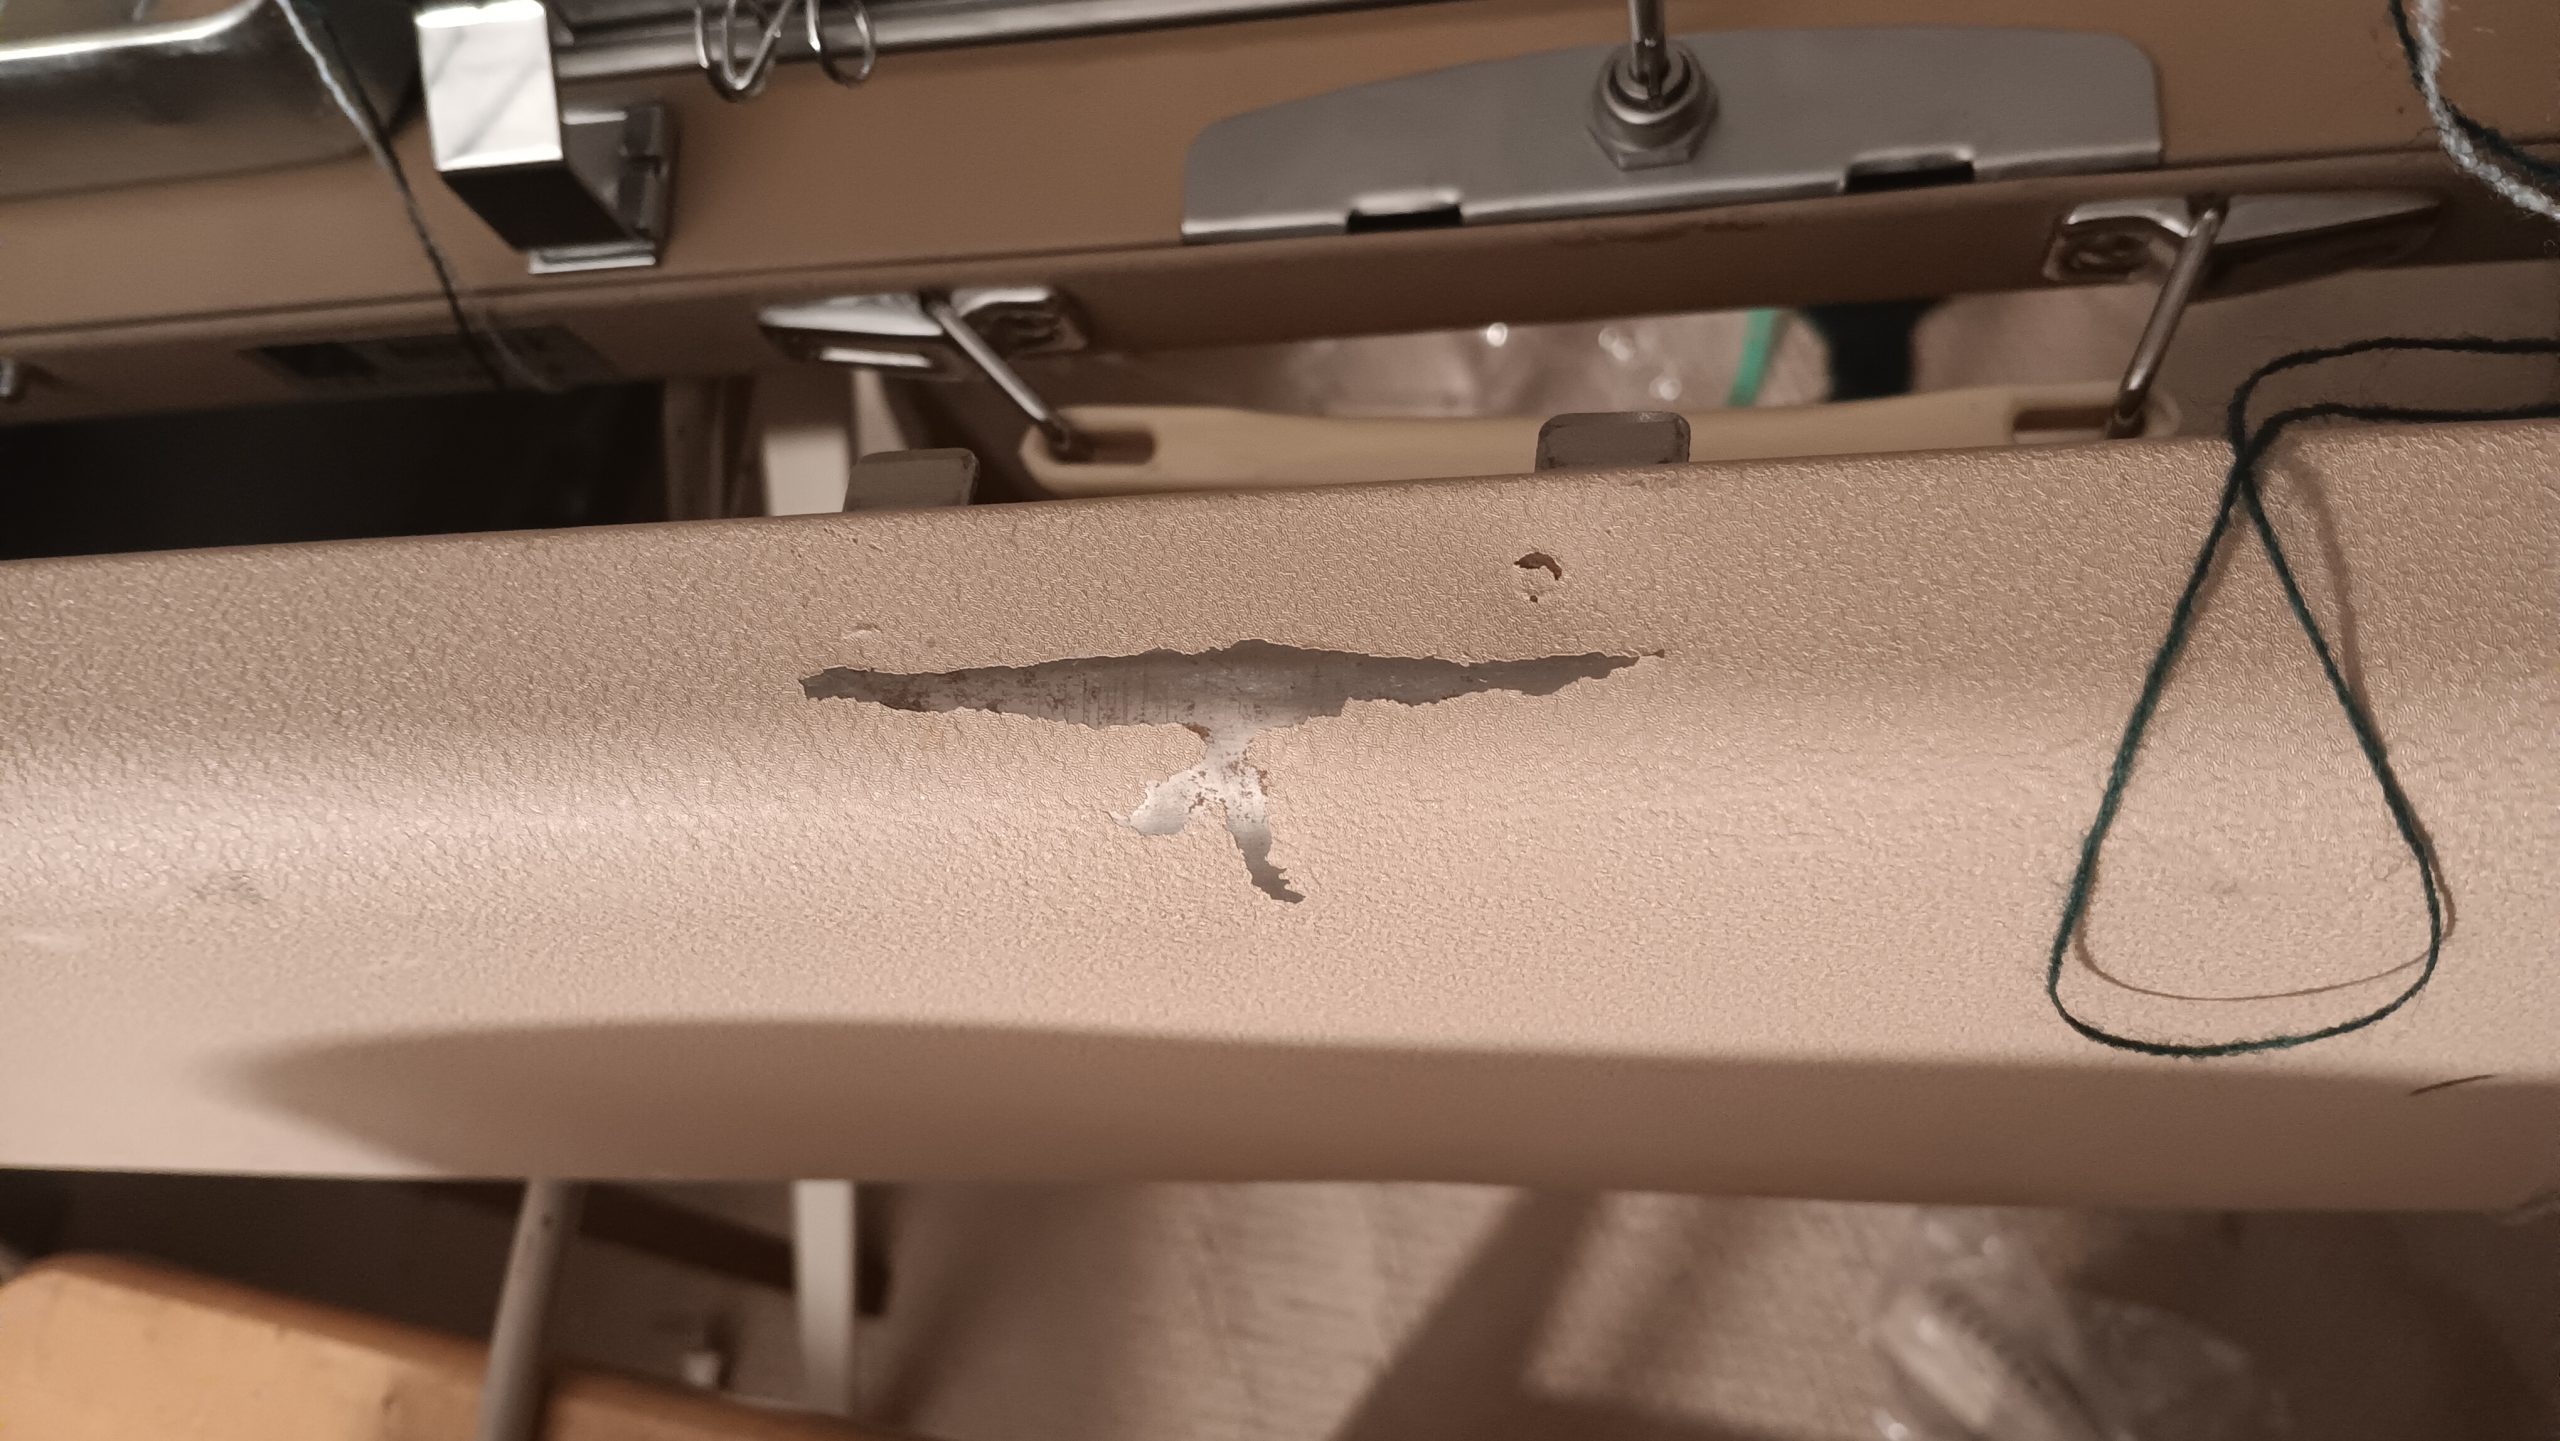
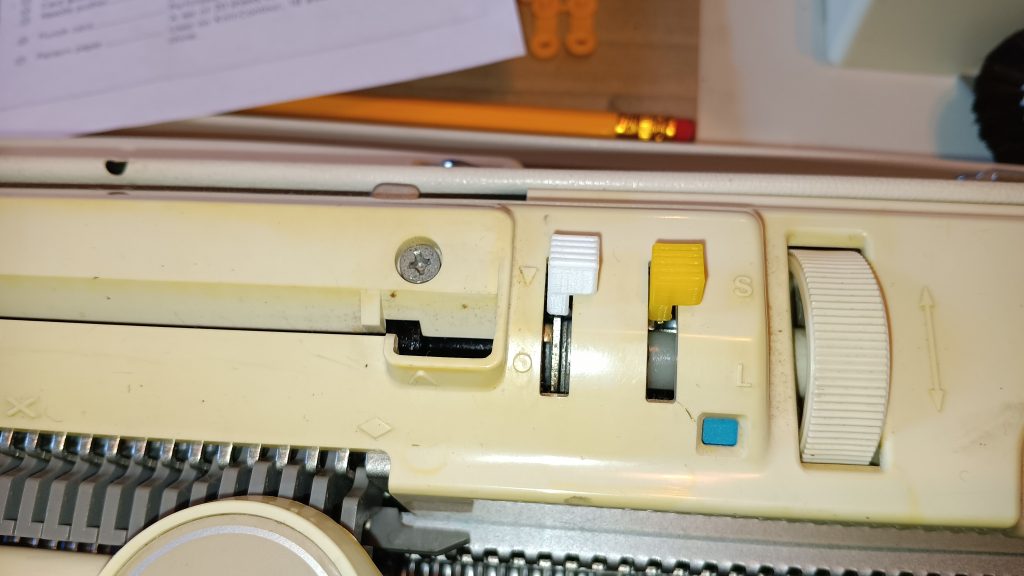
I did not replace the slightly bent plastic round covers on the sinker plate side wheels (a picture below showing a scratch on the lid shows one of the wheels: they are not in horrible shape at all!). Those bend so easily that they will very likely bend during your first tests. But I am including an extra pair of these plastic circles (they are very easy to replace). All the tests were performed with these slightly bent plastic brush covers. The extra brushes (the manual says they are for tuck, but I knitted tuck without them) are brand new (new stock). I knitted tuck-stitch without them because this is how the sinker plate was set up. But honestly, these brushes come off so frequently that knitters remove them just not to deal with them.
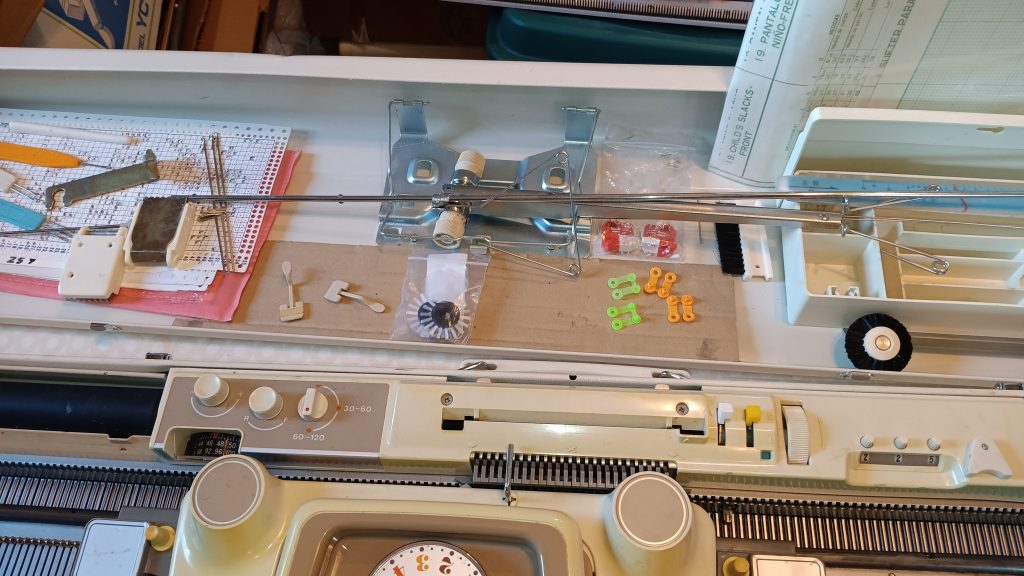
The punchcard rod to hold the punchcards is the original. However, I did not use it during the tests shown in the video. Thus, its use is optional. One pair of punchcard clips is the original one (orange), and the second (green one) is new but old stock.
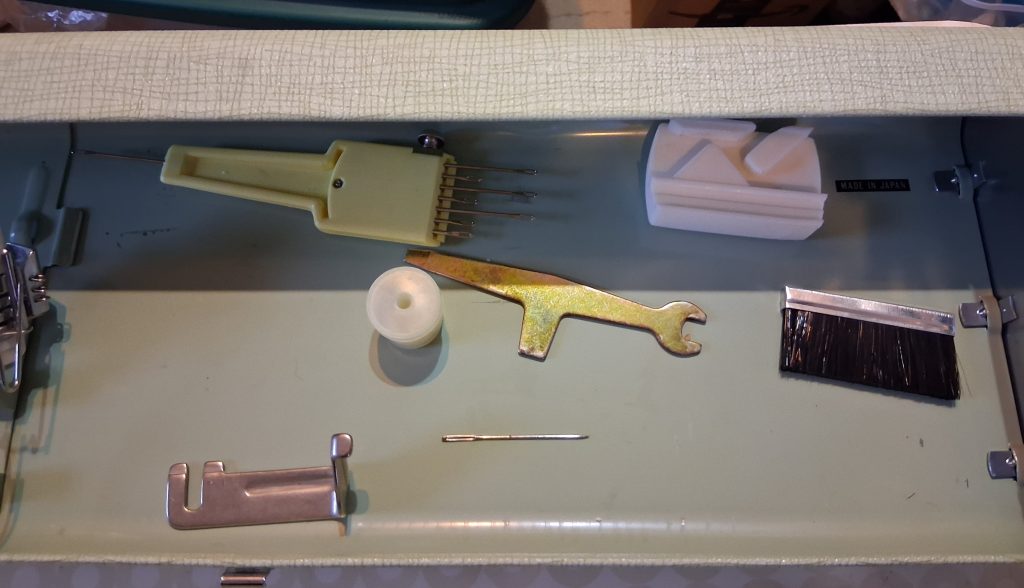
The extra replacement needles are new stock. They are slightly different than the original needles: longer by ~1 mm, and the concave part is slightly different. However, a few of the same needles were placed into the needlebed already, and they knitted beautifully without problems.
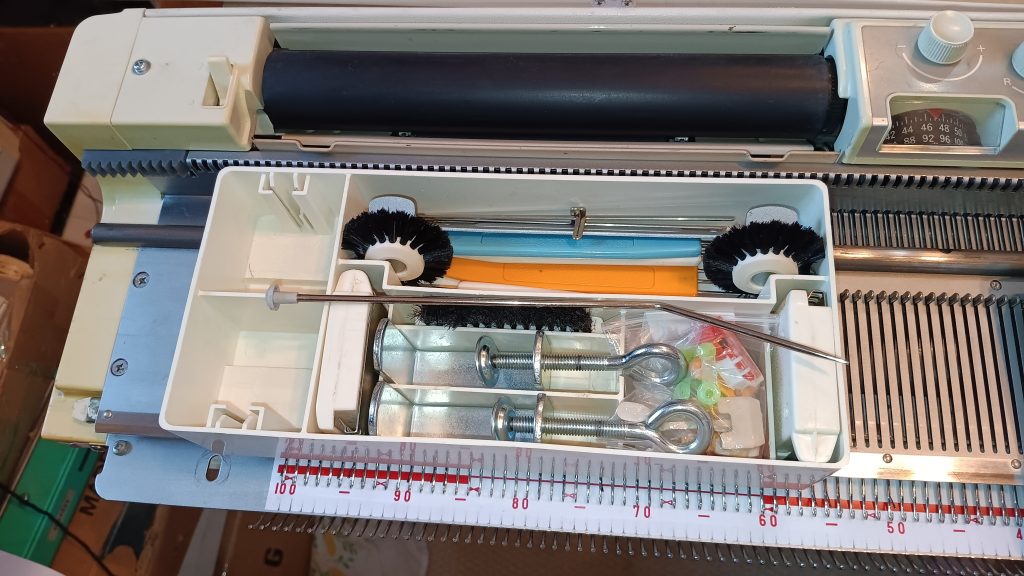
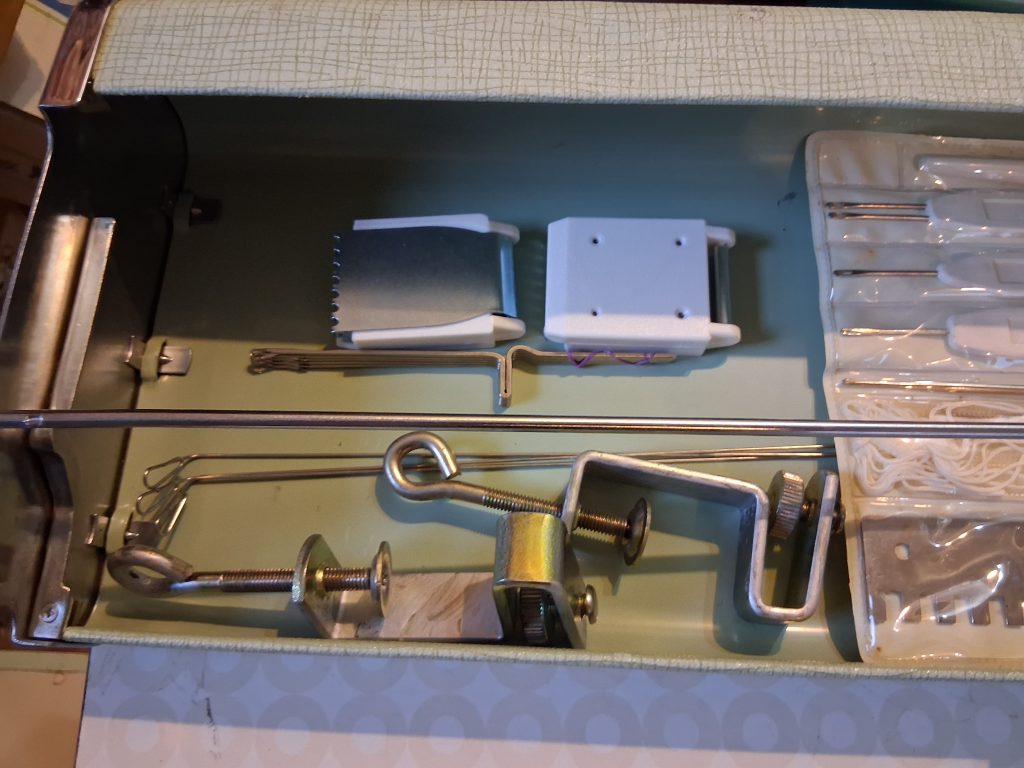
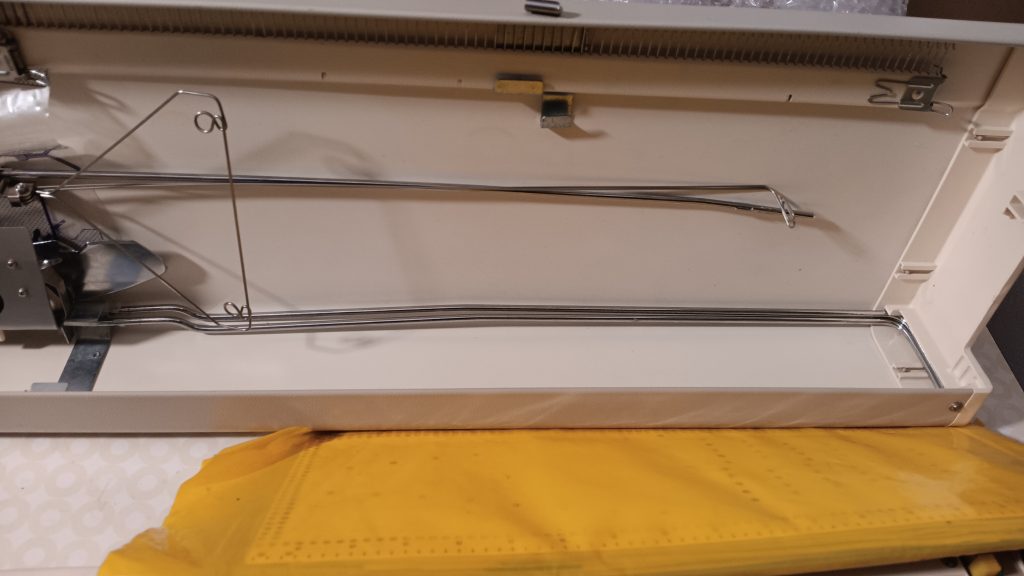
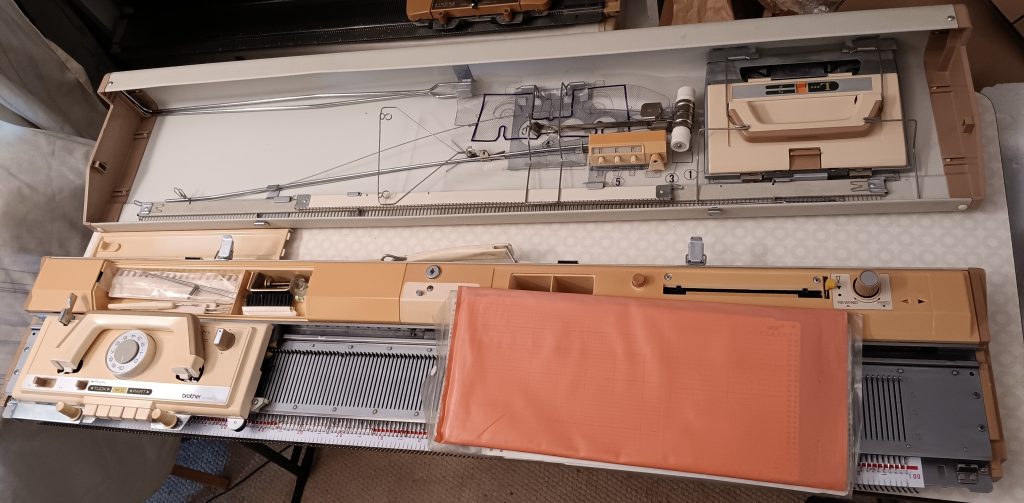
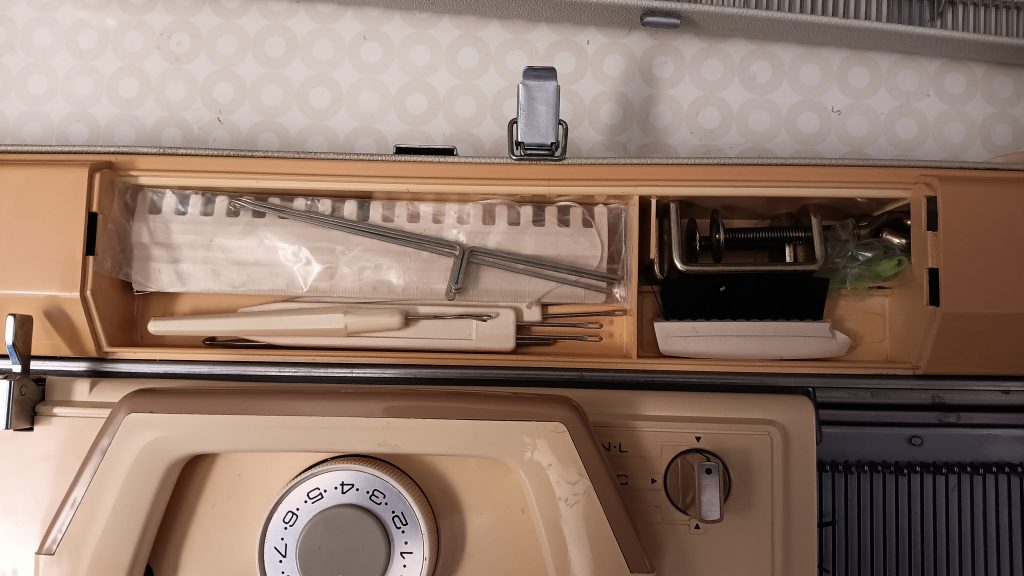
All minor accessories are stored inside a stand-alone box, although the box is not the original box for the Studio mod. 327 model, but still from Silver Reed-manufactured machines. All major accessories are stored in the lid.
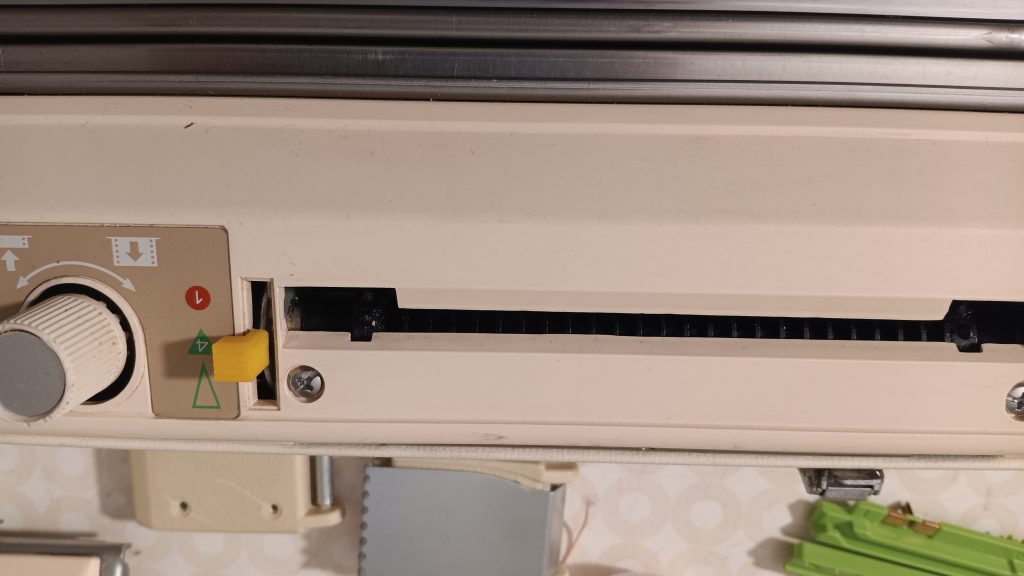
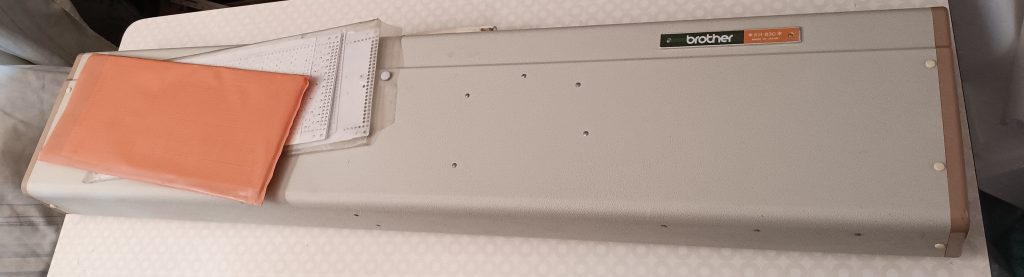
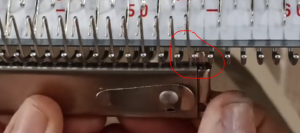
The punchcard set is generic, new stock. But it is generic to Brother machines. It can still be used for the Studio mod. 327 knitting machine. The minor difference is in which row the punchcard readers start reading and knitting the pattern. I am working on a detailed article on that, but briefly: align the punchcard readers with two rows below the line. Other words: at the punchcard reader edge, you will see two rows and then the line. For simple repeat patterns, it does not even matter where to start. But for a single motif it is. So, if in doubt: swatch-swatch-swatch.
In addition, as a thank you for your patience, I am including several custom punchcards (a couple of hand-[unched and a couple of professionally cut from Knittery) and a set of blank punchcards (old stock but in great shape).
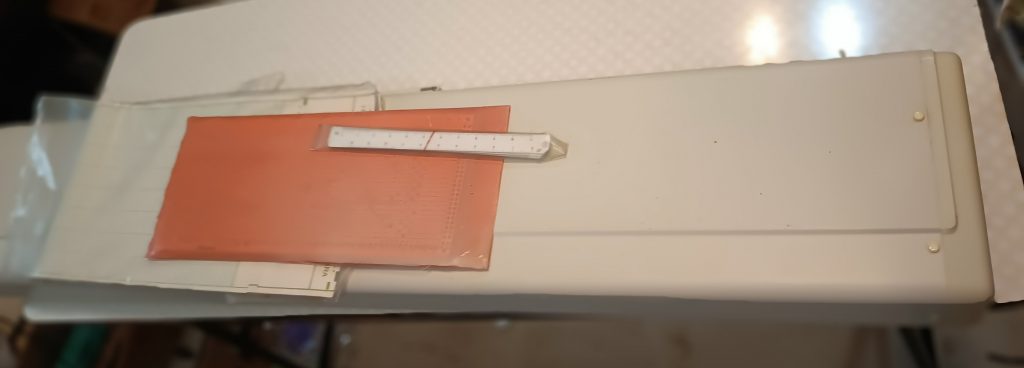
The knit radar sheets are original and still in great shape. However, while I was recording the functioning of the knit leader, I damaged one sheet (the row counter tripper ran into the sheet and ripped it: something to pay attention to). I am still including it: it can be tapes/glued. But I am also including a blank (on one side) graded sheet as a replacement. Additionally, knit radar sheets for generic/common shapes are available online if you need to print extra. The stitch scales are original ones, but only the “gauge scale” and “stitch scale” rulers are included. The “centre scale” rulers are not included (I do not have a set), but my understanding is that the “centre scale” rulers are more than enough.
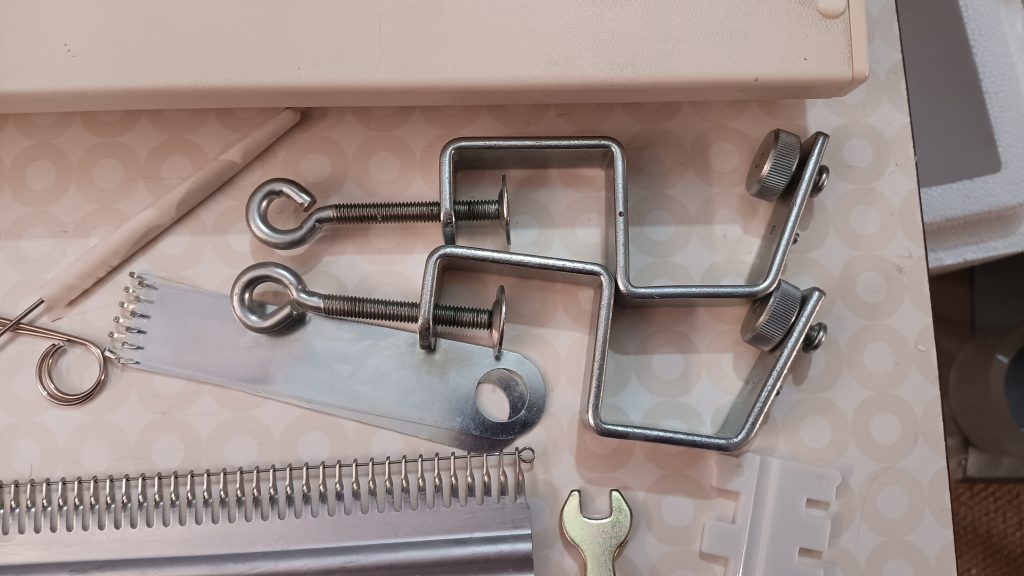
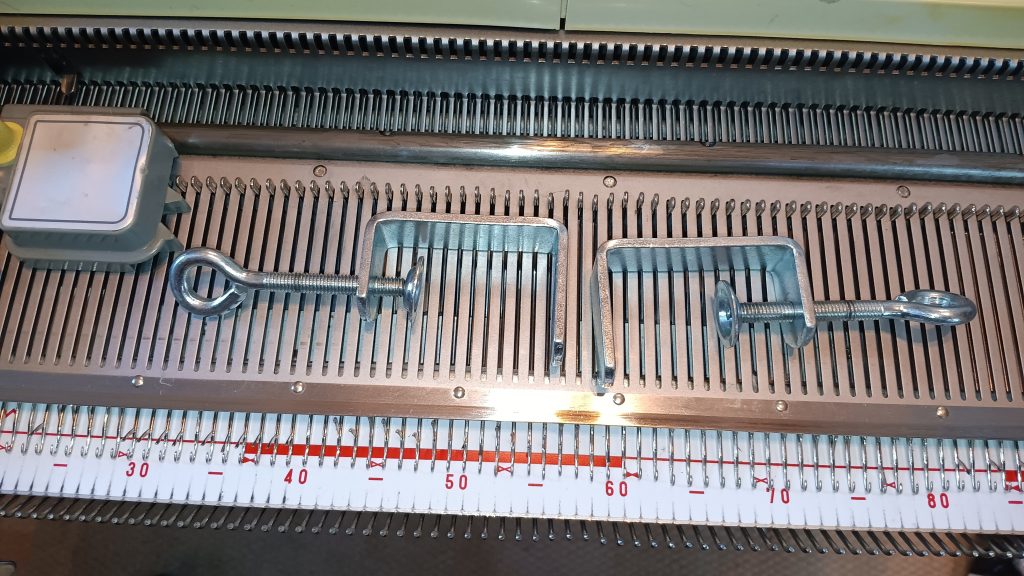
The little knob covers for the punchcard reader are 3D printed replacements. The table clamps look like new stock, too (they came with the machine).
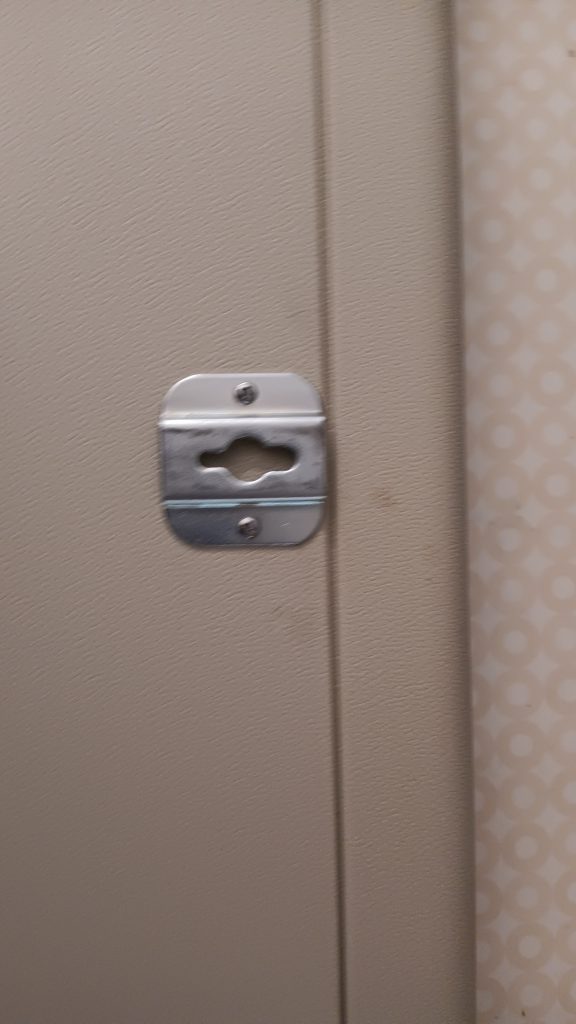
The carriage lock is the original as well.
A couple of things to pay attention to:
- Push the carriage a bit down on the ends of the needlebed. I experienced these issues with my other Silver Reed-made knitting machines
- If knitting on the full bed while using the knit leader sheets, pay attention to the row counter tripper so it does not rip the knit leader sheets.
- The rubber end rails often fall apart and crumble (with time). If they do and if you do not knit on the full bed (on all needles), you do not even have to replace them. There is a way to move the carriage and avoid mispatterning: just do not let the drums get off the rails. So, move the carriage slowly at the end of the needlebed. But with the rubber end rails, there is nothing to worry about for at least several years
- cover your machine with a sheet or a curtain to avoid sun damage and dust.
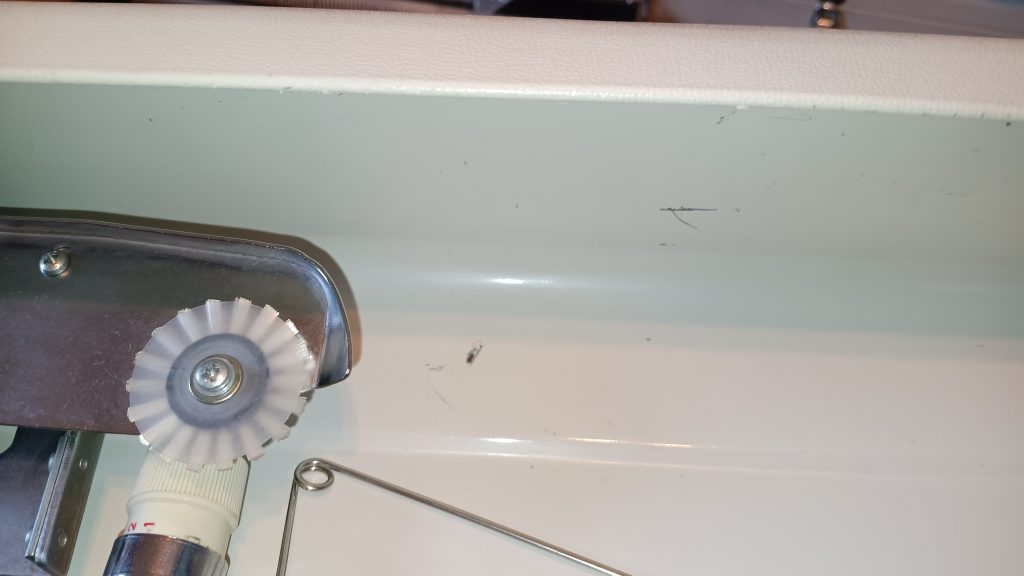
Imperfections:
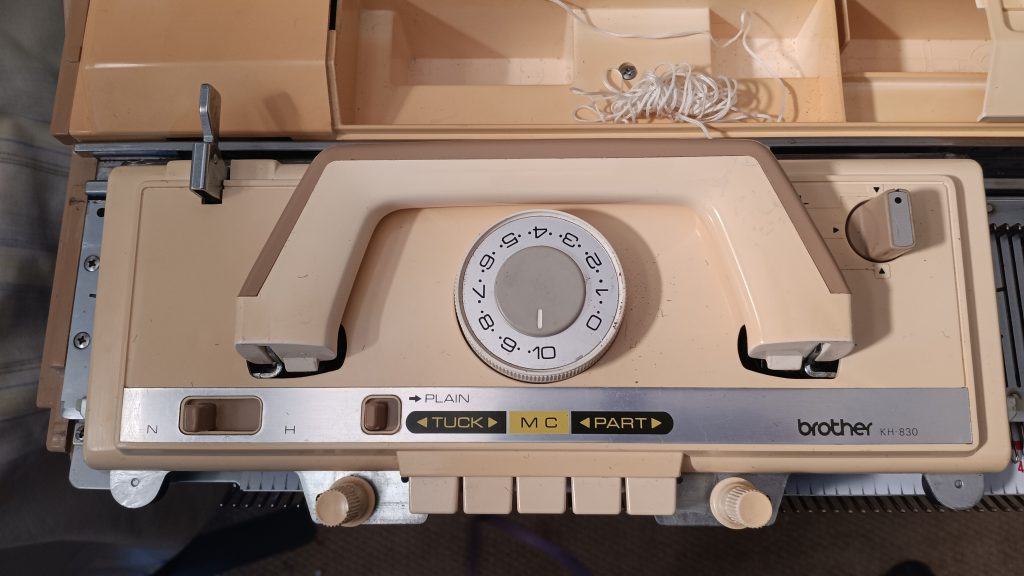
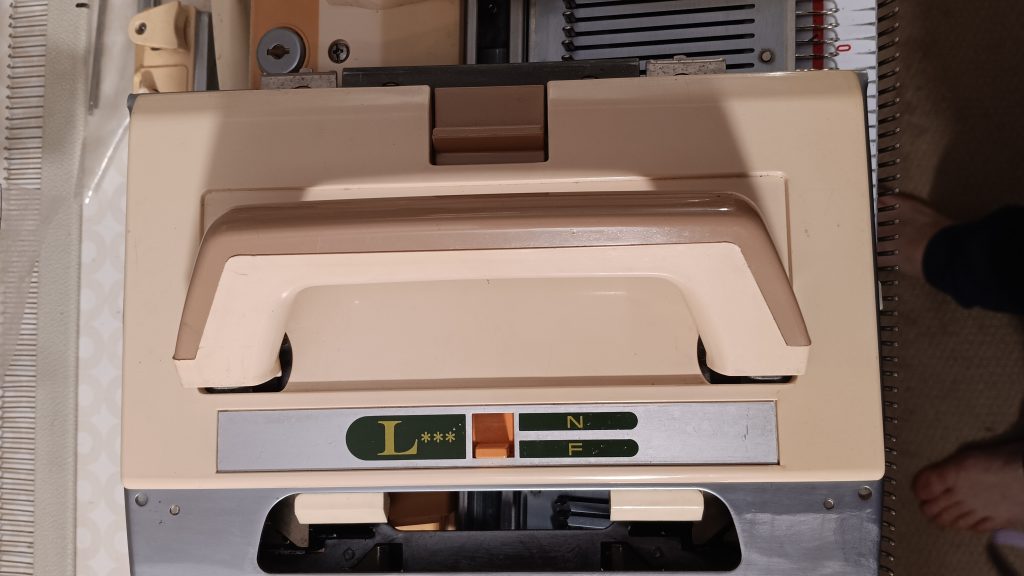
There are some scratches around the knit leader wheel and on it as well. The function is not affected.
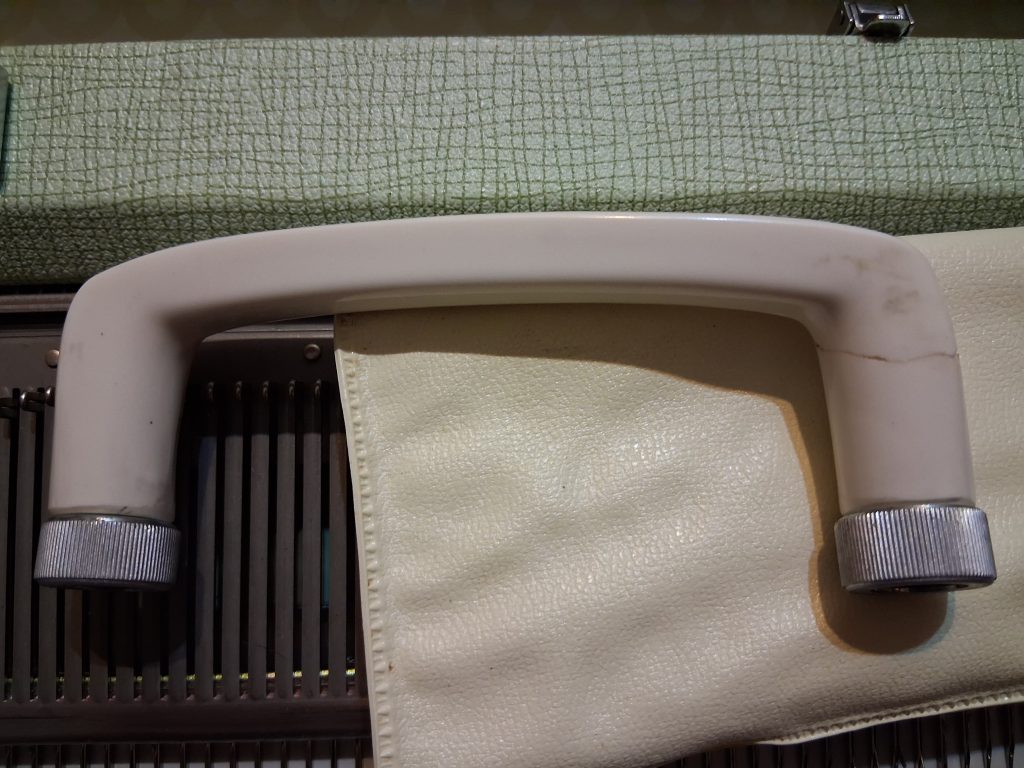
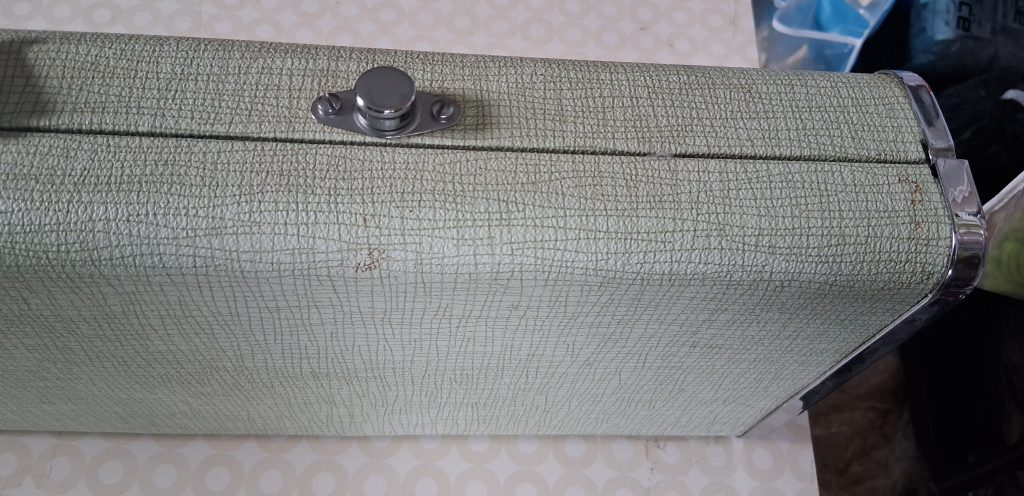
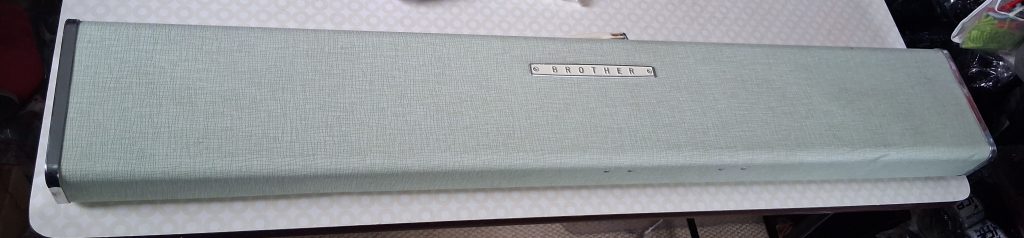
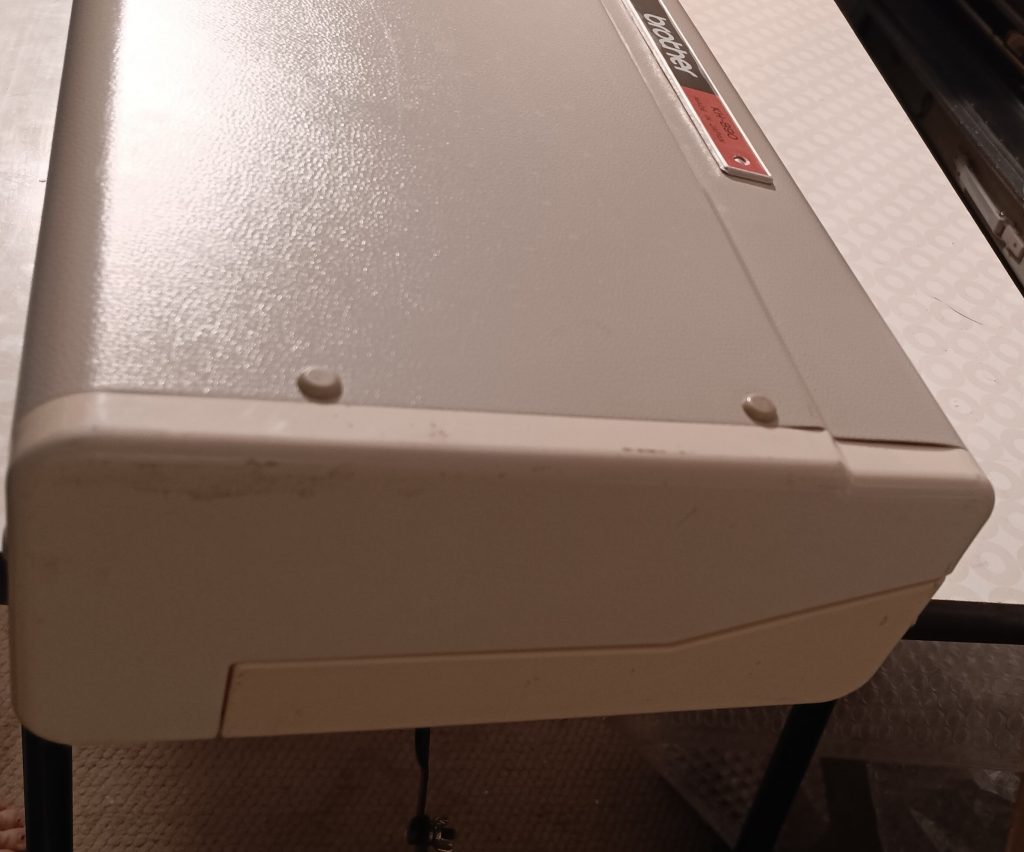
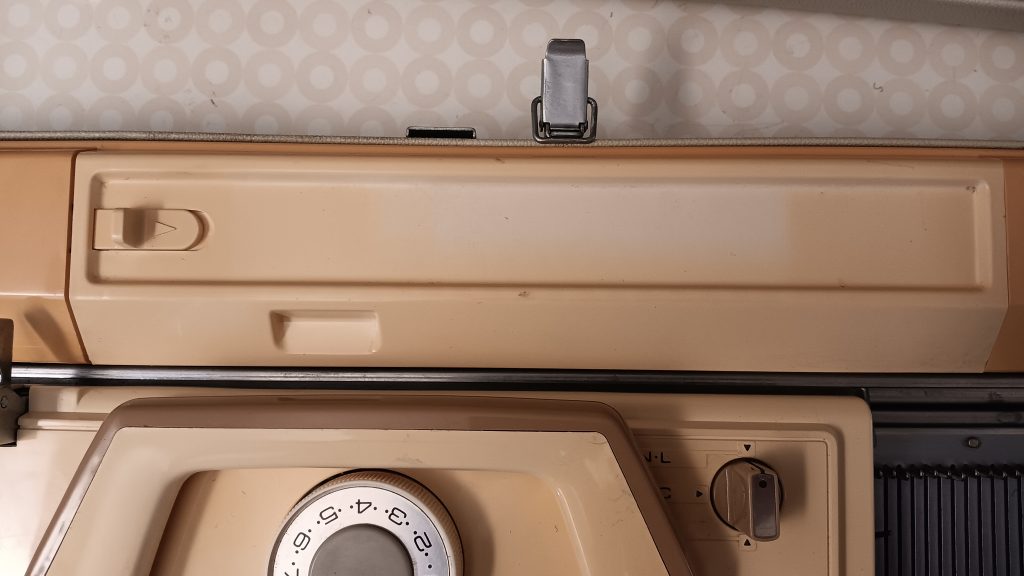
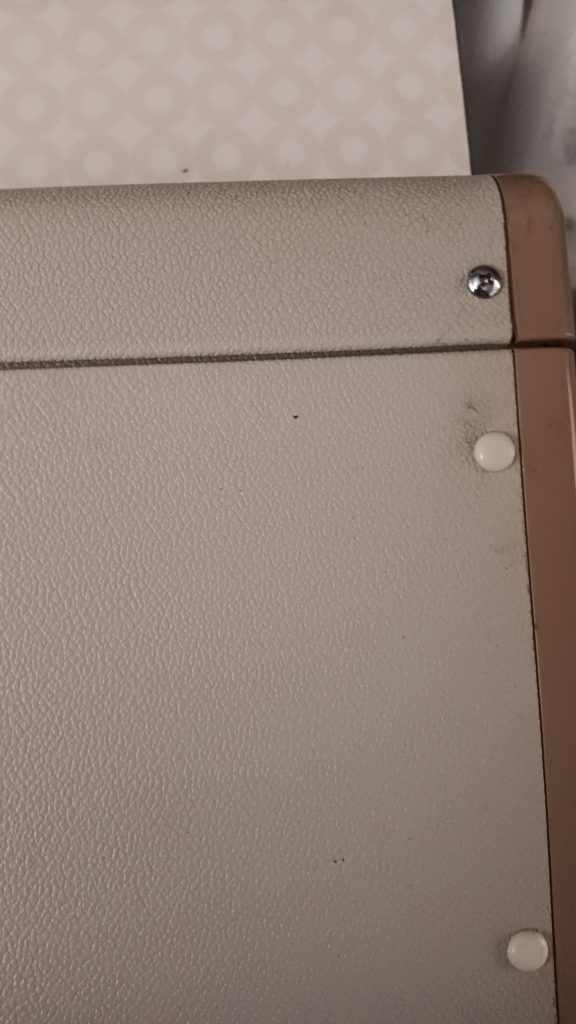
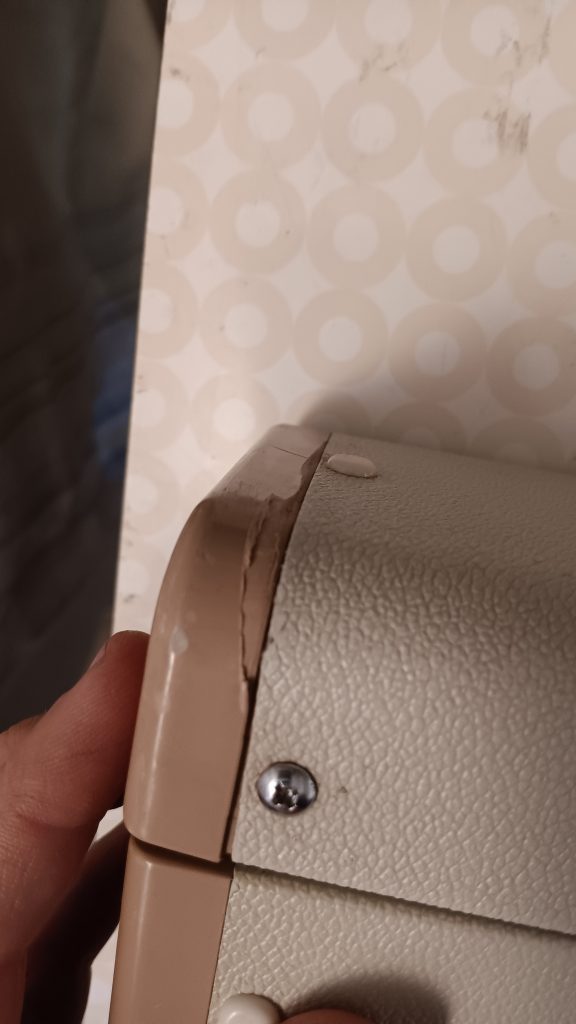
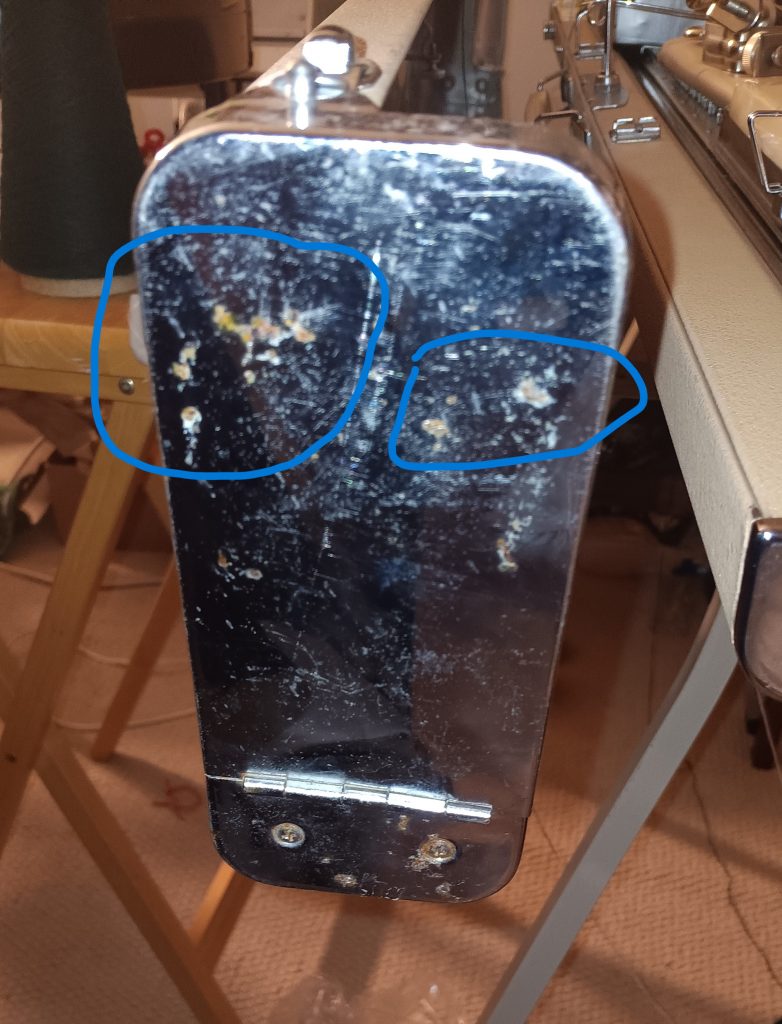
The lid has some minor scratches and bumps, but otherwise is in great shape (especially considering the age of the machine).
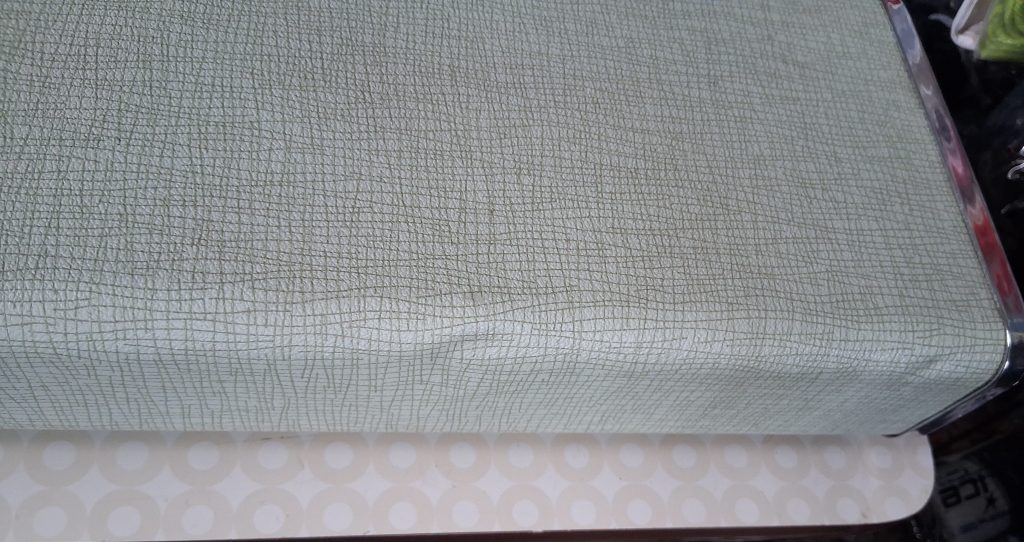
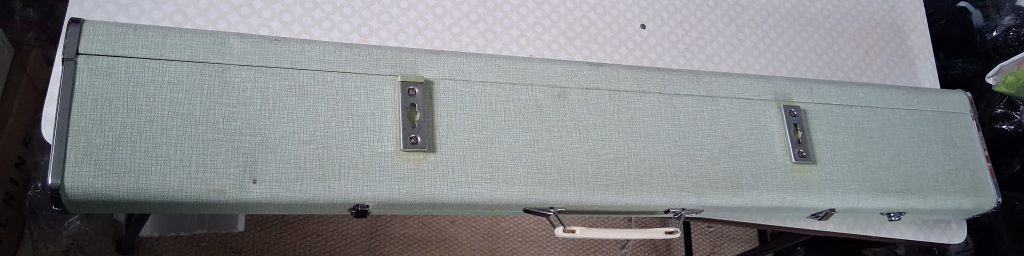
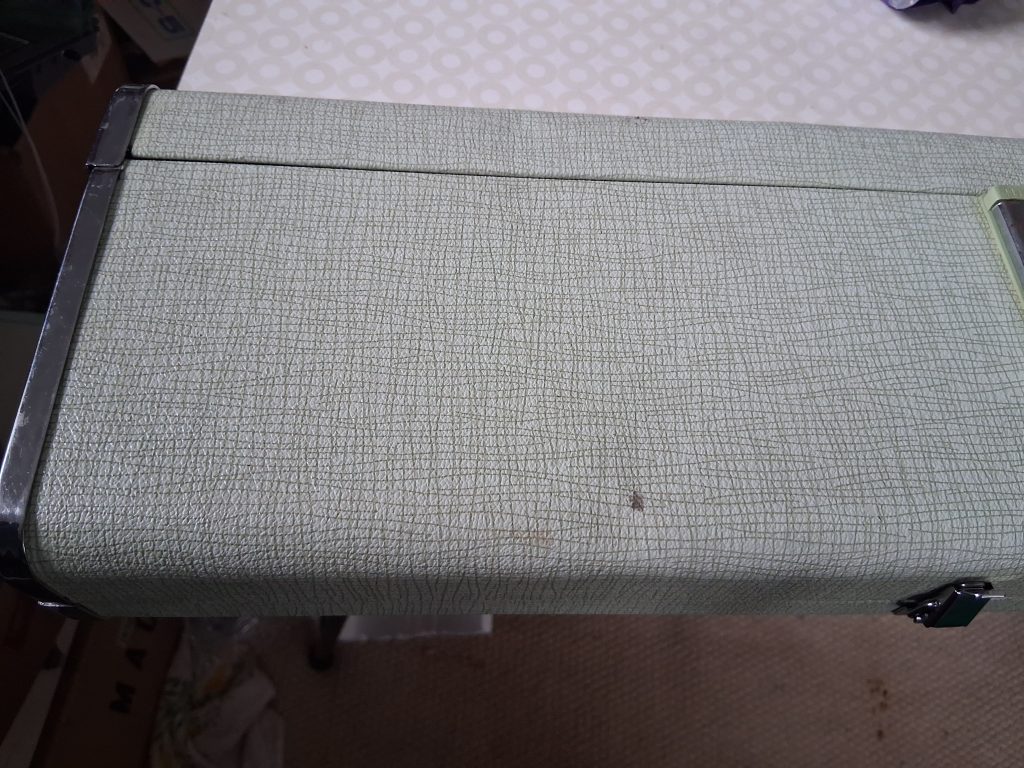
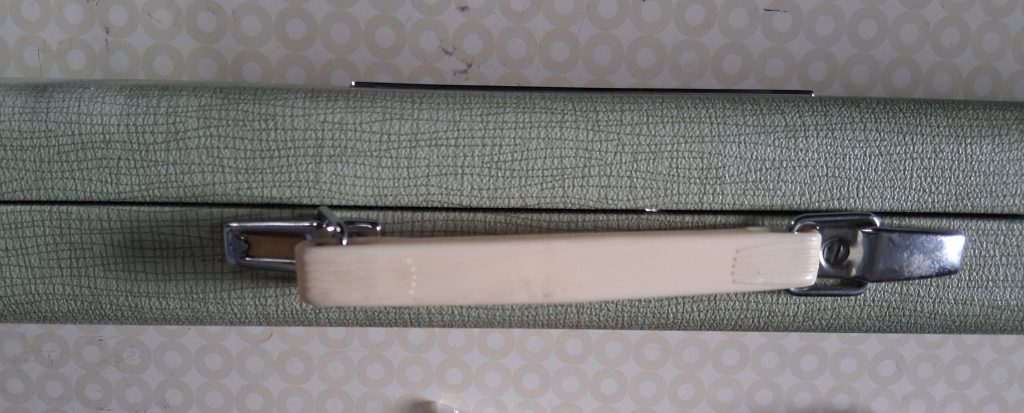
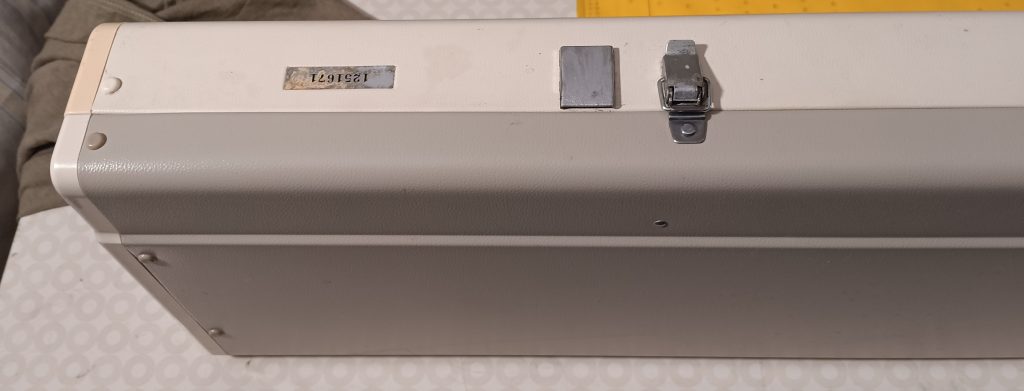
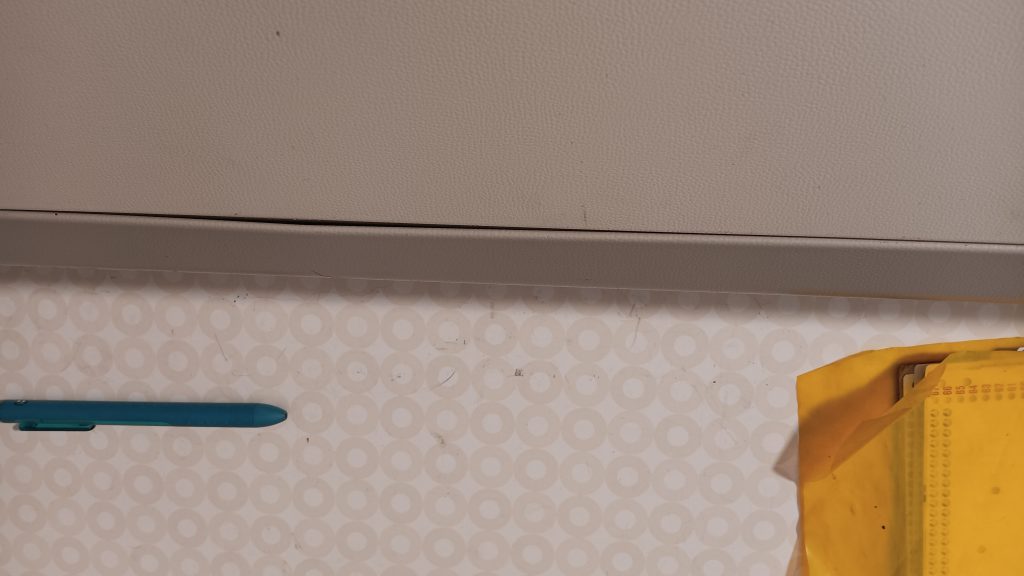
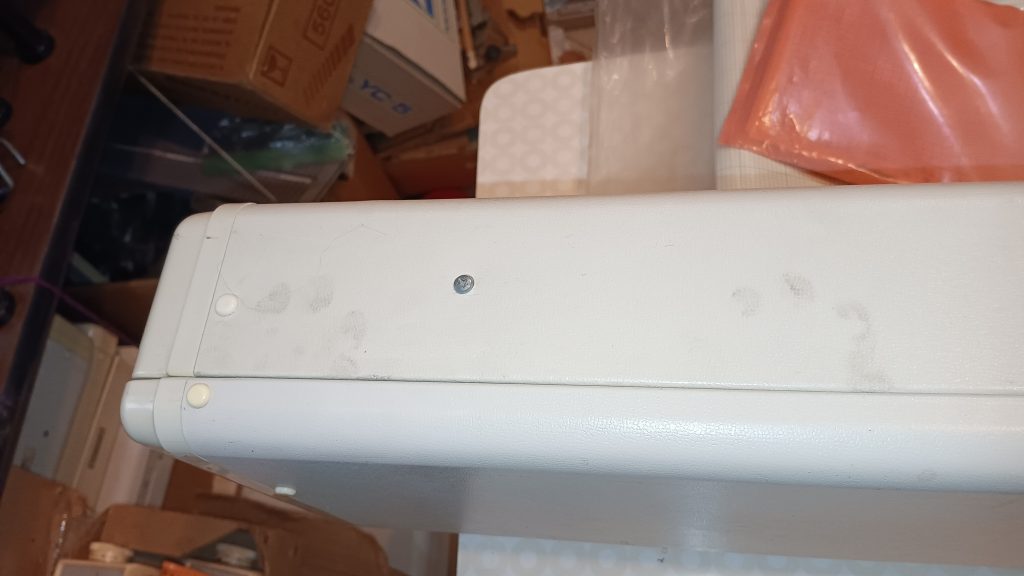
The case itself is in great shape, but a couple of stains, scratches, and bumps are present as well.

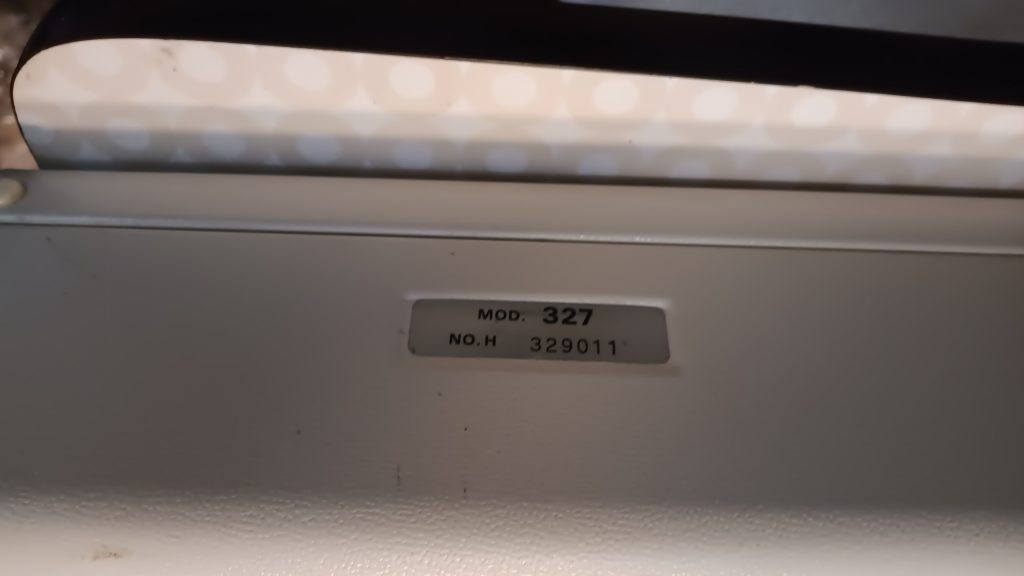
Here is the serial number for this machine, which I will remove after you receive and inspect the machine.
Happy Knitting!