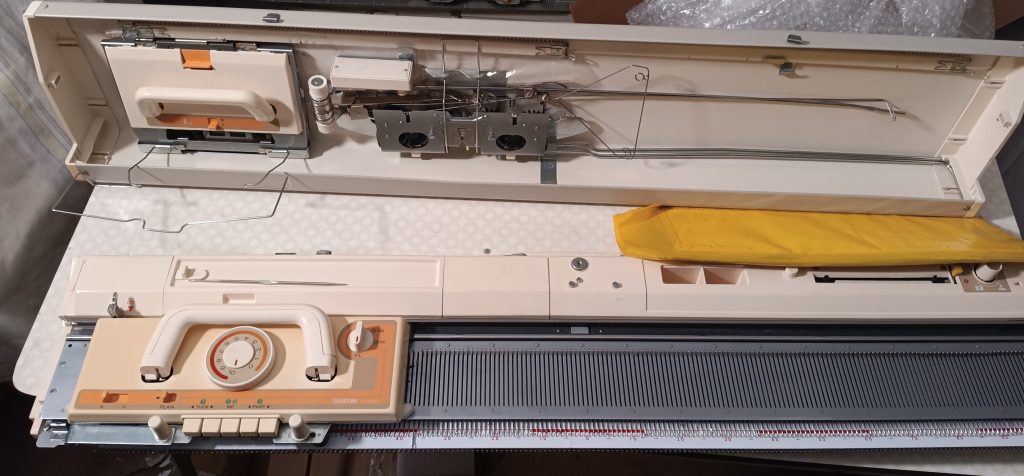
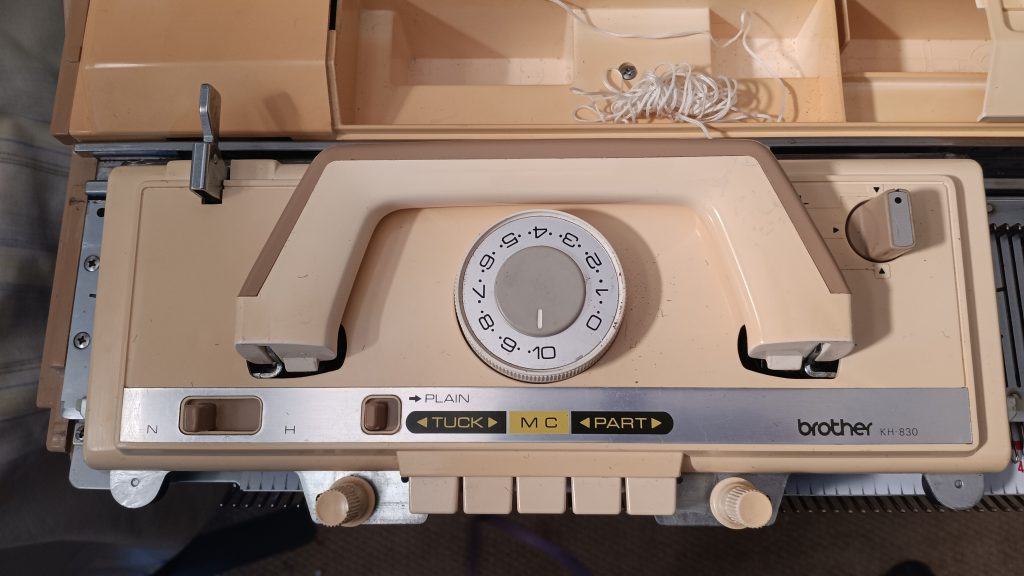
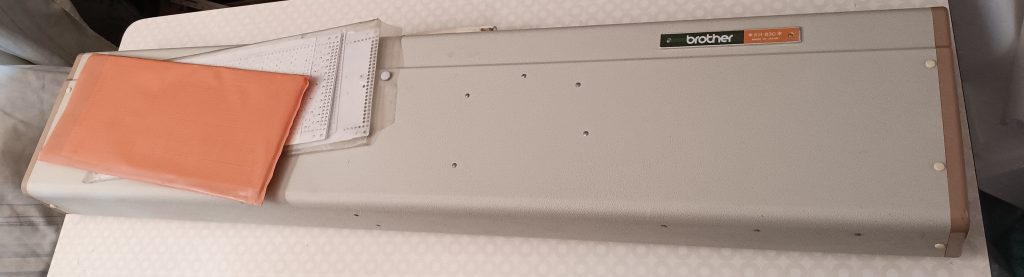
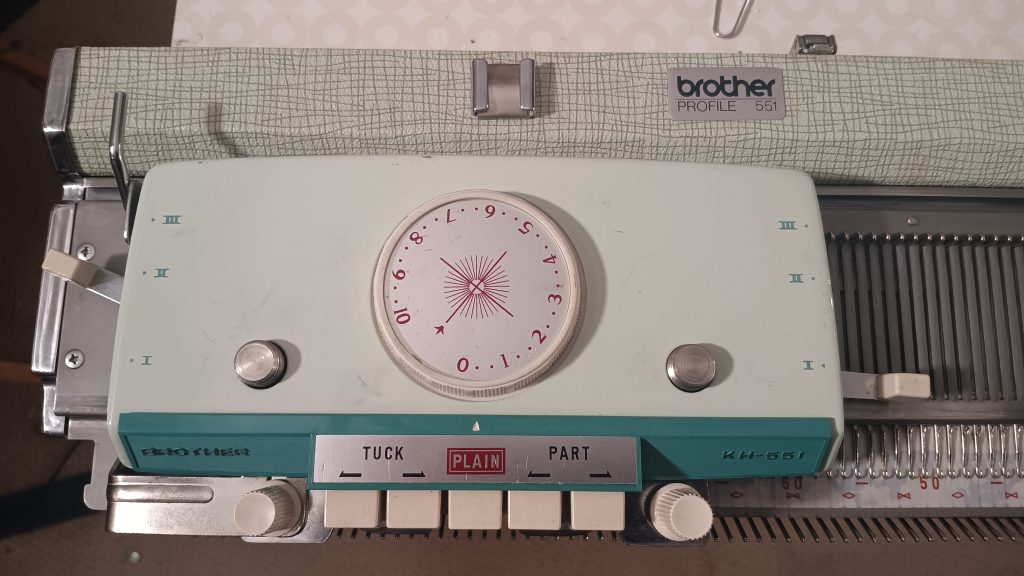
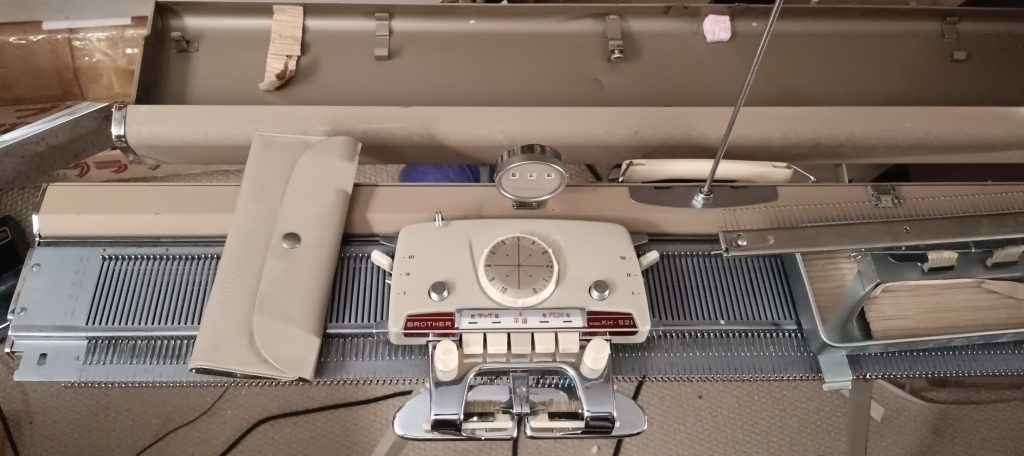
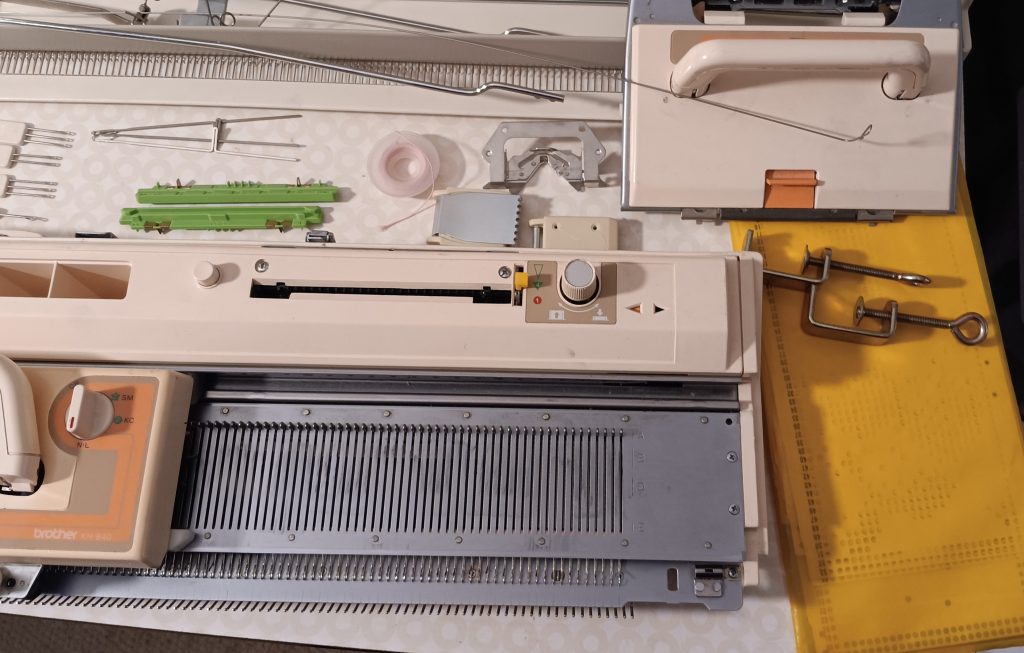
Brother KH840 is a standard-gauge knitting machine with punchcard-based patterning capabilities. Read more about this model in my Knitting Machine Encyclopedia. The rest of the post is dedicated to a specific KH840 knitting machine serviced and tested in my shop in May 2026.
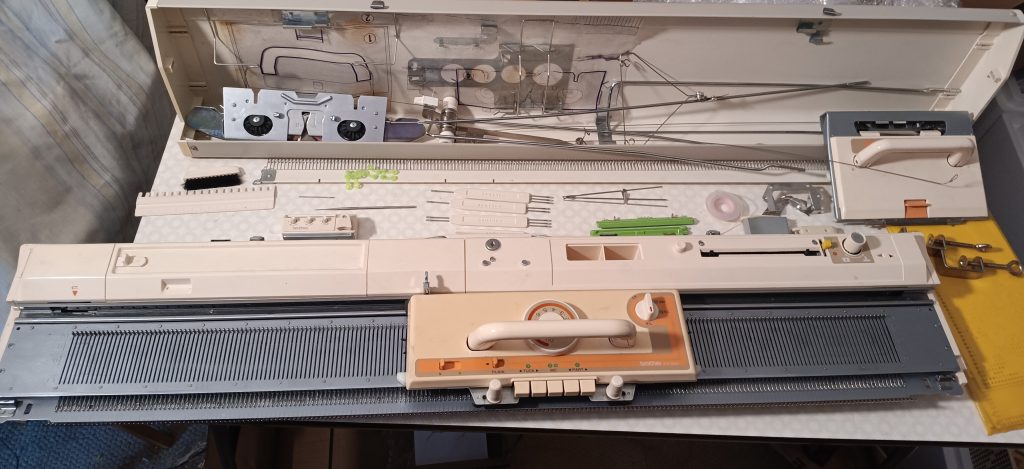
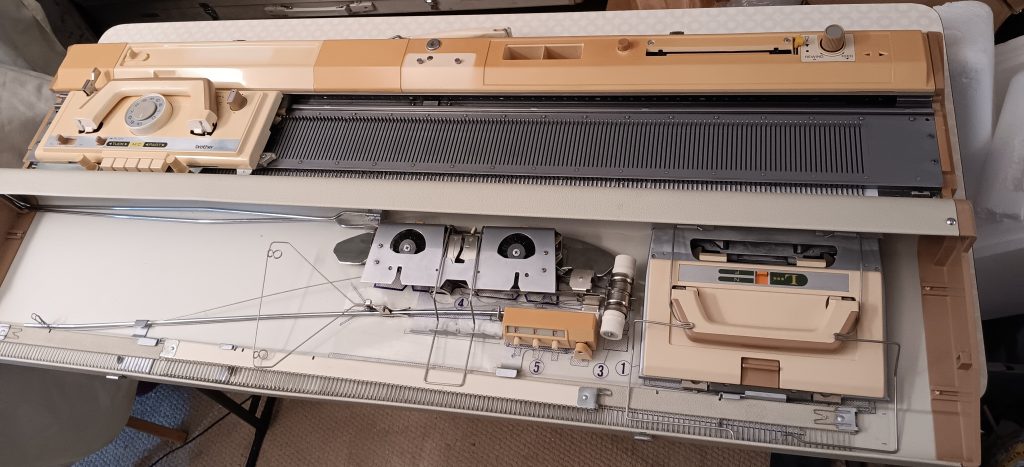
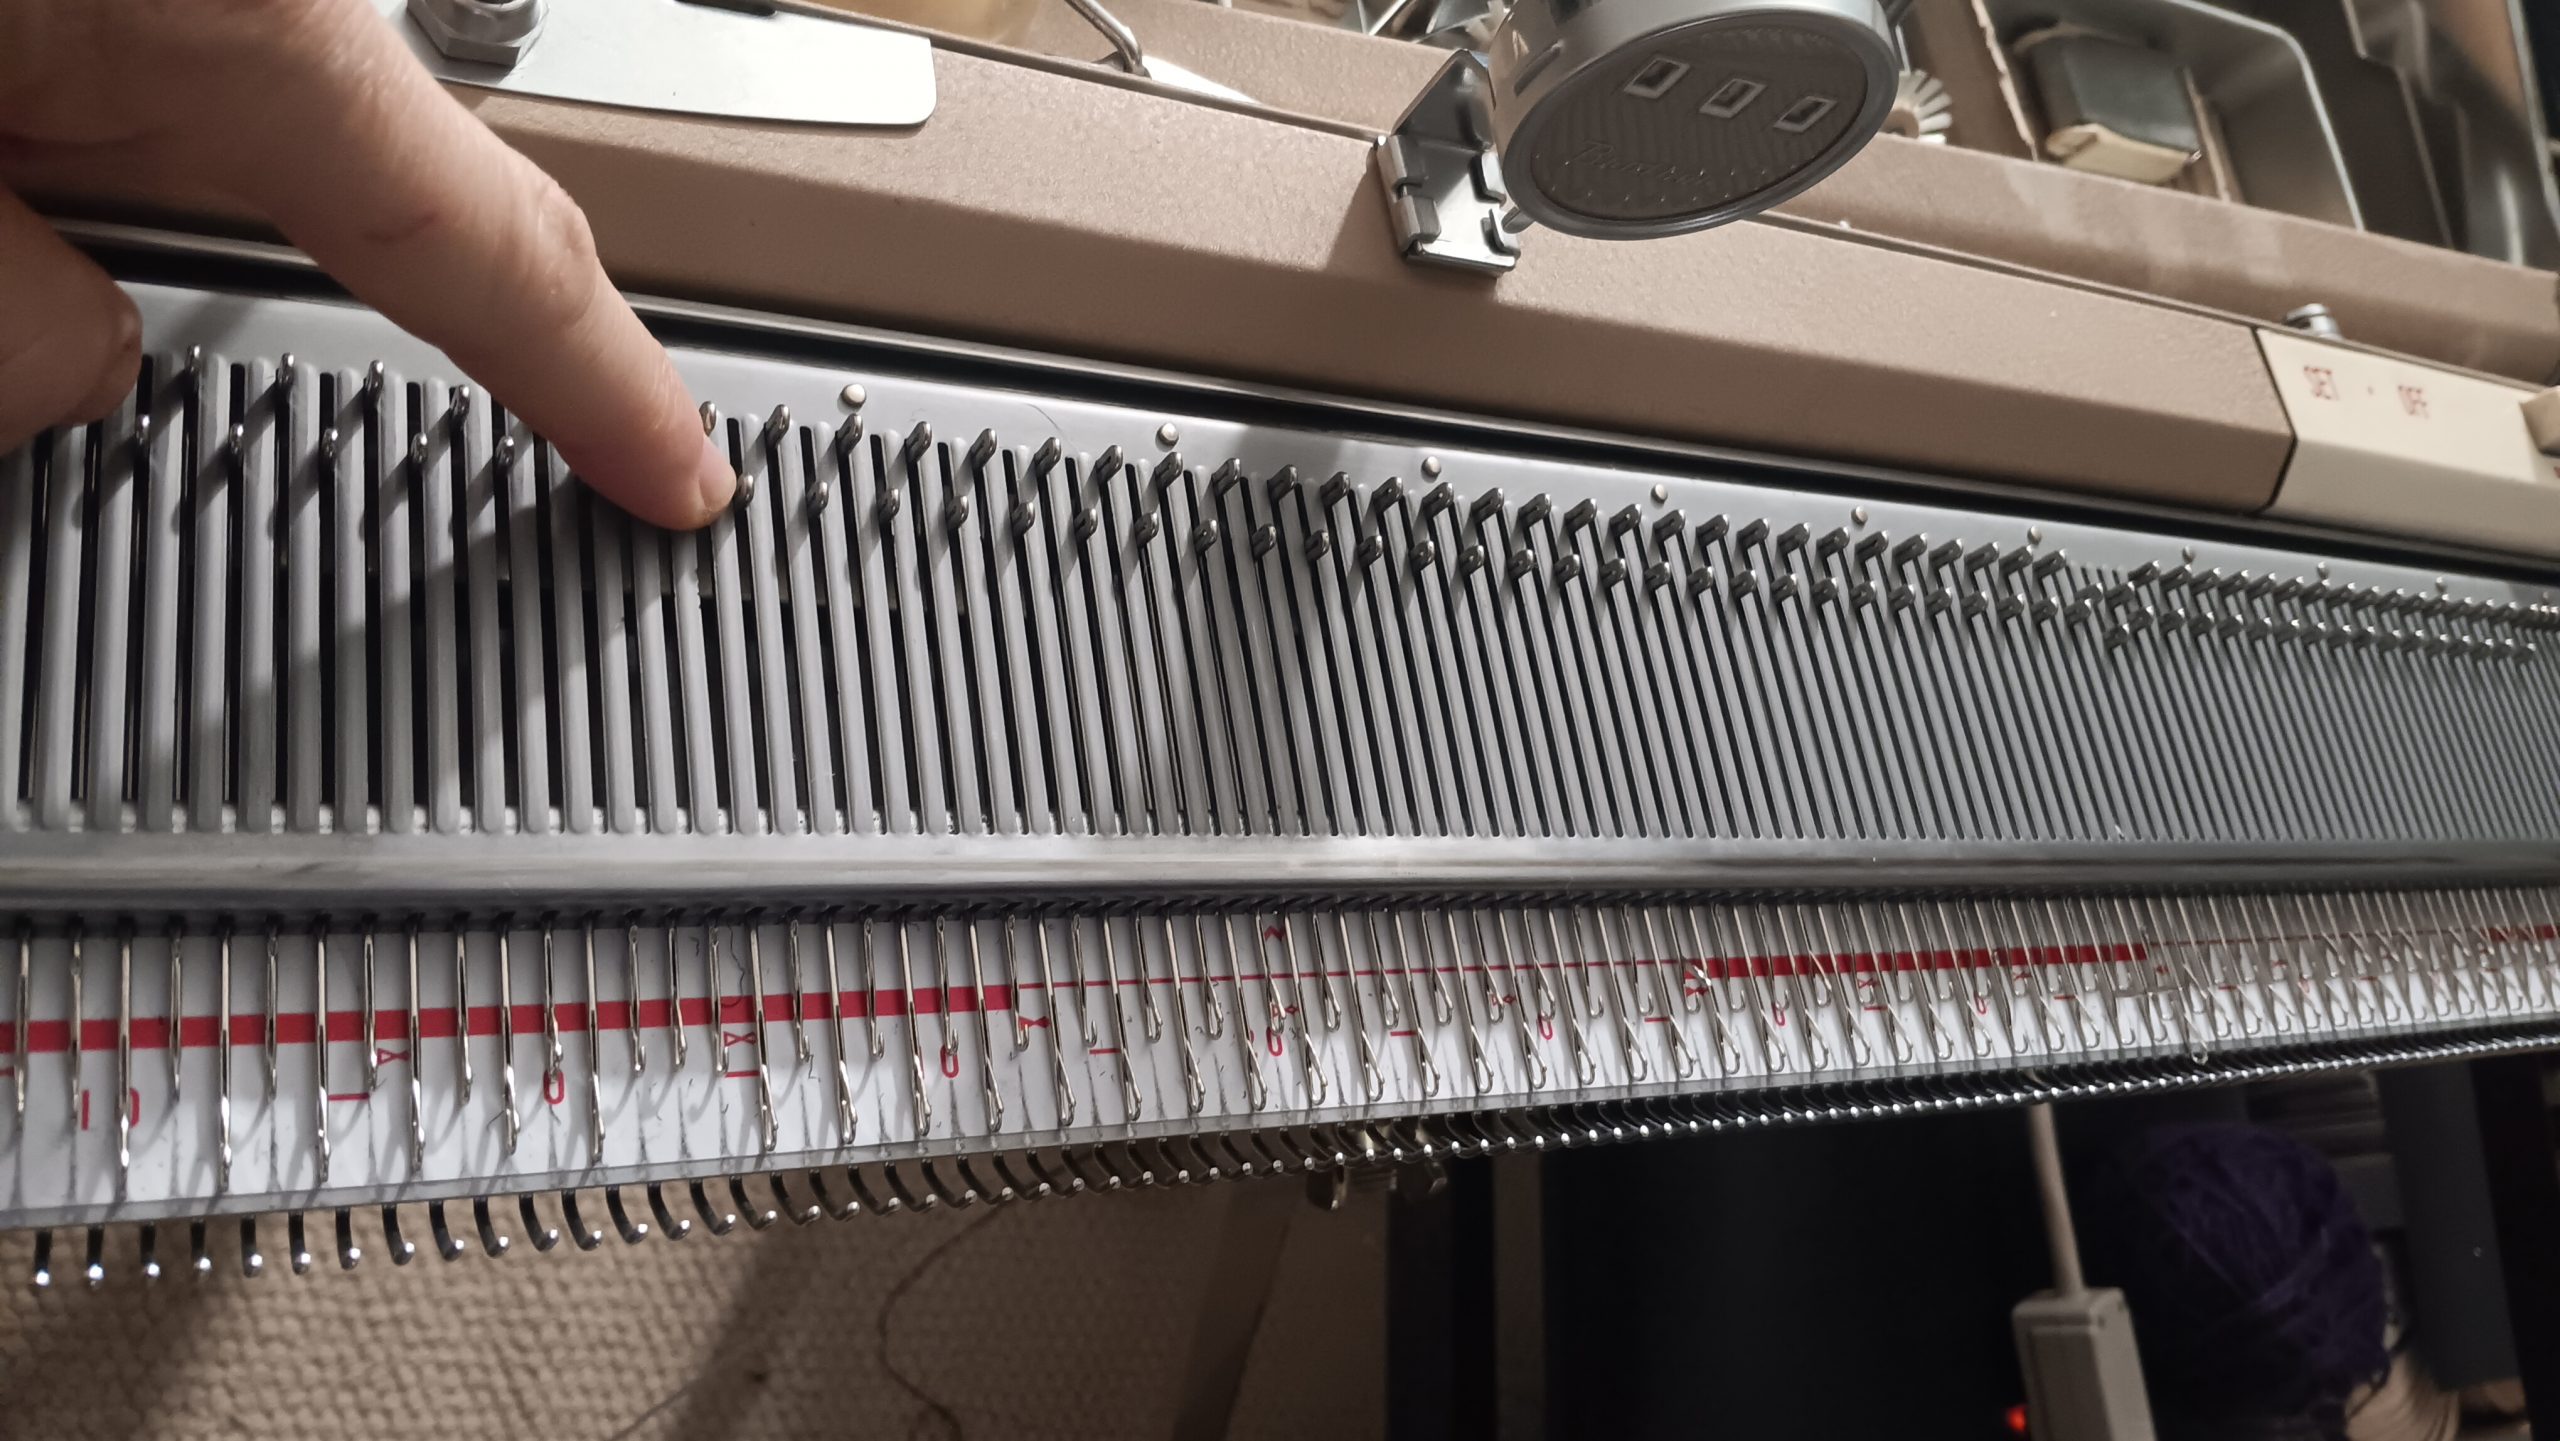
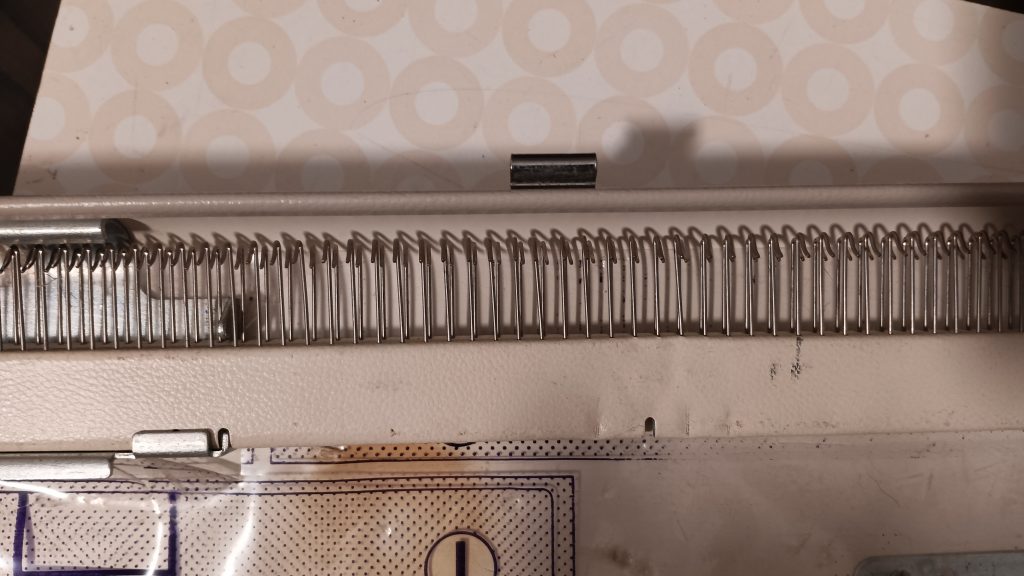
The needlebed, punchcard mechanisms, and the carriage were deep-cleaned. All needles were removed, cleaned, and inspected. Needles with sticky latches or bent needles were replaced with the new (never used) ones (new stock).
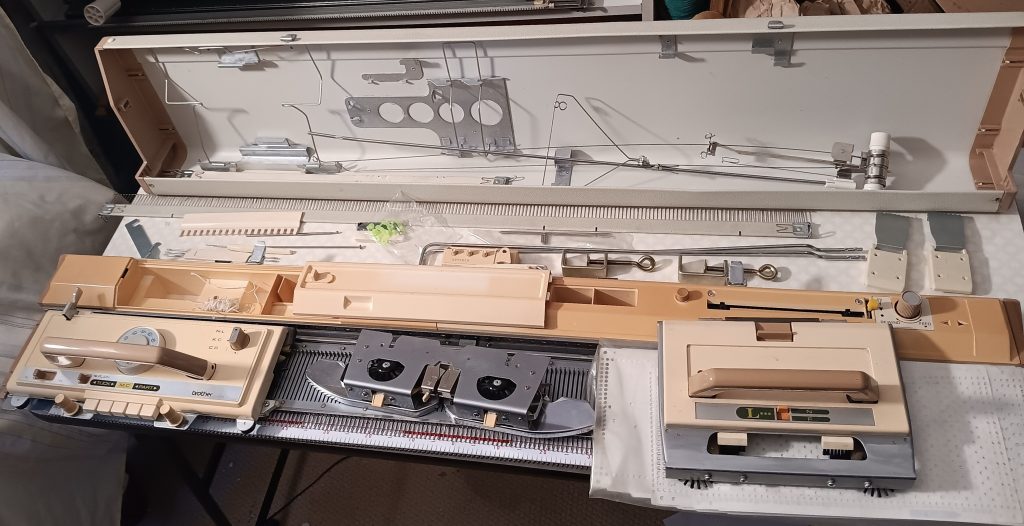
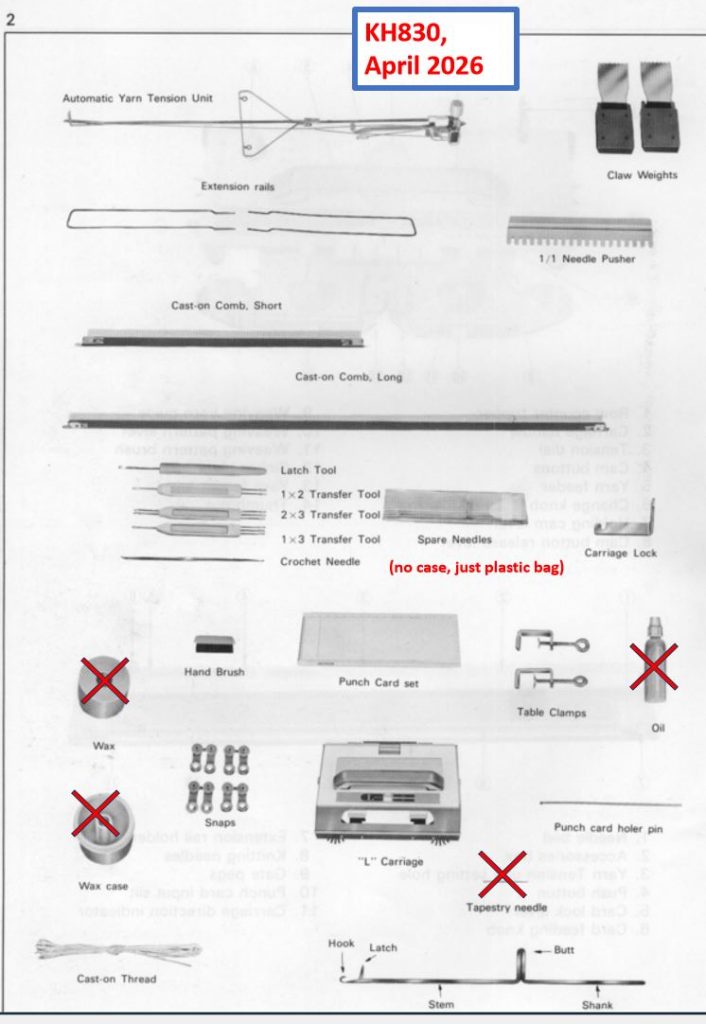
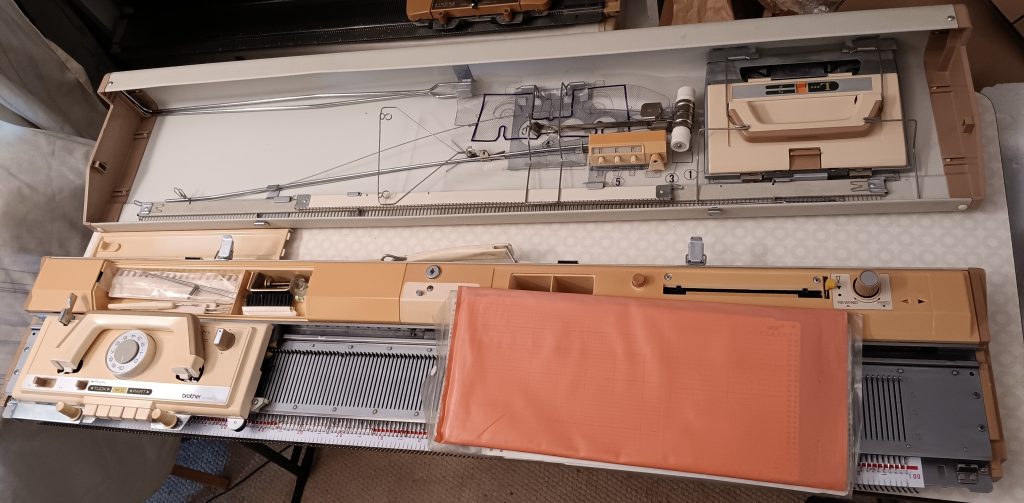
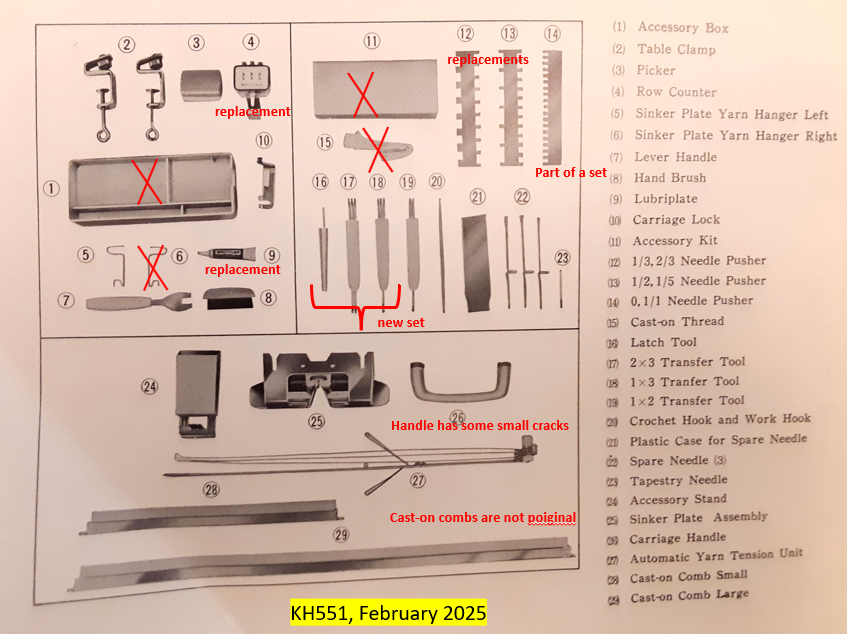
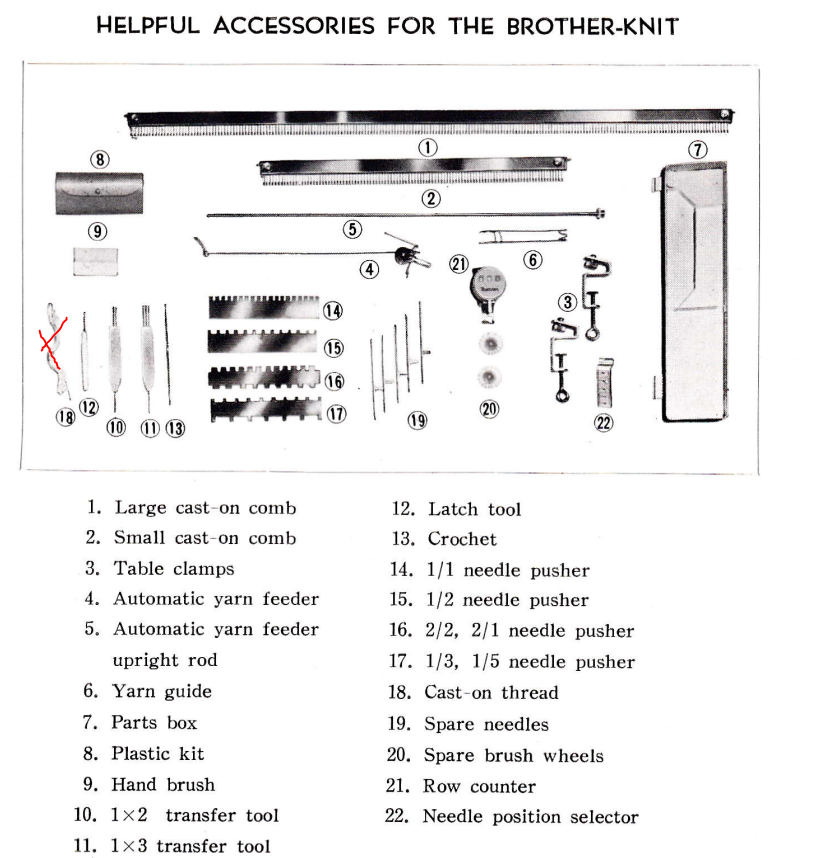
The machine will come with all major and most minor accessories. The missing accessories are:
- hard copy of the manual. However, a decent copy of the manual is available online for free.
- punchcard holder pin. The machine did not really come with one. At the moment, I also do not have a replacement. In the video I recorded while testing this machine, I demonstrate that it is really not needed.
- The bottle with oil is not included. Please, order Hoppe’s gun oil from Amazon.
- Wax will not be included as well.
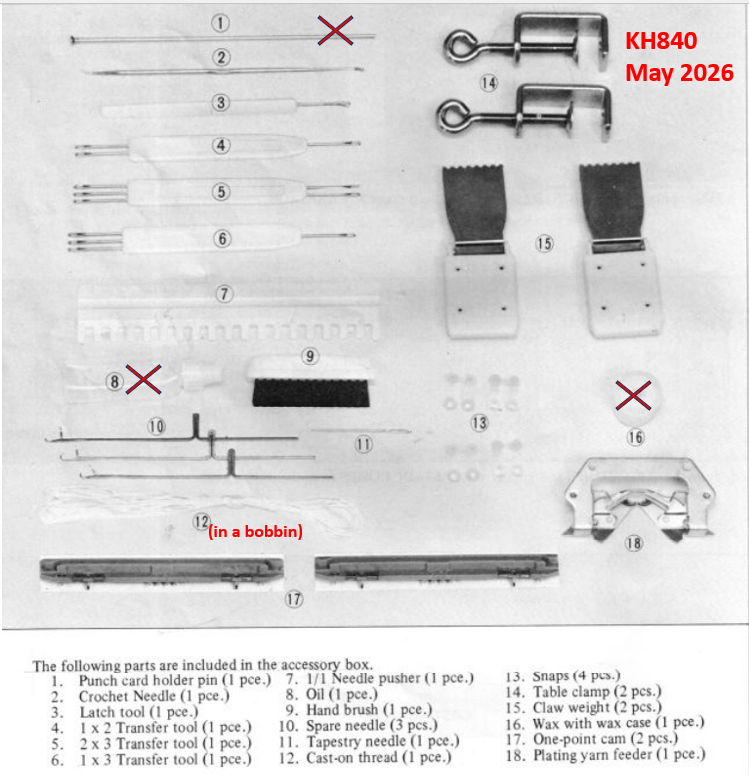
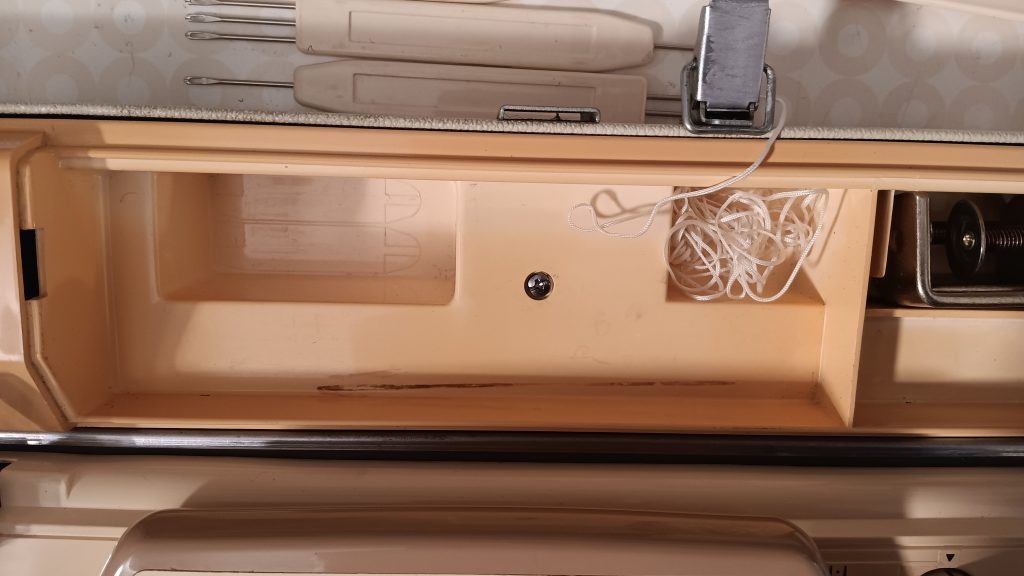
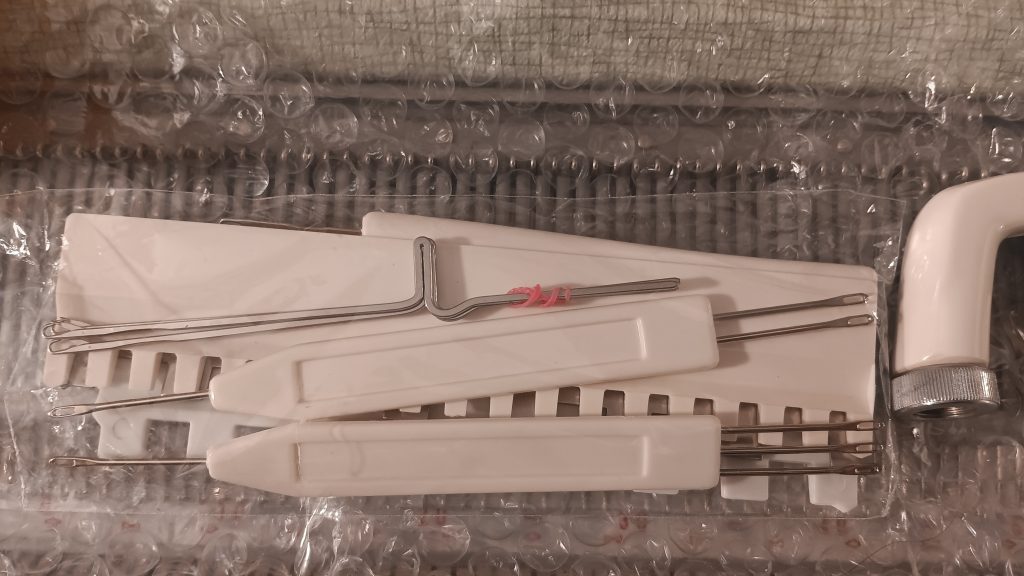
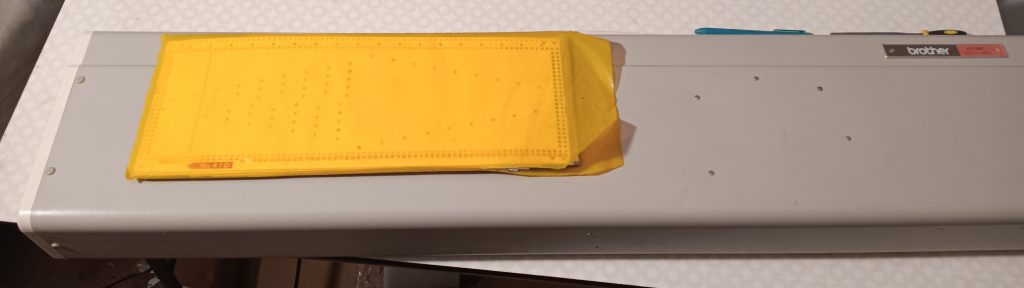
The cast-on thread is in a bobbin, and it is pink. The punchcards are the original Brother set but might not match those in the manual. I am including five additional cards as well as a thank you for your business and patience.
All other accessories are in great shape.

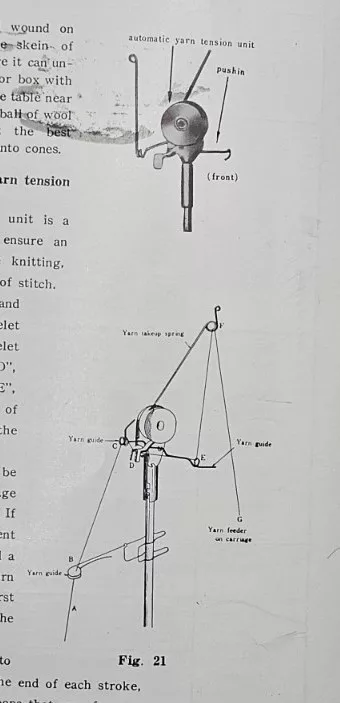
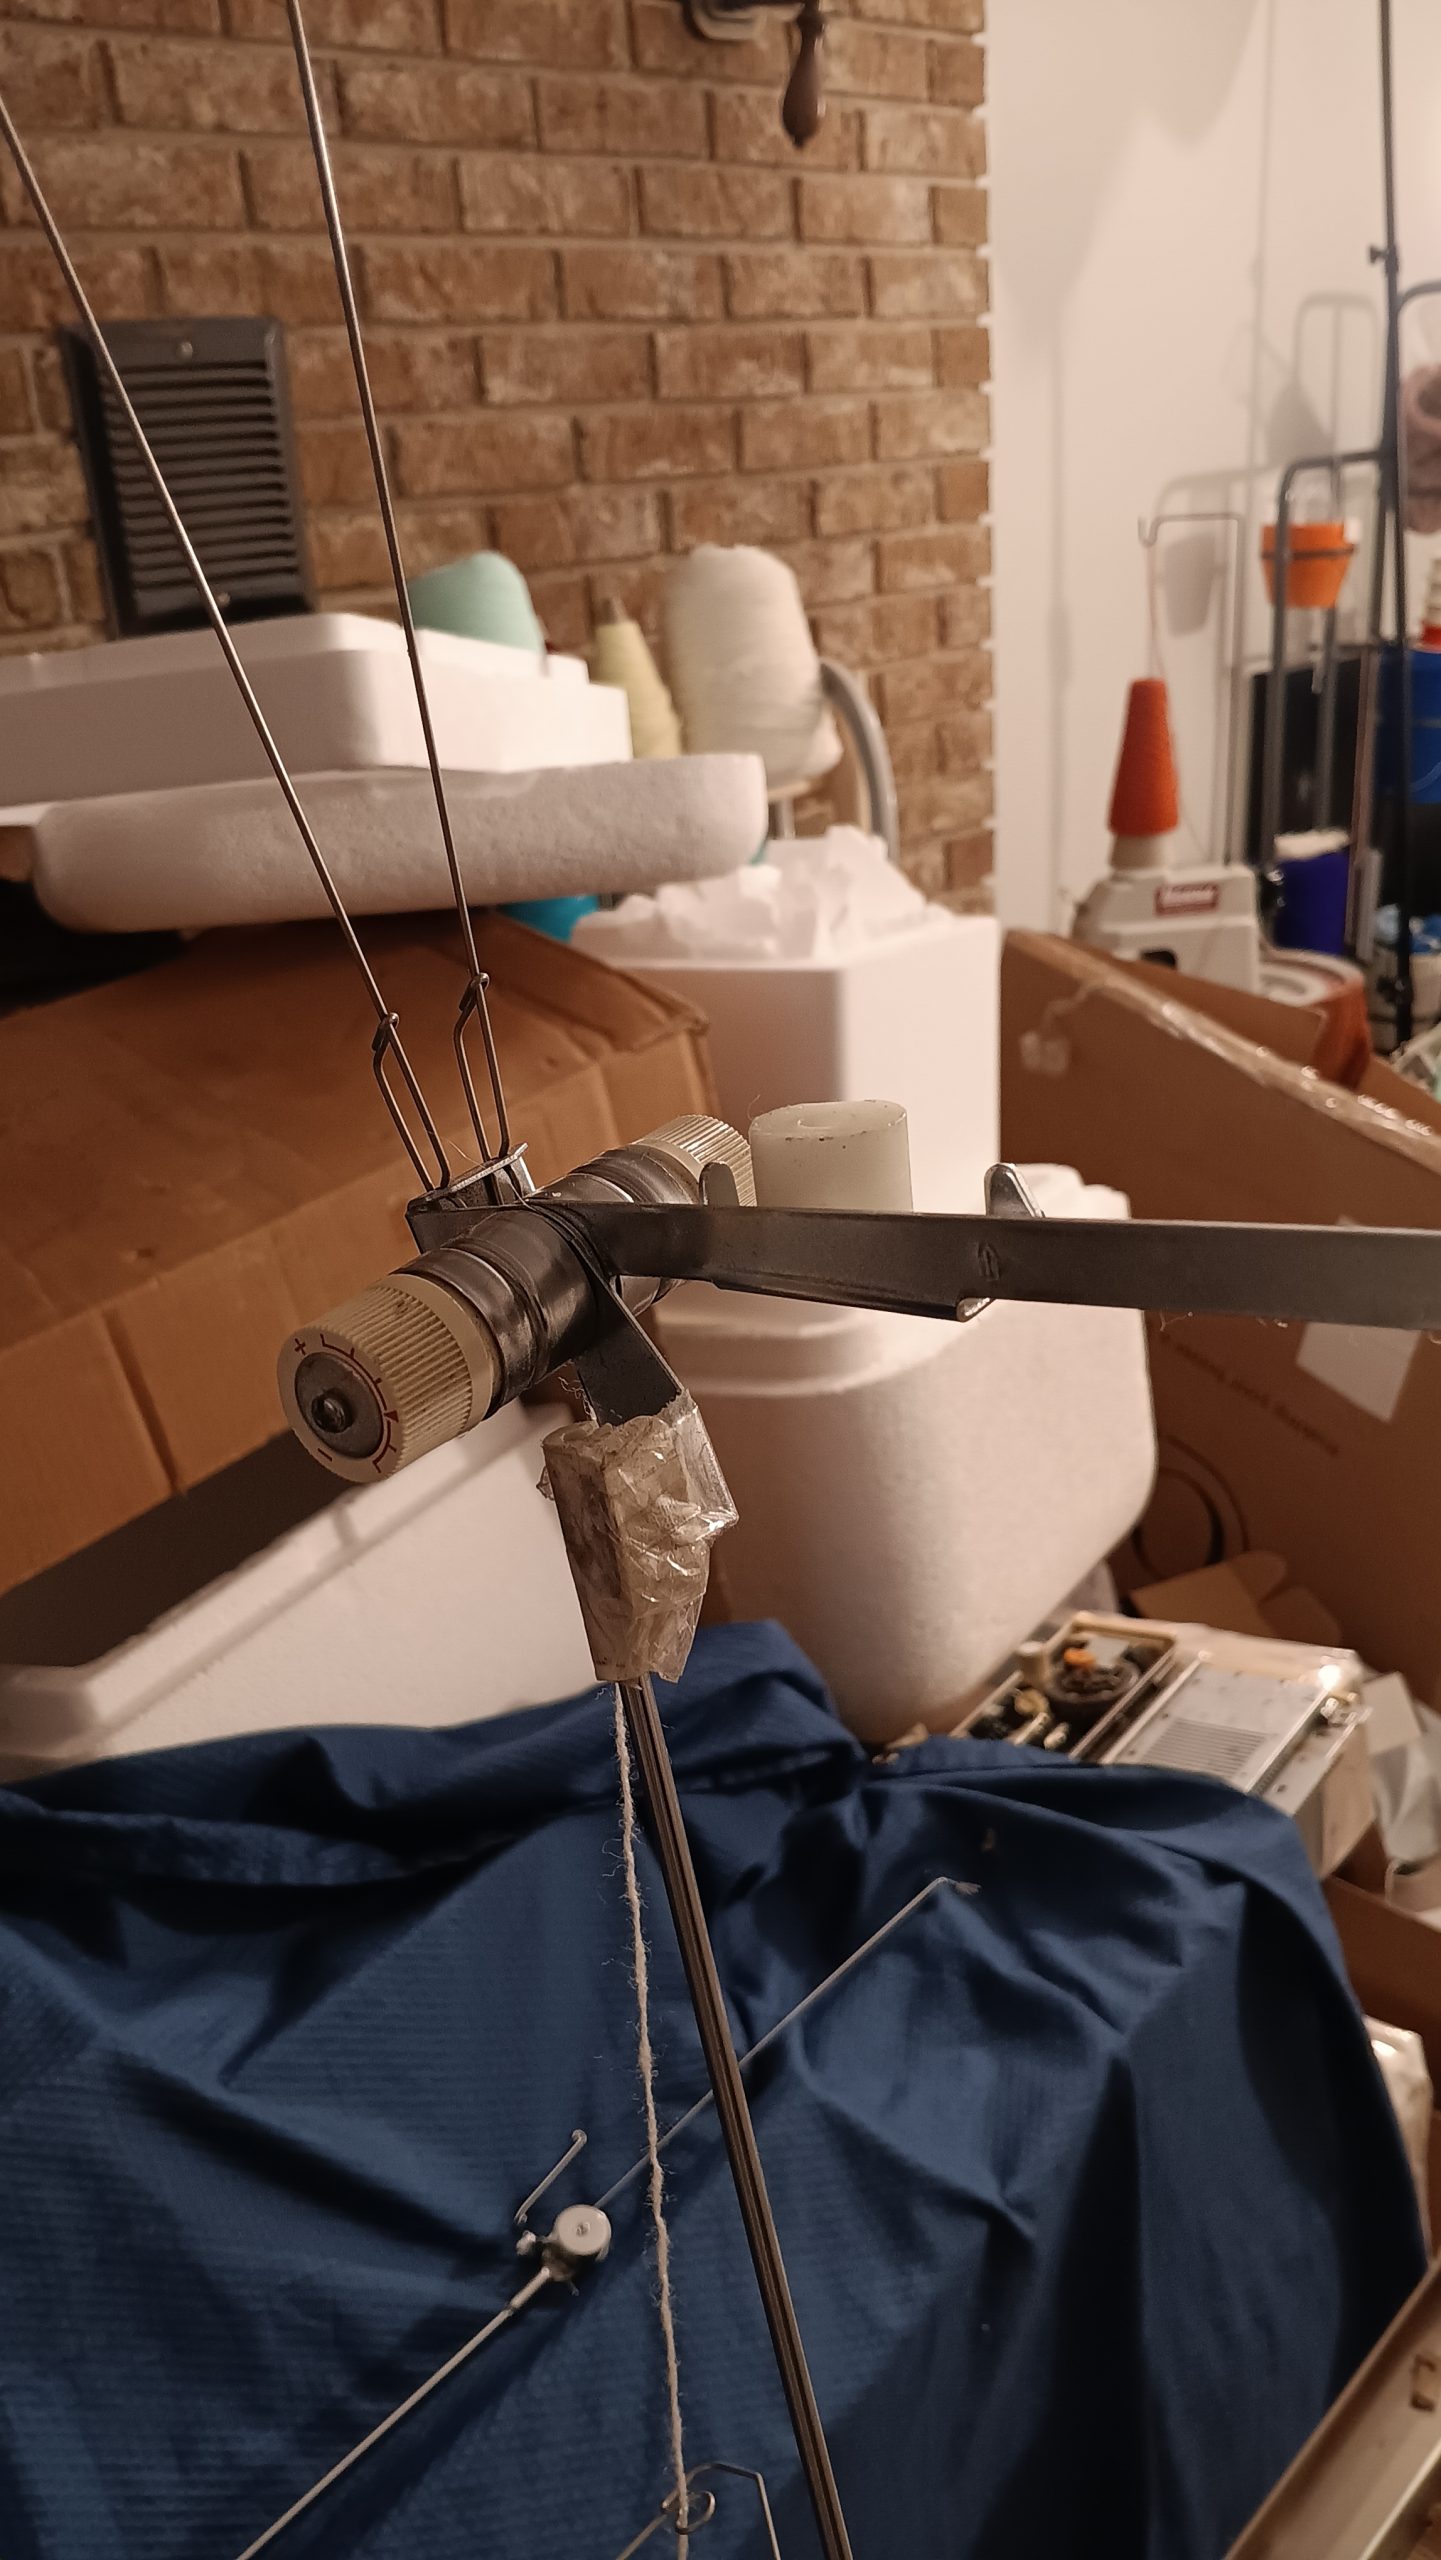
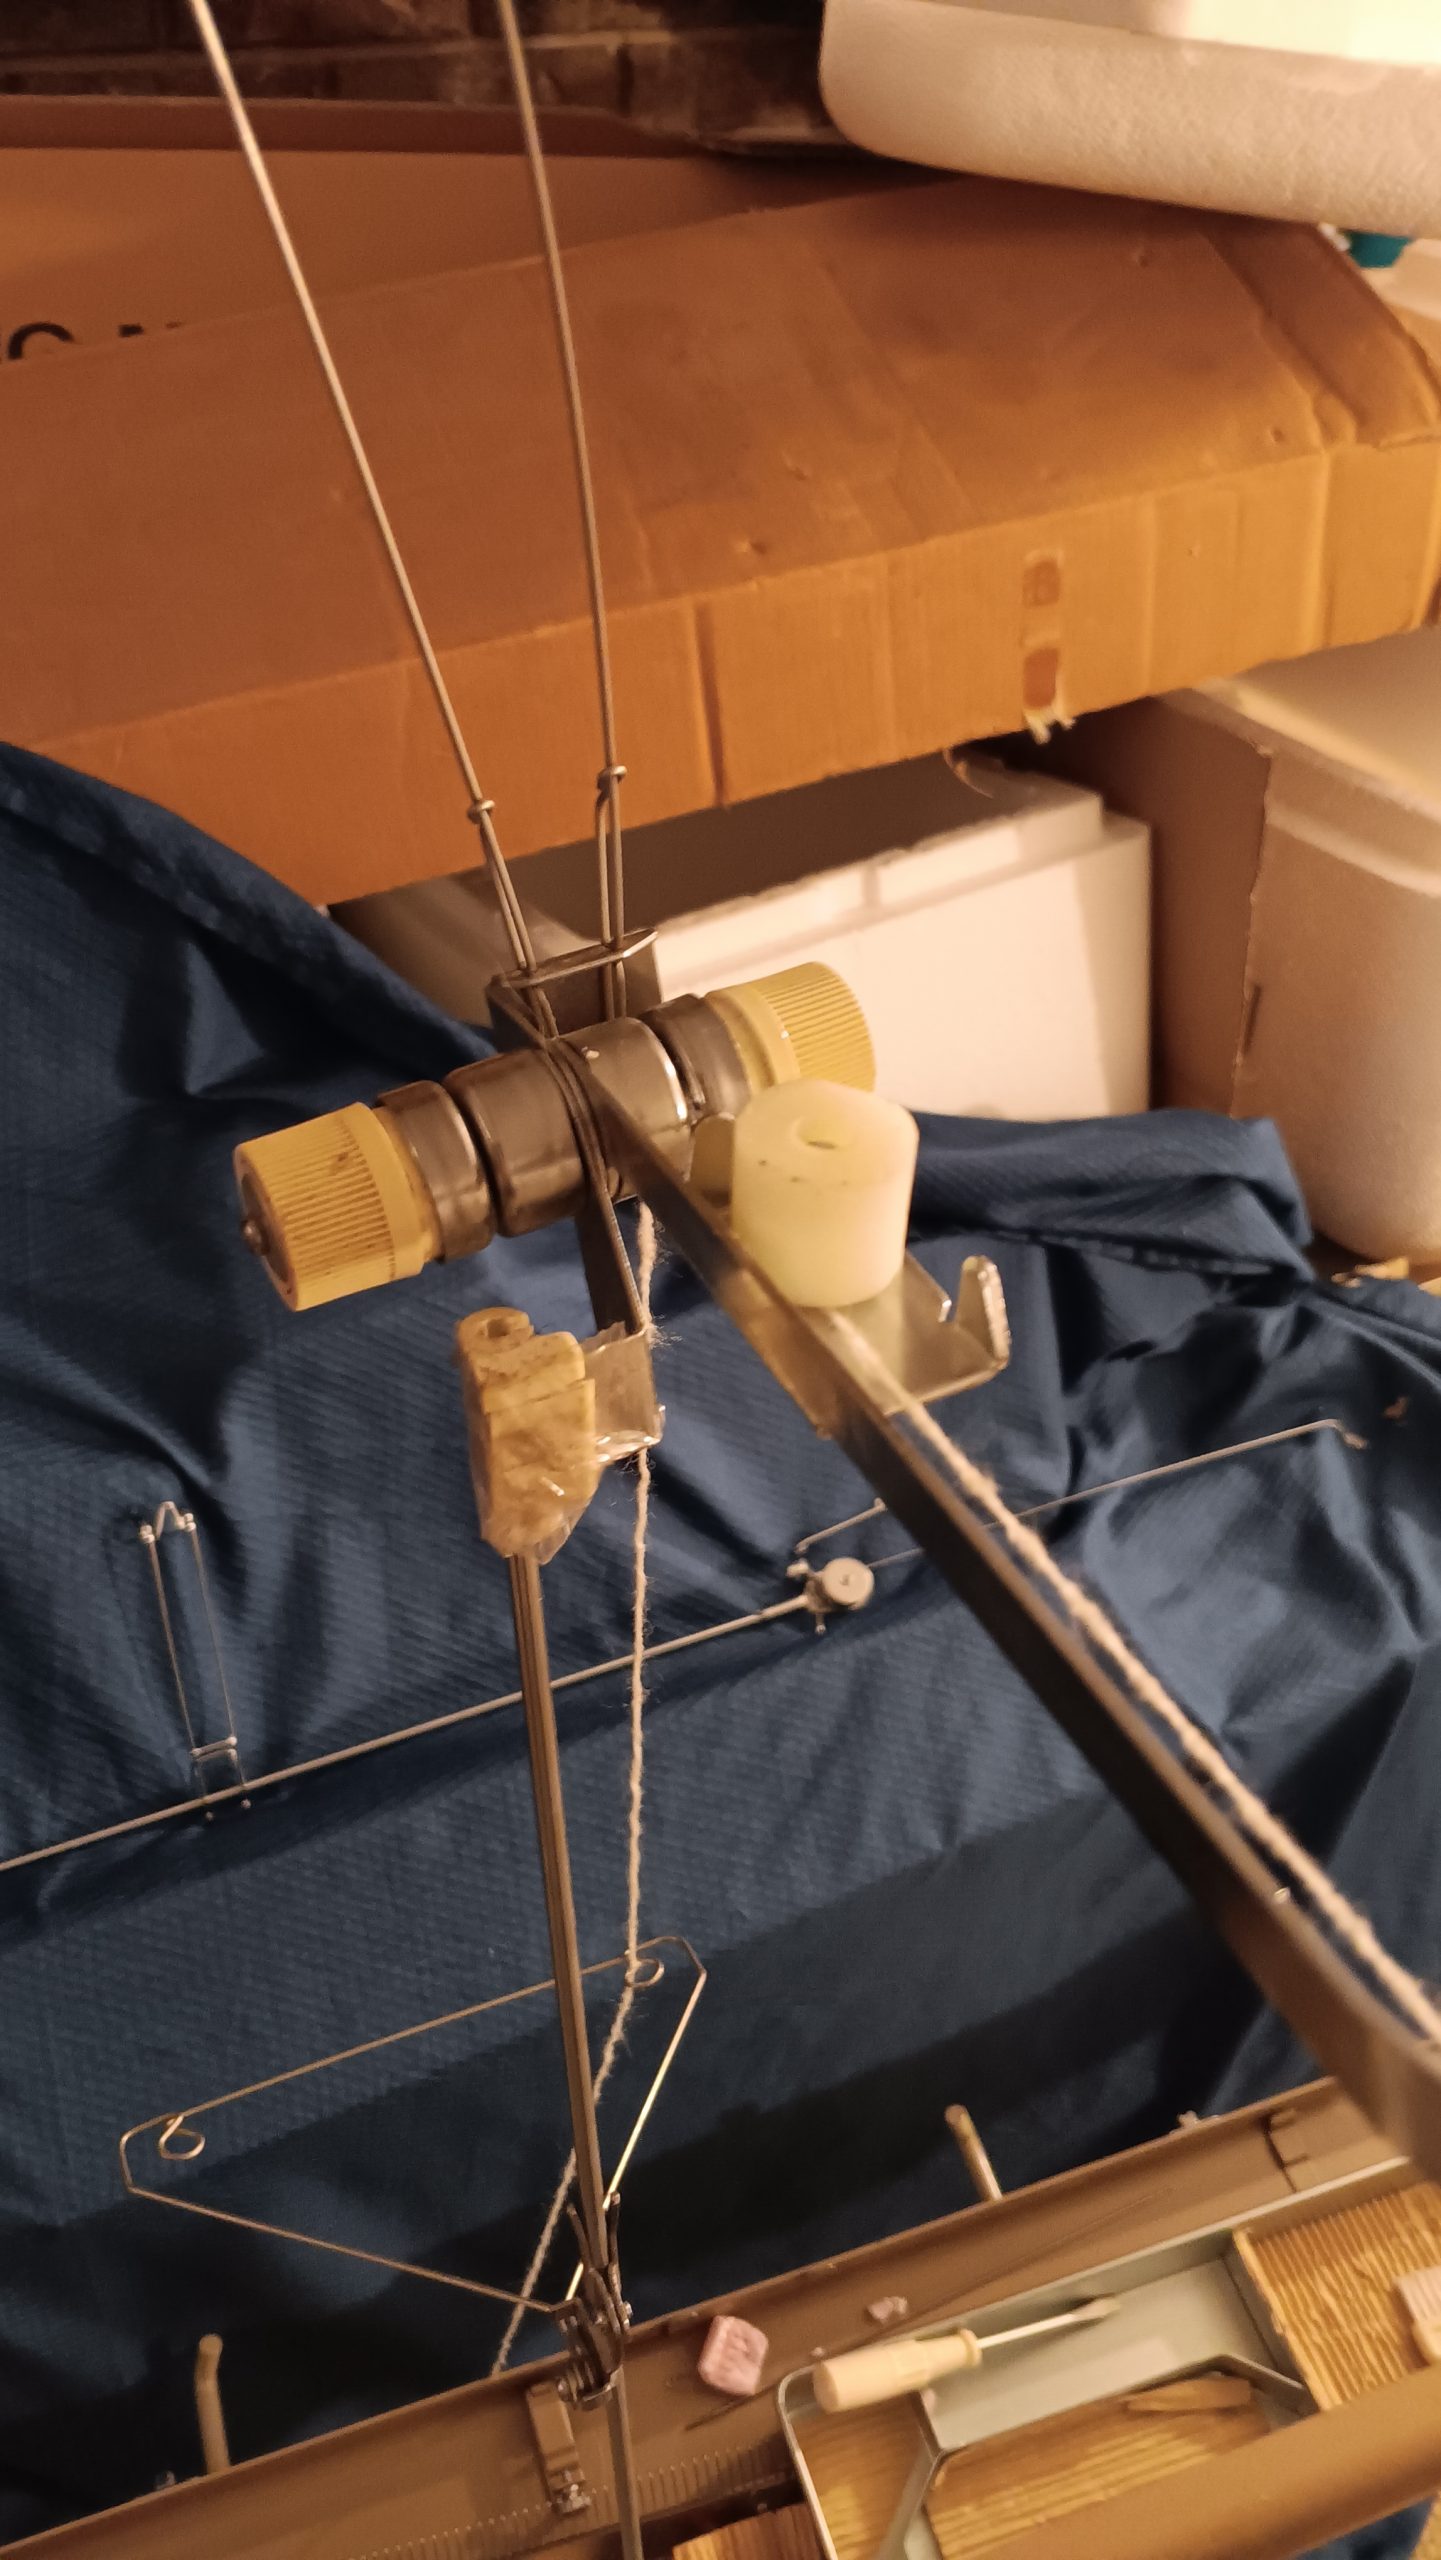
The tension mast is new (new stock) and never used.

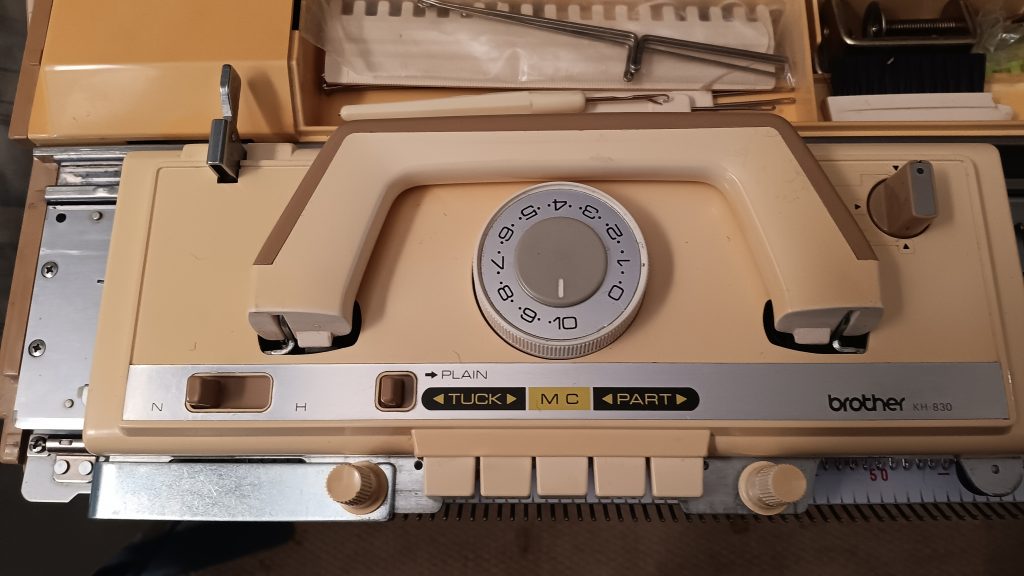
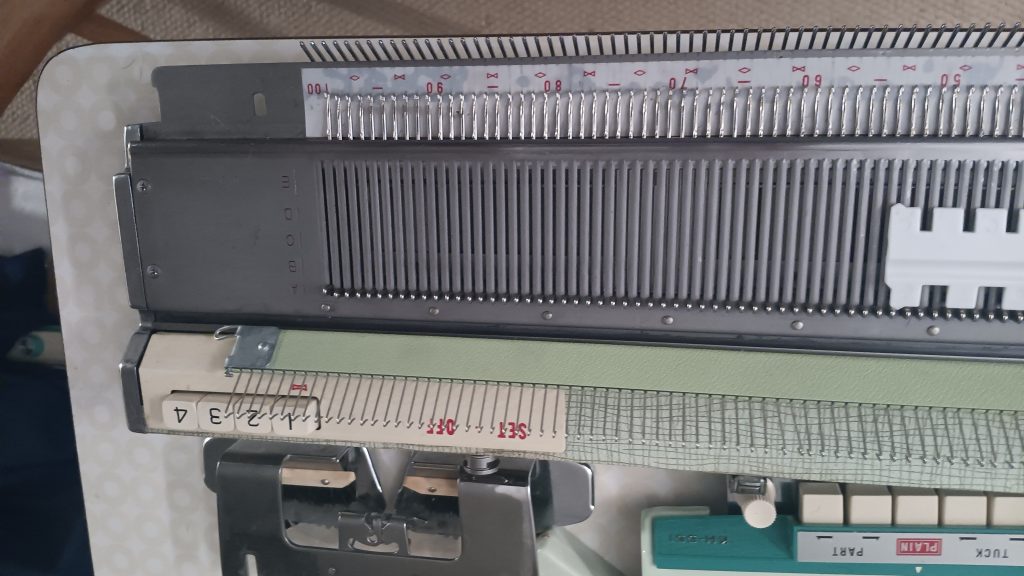
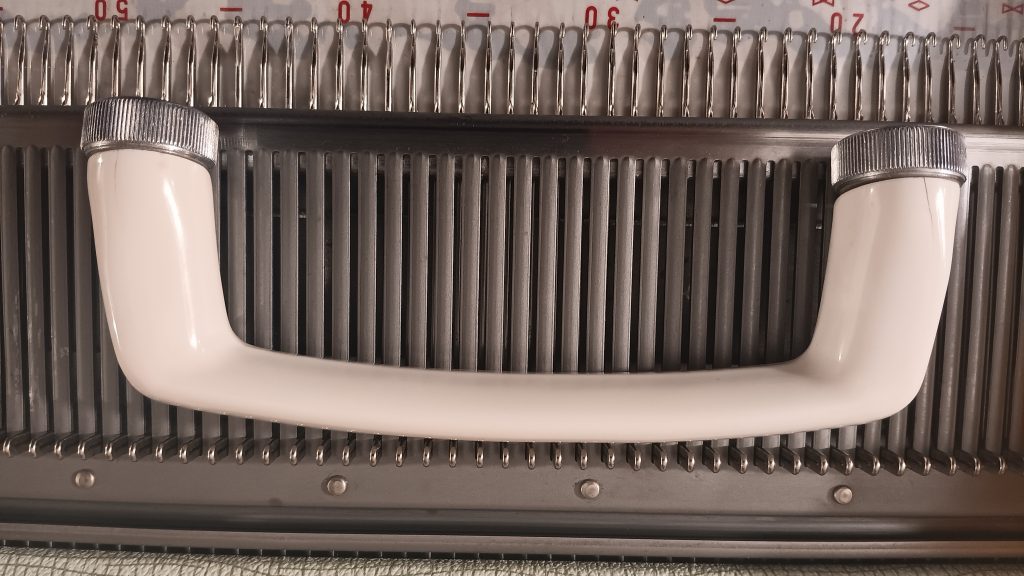
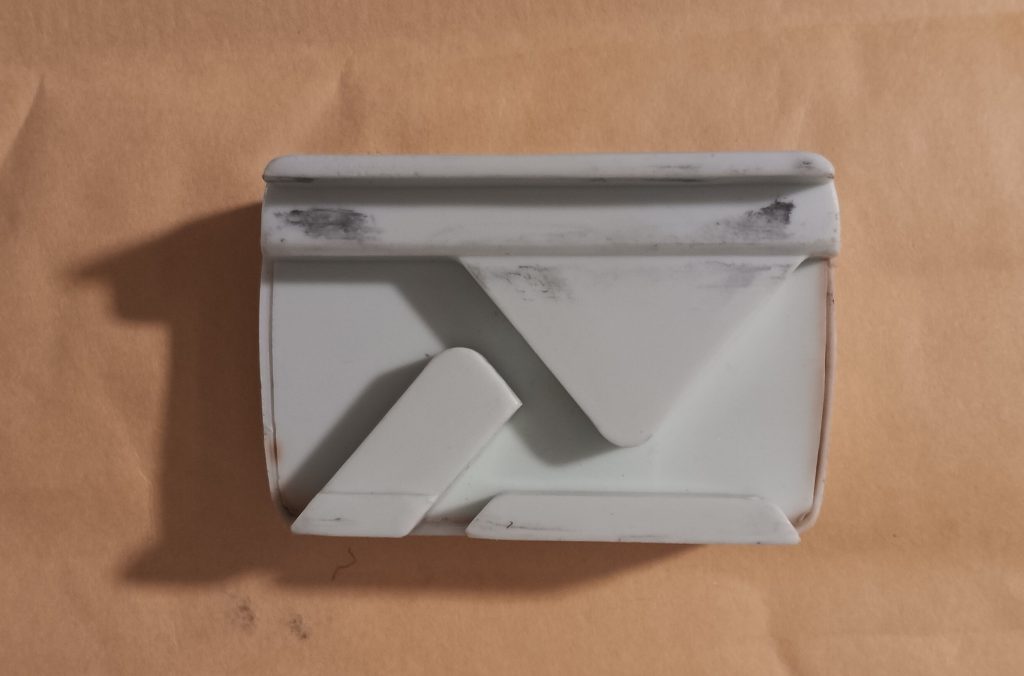
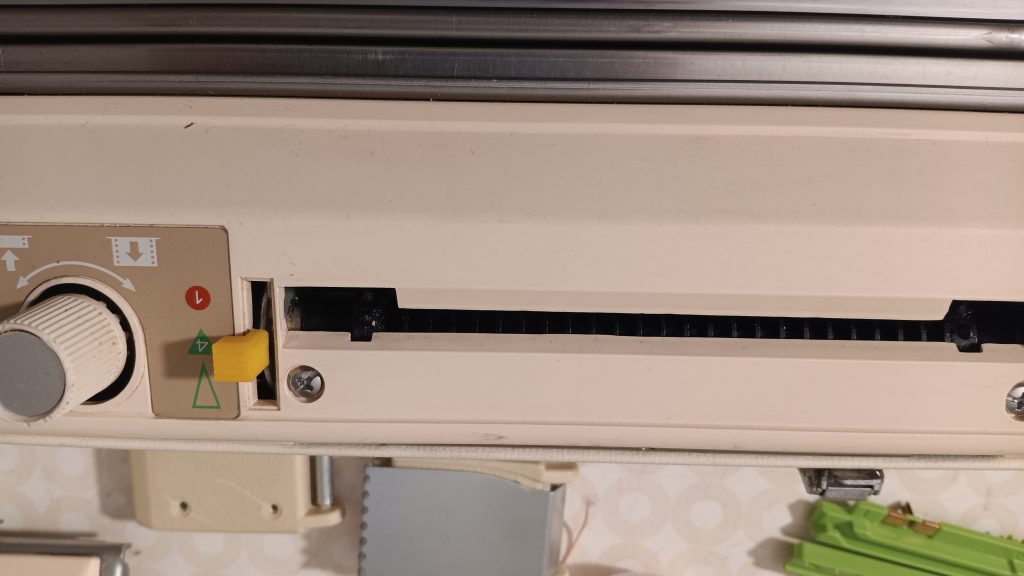
The punchcard knob cover is a 3D replacement. The original white one was cracked and did not sit securely.
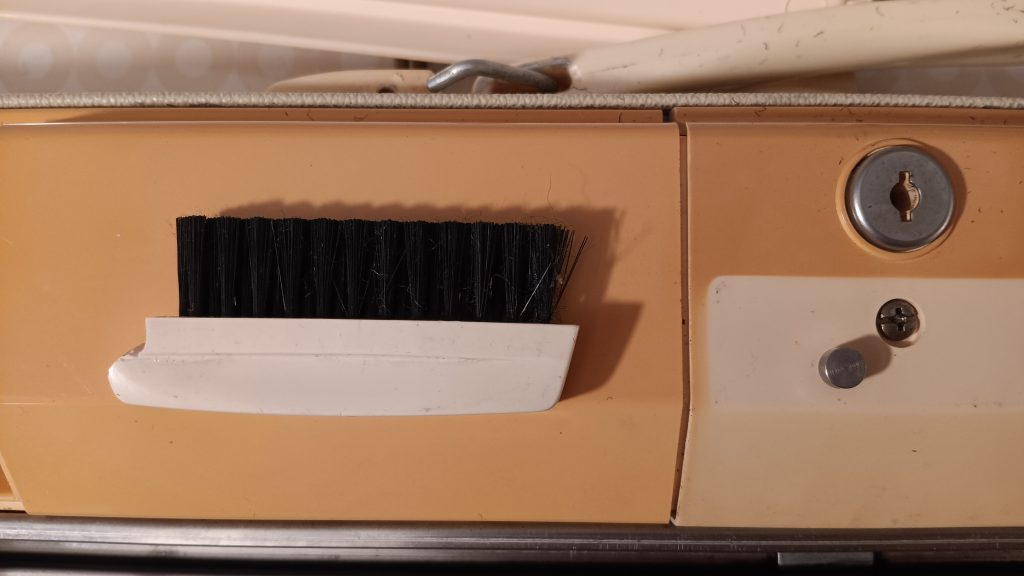
The carriage lock is also new (new stock).

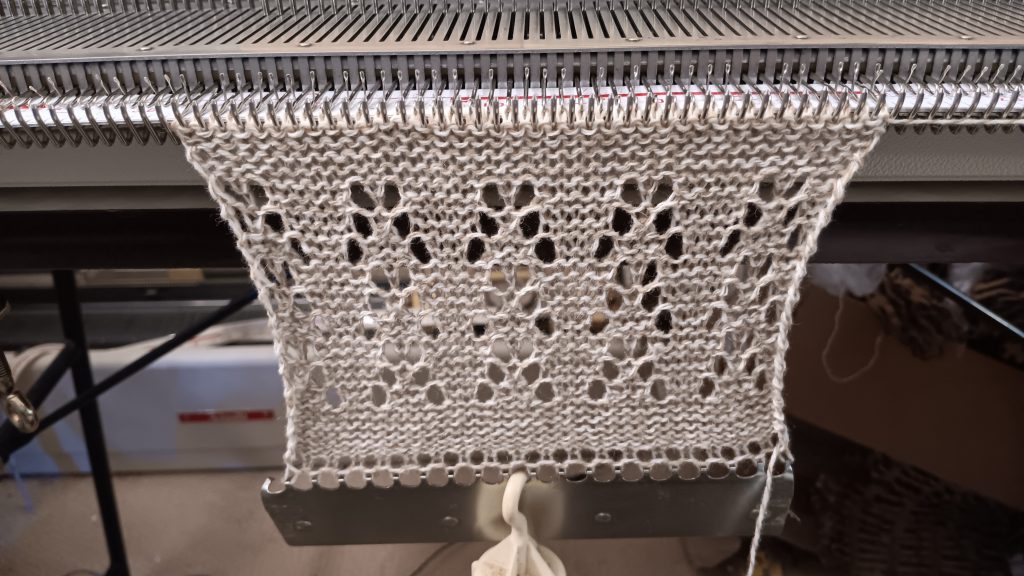
The lace carriage works great too (see the video).
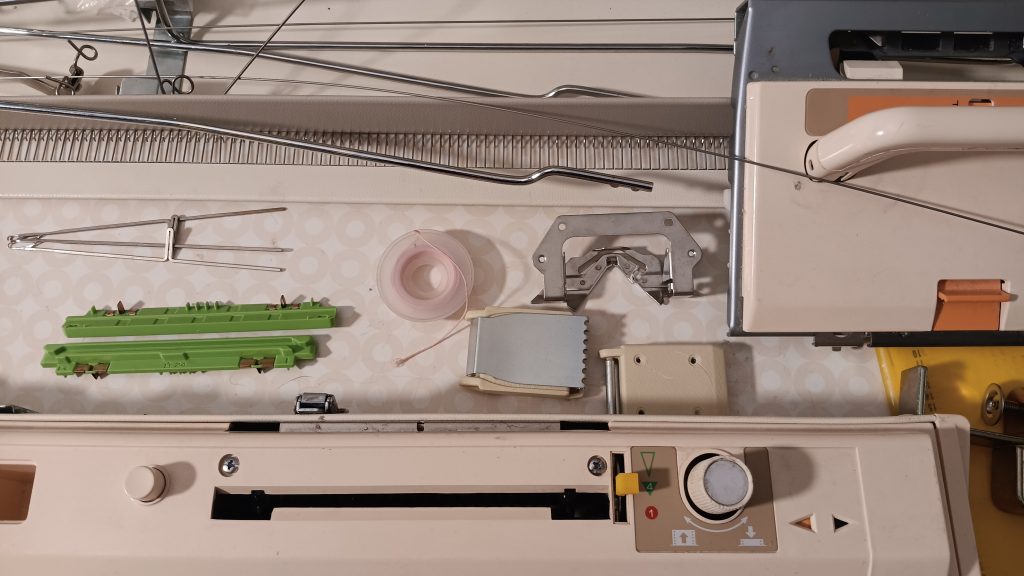
The extension rails are also new. I knitted on this machine using them and they fit well.
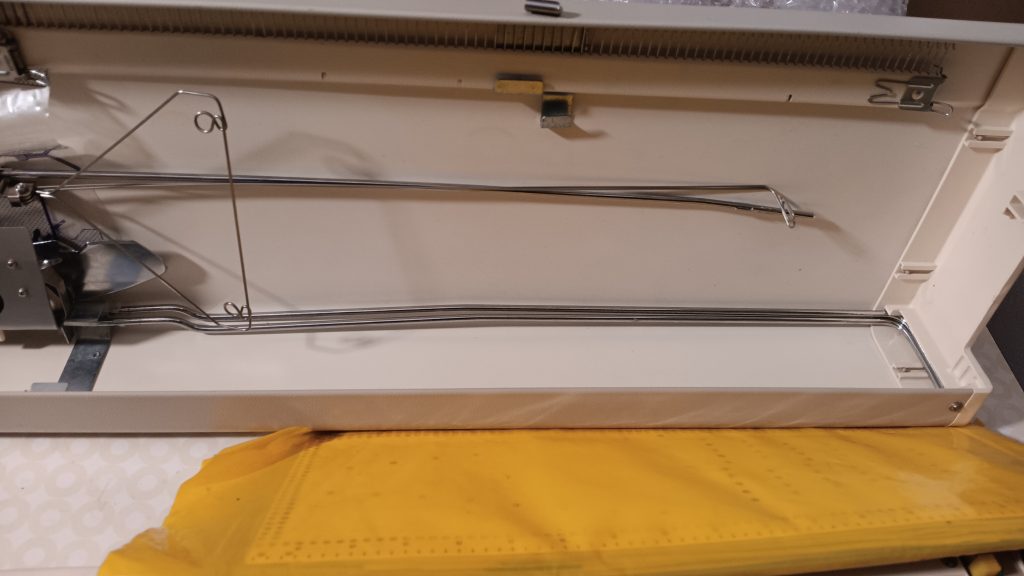
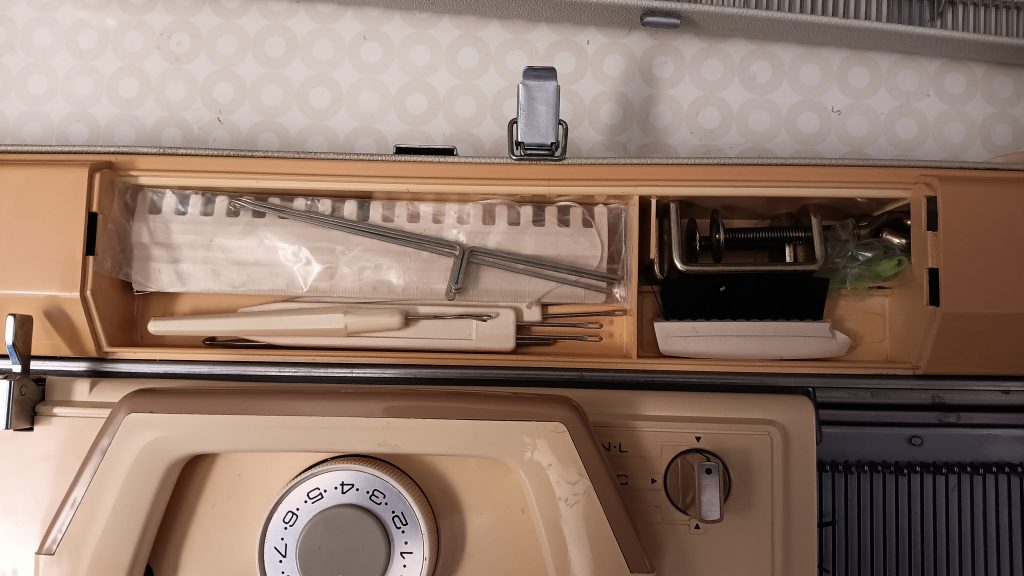
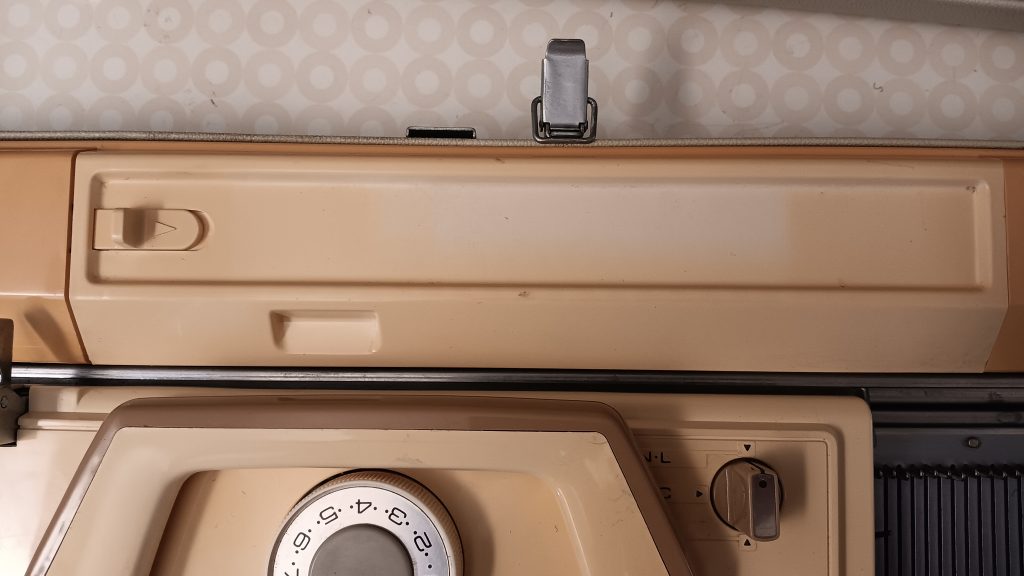
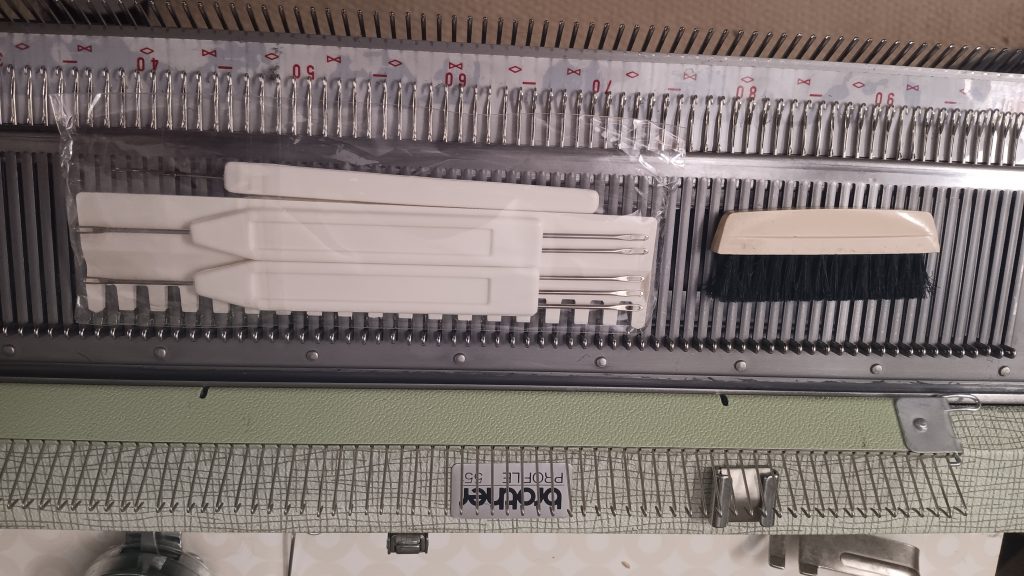
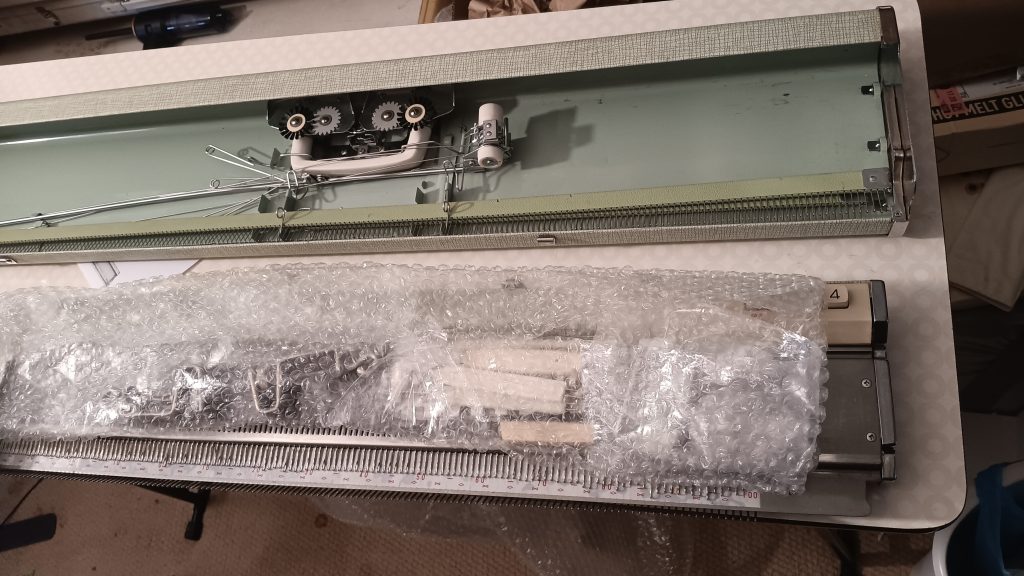
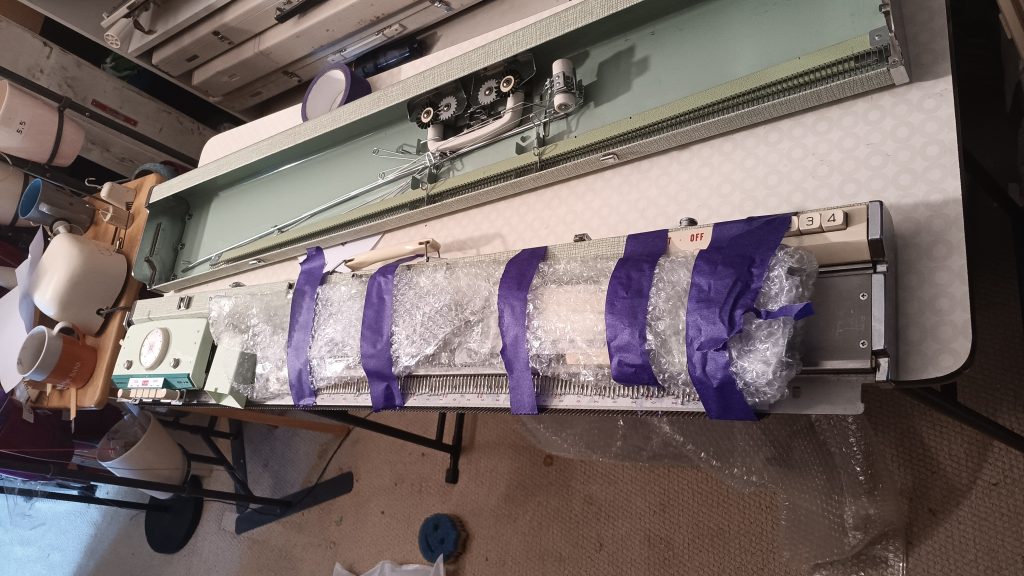
All accessories are stored inside a built-in toolbox.

All major accessories fit inside the lid.

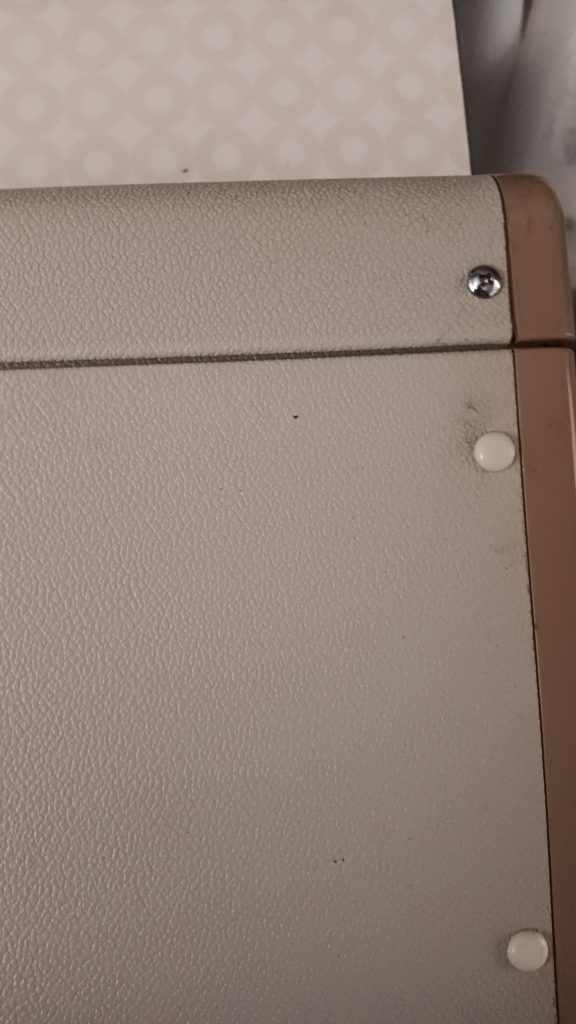
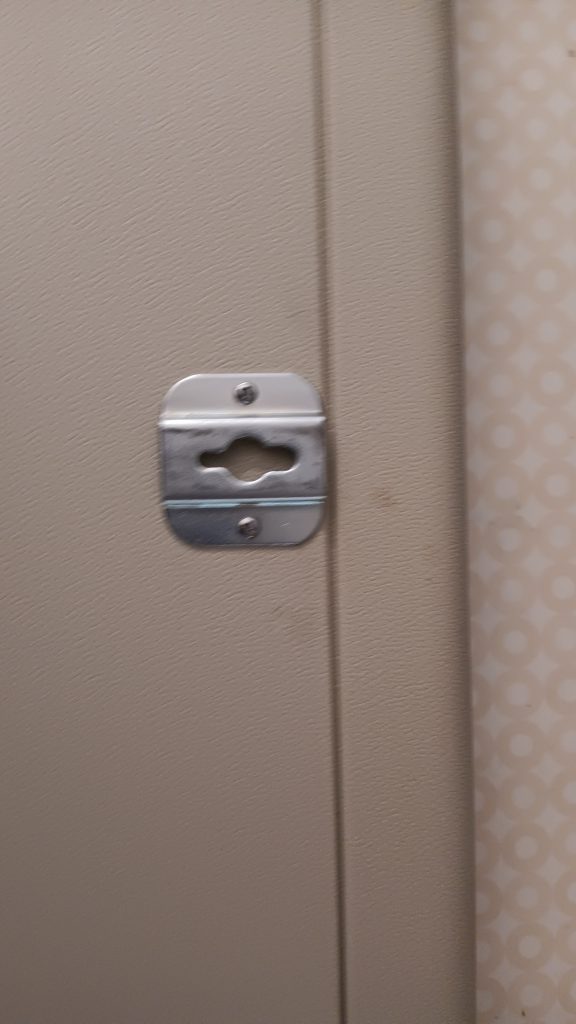
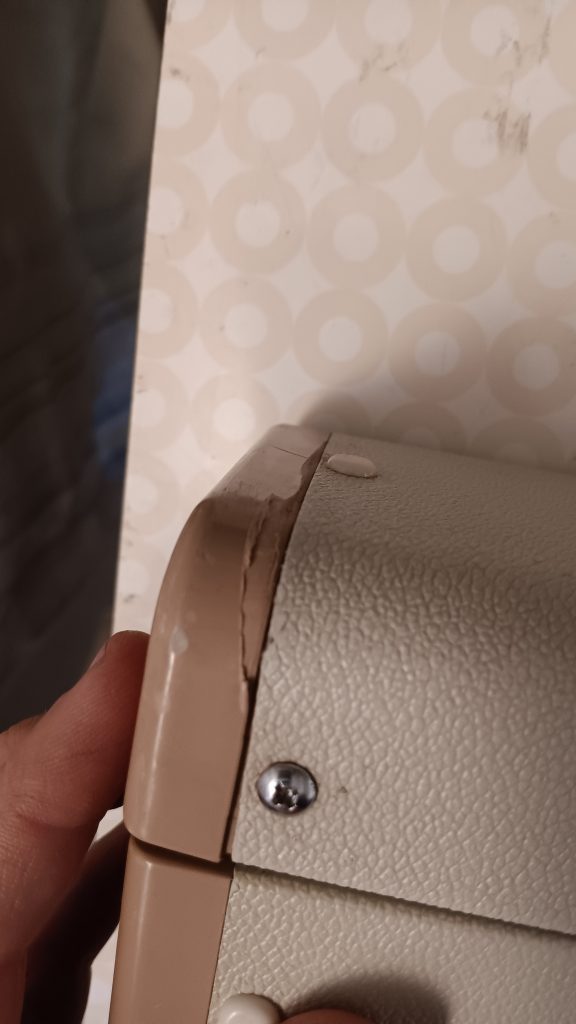
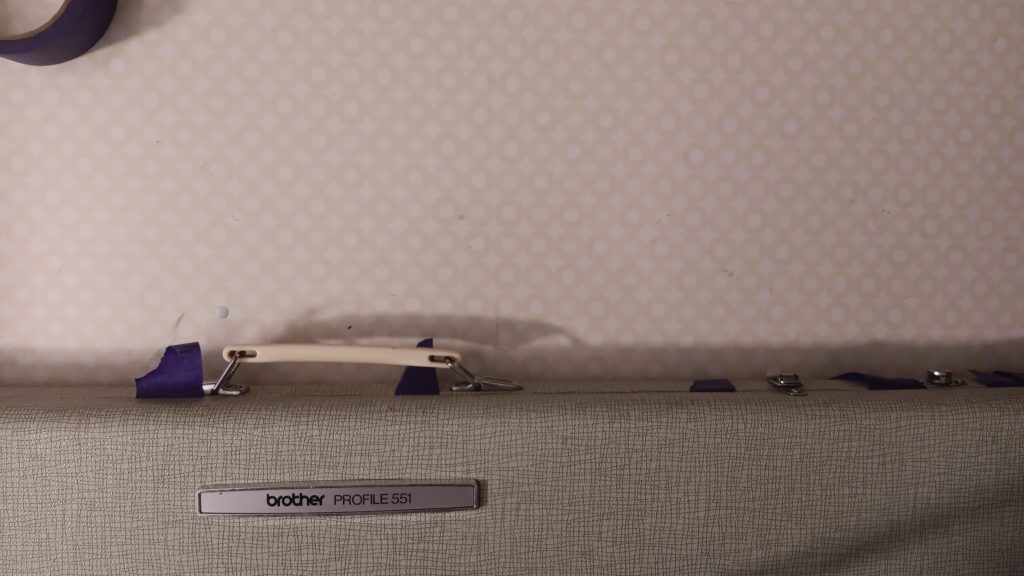
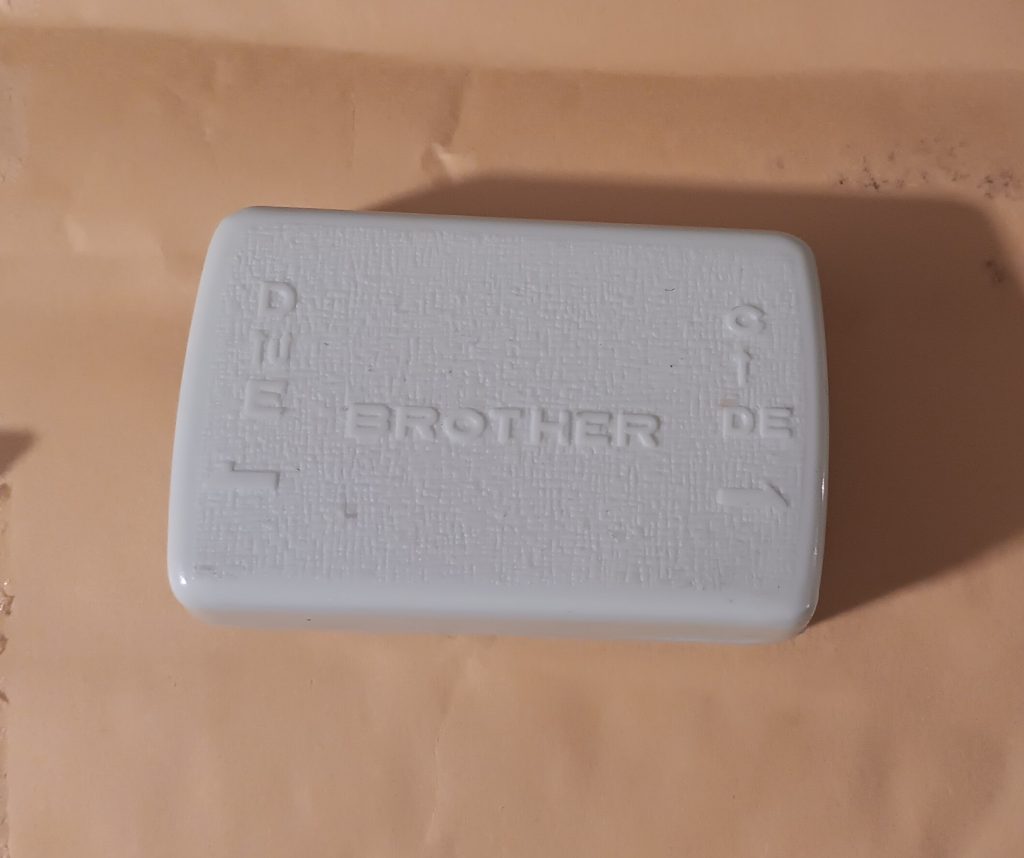
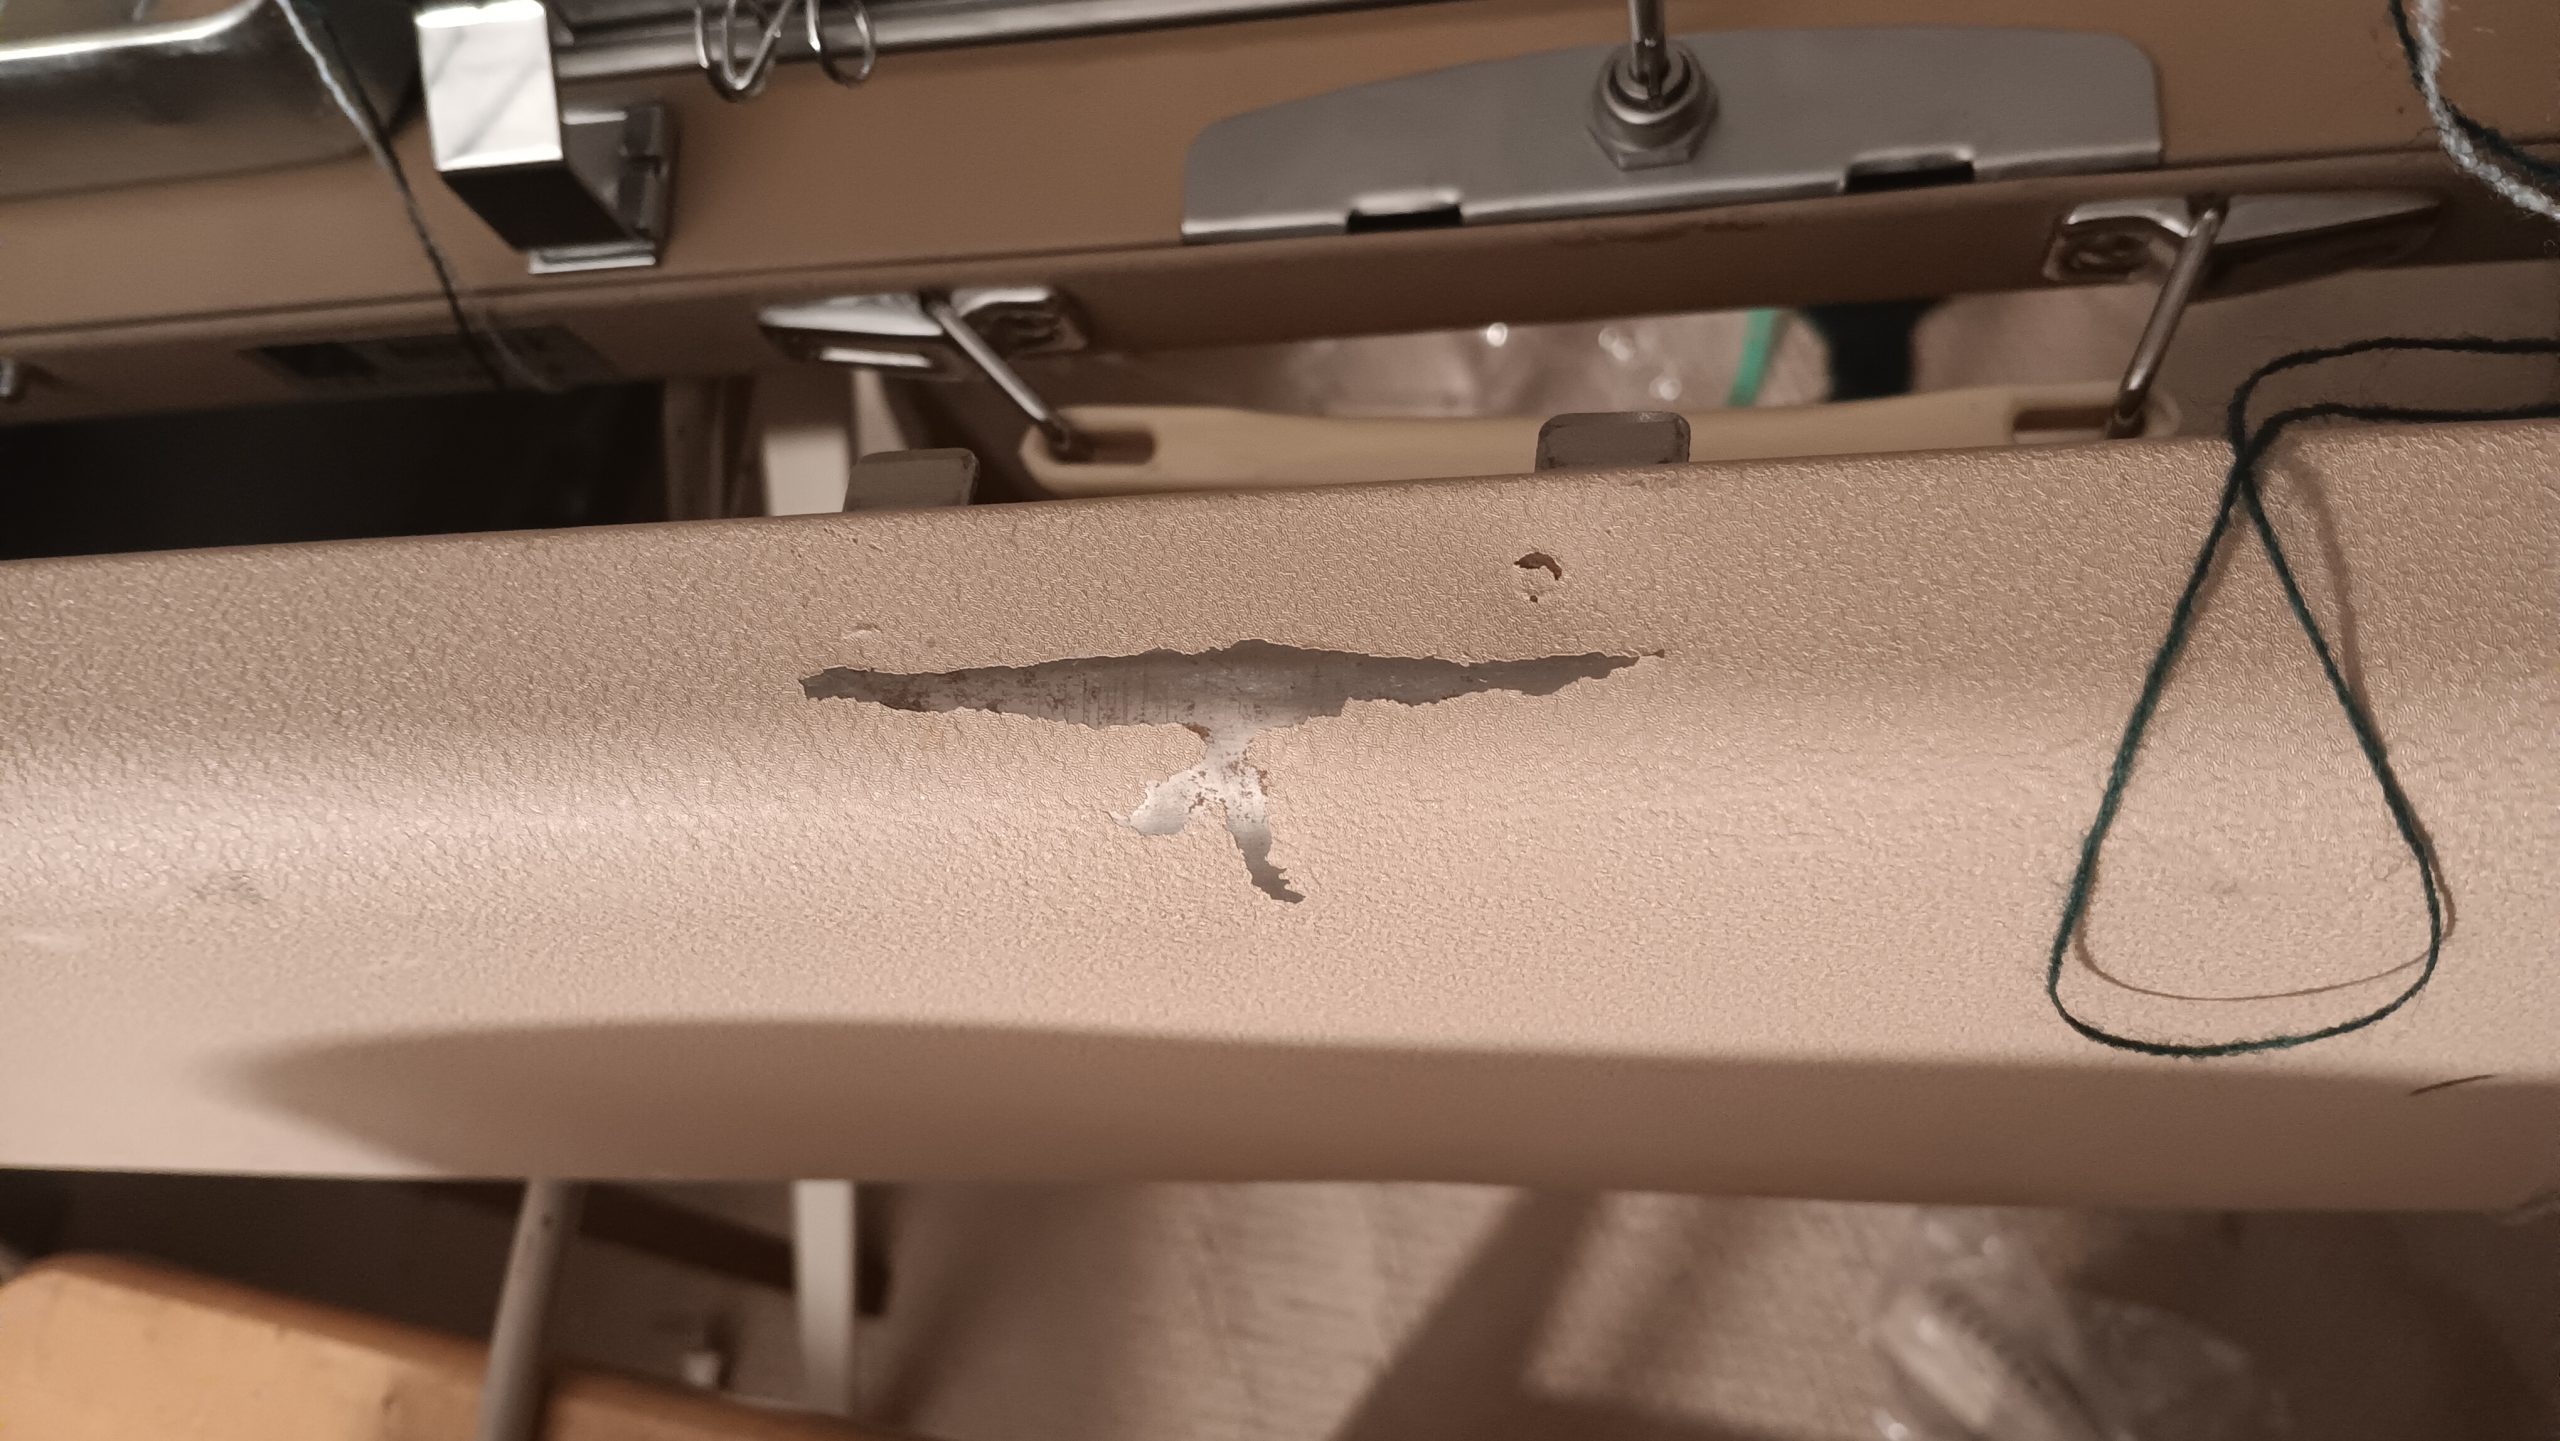
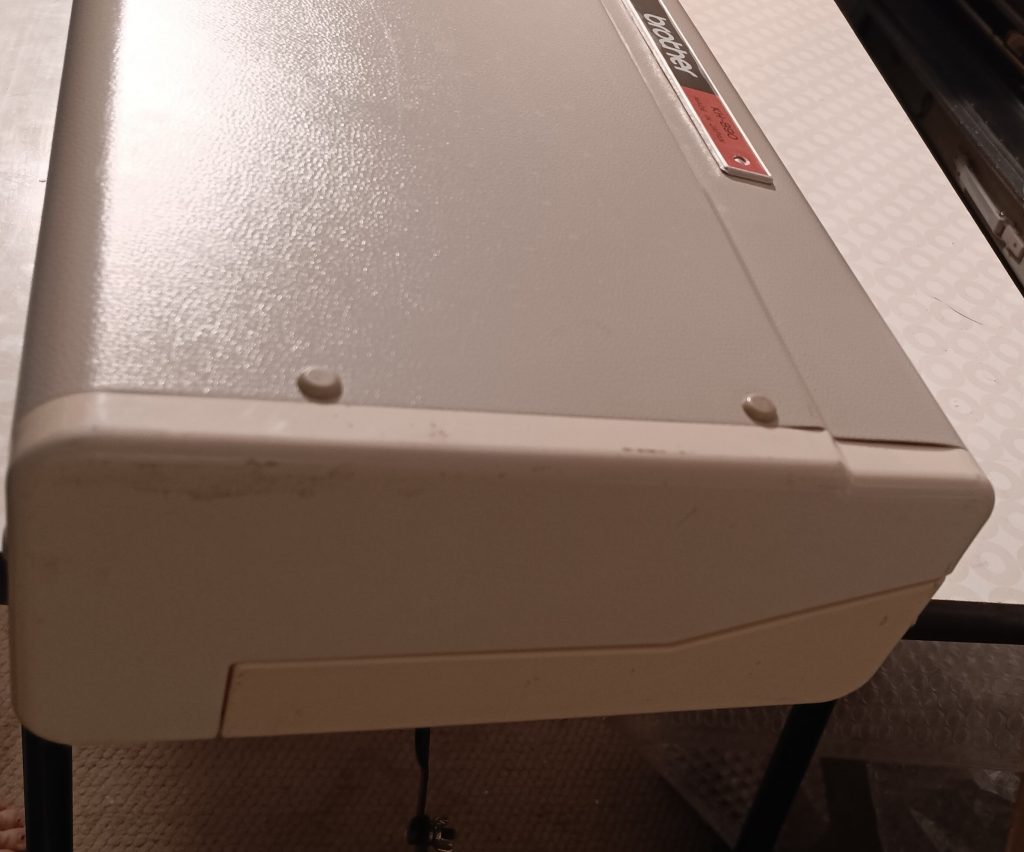
Well, talking about the lid: the original lid is still in rough shape, and instead of delaying the delivery of the machine, I am including a spare lid I have, but it is from KH891.
But because it is not the original lid, there is a color difference.
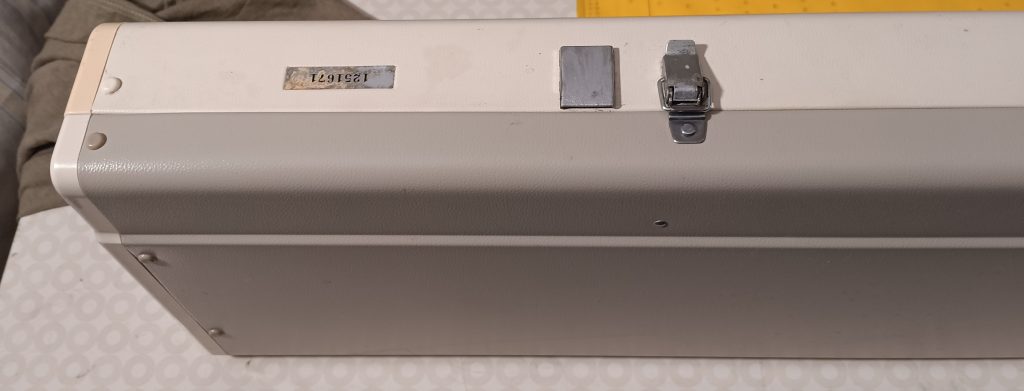
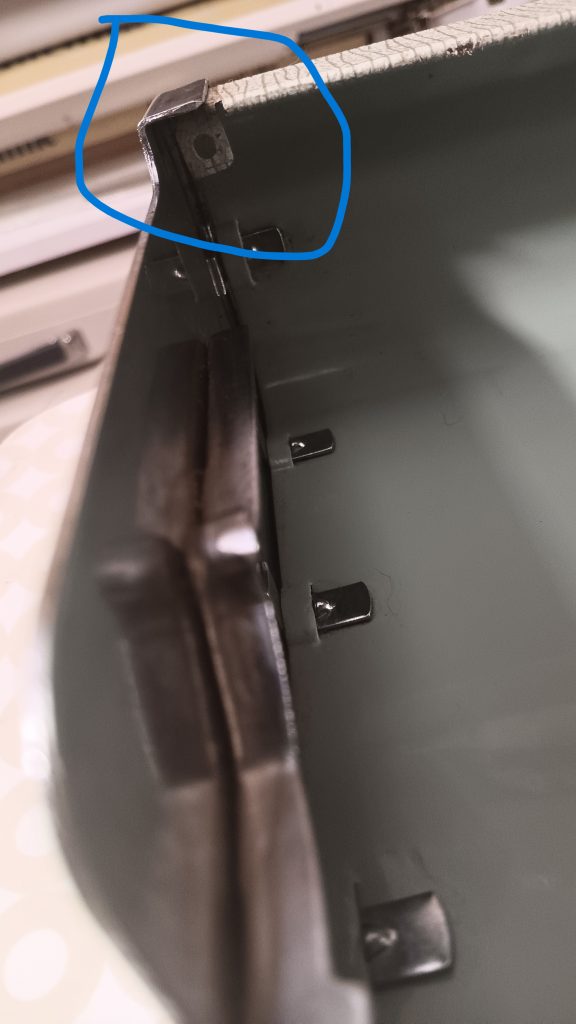
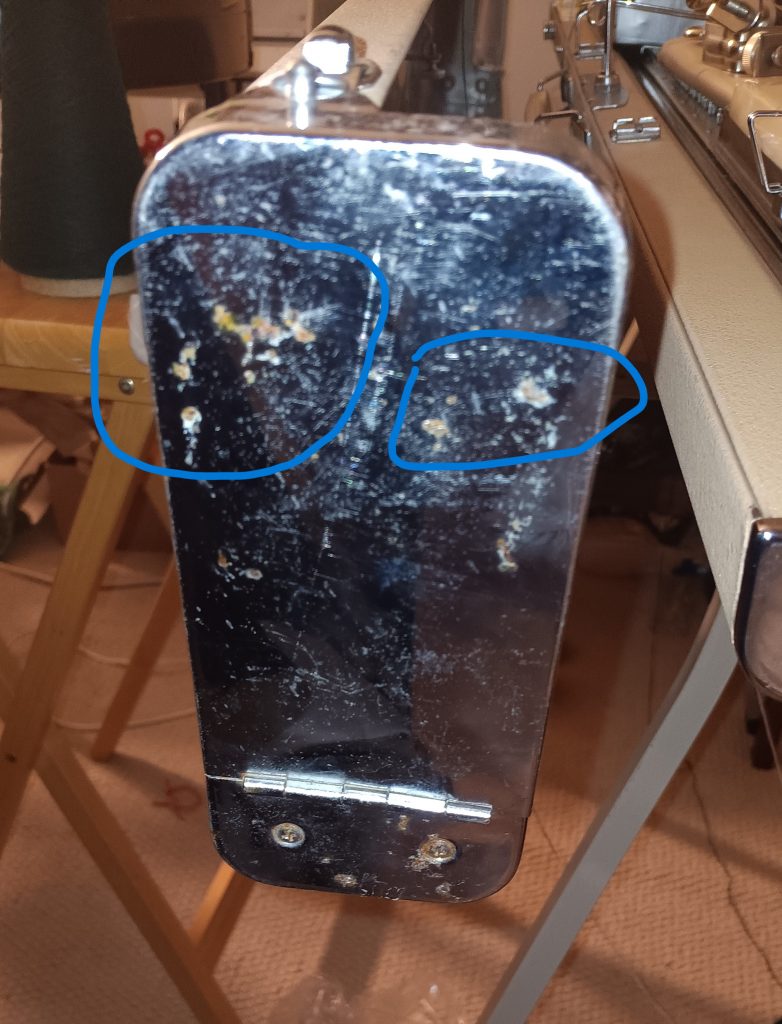
It is in great shape with only some minor imperfections (not all shown).
There are a couple of other imperfections that you should be aware of.
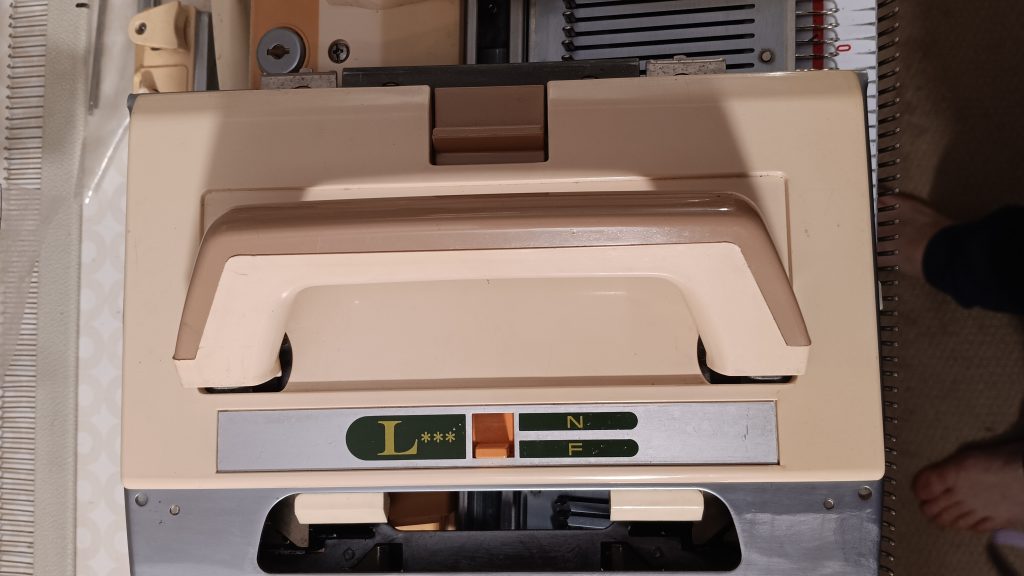
I took parts for the carriage from another carriage. Thus, there are some color differences.

Because the machine and the carriage were deep-cleaned with cleaning oils, you might see some oil bleeding onto the needlebed. Just wipe the stains with a dry absorbing cloth.
The tension mast might be a bit tight to insert, but push in gently.
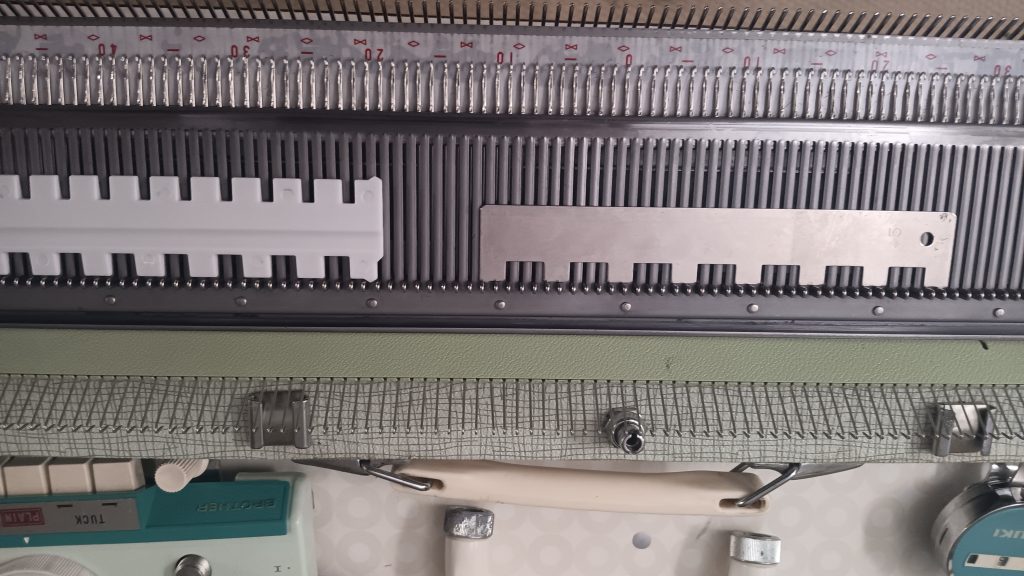
The small cast-on comb has minor bents but overall is straight and hangs on the stitches well.
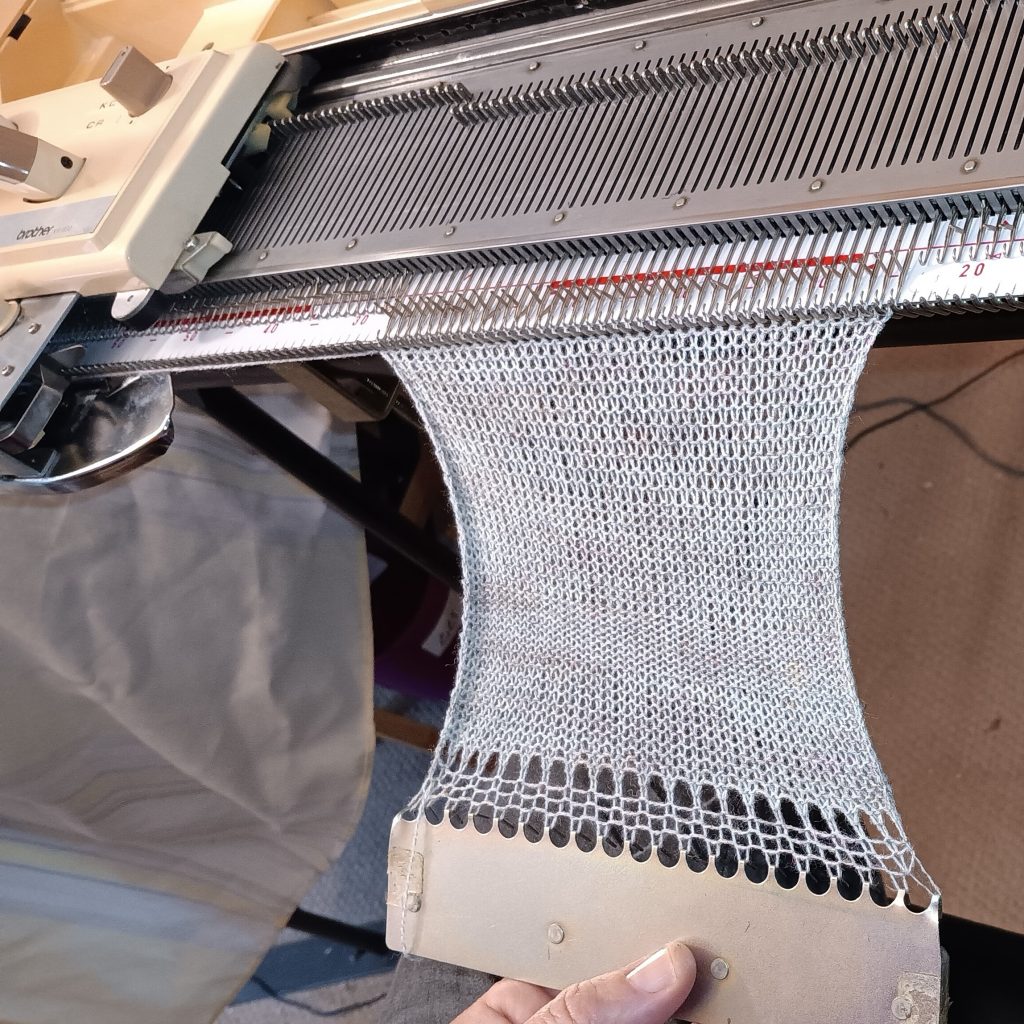
With regards to the tests on this machine (which are documented in this video): all (tuck, slip, fair-isle, and lace knitting) went really well. I made sure that I had consecutive 20-30 rows of patterning to avoid “hidden” issues, and there were indeed none.
The tests were done on the full bed to demonstrate even tension across the bed, that all needles form correct stitches, and that the carriage slides well across the full bed. I used card #1 because it is the easiest pattern to see any mispatterning. I also like to start with the tuck-stitch (after stockinet rows) because it reveals problems (with needles and their latches, with the carriage not passing the yarn correctly, etc.) right away. I am very pleased with the performance (even the ever problematic tuck stitch behaved really well!) and look of this machine. Hope you are too!