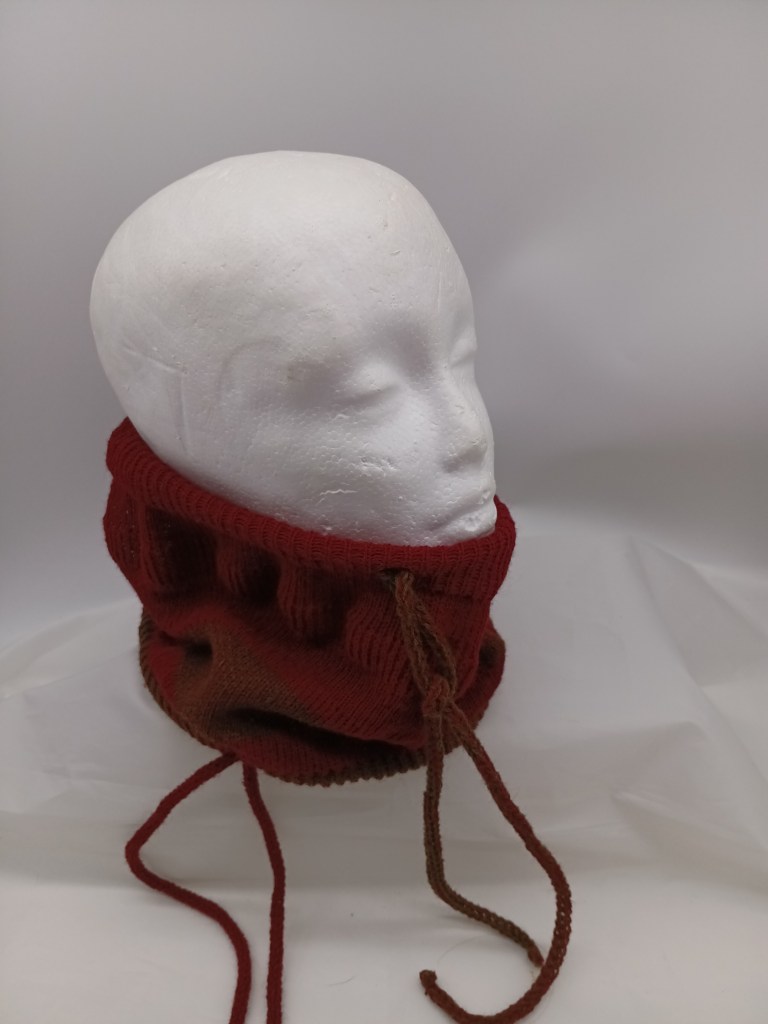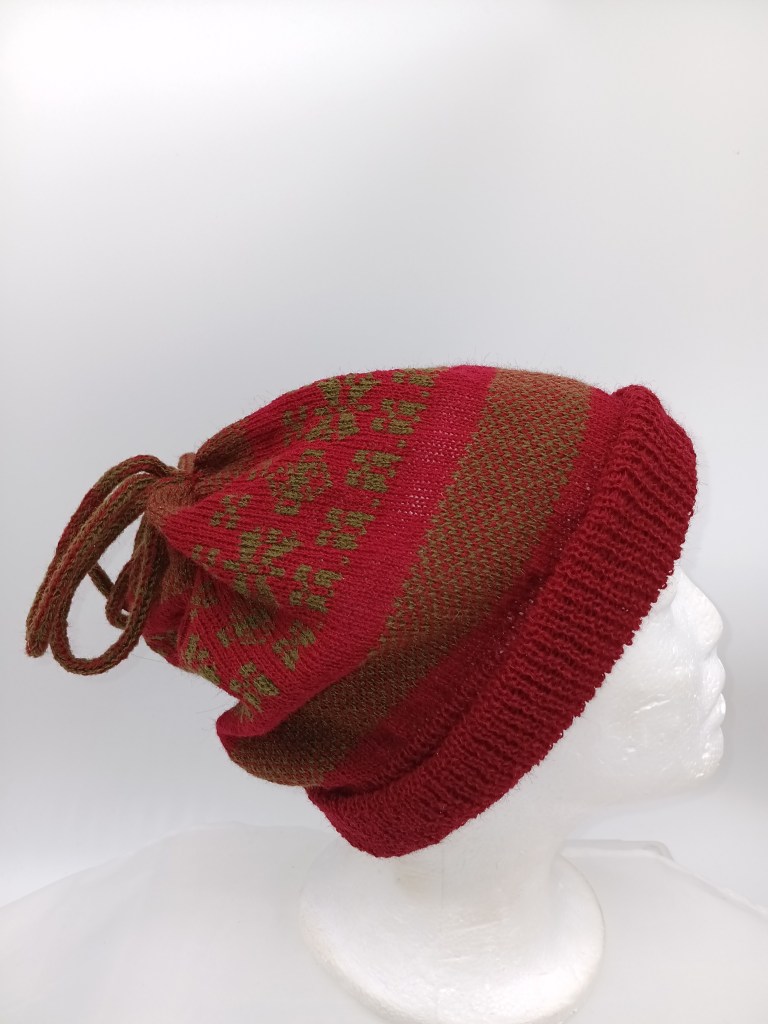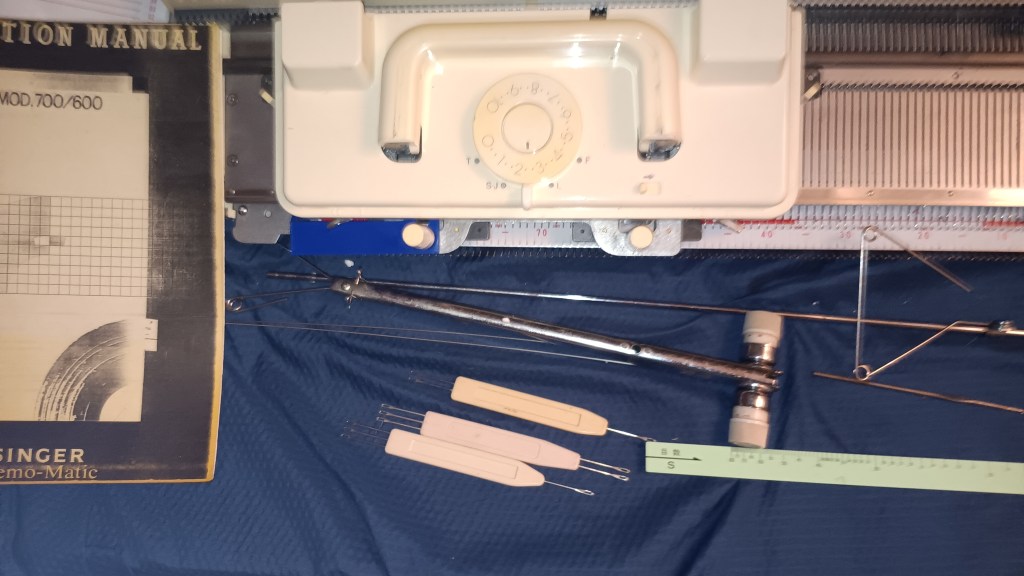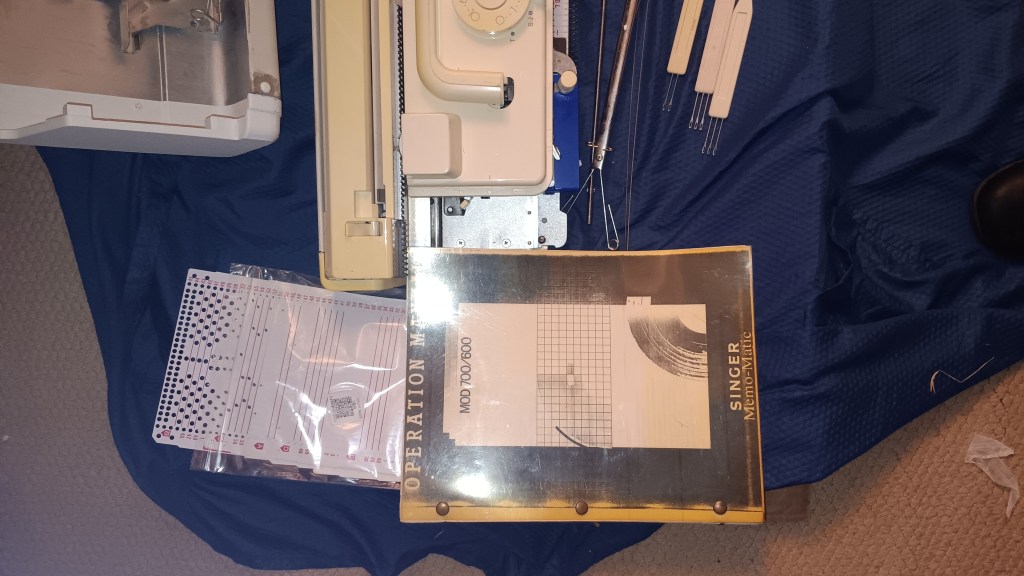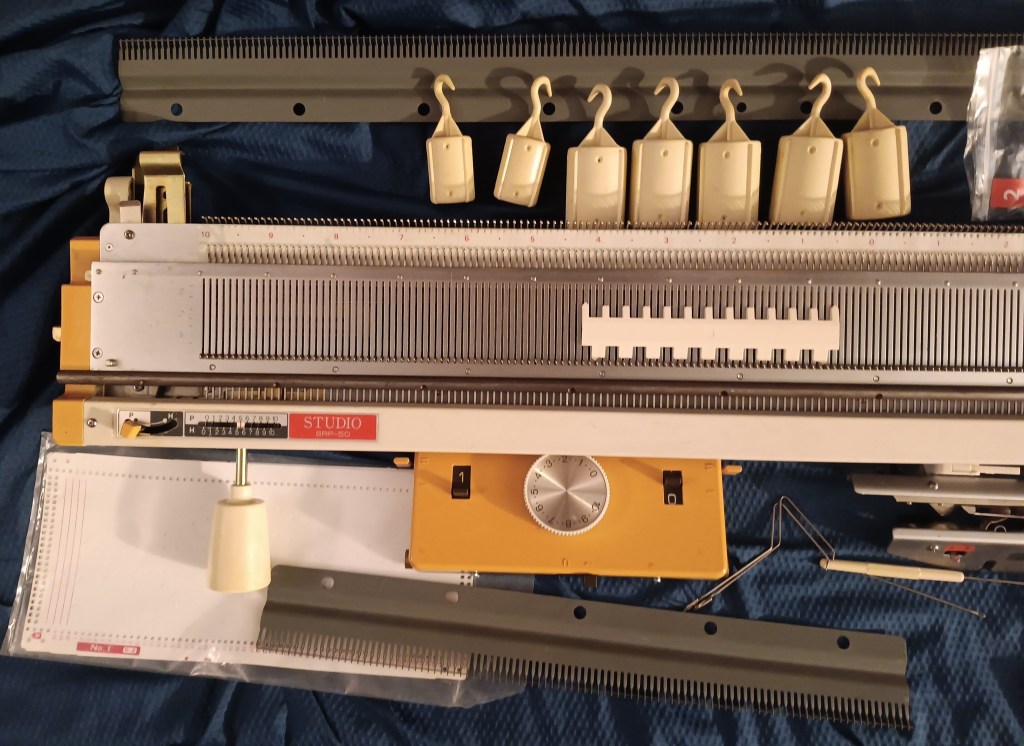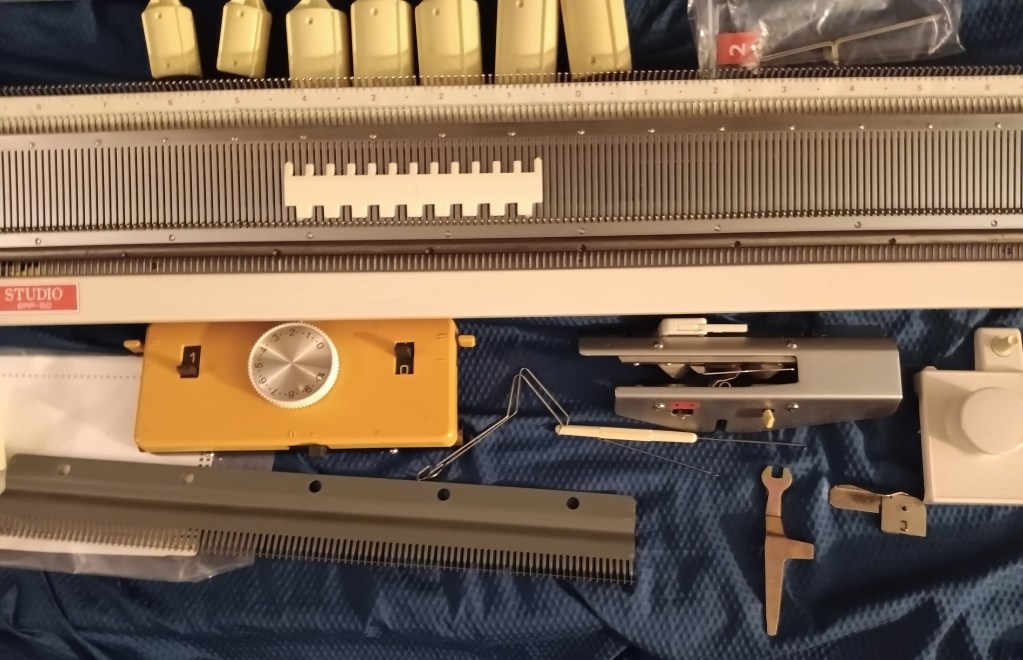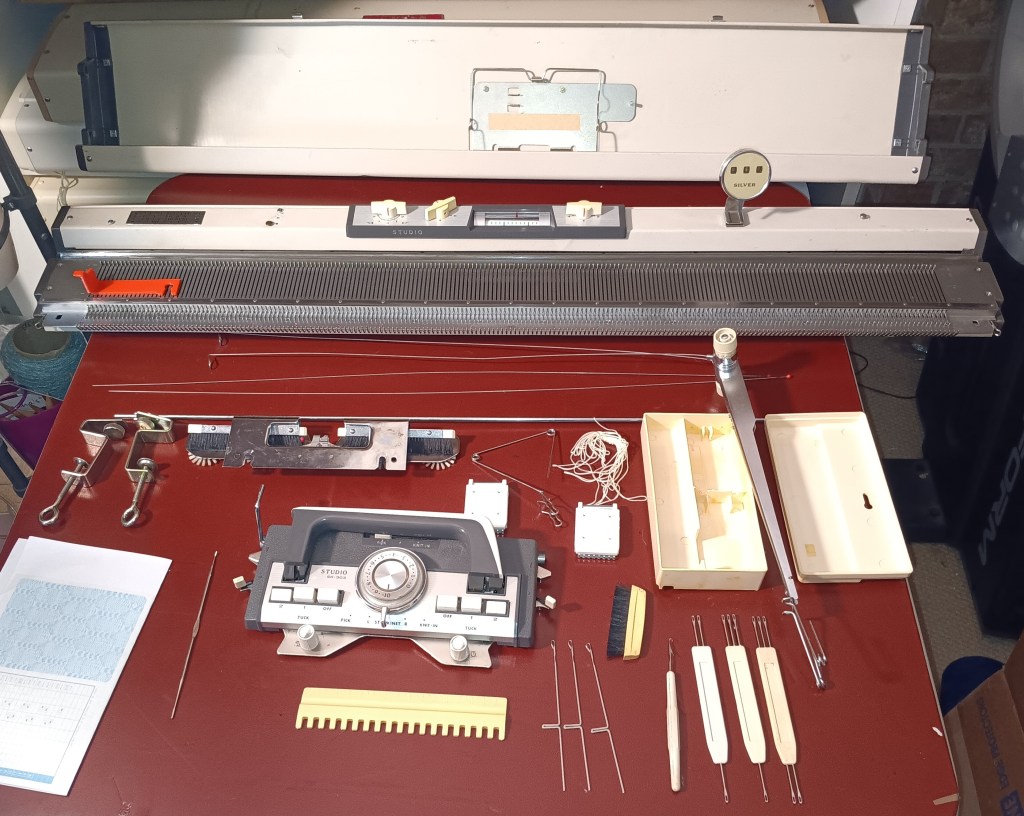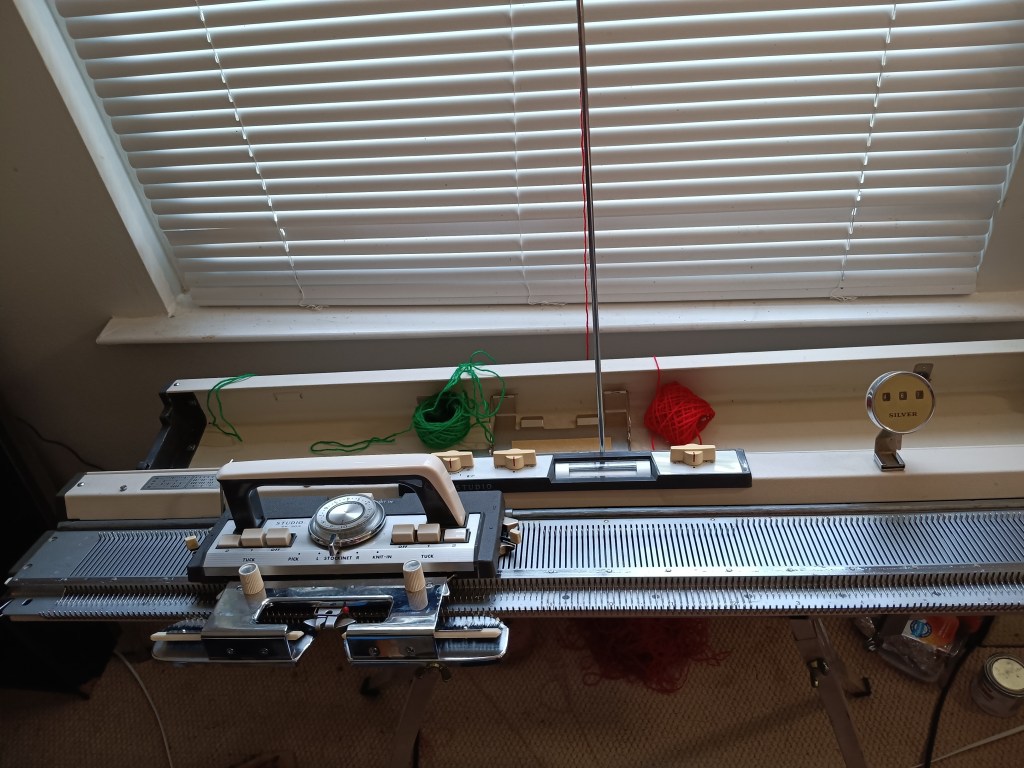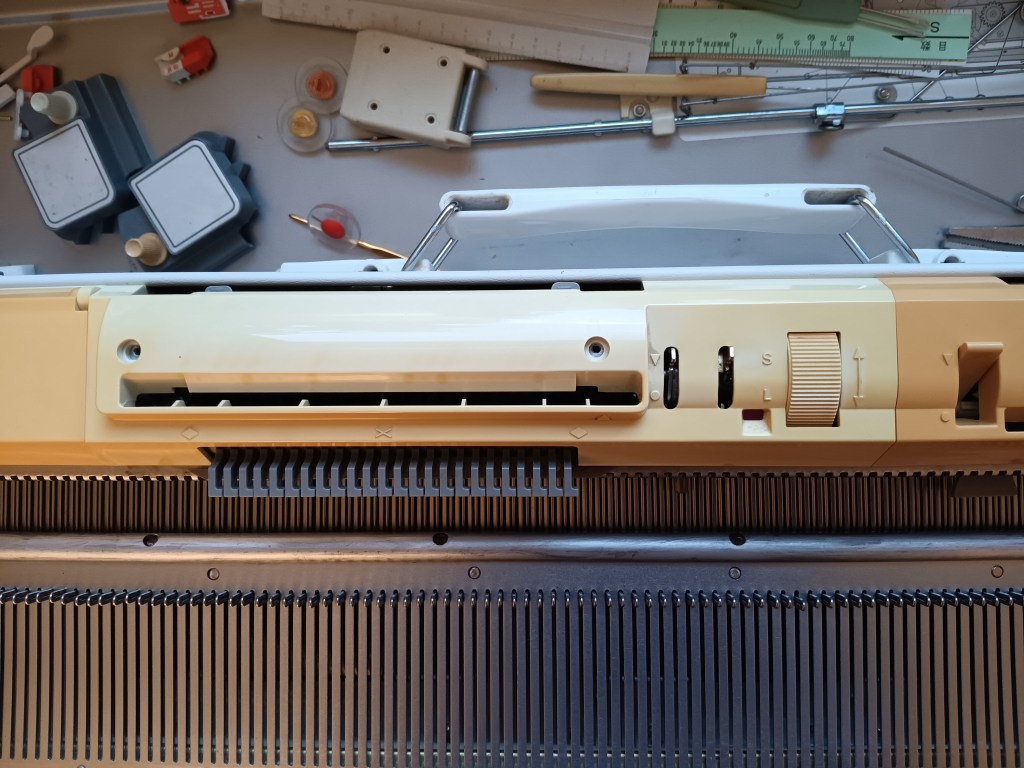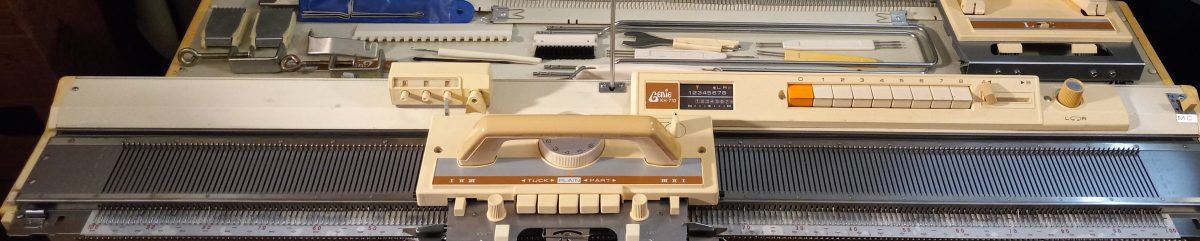
Studio mod. 327 knitting machine for Ethan

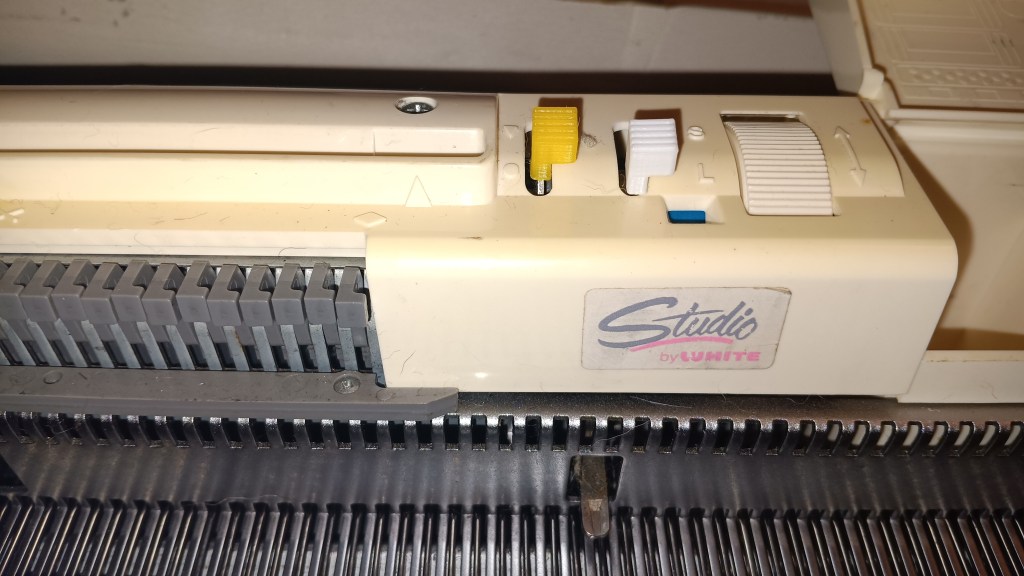
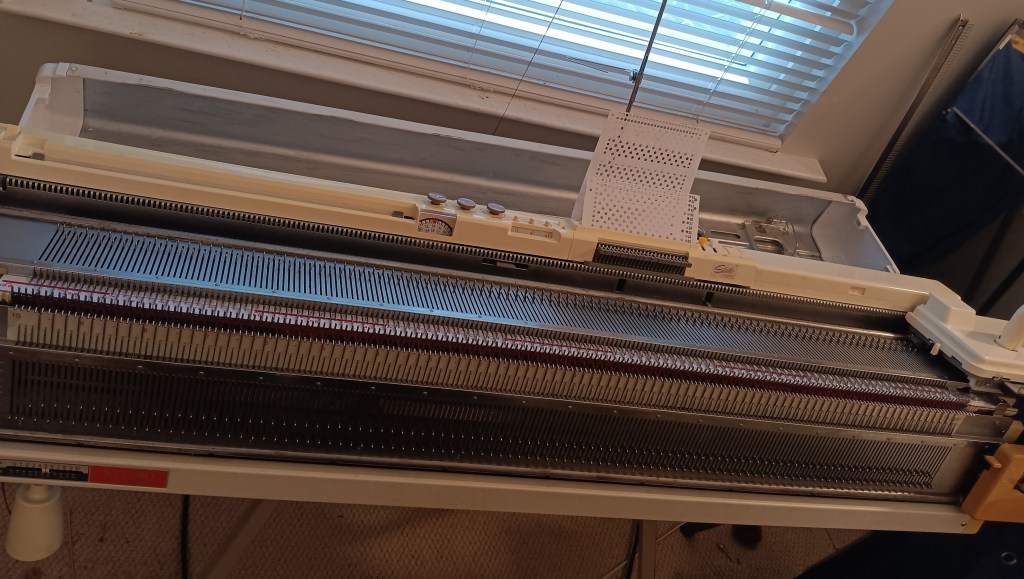
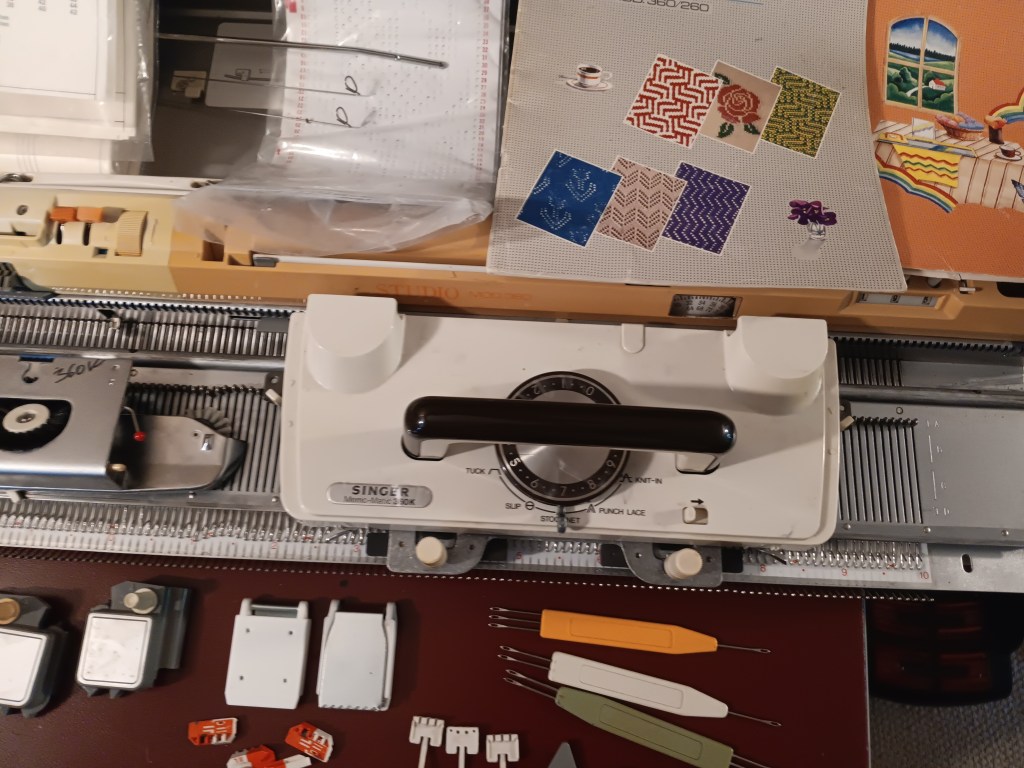
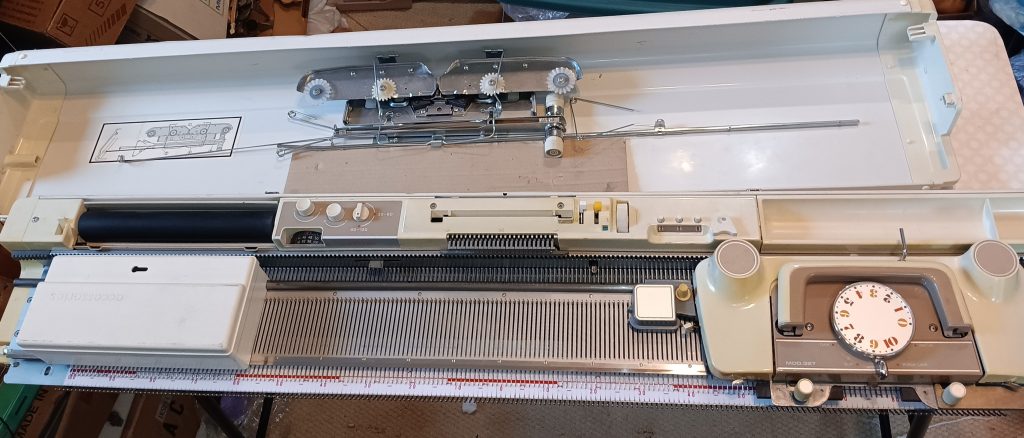
Studo mod. 327 knitting machine is a standard-gauge machine with 200 needles, 4.5 mm apart. There are a lot of resources on how to use this and similar knitting machines (such as Studio mod. 326, Silver SK327, etc.). Read more about this model in my Knitting Machine Encyclopedia. The post below is dedicated to a specific machine serviced and tested in my shop in May 2026.
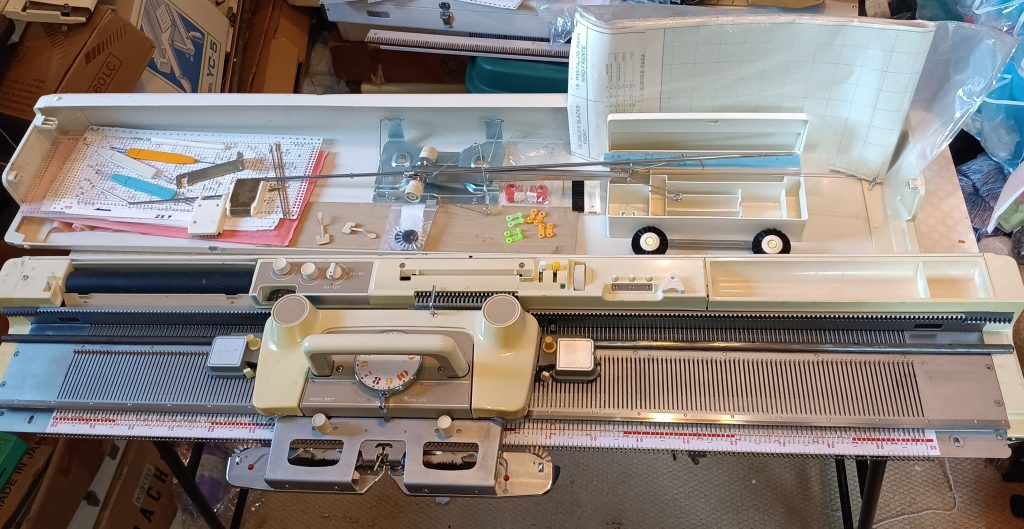
Maintenance performed on this machine:

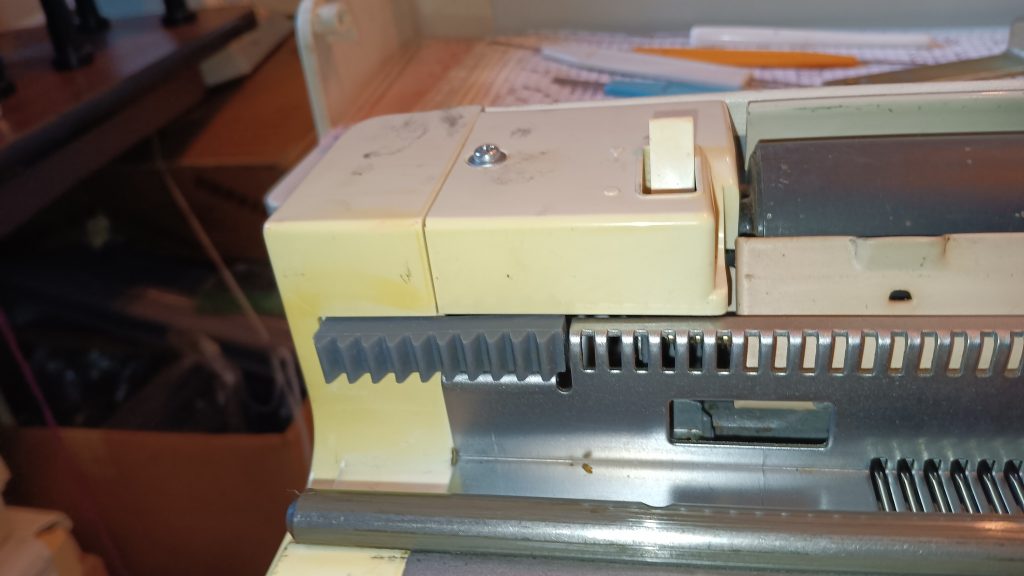
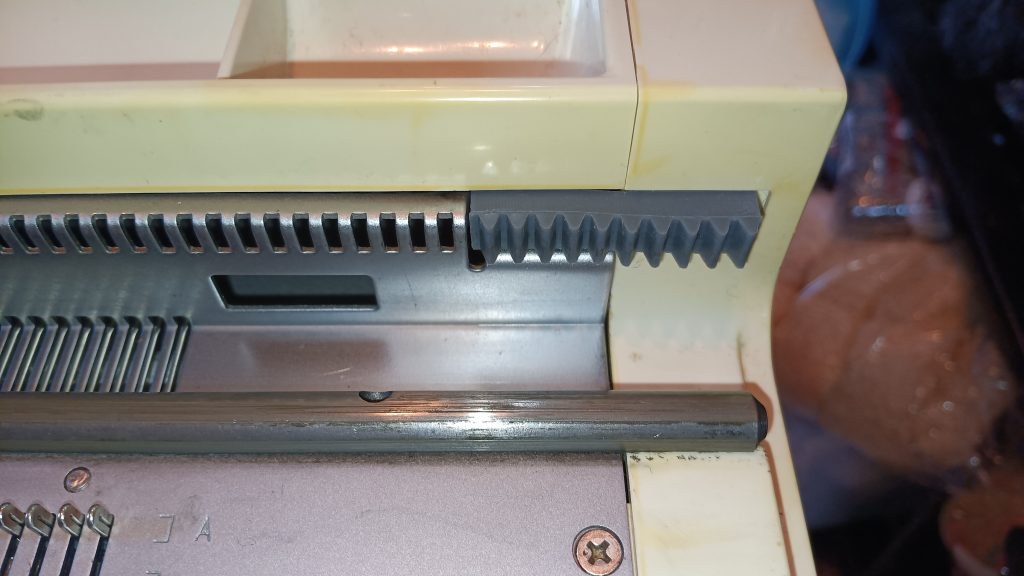
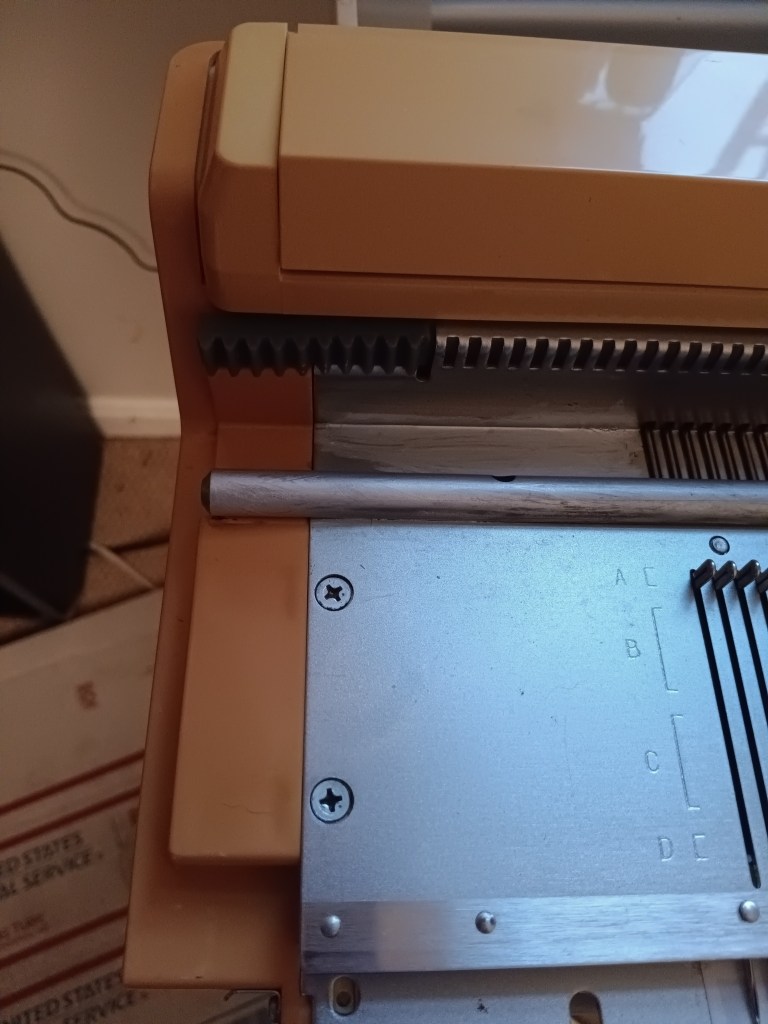
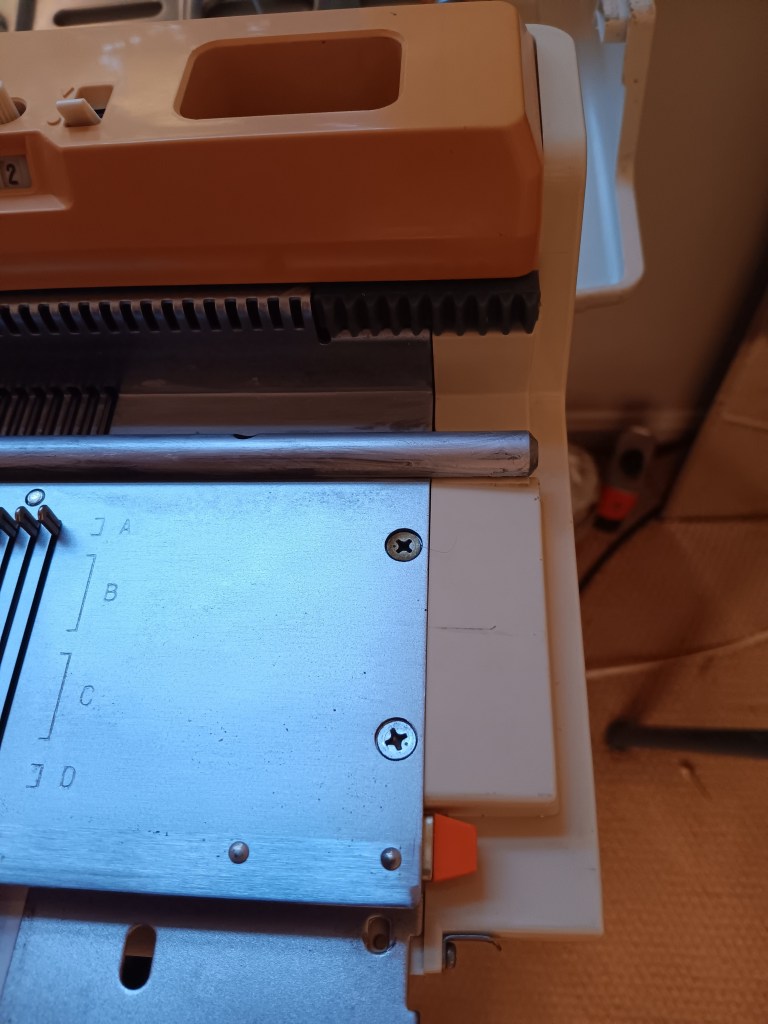
  • I replaced the side racks with new ones
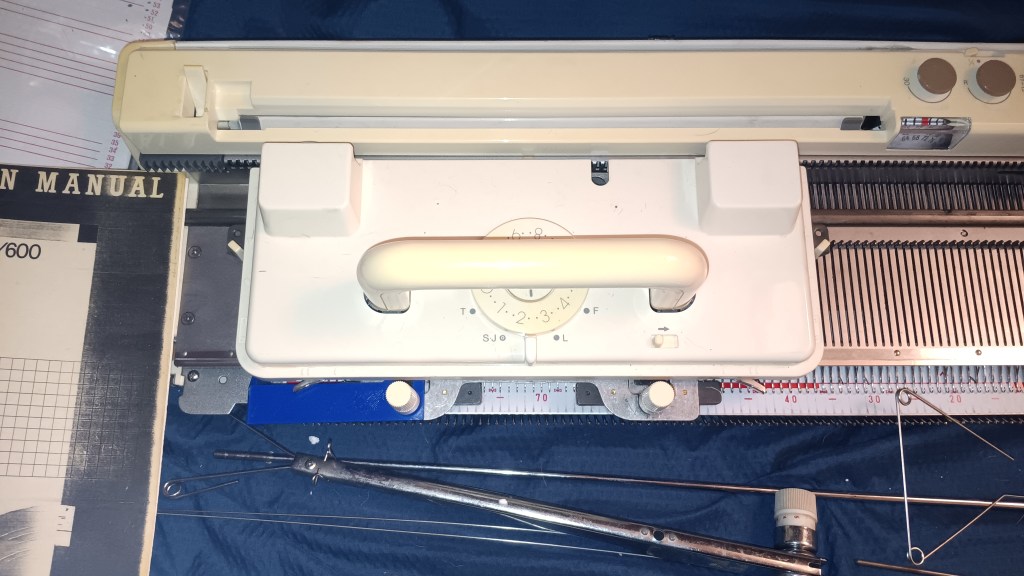
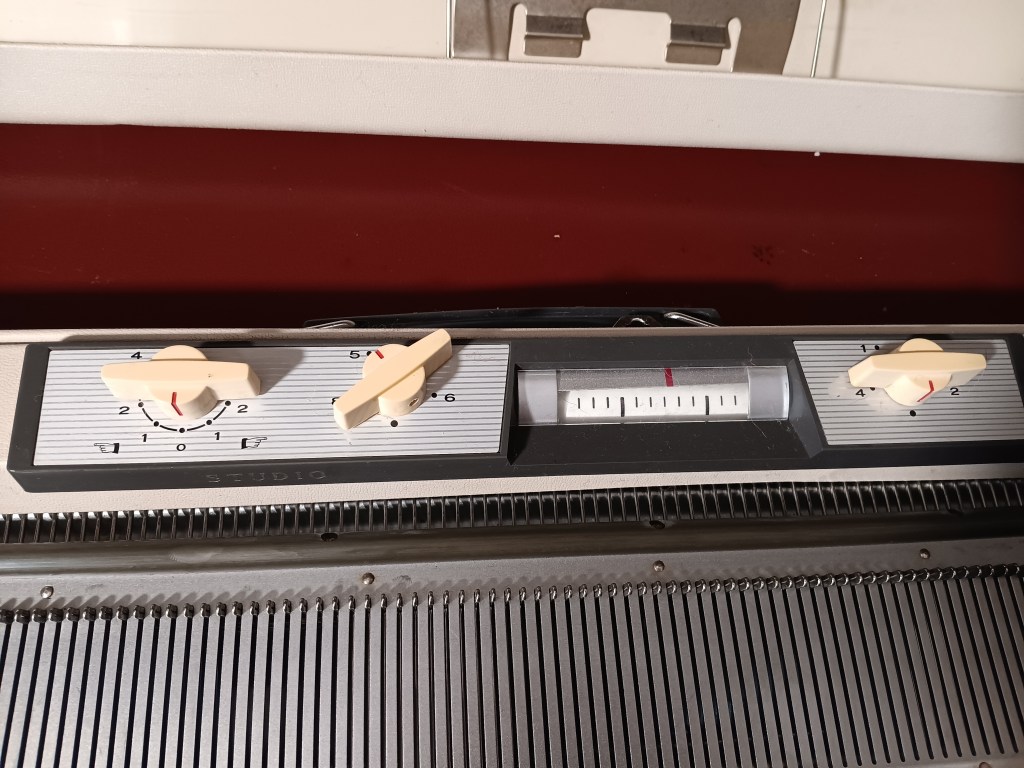
  • The knitradar was tested: the paper moves freely, and all the knobs and levers move freely too.
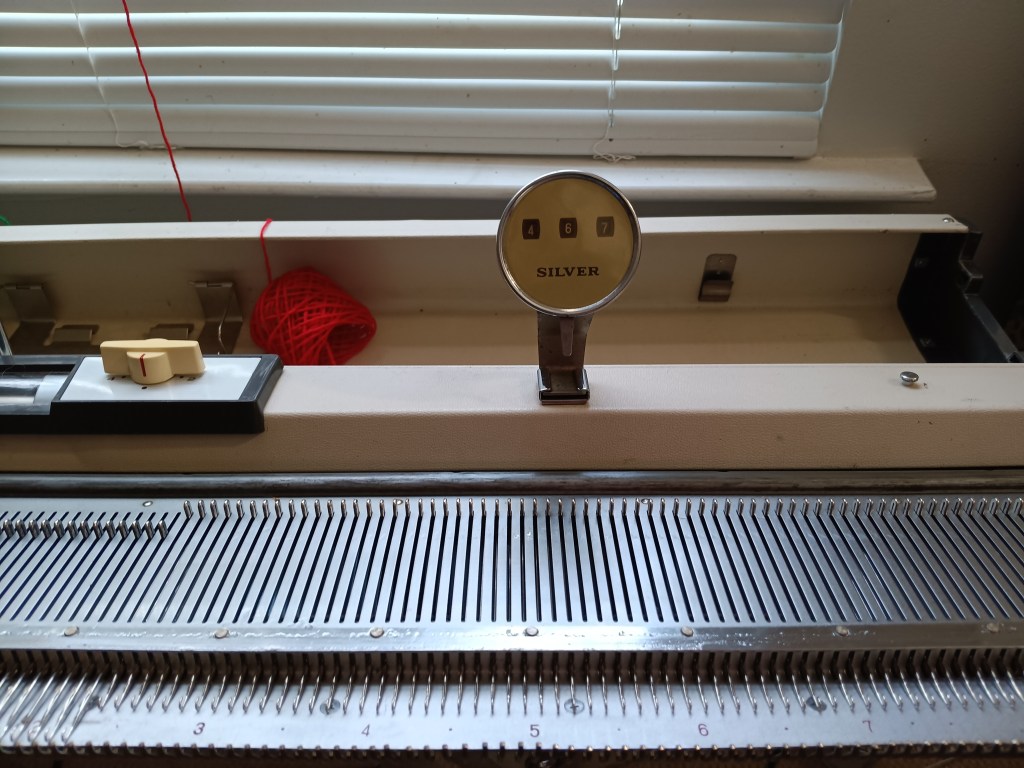
  • The row counter works great.
  • All needles were removed, cleaned, and inspected. Bad needles and those with sticky latches were replaced with new stock generic needles for similar machines (read more on that below).
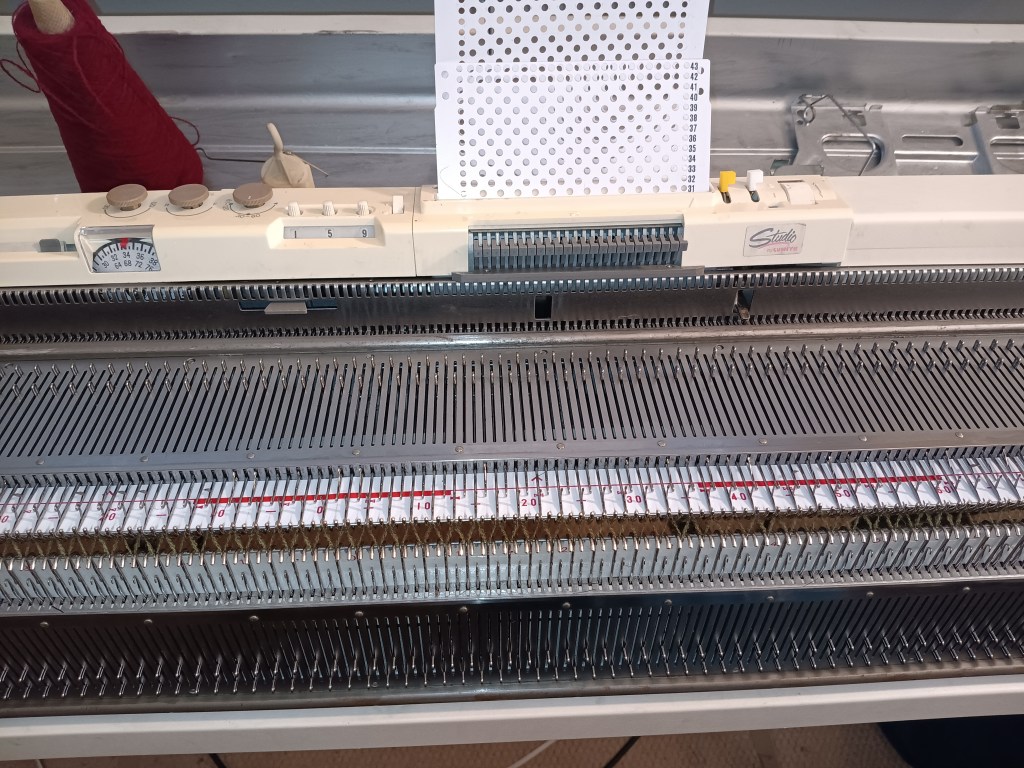
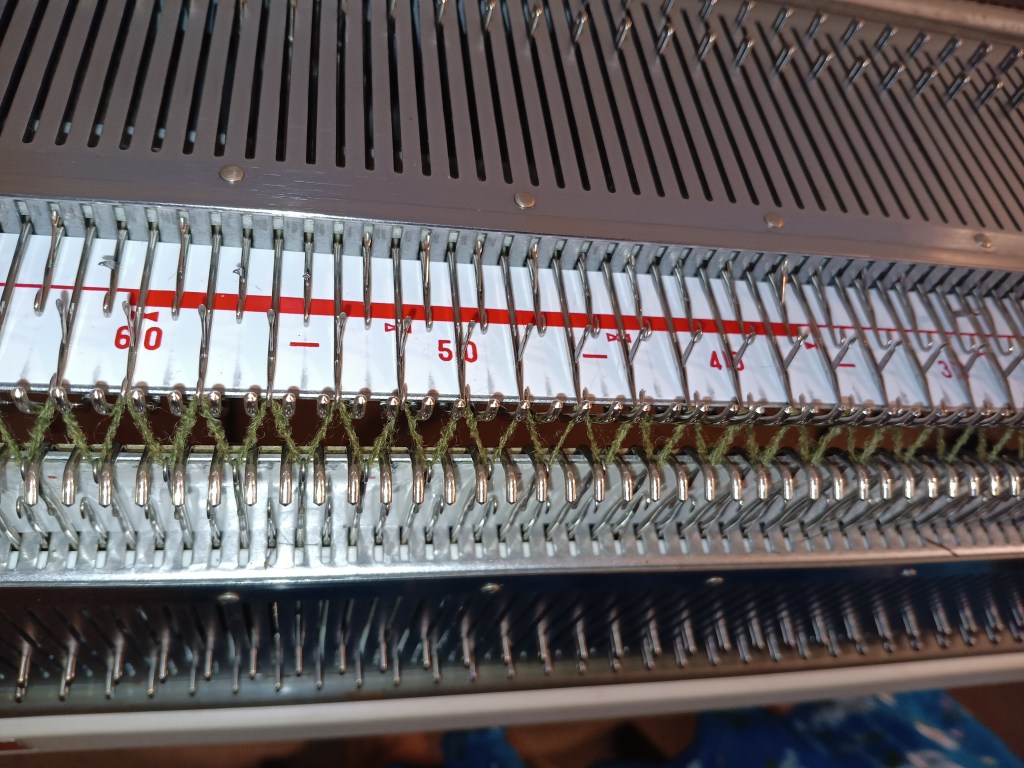
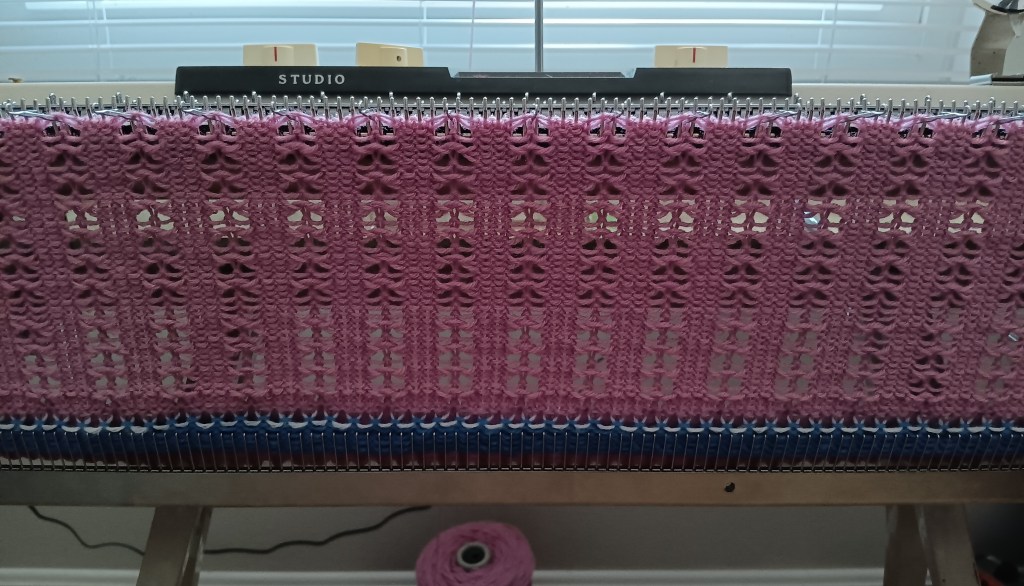
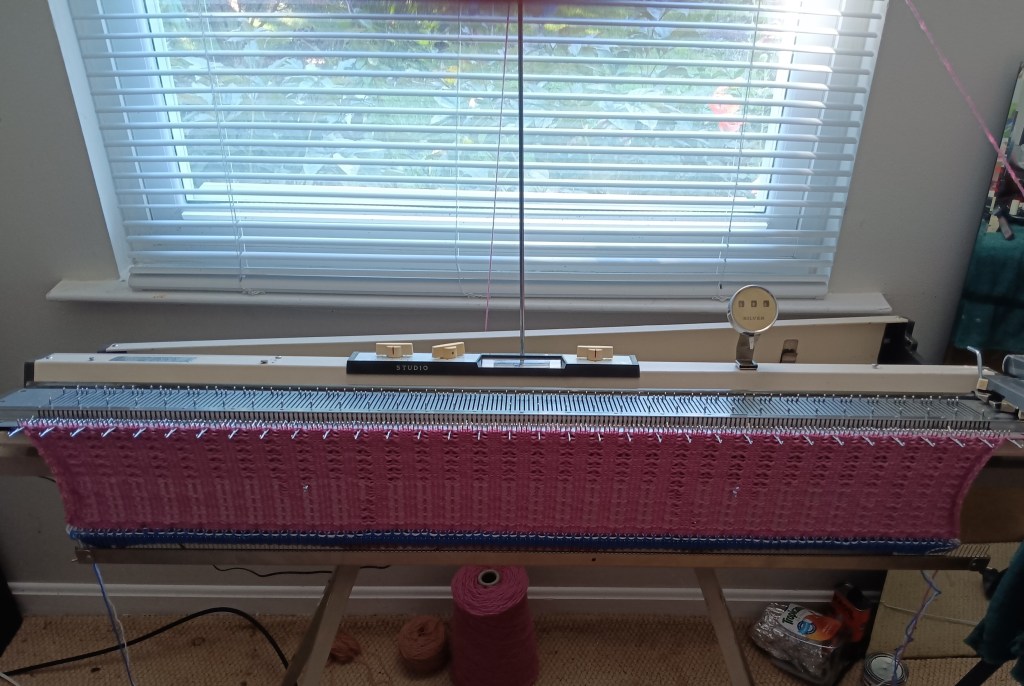
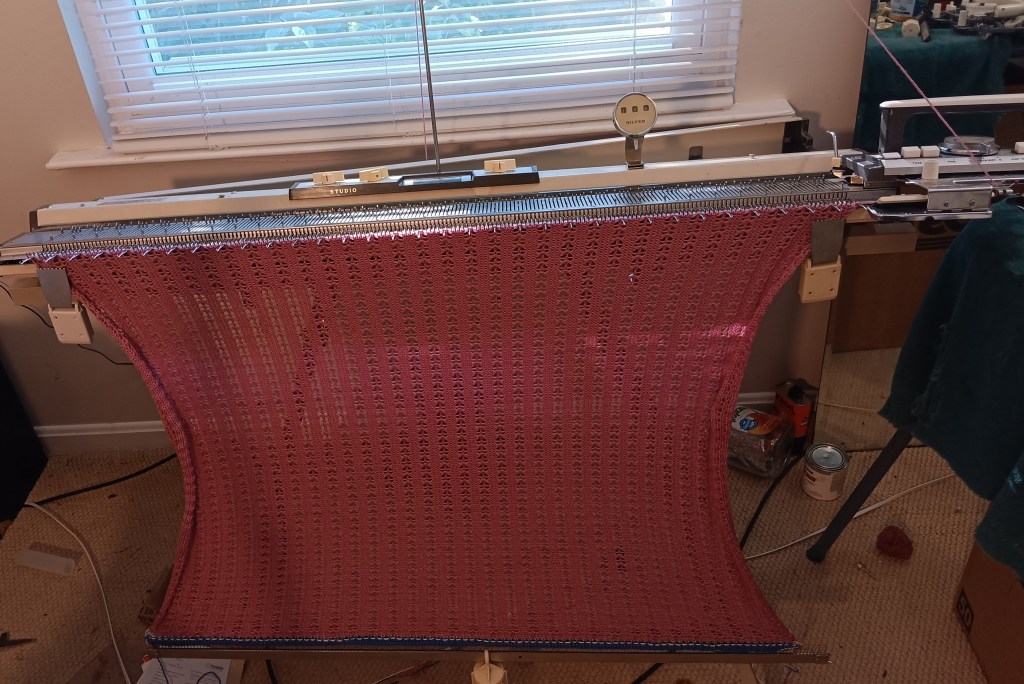
  • The needles were also tested during the knitting on the full bed: all stitches formed beautifully (see the video of these tests). More on full-bed tests below.
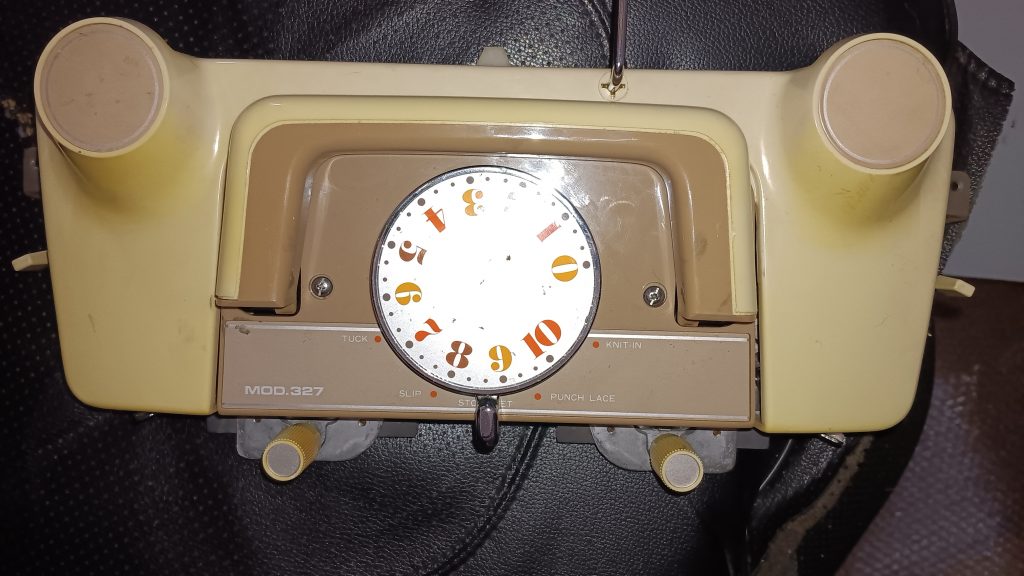
  • The sponge bar was replaced. I recommend getting a very thin medical tape: if you need to remove it to replace the needles, the tape I applied to the replaced spongy strip might tear.
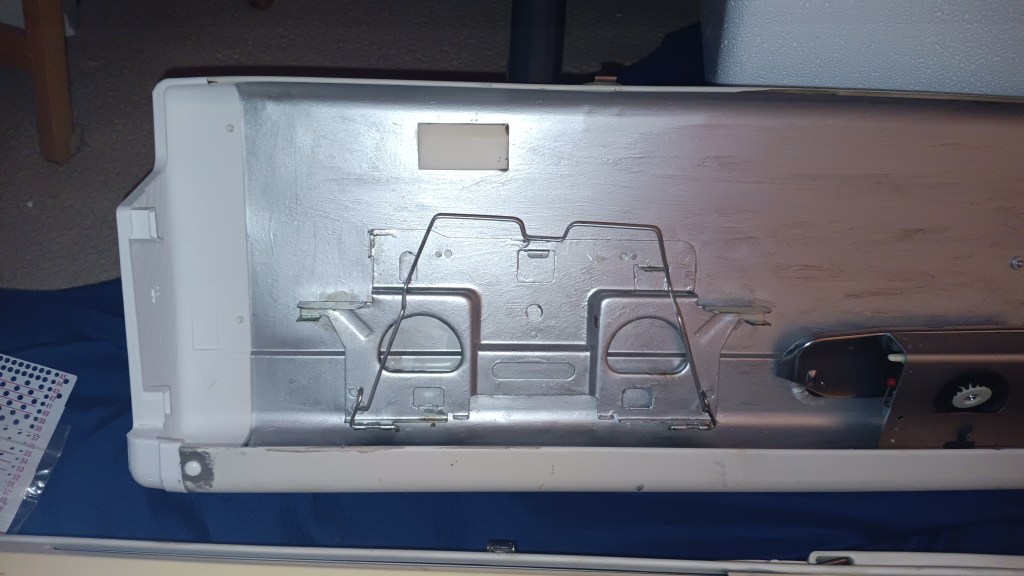
  • The case was opened and deep-cleaned. The needlebed was cleaned from various angles as well.
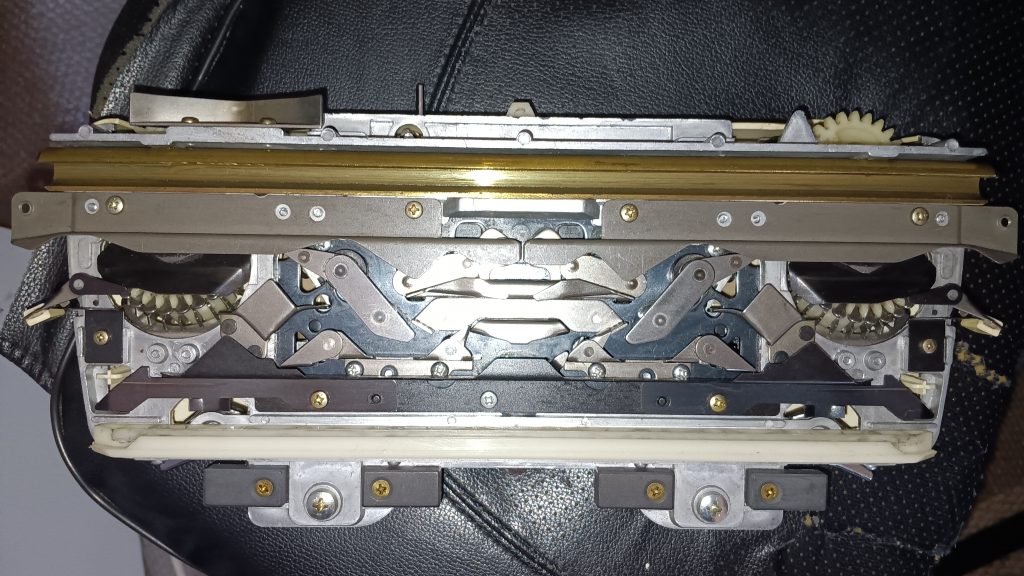
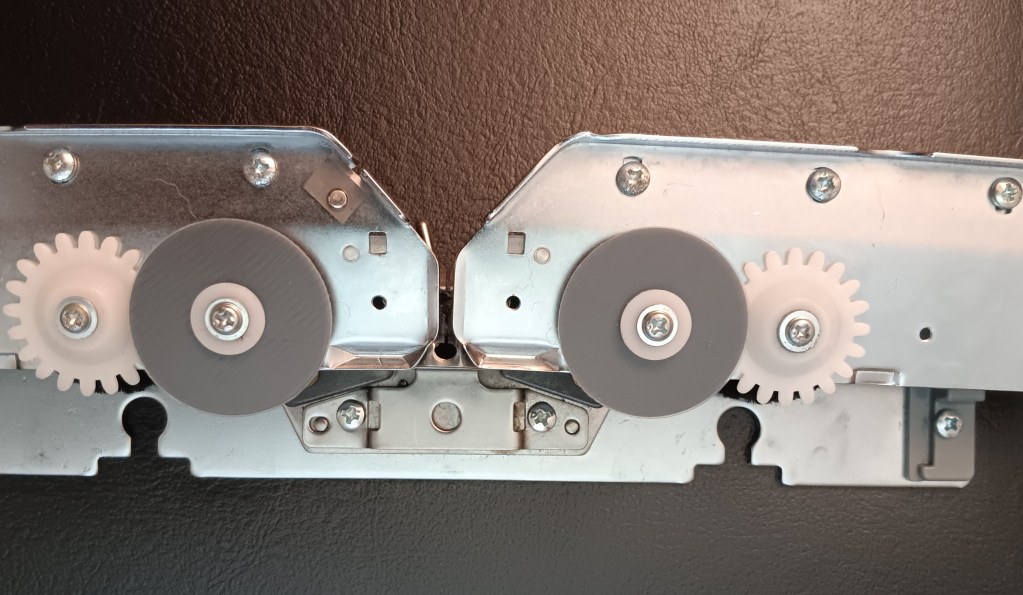
  • I opened the carriage and cleaned the mechanisms inside. Inspected and cleaned patterning drums. They move freely.

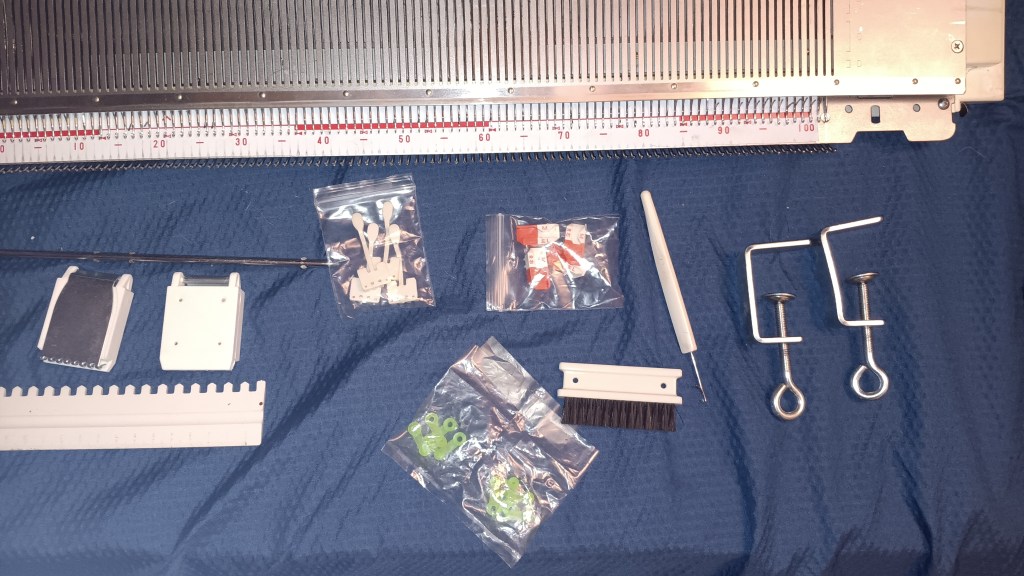
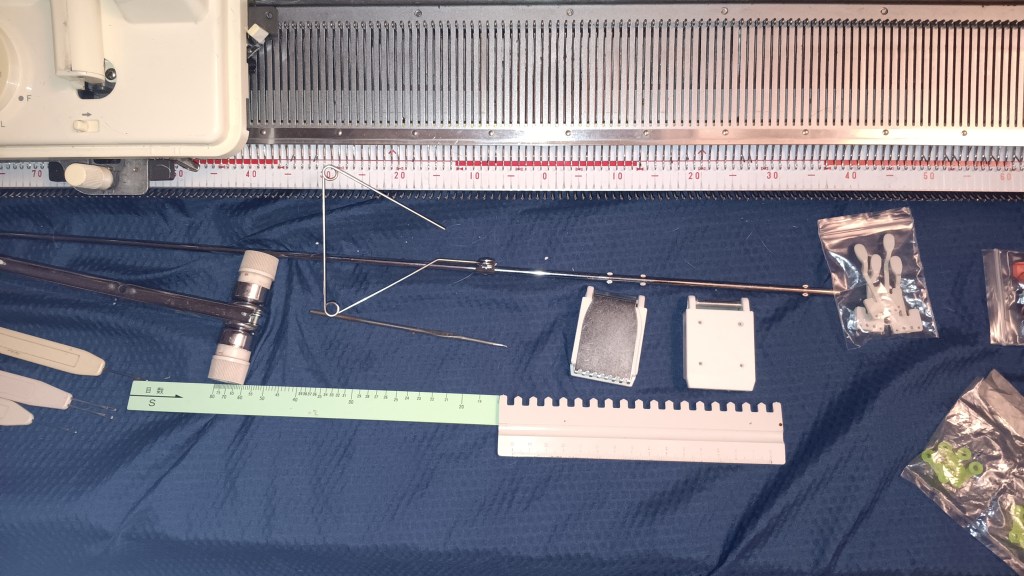
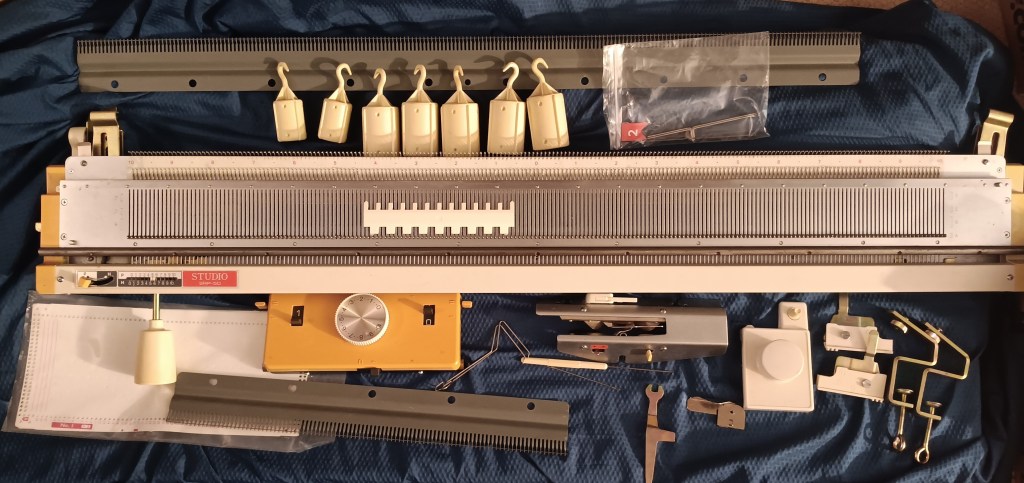
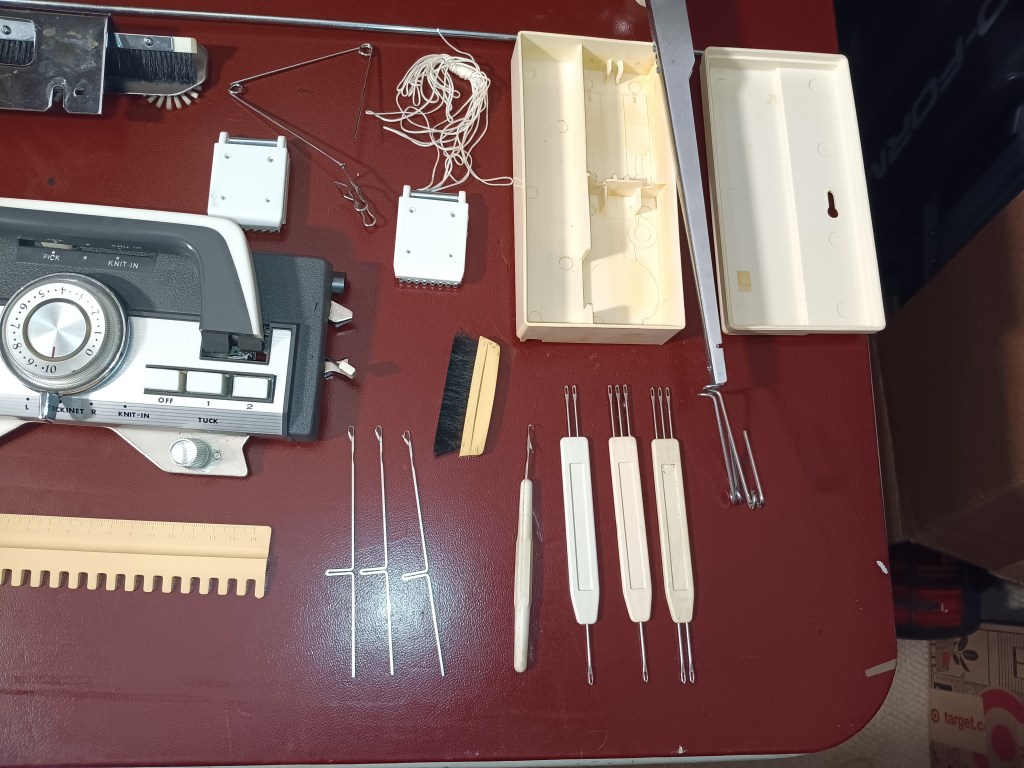
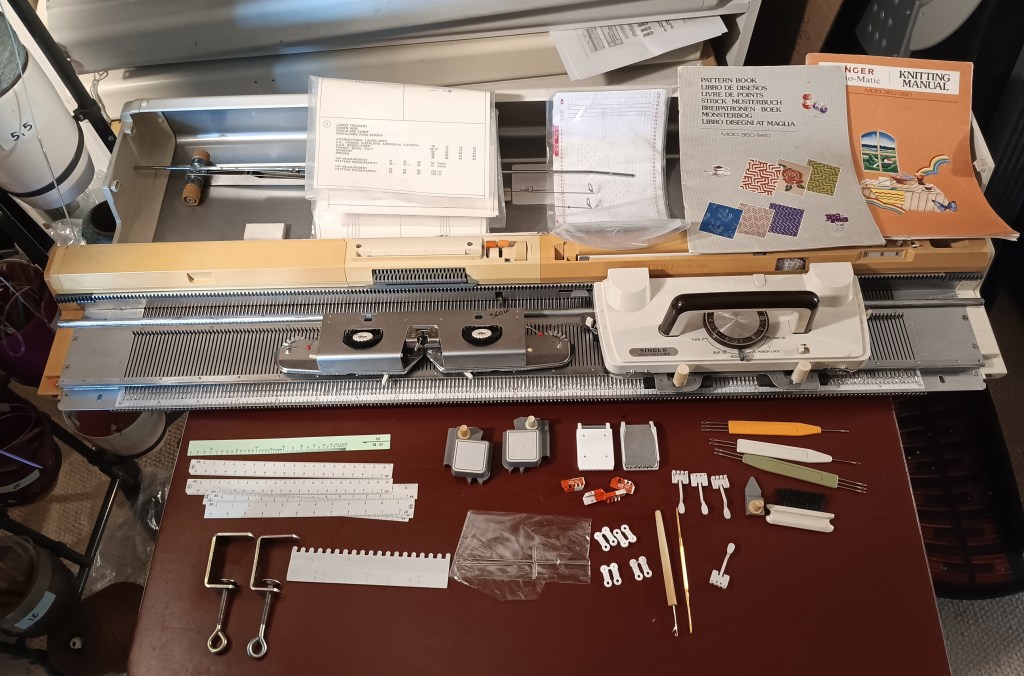
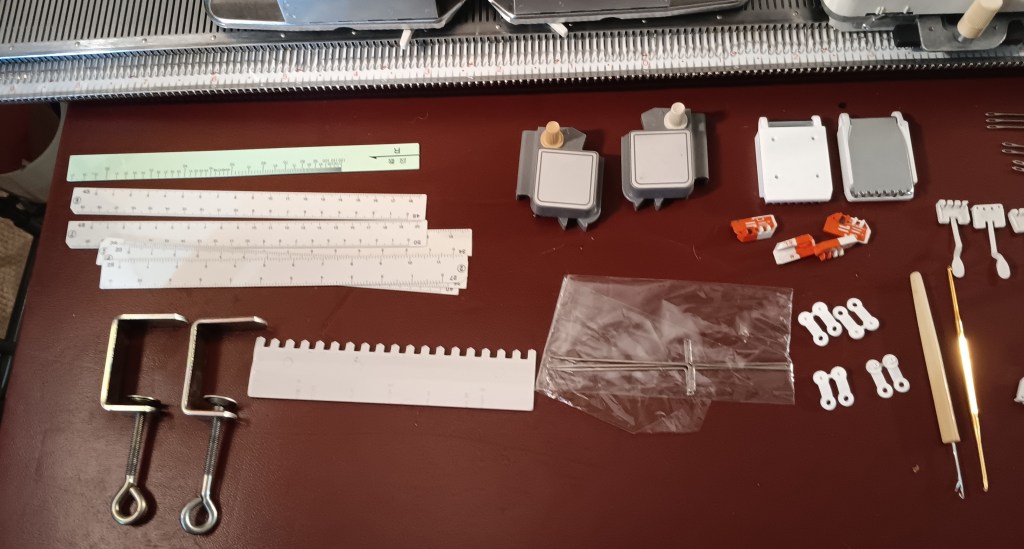
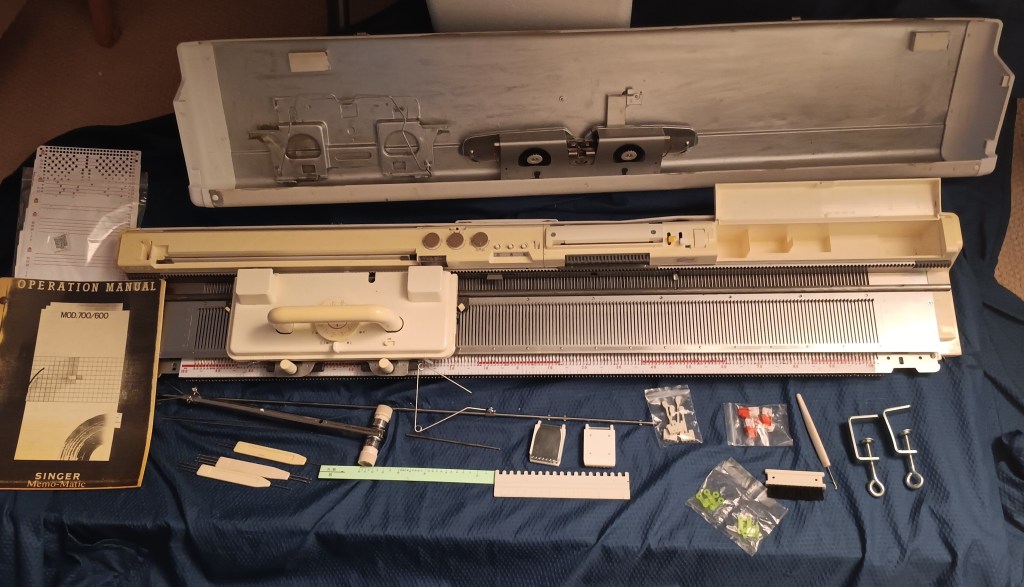
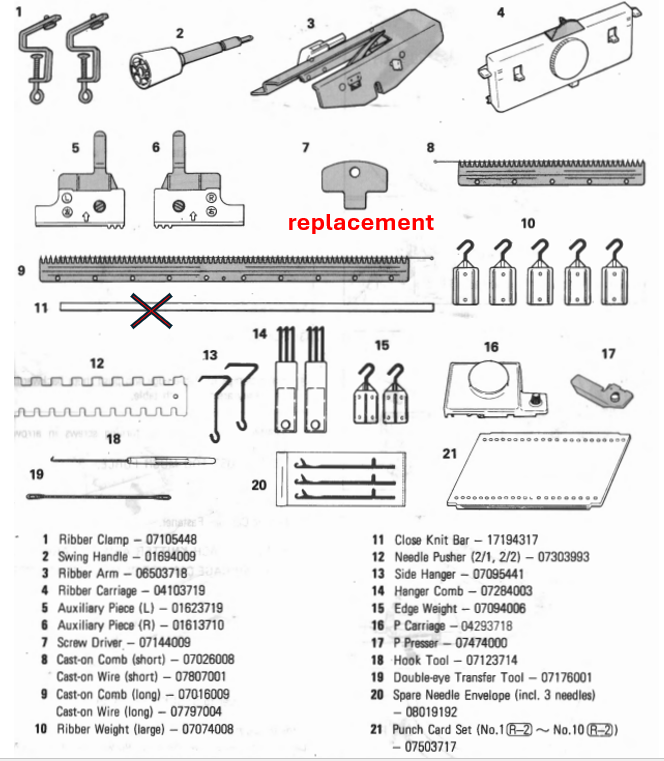
This Studio mod. 327 will come with all major and almost all minor accessories.
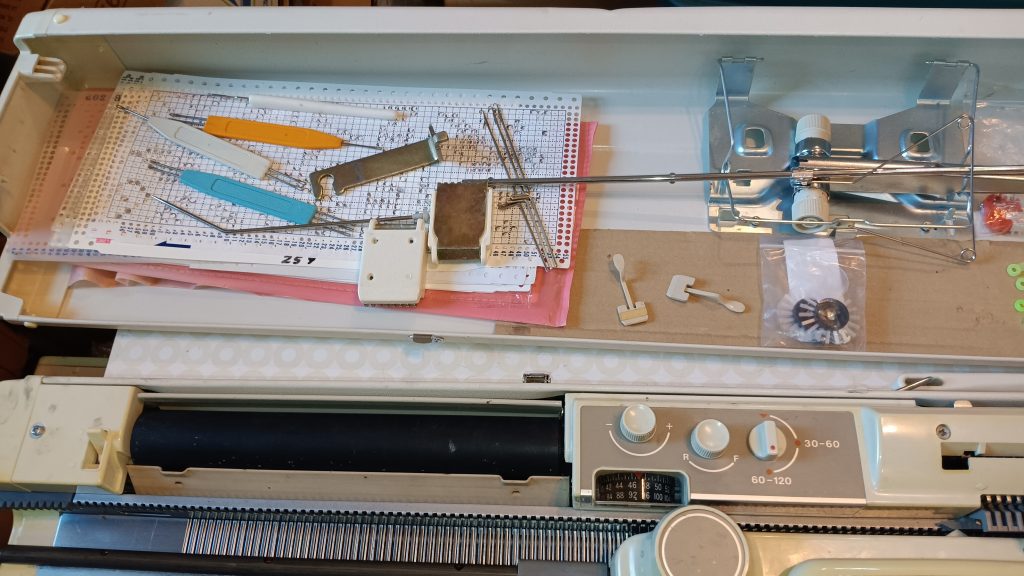
The missing accessories are:

  • Oil: use Hoppe’s gun oil available on Amazon
  • A pair of E point cams (read more on that below)
  • Cast-on thread: Any silky and strong thread will work
  • Name paper: it typically accompanies a machine to write your name on it

A hard copy of the manual will not be included. However, a manual for the Singer 327 machine is available online for free. However, the manual for the 328 model (on the same website) is of a bit better quality. Use that one as well.
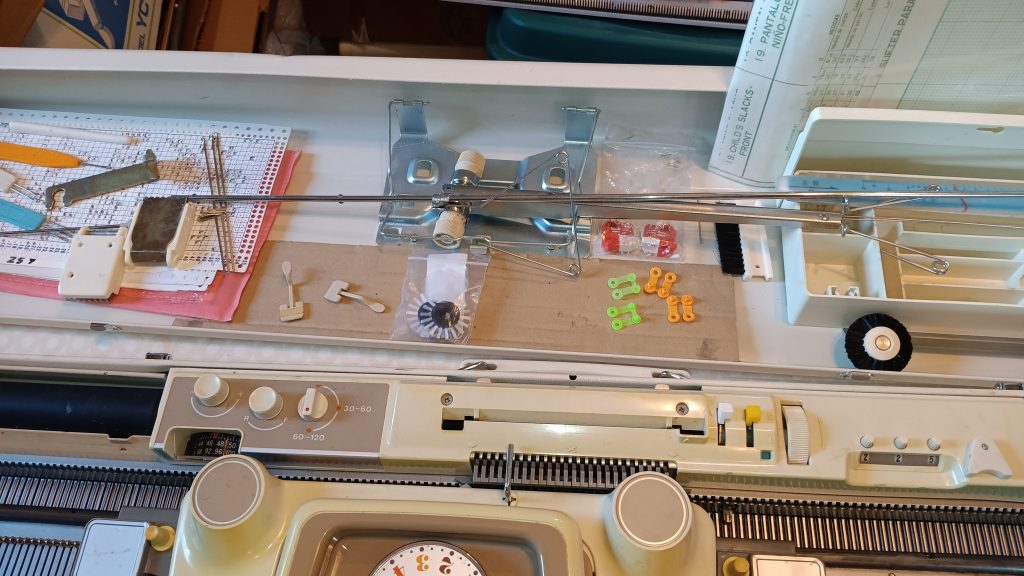
“New Magic cams” are not from the original mod. 327 machine, but from one of the later models. It does not have M and E positions. Thus, point cams E are not included (well, those did not come with this machine anyway). But I am including an additional pair of point cams M (the later models have two pairs of them).
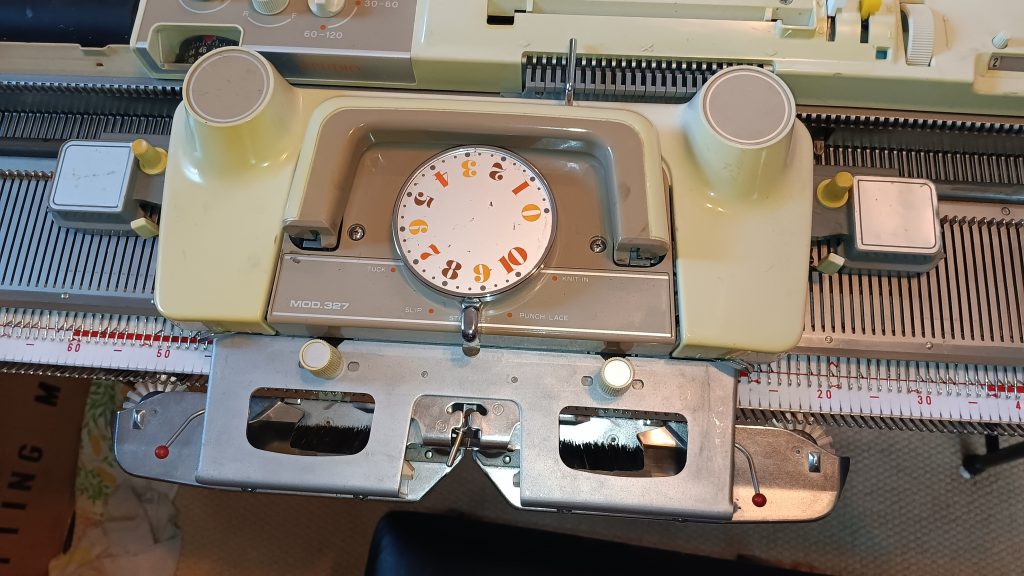
On the subject of the magic cams: The manual describes very poorly how to use the “magic cams”, cams E and cams M as well as yarn separators. Look on the same website for a manual for Singer/Studio 360 machine for two reasons: it explains the usage of magic cams for single motif knitting much better. And also because I do not have the original Magic Cams for the Studio mod. 327 machine.

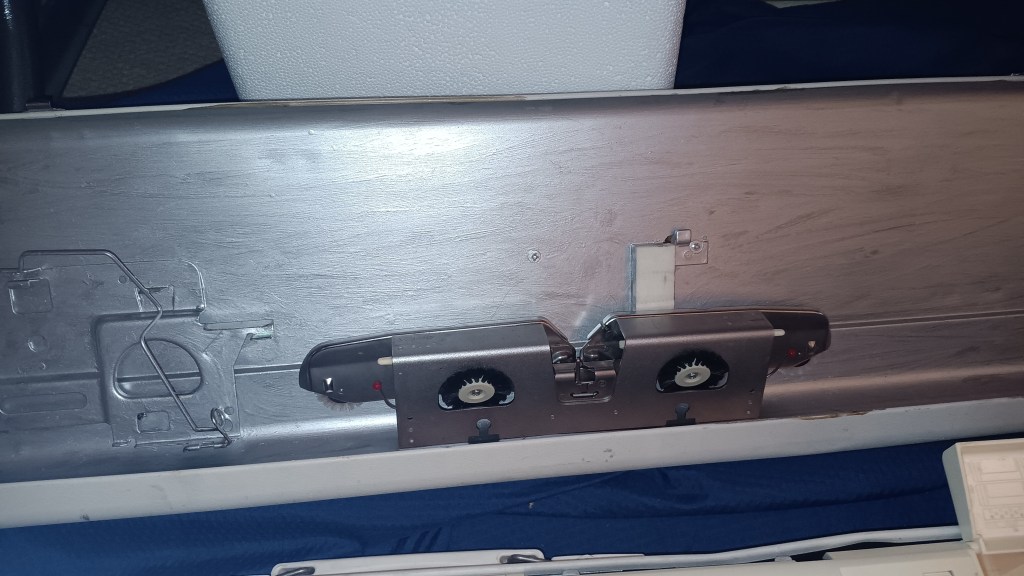
So, according to the (poorly-written) manual: Studio mod. 327 comes with “new magic cams”, point cams M and point cams E. Point cams M are more standard and come with almost all Singer/Studio machines. However, these point cams E are unicorns. In fact, it was my first encounter with these point cams E while researching this machine. I found a pair of point cams E on eBay, but since I don’t have “new magic cams” with markers M and E, it is better to use those. So, only regular, point cams M are included. So, the single motif cams are those for other models, but I am sure they will work with this Studio mod. 327 as well. I attached them to the carriage (see the image above), and the whole assembly moved well on the needlebed.
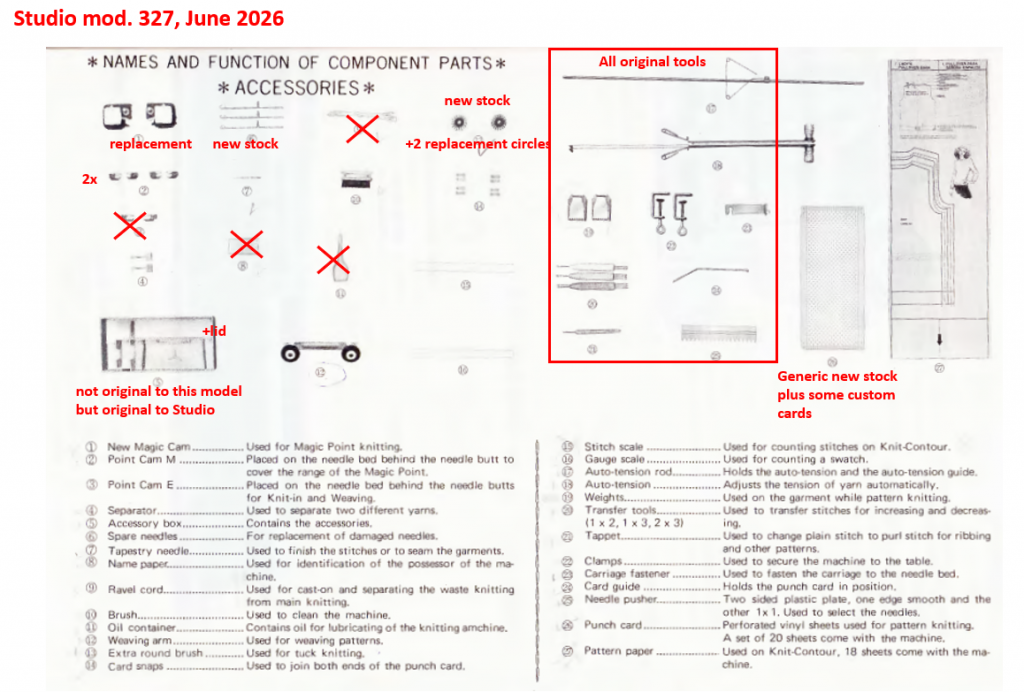
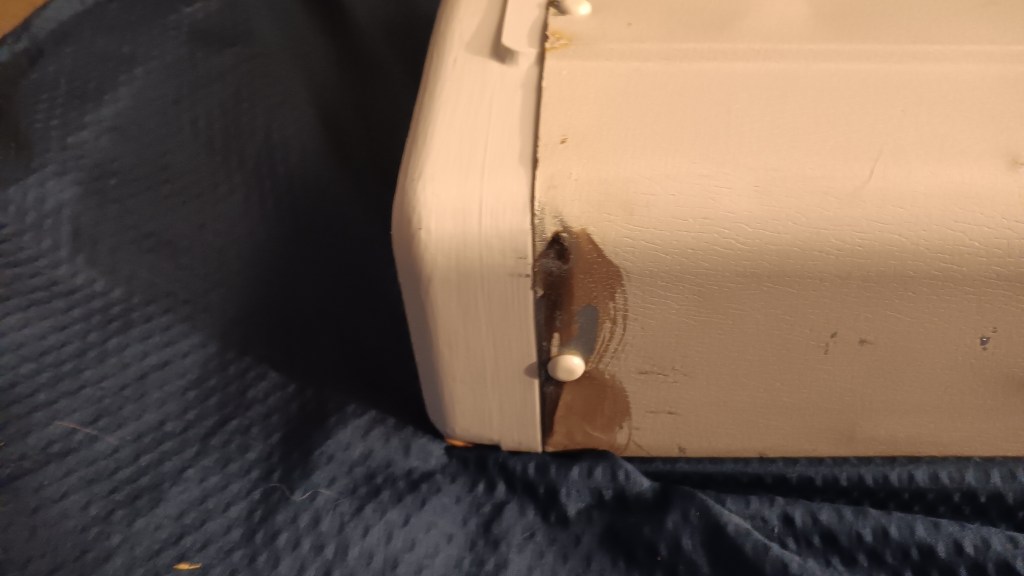
I did not replace the slightly bent plastic round covers on the sinker plate side wheels (a picture below showing a scratch on the lid shows one of the wheels: they are not in horrible shape at all!). Those bend so easily that they will very likely bend during your first tests. But I am including an extra pair of these plastic circles (they are very easy to replace). All the tests were performed with these slightly bent plastic brush covers. The extra brushes (the manual says they are for tuck, but I knitted tuck without them) are brand new (new stock). I knitted tuck-stitch without them because this is how the sinker plate was set up. But honestly, these brushes come off so frequently that knitters remove them just not to deal with them.
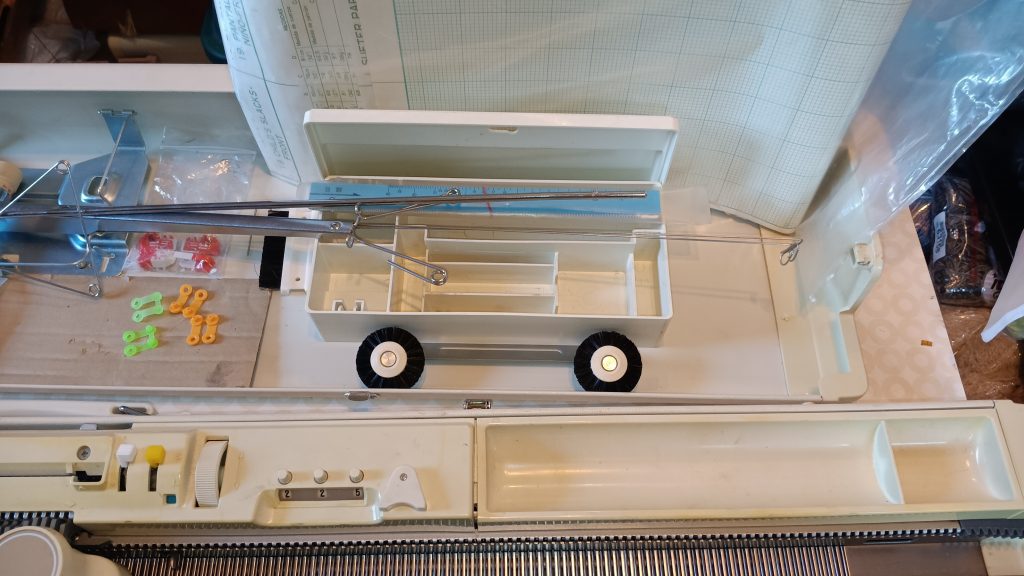
The punchcard rod to hold the punchcards is the original. However, I did not use it during the tests shown in the video. Thus, its use is optional. One pair of punchcard clips is the original one (orange), and the second (green one) is new but old stock.

The extra replacement needles are new stock. They are slightly different than the original needles: longer by ~1 mm, and the concave part is slightly different. However, a few of the same needles were placed into the needlebed already, and they knitted beautifully without problems.
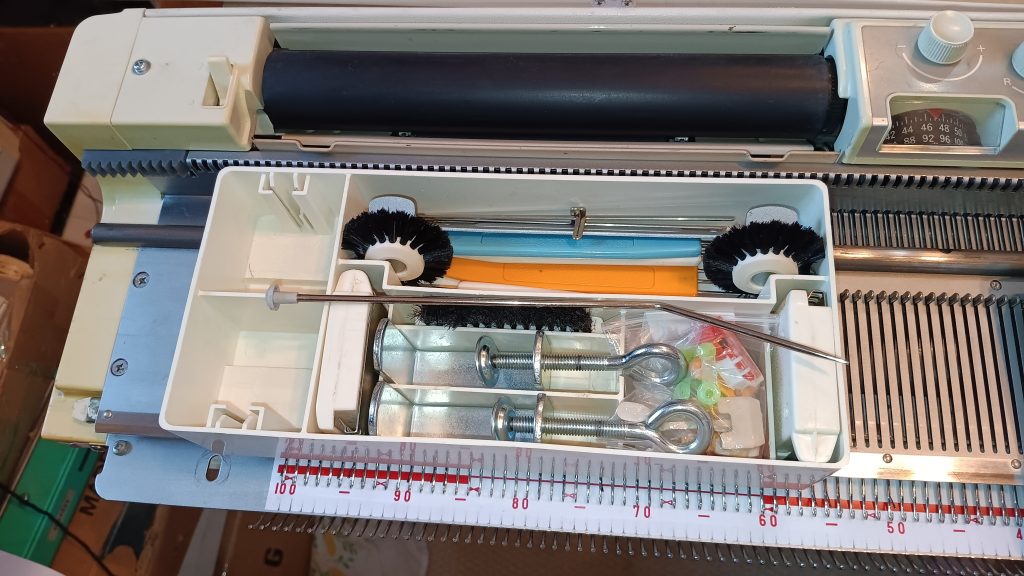
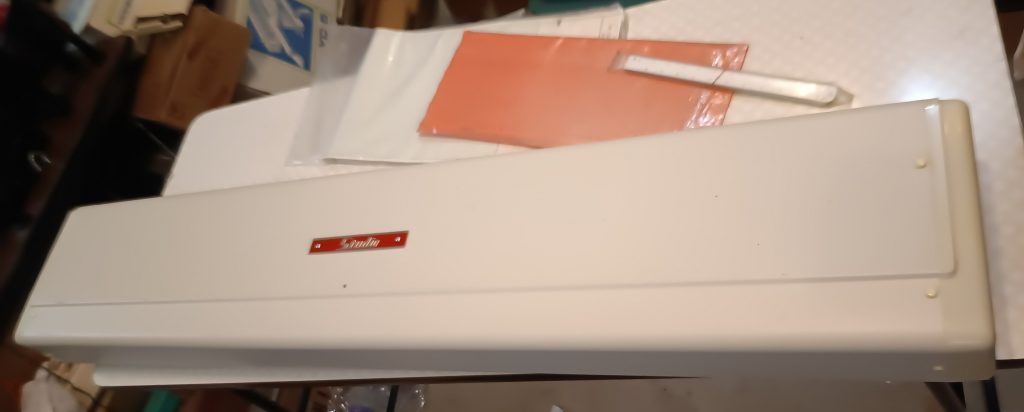
All minor accessories are stored inside a stand-alone box, although the box is not the original box for the Studio mod. 327 model, but still from Silver Reed-manufactured machines. All major accessories are stored in the lid.
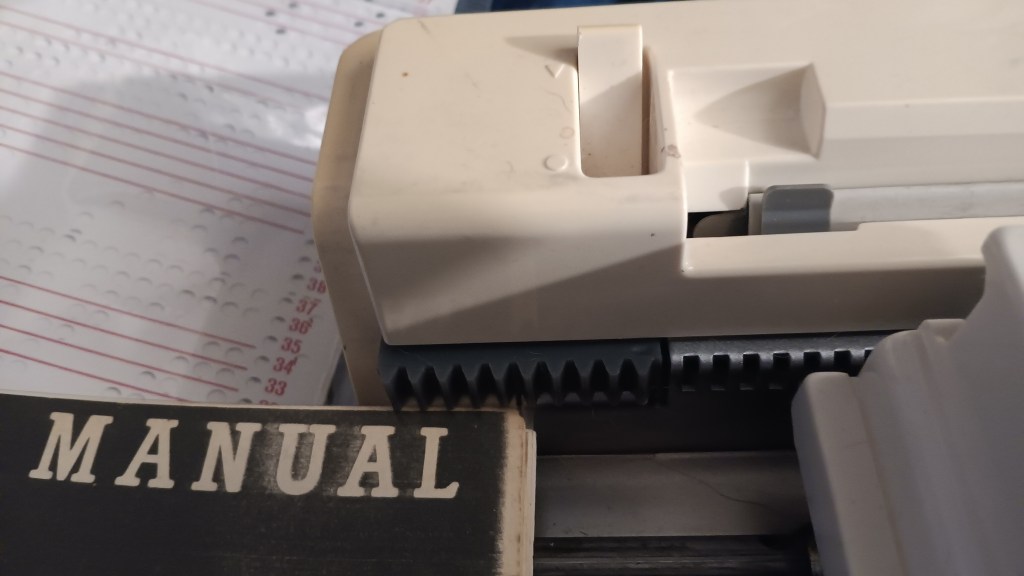
The punchcard set is generic, new stock. But it is generic to Brother machines. It can still be used for the Studio mod. 327 knitting machine. The minor difference is in which row the punchcard readers start reading and knitting the pattern. I am working on a detailed article on that, but briefly: align the punchcard readers with two rows below the line. Other words: at the punchcard reader edge, you will see two rows and then the line. For simple repeat patterns, it does not even matter where to start. But for a single motif it is. So, if in doubt: swatch-swatch-swatch.

In addition, as a thank you for your patience, I am including several custom punchcards (a couple of hand-[unched and a couple of professionally cut from Knittery) and a set of blank punchcards (old stock but in great shape).

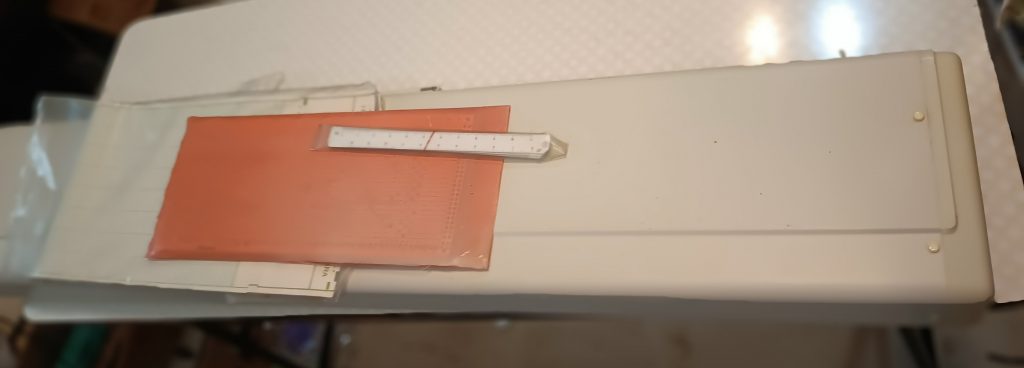
The knit radar sheets are original and still in great shape. However, while I was recording the functioning of the knit leader, I damaged one sheet (the row counter tripper ran into the sheet and ripped it: something to pay attention to). I am still including it: it can be tapes/glued. But I am also including a blank (on one side) graded sheet as a replacement. Additionally, knit radar sheets for generic/common shapes are available online if you need to print extra. The stitch scales are original ones, but only the “gauge scale” and “stitch scale” rulers are included. The “centre scale” rulers are not included (I do not have a set), but my understanding is that the “centre scale” rulers are more than enough.

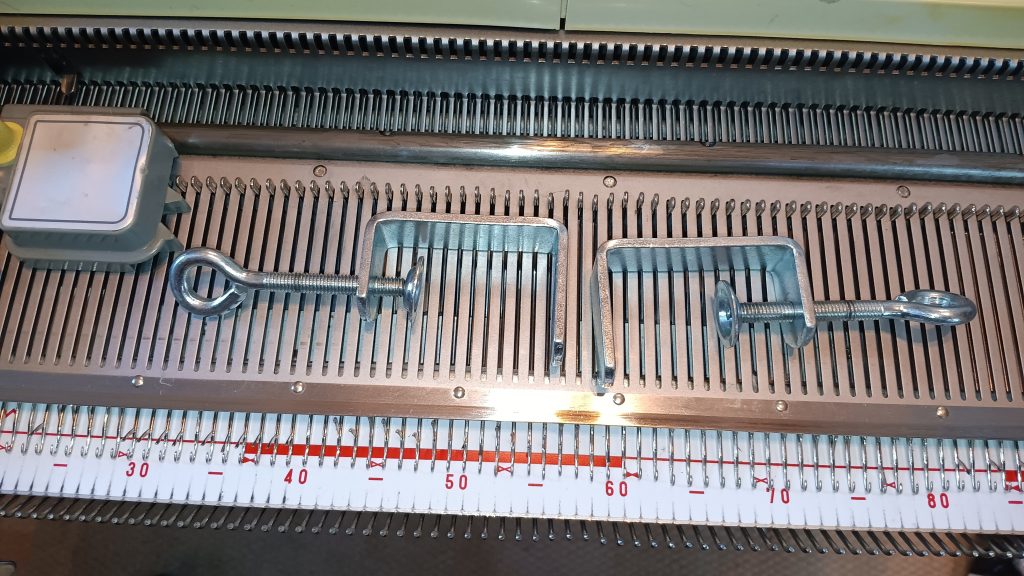
The little knob covers for the punchcard reader are 3D printed replacements. The table clamps look like new stock, too (they came with the machine).
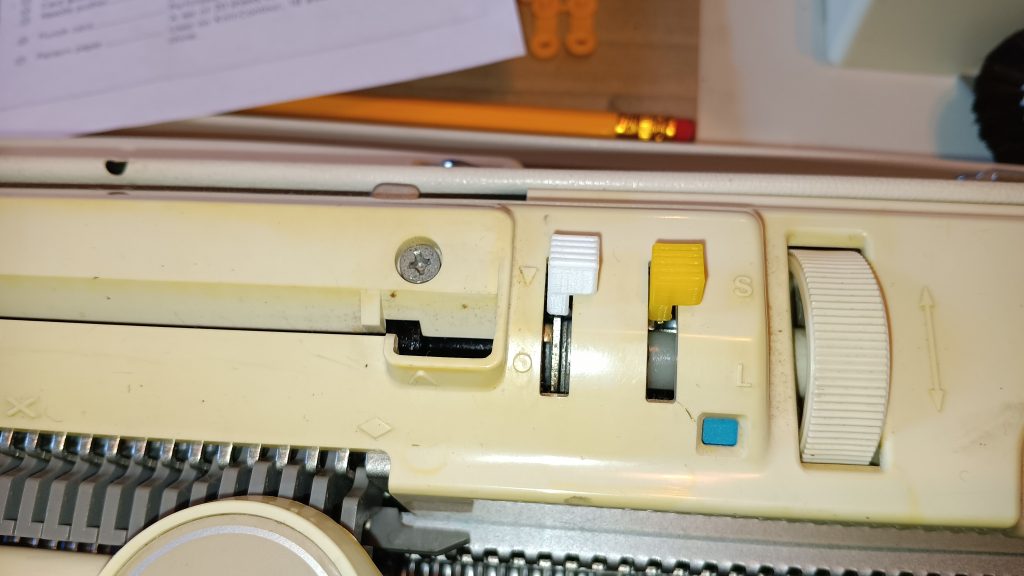
The carriage lock is the original as well.
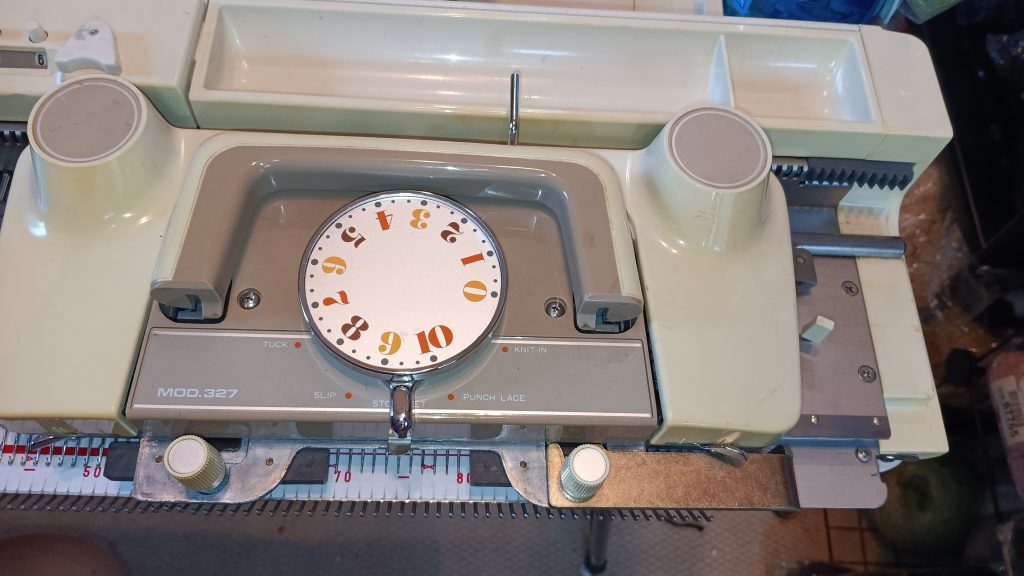
A couple of things to pay attention to:

  • Push the carriage a bit down on the ends of the needlebed. I experienced these issues with my other Silver Reed-made knitting machines
  • If knitting on the full bed while using the knit leader sheets, pay attention to the row counter tripper so it does not rip the knit leader sheets.
  • The rubber end rails often fall apart and crumble (with time). If they do and if you do not knit on the full bed (on all needles), you do not even have to replace them. There is a way to move the carriage and avoid mispatterning: just do not let the drums get off the rails. So, move the carriage slowly at the end of the needlebed. But with the rubber end rails, there is nothing to worry about for at least several years
  • cover your machine with a sheet or a curtain to avoid sun damage and dust.

Imperfections:

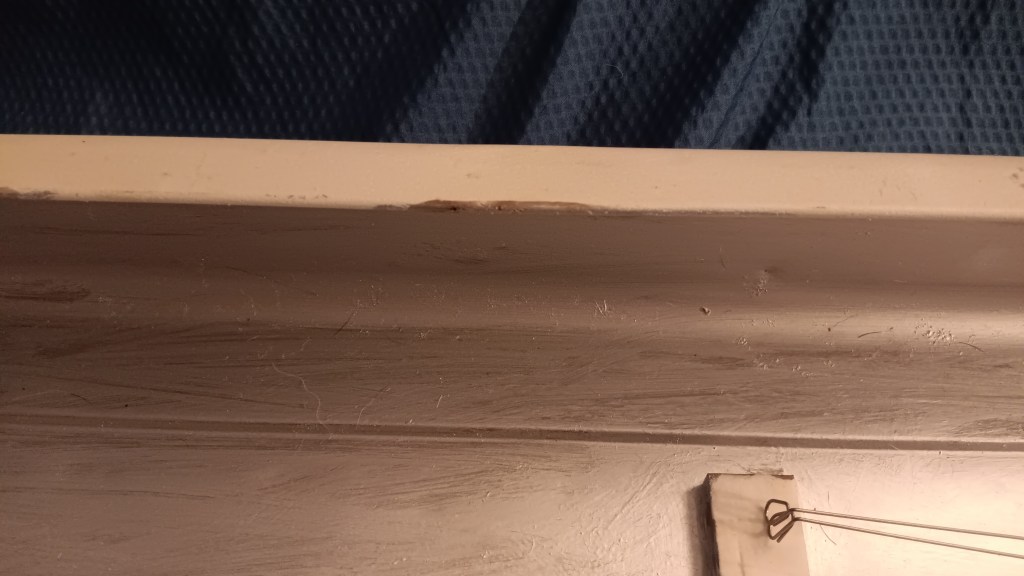
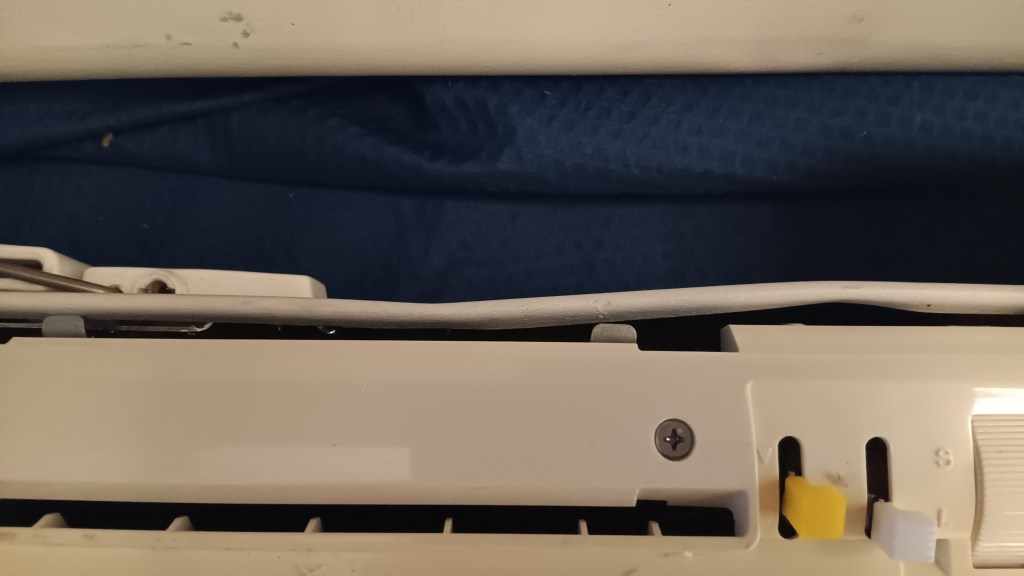
There are some scratches around the knit leader wheel and on it as well. The function is not affected.
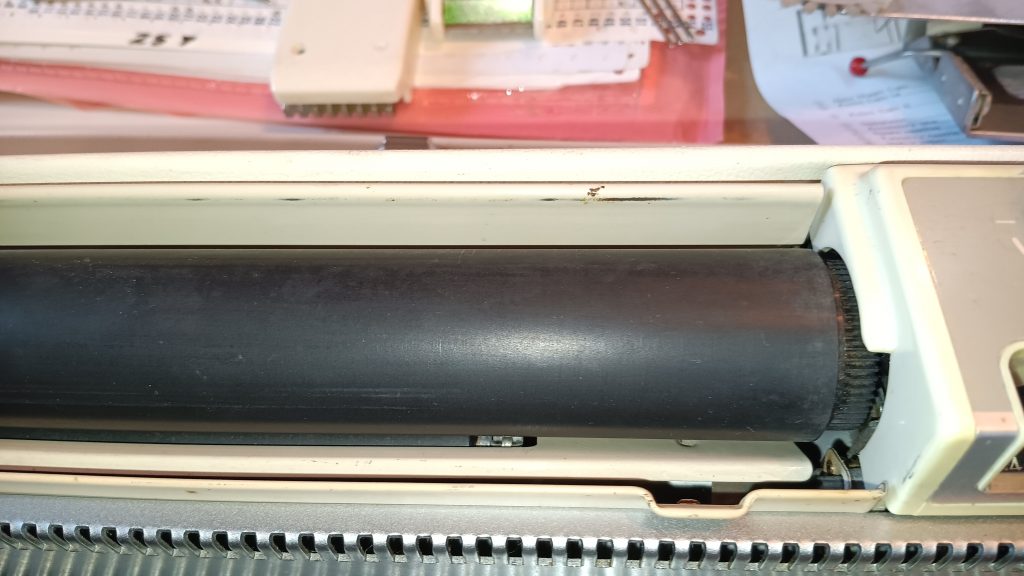
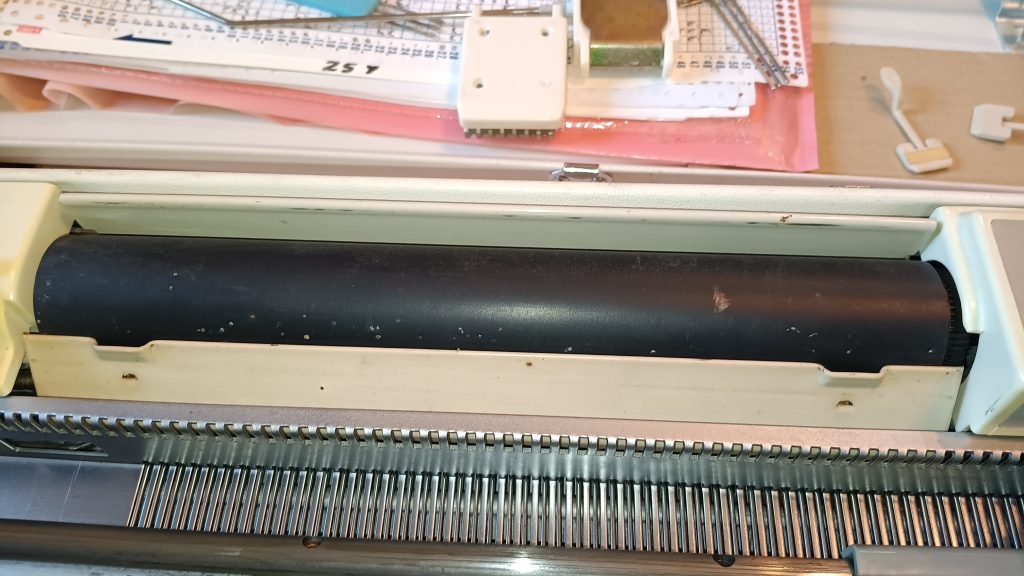
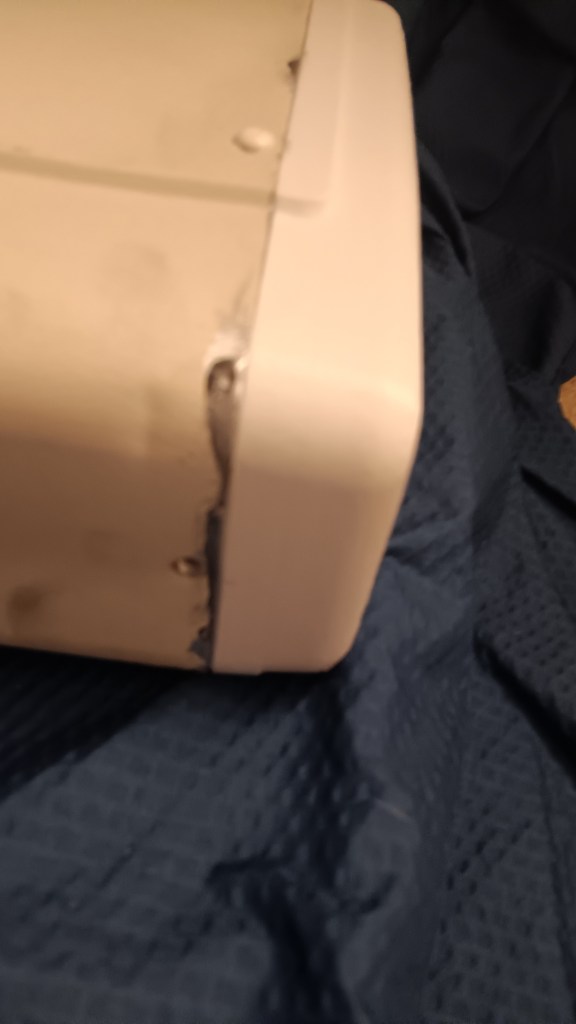
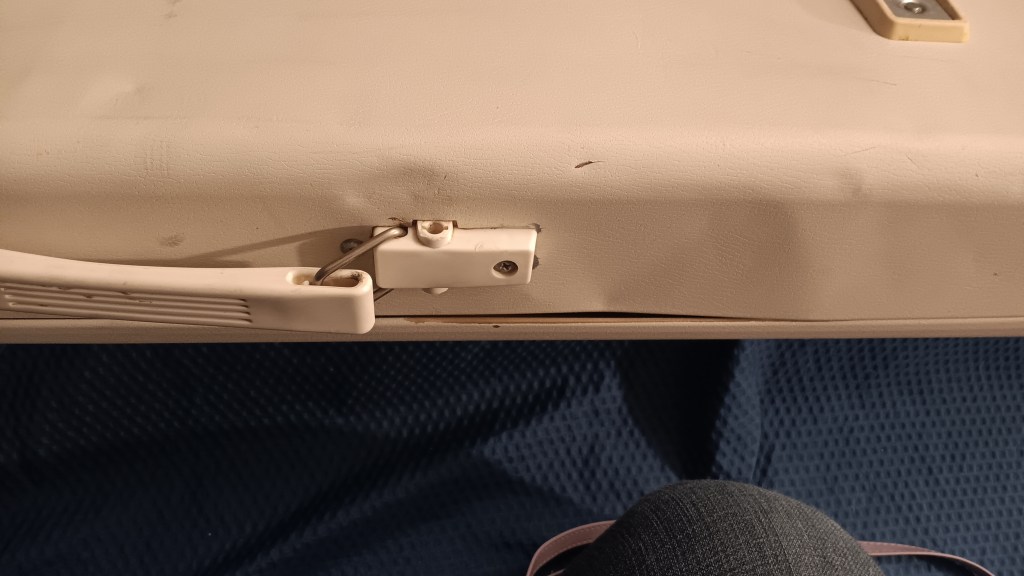
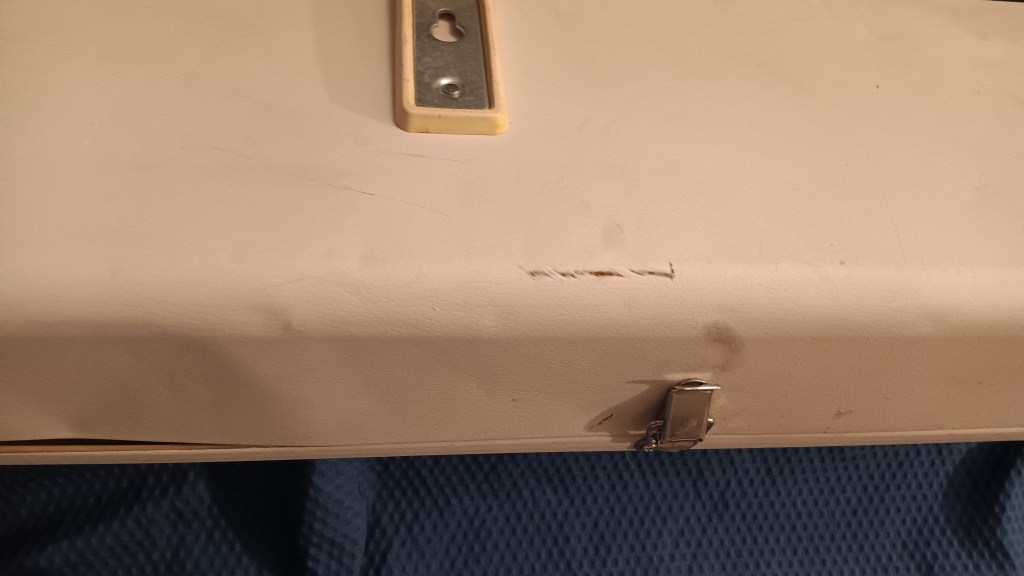
The lid has some minor scratches and bumps, but otherwise is in great shape (especially considering the age of the machine).
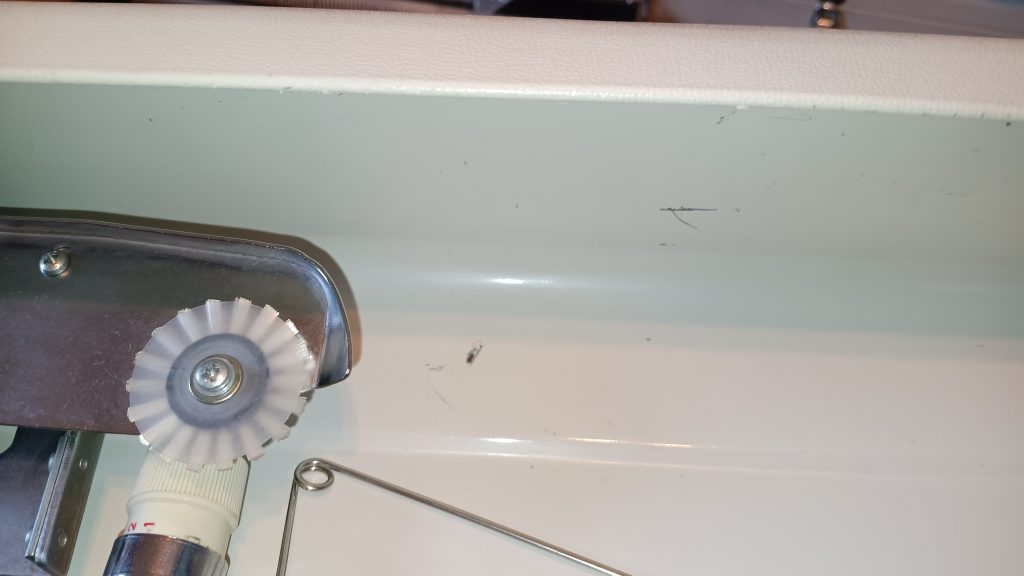
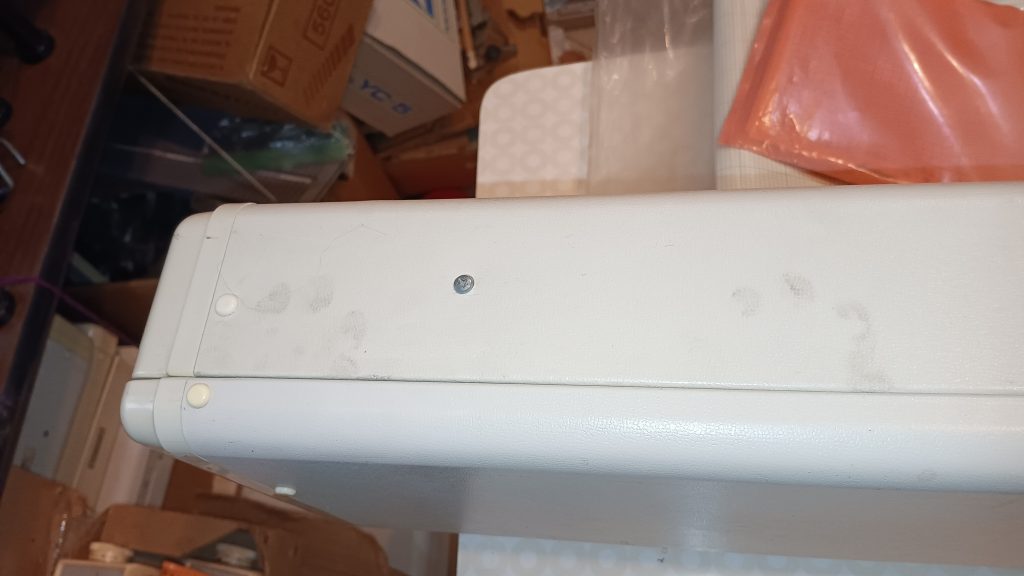
The case itself is in great shape, but a couple of stains, scratches, and bumps are present as well.
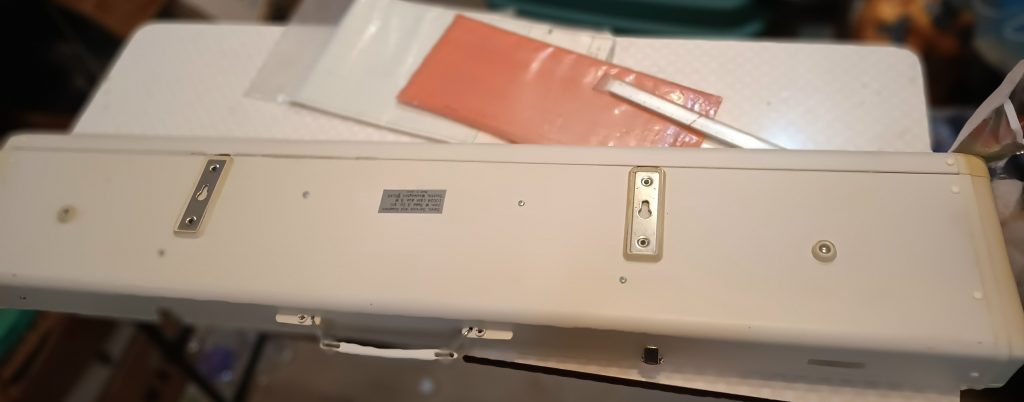
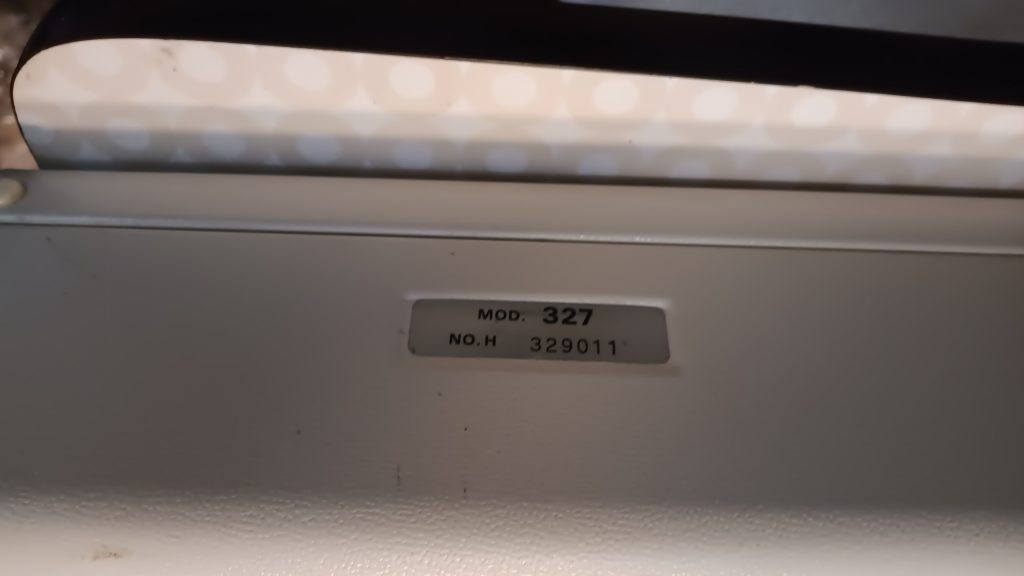
Here is the serial number for this machine, which I will remove after you receive and inspect the machine.
Happy Knitting!
Studio by White SK740 knitting machine restored in my shop

Studo by White SK740 knitting machine is a standard-gauge knitting machine manufactured by the Silver Reed company under the Studio brand name. The machine has 200 needles, 4.5 mm apart, which makes it a standard-gauge knitting machine. Read more about this model in my Knitting Machine Encyclopedia. Also, read the general details and pros and cons of a similar machine, Singer mod. 740. The post below is dedicated to a specific Studio by White SK740 knitting machine, refurbished, served, and tested in my shop.

I performed the regular maintenance on this machine.

  • The drums were oiled, inspected, and serviced to ensure they move freely.
  • All needles were removed, cleaned, and individually inspected.
  • The spongy strip in the metal retaining bar was replaced.
  • The side racks were also replaced with new ones.
  • Deep cleaned inside.
  • Cleaned the punchcard mechanism
  • Thoroughly wiped on the outside (I do not apply too many harsh chemicals to not cause further long-term damage to already fragile plastic components)
  • The machine was oiled thoroughly. Some lubricating oils might still bleed during your first knits. Just wipe them with a cloth.

The lid for the machine was rusted, so I covered the rust on the lid with a special coating and then applied silver-colored Rust-Oleum. It might not look super artistic and pretty, but the rust is stopped and the cover looks very presentable.

End caps on the main bed have discoloration. End caps on the lid are new (I specially 3D printed them out of a very durable material because they were cracked). The plastic rivets are also brand new.

Additional maintenance performed:

  • completely replaced the plastic top cover for the carriage; replaced with new stock
  • I installed new rubber wheels on the sinker plate
  • The lever covers (little knob-like plastic pieces) are replaced with new 3D printed ones.
  • I cleaned the minor rust spots inside the punchcard mechanism and then covered them with Rust-Oleum to stop further corrosion

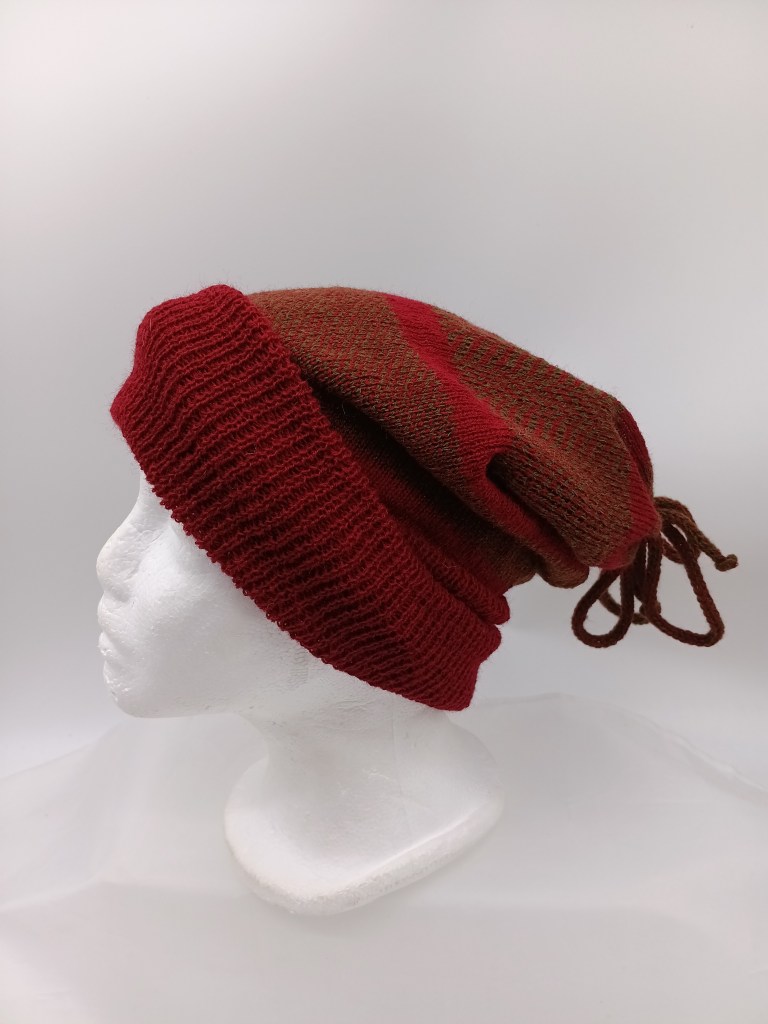
I tested the machine by knitting several patterns on all needles. The video of these tests can be seen here. I demonstrated that the machine successfully knitted tuck, slip/part, and fair isle patterns. I made three different items (hats and neck warmers) from the panels I knitted while testing this machine.

The brim on the last hats was made with the matching Studio SRP50 ribber (which is also available for purchase).

The machine will come with all the major accessories needed to knit.

Some of the accessories will not be included and this is why the price is lower than other machines of the same type sold in my shop. Also none of the missing accessories and imperfections prevented me from knitting and making beautiful things on this machine.

They are:

  • cast-on thread (any silky and strong thread can be used)
  • tapestry needle (any needle of your choice will work)
  • pattern paper for the knit leader
  • stitch scale
  • oil (it was old and I discarded it; use Hoppe’s oil from Amazon)
  • Magic Cams: They can be purchased on Amazon for under $30. They are neded for single motif knitting.

The knit leader accessories are missing, but my experience shows that knitters who are just starting do not even use the knit leader for garments. In fact, I do all my calculations for sweaters still by hand (its just how I was taught and I am just used to it).

All accessories fit inside the built-in box:

Twenty punch cards will be included. The fifteen cards are generic ones with just one line on them, but most correspond to the cards mentioned in the pattern book for Studio mod. 700 machine. The other five cards were made in the 1980s specifically for the Studio/Silver Reed/Singer machines. The markings on these cards are in red, and they have three lines. These are not generic but cards from a special edition set that I am including to complement the punchcards set to 20.

Some other imperfections (besides missing accessories) of this machine:

Some of the silver-colord rustoleum pain blead on to the cover because I also had to cover some rust spots on the cover.

Table clamps need to be whiggled in a bit with force, but i like that they sit tightly.

There are some dents on the case, but they do not prevent the machine from functioning and closing well.

Hoping you will adopt this great machine for your knitting needs.

Studio SRP50 ribber tested on Studio by White SK740 knitting machine in my shop in August 2025

Studio SRP50 ribber fits a vast majority of standard-gauge Singer/Silver/Silver Reed/Studio/Empisal Knitmaster/Riccar knitting machines.

Read about Studio SRP50, Empisal Knitmaster SRP50, Silver SRP50 and Singer SRP50 ribbers (which are the same, just different branding) in the Knitting Machine Encyclopedia. The post below is dedicated to a specific ribber I serviced and tested in my shop.

This Studio SRP50 ribber was tested on Studio by White SK740 standard-gauge knitting machine with punchcard reading capabilities.

I performed the usual cleaning routine: took out all needles, cleaned and inspected each, replaced bent or those with sticky latches; cleaned and serviced the needlebed. I spent a lot of time making sure that the distance between the main and ribber beds is optimum for my knitting. I used very thin and medium-thin yarns. If you use slightly thicker yarns or thinner ones, you might need to adjust the distance. There are a lot of online resources on how to do it.

This image has an empty alt attribute; its file name is 20250802_215450-1024x768.jpg

The correct distance between the beds is one of the most critical aspects of successful knitting.

This image has an empty alt attribute; its file name is 20250805_180339-1024x768.jpg
This image has an empty alt attribute; its file name is 20250805_180348-1024x768.jpg

I cleaned the carriage and cleaned the retaining bar (which is a plastic strip; no sponge).

The ribber will come with all major and most minor accessories.

The missing accessories are:

  • close-knit bar. It is a narrow (1 x 910 mm) piece of plastic. According to the forums and even the manual itself, it gets misplaced and lost very often. The same forums mention that it is rarely used – maybe for very fine yarns.
  • The “screw driver” did not come with this setup either. I am adding a ratchet tool instead. I used it for all adjustments of the ribber. For some adjustments, a regular flat-head screwdriver might be needed.

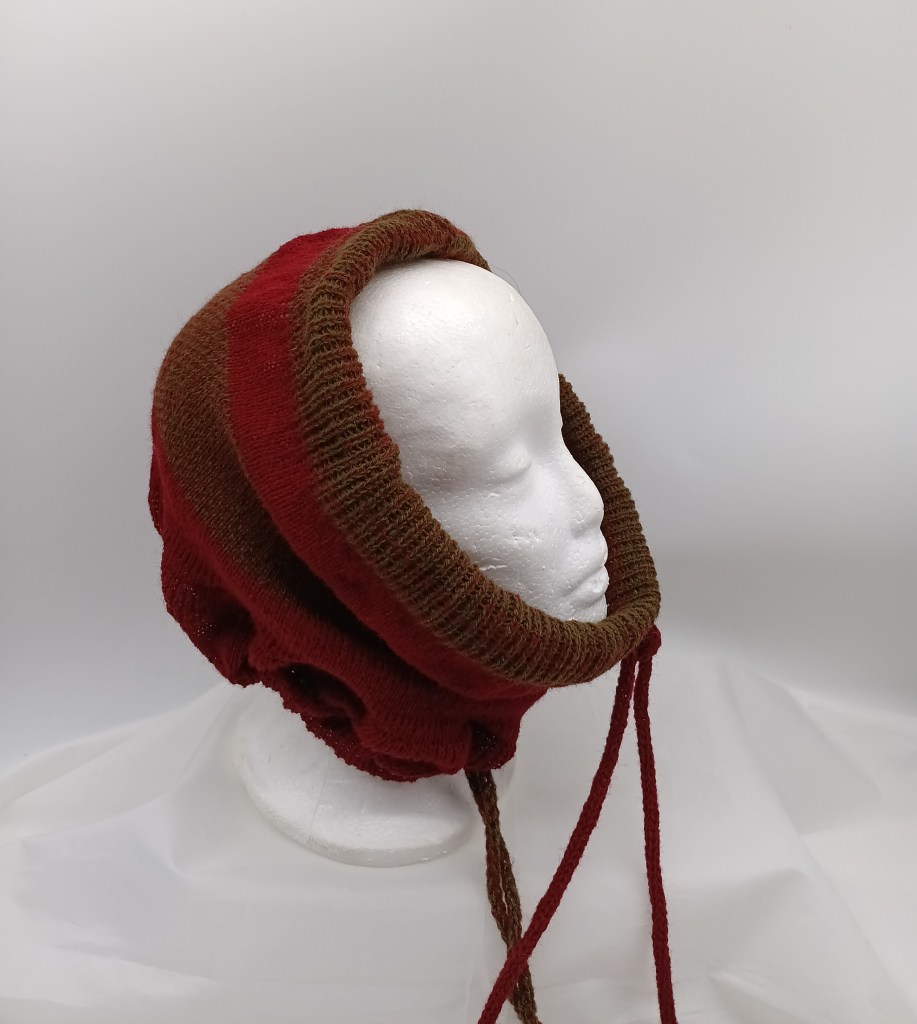
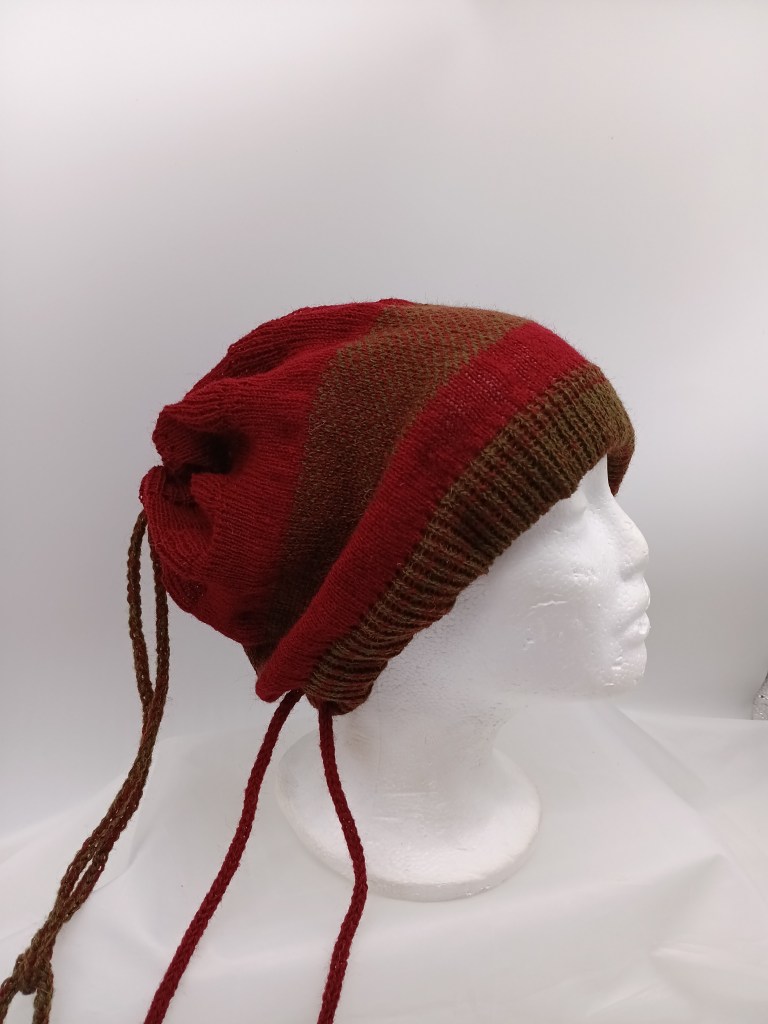
I recommend first swatch tests to be on every other needle and/or with a very thin yarn to get to know your machine without worrying about yarn adjustments. This is what I did when I tested this ribber. The knitted fabrics were then converted to hats, a band (made from a swatch) and a neck warmer below.

I knitted on every other needle but used two different combinations to ensure that I knit on ALL needles. Combination one was three needles on the left of the ribber not selected, and combination two was two needles on the left of the ribber not selected. See the video of those tests. The tests on a full bed are also important not only to assess how smooth the carriage runs, how well the needlebed is oiled, but also to ensure that all needles form correct stitches. Check out the video to see that all needles indeed knitted well.

This image has an empty alt attribute; its file name is 20250827_132033-768x1024.jpg
This image has an empty alt attribute; its file name is 20250827_131955-3-768x1024.jpg
This image has an empty alt attribute; its file name is 20250827_132120-3-768x1024.jpg
This image has an empty alt attribute; its file name is 20250827_132305-768x1024.jpg

Studio SK-303 knitting machine serviced and tested in my shop in July 2025

Studio SK303 is a metal flat-bed knitting machine with 200 needles, 4.5 mm apart, which makes it a standard-gauge knitting machine. Studio SK303 is capable of creating patterns with automatic needle selection governed by the turn-knob control center and buttons and levers on the carriage.

This post is dedicated to a specific machine serviced and tested in my shop in July 2025. To learn all the pros and cons of the Studio SK-303 model, refer to a post in my Knitting Machine Encyclopedia.

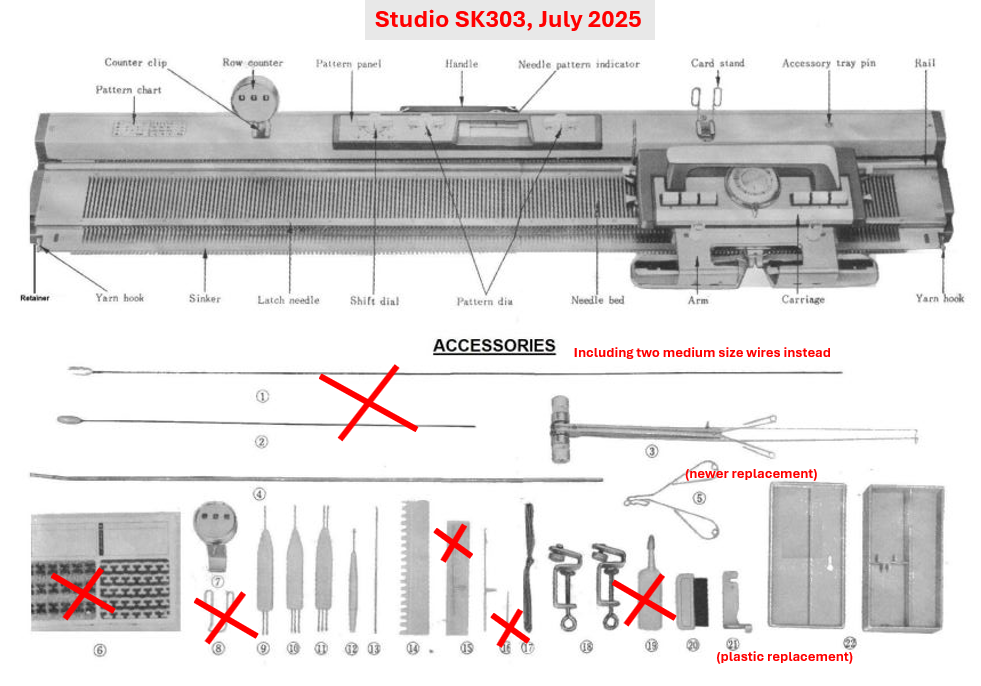
The machine will come with almost all major and most minor accessories.

The toolbox (and its lid) is pretty sturdy (normally, those boxes become so fragile with time and exposure to elements that they just crumble apart).

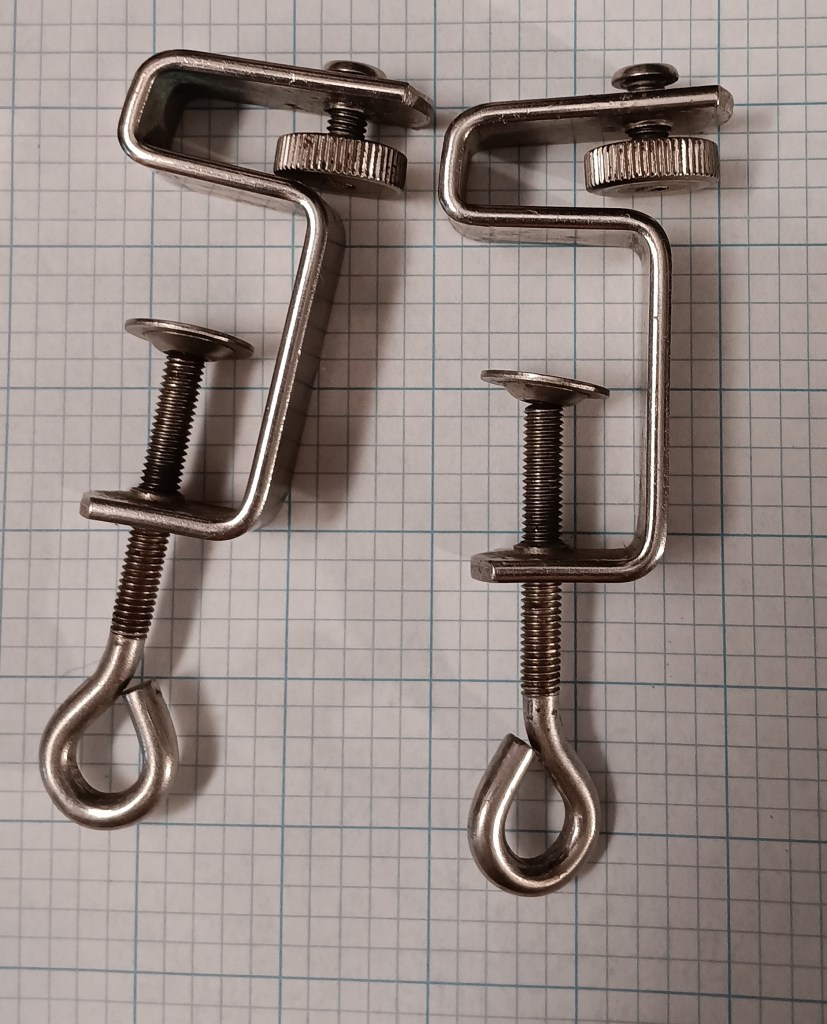
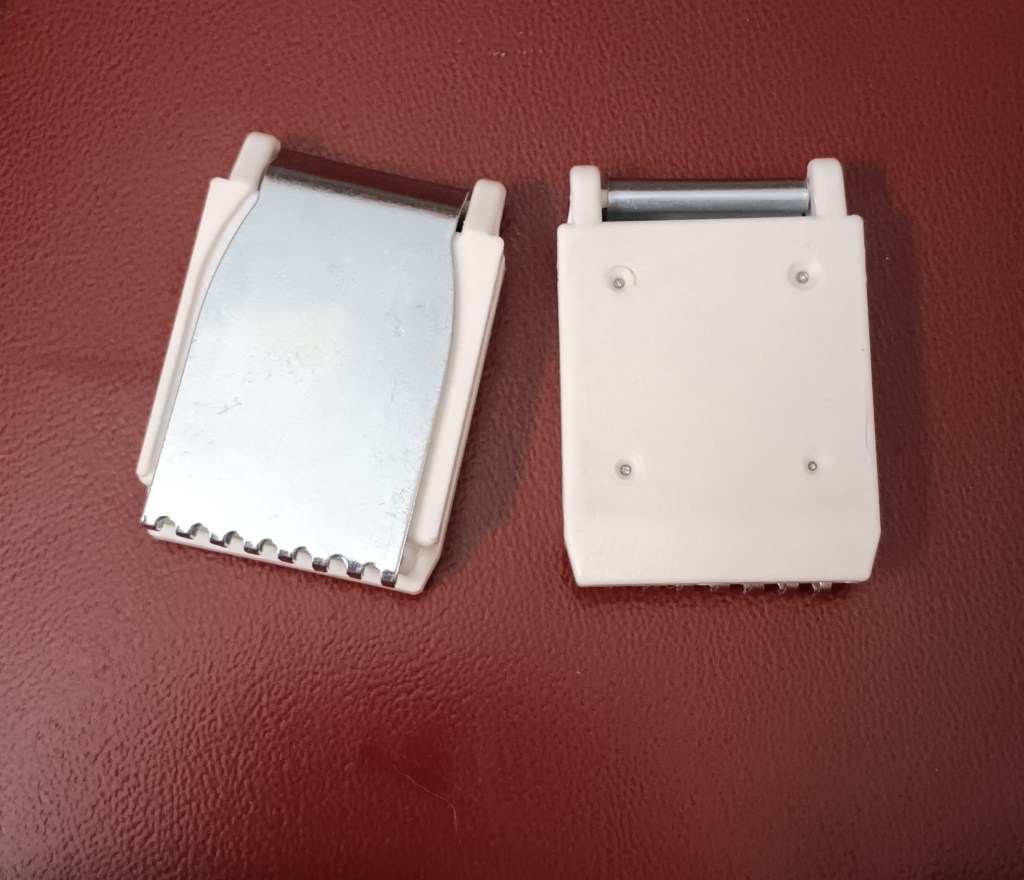
The S-shaped table clamps are original. I am also including two brand new claw weights (which are not even part of the original setup) because they are very useful, especially for beginners, to put on the edges of the fabric or to assist with the cast-ons.

The missing minor accessories/tools are:

  • hard copy of the manual. You can refer to a manual available online for free.
  • card copy of the pattern cards. They can also be downloaded for free. The manual also has some basic patterns. The pattern shown in my video for a blanket is a variation of the pattern in the manual. I also include patterns that I printed out from that pdf file.
  • original metal carriage lock is not included but I am including a 3D printed plastic replacement
  • clips to hold the cards did not come with the machine, and since there are not cards, they are not really necessary.
  • the case for the spare needles was falling apart and thus will not be included
  • oil was too old and I discarded it. I use Hoppe’s gun oil available on Amazon.
  • the yarn tension guide will be included but it is not the original one: it does not look like two bunny ears but more like a triangle.
  • the cast-on wires also did not come with this machine but I will include two identical medium (in between the short one and long ones shown above) wires.

I did all standard maintenance on this Studio SK303 machine: cleaned the retaining bar from the old gunk, replaced the sponge strip in the retaining bar, inspected all needles, cleaned inside and oiled the machine as well as the turnknob and patterning mechanisms.

I tested several acrylic yarns with this machine (just small swatches and also on the full bed), from super smooth to a textured wool yarn to a relatively thick one. Smooth fibers are sometimes problematic because a lot of static might form. The machine handled the slightly thicker (than I normally use on standard-gauge machines), almost sport weight, very well, although there were some hiccups. Additionally, it handled a two-thread 2-color fair isle pretty well, too. Textured wool yarn was not ideal – I should have selected every other needle, but still knitted a decent-sized swatch. All the tests are shown in the video I put together. The machine behaved pretty well, especially with thinner yarns. I tested two-color fair isle, tuck- and slip-stitches and all stitches and knitted fabric looked great.

The full bed tests are necessary because very often faulty needles might not show up during just visual inspection. In fact, I did discover a needle with a bad latch – it formed tucked stitches (shown in the video as well). After I replaced it, no more bad stitches formed on the full needlebed.

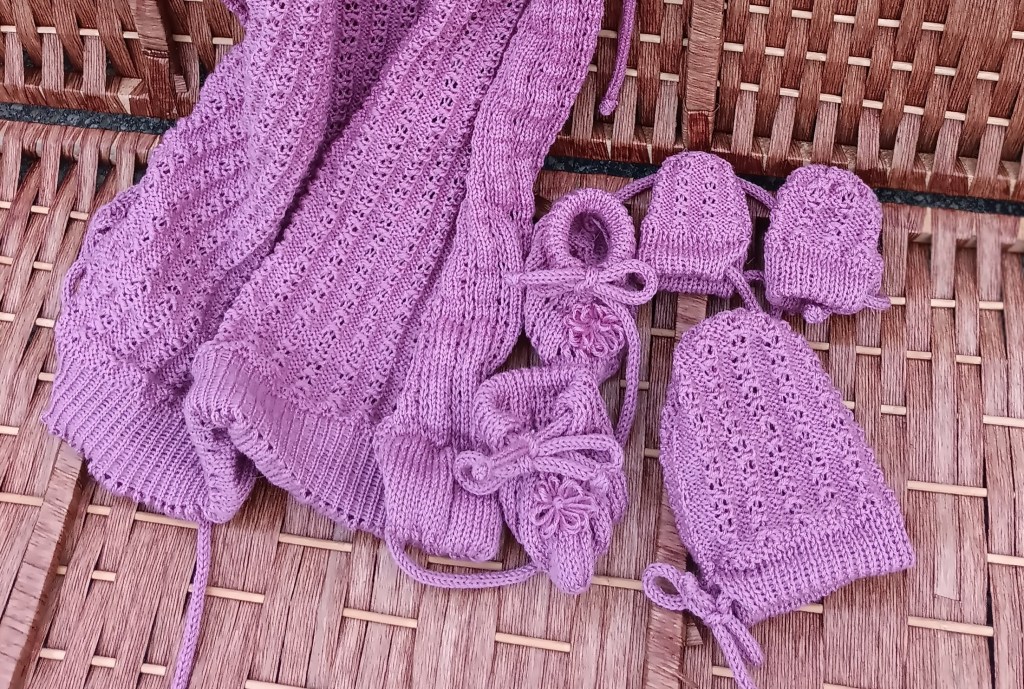
Below is a picture of a pattern I accidentally discovered while testing this machine. It is a combination of needles in A position (to create a lacy opening) and a hold-tuck combo.

I converted this knitted panel to a blanket (the pattern is coming soon). I like the look of it so much that I knitted little booties, hat and mittens to make it a matching reversible set.

Now, about imperfections:

One of the metal slide-ins (where the row counter or the card holder are attached) is missing.

The row counter is similar to the original ones but branded as “Silver”, not “Studio”. There is an identical knitting machine model but branded as Silver SK303.

The row counter has some minor staining but it does not affect its functioning.

The turn-knobs have some minor discoloration but still feel solid (they will not crumble easily).

The case has some minor stains and scratches but nothing too major (not all are shown). The scratches do not affect the functioning of the case.

Pros and Cons of turn-knob knitting machines

So far, I’ve been able to become very familiar with the Silver/Empisal Knitmaster/Studio/Singer turn-knob knitting machines: Empisal Knitmaster mod. 305, Knitmaster ES-302, Riccar RK-601, Silver SK-301, Silver SK-302, Silver SK-303, Silver SK-305, Singer 666, Singer 888, Studio SK-301, Studio SK-303. Thus, the pros and cons below are applicable to the following models:

PROS:

  • light weight
  • compact
  • needles similar to the ribber (easy to find)
  • The carriage is very easy to remove from the needlebed if it is jammed
  • manual and pattern cards are available online for free
  • sturdy end caps
  • excellent for those who like the satisfaction of manual stitch manipulations
  • excellent for beginners
  • it is significantly faster to perform needle selection than manually and than the Brother pushbutton knitting machines (which involves the lever movement every time the needles need to be brought forward)
  • no ratchet tool is required to move the needles forward (like in Brother push-button machines)
  • needle selection pattern versus turn knob combinations is show on the front panel: no need to constantly refer to the manual
  • ribbers were available to convert the machines into double-beds

CONS:

  • bunch of knobs, buttons and levers might at first seem confusing
  • vintage row counter if mispalced is hard to find
  • somewhat limited patterning capabilities: manual needle selection is needed for complex patterns and patterns with more than 8 needle repetitions
  • colored fair isle requires manual yarn manipulation (the knitter will need to lay the yarn onto the needles with open latches; might seem tedious on larger projects, but makes it easy to knit single motif patterns)
  • limited number of add-ons: only ribber (no knit leaders, no color changers, no lace carriages, etc).

If you are new to machine knitting on flatbed machines and you just got a machine, consider the beginner-friendly projects I recommend to all my students and customers. These projects can be done on any machine with any gauge. Also, if you are unsure how to choose a knitting machine, check out an article I put together.

…stay tuned for more insights as I test other turn-knob knitting machines.

Working, mechanism, pros and cons of drums-based knitting machines (sold under the Silver Reed, Singer, Studio, Empisal model names) with punch card capabilities.

… in progress. Last update: June 2026

Knitting machines with punchcard capabilities have carriages with drums that glide on the back rail and also assist in needle selection when they are passed over a punchcard reading mechanism pegs.

Well, since these patterning drums are such a prominent feature (which also makes these machines stand out from Brother punchcard knitting machines), a lot of cons and pros are associated with them.

PROS:

  • needle selection is localized to drums/carriages, thus fewer (theoretically) things can go wrong;
  • Drums assist the carriage in sliding on the needle bed
  • I find knitting tuck-stitch on these machines is much less problematic than on Brother machines.
  • Patterned knitting occurs starting with the first passage of the carriage.

CONS:

  • Yarn and debris can’t tangle around these drums
  • These drums often freeze up when the machine is not in use for a prolonged time due to solidified old grease/oil.

Here are my other observations/feedback so far:

Pegs on the drums pass the needles to either B position or C position.

When the patterning dial is in the fair isle position, the mani yarn goes onto the needles in C position.

I see blog posts stating that some of the clanking noise might be due to the static in the yarn. To solve this issue, attach wax to the tension mast so the yarn passes through it.

But some knitters experience that noise even when there is no yarn in the carriage. Sometimes, if the carriage was not recently serviced or the sponge in the retaining bar is old, you might hear some clanking noise. I am discussing this issue (as well as how to address/minimize it) in my video.

When the ribber connecting arm is attached (from SRP50 ribber – maybe others, still researching), the carriage cam dial does not turn from L to Stockinet freely. You will need to disconnect the connecting arm, and the problem will be solved.

Studio 360K serviced in my shop in May 2025 for Sabine.

Knitting machine Studio mod. 360 coupled with the Singer MemoMatic 360K carriage, was serviced and fully tested in my shop in May 2025. To read the pros and cons of the Studio mod. 360 and Singer MemoMatic 360K read the corresponding posts in the Knitting Machine Encyclopedia. The post below is dedicated strictly to this specific machine and not the model overall.

This girl was manufactured in the 1980s (45 years ago) so it comes with its own character (read below in Imperfections).

The machine was thoroughly cleaned. I removed all plastic panels and cleaned them. I removed plastic end caps and clean inside the needlebed with the brush until not more lint and dust as coming out. The needlebed was vacuumed from inside and outside. All metal parts were oiled. The punchcard reading mechanism was tuned and cleaned with oil. Same for the carriage. All needles were removed and inspected and then tested on the full bed (knitted on all needles). I identified one faulty needle (the video shows the incorrectly formed stitches) and replaced it.

In fact, tests on full bed were performed using tuck-, slip- and fair-isle stitches. All stitches formed as they are supposed to. There was no mispatterning (see the full video). The video also shows that all buttons, levers and wheels move freely on the knit leader and the paper advances accordingly. Read the manual carefully when setting the knit-leader parameters as some of the knobs move at certain settings. The video also shows that the row counter work great as well.

I replaced bent plastic heel protectors (plastic circles around each wheel with soft brushes on the under side of the sinker plate – now shown). They bent kinda easily when the yarn is tangled around the wheels on the sinker plate.

Installed new end racks. I replaced the sponge in the retaining bar. The retaining bar sits a bit tight so if it needs to be removed, initially use pliers to get the bar the first tug.

The drums on the carriage move freely (see the video). The carriage with and without sinker plate moves freely on the carriage across the needles in A and B positions. Read below about some accompanying clanking noise.

The machine will come with all major accessories.

Those that are not included are:

  • unravel cord (any smooth and strong thread or yarn will work);
  • tapestry needle (any needle will work)
  • punchcard rod (all tests i performed and shown in the video were done without it and it worked well).
  • oil (I get oil for my knitting machines on Amazon: Hopp’s gun oil)
  • punchcard set has all 20 cards and they are original Singer/Studio punchcards but some are somewhat different than in the Pattern Book
  • A hard copy of the machine instruction manual will not be included but it can be downloaded online for free. The hard copies of the knitting manual and the pattern book are included.

Despite some discloration of the plastic and metal of the main bed, the case lid, and the needle bed are in overall good shape.

Imperfections:

  1. There was some yellow discoloration, which could be potential rust spots. I covered them with a couple of protective coatings. The covered spots are not as noticeable in real life as shown in the pictures below. In fact, when I am looking at the machine right now, I can’t even see it (but I know it was there).

2. One of such spots is actually the railing itself (I needed to be 100% sure that there will be no further degradation due to rust). So I applied a thin layer of protective coating as well.

In some places, the coating comes of, which comes across as some minor debris. Just be aware of it (and not alarmed). Include cleaning the debris and carriage rail in your regular knitting machine cleaning routine.

3. It seems that either the plastic panels (including the end caps) were replaced by the previous owner, or the machine was exposed to the sunlight unevenly. Regardless, you can see that some panels show a different degree of yellowing (discoloration of the old plastic due to exposure to the UV light/rays). However, the plastic does not seem fragile (I’ve seen a LOT of weakened (due to UV) plastic parts). So the difference is only visual/aesthetic.

4. When I first started testing the machine by moving an empty carriage on the needlebed (with all needles in A, non-working, position), there was some clanking noise in some areas. I tried various carriages on this machine and they all sound like this. After troubleshooting this issue, I was able to improve it (watch this video on this issue) but due to the nature of this noise, it is not completely eliminated. This video discusses how to prevent/minimize that clanking noise. However, with regular maintenance and paying attention as well as moving the carriage in one smooth motion, this will not be an issue.

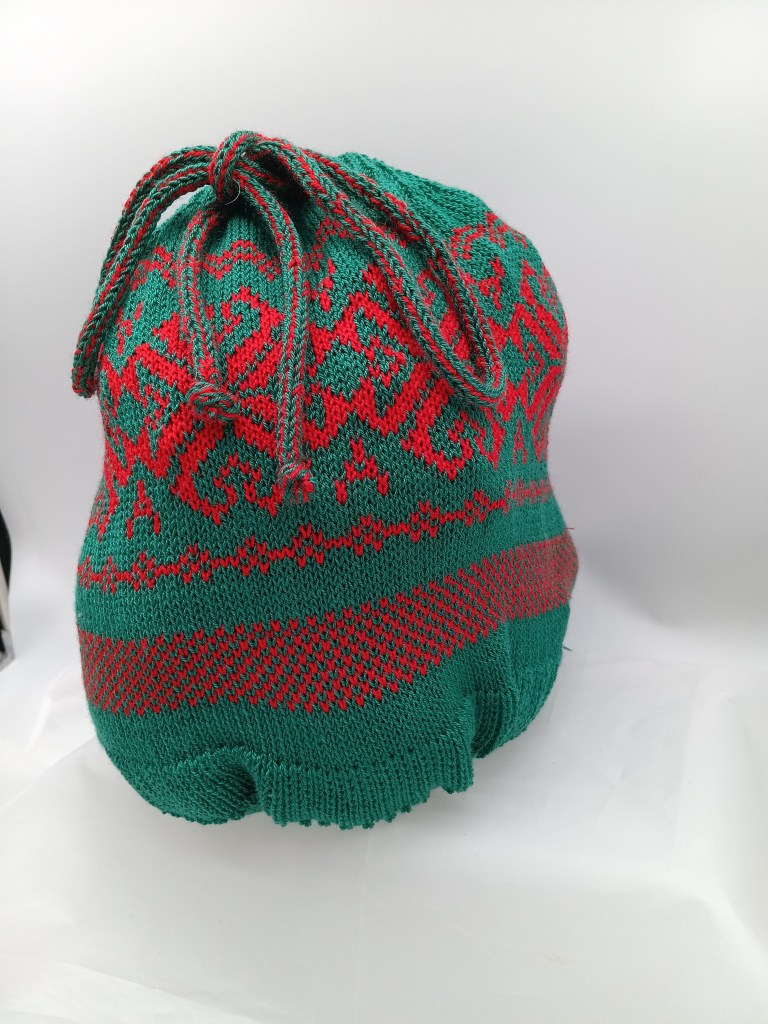
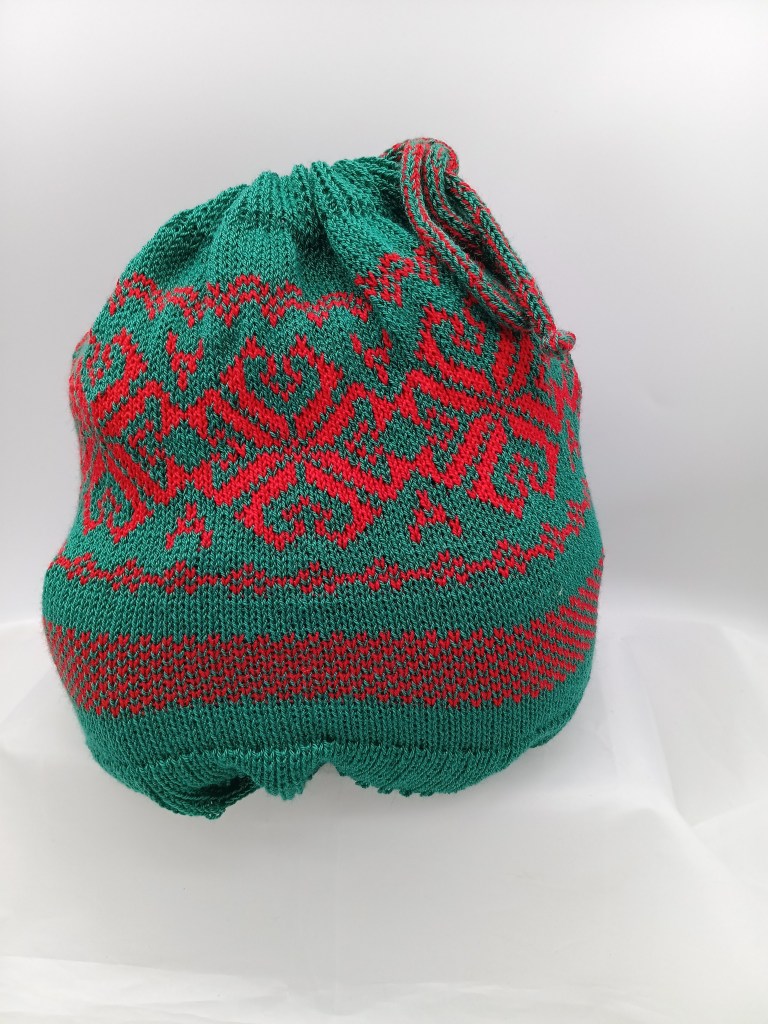
Despite all these imperfections, I enjoyed working with this machine. I made the gift bag below using various stitches shown in my test video (working on the pattern now).

Needle positions of various flat-bed knitting machines and ribbers

Brother Knitting machines

A – non-working position

B – standard working position

C, DI, DII – patterning positions

E – holding position

Machine Model number
Needle Positions
Basic (manual) knitting machines
KM100, KH355, KH360, KH370, KH380, KH390, KH395ABCD
KH210, KH220, KH311ABCDE
KX350, KX395ABDE
KX355unknown
4-Pushbutton machines
KH35, KH212, KH218no indicators
KH511ABCDE
KH521, KH531, (Profile) KH551ABCDIDIIE
8-Pushbutton machines
KH110, KH120, KH552, Profile 585, KH587, KH588, KH705,
(Genie) KH710, KH601
ABCDIDIIE
KH561, KH571, KH581, (Profile) KH583, (Profile) KH585ABCDE
KH811 (also 24-stitch punchcard)ABDE
12-stitch punchcard machines
KH800, KH801ABCDIDIIE
24-stitch punchcard machines
Bulky: KH260
Standard: KH810, KH811, KH820, KH821, KH830, KH831, KH836, KH840, KH850, KH851, KH860, KH864, KH871, KH881, KH890, KH891, KH893, KH894
ABDE
Electronic machines
KH900, KH910, KH920, KH930, KH940, KH950, KH965, KH970ABDE
Ribbers
KR551ABC
KR110, KR120, KR586, KR710, KR810, KR830, KR840, KR850, KR890, KR900, RK900ABDE
KR582unknown

KnitKing Knitting machines

A – non-working position

B – standard working position

C, DI, DII – patterning positions

E – holding position

Machine Model numberNeedle Positions
24-stitch punchcard machines
Bulky:
Standard: KH881, KK91
ABDE
Electronic
Compuknit IV,ABDE

Silver Reed Knitting machines

Machine Model number
Needle Positions
SK120,ABDE

Retaining bar vs knitting machine model chart

In progress. LAST UPDATED: June 2026

The table below lists the lengths and widths of various knitting machines I measured myself. Use this table as a reference to ensure you purchase the correct retaining bar for your knitting machine.


Model number
Retaining bar parameters
materialsponge strip?length, inch/cmwidth, inch/mm
Brother/Defendi/Empisal/ Jones/KnitKing
Brother KH500, KH531, KH551metalyes41/1040.375/10-10.5
Brother KH110, KH120, KH552, KH582, KH585, KH588, KH710, KH800, KH801, KH820, KH830, KH840, KH860, KH864, KH890, KH891, KH910, KH970metalyes41/1040.5/11-11.5
Brother KH230 machine, KR230 ribbermetalyes43/1090.5/11-11.5
Brother KH260, KH270metalyes47/1190.5/11-11.5
Brother KR810, KR830, KR850 ribbersplasticno41/104
Brother KR260 ribbermetalyes
Brother KR230 ribbermetalyes43/1090.5/11-11.5

JUKI
2500metalyes43/1090.75/11.0-11.5
Riccar/Silver/Empisal Knitmaster/Studio/Silver Reed/Singer
Silver Reed SK120metalyes43/1095 mm/0.2 inch
Silver Reed 260, 280, 321, 322, 323, 324, 326, 327,328,329,350, 500, 560, 580, 600, 700 840
SK270, 370, 830
metalyes41/1040.75/11.0-11.5
Silver Reed SK150.151, 155, 160, 860, 890, HK100metalyes43/1090.75/11.0-11.5
Toyota

About retaining bars in knitting machines and ribbers.

… this article is in constant progress as I learn about various knitting machines and their retaining bars. By the way, a chart on which machine uses what kind of retaining bar can be found here. Read how to deal with a stuck retaining bar at the end of this blog post.

Almost all knitting machines and ribbers have retaining bars. Some machines have retaining bars with a sponge attached to them. Some machines (the majority of plastic flatbed machines) have only a long and narrow sponge (without the metal holder). Ribbers come with either a “retaining bar+sponge” assembly or only with the plastic retaining bar (no sponge strip).

The main role of these retaining bars is to hold the needles in place and to prevent them from bouncing up and down when knitting.

Below are the situations when you want and need to remove (and inspect in many cases) the retaining bar:

  1. When you just purchased your machine (especially used and NOT recently serviced), the first thing you need to do is to remove your retaining bar and inspect it. I made a short video on how to do it because I have been asked about it so many times by my customers.
  2. When you need to replace faulty needles.
  3. When you need to clean your machine.
  4. When you notice your knitting machine mispatterning without any good reason.

Hopefully, you purchased your knitting machine new or recently serviced. In this case, the sponge should be 1-2 cm above the metal edge of the retaining bar.

But in most cases, this is not the case. Thus, it is possible that when you remove the retaining bar, you will see a disintegrated sponge. I’ve seen some spongy strips being just a gooey mess. The old sponge needs to be removed as soon as possible (since it often corrodes the needles) and replaced.

There are two ways to approach this replacement.

First approach: just replace the spongy strip

If you decide to replace the sponge, you will need to remove all this goo. I first use a flat-head screwdriver to scrape all the residue out of the retaining bar canal. Typically, the old sponge residue remains in the retaining bar channels. So, to remove those, I then use “Goo Gone” to remove the rest of the residue. I typically do it outside because it is a very messy process. I pour a thin layer of “Goo Gone” liquid into the retaining bar and wait for a couple of hours. Then I scrape the remains of the old sponge again with the screwdriver. Repeat the “Goo Gone” application if needed. Lastly, I wash the retaining bar with soap and water, wipe it really well, and let it dry (or blow-dry it). You can purchase just the sponge in my store or on Amazon.

I sometimes read in forums that some thrifty machine knitters get simple weather stripping and use them as sponge strips. Well, those have different densities and sometimes do not have a silky ribbon on one side. Also, they are not suited to be exposed to oils and might decompose rapidly, leaving a sticky (potentially unremovable) residue inside your machine.

I read that experienced machine knitters use different ways to attach the spongy strip to the retaining bar. (By the way, the width of the spongy strip is not as critical, and it can be a little bit narrower than the channel of the retaining bar, but not by much). I tried different glues, and my current choice is hot glue. Some machine knitters use wood glue. I apply the glue to the metal part of the retaining bar and attach the strip to the metal by the sponge side (not the silky ribbon side). I then tape the ends of the sponge to the plastic ends. I like using medical tape. Only one layer of the tape is enough to secure the ends of the sponge. More layers will only get stuck when you insert the newly refurbished retaining bar back into the machine. Insert a small section at a time and push the needles gently down. To avoid stripping this tape, push it down on the ends of the retaining bar while inserting it into the machine.

You will see some sellers offer plastic ends for retaining bars. There are several problems with those:

  • To insert them on top of your new sponge strip, you will very likely have to widen the metal section of the retaining bar where the ends snap into, and then clip the metal again around the plastic ends. Since you will very likely have to do this procedure often (twice a year), this process deteriorates the metal retaining bar, making it eventually unusable.
  • Sometimes the plastic ends do not snap into place easily and pop out of the retaining bar.
  • Removing the old plastic ends to insert the sponge strip along the whole length of the retaining bar can also damage the ends of the metal retaining bar.

Second approach: buy a new retaining bar

Or if you do not feel like dealing with all this mess, you can purchase a retaining bar with a sponge already in it. Before you order a new retaining bar, make sure you measure the dimensions of your old bar: its width and its length.

Most commonly used by machine knitters Brother, Studio/Silver Reed/Singer, and Toyota knitting machines have somewhat similar retaining bars but there are some differences depending on the model and the gauge of the machine.

For the retaining bars for these machines, there are three different lengths (41, 43, and 47 inches) and two different widths (0.375 and 0.5 inches). This is why it is important to measure your old retaining bar to ensure that you are getting a retaining bar suitable for your machine. Most JUKI, Toyota, Silger/Silver Reed/Studio, Artisan knitting machines use 0.375-inch wide retaining bars. The lengths are either 41 or 43 inches (depending on the model).

I’ve read stories on Facebook groups, where the new machine knitters were puzzled by the fact that they JUST replaced the sponge bar and the needles do not move, advance, or retract the way they are supposed to. I especially see I happen to be the owner of 8 push-button Brother knitting machines. There is somewhere out there some incorrect information on the retaining bar for these machines. 4-push-button machines use a 0.375-inch wide retaining bar, and the 8-push-button machines use a 0.25-inch wide retaining bar. (I’ve refurbished over a dozen push-button machines and I know the difference first-hand).

Brother ribbers use plastic retaining bars without sponges. When (re) inserting the retaining bar into the Brother ribbers, the concave surface (the “channel”) should face you.

There are machines and ribbers with unique retaining bars (like Silver Reed SK120 and SK121 models, Brother KR321 ribber) – I will keep updating the blog as I am learning more. I am also putting a table on machines (and models) and retaining bar compatibility.

In the meantime, enjoy your adventure in retaining/sponge bar replacement!
PS. I measured several dozen retaining bars with my calipers. Even though the “official” measurement is 0.375 and 0.5 inches, mine are measured as 0.40-0.41 and 0.44-0.46 inches, respectively. This inaccuracy in inches makes me like the mm scale (aka metric) a bit better. So the narrower retaining bars are 10.0-10.5 mm, while the wider ones are 11-12 mm wide. Who knew that just 1 mm would make such a difference, but it does! I had an incorrect bar installed on my KH581 8-pushbutton machine, and the needles would not go back from E to B (or A) position!!!

Sometimes the retaining bar gets stuck. Possible reasons are:

  • it was inserted incorrectly originally: e.g., with the metal side touching the needles, or misaligned with the channel or even bypassed the channel.
  • sponge strip disintegrated and the old goo got stuck to the needles;
  • sponge strip goo rusted the needles and they are grabbing onto the old sponge strip;

Solutions when the retaining bar is stuck inside the machine:

  • try to use pliers to pull the retaining bar out;
  • if not much is visible to grab, remove the end cap;
  • try to do the two previous ones from a different end of the needle bed;
  • try to push the needles to E position and try the previous bullet points again