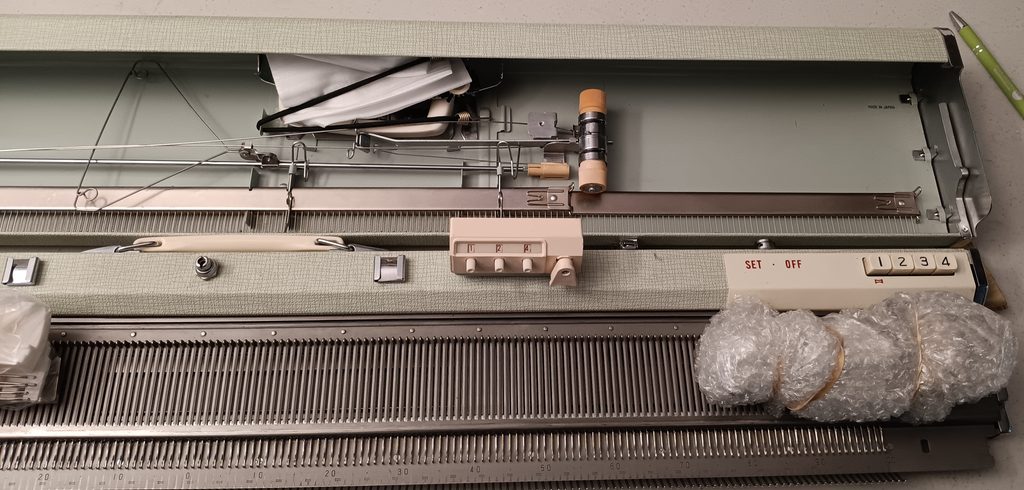
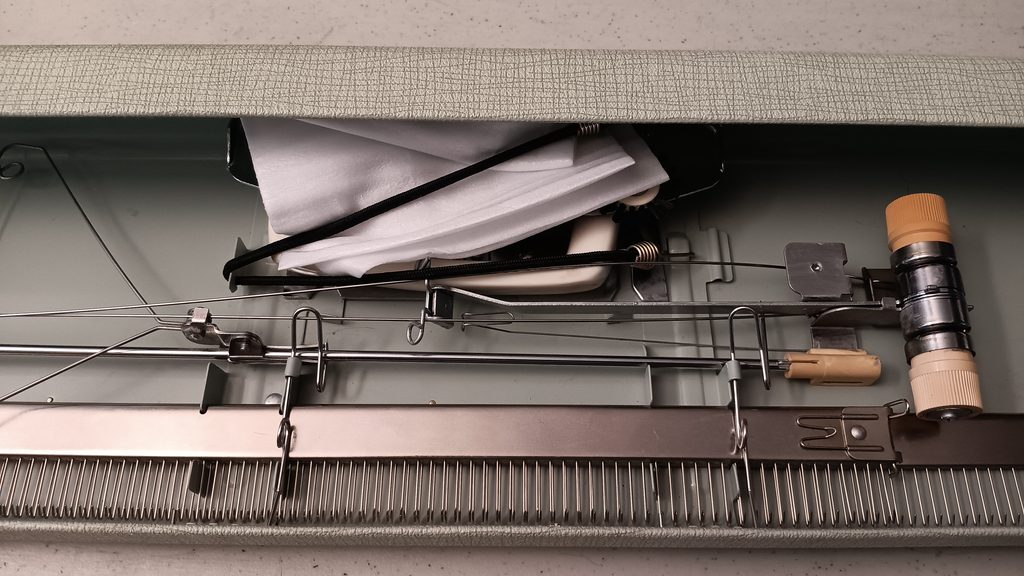
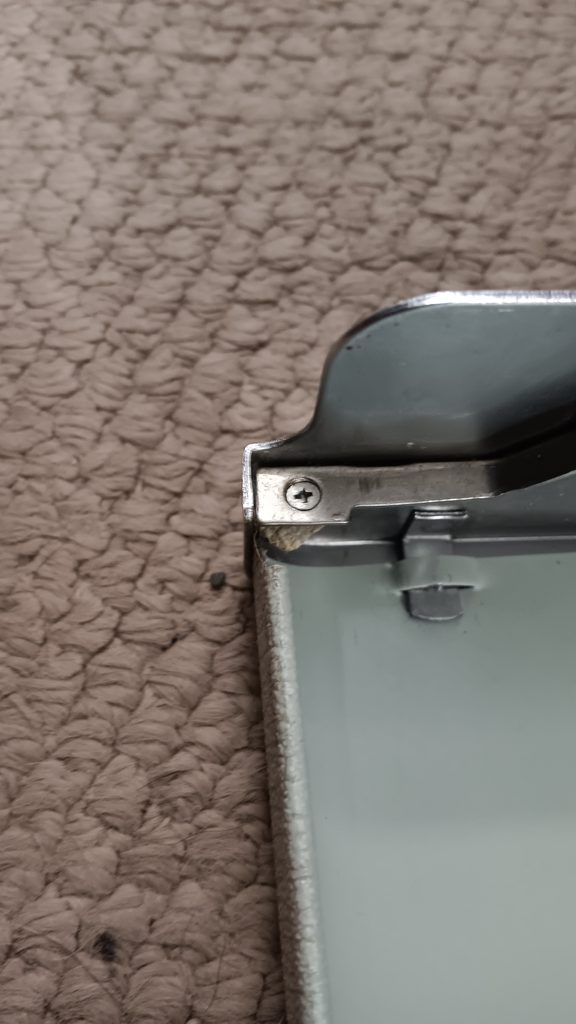
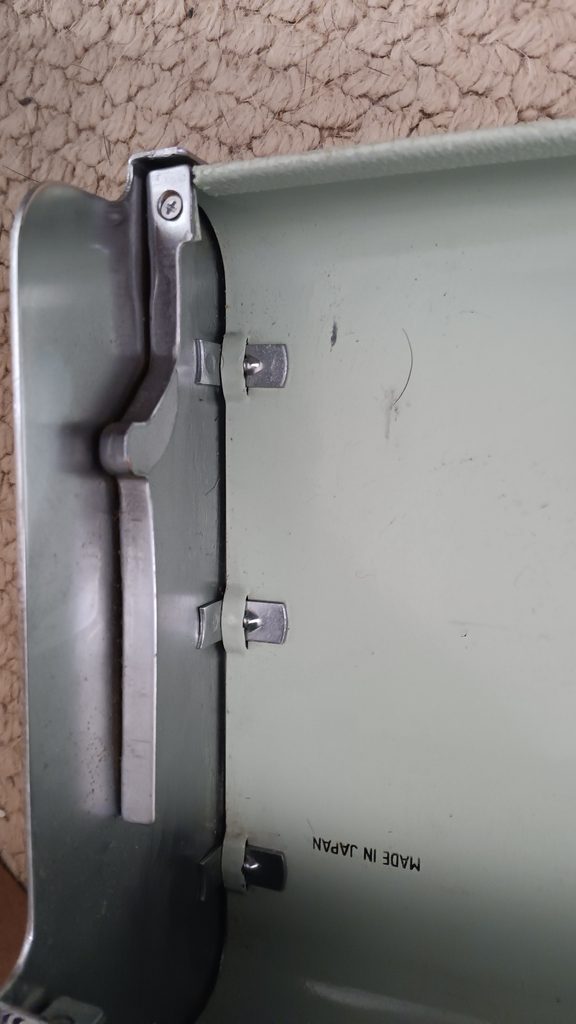
… this post is constantly in progress. I’ll update with pictures when I can.
If you are one of those lucky people who inherited a knitting machine, got one passed down from your grandmother’s attic, or got a set for free, you can ignore this post. Just know: we are all already jealous, no matter how small or big your inheritance is.
If you are looking for a machine on Marketplace, below are a couple of things to look for. None of these are deal breakers, depending on the price, on what you need, whether or not you are ready for a project machine…
Look that the carriage is present. You cannot knit without the carriage.
Look that the sinker plate (sometimes called fabric presser) is present. You will not be able to knit without it either.
Look for other major accessories: tension mast, cast-on combs (for Brother machine), needle transfer tools, etc. You will be able to knit without them, but those are nice to have. Even on the used market, you are looking at an additional $100 or so of investment if the tension mast and the cast-on combs are not present.
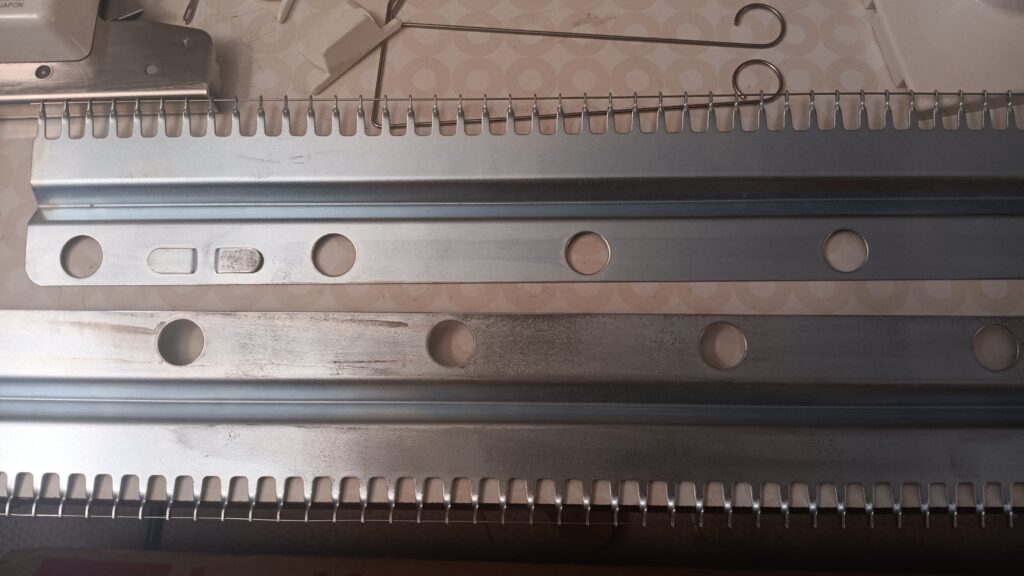
Look for pictures of needles moved from A to D position: make sure there is no rust or very little rust. Very often, a decomposed retaining bar that was sitting for a long time in the machine will rust the needles at the point of contact. However, believe it or not, this rust might be ok to fix. If the needles are rusted beyond that point, then there is a very big chance there is rust inside the needlebed, which might pose more serious problems down the road.
Importance of demonstrating knitting on the machine:
Ya’ll heard by now how hard it is to find replacement parts, especially needles, for Toyota knitting machines. So, why are Toyota knitting machines still so desirable? Is it worth buying a Toyota knitting machine? Should I really accept that vintage present out of my aunt/grandmother/neighbor attic?
A lot of users emphasize that Toyota machines with Simulknit are most desirable because no other Japanese or European manufacturer makes something as easily manageable as Toyota’s Simulknit. There is a stand-alone Simulknit kit (Toyota Simulknit K80), and some setups have built-in Simulknit. Setups of the knitting machine compatible with ribbers with model numbers 5XX do not need any additional attachments because the Simulknit function comes with those 5xx ribbers.
Toyota Simulknit K80 attachment can be fitted onto the Toyota KR460 ribber.
A lot of users mention how wonderful the lace-knitted fabric looks on Toyota. Most Toyota machines that offer lace-knitting capabilities come with a two-carriage system for lace. Toyota KS950 has a carriage with built-in lace-knitting capabilities. Toyota KS950 (same as Elna EK2400) with its matching ribbers are the most desirable machines from this maker.
Many emphasize the ease with which Toyota carriages slide across the needlebed.
Many are just in love with everything Toyota and will buy a second second-hand machine to keep for parts.
The majority of the needles are used and sold by people who either have old stock supplies or disassembled machines for parts and have needles remaining. Often, people buy a second Toyota machine just for parts and needles and are willing to let go of some of their inventory.
Once in a while on social media, a manufacturer surveys for people who are willing to buy in bulk so it will be worth it to manufacture a lot of needles, but to the best of my knowledge, nothing has materialized yet.
Some needles are interchangeable among the models. However, needles for the 787 model are not compatible with the 747 one, and vice versa. Needles for the Toyota 747 have a small tail curved up. Needles for the 787 are similar in dimensions but lack this curved tail. Some sources say that needles for the Silver Reed SRP50 and SRP60 studio might work on Toyota 787.
Needles from the 950 will not work on the 901. Some sources state that needles from Silver Reed 321 model might work but the butt is a bit taller.
Brother needles currently available new are a bit shorter and will jam the carriage. So, if the Brother needles installed on the Toyota 901 are extended all the way to “hold” position, their ends will very likely pop out.
Needles for Toyota KR501 ribber are the same as needles for the Singer 313 and similar to the needles for the Studio SRP50 and SRP60 needles. Some sources state that needles for Toyota KR501 ribber are similar to the needles of the main bed of Toyota 787
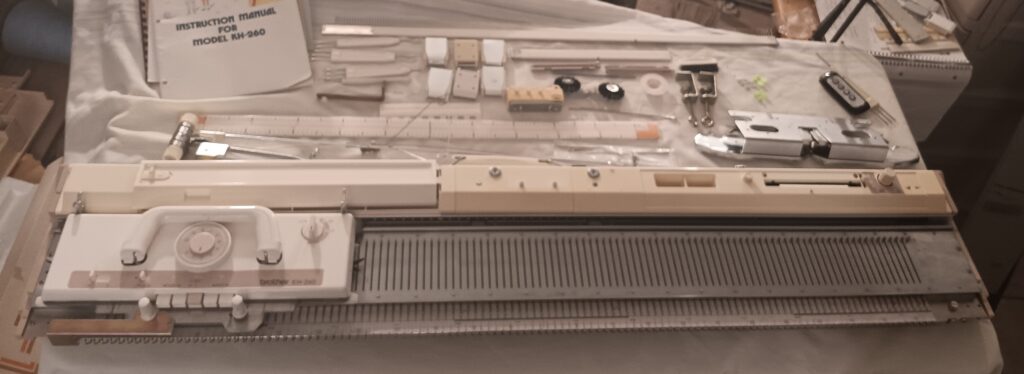
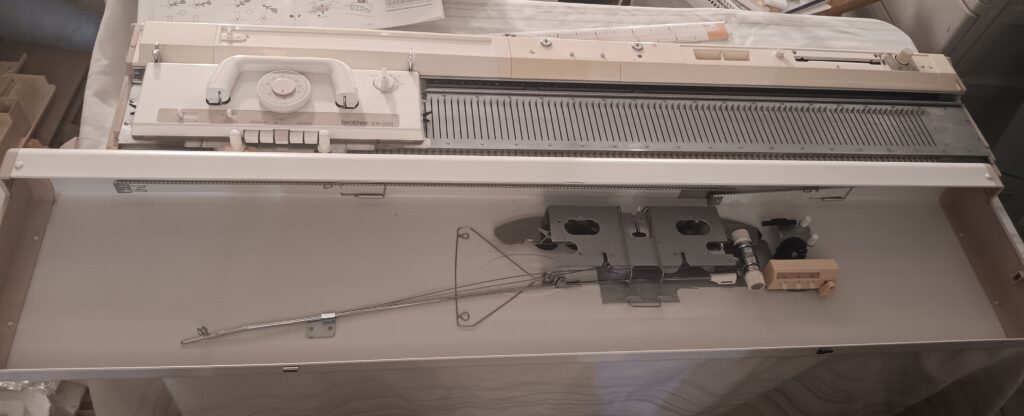
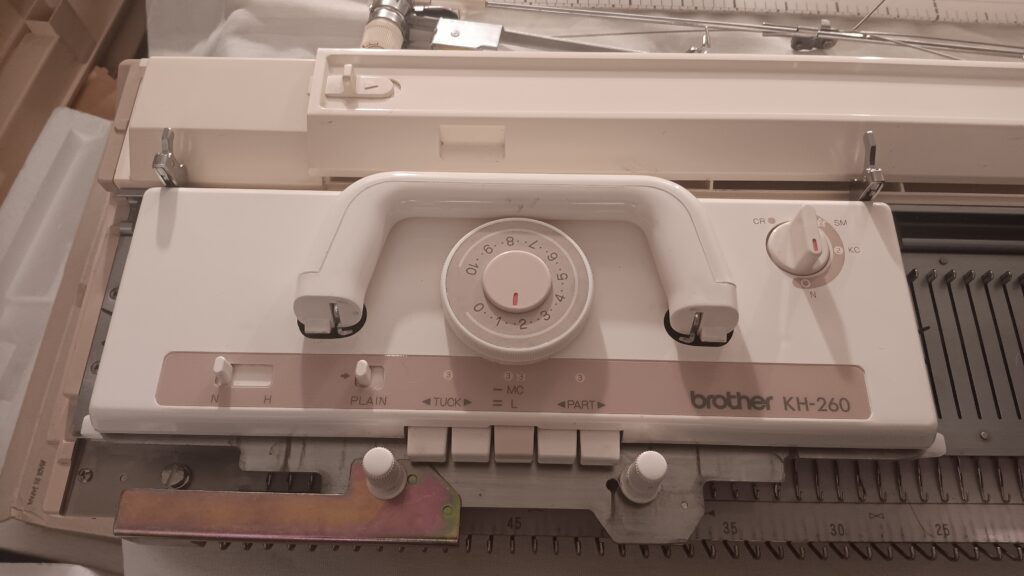
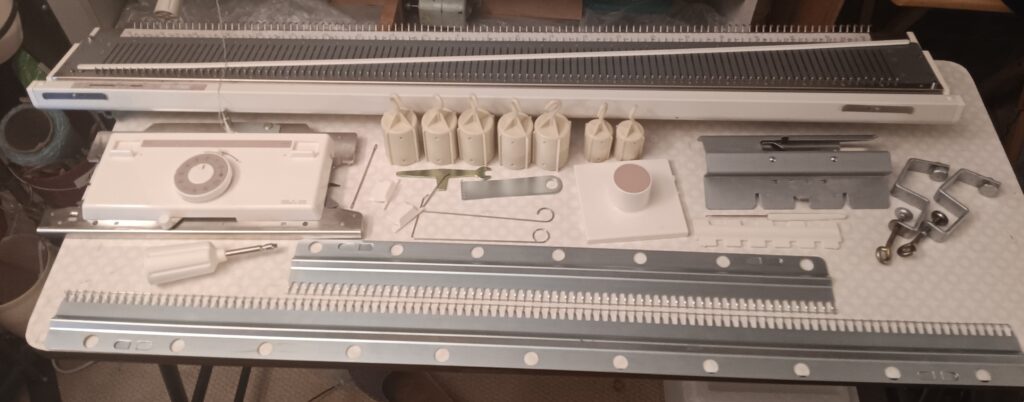
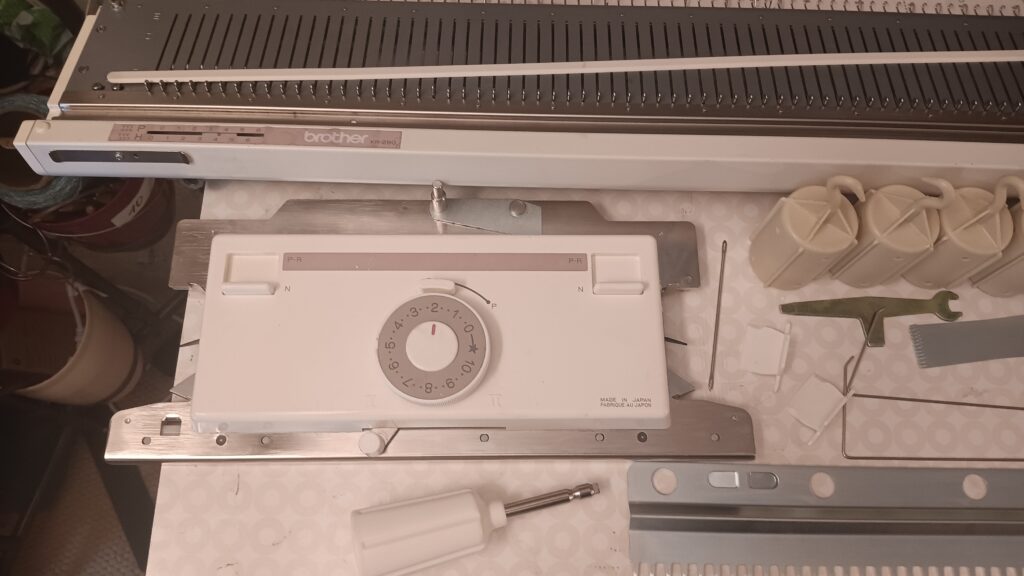
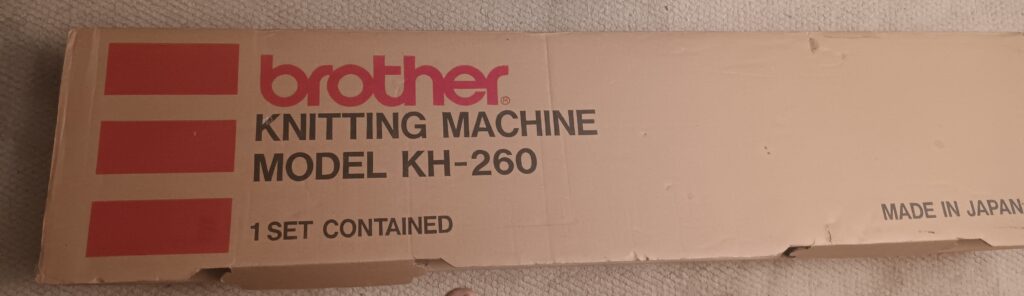
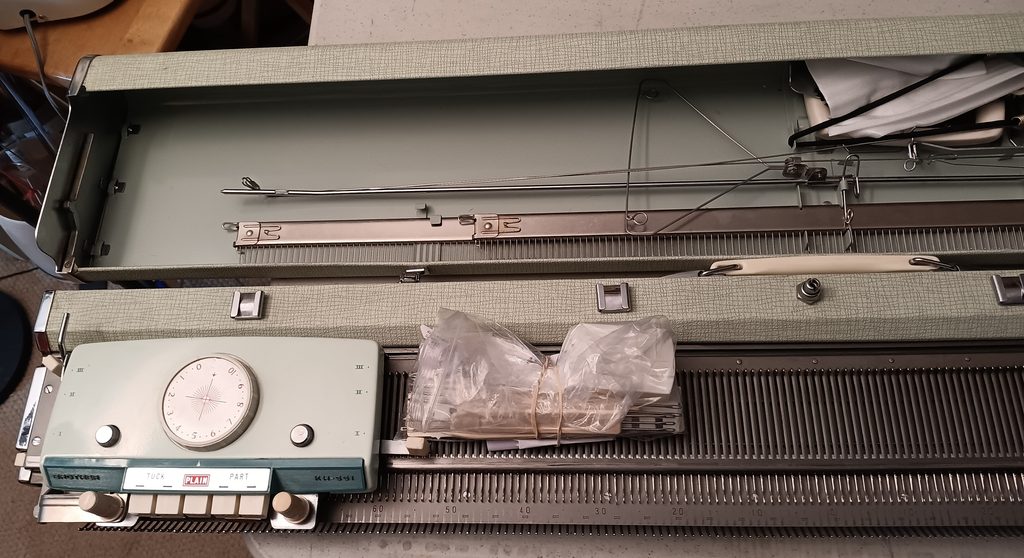
Brother KH260, especially with a matching Brother KR260 ribber, is a highly sought-after setup. Read more about the wonderful Brother KH260 knitting machine and KR260 ribber in their corresponding posts in the Knitting Machine Encyclopedia. This post is dedicated to the setup I serviced and tested in August-September 2026.
The machine is in great shape and worked very well (see the video of the tests). I tested the machine by itself, with a ribber, and with a ribber+color changer setup. I used three different yarns, two of which were problematic ones (based on my previous experience with them). The machine handled all stitches (stockinette, slip/part, tuck and even plating) all very well. The thickest yarn, as shown in the video, was the light green one. The case and the lid are in great shape too. Despite some minor discoloration (which sometimes indicates rust starting to form), there were no static issues, and I tried several yarns, including difficult ones.
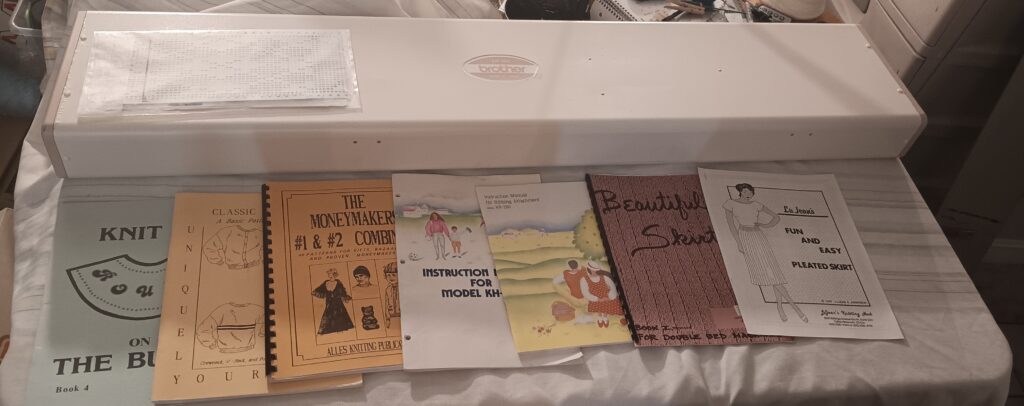
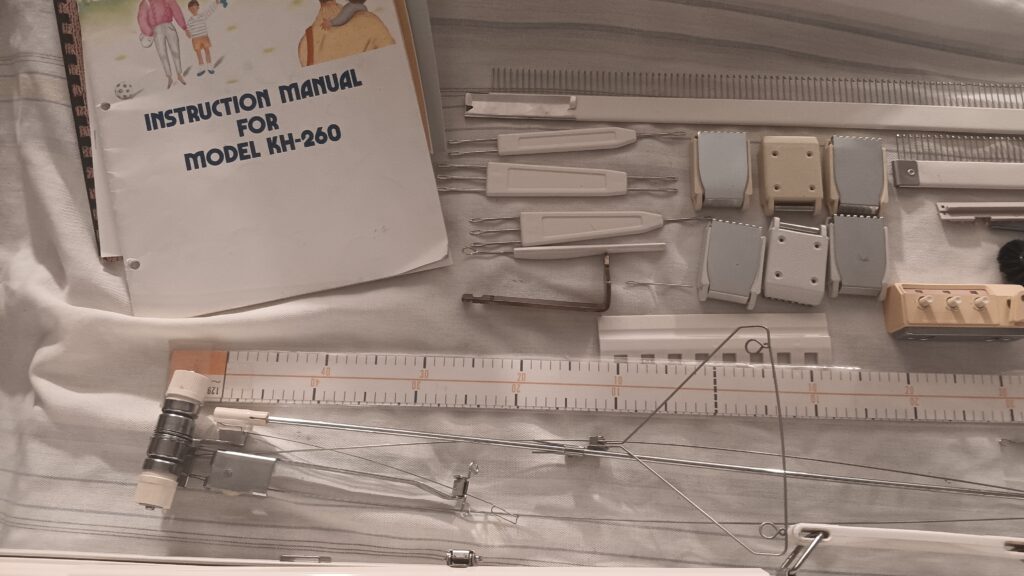
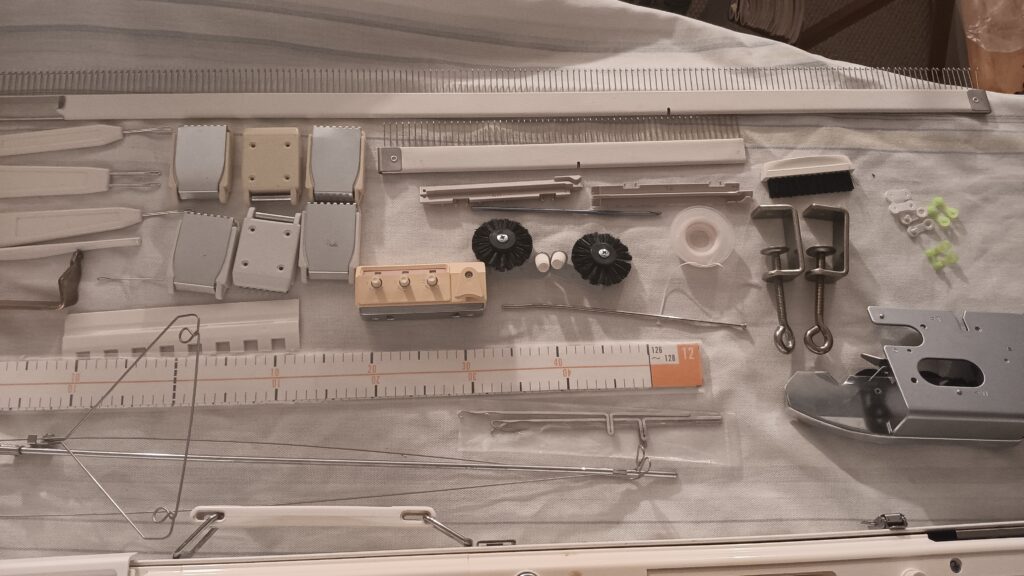
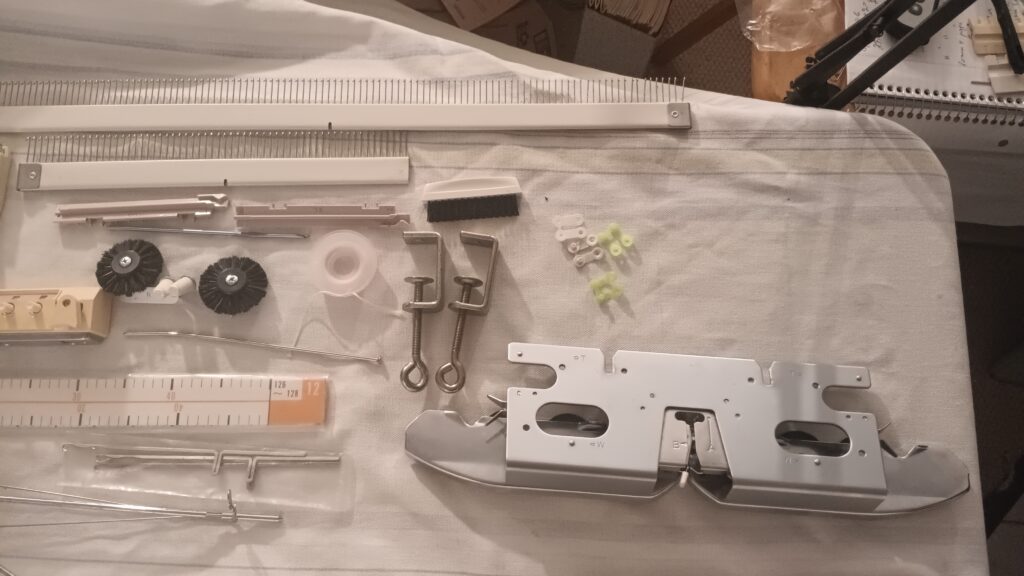
All accessories will be included with some minor exceptions (see below). A hard copy of the manual, with some additional brochures and additional punchcards included as well.
The carriage is in great shape. I left the carriage in the settings that correspond to the “last pair of needles being selected” (read the manual on that). Because I left the ribber insertion brackets in, I used the ribber lock for the machine. The machine-only lock is included as well with the accessories.
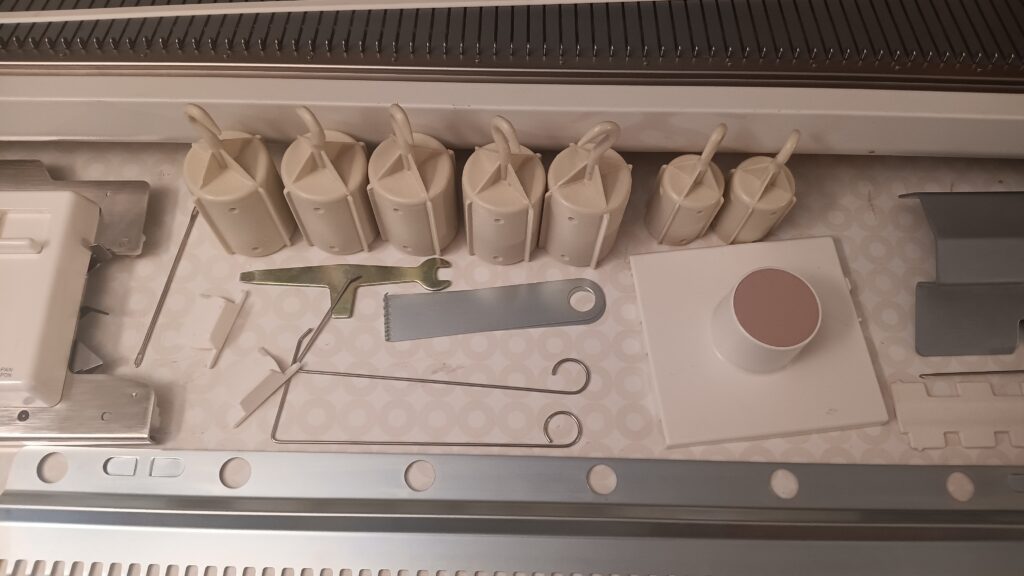
The tension mast came with the machine, and there was usable wax in it (although a bit yellow). I am sending it along. The cast-on combs are also original and are in great shape. Three of the claw weights are brand new (new stock), and three are original ones (thus, they are slightly different in color).
One pair of card clips is original (white); one is new stock but used. The needle selection ruler and the set of transfer tools is original. Card holder pin/rod is included, but I did not even use it during my tests.
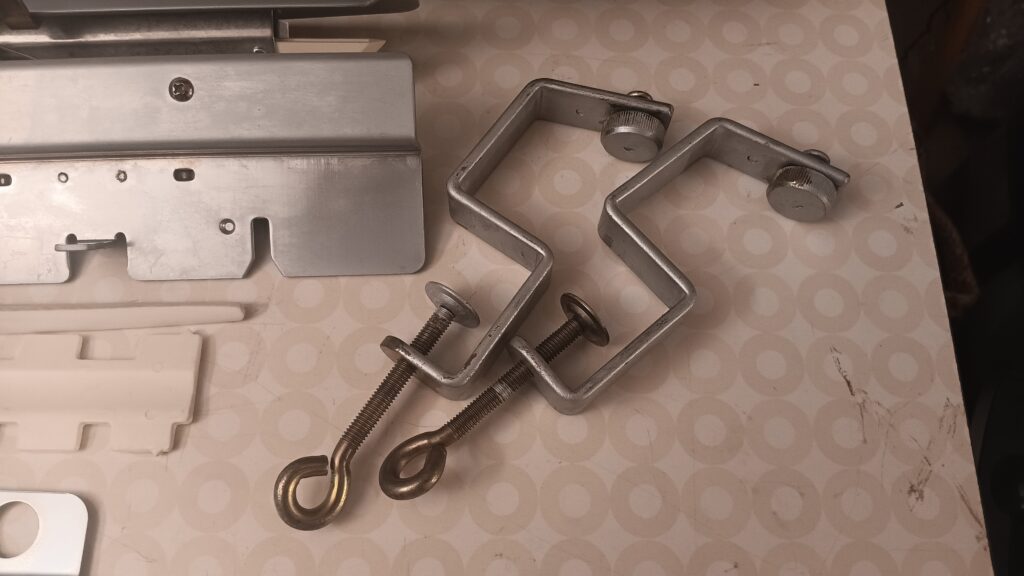
A brand new knit leader scale (part of the machine setup) is also included. The cast-on thread is in a bobbin. Table clamps are original and look brand new, in my opinion.
All needles were removed, cleaned, and inspected (according to my standard procedure). I paid special attention to the latches because I had some minor problems with the tuck stitches. I deep cleaned everything, including the card reader mechanism. The sponge bar is new, not refurbished.
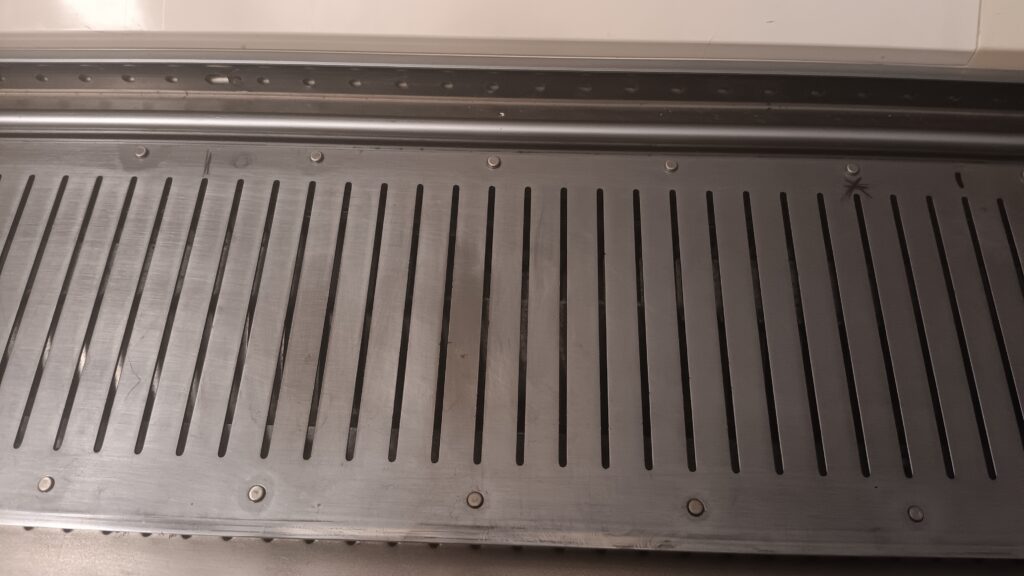
I cleaned the sinker plate, the needlebed, and the carriage again after the tests, but some residual lint accumulated after my tests (very minor) might remain.
Punchcards are a new set (new stock), but it matches the original one (thus, correspond to the patterns shown in the manual). Unfortunately, I damaged card #1 slightly from this set, but I am including another one from another set. It is made on a bit thicker paper and is marked as 1s (others are marked with “p”). I am also including, as a thank you, two original Knittery cards and four custom-punch cards (punched by hand but not by me).
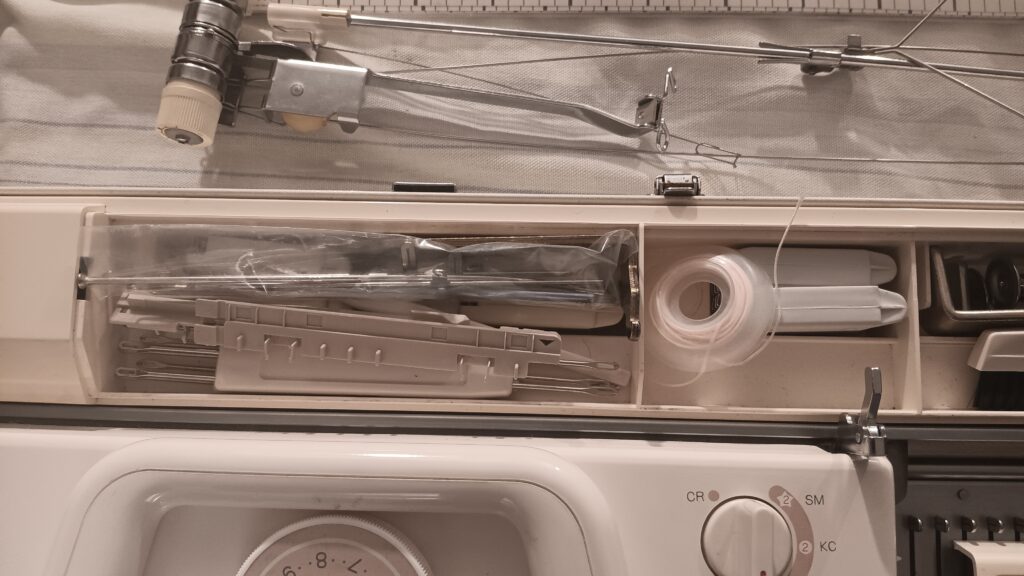
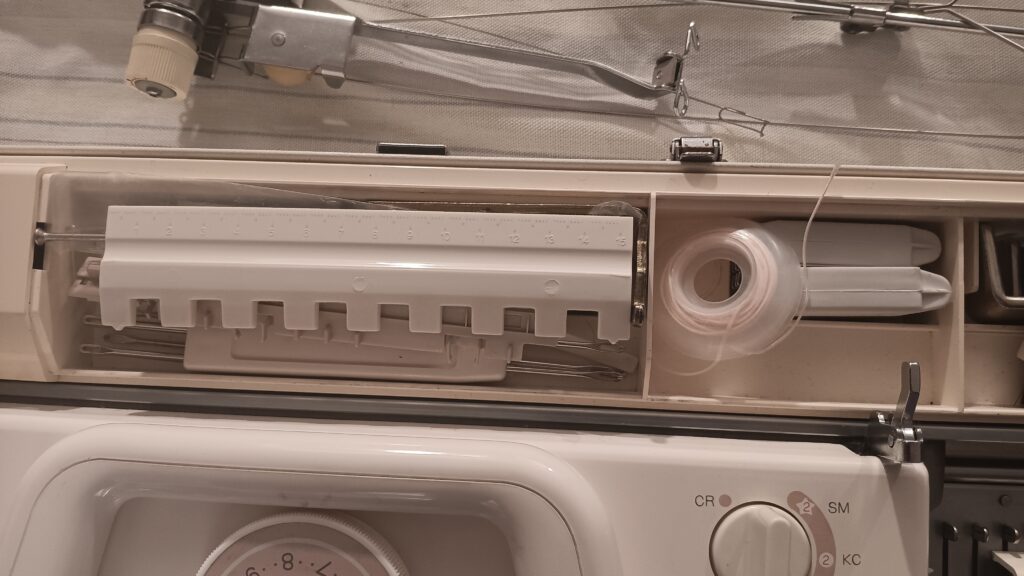
The accessories are stored in the built-in storage box.
During my tests, the only issue I experienced was when I knitted tuck. First, I knitted tuck when the ribber was attached to the machine (so, the machine was at an angle to the table). Some of the stitches did not slide easily, and I had to manually inspect them. When I removed the ribber and the main needlebed was parallel to the table, I was able to tune the tension for that particular yarn with the amount of weights to knit tuck without checking the needles too much. Additionally, I knitted tuck without engaging the tuck wheels and the brushes (the manual describes it pretty well) and still got good results. Read my article on tuck and how to troubleshoot it. The article emphasizes the importance of swatching (aka, figuring out the right tension and weight combinations) for tuck.
Minor imperfections of the machine:
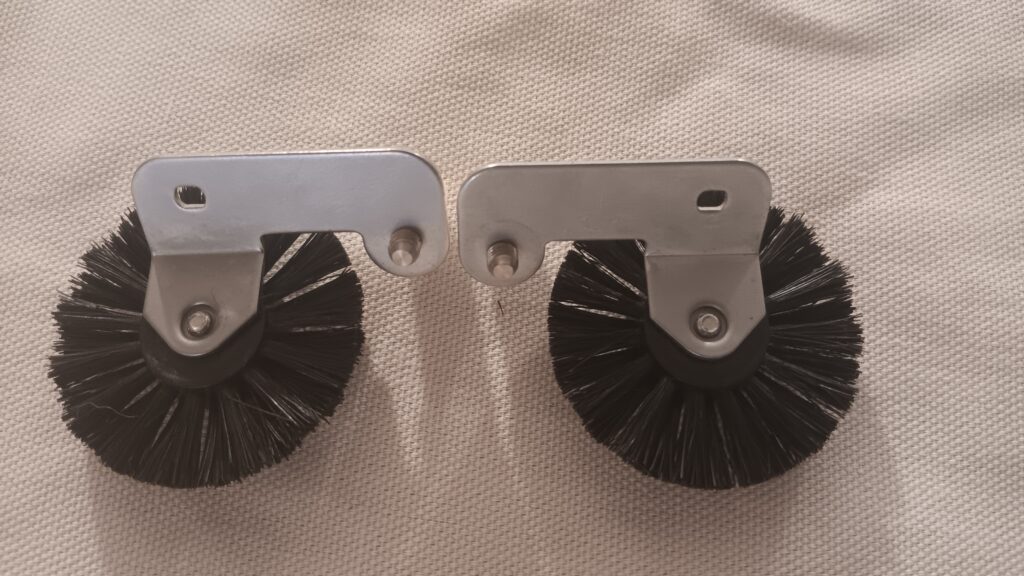
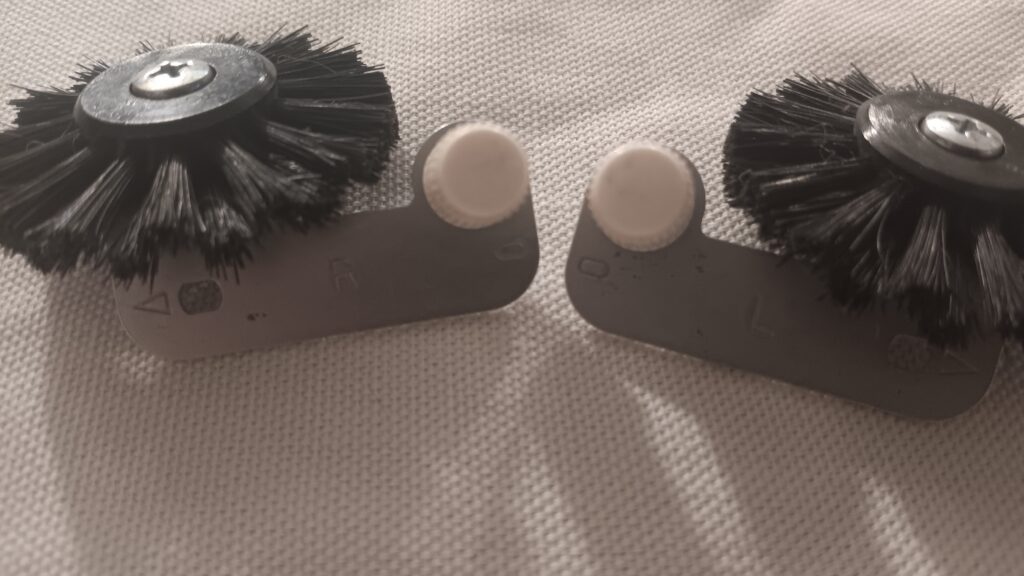
Wheel brushes for waving and tuck have some discoloration, but nothing too serious to mess with it (it is even hard to see in the pictures).
The row counter has typical yellowing/discoloration, but it does not affect its functioning. It is original: the pink insert on the dial gives it away.
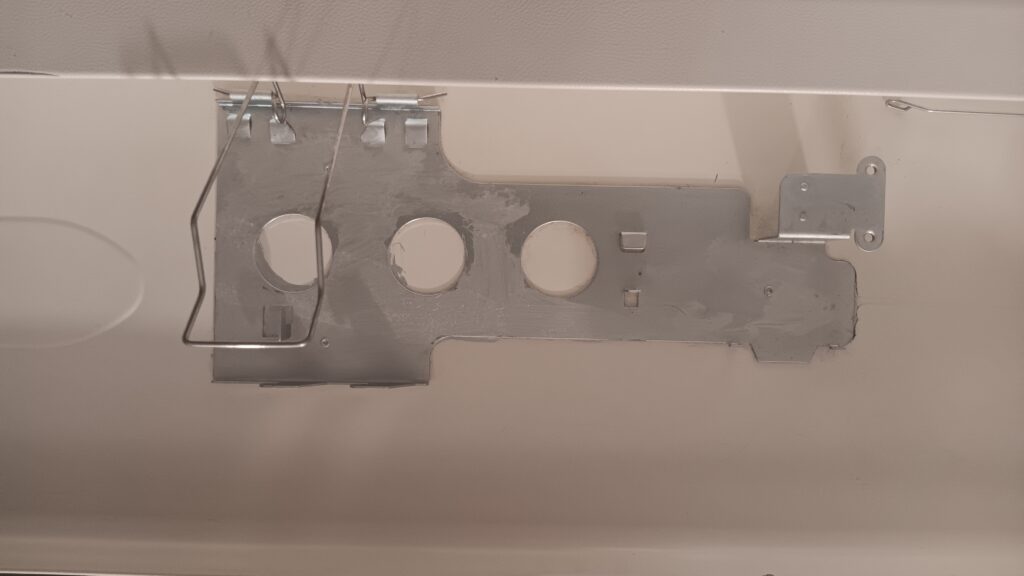
The metal insert to hold the parts inside the lid was a bit rusty, so I covered it with my favorite Rust-Oleum.
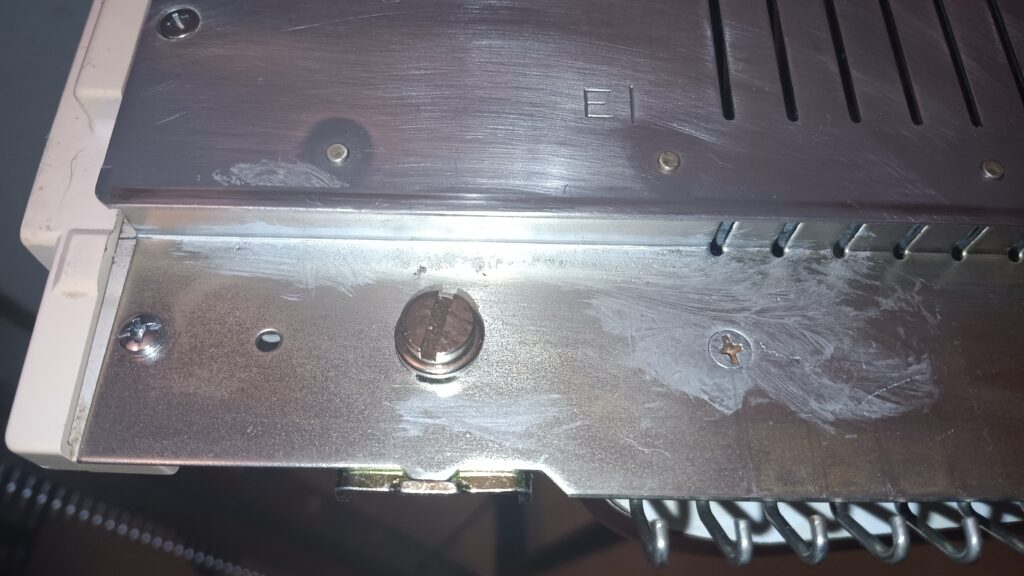
The needlebed had some discoloration as well, so a layer of Rust-Oleum was applied as well.
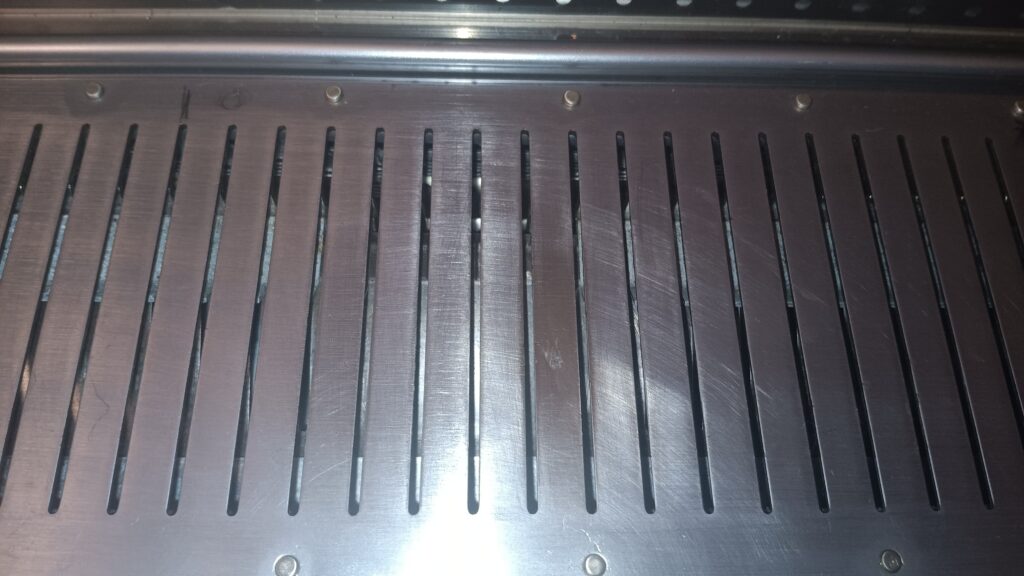
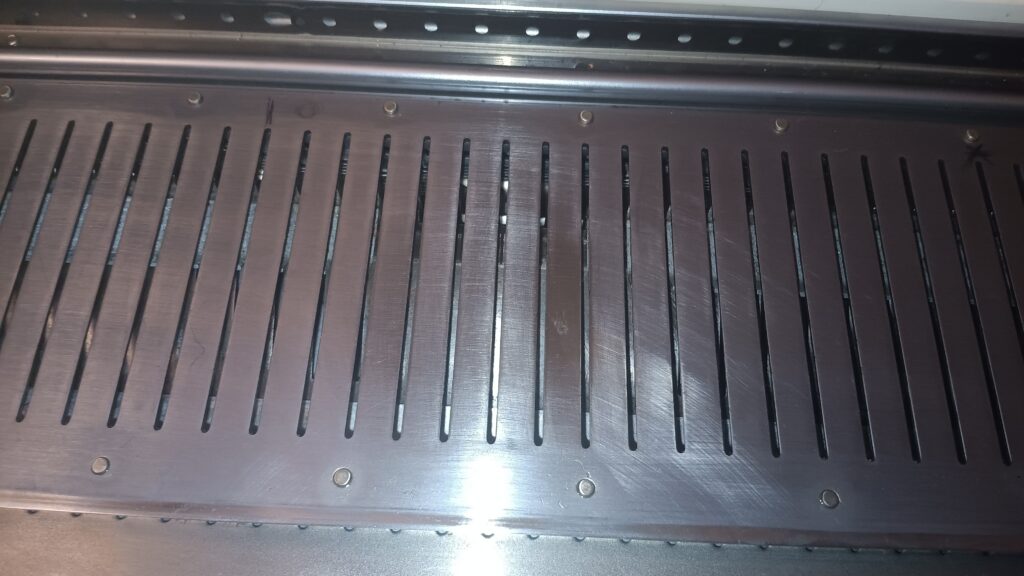
There is some minor straining/discoloration on the needlebed itself. But it does not affect the functioning of the machine.
Minor staining and unevenness on the needlebed main bed and/or lid.
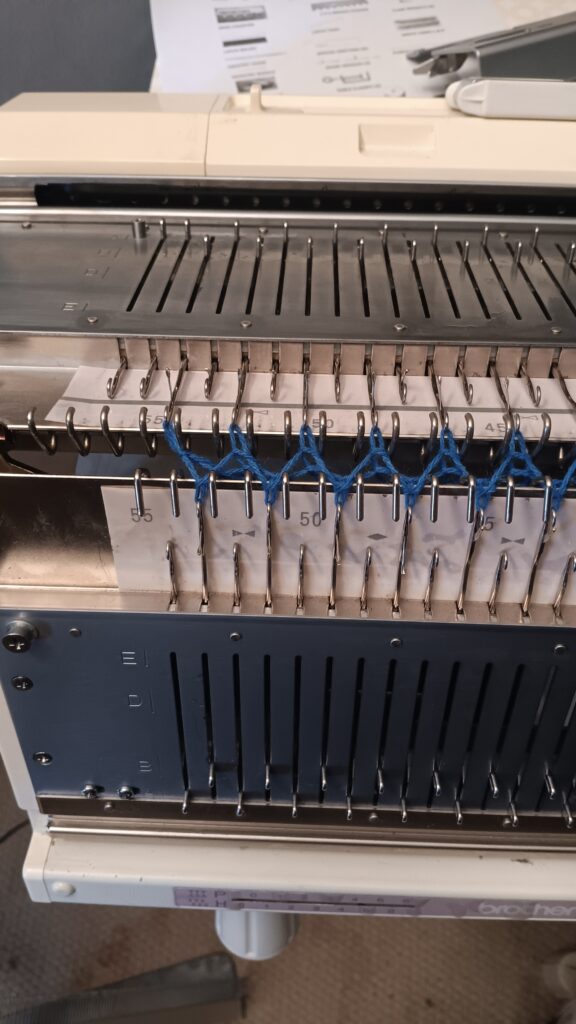
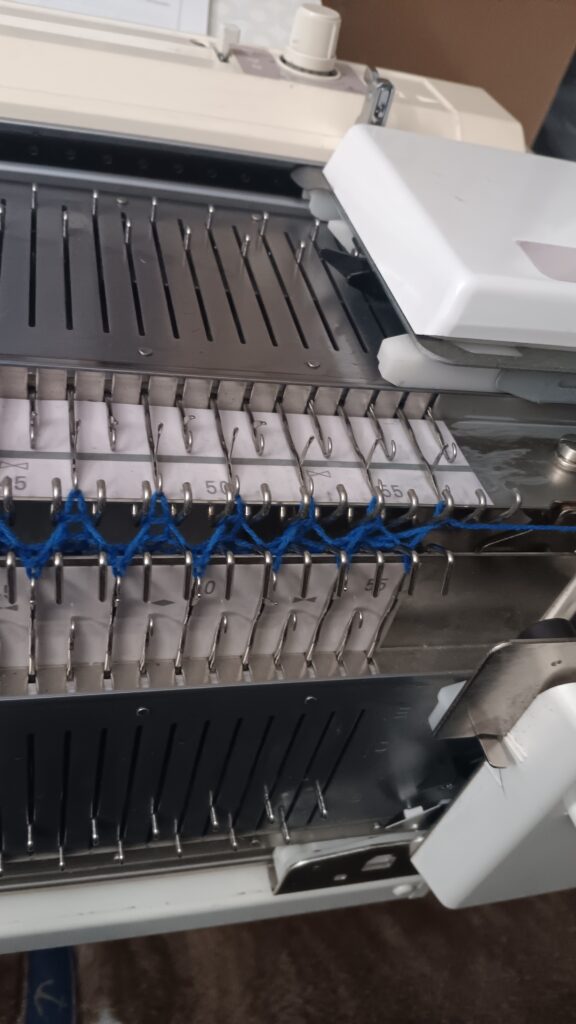
The ribber is set up at the moment perfectly for the machine (distance-wise): the first knitted zig-zag row looked perfect.
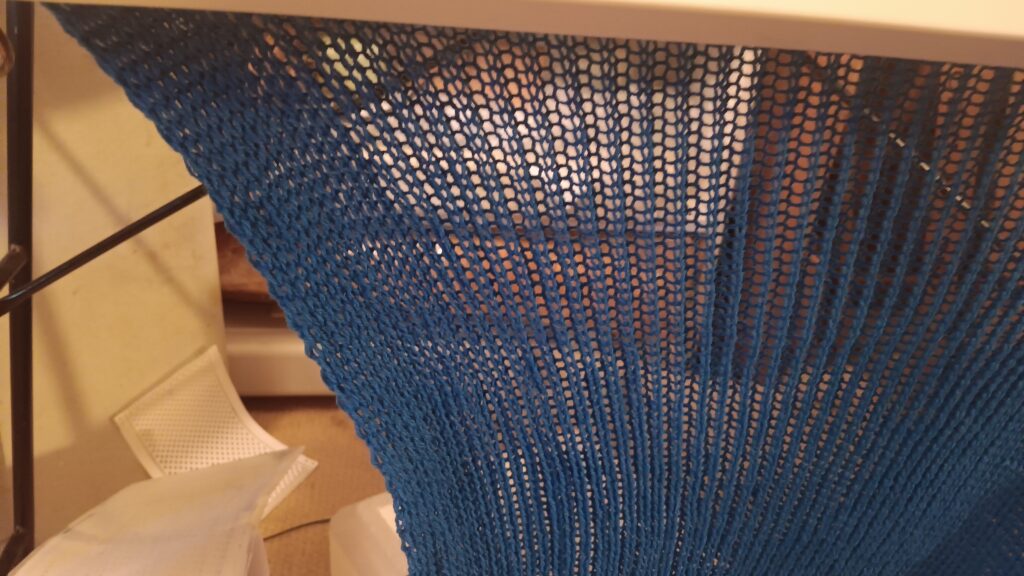
I suggest using the settings that the ribber came with, and if there are problems, then try to adjust them. I knitted on the ribber+machine 1×1 ribbing at two different needle combinations (shown in the video) and got excellent results for both.
The only comments I have about the ribber are to pull on the fabric when the yarn is worsted-weight to make sure nothing gets caught. The weights sometimes rest against something on the machine stand, and it is something to watch for as well. I feel a tilt stand would be ideal for this setup, but those are hard to find. Even I don’t have one in my possession.
The ribber will also come with ALL accessories. Most are original. Only some are replacements, but still original to Brother. A hard copy of the manual is also included (typically I do not have spare copies to include). It is with the knitting machine package and all other brochures.
The ribber carriage is in great shape. The spanner is the original but is a bit rough to the touch. It is not a big deal. I feel that the spanner has not been used at all.
The claw hangers are new (new stock). The D-slider is original.
Table clamps are original but showed some discoloration, and I applied a layer of Rust-Oleum.
The cast-on combs are original too and have some discoloration, but I decided not to make them uglier with my mediocre painting skills. The combs are still smooth to the touch. Only one side is discolored. The other looks perfect.
The handle is new stock (thus, it is a bit whiter than the rest of the plastic).
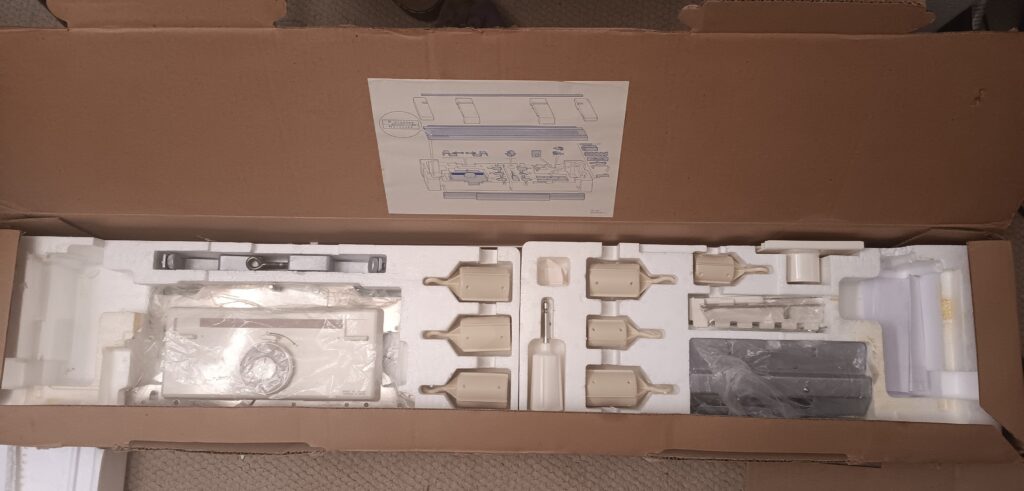
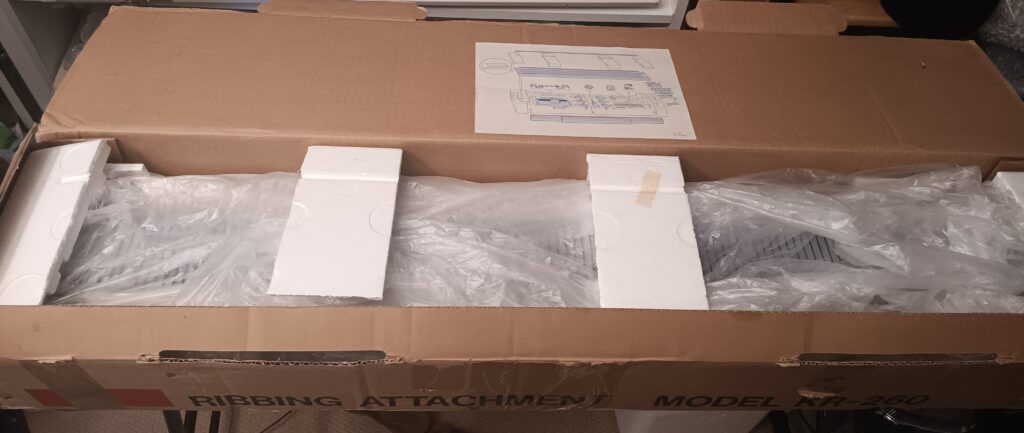
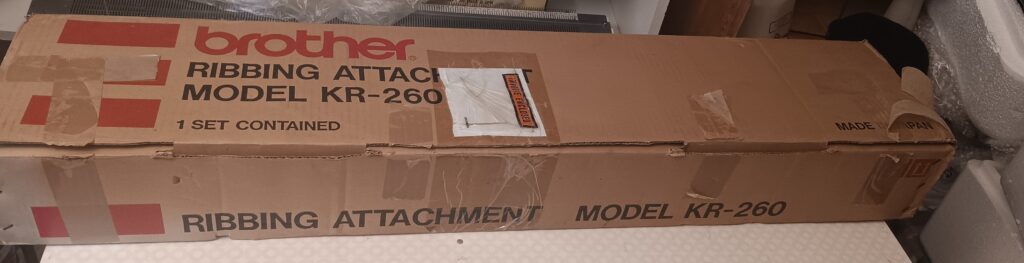
Both the ribber and the machine will come with their original packaging, which I will then put in another box. The resale value of the machines with original packaging is a bit higher, and it is also nice to have them for storage, especially the ribber packaging since it has all these nice compartments.
… in progress while I am organizing my thoughts on this subject.
The comparisons below are done for the 4- and 8-pushbutton machines versus the 24-stitch repeat punchcard machines. This means Brother KH800 and KH801 are not participating in this comparison. The hybrid model, Brother KH811, is also not considered here. A full current list of machines included in this article is at the end of this post.
At first sight, Brother pushbutton and punch card machines have different patterning mechanisms. However, the actual needle selection occurs using the same patterning plates, a basic mechanism of almost ALL Brother knitting machines.
Pushbutton machines need a ratchet tool to activate the needle selection. Punchcard machines just need a prepatterned punchcard inserted into a slot of a card reader, and after that the needle selection is automatic.
Pushbutton machines offer an 8-stitch repeat pattern, while punchcards 24. However, the users are still limited to the punchcards themselves: there is somewhat limited selection of premade punchcards unless knitters hunt down knittery and other custom cards or punch them themselves. It would seem that pushbutton would offer more variety but more of a more involved (some are by hand manipulations) process.
I feel that keeping track of knitting cables spread at even distances from each othter is easier on pushbutton machines: I can memorize which buttons to press to move the needles (that mark my cable positions) forward.
It seems that the list of accessories compatible with punchcard machines is much bigger. Ribbers for pushbutton machines are hard to find and there is only a limited number of models that fit. Ribbers for punchcard knitting machines are all interchangeable, and they are easier to find on the used market. Thus, I feel pushbutton machines offer more flexibility in terms of creating patterns, which might be important to designers and those who ar enot ready to give up satisfaction of manipulation stitches by hand. Punchcard machines offer faster automation of knitting patterns.
Additionally, minor accessories, like linking, transfer, and intarsia carriages, as well as color changers were NOT made for pushbutton machines.
I heard that lace patterns come out very nice on pushbutton machines.
Pushbutton machnes are somewhat lighter than punchcard ones. Most pushbutton machines have all-metal robust case. It is sometimes prone to rusting when not stored properly. Out of dozens pusbutton machines I only saw two that were not really fixable. Punchcard machines have metal lid and the case but the end caps and covers are plastic. These plastic parts are prone to sun light damage. Visible damage is yellowing but the over time degradation makes the plastic fragile. These plastic components often break during shipping.
However, if a pushbutton machine misbehaves, it is easier to troubleshoot it: punchcard machines have way more complicated timing-belt-based patterning process, which might be overwhelming to tune up.
There is no bulky gauge pushbutton machine. On a flip side, Brother’s only fine-gauge machine is pushbutton.
My personal choise would be to keep pushbutton machine for creating patterns and having a punchcard for quick patterned design of already established (in my head/skill level) garments/items.
List of 4- and 8-pushbutton machines as well as 24-stitch repeat punch-based knitting machines:
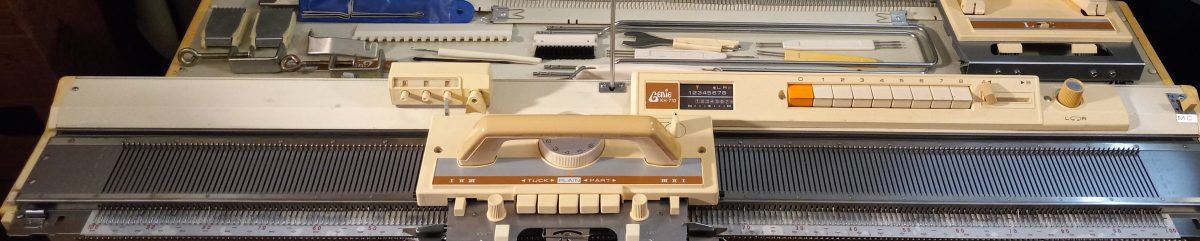
Brother Profile 552 knitting machine is the first machine on the market with an 8-push-button needle selection mechanism. Read more about its pros and cons in my Knitting Machine Encyclopedia. The post below is dedicated to a specific Brother 552 machine serviced and tested in my shop.
I deep-cleaned this machine using my standard procedure. In addition, I deep-cleaned the pushbutton mechanism. I removed the old sponge strip and replaced it with a new one (it will not be visible). The new sponge bar helps the buttons spring back faster/better. I also oiled the selecting plates, which also helps the pushbutton retract more reliably (which is demonstrated in the video).
The machine knitted wonderfully during my tests on the full bed (read here why tests on the full bed are so important to me; not just knitting a swatch). In this video, I show stockinette, slip- and tuck- stitches with 3 different yarns (but all a bit thinner than the sock yarn). All needles formed wonderful stitches. I will include a little bit of the first (blue) yarn with the setup. During those tests, I showed the functioning of the A/B and L/R knobs in the pattern center.
The description of the slip “zig-zag” pattern in the manual is not accurate. I am including a printed copy of that pattern as well. An accurate schematic for the zig-zag slip-stitch pattern is actually in the manual for the Brother KH587. It is in Spanish, but the schematics are self-explanatory. This manual has a lot more patterns than any other.
The setup will include almost all original parts: claw weights, ratchet tool, transfer tool, table clamps, carriage, cleaning brush, crochet hook, carriage lock, carriage screw-on handle, row counter, cast-on combs, wax in a container, sinker plate, and toolbox (although it might be from KH585/KH588 since it has designated spots for two carriage handles: one for the main carriage and one for the lace, but KH552 does not come with a lace carriage).
Replacement parts are:
Needle selection rulers: a slightly different set as shown in the manual
Tension mast (in great condition from a Brother machine but not the original one for the Brother Profile 552)
Replacement needles are new stock;
Cast-on thead is very likely not original; it is wound up on a bobbin.
Accessories that WILL NOT BE included:
Oil bottle; to lubricate my machines, I use Hoppe’s gun oil (Amazon has it).
“Accessories Kit” and “plastic case for spare needles” are just covers for the accessories. They were missing. Typically, those are so old and fragile that they are useless anyway.
Hard copy of the manual. There is a copy online that claims to be a manual for KH552; however, it is for KH588 (it shows the list of accessories for KH588). For reference: check out an online copy for KH585 (this is the one I used, as shown in the video, but the zig-zag pattern is not accurate).
BTW: Another useful free online brochure for pushbutton machines with patterns is a Baby’s book.
The accessories marked in blue below are for the KH588 machine and do not come with the Brother Profile 552 setup.
The machine’s look is in great shape as well, especially considering its age.
There are a couple of minor imperfections (read below):
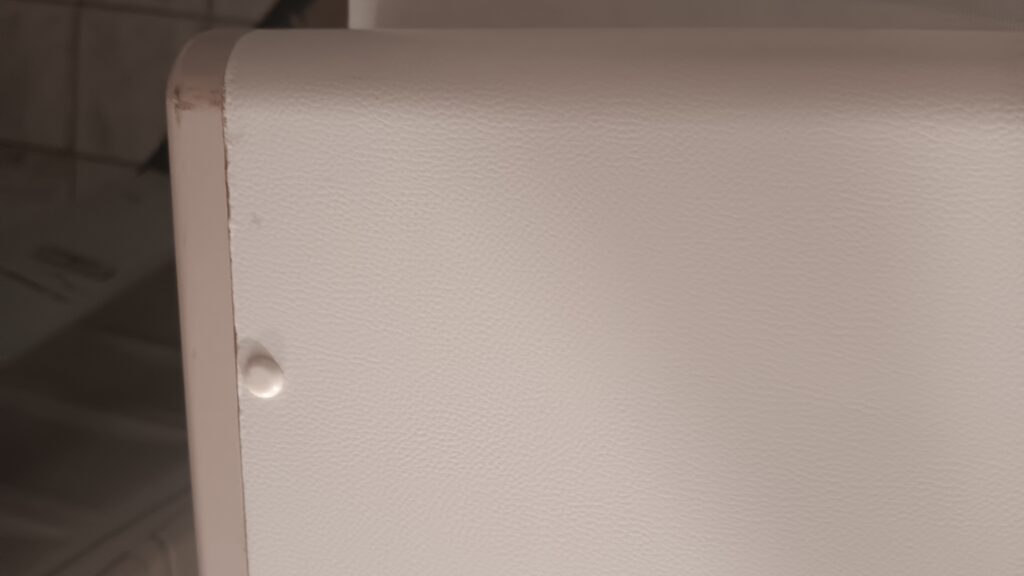
There is a minor dent on the front panel
The lid had a couple of rusty areas, which I covered with Rust-Oleum.
Due to the machine being so old, or potentially because the tension mast is a bit bigger than the original one, you might see a case that is not fully closed. The crack is smaller when the pressure is applied, which makes me think that it is either the enlarged tension mast or simply the way all the components are packed inside (sometimes it is a pain to solve the puzzle of how all these pieces should lie perfectly inside for the lid to close the exact intended way).
Carriage had a rought/discolored spot on the back; I covered it with Rustoleum. Other than that one spot, the carriage is in great shape. I did not experience any static issues (which sometimes happen due to the rust in the components).
The claw weights are in good shape but have these minor cracks. Typically, something like this does not affect their functioning. I wanted to supply the machine with as many original tools as possible. But if you’d rather have new white claw weights, let me know, and I will replace them.
Cast-on combs are in great shape as well; however, the long cast-on has a small bend. I used that comb during all the tests shown in that video and did not have any problems. The small cast-on comb had some rust-like discoloration on the metal ends, so I applied a layer of Rustoleum as well.
Other useful things to know:
Just a small comment that a “hole” below between the clamp “feet” is NOT missing a screw. I checked with pictures of other machines and with another one of mine, and all of those do not have any screws in that area. I am not sure what the purpose of that hole is. Hmm…
Despite these minor imperfections, the case is actually in very good shape.
I am very confident in this machine, as I spent a lot of time cleaning, servicing, and ensuring it works properly.
The pictures below are applicable to most 8-push-button knitting machines.
Showing which screws go on top
Showing screws around the pattern center
The look of partially disassembled pattern center
Position of the “foot”. Also, a small screw hole is shown in the middle. Well, it is not for a screw. Not sure what for. But nothing goes in there. I see this small hole on many machines. Side screws and needlebed screwsThe image shows the position of the “feet”: the wide opening faces the “teeth).Inside the pushbutton mechanism. Check out the video, in which I show how to (re) insert the buttons and the staples.Position of the guiding plate. It goes against the wall of the pushbutton mechanism. Long staples go through it, and this is how the buttons are retracted. Wiggly staples do not go through this guiding plate. View of the pushbutton from below.Partially inserted pushbuttons. The sponge strip is replaced with a fresh one.Same as above but a different view angle.Same as above: different view angle.The picture shows that I propped the selecting plates assembly with a tool to keep it out of the way while I was inserting the pushbuttons.
When I prepare machines for other people, knitting on the full bed allows me to check a lot of things at once (and knitting JUST the swatch, especially just in the middle of the needle bed, might not show these flaws/problems):
Are all needles knitting and forming the correct stitches? Do all needles knit (and do not drop stitches)? (Sometimes bent needles get stuck in the carriage, sticky latches form tuck stitches on stockinette, and slightly rusted needle heads might not allow for stitches to slide as easily. Visual inspection can overlook these faults. Additionally, dropped stitches could be due to a bent or warped needle bed.)
Is the carriage gliding smoothly across the full bed? Without static? With even tension? Sometimes the bed can be uneven (bent/warped from old age or from being dropped), and the problems are discovered only when knitting in that area.
Is the patterning (in some cases needle selection) correct across the whole bed?
Are all needles the correct ones? (I didn’t do it, but I heard stories when some people accidentally inserted incorrect needles and were very puzzled why the machine was either getting stuck in that section, dropping stitches, or mispatterning).
Keep in mind that the very last two needles form more like edge stitches rather than full stitches. It is recommended not to knit any patterns on these needles. For example, on Brother machines, these two needles should be pushed forward to C when knitting patterns (some Brother carriages can do it automatically).
Knitting with garter carriage on the full bed:
It is typically used for blankets, ponchos and other large/wide projects. I found it pretty straightforward (watch video). The garter carriage moves left to right, turns on and off the light at the turn and there is nothing to worry about (like memorizing at which pattern row we stopped, moving the carriage back to be pass the turn light, etc. – you know or will know soon what I mean) when stopping the machine when away or to fix errors.
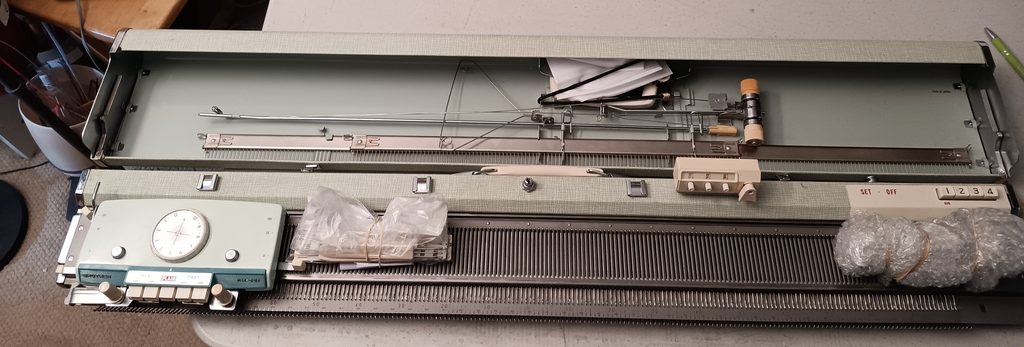
Brother Profile 551 (also often called Brother KH551) is a standard-gauge knitting machine with four pushbuttons for automatic needle selection and knitting patterned fabrics. Read more about this model in my Knitting Machine Encyclopedia. The post below is dedicated to a specific Brother Profile 551 serviced and tested in my shop in June 2026.
I performed the standard cleaning/servicing steps outlined in my other post.
Briefly: all needles were removed and inspected, the machine was removed from its case and cleaned, the sponge strip was replaced with a new one, and the retaining bar was cleaned. I knitted on the full bed to ensure that the machine knits patterns along the whole needle bed and that all needles form correct stitches. The video of these tests is here. The reasoning for testing on the full bed (rather than demonstrating that the machine knits on a swatch) is described in my other post. The machine formed beautiful stitches: stockinette, sli=, part and holding tuck. I had to take some precautions on the tuck-stitch, but by choosing the right yarn, the machine knitted reliably. I tested two different yarns.
I acquired this machine without a lot of accessories, but I was able to put together a good replacement set. Thus, the machine will come with all major and most minor accessories.
The carriage, carriage handle, carriage lock, and sinker plate are all original. The transfer tools are original from Brother. They show some age-related yellowing. The cast-on combs are original and are in great shape. The cast-on thread is rolled onto a piece of paper (see the image above). I typically recommend using any strong-ish, thin yarn: easy to break/cut and discard if no longer needed. (I even like using random threads better than the cast-on thread).
The row counter is not original. I retrofitted another Brother row counter (of a more modern design). It sits very solidly and works reliably. Check out a short video I made with this new design tested on this particular machine.
The table clamps are still S-shaped, but from a ribber. They worked fine, and I used them during all the tests shown in the video. If you decide to add a ribber to this Profile 551 machine (if you are lucky to find one), these brackets will not affect anything, as the ribber setup comes with its own table and connecting brackets. One needle selection ruler is original (metallic). I am including two other rulers, but they are not original (plastic).
The tension mast is an original Brother part but not original to this model. I feel that the design of this mast is a bit sturdier, but the original Brother Prifile KH551 tension mast came with three slots for three threads. That’s, of course, a slight drawback. But Brother started releasing machines soon after with only two-thread masts. Additionally, a wax can be placed onto this newer mast much more easily. Other replacements are: ratchet tool (a generic one from Brother ribber), hand brush (brand new), picker (a needle selection tool; it is a 3D-printed copy).
The claw weights are not part of the original setup, but they are so important that I am including a pair from my original stash (they are shown in the left corner of the very first image in this blog). I am also including a new needlebed strip (a small roll). The original one was in rough shape. I honestly don’t even think it is needed because the needlebed is embossed with the needle markers. Sometimes the needle strip gets in the way, but the new owner has the option to have one. Sometimes the embossed markings are hard to see.
The machine case and its lid are in pretty good shape. I replaced the deteriorated case “feet” with the 3d printed one. They are printed from a very strong UV-resistant material. So they should last a long time.
The missing accessories are:
tool box and its lid; the tools will be packed in bubble wrap for shipping;
left and right sinker plate yarn hangers: a replacement can be easily made from paper clips; these are used only for fair isle and potentially weaving;
tapestry needle: any needle of your choice will work
oil: get Hoppe’s gun oil from Amazon;
plastic case for spare needles;
accessory stand;
The lid did not have the original wire bracket that holds the sinker plate and the handle inside. I used bungee cords to secure the sinker plate and the handle during transport and storage.
A hard copy of the manual will NOT be included, but it is available online for free
Imperfections:
The metal on the tension mast and table clamps showed some discoloration, and I used silver Rust-Oleum to even it out and prevent potential corrosion.
The tension mast has some yellowing but is still absolutely functional.
The sinker plate had some very minor roughness. Not really rust, but I covered it with a thin layer of Rust-Oleum to prevent any forming in those areas.
The tension dial has a couple of minor dimples.
The ratchet tool might be a bit uncomfortable to use in comparison if it had the original plastic handle. But I honestly did not notice much of a difference.
The handle has a very minor crack. But I saw handles in much worse shape. These machines are over 70 years old, after all.
There is a small tear in the lid, at the very end where the lid connects with the end caps. Unfortunately, there is not much that can be done here. I’ll make sure the ends are packed securely when shipped to avoid further damage.
Here is the serial number for this machine. The picture will be removed after the machine is purchased, received, and inspected.
The machine is already packed and ready to find its next owner.
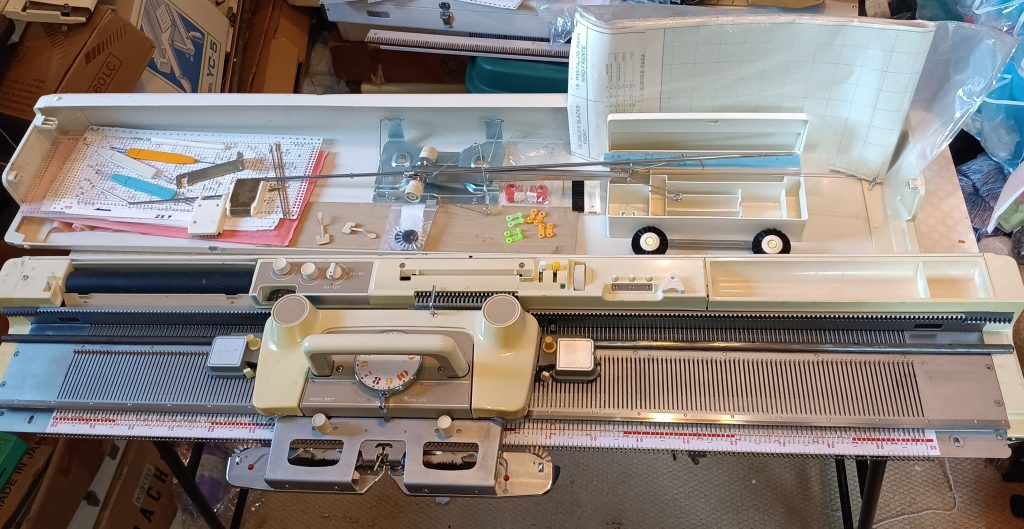
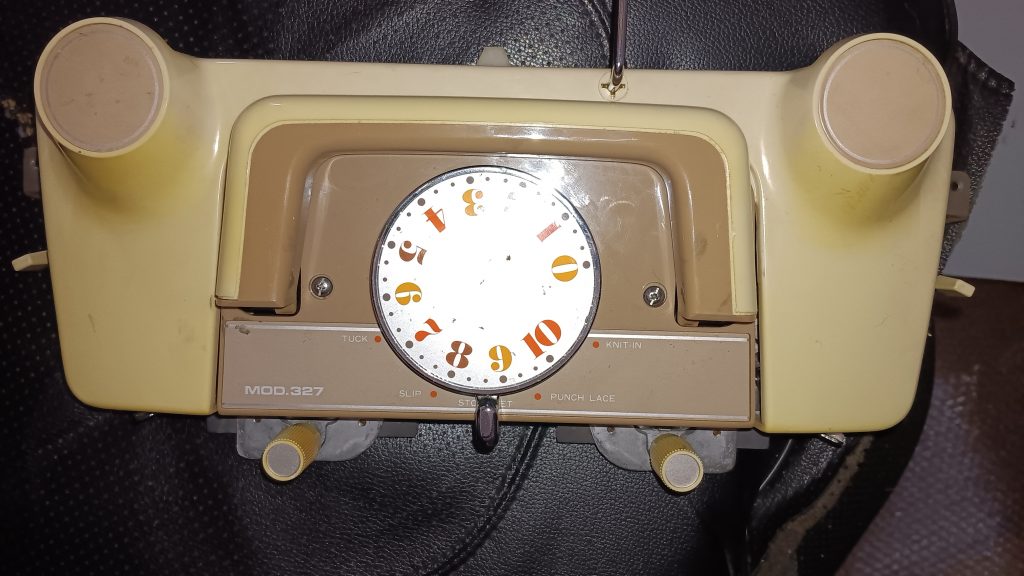
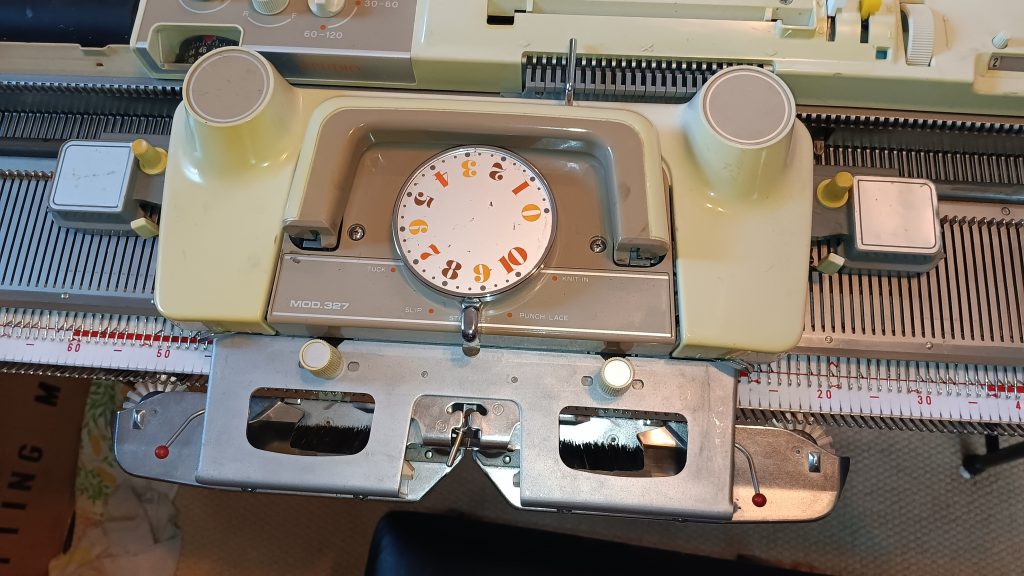
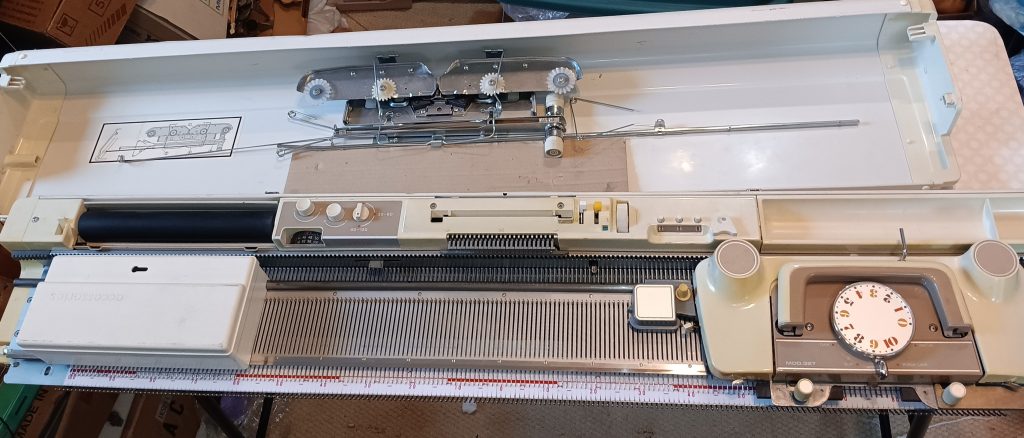
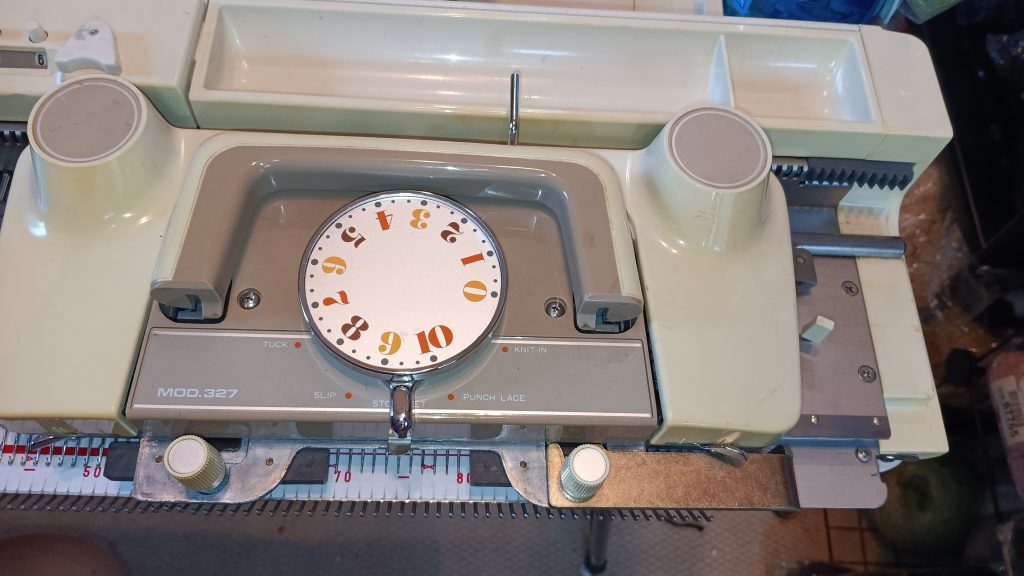
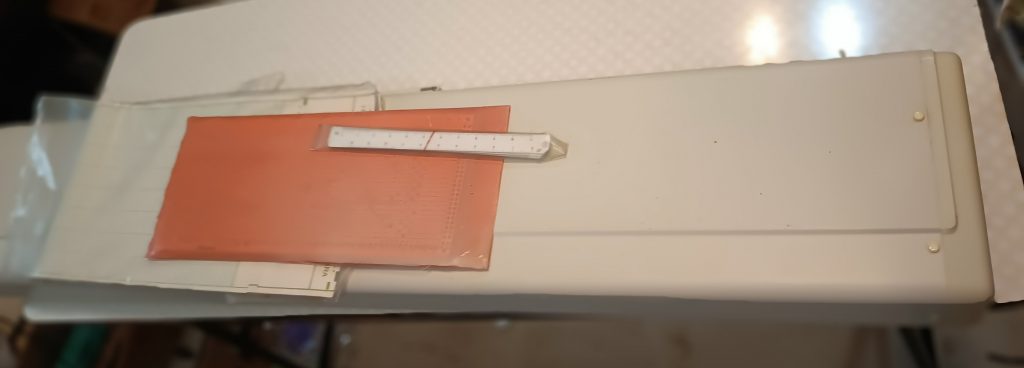
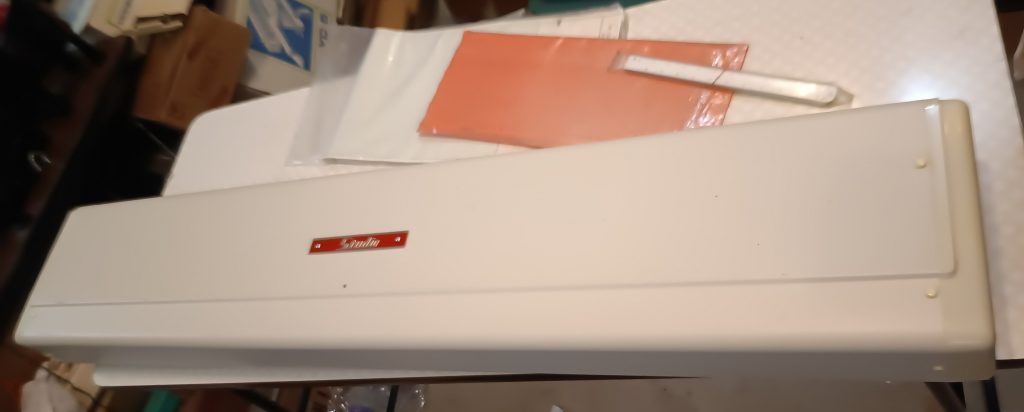
Studo mod. 327 knitting machine is a standard-gauge machine with 200 needles, 4.5 mm apart. There are a lot of resources on how to use this and similar knitting machines (such as Studio mod. 326, Silver SK327, etc.). Read more about this model in my Knitting Machine Encyclopedia. The post below is dedicated to a specific machine serviced and tested in my shop in May 2026.
Maintenance performed on this machine:
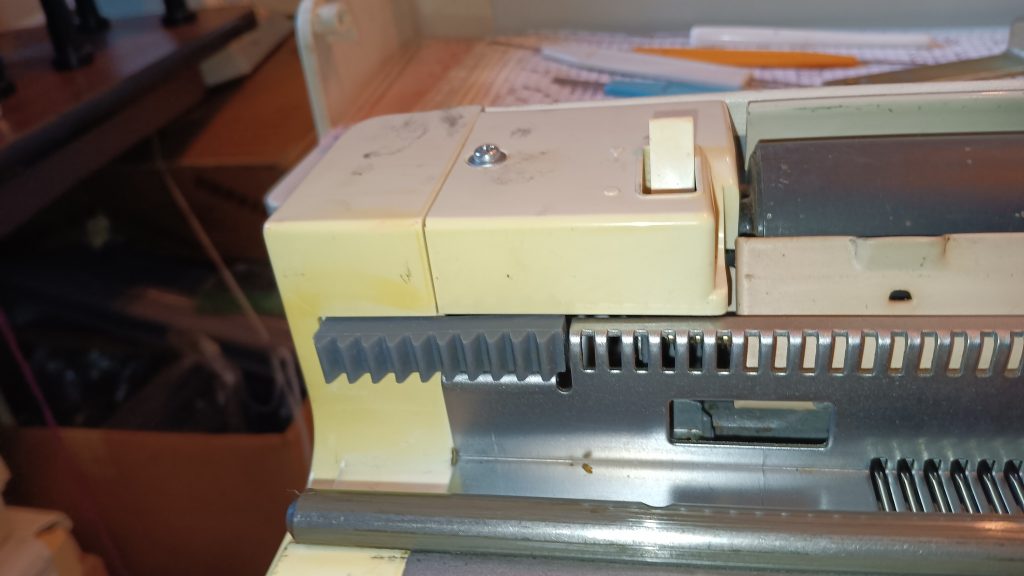
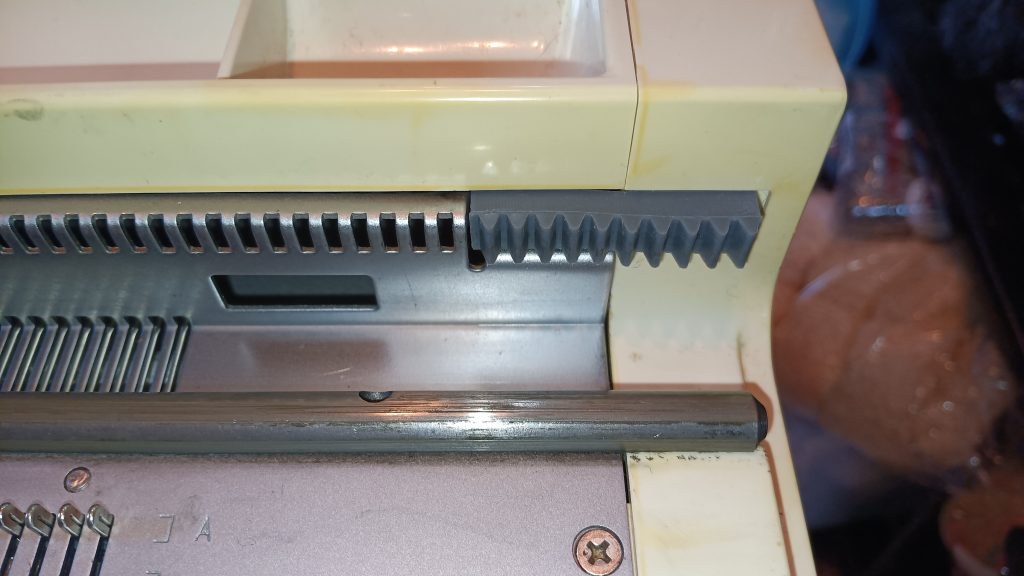
I replaced the side racks with new ones
The knitradar was tested: the paper moves freely, and all the knobs and levers move freely too.
The row counter works great.
All needles were removed, cleaned, and inspected. Bad needles and those with sticky latches were replaced with new stock generic needles for similar machines (read more on that below).
The needles were also tested during the knitting on the full bed: all stitches formed beautifully (see the video of these tests). More on full-bed tests below.
The sponge bar was replaced. I recommend getting a very thin medical tape: if you need to remove it to replace the needles, the tape I applied to the replaced spongy strip might tear.
The case was opened and deep-cleaned. The needlebed was cleaned from various angles as well.
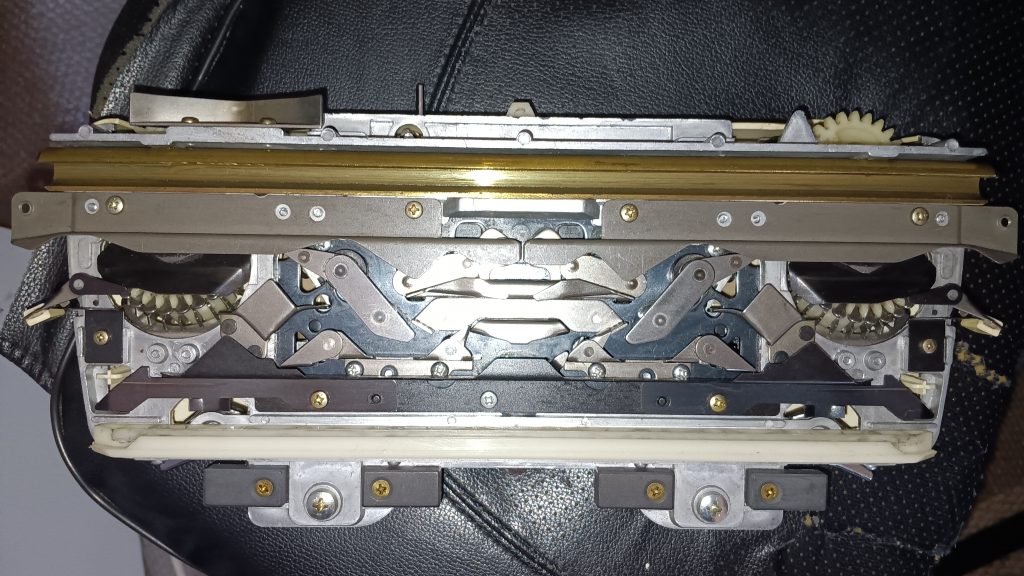
I opened the carriage and cleaned the mechanisms inside. Inspected and cleaned patterning drums. They move freely.
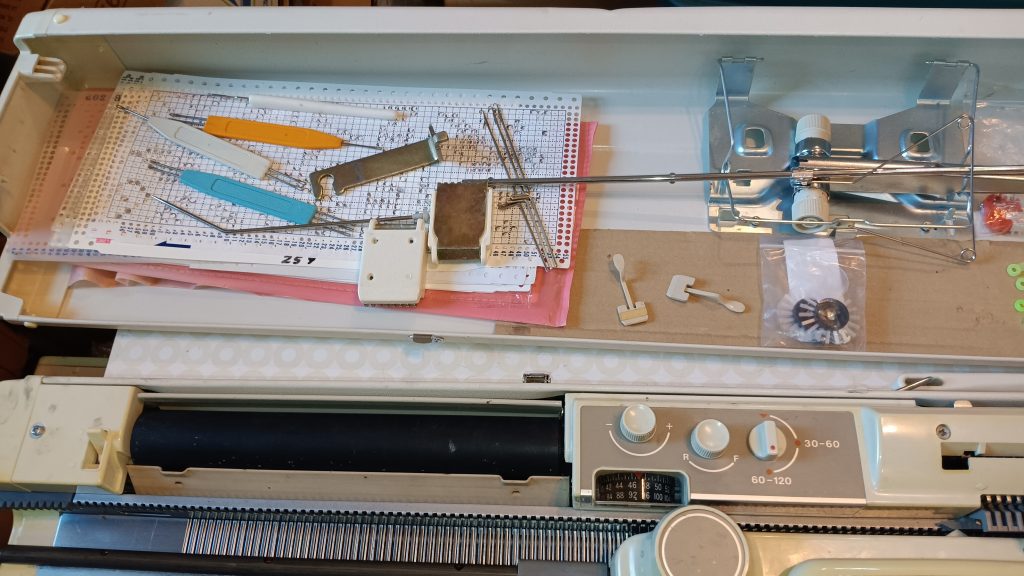
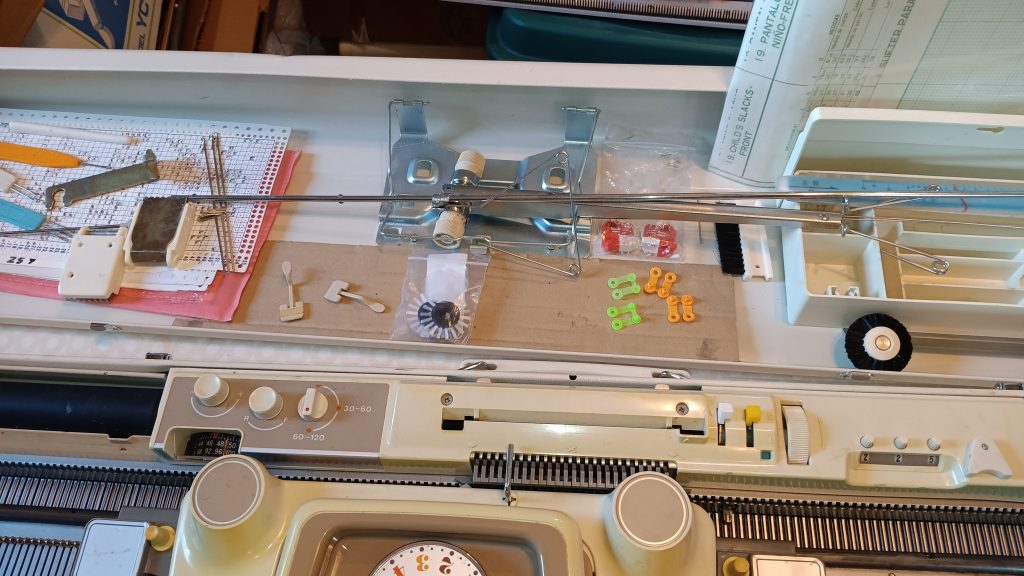
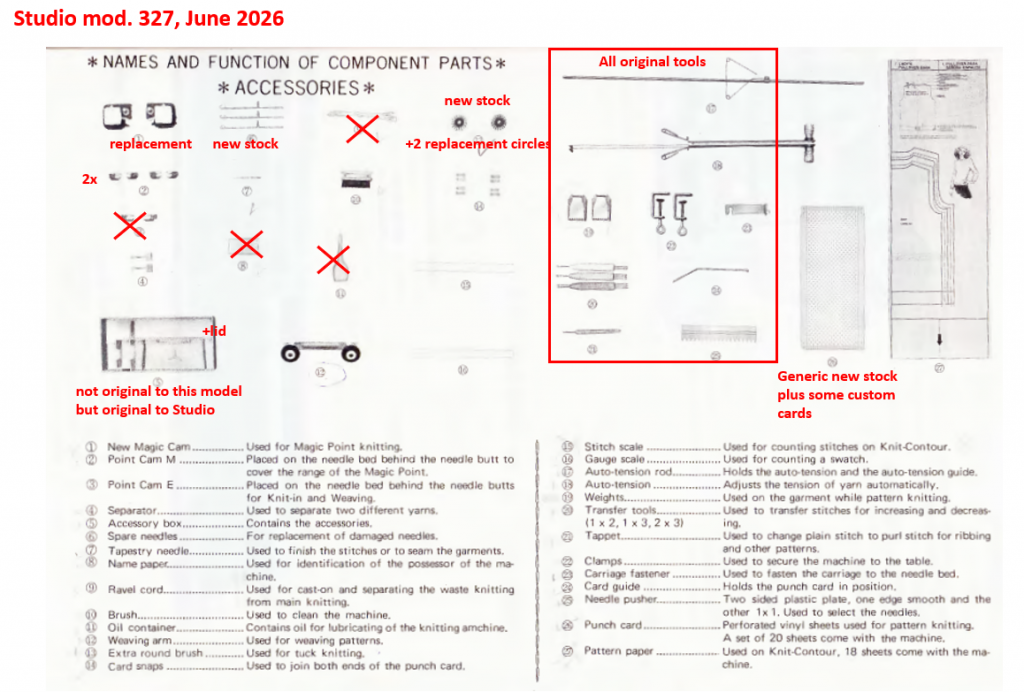
This Studio mod. 327 will come with all major and almost all minor accessories.
The missing accessories are:
Oil: use Hoppe’s gun oil available on Amazon
A pair of E point cams (read more on that below)
Cast-on thread: Any silky and strong thread will work
Name paper: it typically accompanies a machine to write your name on it
A hard copy of the manual will not be included. However, a manual for the Singer 327 machine is available online for free. However, the manual for the 328 model (on the same website) is of a bit better quality. Use that one as well.
“New Magic cams” are not from the original mod. 327 machine, but from one of the later models. It does not have M and E positions. Thus, point cams E are not included (well, those did not come with this machine anyway). But I am including an additional pair of point cams M (the later models have two pairs of them).
On the subject of the magic cams: The manual describes very poorly how to use the “magic cams”, cams E and cams M as well as yarn separators. Look on the same website for a manual for Singer/Studio 360 machine for two reasons: it explains the usage of magic cams for single motif knitting much better. And also because I do not have the original Magic Cams for the Studio mod. 327 machine.
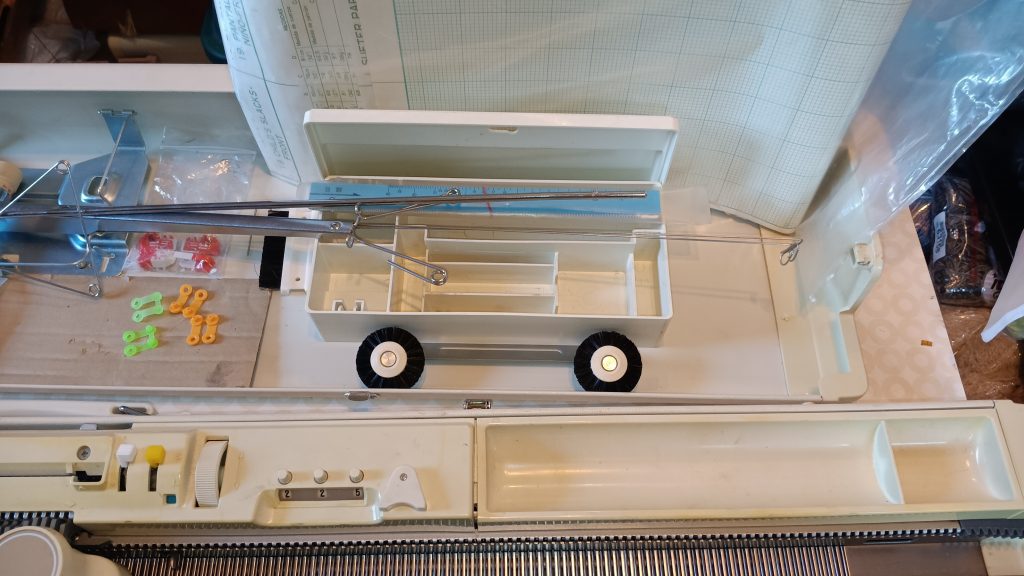
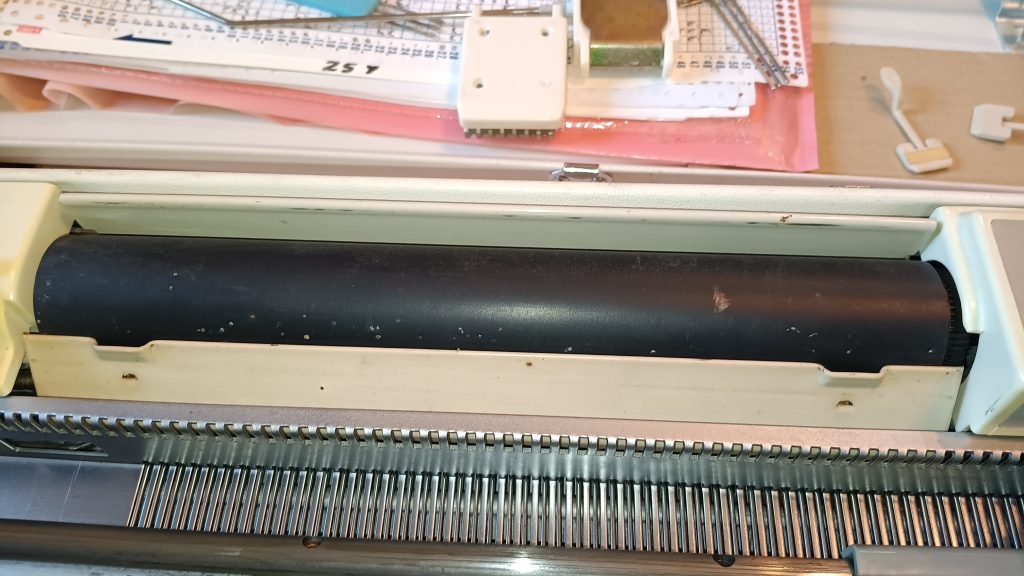
So, according to the (poorly-written) manual: Studio mod. 327 comes with “new magic cams”, point cams M and point cams E. Point cams M are more standard and come with almost all Singer/Studio machines. However, these point cams E are unicorns. In fact, it was my first encounter with these point cams E while researching this machine. I found a pair of point cams E on eBay, but since I don’t have “new magic cams” with markers M and E, it is better to use those. So, only regular, point cams M are included. So, the single motif cams are those for other models, but I am sure they will work with this Studio mod. 327 as well. I attached them to the carriage (see the image above), and the whole assembly moved well on the needlebed.
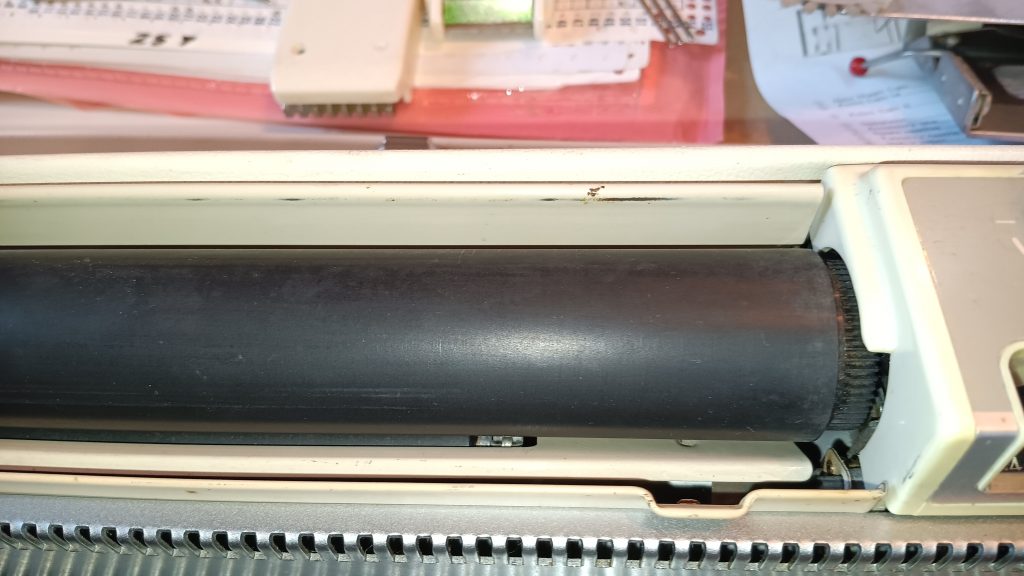
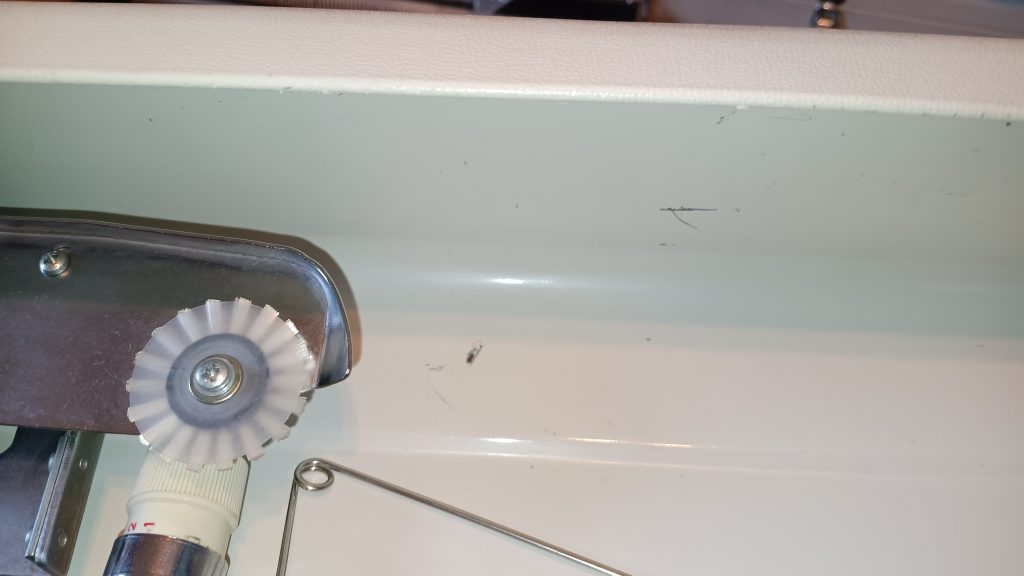
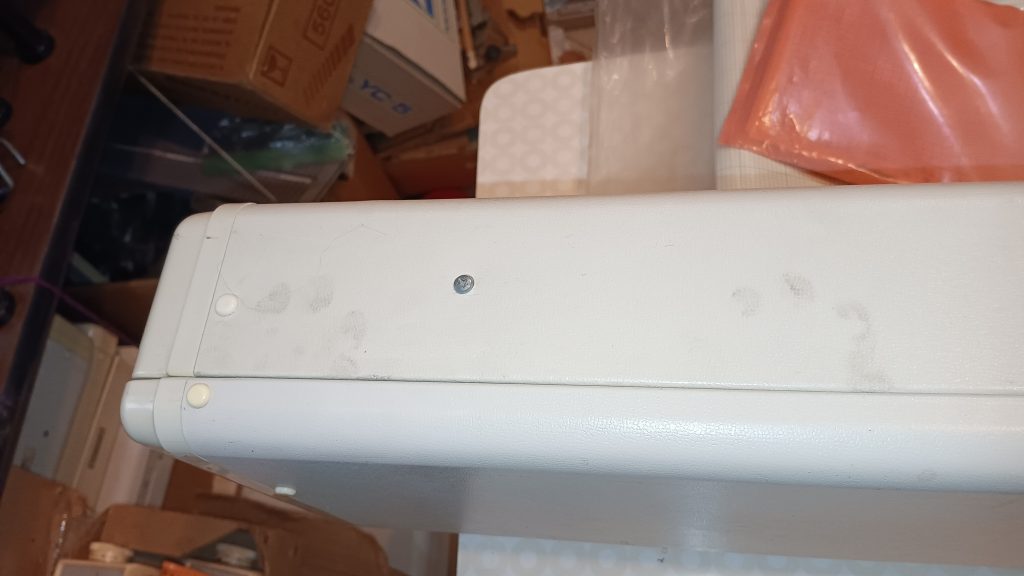
I did not replace the slightly bent plastic round covers on the sinker plate side wheels (a picture below showing a scratch on the lid shows one of the wheels: they are not in horrible shape at all!). Those bend so easily that they will very likely bend during your first tests. But I am including an extra pair of these plastic circles (they are very easy to replace). All the tests were performed with these slightly bent plastic brush covers. The extra brushes (the manual says they are for tuck, but I knitted tuck without them) are brand new (new stock). I knitted tuck-stitch without them because this is how the sinker plate was set up. But honestly, these brushes come off so frequently that knitters remove them just not to deal with them.
The punchcard rod to hold the punchcards is the original. However, I did not use it during the tests shown in the video. Thus, its use is optional. One pair of punchcard clips is the original one (orange), and the second (green one) is new but old stock.
The extra replacement needles are new stock. They are slightly different than the original needles: longer by ~1 mm, and the concave part is slightly different. However, a few of the same needles were placed into the needlebed already, and they knitted beautifully without problems.
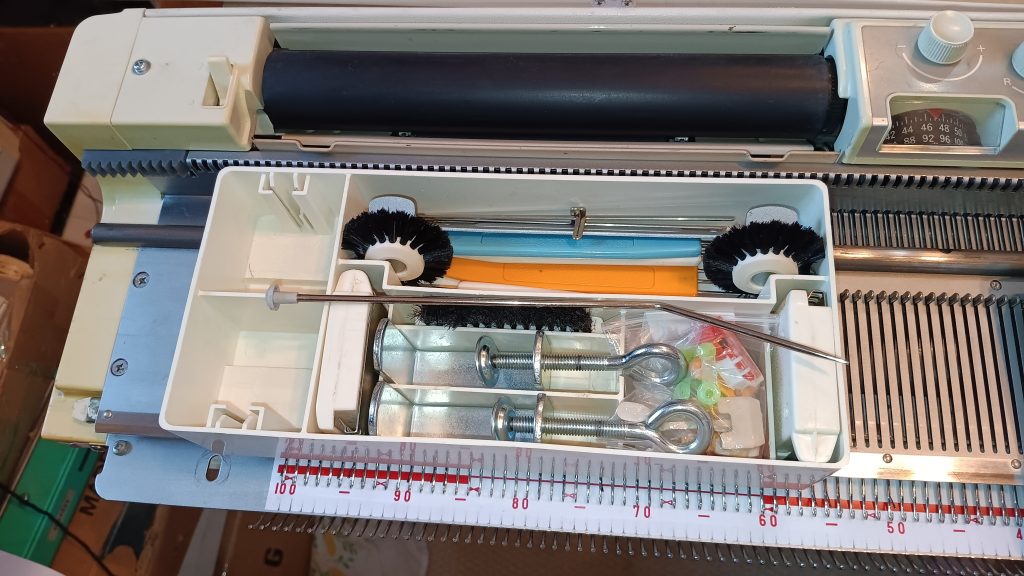
All minor accessories are stored inside a stand-alone box, although the box is not the original box for the Studio mod. 327 model, but still from Silver Reed-manufactured machines. All major accessories are stored in the lid.
The punchcard set is generic, new stock. But it is generic to Brother machines. It can still be used for the Studio mod. 327 knitting machine. The minor difference is in which row the punchcard readers start reading and knitting the pattern. I am working on a detailed article on that, but briefly: align the punchcard readers with two rows below the line. Other words: at the punchcard reader edge, you will see two rows and then the line. For simple repeat patterns, it does not even matter where to start. But for a single motif it is. So, if in doubt: swatch-swatch-swatch.
In addition, as a thank you for your patience, I am including several custom punchcards (a couple of hand-[unched and a couple of professionally cut from Knittery) and a set of blank punchcards (old stock but in great shape).
The knit radar sheets are original and still in great shape. However, while I was recording the functioning of the knit leader, I damaged one sheet (the row counter tripper ran into the sheet and ripped it: something to pay attention to). I am still including it: it can be tapes/glued. But I am also including a blank (on one side) graded sheet as a replacement. Additionally, knit radar sheets for generic/common shapes are available online if you need to print extra. The stitch scales are original ones, but only the “gauge scale” and “stitch scale” rulers are included. The “centre scale” rulers are not included (I do not have a set), but my understanding is that the “centre scale” rulers are more than enough.
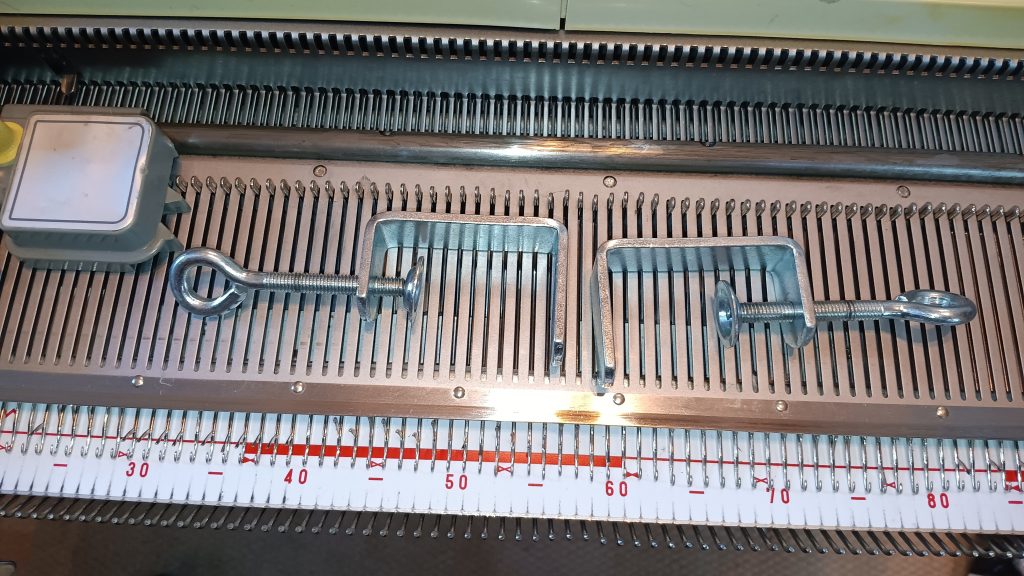
The little knob covers for the punchcard reader are 3D printed replacements. The table clamps look like new stock, too (they came with the machine).
The carriage lock is the original as well.
A couple of things to pay attention to:
Push the carriage a bit down on the ends of the needlebed. I experienced these issues with my other Silver Reed-made knitting machines
If knitting on the full bed while using the knit leader sheets, pay attention to the row counter tripper so it does not rip the knit leader sheets.
The rubber end rails often fall apart and crumble (with time). If they do and if you do not knit on the full bed (on all needles), you do not even have to replace them. There is a way to move the carriage and avoid mispatterning: just do not let the drums get off the rails. So, move the carriage slowly at the end of the needlebed. But with the rubber end rails, there is nothing to worry about for at least several years
cover your machine with a sheet or a curtain to avoid sun damage and dust.
Imperfections:
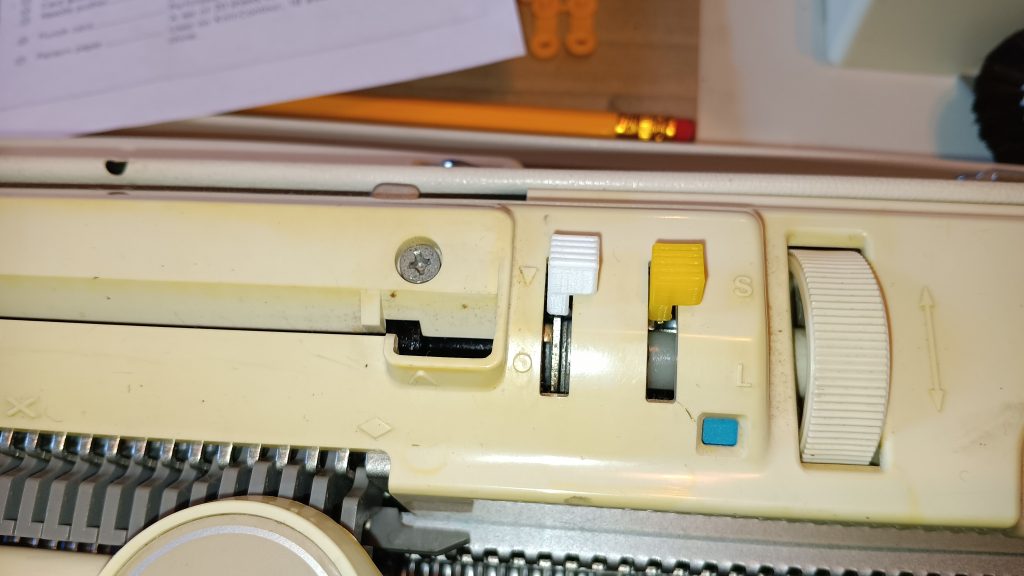
There are some scratches around the knit leader wheel and on it as well. The function is not affected.
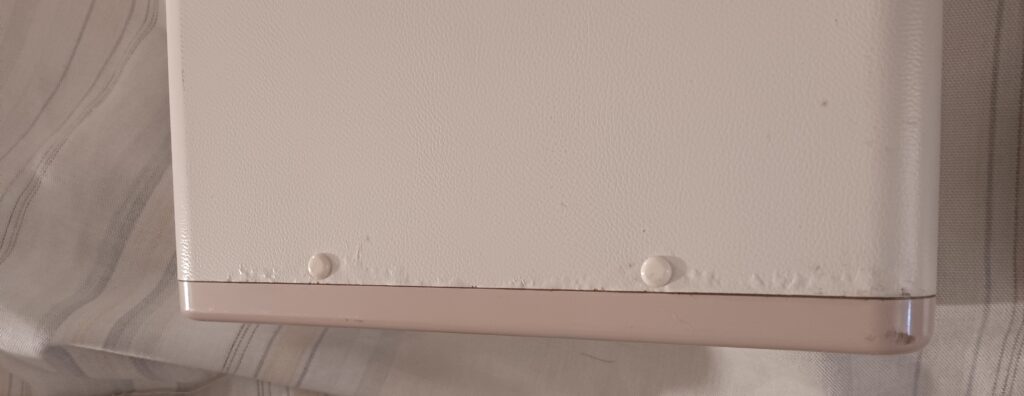
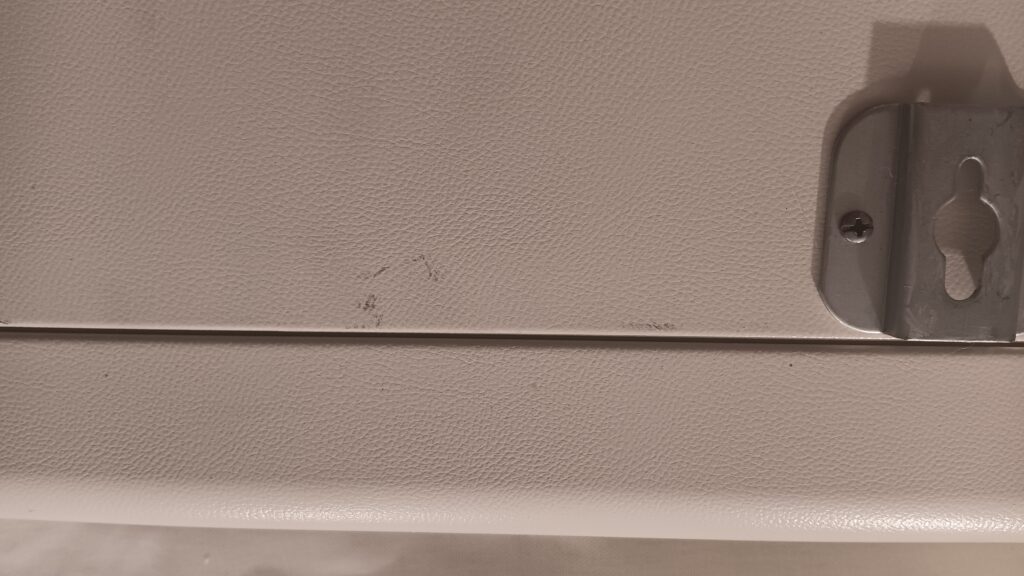
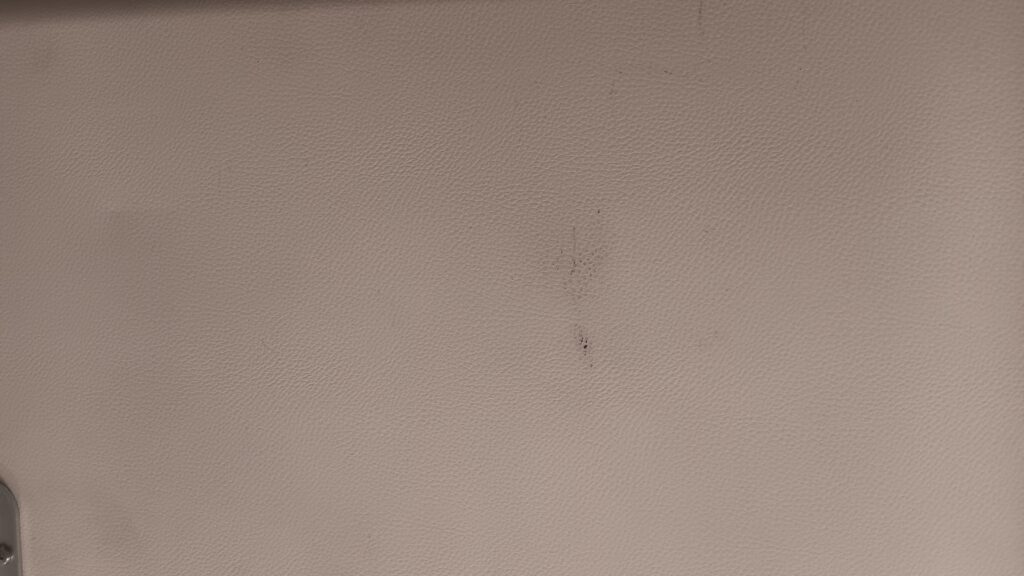
The lid has some minor scratches and bumps, but otherwise is in great shape (especially considering the age of the machine).
The case itself is in great shape, but a couple of stains, scratches, and bumps are present as well.
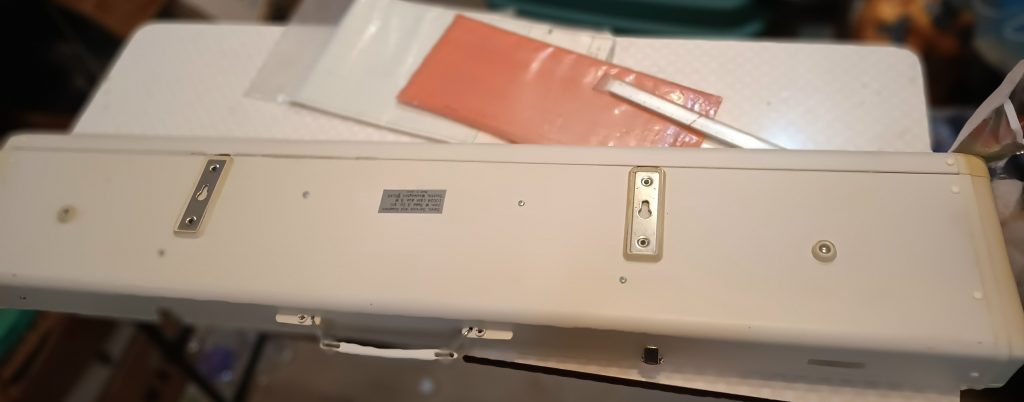
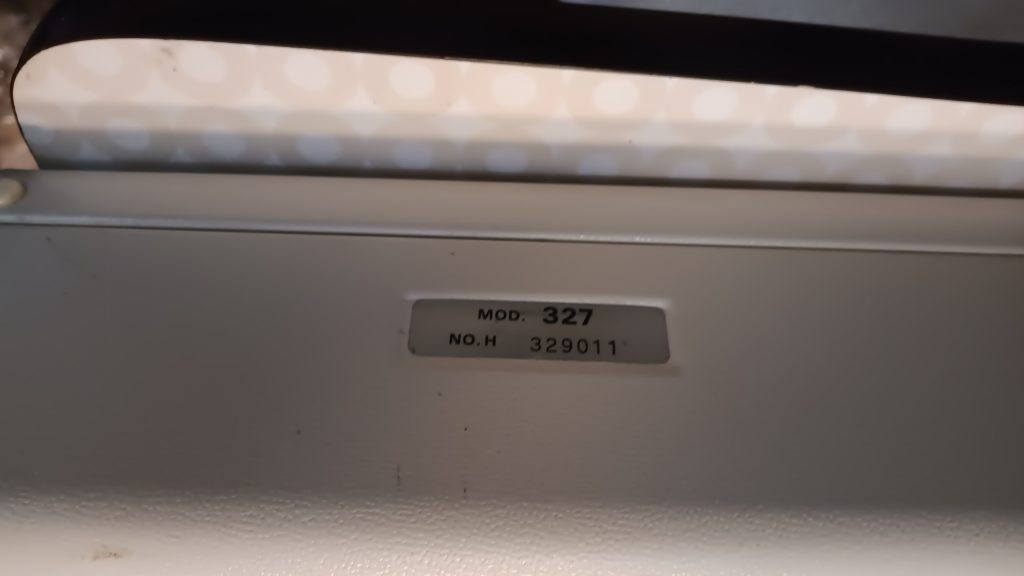
Here is the serial number for this machine, which I will remove after you receive and inspect the machine.