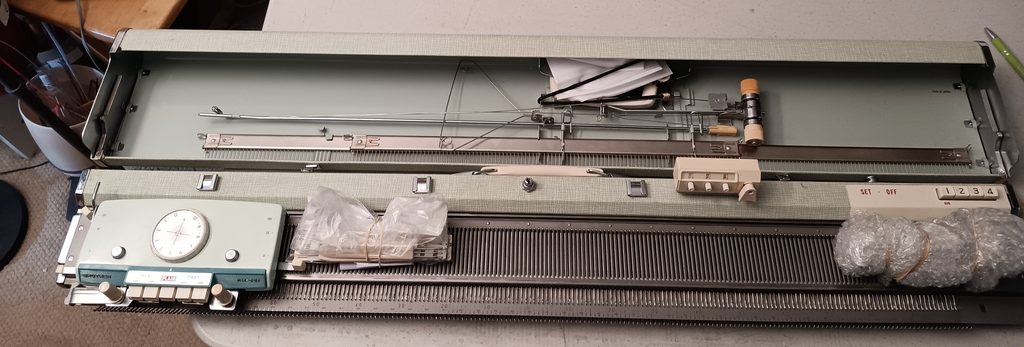
When I prepare machines for other people, knitting on the full bed allows me to check a lot of things at once (and knitting JUST the swatch, especially just in the middle of the needle bed, might not show these flaws/problems):
Are all needles knitting and forming the correct stitches? Do all needles knit (and do not drop stitches)? (Sometimes bent needles get stuck in the carriage, sticky latches form tuck stitches on stockinette, and slightly rusted needle heads might not allow for stitches to slide as easily. Visual inspection can overlook these faults. Additionally, dropped stitches could be due to a bent or warped needle bed.)
Is the carriage gliding smoothly across the full bed? Without static? With even tension? Sometimes the bed can be uneven (bent/warped from old age or from being dropped), and the problems are discovered only when knitting in that area.
Is the patterning (in some cases needle selection) correct across the whole bed?
Are all needles the correct ones? (I didn’t do it, but I heard stories when some people accidentally inserted incorrect needles and were very puzzled why the machine was either getting stuck in that section, dropping stitches, or mispatterning).
Keep in mind that the very last two needles form more like edge stitches rather than full stitches. It is recommended not to knit any patterns on these needles. For example, on Brother machines, these two needles should be pushed forward to C when knitting patterns (some Brother carriages can do it automatically).
Knitting with garter carriage on the full bed:
It is typically used for blankets, ponchos and other large/wide projects. I found it pretty straightforward (watch video). The garter carriage moves left to right, turns on and off the light at the turn and there is nothing to worry about (like memorizing at which pattern row we stopped, moving the carriage back to be pass the turn light, etc. – you know or will know soon what I mean) when stopping the machine when away or to fix errors.
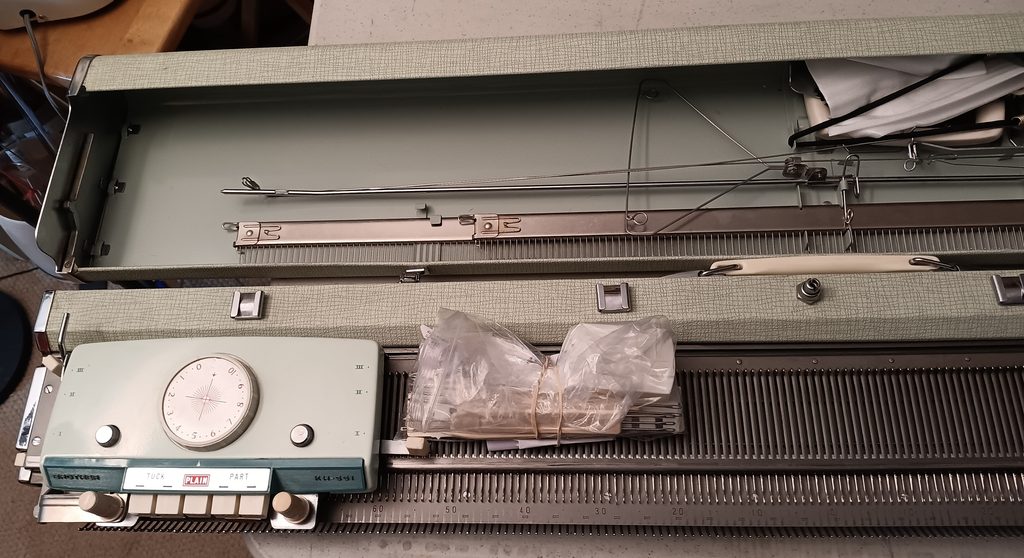
Brother Profile 551 (also often called Brother KH551) is a standard-gauge knitting machine with four pushbuttons for automatic needle selection and knitting patterned fabrics. Read more about this model in my Knitting Machine Encyclopedia. The post below is dedicated to a specific Brother Profile 551 serviced and tested in my shop in June 2026.
I performed the standard cleaning/servicing steps outlined in my other post.
Briefly: all needles were removed and inspected, the machine was removed from its case and cleaned, the sponge strip was replaced with a new one, and the retaining bar was cleaned. I knitted on the full bed to ensure that the machine knits patterns along the whole needle bed and that all needles form correct stitches. The video of these tests is here. The reasoning for testing on the full bed (rather than demonstrating that the machine knits on a swatch) is described in my other post. The machine formed beautiful stitches: stockinette, sli=, part and holding tuck. I had to take some precautions on the tuck-stitch, but by choosing the right yarn, the machine knitted reliably. I tested two different yarns.
I acquired this machine without a lot of accessories, but I was able to put together a good replacement set. Thus, the machine will come with all major and most minor accessories.
The carriage, carriage handle, carriage lock, and sinker plate are all original. The transfer tools are original from Brother. They show some age-related yellowing. The cast-on combs are original and are in great shape. The cast-on thread is rolled onto a piece of paper (see the image above). I typically recommend using any strong-ish, thin yarn: easy to break/cut and discard if no longer needed. (I even like using random threads better than the cast-on thread).
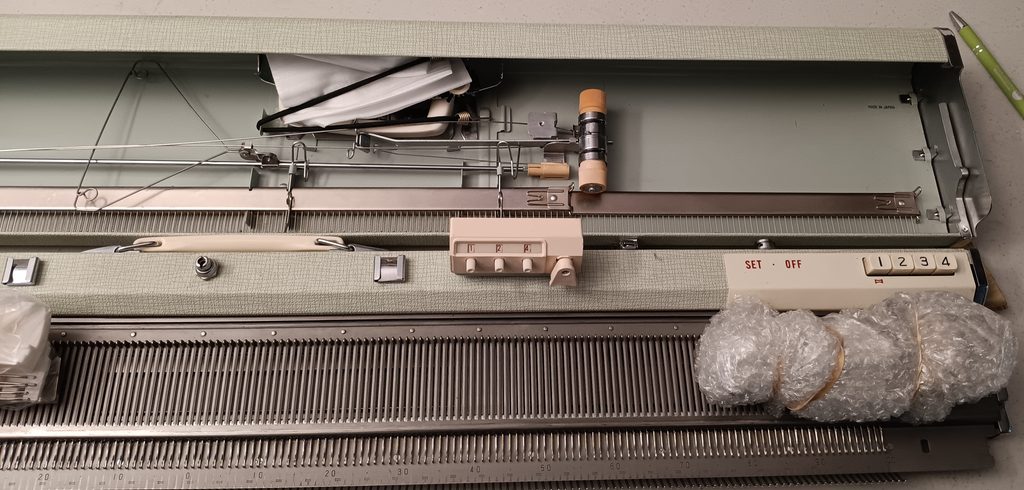
The row counter is not original. I retrofitted another Brother row counter (of a more modern design). It sits very solidly and works reliably. Check out a short video I made with this new design tested on this particular machine.
The table clamps are still S-shaped, but from a ribber. They worked fine, and I used them during all the tests shown in the video. If you decide to add a ribber to this Profile 551 machine (if you are lucky to find one), these brackets will not affect anything, as the ribber setup comes with its own table and connecting brackets. One needle selection ruler is original (metallic). I am including two other rulers, but they are not original (plastic).
The tension mast is an original Brother part but not original to this model. I feel that the design of this mast is a bit sturdier, but the original Brother Prifile KH551 tension mast came with three slots for three threads. That’s, of course, a slight drawback. But Brother started releasing machines soon after with only two-thread masts. Additionally, a wax can be placed onto this newer mast much more easily. Other replacements are: ratchet tool (a generic one from Brother ribber), hand brush (brand new), picker (a needle selection tool; it is a 3D-printed copy).
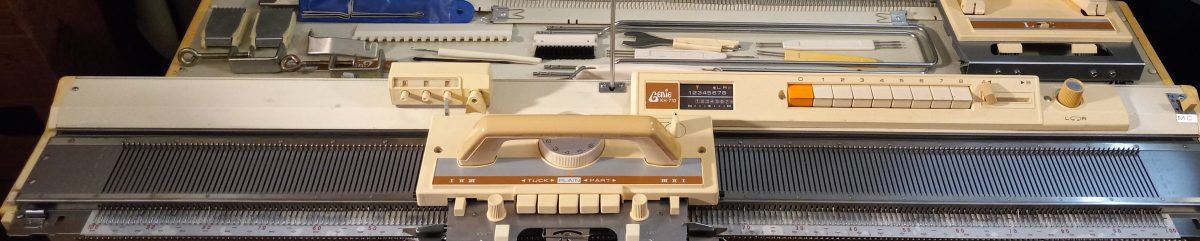
The claw weights are not part of the original setup, but they are so important that I am including a pair from my original stash (they are shown in the left corner of the very first image in this blog). I am also including a new needlebed strip (a small roll). The original one was in rough shape. I honestly don’t even think it is needed because the needlebed is embossed with the needle markers. Sometimes the needle strip gets in the way, but the new owner has the option to have one. Sometimes the embossed markings are hard to see.
The machine case and its lid are in pretty good shape. I replaced the deteriorated case “feet” with the 3d printed one. They are printed from a very strong UV-resistant material. So they should last a long time.
The missing accessories are:
tool box and its lid; the tools will be packed in bubble wrap for shipping;
left and right sinker plate yarn hangers: a replacement can be easily made from paper clips; these are used only for fair isle and potentially weaving;
tapestry needle: any needle of your choice will work
oil: get Hoppe’s gun oil from Amazon;
plastic case for spare needles;
accessory stand;
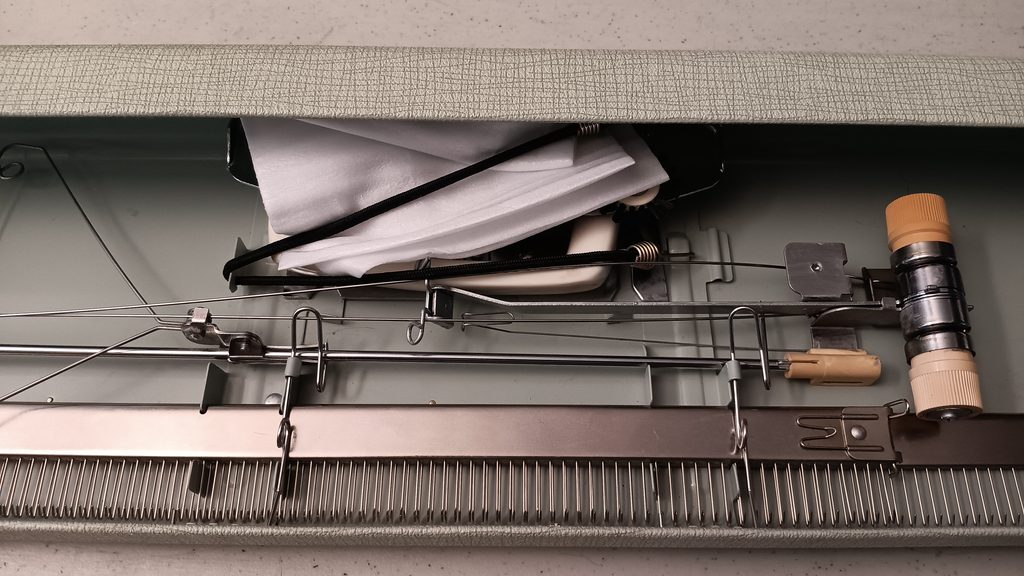
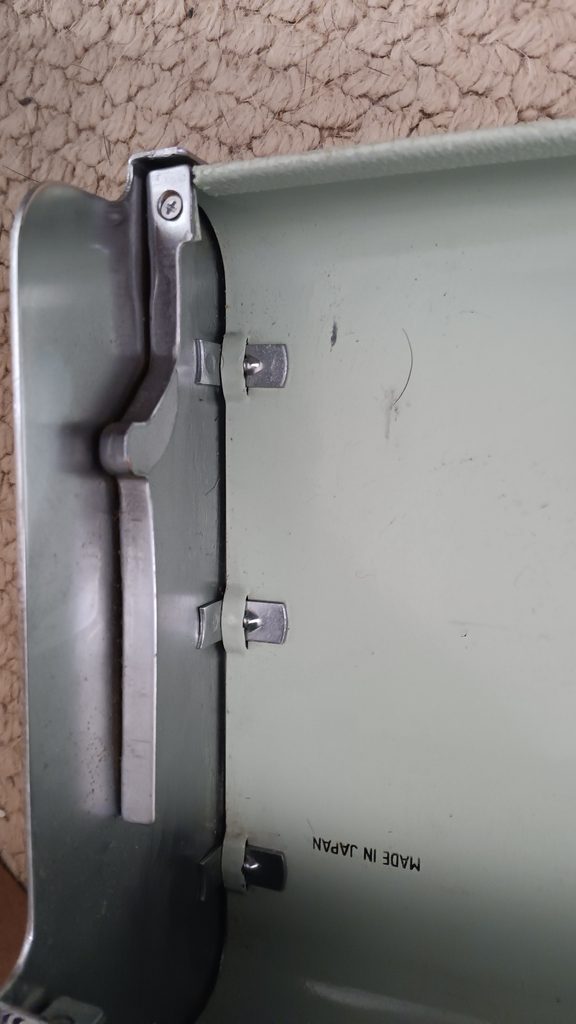
The lid did not have the original wire bracket that holds the sinker plate and the handle inside. I used bungee cords to secure the sinker plate and the handle during transport and storage.
A hard copy of the manual will NOT be included, but it is available online for free
Imperfections:
The metal on the tension mast and table clamps showed some discoloration, and I used silver Rust-Oleum to even it out and prevent potential corrosion.
The tension mast has some yellowing but is still absolutely functional.
The sinker plate had some very minor roughness. Not really rust, but I covered it with a thin layer of Rust-Oleum to prevent any forming in those areas.
The tension dial has a couple of minor dimples.
The ratchet tool might be a bit uncomfortable to use in comparison if it had the original plastic handle. But I honestly did not notice much of a difference.
The handle has a very minor crack. But I saw handles in much worse shape. These machines are over 70 years old, after all.
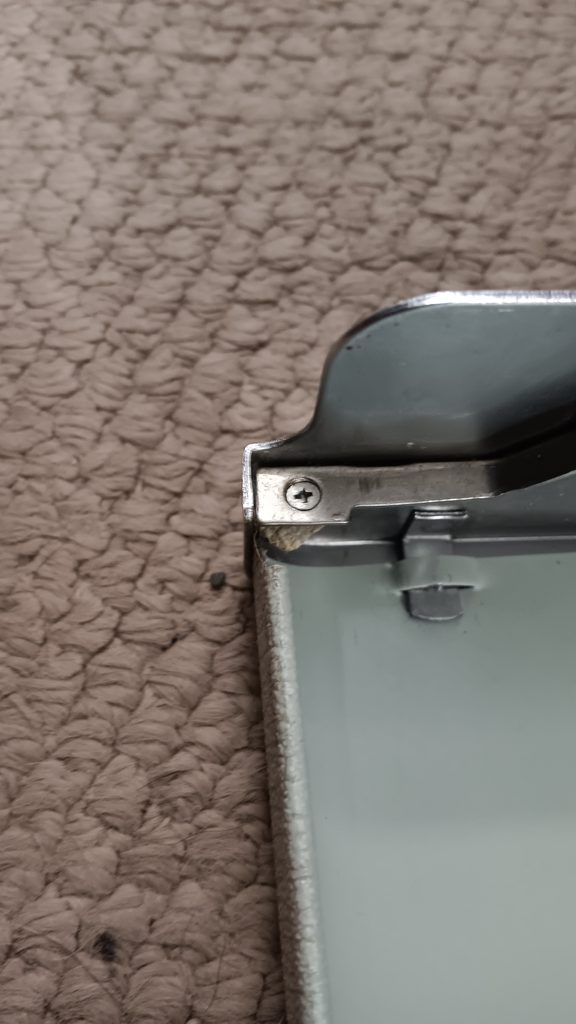
There is a small tear in the lid, at the very end where the lid connects with the end caps. Unfortunately, there is not much that can be done here. I’ll make sure the ends are packed securely when shipped to avoid further damage.
Here is the serial number for this machine. The picture will be removed after the machine is purchased, received, and inspected.
The machine is already packed and ready to find its next owner.