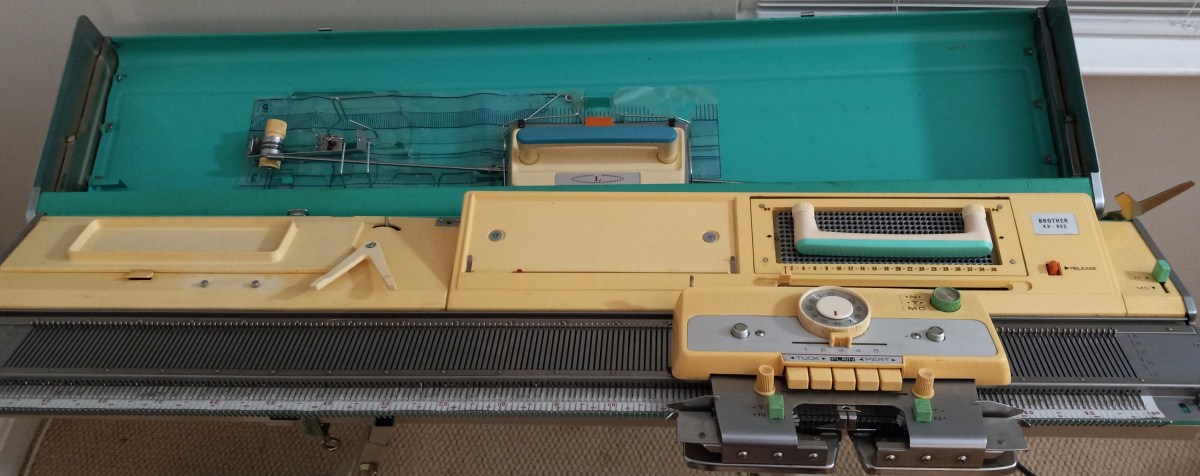
Silver Reed SK120 knitting machine is a flat-bed metal knitting machine with needles 8.0 mm apart. The bed contains 120 large needles. Read more about this model in my Knitting Machine Encyclopedia, including its pros and cons. The rest of the blog is dedicated to a specific Silver Reed Sk120 machine I serviced and tested in May 2024.

I loved working on this machine especially because of its simplicity. The machine I worked on was also marked as Kantan Bulky. This machine comes with all accessories except oil (use gun oil instead). All minor accessories fit into a toolbox, with an attached lid. The box is in great shape.
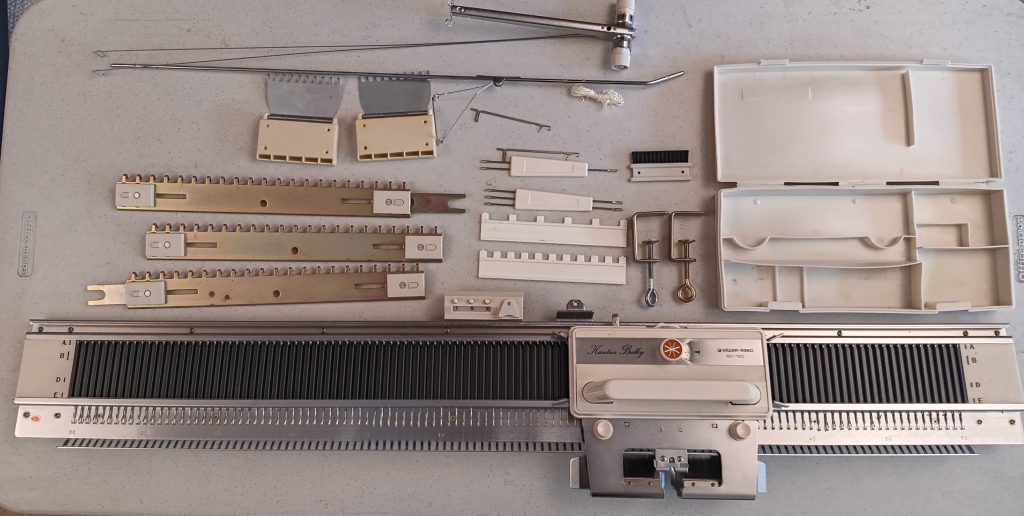
A hard copy of the manual will not be included but it can be found online for free.
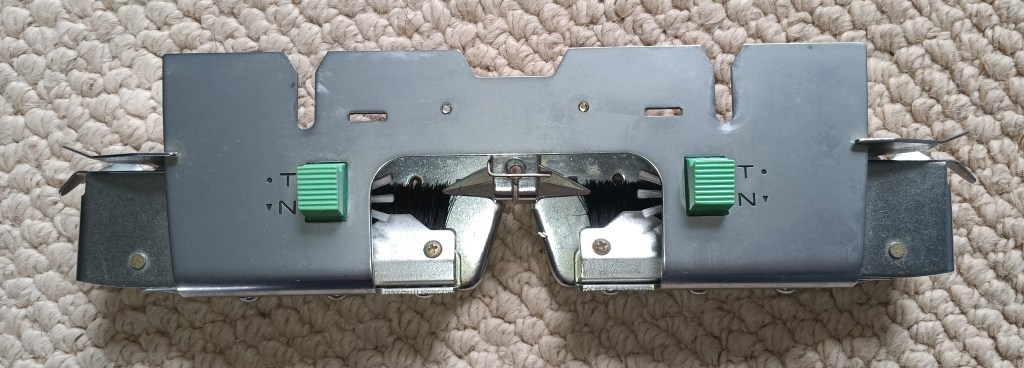
I cleaned and inspected all needles and then tested them by knitting on a full bed (to ensure all needles form nice stitches). I replaced a sponge bar. The retaining bar is very narrow for this machine. Thus, it was a challenge to find such a narrow sponge. After a long online search and consultation with numerous online chats and forums, I settled on a window seal strip with the glue on one side. It is more rubbery than spongy. It was also somewhat hard to insert but I finally got a hang of it (used a thin plastic knife and gently stuck it one inch at a time. Check out a short video I created to help other knitters insert the sponge into an unusual retaining bar of Silver Reed SK120.
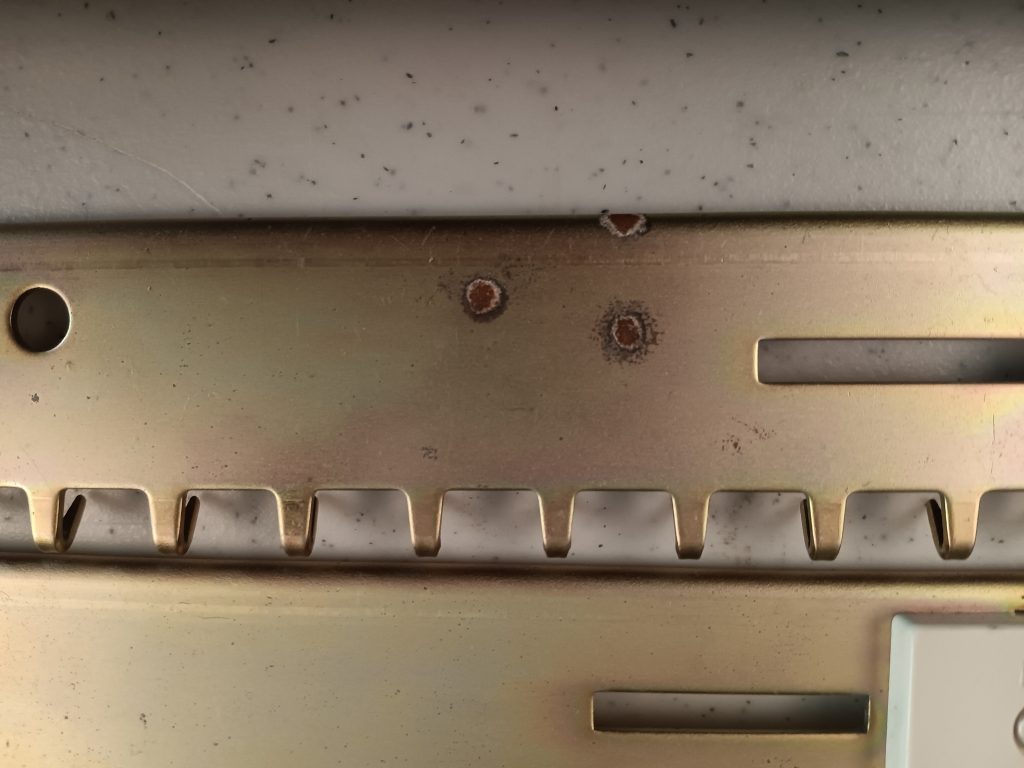
Although not ideal, this rubbery strip did a good job. Why not ideal: it seems that the needles rub against it and remove small chunks (see the picture below). Because of this, I feel the rubbery strip will need to be replaced a bit more often than on other knitting machines. But I will include the extra strip that I have left – enough for 2-3 more replacements. Additionally, the machine needs to be cleaned after each use. I gently vacuum it with the soft brush of my regular vacuum to remove these things after each use.

The machine handled thick yarns very well. The yarns I tried on this machine are:
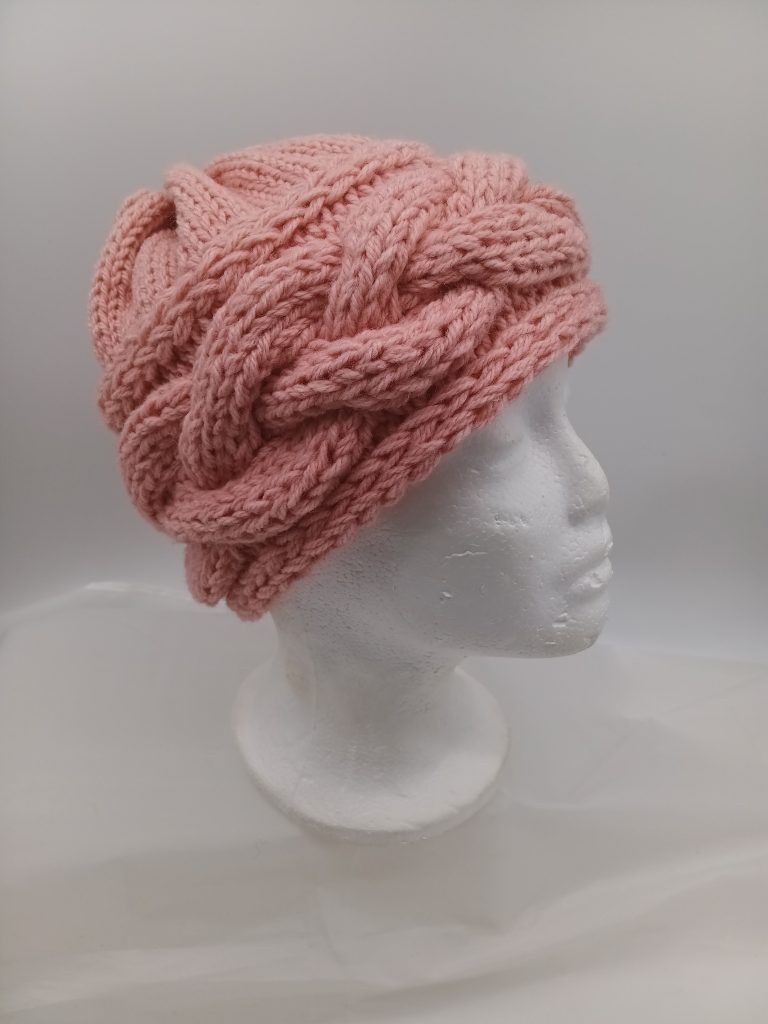
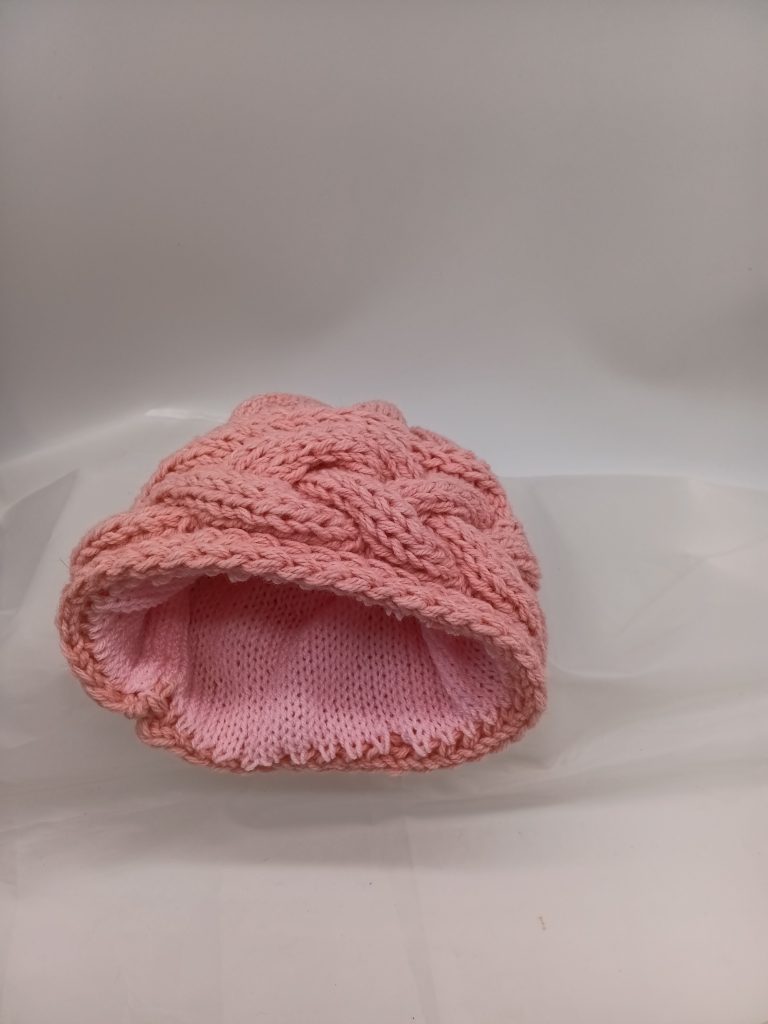
- Alara 50% acrylic/ 50% merino worsted yarn (50 g/ 100 m). I knitted a top of a hat.
- Think, sport-weight like, 100% acrylic yarn. Those yarns often cause lots of static, which causes carriage jams.
- Textured acrylic blend
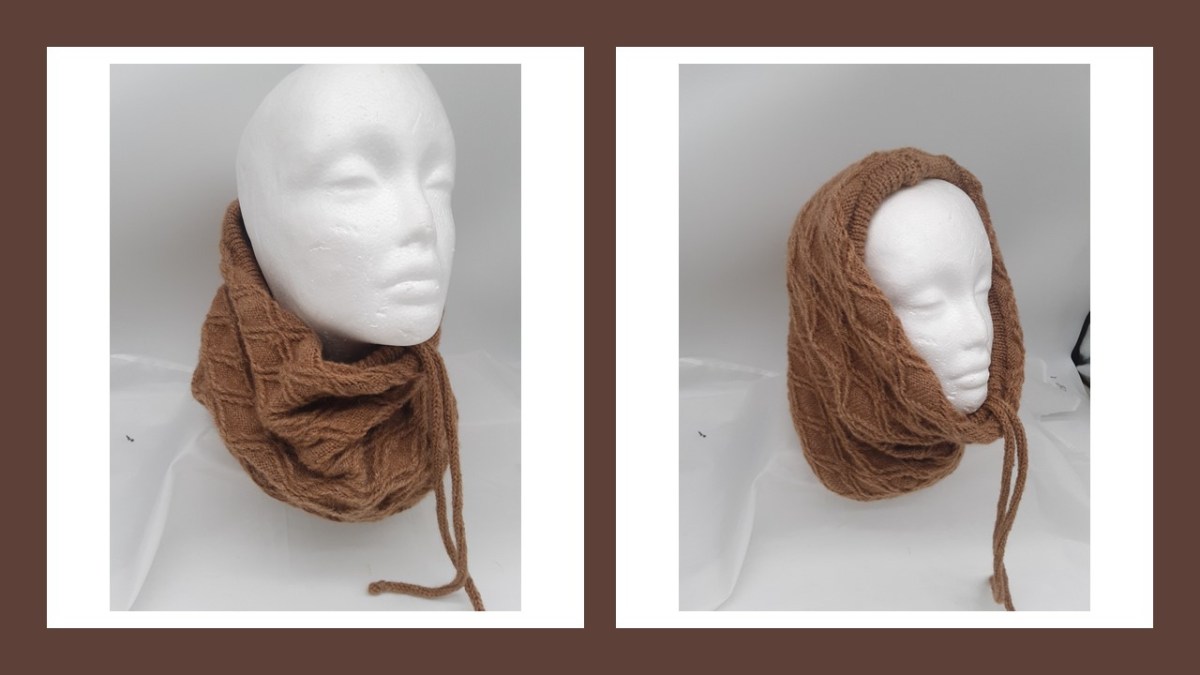
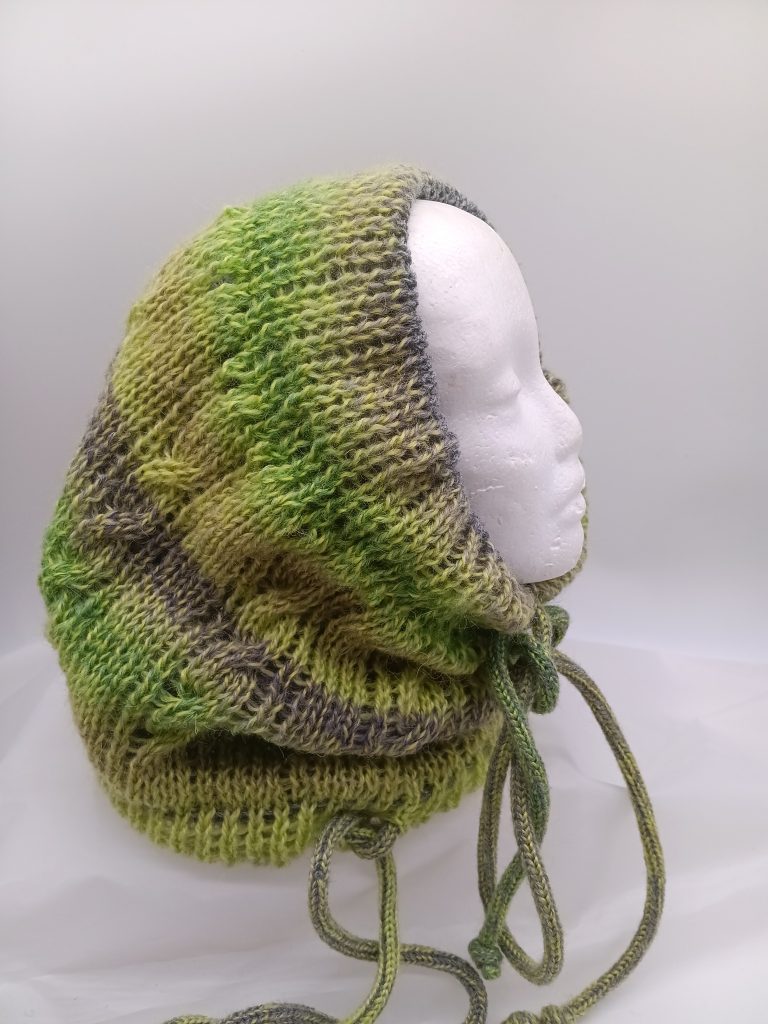
- Mohari-blend fuzzy yarn – made a two-layered neck warmer, transferrable to hood/cowl.
The machine handled all these yarns well (see the video of these tests). In some cases, I needed to apply extra wax and oil the machine well. The sturdy table will help a lot when operating on this machine with thick yarns on a full bed. I strongly recommend using every other needle on worted yarns.

Below are the things I made while testing this machine:


If you are considering purchasing this wonderful machine, do not forget to read in my Knitting Machine Encyclopedia about pros and cons of the Silver Reedk Sk120 bulky knitting machine.
The only imperfection about this machine was a minor rust spot on the cast-on comb.
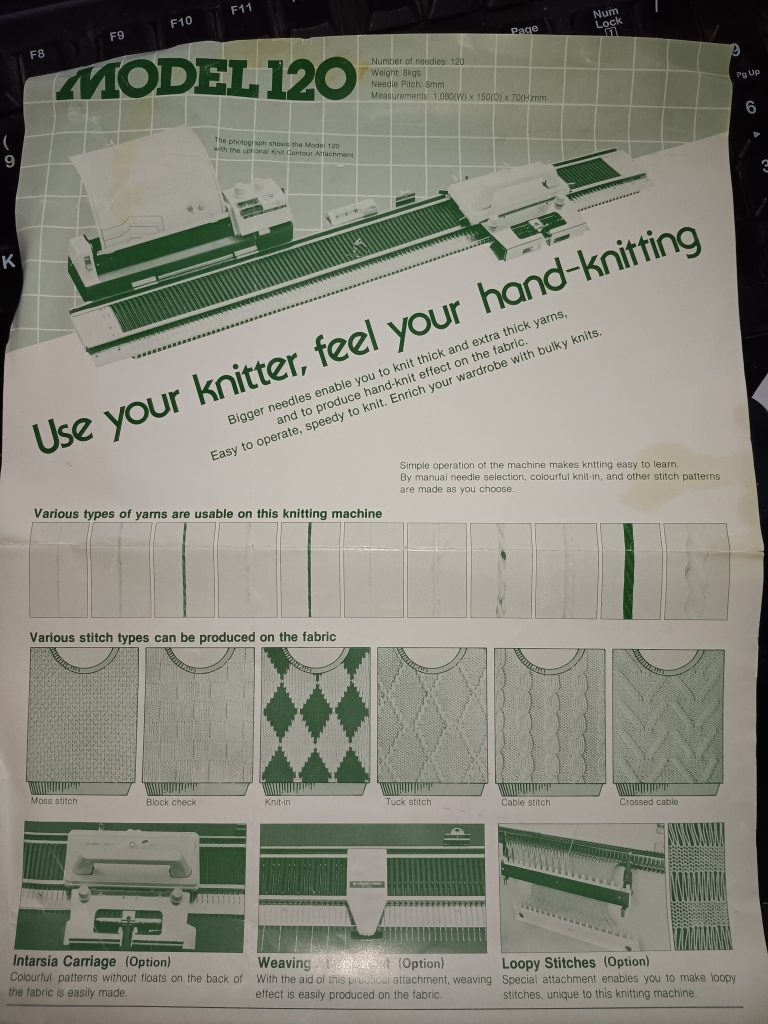
In conclusion, the most exciting feature of this machine is that it creates a fabric that looks and feels like hand-knitted. This personal observation is even supported by the marketing brochure from the 1970s I found in my stash.