Brother KR260 ribbing attachment fits bulky knitting machines Brother KH260 and Brother KH270. Read more about this ribbing attachment in my Knitting Machine Encyclopedia (…coming soon).
The article below is focused on the ribber I tested in August 2024 in my shop.

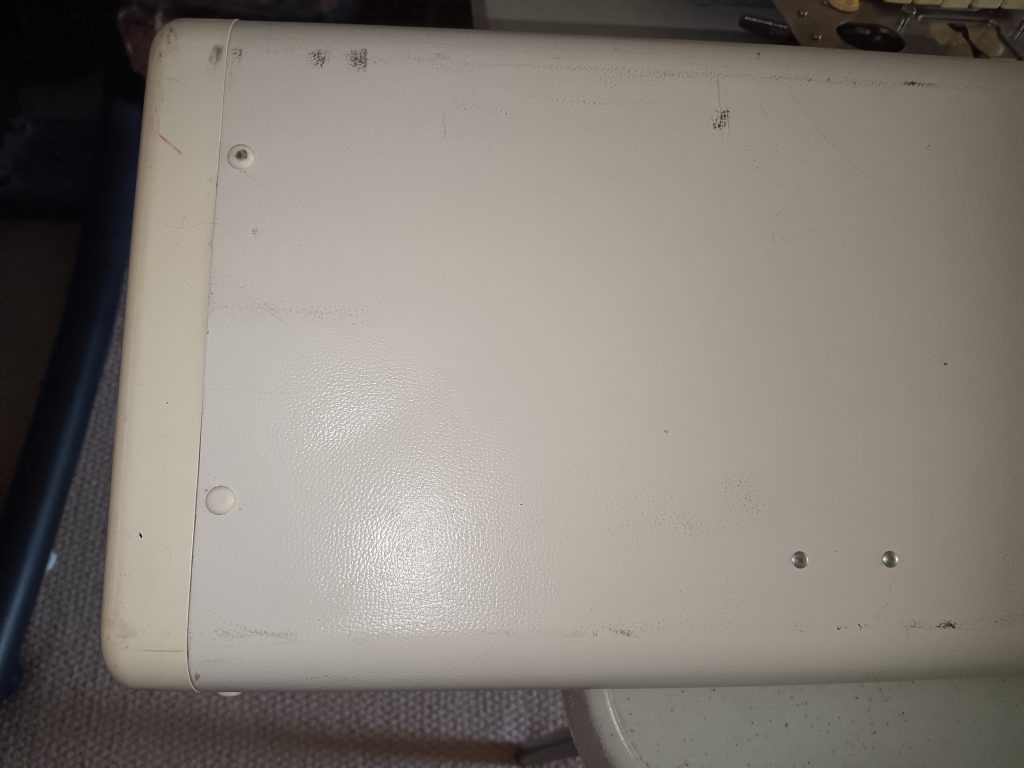
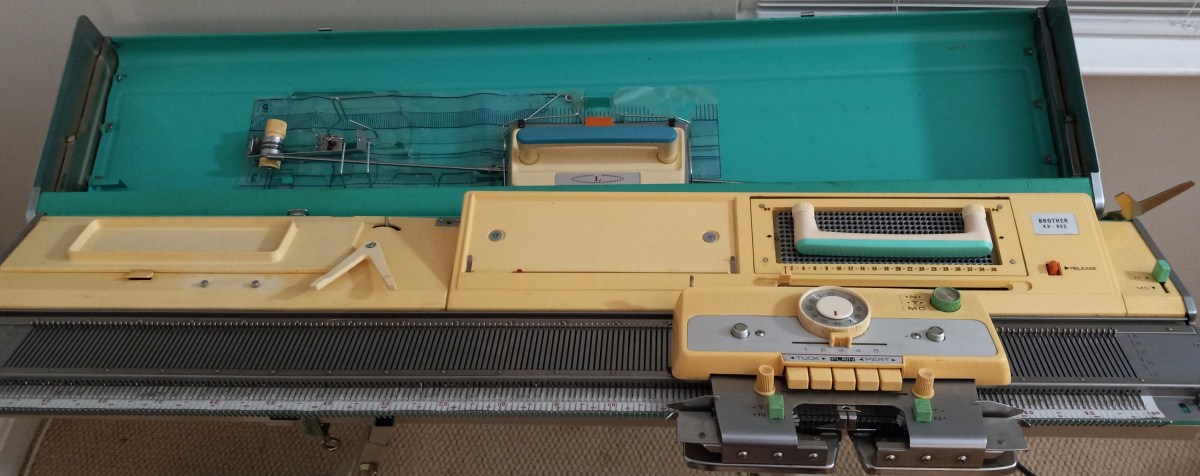
The ribber bed was thoroughly cleaned, the side brackets were cleaned and oiled, and all needles were removed and inspected individually (and then tested by knitting on the full bed).

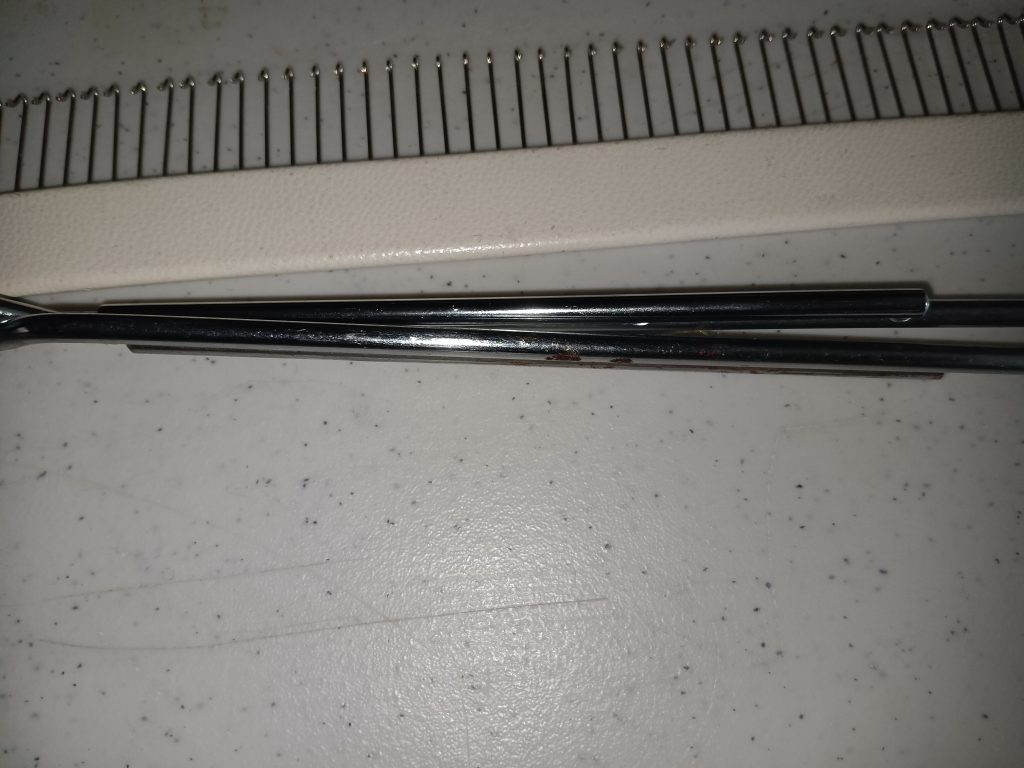
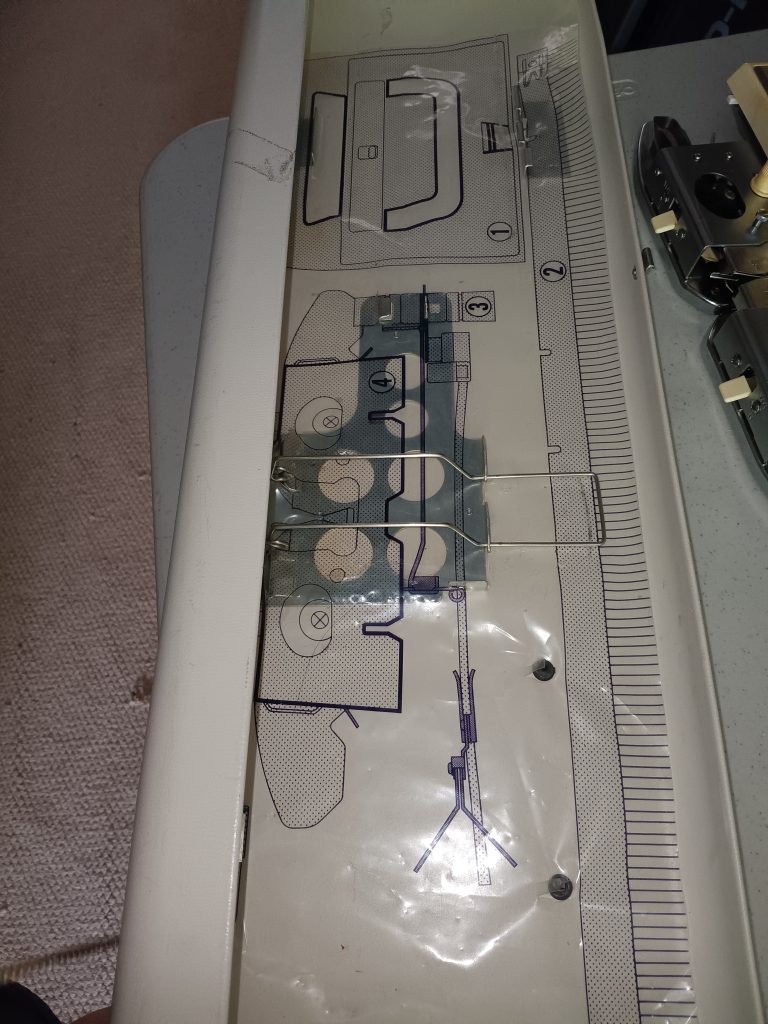
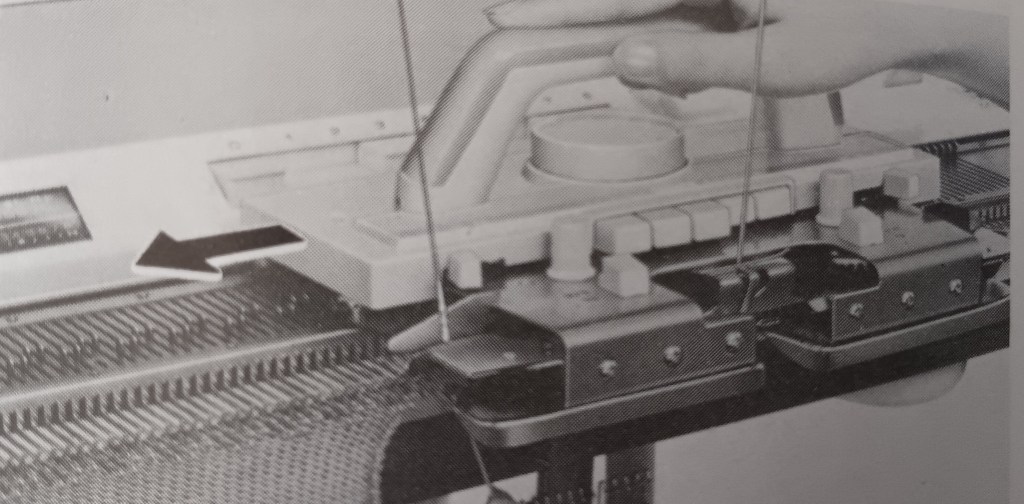
The distance between the main bed and the ribber was easy to adjust. I almost instantly got the optimum distance and was able to knit a swatch right away. See the pictures of the first cast-on row: all distances are even and there are no missed stitches.

I left the side brackets in the machine so the next owner will not have to make too many adjustments. I knitted the swatch to several rows and made a narrow scarf out of it (see pictures below).

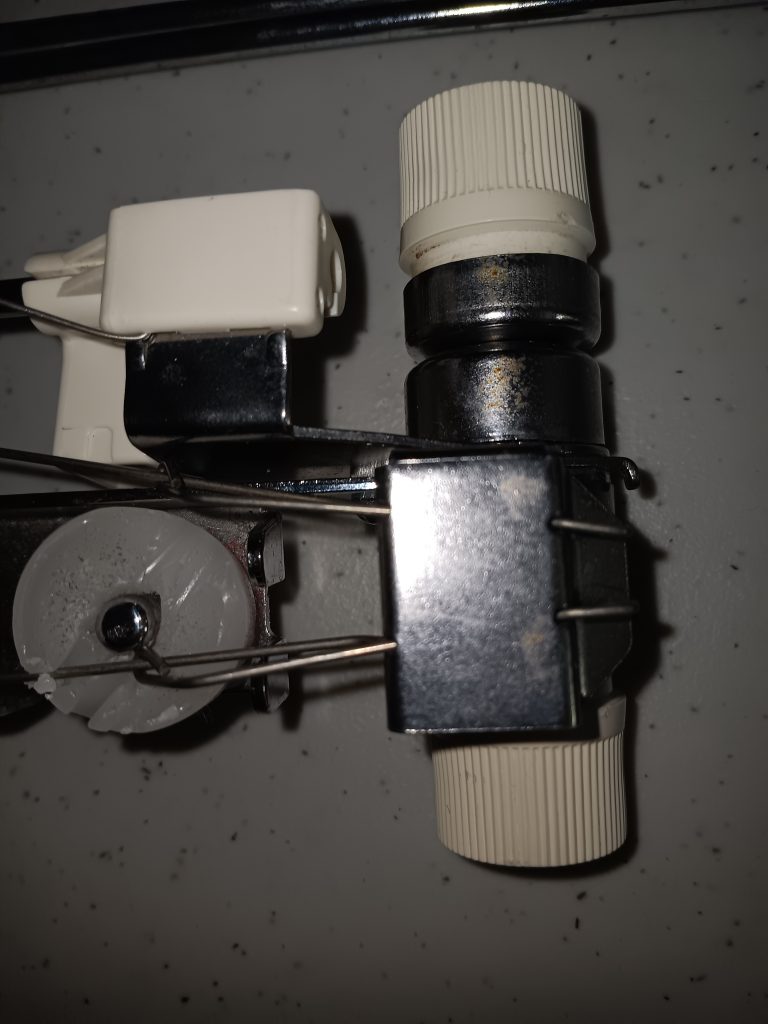
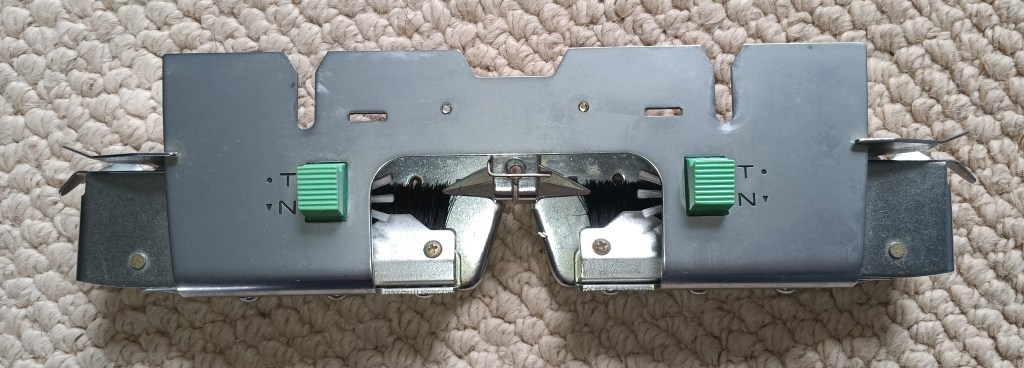
The retaining bar is new with the new sponge. (Typically I reuse the retaining bar (the metal part of the needle pusher) and attach a new sponge strip to it. For this ribber, I used a brand-new metal retaining bar with a brand-new sponge strip.
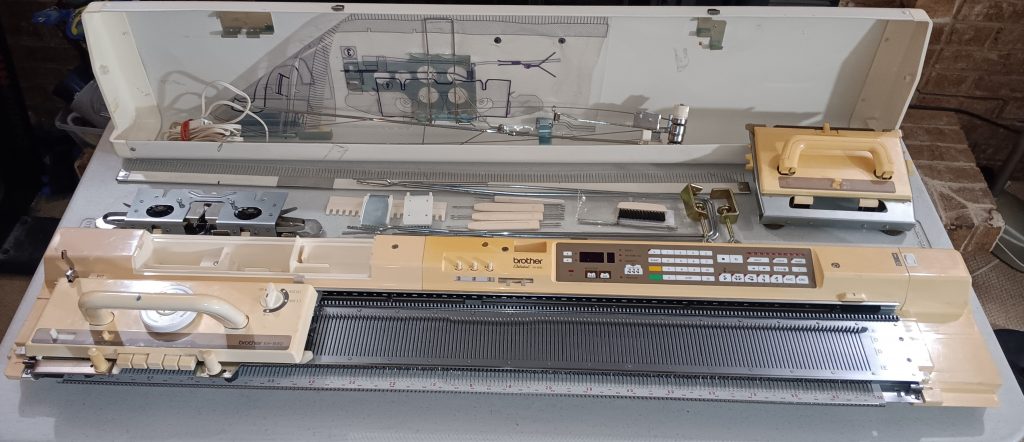
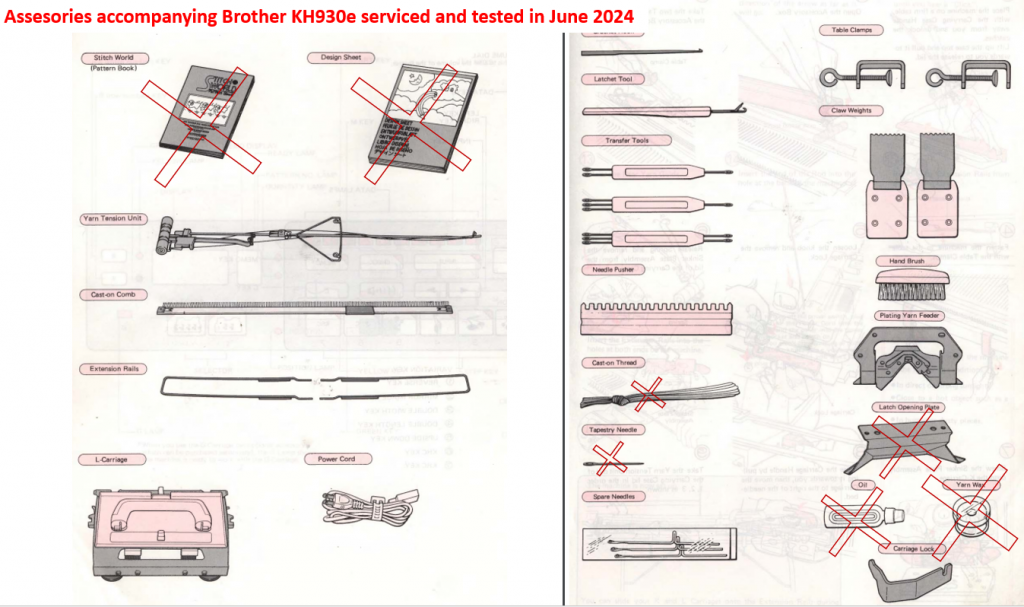
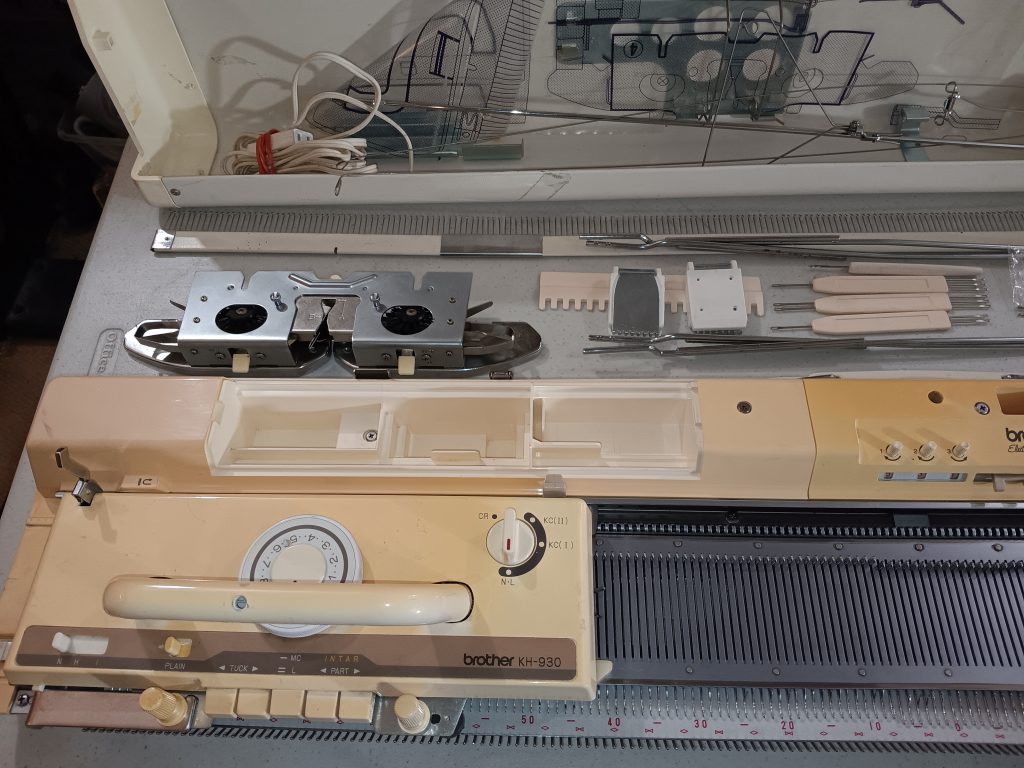
The machine comes with all minor and major accessories. One exception is a spare needle case: it was so old, that it crumbled as I opened it. The spare needles are inside a regular plastic bag.

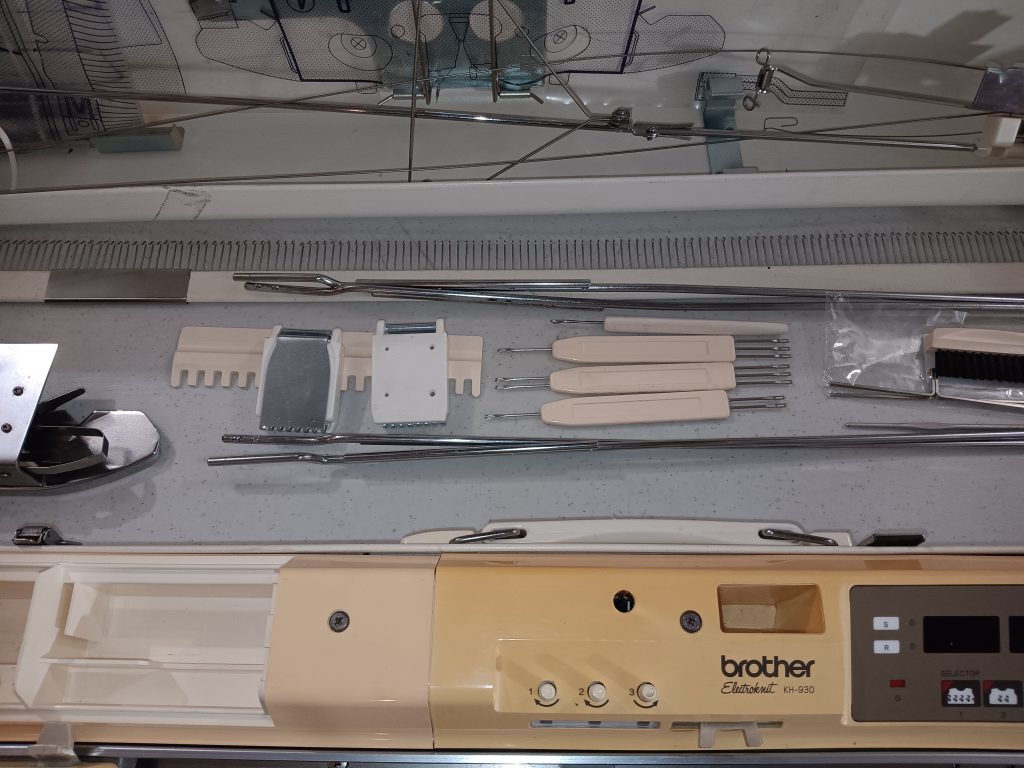
Some accessories (1/2 and 2/2 needle pushers) are brand new from new stock.

The 1×1 needle pusher is also a handy tool but it is included with te main bed (Knitting machine).

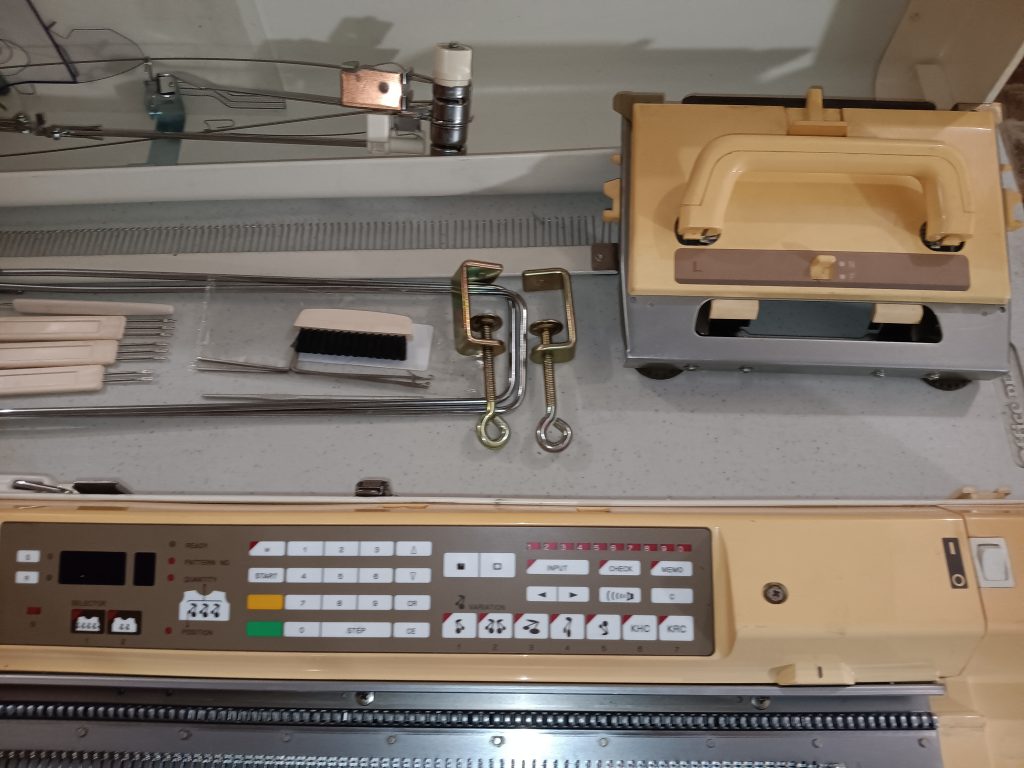
All other accessories came with the machine but they are still in great shape.

Watch the tests on full bed in my video. I knitted 1×1 ribbing on every other needle on the bed and on the ribber. Thus, to check all ribber needles, I knitted two combinations of those needles to ensure I knitted in all needles. All stitches formed nicely! Thus, all needles, their latches, and the retaining/sponge bar functioned well.


The connecting arm is in great shape. All brushes are intact.


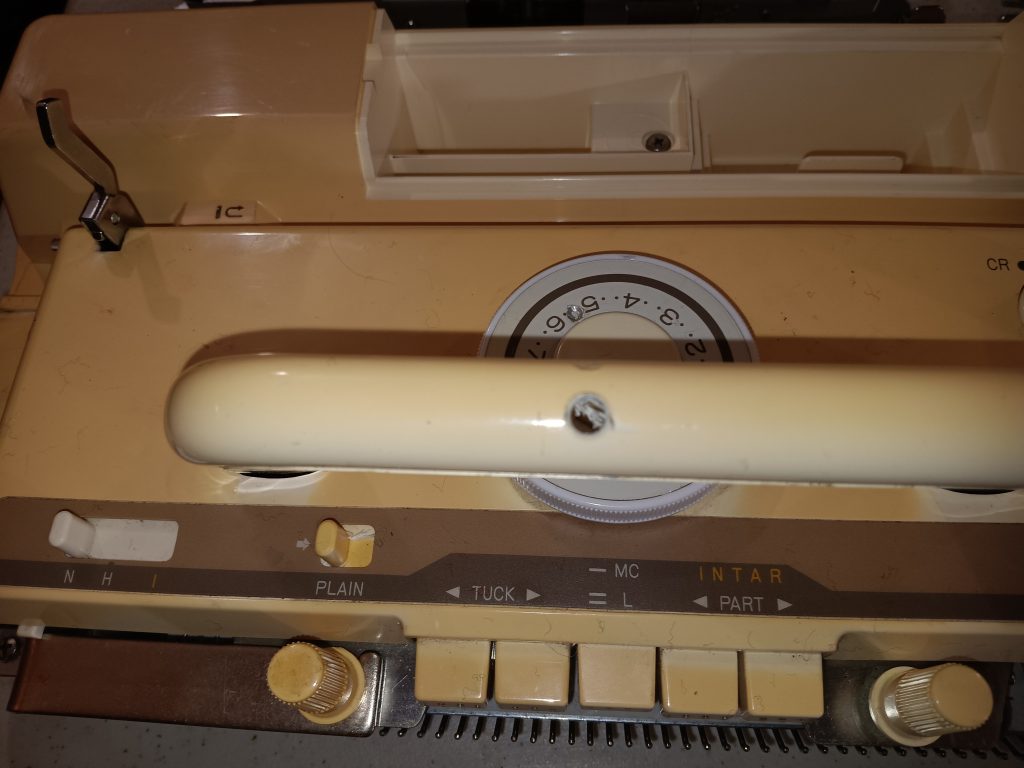
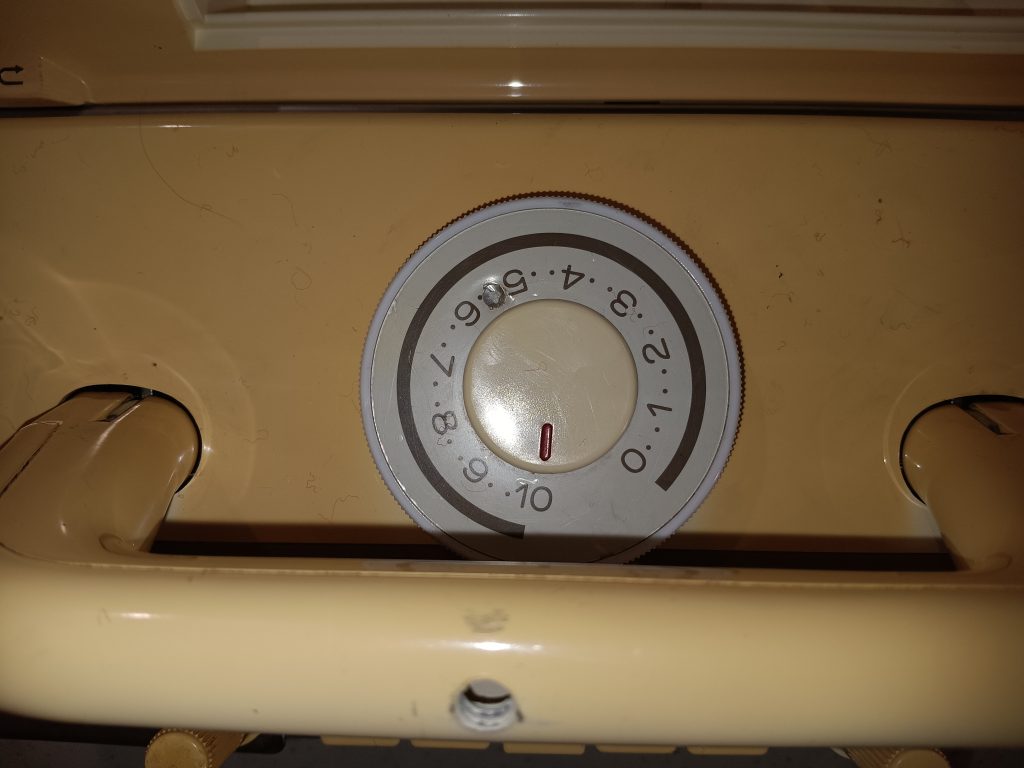
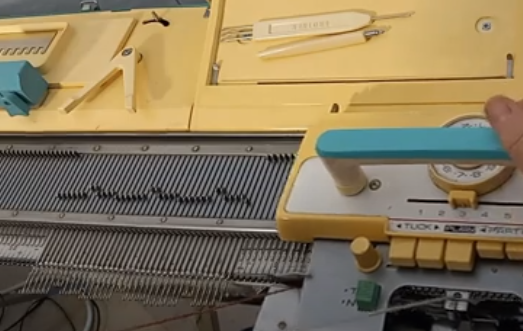
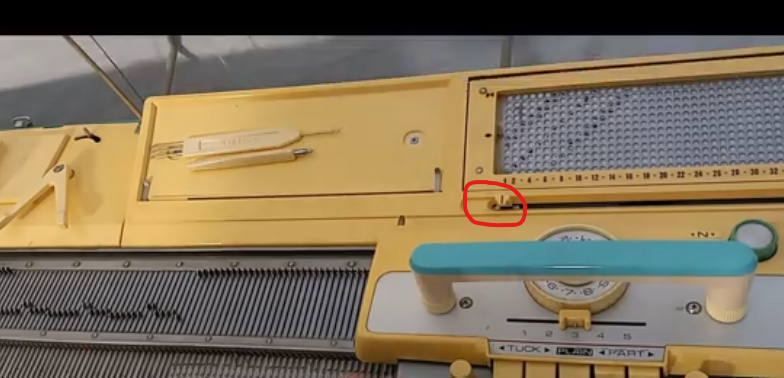
The ribber carriage is also in great shape and all buttons and levers move freely.


I will include the yarns I used to test this machine with the purchase so the next owner will start familiarizing themselves with this machine with the proven threads. These turns turned out to be pretty staticky. On the small swatch (narrow scarf, olive green color), the static was so strong that I could even feel it on my legs as I was knitting the long panel. On the large piece (olive green hat) the status was even stronger but the machine handled it very well: no grinding noise and no problems with tension. I did not use wax with the olive green yarn.

An original cardboard box for the ribber will NOT be included. I will, however, put the ribber into a cardboard box and wrap the accessories in bubble wrap.
Ribber cast-on combs are in great condition. If the wire does not go inside the holes, just rotate it a bit and it will slide in.