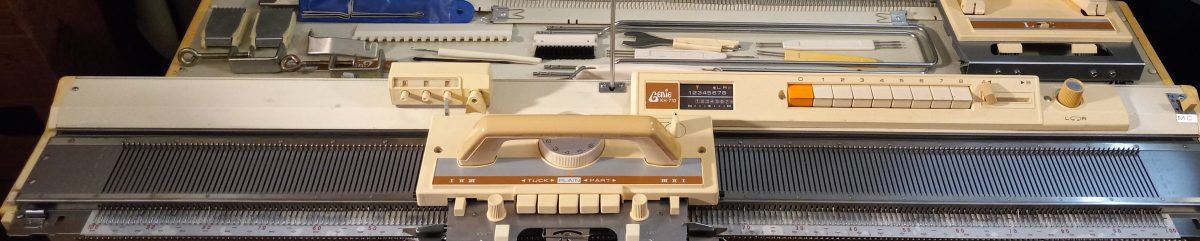
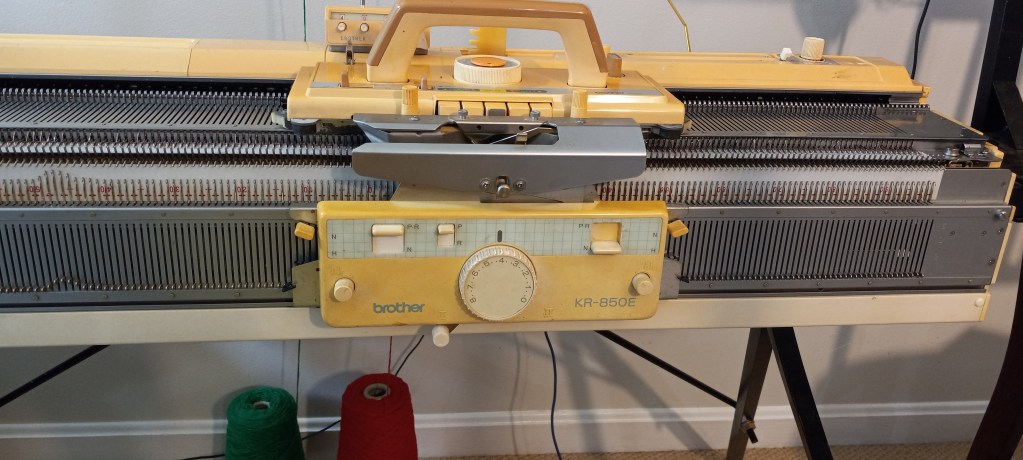
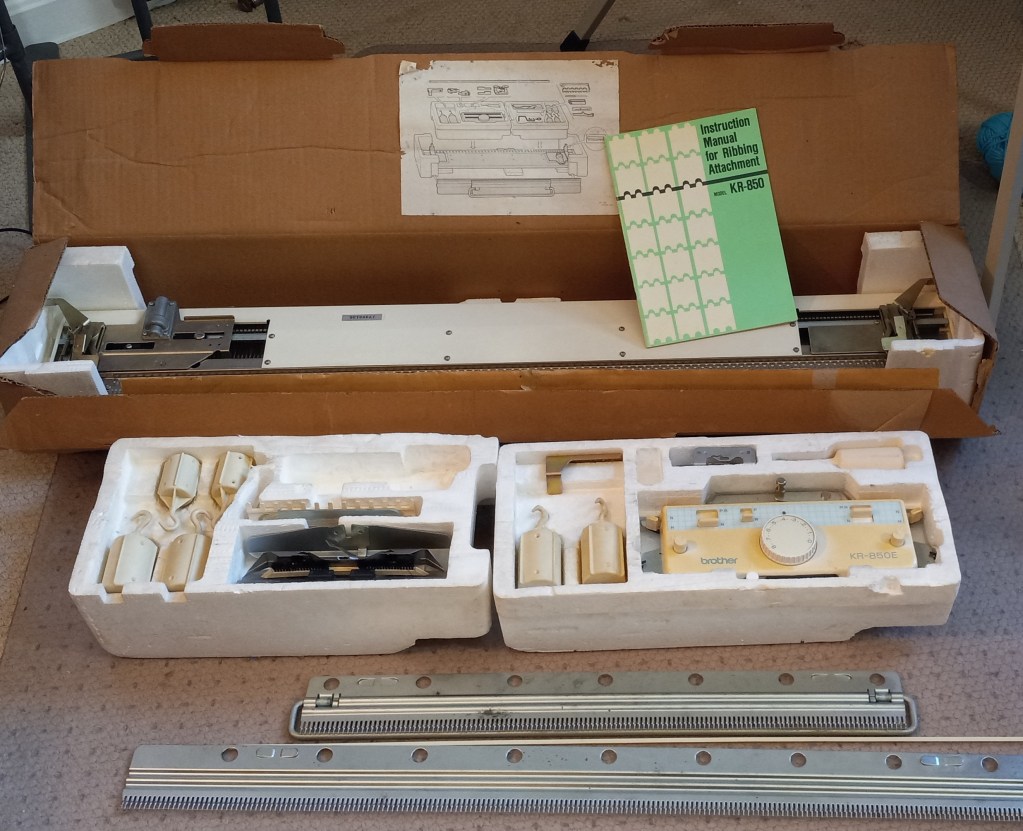
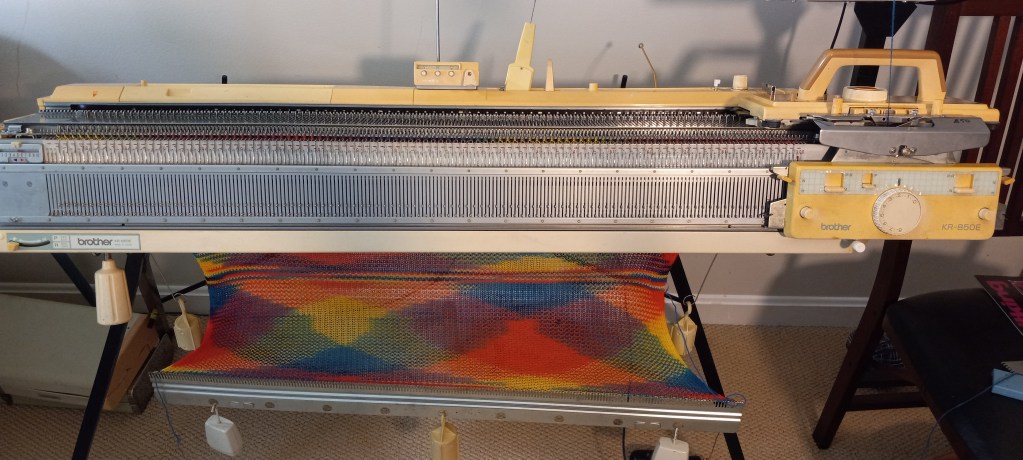
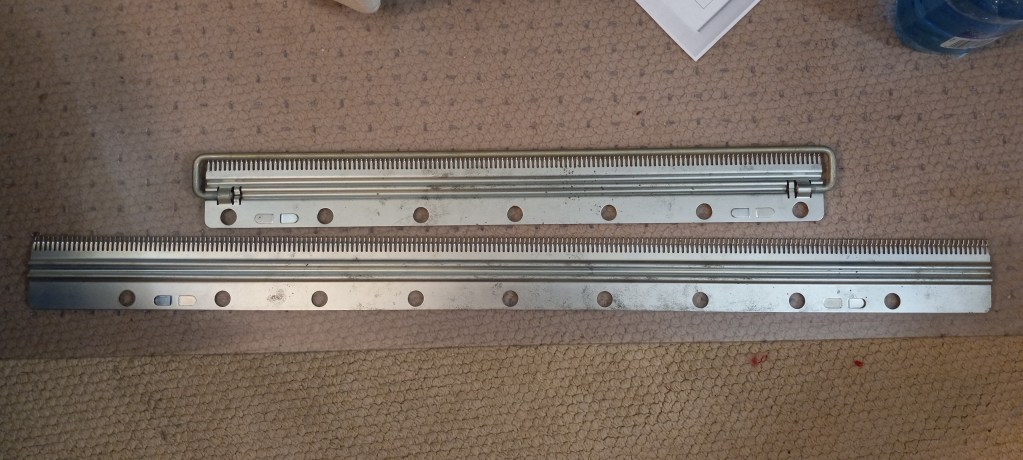
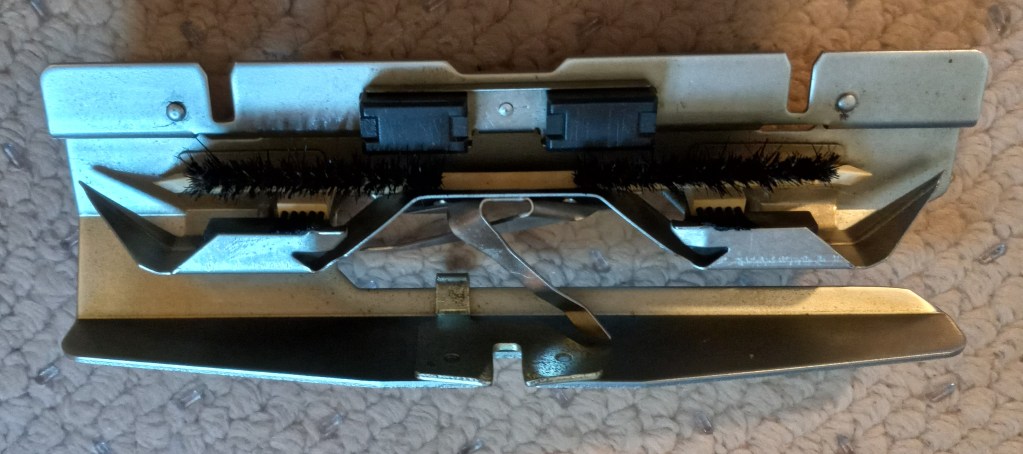
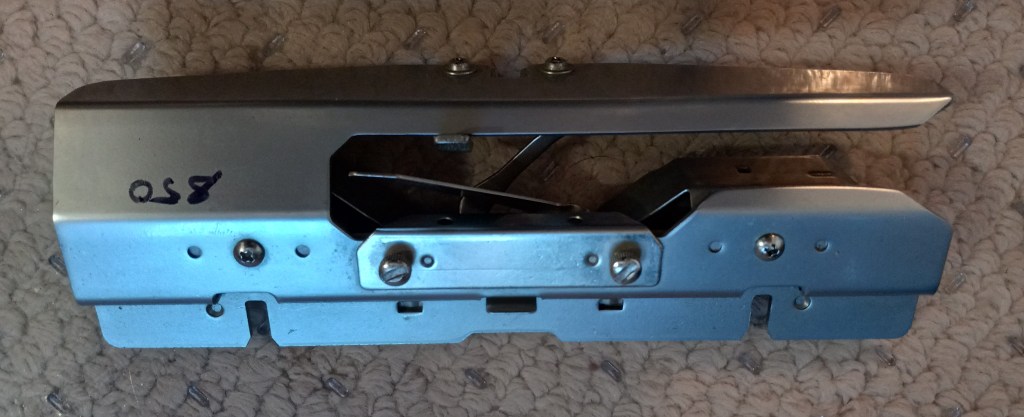
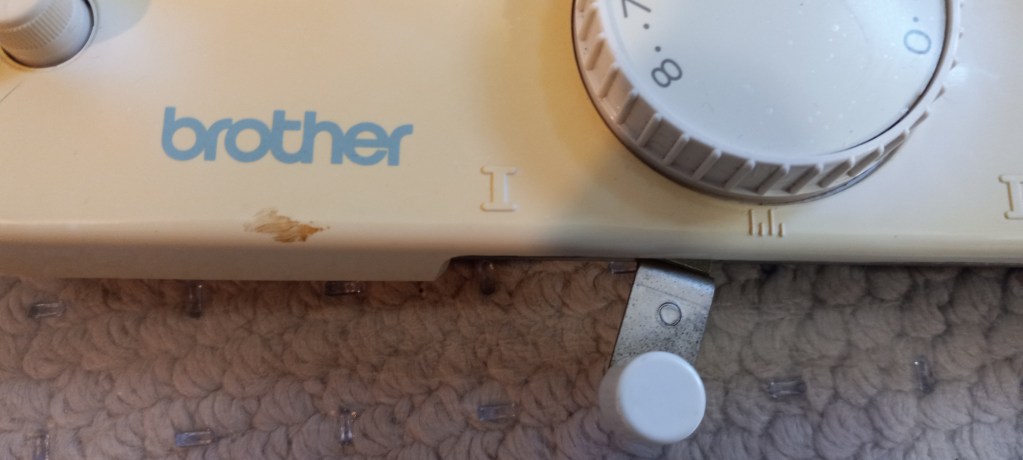
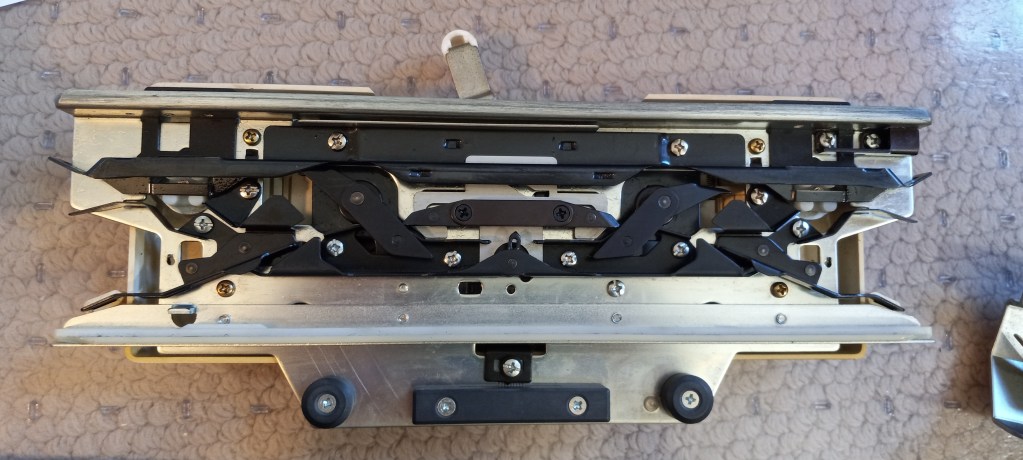
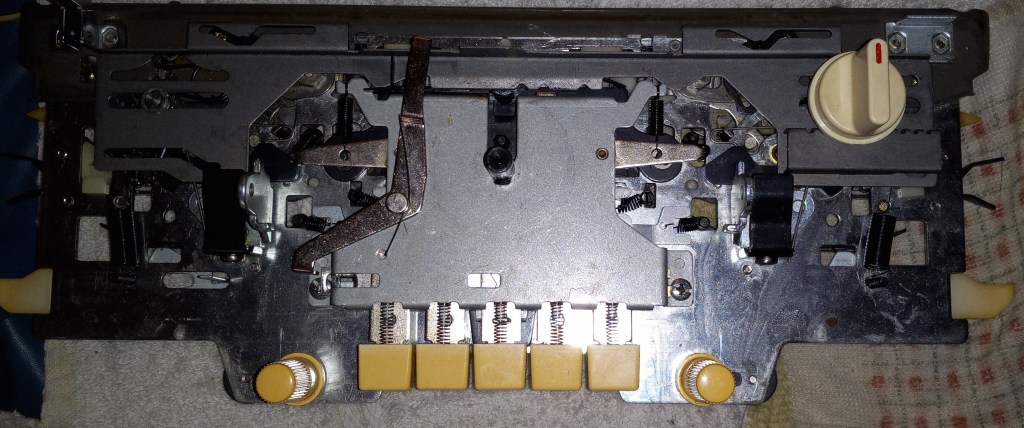
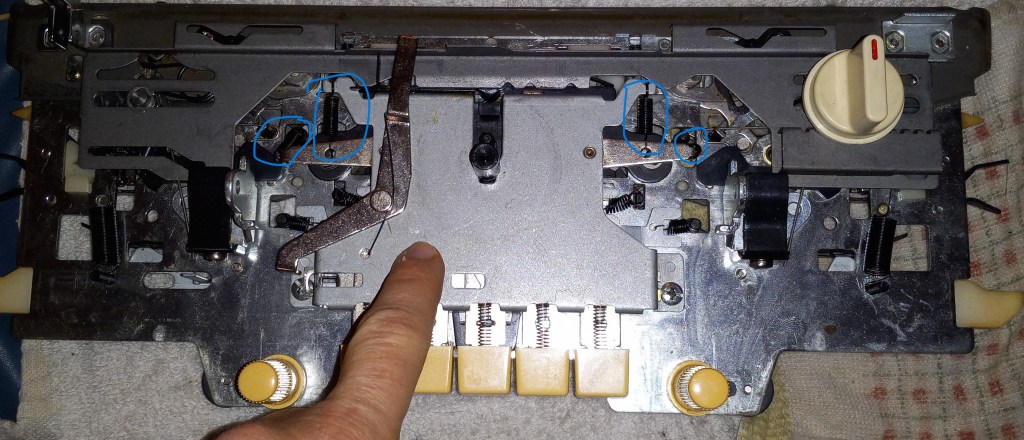
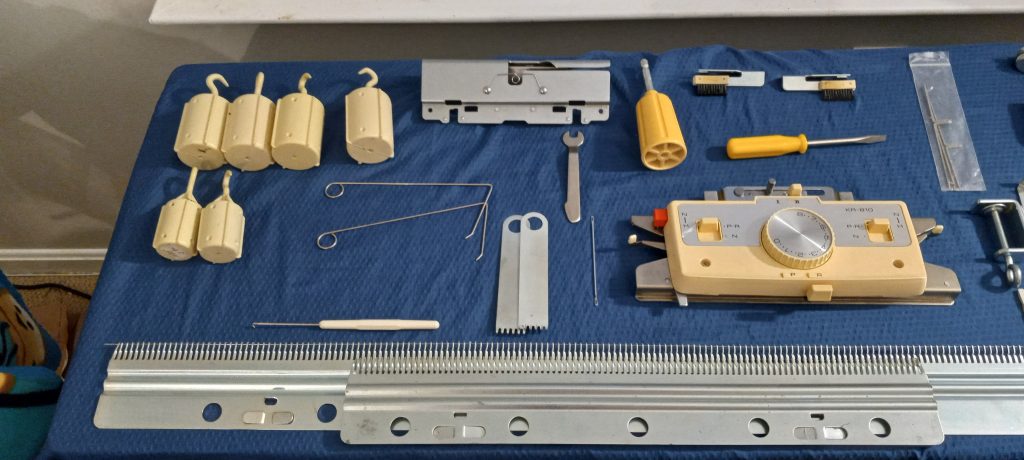
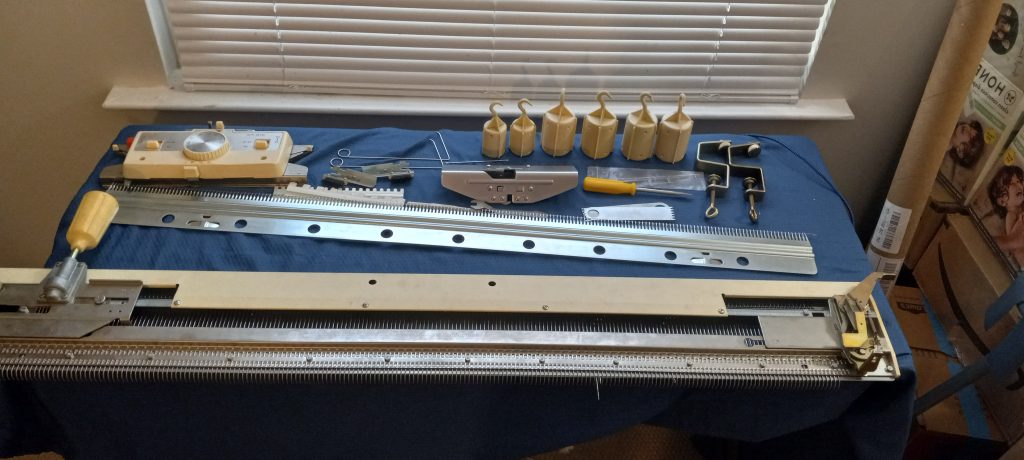
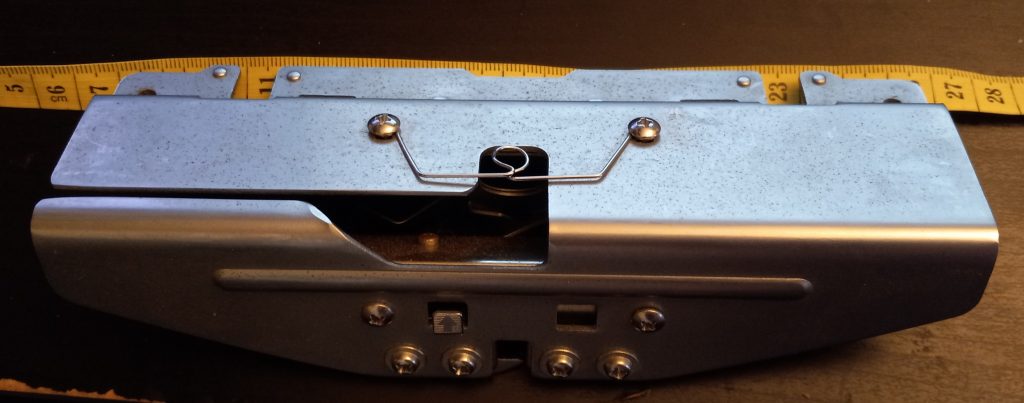
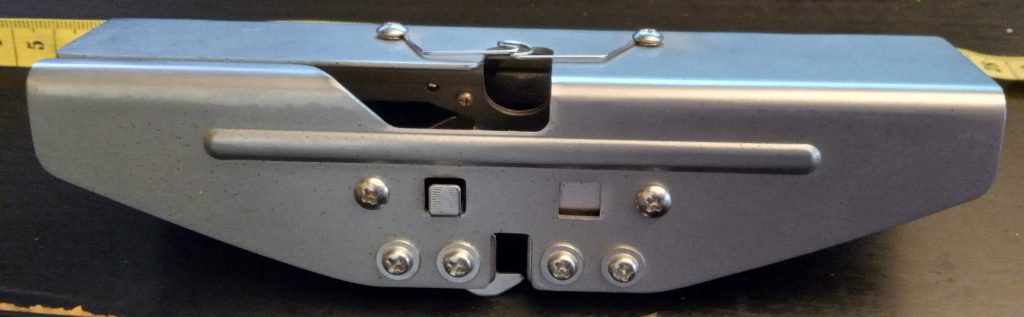
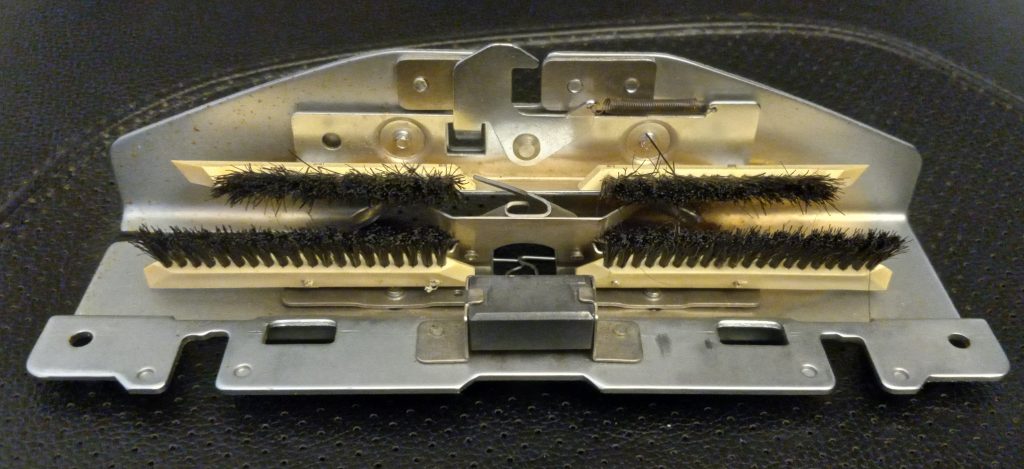
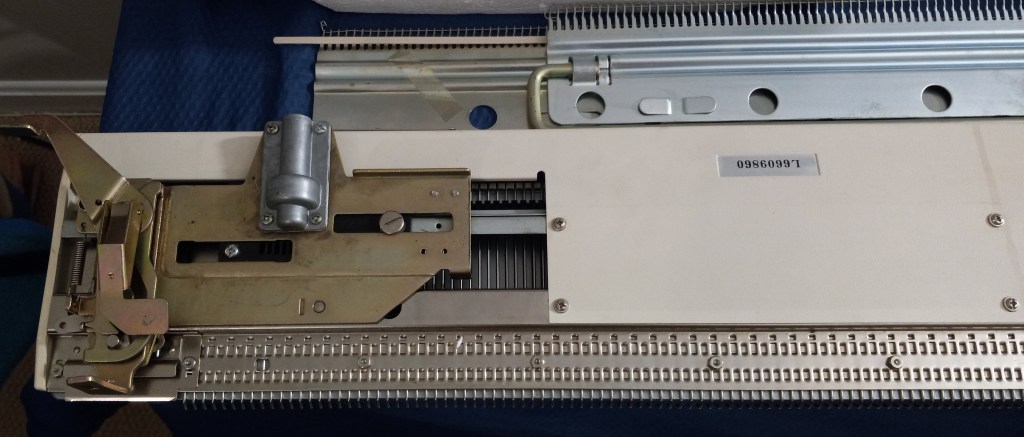
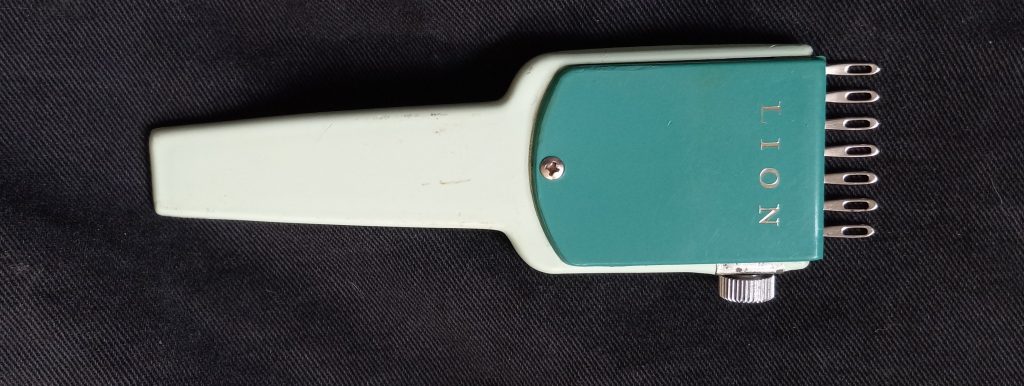
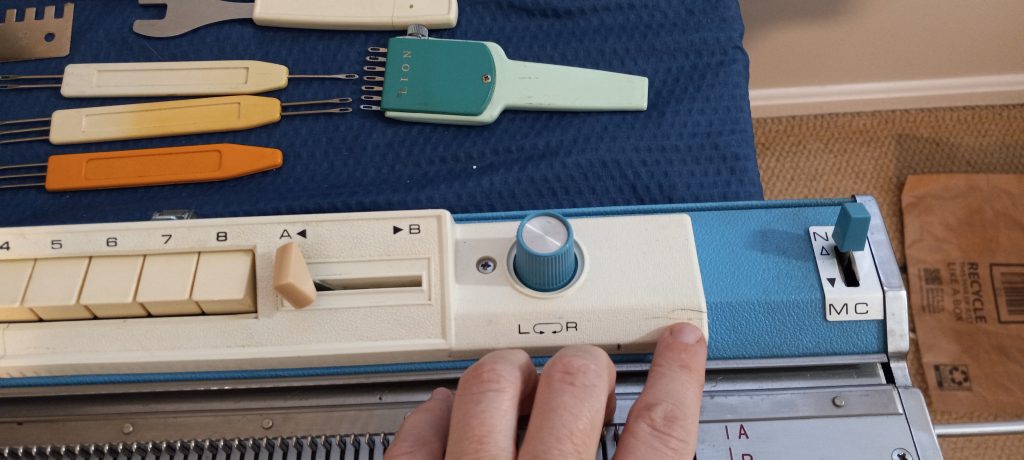
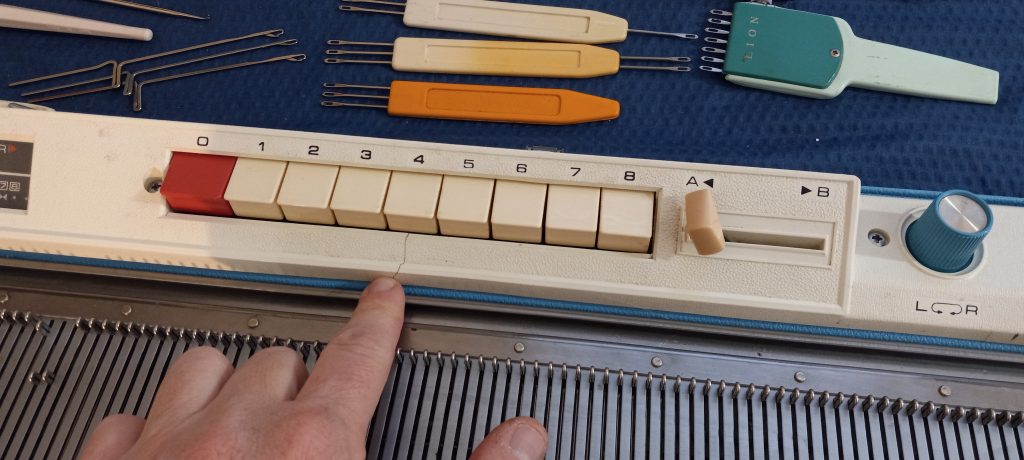
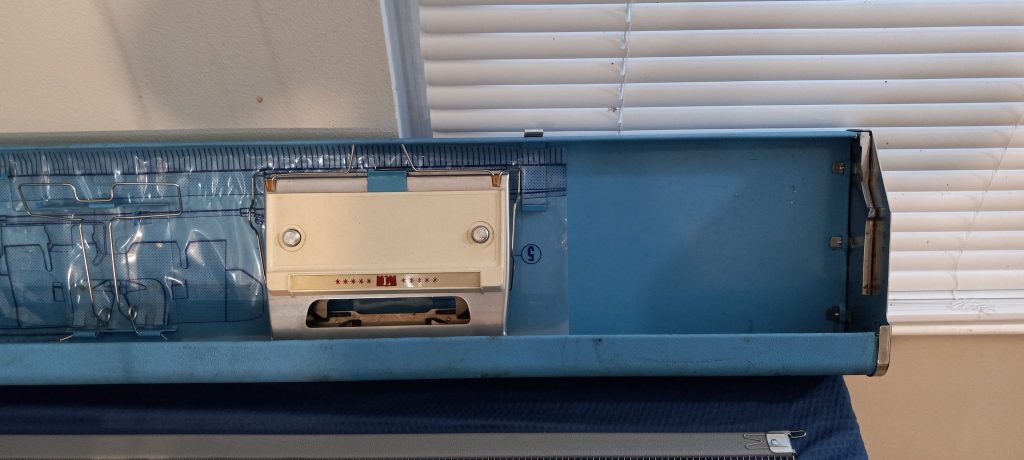
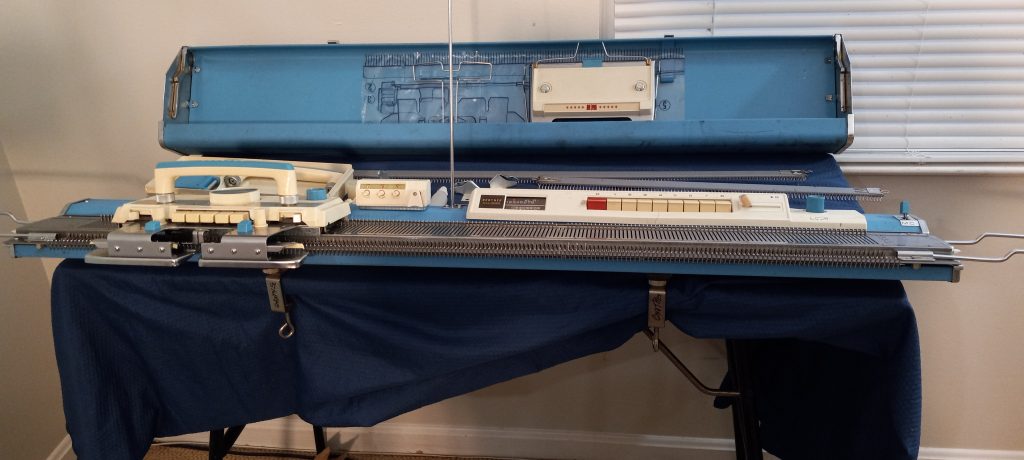
Brother KR810 ribber serviced and tested in December 2023

BUY HERE AND PAY LESS

Brother KR810 ribber ($500) + shipping ($50)

$550.00

Click here to purchase.

Brother KR810 ribber fits a wide variety of Brother knitting machines, from some of the vintage ones to the later models, all the way to the electronic ones.

This article is about specifically the KR810 ribber refurbished in December 2023. To learn more about pros and cons of the Brother KR810 ribber model, refer to the article in my Knitting Machine Encyclopedia.

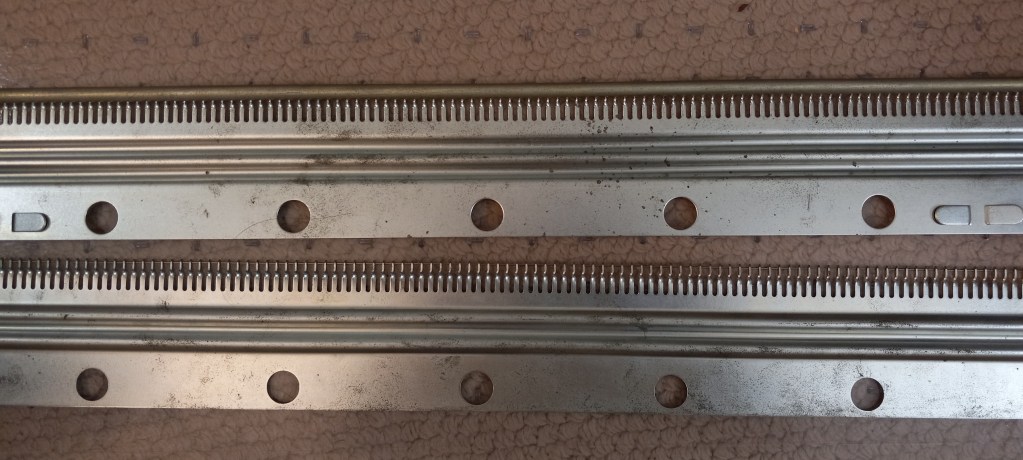
The machine was thoroughly cleaned. All needles were cleaned and inspected individually, first visually and then by knitting on a full bed 1×1 ribbing (in two different combinations to make sure all needles were tested). All knitting tests were great. See a video of these tests on my channel.

The setup (consisting of main carriage, connecting arm and a ribber carriage) moved well and i was able to knit with just moving the carriages with one hand.

The machine knitted wonderfully thin yarns, sock-yarn-weight acrylic yarn and fingering mohair-containing slightly fuzzy yarn.

This machine will come with all assesories mentioned in the manual. However, the reinforcing brackets will not be included for the following reasons.

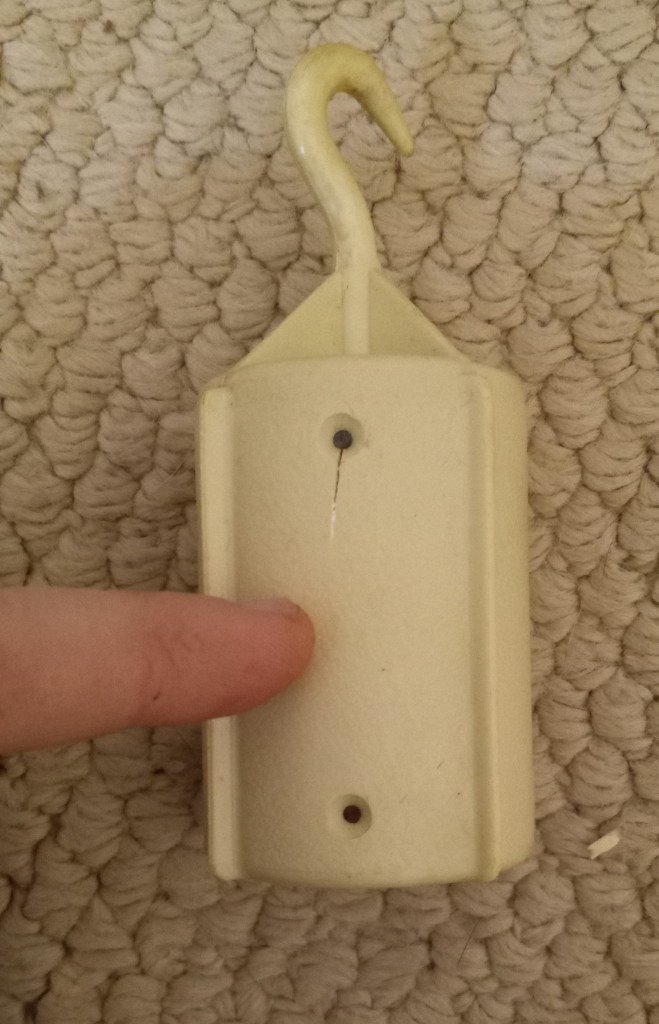
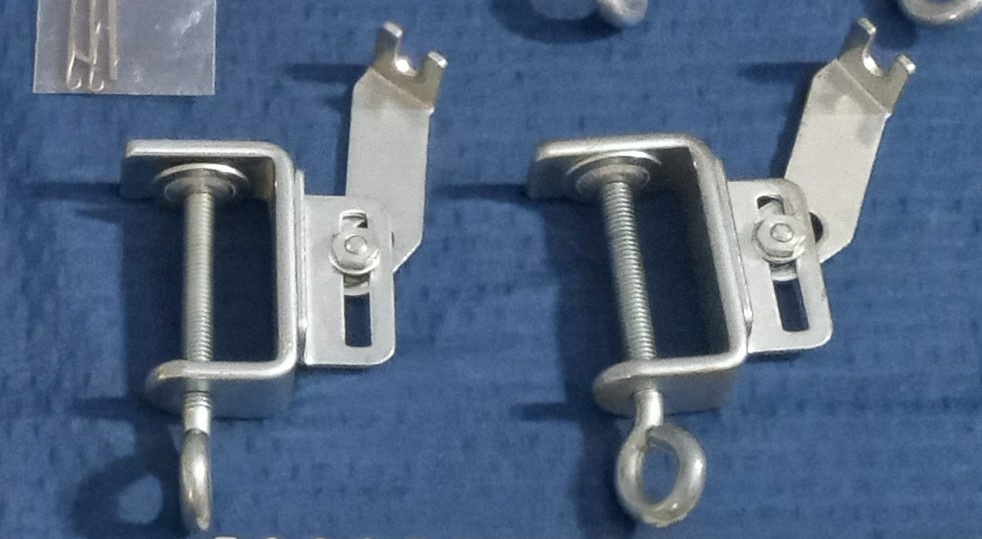
The original side brackets (that attach to the ends of the ribber) did not come with this machine. So, I borrowed from a KR850 ribber and they fit wonderfully.

Because the KR850 side brackets already have the “tongue” needed to attach the ribber to the table, the original KR810 brackets are no longer needed.

With this setup, the KR810 ribber attached wonderfully to both KH710 and KH970. However, I was able to knit only on the machine with a winder bed (KH970) than with the narrower bed (KH710). A potential reason is a slightly off angle between the machine and a ribber due to the different side brackets and table clamps. Thus, this ribber is sold as compatible with wider-needle-bed knitting machines (such as punch-card-capable machines (KH820 and above) as well as electronic machines (KH900 and above)).

I know some internet sources mention that this ribber is compatible with the push-button machines like KH552, KH710 and early punch-card machine, like KH800. But because I did not have the original side brackets, I could not confirm that this ribber can knit with these earlier knitting machines.

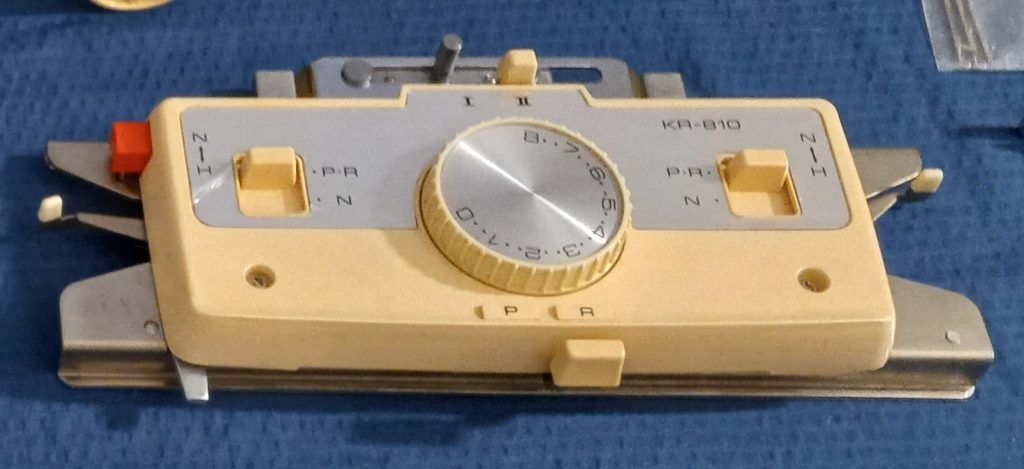
All buttons, dials, knobs and levers on the ribber carriage move freely.

Hard copy of the manual will NOT be included with the ribber but it can be found online for free.

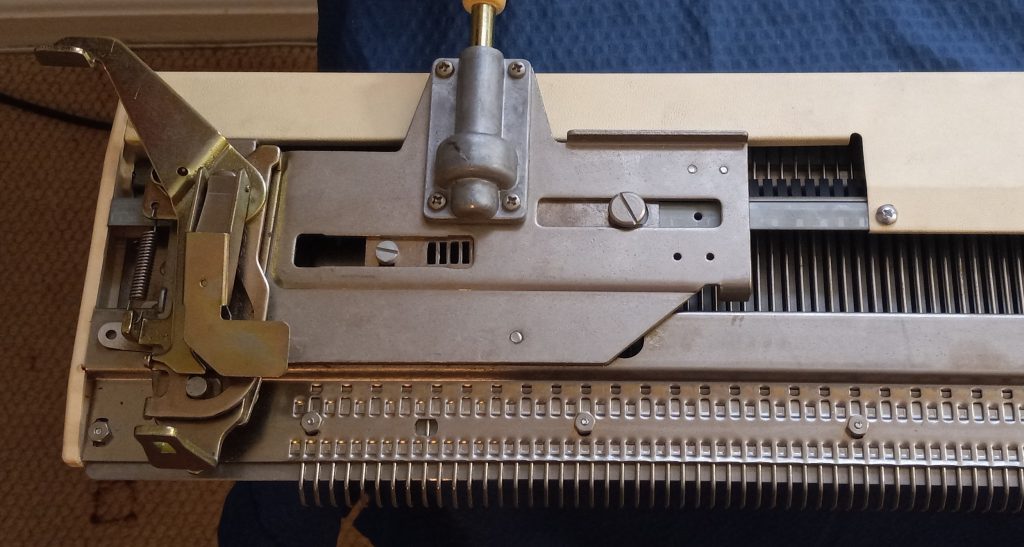
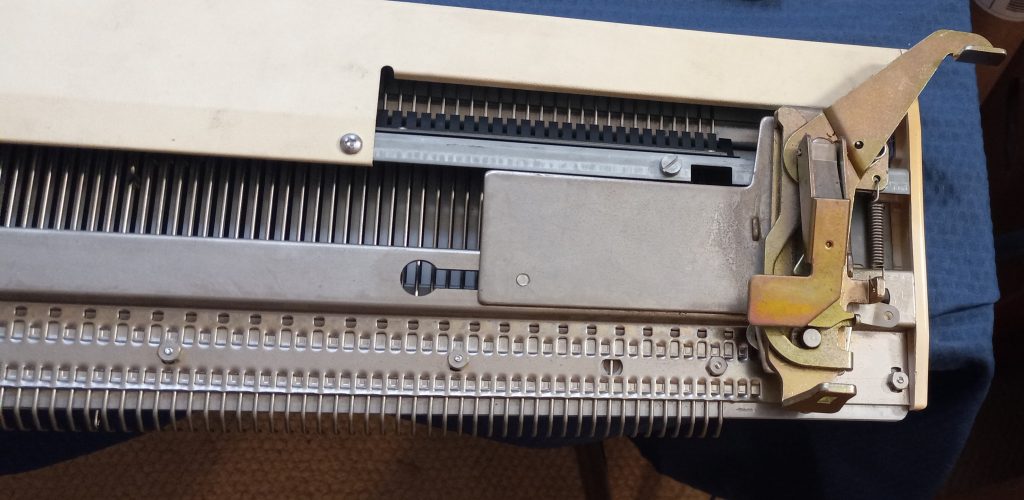
The connecting arm has some rust specs all over it. I gently removed the protruding layer and applied oil for corrosion protection. But the corrosion damage is still visible. However, my tests showed that it does not affect the functioning of the ribber.

The brushes in the under-carriage section are in excellent shape.

Watch my video showing knitting on the double bed, containing this ribber and my wide-needle bed knitting machine. It worked great and the big advantage of this ribber is versatility and compatibility with large varieties of knitting machines.

Brother KR850 ribber prepared for Judith in December 2023

Brother KR850 ribber fits numerous standard-gauge Brother knitting machines. Read more about Brother KR850 ribber in my Knitting Machine Encyclopedia. The blog below is dedicated specifically to the ribber serviced in December 2023 for my customer.

Brother KR850 was serviced and tested for Judith in December 2023. My store offers other ribbers for Brother and other knitting machines.

This ribber comes with all assesories including a hard copy of the manual (not shown in the pictures).

The bed, carriage, and assesories were cleaned, inspected and tested. All needles were cleaned and inspected individually, first visually and then by knitting on a full bed 1×1 ribbing (in two different combinations to make sure all needles were tested).

Swatch test was performed first. Swatch tests are useful to ensure that the carriage functions work well. In the case of swatch tests, we do not have to worry about artifacts and problems (such as the correct tension of the yarn, yarn thickness, yarn texture, correct number of barrel weights, side weights, etc.) associated with large number of needles in working positions.

Then the machine was tested on a full bed in two different configurations to ensure that all needles form nice and correct stitches. Carriage is very easy to move on swatch and on a full bed.

All tests went great. See the video of these tests in my youtube channel.

When knitting on the ribber, tension, the correct number of weights and the distance between the ribber and the main bed play a very important role. This machine handled really well two different distances between the ribber/machine beds and three different yarns (with different thicknesses and texture, see my video). One of the yarns was a mohair-containing fuzzy yarn. The machine handles it well too although some tests on the correct tension was needed as well as some wax (fuzzy yarns are more prone to static formation than other yarns).

The machine will come in its original packaging: two Styrofoam forms to fit all assesories …

… and pads inside the bottom of the cardboard box to support and protect the machine.

The only obvious flaw was the tape attached to one of the cast-on combs. I did not remove it because actually it is convenient to have that tape to store the fine bar ( the long plastic and very fragile rod-like bar) more easily (often it is overlooked during unpacking and thrown away).

This machine would serve long years especially if regularly oiled, cleaned and stored in controlled environment.

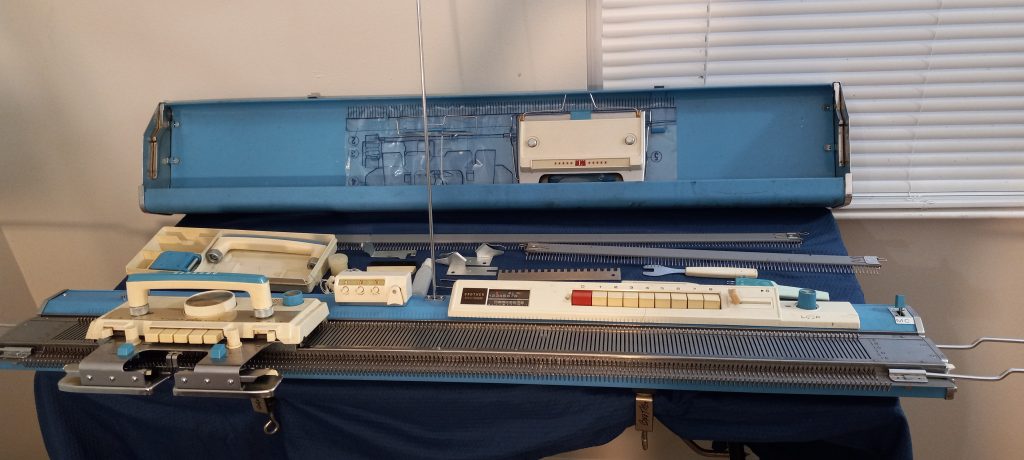
Brother KH588 machine serviced in December 2023

This machine was ordered as a Christmas present from a loving husband to his crafty wife.

It is a very nice vintage setup with blue hues. This post is dedicated to this particular machine. To know more about this model, read in my Knitting Machine Encyclopedia about its pros and cons.

The machine was cleaned from old dust and gunk and tested. The sponge in the retaining bar was replaced and will come inserted into the machine. I completely replaced the weaving brushes on the sinker plate as the old ones completely decomposed.

All needles were removed, cleaned and inspected, first visually and then by knitting on a full bed. The full-bed knitting tests were on stockinet, tuck, slip and holding patterns. The video with all these tests demonstrates that the machine did not have any problems knitting these stitches and none of the needles showed any signs of forming misshapen stitches.

Lace carriage was not tested but all knobs and levers move without problems.

While knitting on a full bed all patterning buttons, knobs and levers were tested in action (with the exception of the N/MC lever but it moves freely) and are fully functional.

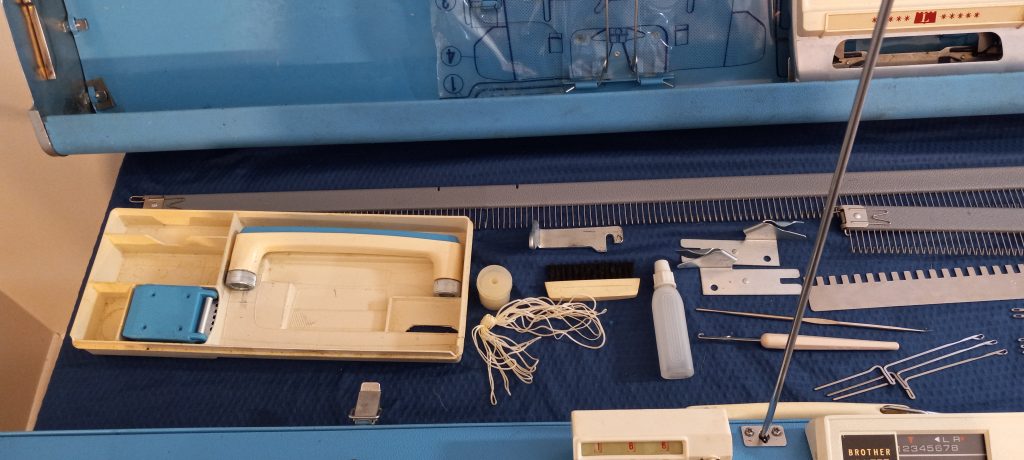
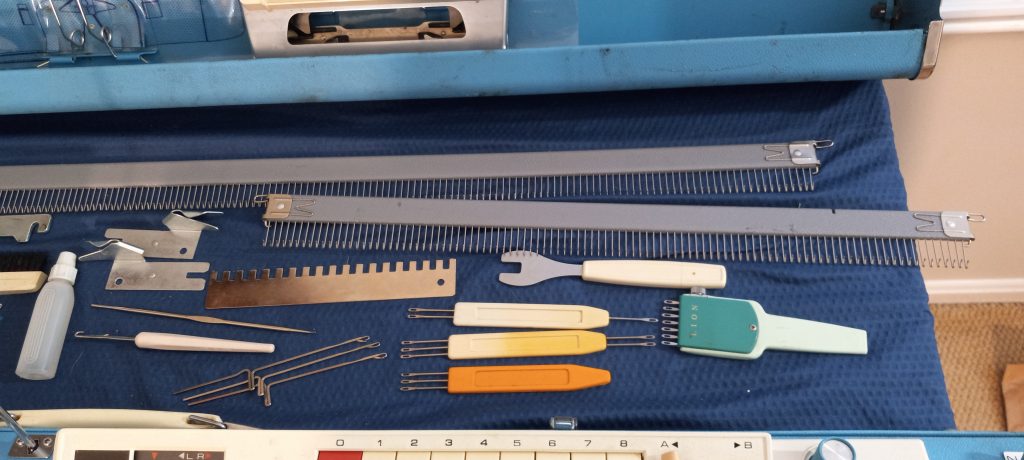
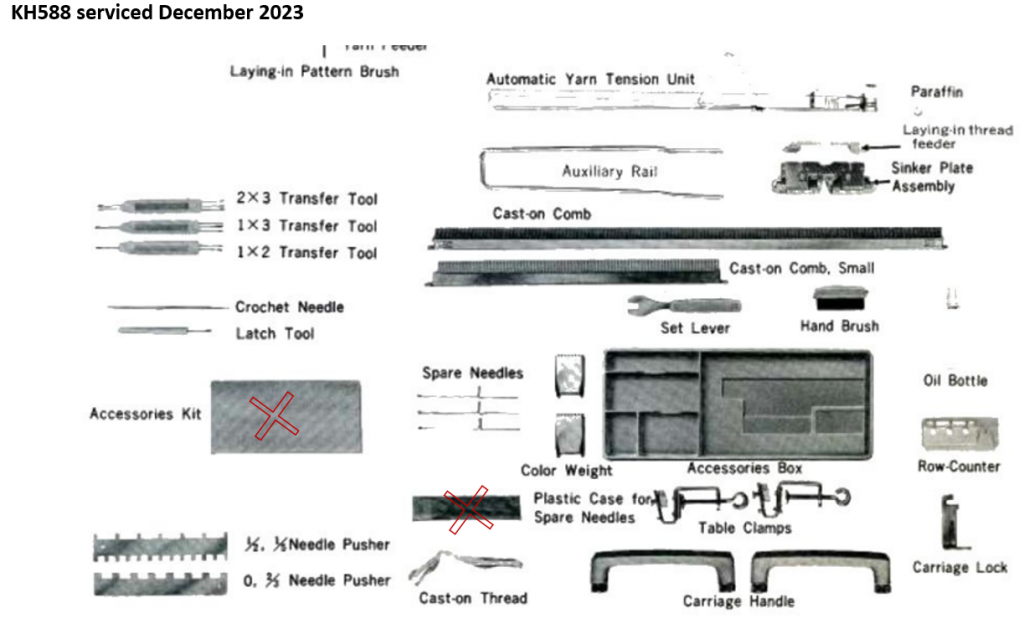
The machine comes with all major assesories (lace carriage, rails, row counter, sinker plate) and the majority of the minor assesories.
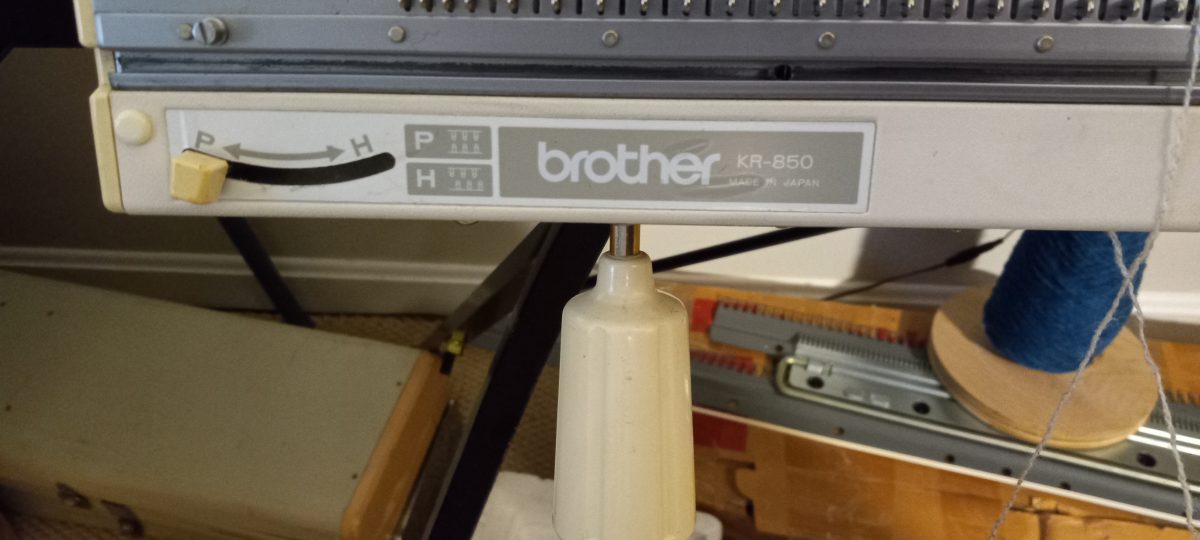
The row counter is from the new stock – the original row counter was missing from the setup.

The minor assesories missing are:

  • the assesories kit: it is simply a cover with pockets to keep assesories inside
  • the lid for the assesories box. The plastic was so weak that it crumbled when the machine arrived to me and I had to discard it.
  • hard copy of the manual will not be included but it is available online for free. I strongly recommend following the manual step-by-step as it is the best resource to start knowing your knitting machine.

The 3/1 needle selection/transfer tool is missing the one-prong therefor I will include a universal stitch transfer tool as well.

I will include an old wax in its tube that came with the machine. Also, there is half a bottle of still decent looking oil. I will include it as well. If it runs out, I recommend using Hoppe’s Elite Gun Oil, available on Amazon and in local hardware stores.

The manual lists mostly basic patterns but additional patterns are in this brochure.

Despite working flawlessly, the machine had some minor imperfections:

The pattern center panel has two cracks: on the right-hand side and in the middle. additionally the knob on the AB lever is from another machine and thus is not blue in color (the original knob was missing).

The assesories box has a crack on the side and a broken piece on the bottom. The plastics from the 1960s and 1970s were not as weathering resistant as current plastics and thus severely degrade with time especially when exposed to the UV light and moisture.

The case has some minor scuffs on the outer side.

Some of the stains on the lid will remain as they did not come off completely (and I do not subject the old plastics to extensive exposure to harsh solutions).

The lid has some minor rust stains on the inside.

The ratchet tool has a minor crack.

None of these imperfections and some minor missing assesories affected the functioning of the machine, as you can see in my test videos.

Replacing buttons in Brother 4-push button knitting machines

…in progress…

This blog article is for Brother knitting machines (KH521, KH531 and KH551) that have a needle selection mechanism with four push buttons.

When I needed to replace the push-buttons in the Brother KH551 knitting machine, I could not find any information on how to do it. I could also not find a service manual for 4-push button knitting machines.

Thus, I had to figure out on the go how to do it and I successfully did it already three times. Since I do not do it all that often, out of fear of forgetting certain details, I documented the whole process and outlined it here and also in a video.

I started with removing the side screws to separate the needle bed from the case.

Removed these screws …

… and these too (from the table bracket holders) …

… and then separated the needle bed from the case.

The cover for the button mechanism can be easily removed: there is one screw on the right-hand side, kinda underneath …

…and one in the middle of the cover, easily seen from the back.

Flip the bed and remove the button-rod mechanism by unscrewing all screws on the back. The two screws marked below hold the whole mechanism together while all others simply attach the mechanism to the needle bed.

After these scores are removed, collect the following parts: 4 rods with torsion springs, four buttons and four tension springs.

Next steps are reinserting the pushbuttons back into the patterning assembly.

First, insert the tension spring into the pushbutton and then inside the holding plate.

There is an opening on the flat portion of the button that needs to go through the vertical panel of the holding plate. Insert the rod into that hole.

Repeat with the rest of the buttons.

The small holding plate has narrow and wider grooves on the opposite sides.

Wider grooves go on top of the rods next to the elbows an narrow grooves go onto the ends of the rods. Press the plate firmly, flip (while holding firmly) and attach the screws.

Once these two most critical screws are in, we can stop holding them firmly.

We now flip the assembly again to adjust the positions of the torsion springs.

While holding (very tight) the straight end of the spring with one screwdriver, we stretch the torsion spring on the curled-end side and hook the spring on the rod. It might take you several attempts because it is hard and awkward to do. Don’t get discouraged. Repeat for the remainder of the rods/springs.

Once the pushbutton assembly is finished, we’ll need to put it back into the bed.

Just follow the first steps in the reverse order. If confused – watch my video again. Or follow the outlined steps below.

Insert the plate with buttons into the bed at an angle, …

…attach to the hook …

and insert the remaining screws (on the back) into the push-button assembly. Watch for the screw marked in red below. This should not be too tight otherwise the mechanism that governs the selecting strips might not move as freely. If you experience it, loosen up that screw.

Before inserting the needle bed into the case, check if your buttons move freely.

Then reattach the cover.

Insert the needle bed into the case, and reattach the screws on the needle bedside.

Now you can test if your button selection mechanism works by inserting 8 or so needles and activating the pushed-in buttons by the ratchet tool.

Good luck and hope this was useful.

Brother KR850 ribber serviced and tested in November 2023

Brother KR850 ribbing attachment converts a standard (4.5 mm gauge) flat bed knitting machines made by Brother into a double bed capable of rib and more advanced patterning. It has 200 needles and is compatible with all punchcard and electronic standard-gauge knitting machines. It does not knit on its own – it needs a knitting machine.

Read more about this model in my Knitting Machine encyclopedia.

This particular ribber was tested and serviced by me on Brother KH860 knitting machine.

All needles were inspected and cleaned. All needles were also tested during knitting a 1×1 rib on two different needle configuration (to ensure that I knitted on all needles). See the test video for details and to understand what I mean more.

The bed and the carriage were cleaned as well.

This ribber comes with ALL assesories including hard copy of the manual.

It will also comes in its original box, which is in pretty decent shape.

I followed a nice video on how to adjust the distance between the ribber and the machine to form nice stitches and not to have dropped stitches. Actually, I found very easy to setup Brother KR850 unlike its other older counterparts (like KR830)

Knitting with a ribber requires an operator to pay attention to the edges: to add enough weight, make sure the yarn does not get stuck on pegs, etc. So, it is recommended not to knit on the very last 2-4 needles to ensure nice edges. I was able to achieve that during my tests.

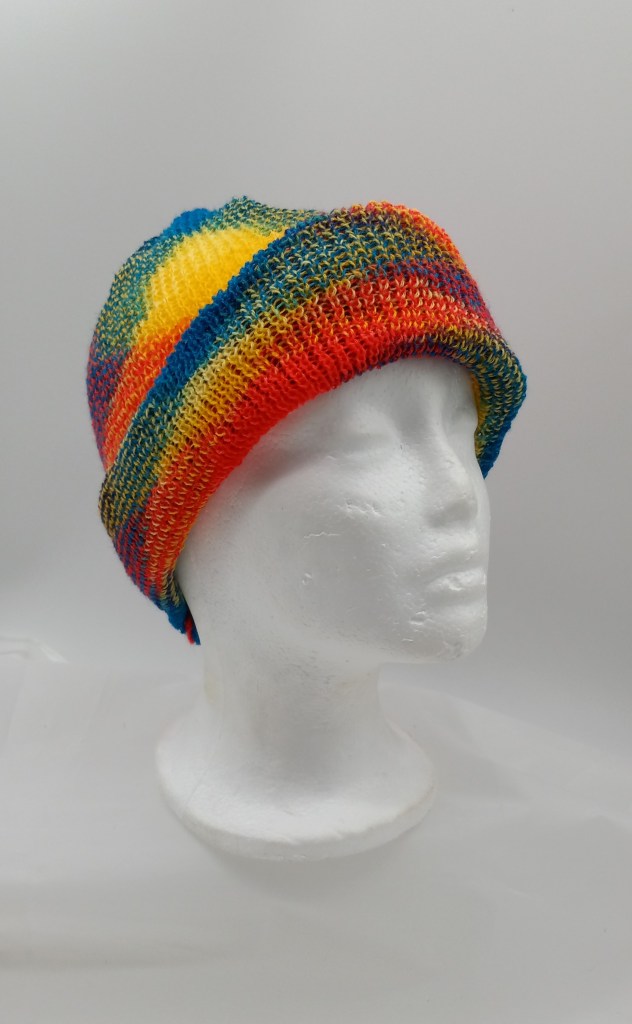
The long panel knitted during these tests was converted to this hat.

About flaws:

The machine itself does not have any flaws. The cast-on combs, however, have slightly bent tees at the ends and the wire as 3-teeth short. I looked in my collection for another cast-on comb. It turned out that they are almost all like this. Probably damaged during storage and/or transport. Inserting the wire into the groves/holes was not a problem but to remove the wire at the end of your work, you might need plyers. The little hook at the end of the wire broke off. Again, all wires I looked in my supplies that are long enough had the loop broken or missing.

No other imperfections were noticed. The machine works great and is highly recommended.

Brother KR850 ribbers as well as matching machines are regularly available in my store for purchase.

Brother KH860 knitting machine serviced and tested in November 2023

Brother KH860 is a knitting machine capable of creating patterns using punchcards. Read about pros and cons of this model in my Knitting Machine Encyclopedia. But in the mean time, read below about this particular machine.

This machine was cleaned and fully serviced. The sponge in the retaining bar was replaced. All needles were inspected and cleaned. The needles were also tested by knitting on a full bed (see the video).

This machine will be sold with ALL assesories. All looked brand new (even wax and oil). Even its own hard copy of the manual will be included although it can also be found online for free.

The row counter included with this machine is brand new (new stock).

The machine was tested using the same punchcard for tuck-, slip- and fair isle patterning on a full bed and all tests were great: no missed stitches, not tucked stitches where they are not supposed to be (tuck stitches often form due to bad needle latches).

The picture below shows the fair-isle pattern upclose knitted using a custom card.

This knitted fabric was then converted into this beautiful Christmas present bag.

Now about imperfections:

There is slight discoloration on the carriage handle – probably the motor was attached to the machine at some point. The plastic around the connection point has slight UV damage but is NOT damaged where the handle was attached to the motor head.

There is a little bit of delamination on the top plastic layer on the carriage. Also, the corner of the name plate is a bit chipped.

A plastic section of the rail guard/slider on the left-hand side of the carriage broke off. All my tests were performed without it. I did not experience any problems knitting. I still have the piece and it will be included with the machine but it will not be glued on.

If knitting on a full bed with the patterning option engaged (for tuck, slip and fair isle), the carriage needs to be pushed a bit down on the very edges otherwise the sinker plate touches the needles a bit. Maybe the bed is a bit warped on both ends. When knitting in the middle of the bed (when the panel is not knitted on all 200 needles), I did not need to push the carriage down a bit. Only when I knitted on all 200 needles in tuck stitch. As you will see in my video, it did not affect the knitting: I was able to knit without trouble and without too much effort. It is just something the operator needs to be aware of. All knitting machines have their own character and this is simply one of those character features.

Despite these minor flaws, the machine knitted and worked great. Other punch-card Brother knitting machines are available in my store.

Brother KH890 prepared for Emily in October 2023

Brother KH890 knitting machine is one of the latest knitting machine models with punchcard-based patterning capabilities that Brother made. More will be coming soon in my Knitting Machine Encyclopedia on this model.

In the meantime, about this particular KH890 machine.

It was tested on tuck-, slip-. stockinet and fair isle patterning on full bed to ensure all needles function properly and do not have any faulty latches. All tests are shown in my video. All went great without ANY hiccups, which made me very happy!

It comes with all major assesories, including cast-on comb, lace carriage, tension mast and a row counter. Hard copy of the  manual will not be included but can be purchased downloaded for free.

The cast-on comb is of a later model, where it consists of two parts – small and a larger one and they connect together by a metal clip to fit the full bed.

I put together a set of most minor assesories, including a brand new 20-card punchcard set. The claw weights are also brand new (from new stock). So is the row counter (this is why the color is different).

All these minor assesories fit into a built-in box with a lid.

The minor assesories that are missing are:

  • wax – it was too old and I threw it away
  • crochet needle – any will work. It is not even needed for machine knitting – just sometimes for the work on the knitted panel
  • tapestry needle – any needle will work
  • oil – it was old and I discarded it. I use Hoppe’s Elite Gun Oil for all my knitting machine needs
  • Cast-on thread is not included but any strong and silky yarn/thread will work the same

Now about some minor flaws:

  • The lid and the case are in pretty good shapes but might have minor scuffs and scratches.
  • The plastic layer delaminated slightly on the carriage. It is mostly visible around the bottom right-hand corner where the brand name is
  • There is a slight crack on the carriage handle
  • There is a discoloration on the handle. It is very likely that this machine was attached to the motor for a long time. The plastic around the mount to the motor got UV damage and under the mount did not. Thus, different shades of plastic.
  • There is a small crack on the yarn feeder lever

None of these minor flaws prevented the machine from knitting. This machine is sold out but other are available in my store.

Brother KR830 ribber serviced and tested in September 2023

Brother KR830 ribbing attachment fits a lot of Brother knitting machines with standard gauges (4.5 mm distance between the needles). It features 200 needles and is capable of creating purl stitches when hooked up to a knitting machine. It does NOT knit on its own. Read more about Brother KR830 ribber in my KM encyclopedia.

Now about this particular ribber.

It was cleaned (brackets, bed, carriage). All needles were removed, cleaned and inspected. Needles that did not pass the inspection tests were replaced with the new stock. Then the ribber was tested. I knitted two 1×1 ribs. Tested using KH840 knitting machine. All the tests are in this Video. First, I knitted on the first set of every-other-needles and then on the second set of every-other-needles to make sure all needles work properly. I also knitted on various yarns: thin wool/acrylic blend, boucle yarn and fuzzy mohair-based blend. The ribber performed really well.

Here is the whole panel I knitted while testing this ribber. It took a while to figure out the correct tension but once I did, I had a blast! Tension and the distance between the main bed and the ribber are actually the most important parameters when knitting with a ribber.

This Brother KR830 ribber comes LITERALLY with all accessories. Compare the assesories shown above against the manual. The spare needles are also from the new stock. I am even including a hard copy of the manual – I had extra!!! Who will be a lucky gal/guy to get all of this treasure??

I followed a nice video on how to adjust the distance between the ribber and the machine to form nice stitches and not to have dropped stitches. To obtain the optimum distance, I had to unscrew the brackets that some Brother KR830 ribbers come with (probably to fit older models of knitting machines).

I strongly encourage you to text me prior to purchasing this ribber from me. I would like to know the knitting machine model number that you are buying this ribber for.

About imperfections:

The connecting arm had some very minor rust spots. I cleaned them (with a soft rush-removal brush) and then covered with two coats layers of special anti-rust coatings to stop the rust and to cover it. Thus, this strange discoloration but it is still smooth to touch and will not affect the functioning of the machine. In fact, all tests in my video were made AFTER I painted the connecting arm and as you can see, there were not problems (like yarn sticking, etc.)

Below is the picture with rust before I cleaned the rust off and covered it with rust-oleum.

Below is the picture after the rust was removed and the exposed (from the rust) metal was painted.

I did not notice any other imperfections. The machine worked great and I highly recommend knitting on your machine with a ribbing attachment: opens so many possibilities.

Brother KH840 cleaned and tested in September 2023

Brother KH840 knitting machine is a knitting machine capable of creating patterns using a punch-card-reading mechanism. The machine has 200 needles, spaced 4.5 mm apart, which makes Brother KH840 a standard machine. Read more about this model in my Knitting Machine Encyclopedia.

Now about this particular Brother KH840 machine. This Brother Knitting machine was cleaned, serviced and tested by me in September 2023.

Removed, inspected and cleaned all needles. The ones that were bent were replaced with the new stock. I replaced sponge in the retaining bar.

The carriage, sinker plate and then punchcard reader were cleaned, serviced and oiled.

I also knitted on the whole bed (using all 200 needles) to make sure all needles form nice and even stitches. I knitted the whole bed using tuck-, slip- and fair isle patterning. See a video I created of these tests. I did not test lace and weave capabilities of this machine. All levers and knobs move freely on lace carriage.

This machine comes with all major …(lace carriage, cast-on combs and extension rails)…

… and minor assesories.

All minor accessories fit into a built-in compartment. All major assesories fit into the case lid when now in use.

A couple of very minor assesories missing are:

  • Bottle with oil (it was too old, and I had to discard it. I recommend using Gun Oil).
  • Wax
  • Cast-on thread (any silky and strong thread will work fine).
  • Hard copy of the manual will not be provided but I can be downloaded online for free from here.

The machine comes with a set of punch cards but they might be slightly different from what is shown in the manual. Please, swatch before knitting for garments and knitted panels.

About imperfections:

Everything works great on this machine. The only minor flaw (with the exception of minor bumps on the case) is the small rust spots on the sinker plate and tension mast. They can be barely seen and when I used this machine to knit a cowl, there was no static and everything worked smoothly.

Overall I did not encounter any problems with this machine (with the exception of couple of minor scratches on the case). I hope you will be a proud owner of it to make a lots of fun and warm garments. Like the one I created (shown below) while testing this machine.

Brother KR830 ribber, prepared for Vivian in August 2023

Brother KR830 is an attachment for Brother knitting machines. These ribbers are compatible with Brother knitting machines starting with models KH8XX and above, all the way to the electronic models. It is one of the simpler ribber models.

Brother KR830 ribber attaches to the main bed through a series of clamps/bolts to knit purl stitches and to create ribbing for necks, collars, and sleeves. The attachment setup is described in the manual and is pretty easy to follow.

About this particular machine. It was thoroughly cleaned, wiped and inspected. All needles were taken out, cleaned, inspected and inserted back into the bed.

This KR830 ribber comes with all assesories mentioned in the manual.

All the assesories are supposed to fit into styrofoam form but this machine will come without the original box/packing. All the tools will be packed with extra padding.

The hard copy of the manual is not included but can be found online.

It took me a good amount of time to set the distance between the machine and the ribber correctly. It was done by following wonderful instructions in this video. Unfortunately, the manual was not much help in setting the distance between the main bed and the ribber correctly. Since the ribber was sitting too far from the machine (too high) I had to remove the “lift” brackets. The manual mentions them but apparently incorrectly.

Below is the first row of the double-bed cast-on. The first sign of the incorrect distance between the beds is missing stitches, which I got.

After the adjustments and measurements of the correct distance between the beds, I got a perfect zig-zag-like first cast-on row.

After all the distance adjustment was performed, further tests were very easy. Additionally, the KH830 knitting machine that also goes to Vivian was used to test the ribber and to set the distance between the machine and the ribber. Apparently, knitting machine chats often discuss how ribber  adjustments depend on the particular knitting machine (not just a model).

These tests were performed on a small swatch and on a full bed using every other needle on both main and ribbing beds. A video blog of all these tests can be found on my youtube channel.

To ensure that all needles knitted properly, I ran two tests on the full bed. First, I selected every other needle after the first needle and then, during the second test, after the second needle. In this case, I used all needles (except the very first one).

The knitted fabric was converted to a hat: I simply sewed along the long edge and tightened the ends. Easy, fast, and reliable!!! No measurements are needed – just knit away on a full bed.

I am planning on knitting a matching scarf while testing other ribbers. It was a lot of fun! I hope it wll be fun for you, Vivian, too !