KnitKing KH881 knitting machine is a standard-gauge knitting machine with 200 needles, 4.5 mm apart. It is identical to Brother KH881. It contains a built-in knit leader. Read more about this model in my Knitting Machine Encyclopedia. The remainder of this article will be dedicated to a specific KnitKing KH881 knitting machine, serviced in my shop in July 2024.
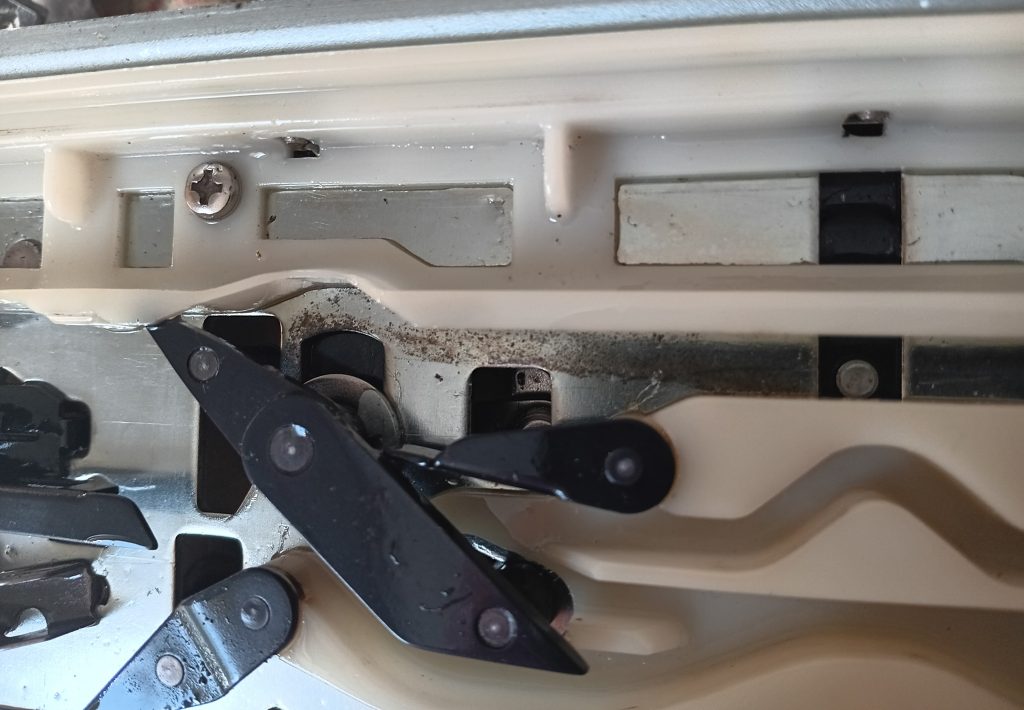
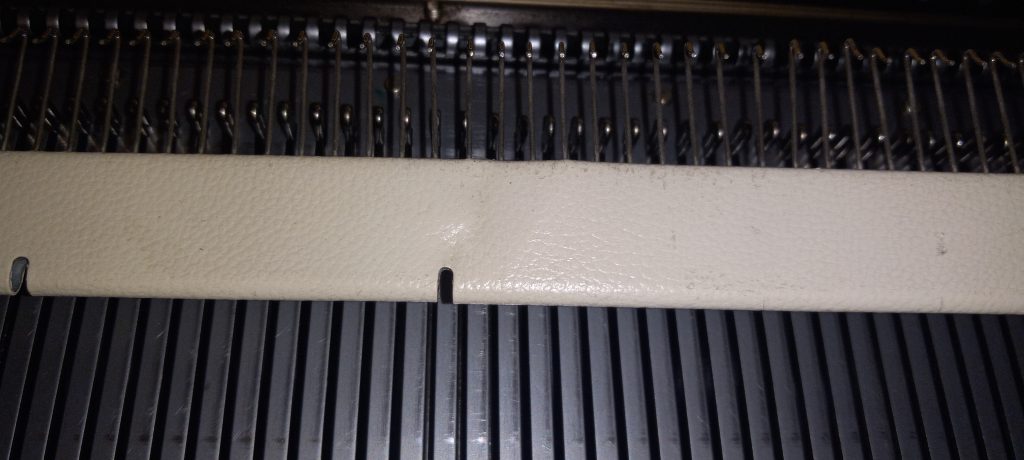
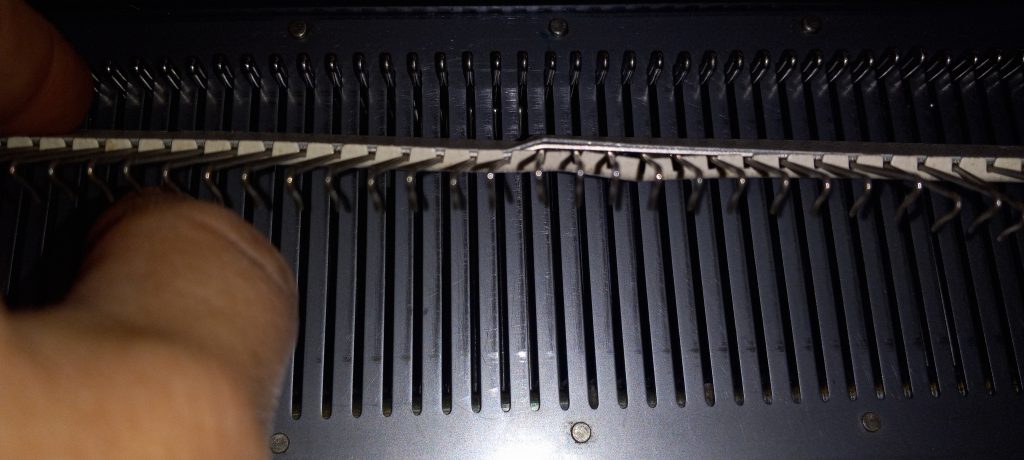
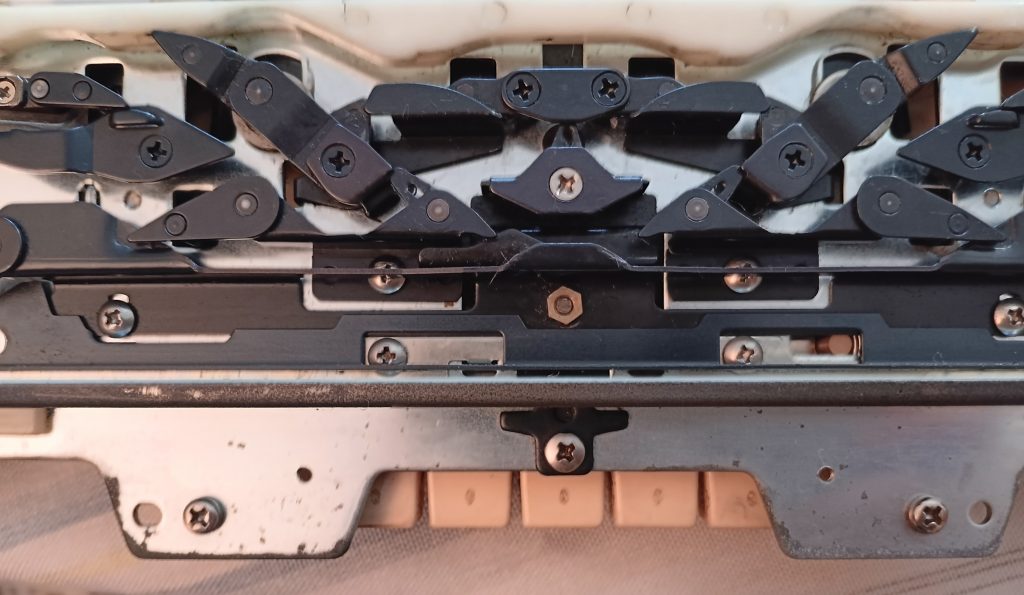
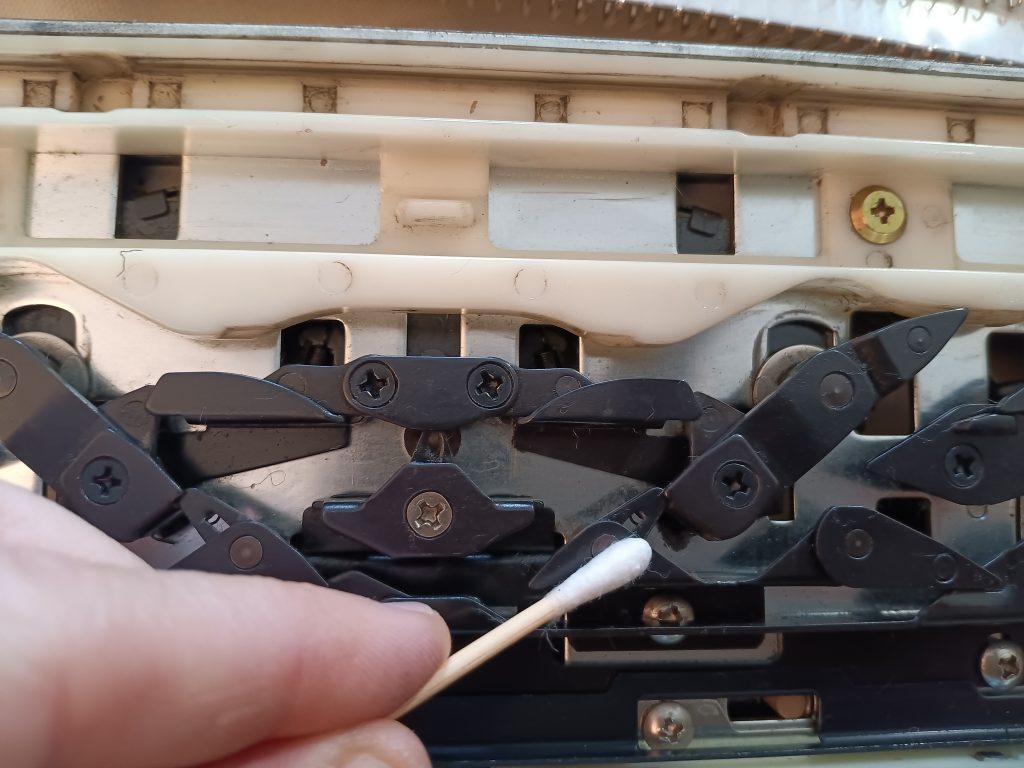
This machine was cleaned; the card reader mechanism was thoroughly inspected and cleaned as well. The sponge in the retaining bar was replaced. All needles were taken out, cleaned, and inspected. Faulty needles were replaced with new ones (from a new stock). The knit leader was also deep-cleaned and inspected.

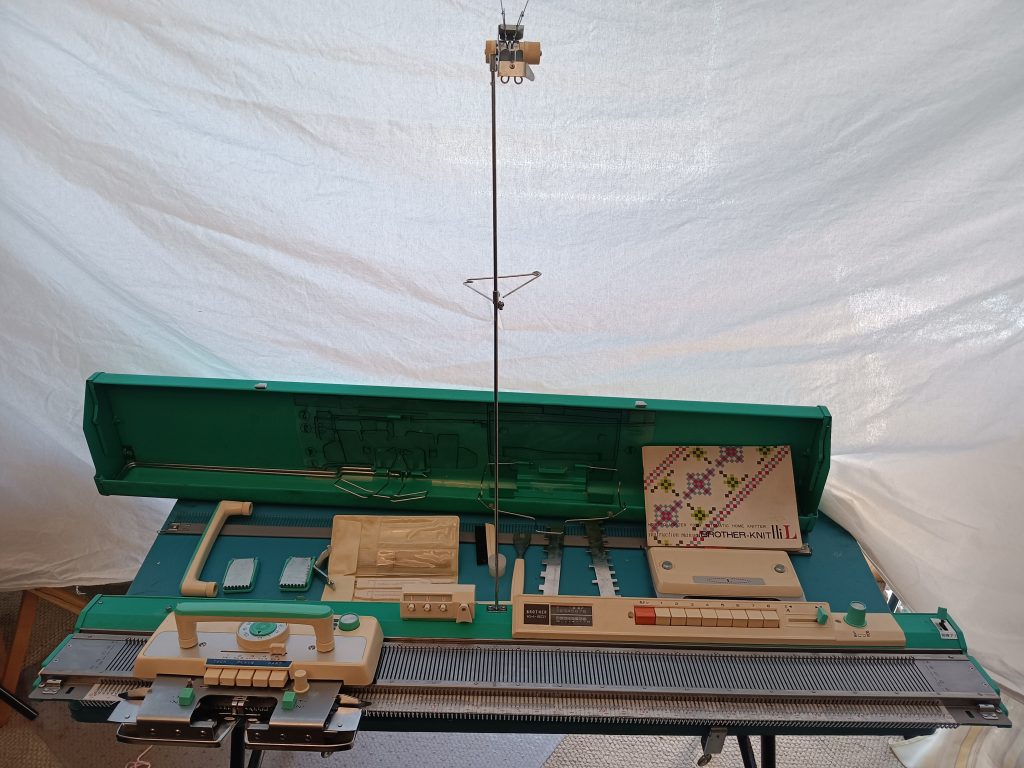
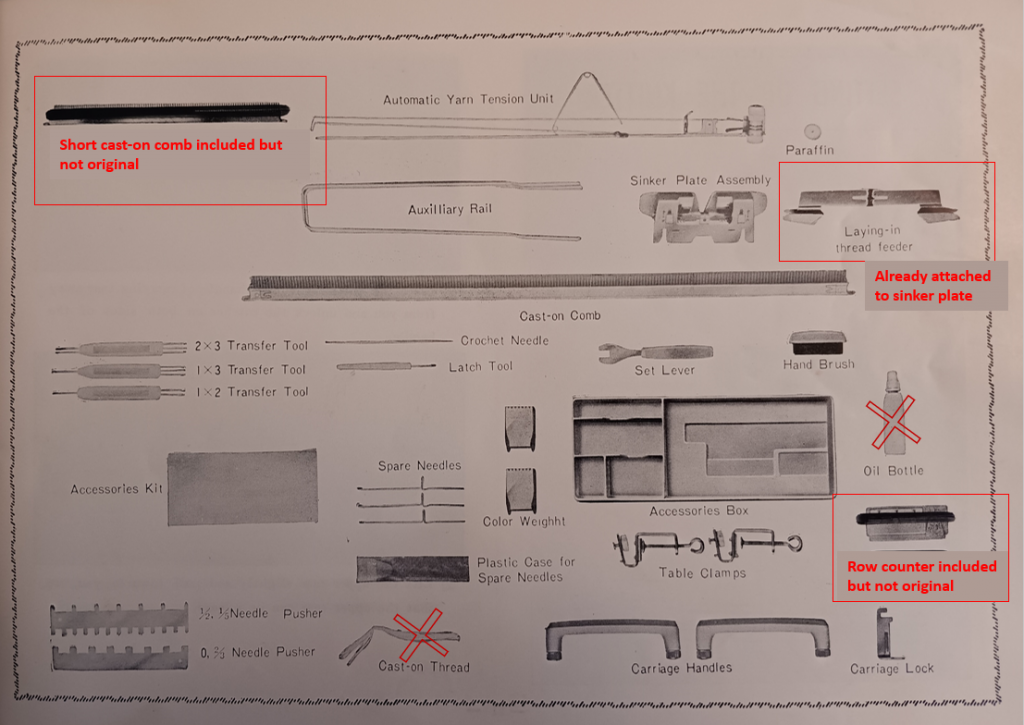
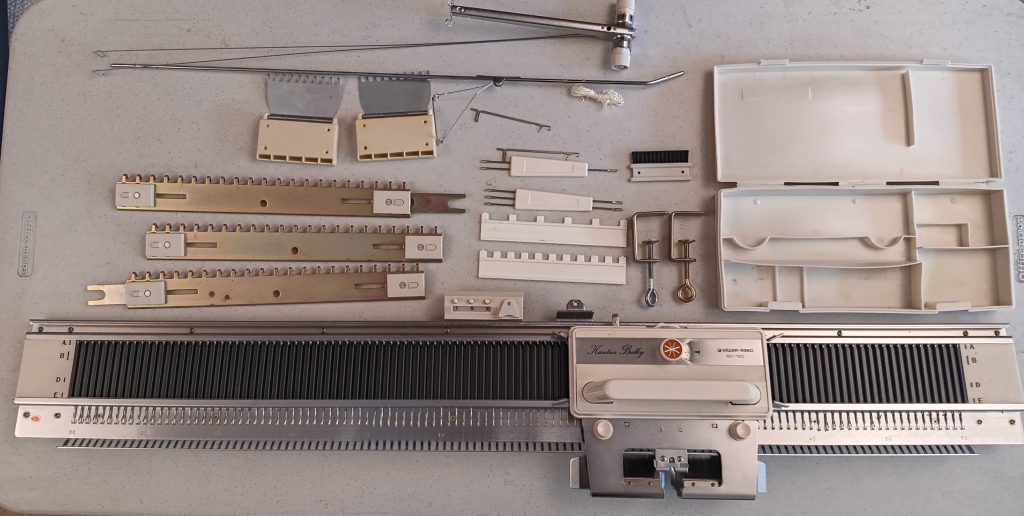
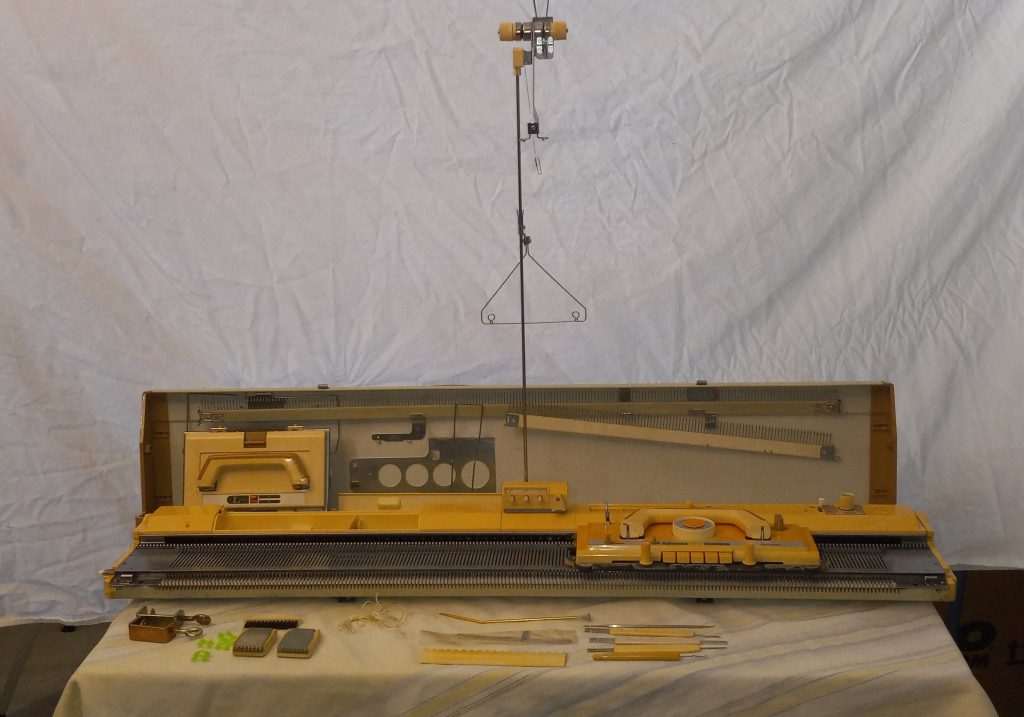
The machine came to me without the carriage and all other major accessories. I collected the major accessories from new and old stock to ensure a complete set. Thus, the knit-leader scales, sheet guides, mylar sheet, extension rails, tension mast, sinker plate, tool storage box and cast-on combs are all included.

The lace carriage, however, is NOT included with this machine. The absence of lace carriage is reflected in the price of the machine. Lace carriages can be purchased either as a new- and/or old-stock online for $70-100.
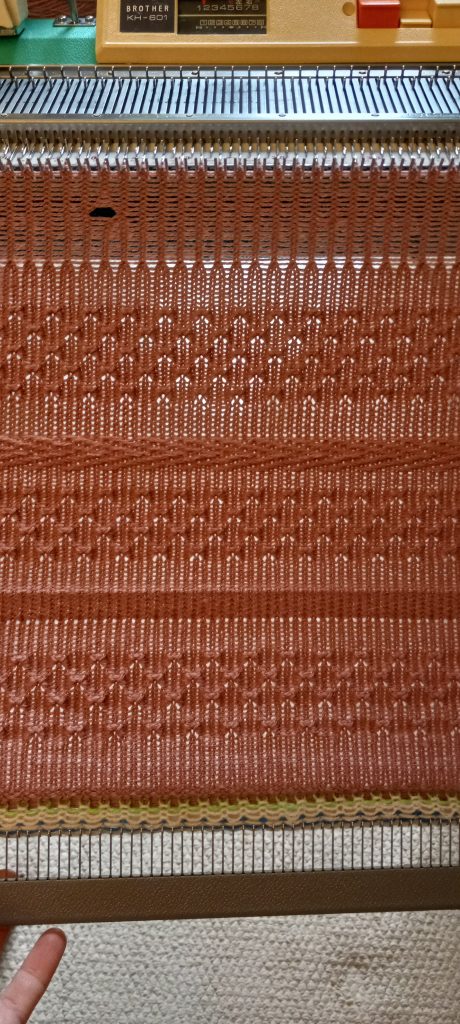
The machine was tested by knitting on a full bed to ensure that the patterning is flawless on the whole needle bed and that all needles form the correct stitches. Watch the video of these tests. I demonstrated in another video how a faulty needle was identified and replaced. after it was replaced, all stitches formed very nicely. The patterning on the full bed was done using tuck-, slip- (part) and fair-isle stitches. All patterns were knitted beautifully.
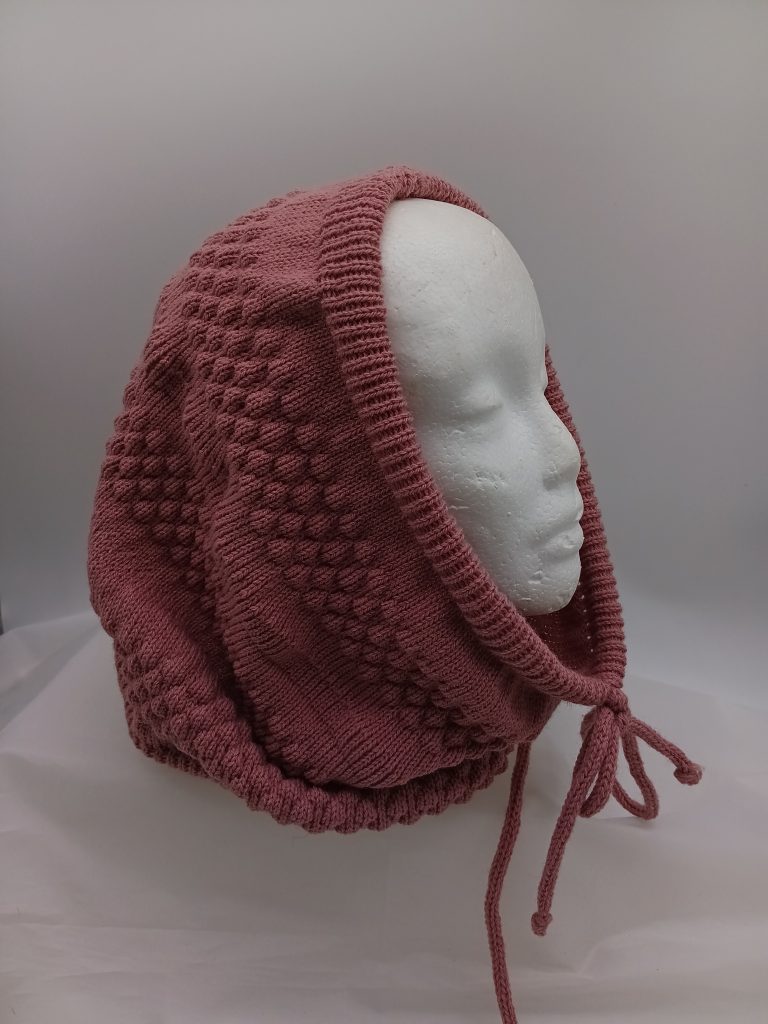
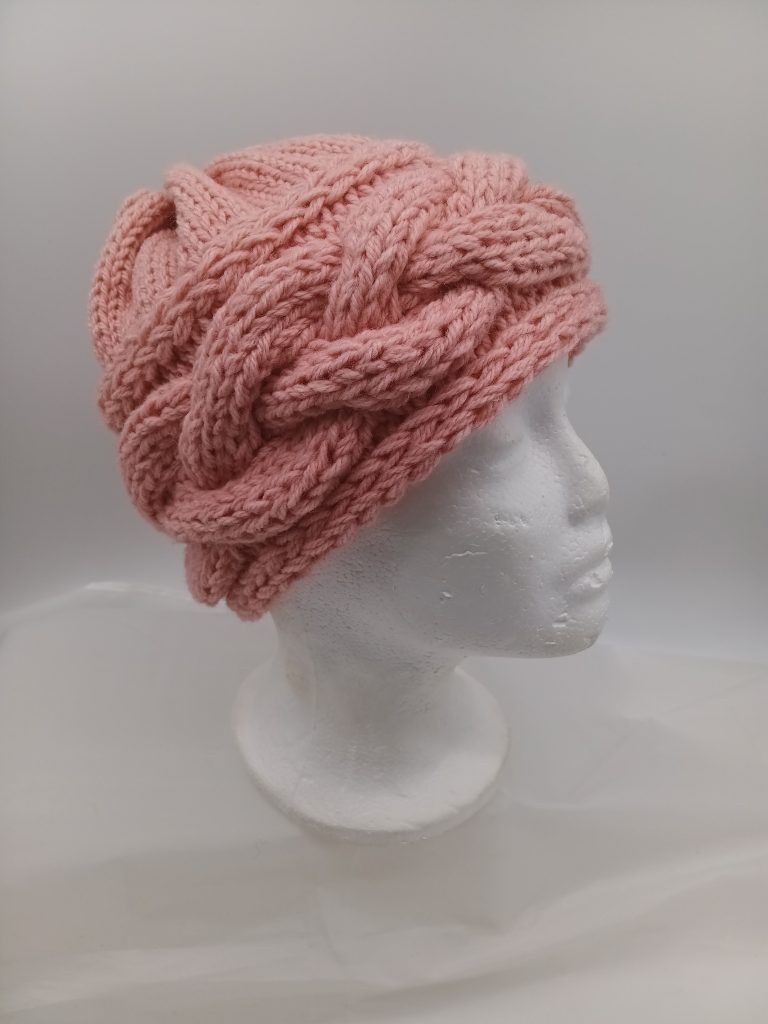
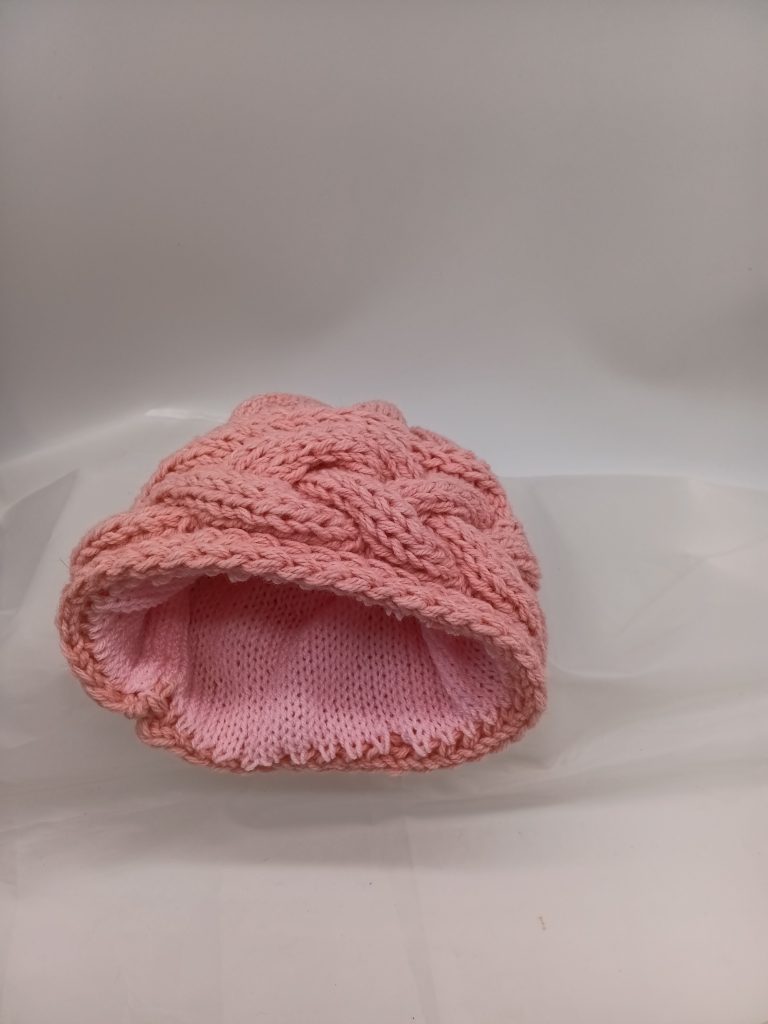
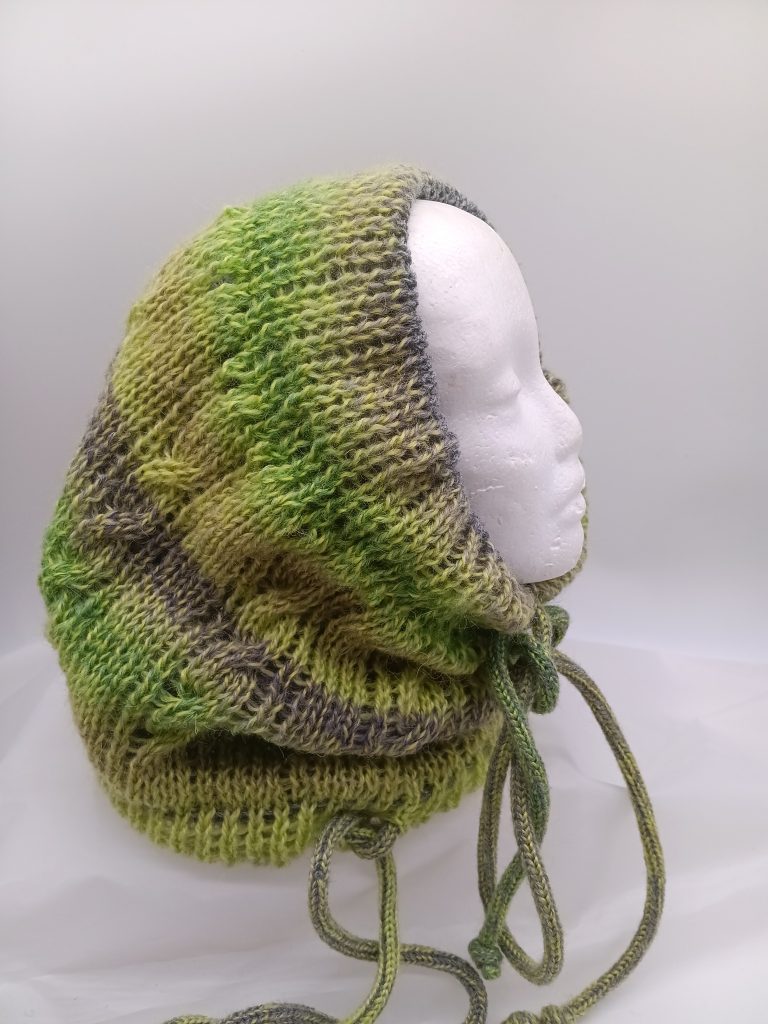
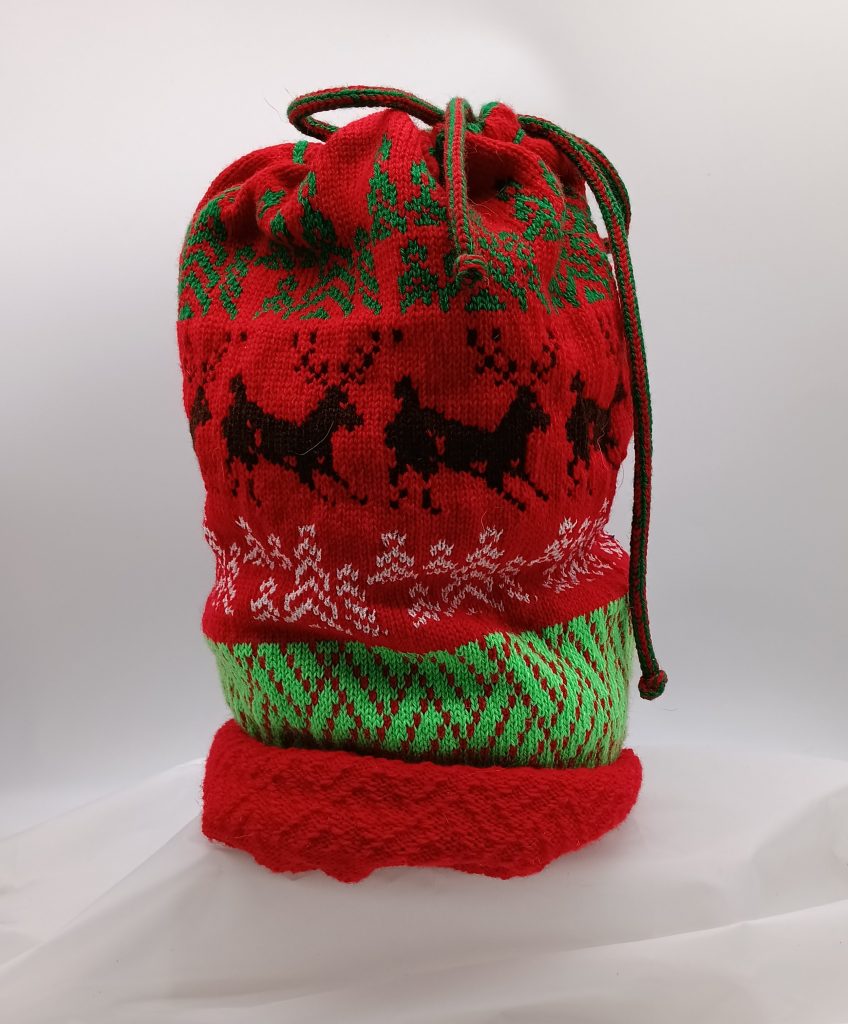
The carriage moved very smoothly and I did not experience any static with the two different yarns I used: very silky etamin yarn, 100% acrylic yarn of fingering weight and a textures yarn with some fuzz and occasional boucle features. The machine handled all these yarns wonderfully. Below are the items I made from the fabrics I knitted while testing this machine. They are going to the local charity.


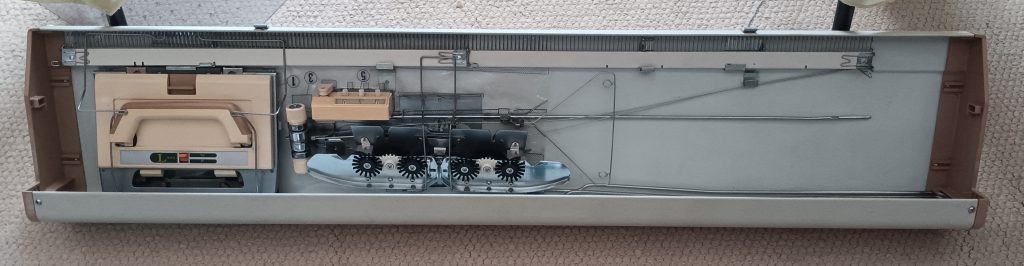
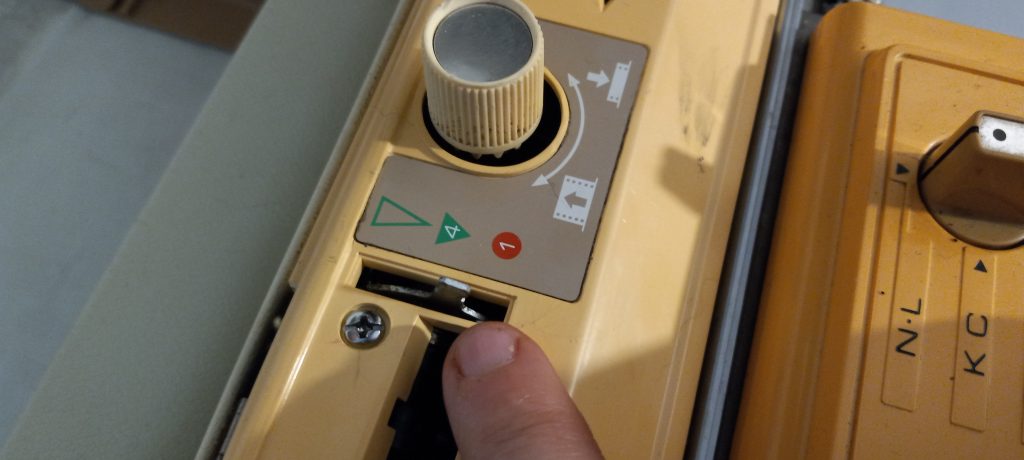
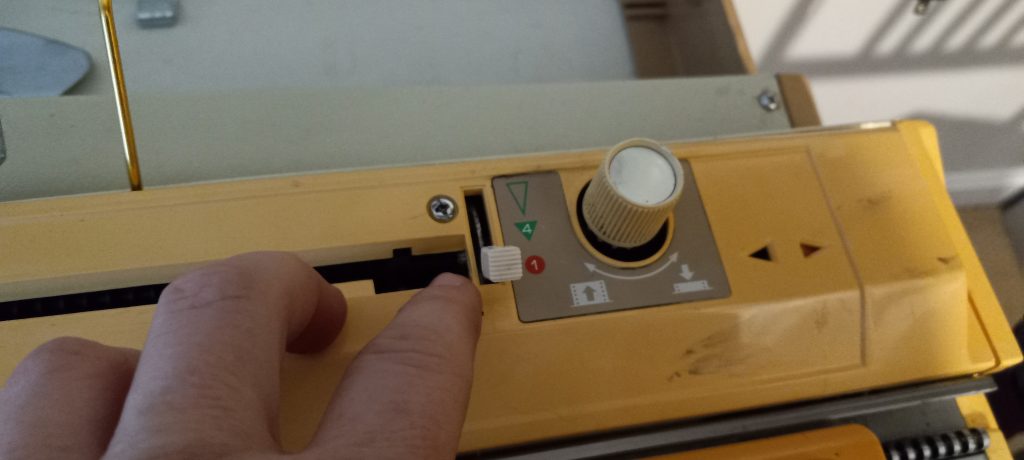
The knitleader was not tested with the mylar sheet but all buttons and levers of the knitleader move and the wheels rotate (thus, the paper will advance) as the carriage moves across the needlebed triggering the knitleader advancement mechanism.

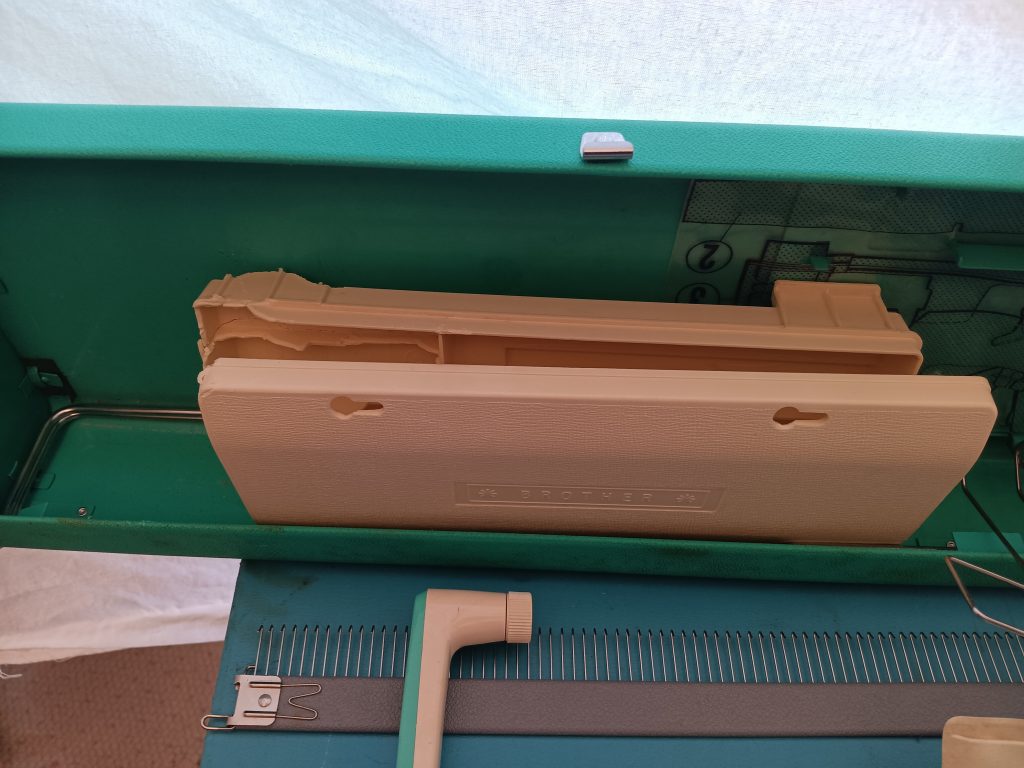
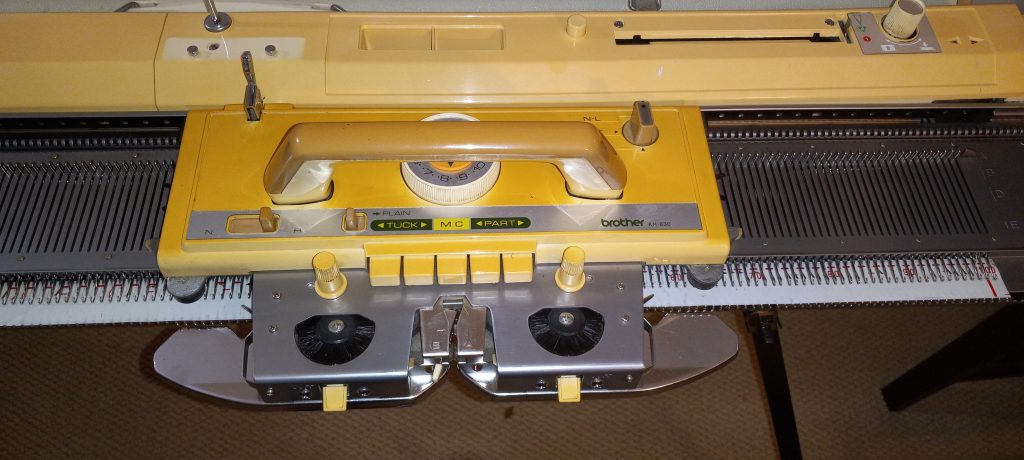
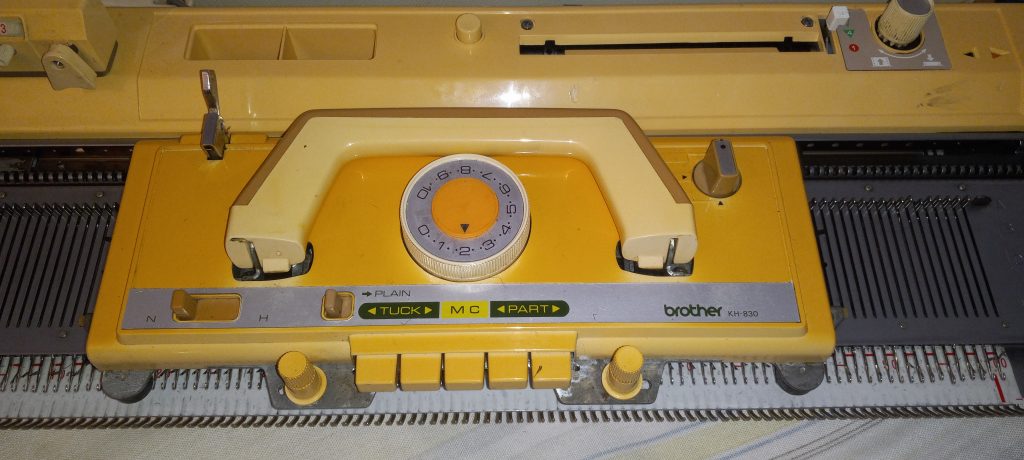
Because the machine did not come with this particular carriage, the color of the carriage is lighter than that of the plastic on the rest of the machine: it is yellowish from the sunlight damage.
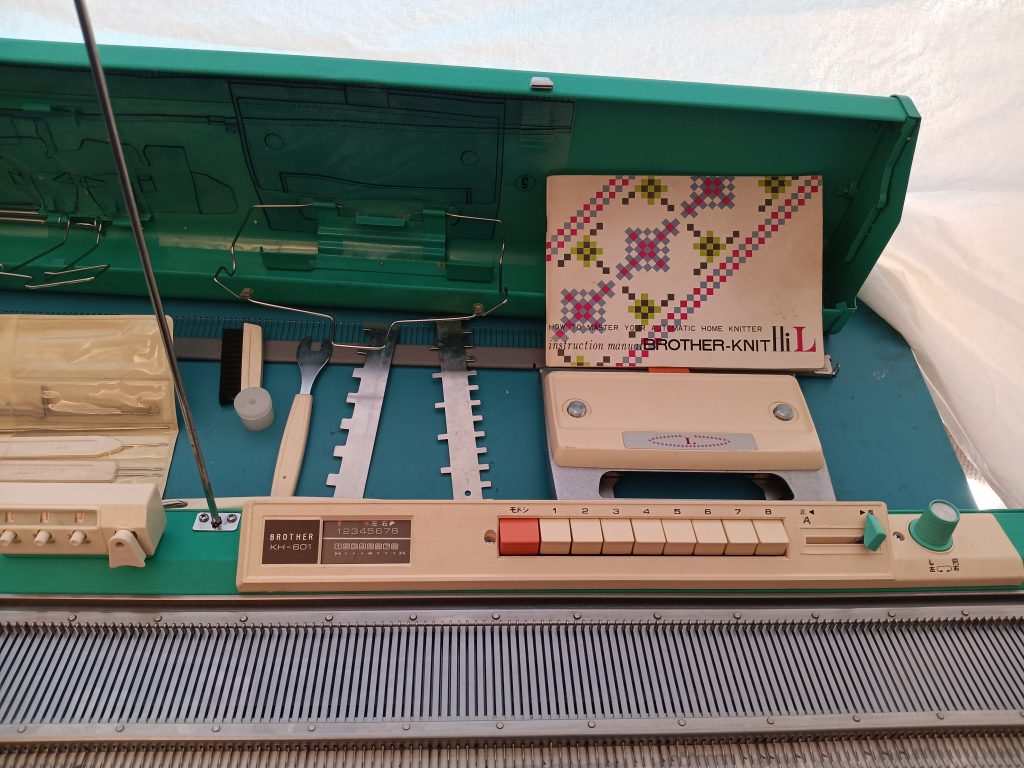
The long cast-on comb is in excellent shape but is from my personal stash. The color is a bit off-white since it is from another machine.
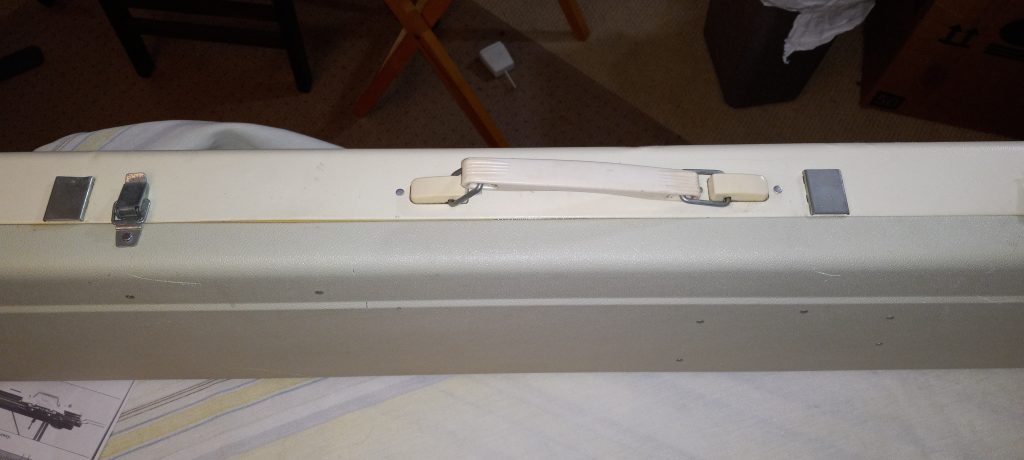
The majority of the minor accessories are also included, including a hard copy of the manual.


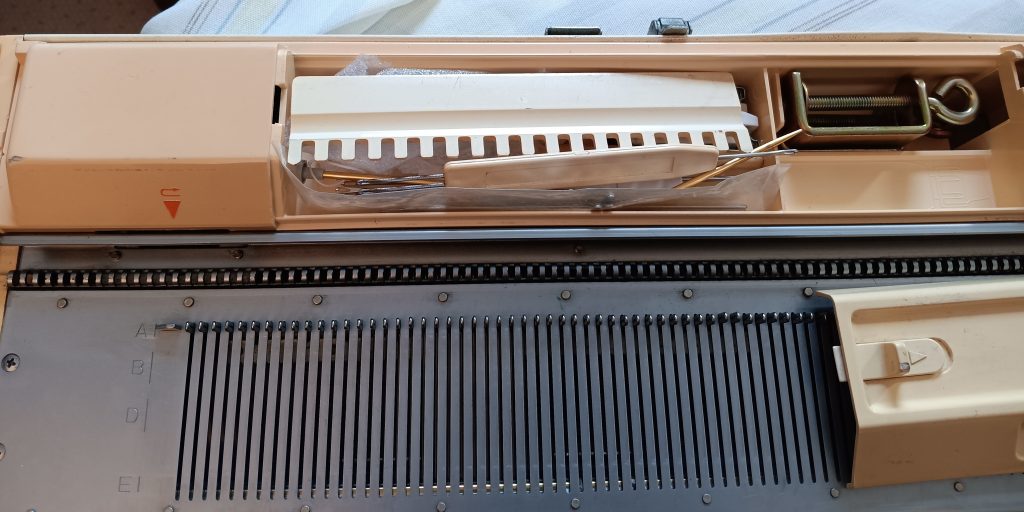
The toolbox sits on the needle bed when the machine is not in use.

All minor accessories fit inside a toolbox with a lid. The table clamps and the craw weights are from the new-stock and are still clean and shiny.

A couple of minor accessories that are missing and not going to be included are:
- tapestry needle,
- punchcard rod (during my tests I knitted without using this rod and the punchcard reader worked well and the cards advanced without problems)
- wax – the wax that came with the machine was so old, it stumbled.
- oil – it was brown and old so I disposed of it. For your knitting machine needs, use Hoppe’s gun oil available on Amazon.

The only knitleader accessory that is not included is a felt pen. I read on forums that Crayola markers work well. Check out my Knitting Machine Encyclopedia on recommendations for the felt pen substitute.

Now about imperfections:
- The color large cast-on comb is a bit off because it did not come with the machine and is from my personal stash
- No lace carriage is included, which is reflected in the price.
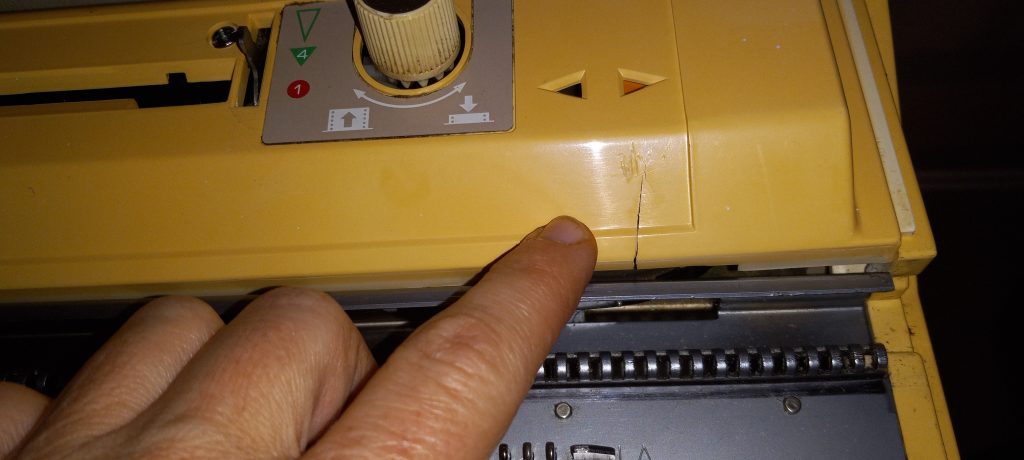
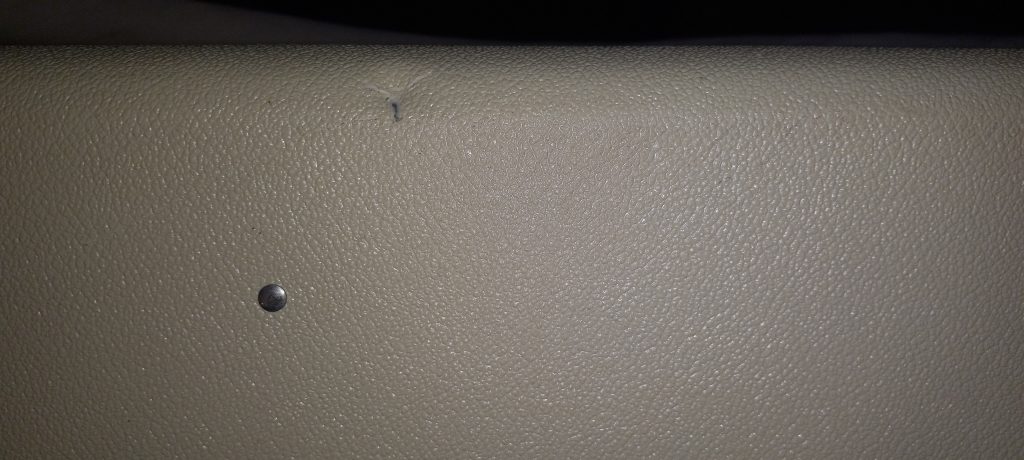
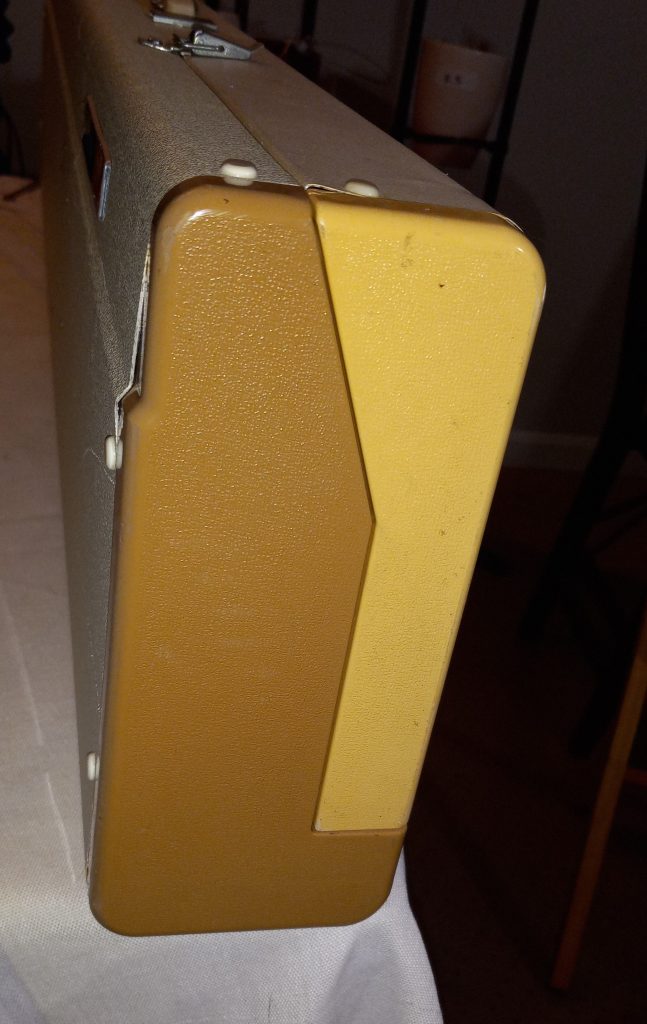
- the case and the case lid have some minor bends and scratches (too many to list here)
- Some of the punchcards that came with the machine are a bit torn/bent but they still work really well (I’ve seen cards in worth conditions and they still worked well)

- The small cast-on comb has a slight bent. It does not affect its functioning (latching onto the stitches). See the video demonstrating that the teeth latch onto the stitches very nicely without any problems. In the video, some of the teeth are slightly bent. I already unbent them (which was very easy). But keep in mind that these teeth bend easily but it is also very straightforward to push them back into their correct position.


Happy knitting with this wonderful machine!