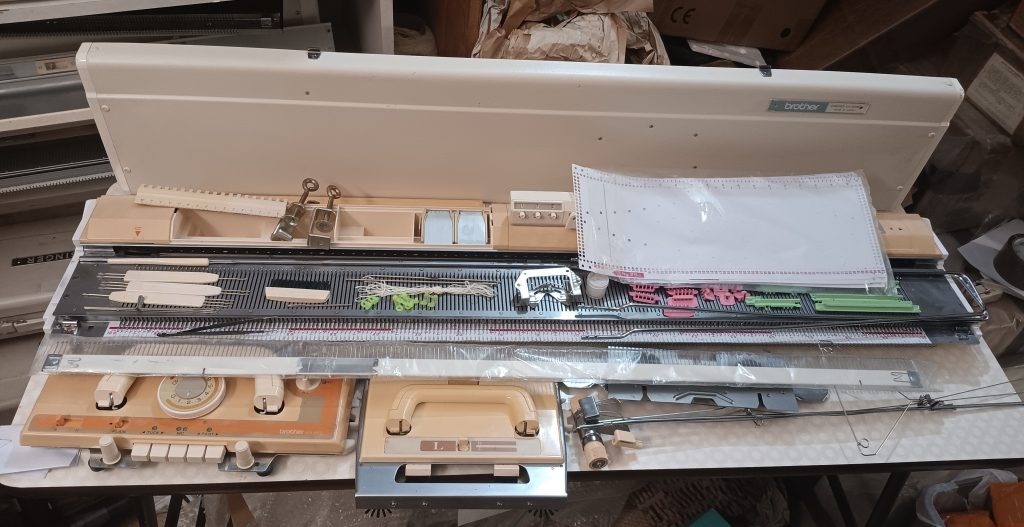
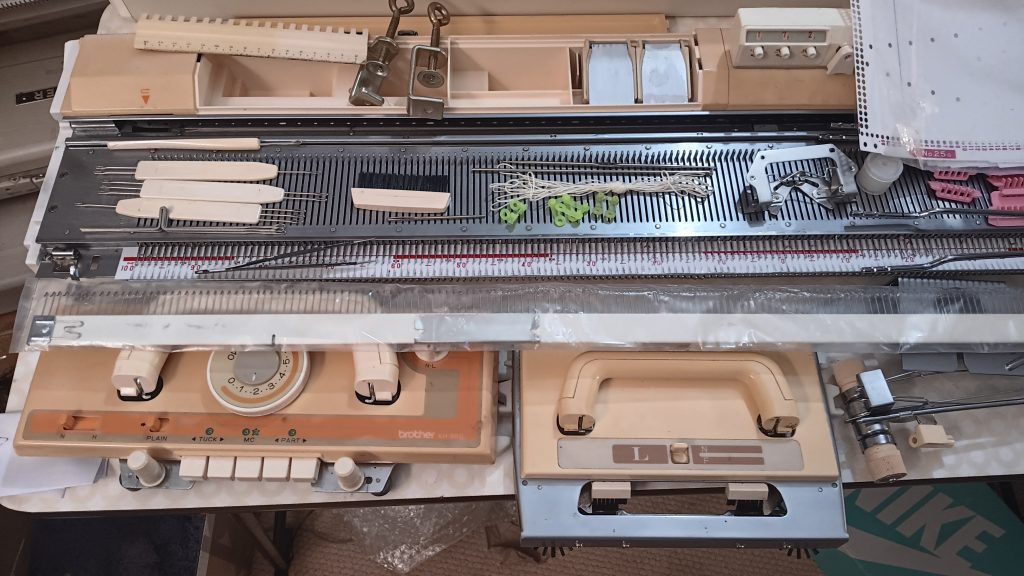
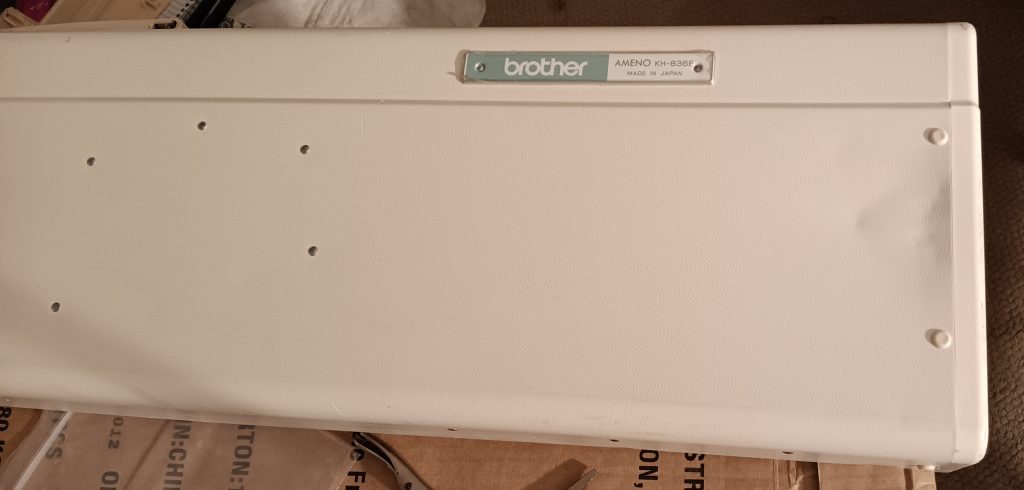
Brother KH860 is a standard-gauge knitting machine with 200 needles and a punchcard reading mechanism for automatic needle selection and patterning. Read more about this model in my Knitting Machine Encyclopedia. The article below is dedicated to a specific machine prepared in my shop in March 2026.
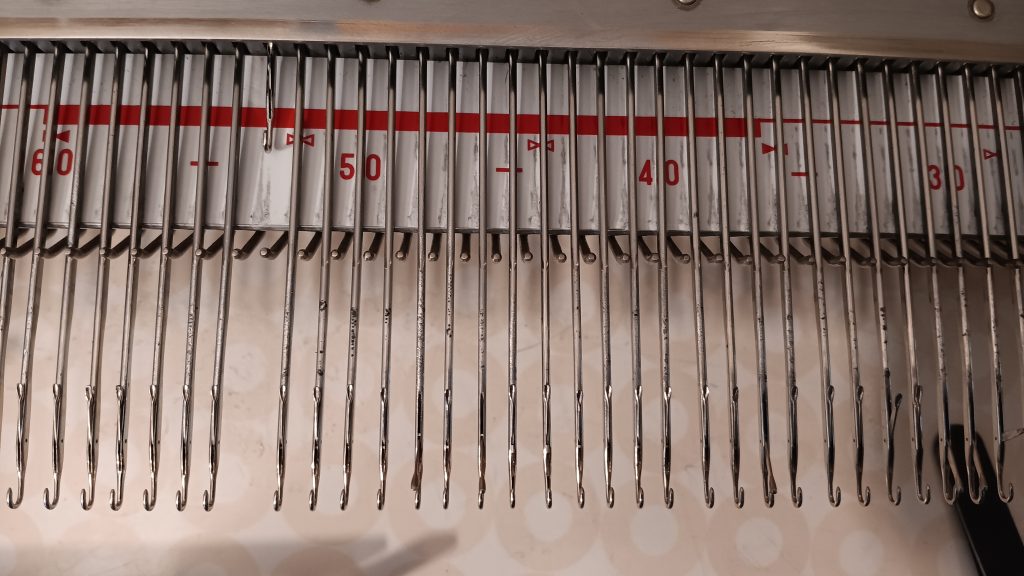
The machine was cleaned, including the deep clean of the carriage and the punchcard reader. All needles were removed, cleaned, and individually inspected. So, about 75% of the needles are the original ones, and 25% are new. After all the knitting tests, I check the needles again: first visually and if they look suspicious (out of alignment, for example), I remove them and check against new needles. The needles that were even a bit suspicious were replaced with new ones.
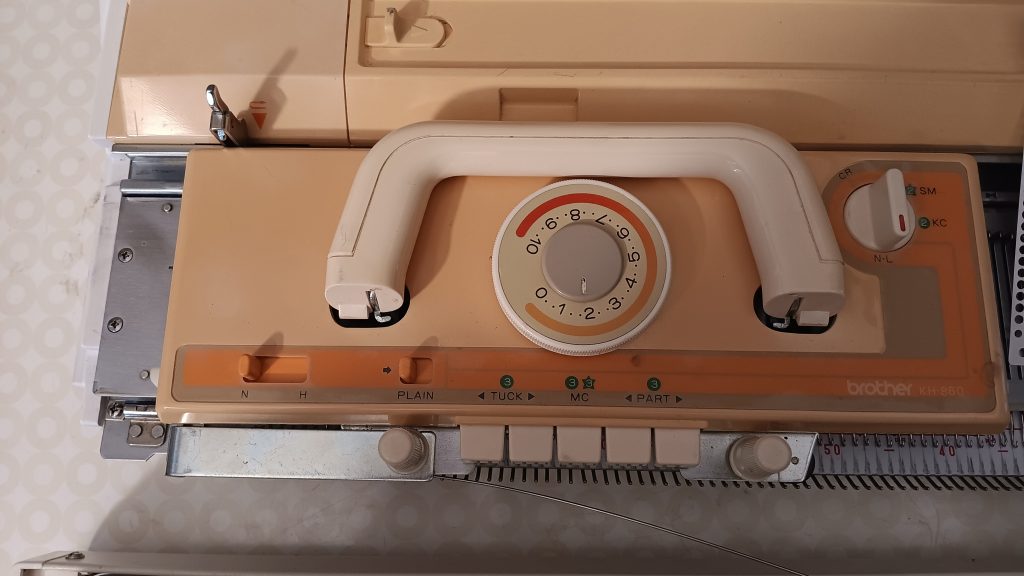
The carriage is in great shape and was cleaned and serviced thoroughly (I opened it and removed old grease). I had to replace the knob, the handle, and the tension dial cover. Thus, there is some color mismatch. But all buttons and levers move freely. Please, wipe the carriage with Q-tips and brushes after each use to prevent lint build-up.
To further check the needles and the carriage functions, I knitted on the full bed (all 200 needles). The video of these tests is here. I knitted tuck-, slip (part)-, stockinette, and fair isle stitches. During these tests, I like using card #1, where the machine selects and patterns on every other needle. Thus, mispatterning or needle selection issues are very easy to see.
A couple of needles formed incorrect stitches, and I replaced them. After that, all tests were great. I used two different yarns: a thinner acrylic one and a slightly thicker one with potential static problems. The machine handled both yarns really well. The tuck was best on the second, silkier yarn. Read my blog on tuck-stitch issues and how to deal with them.
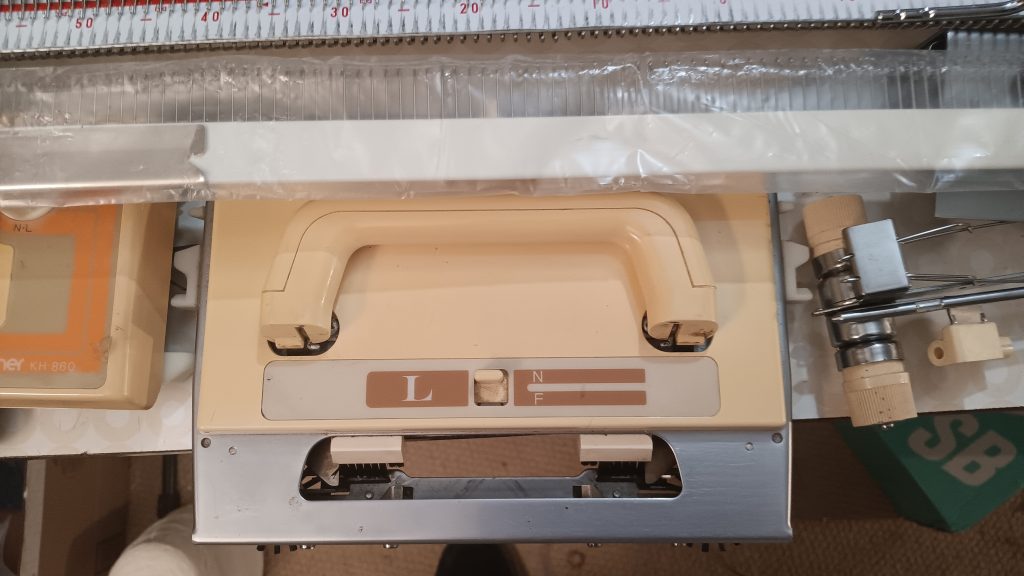
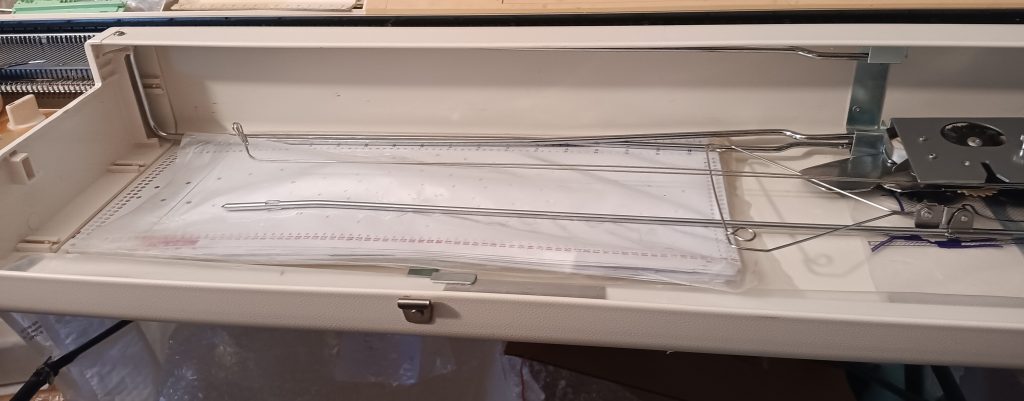
The machine did not come with the lace carriage. Thus, I included one from the KH910 model. This lace carriage was tested (see the same video) and worked great with this machine. All buttons and knobs move freely.
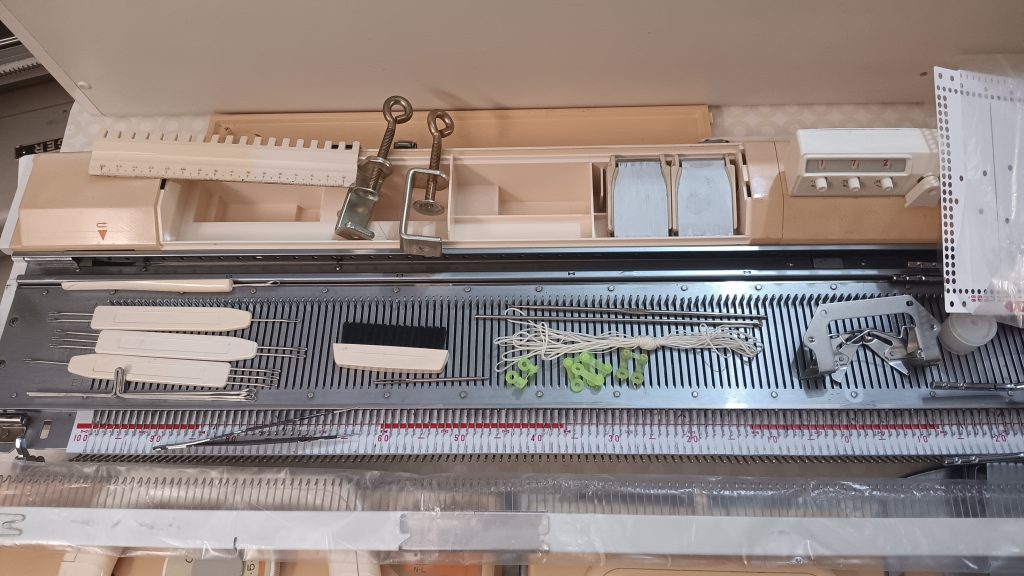
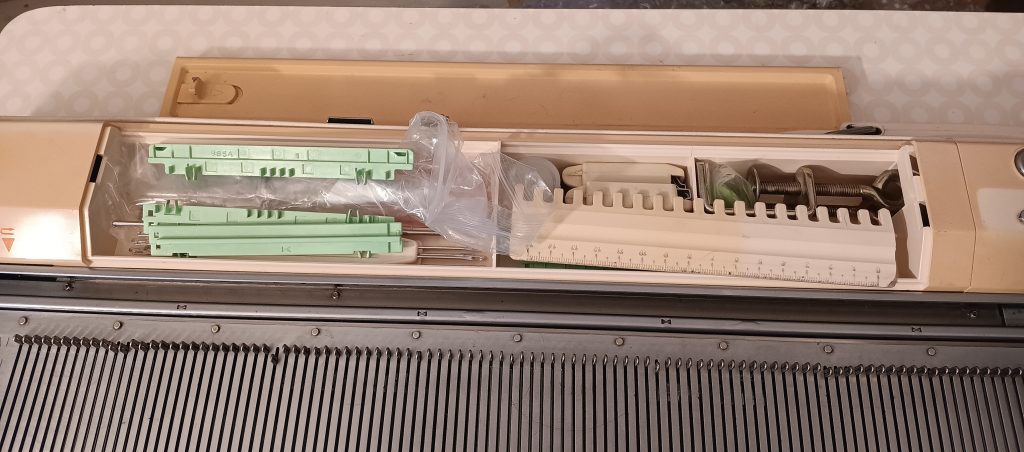
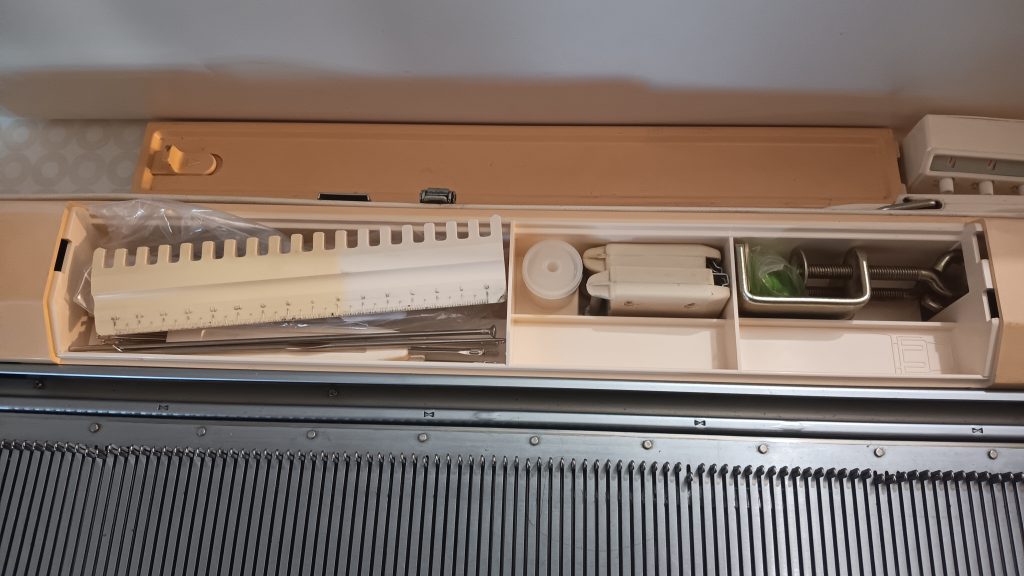
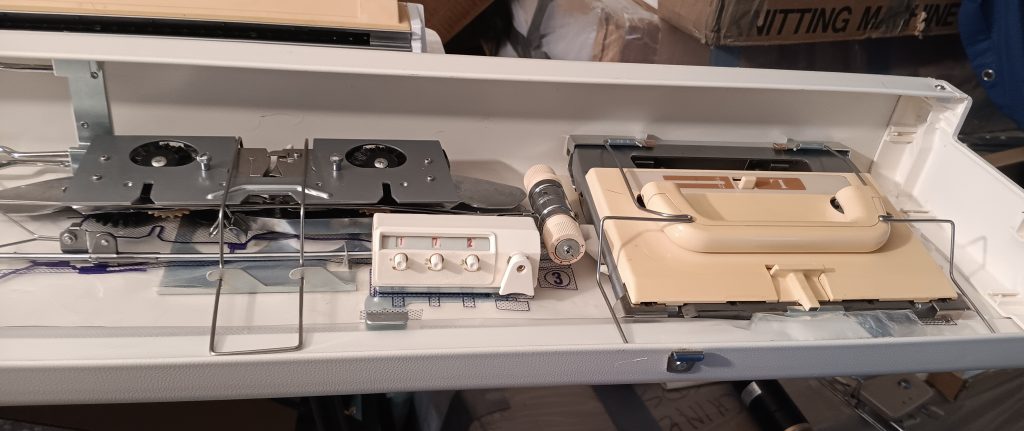
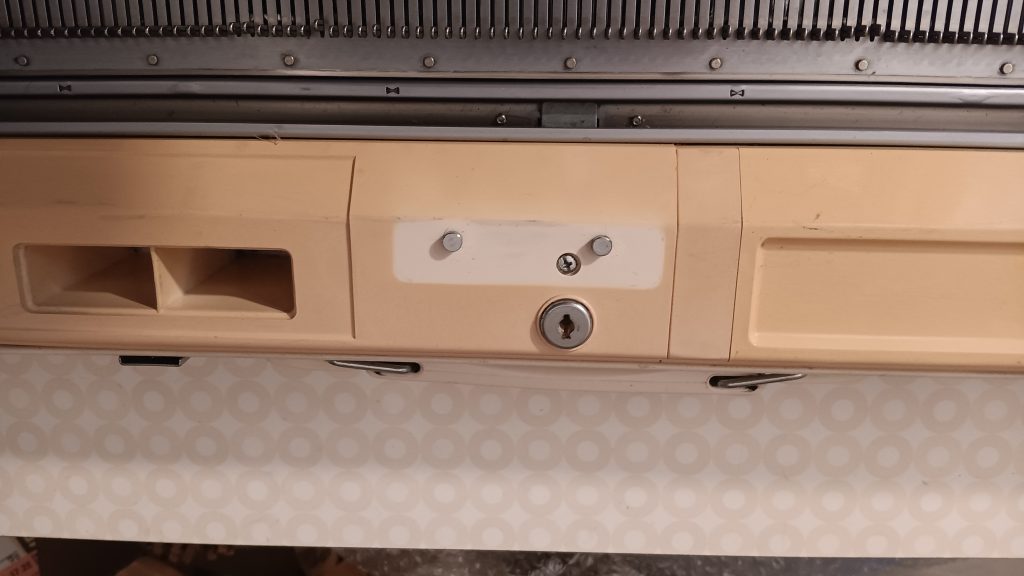
The machine will come with all major and most minor accessories. The row counter is new; thus, its color is lighter than the orange-ish color of the machine covers.
The only thing missing is the machine oil (I do not trust the oils that come with machines because they are old and yellow). I recommend getting Hoppe’s gun oil on Amazon. The hard copy of the manual will also not be included, but its electronic copy is available online for free.
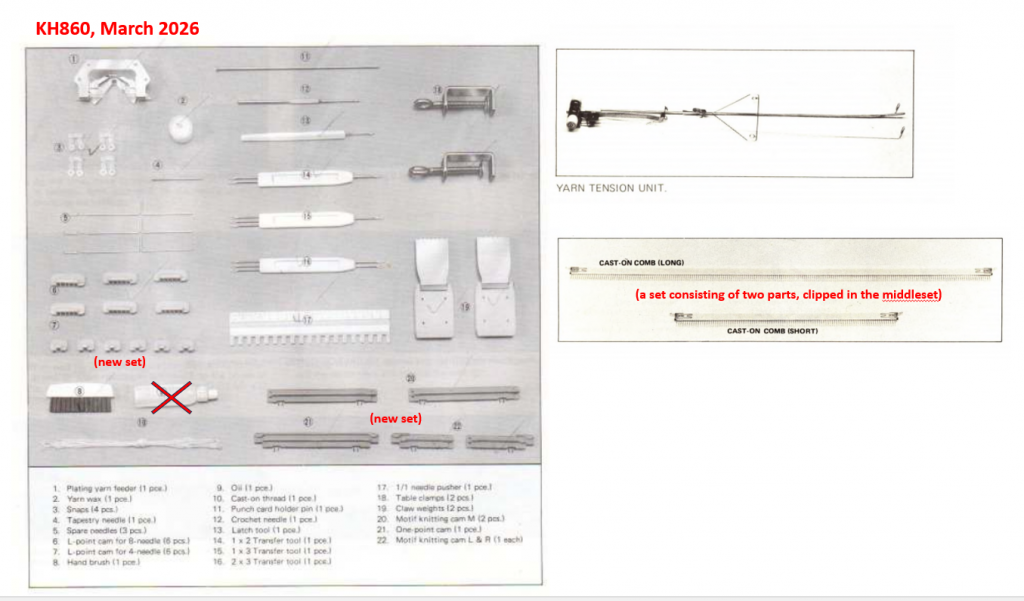
The original cast-on comb set will not be included. Instead, I am providing a new cast-on comb that detaches into two sections (a typical cast-on for later models).
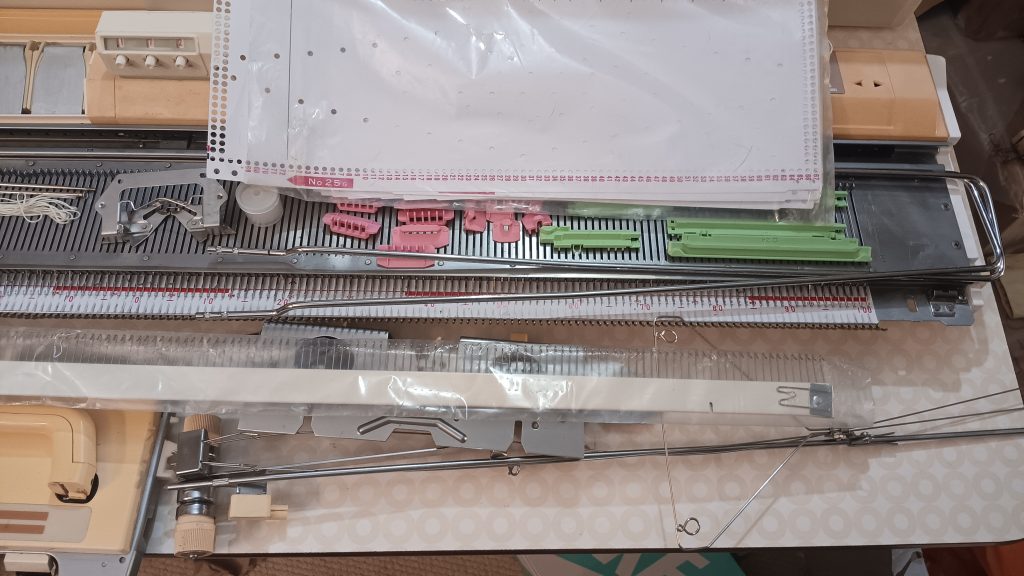
The sponge in the retaining bar was replaced. Because I used the original retaining bar, the sponge strip is attached with medical tape to the end (a typical procedure for refurbished machines). It might come off when you remove it to exchange needles. Just apply a small section of medical tape (one or fewer layers; if too many layers, it might get stripped again).
I am including a set of original Brother cards, but they are slightly different from those mentioned in the manual. Card #5 is missing, but I am including six custom-punched (by hand but good quality) cards, mostly for fair isle knitting.
The accessories for the single motif knitting are a new replacement set. The rest of the accessories are original; thus, some discoloration on them.
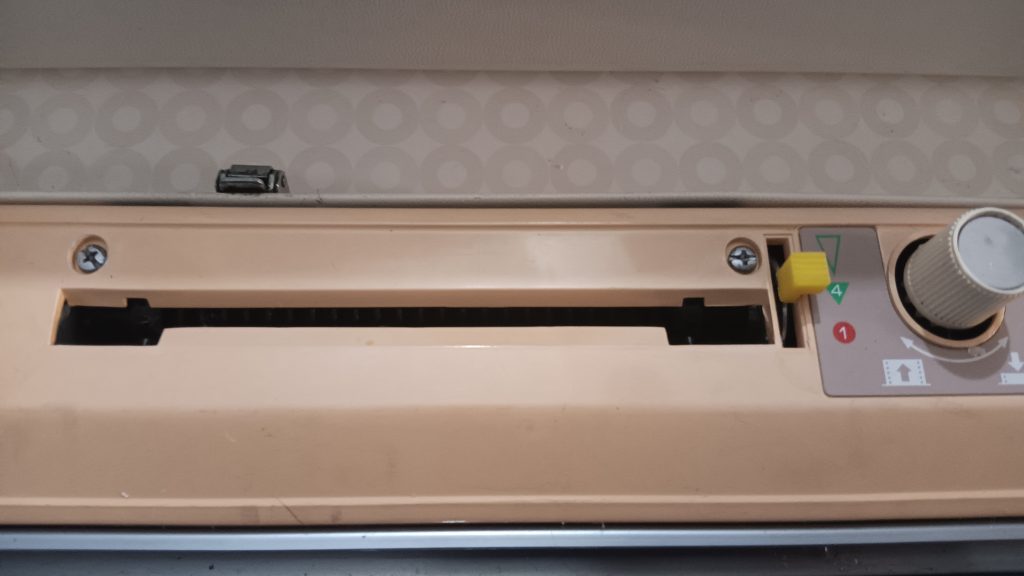
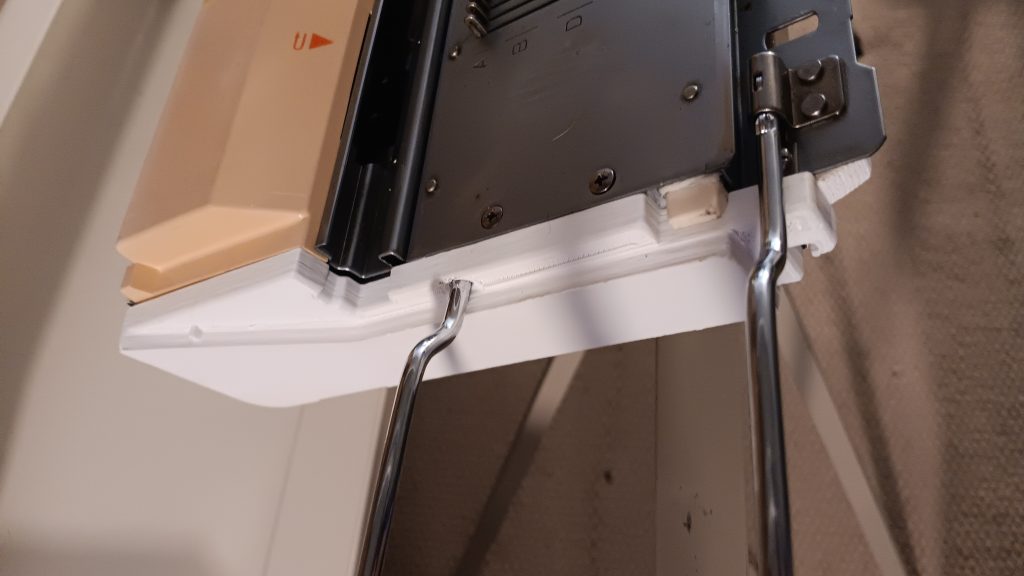
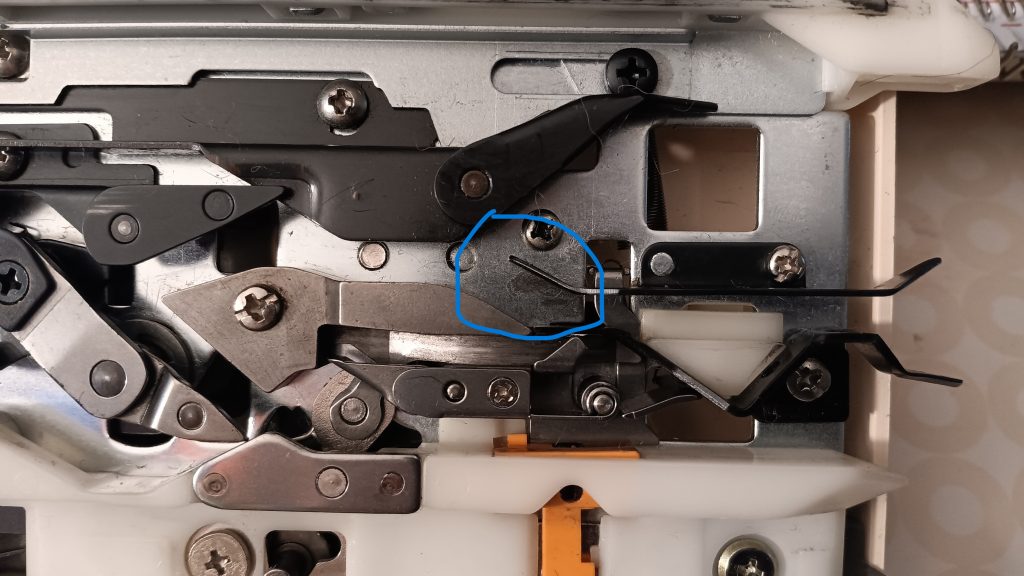
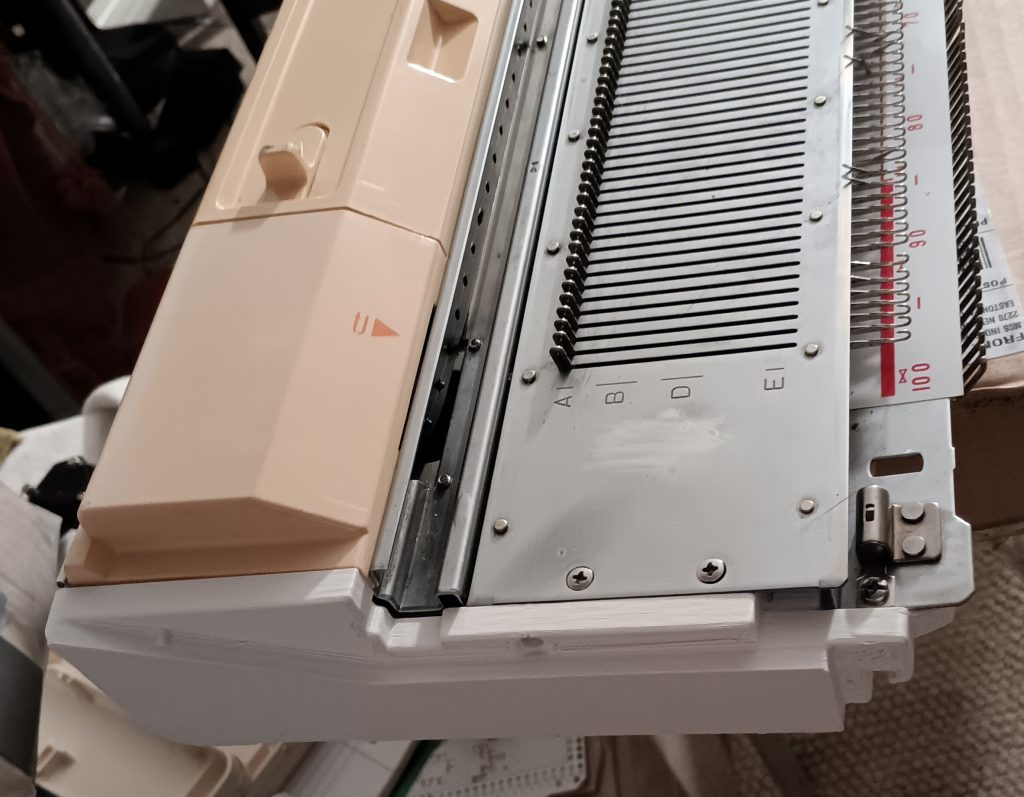
The punchcard mechanism lever is a 3D printed replacement.
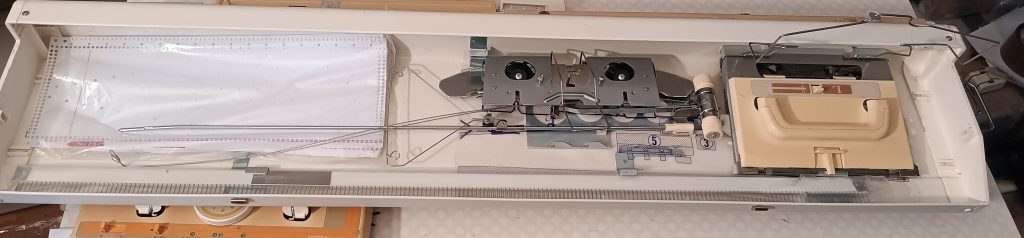
When not in use, the major accessories are stored in the lid case. The extension rails are new (not sure if old or new stock, but the machine did not come with them).
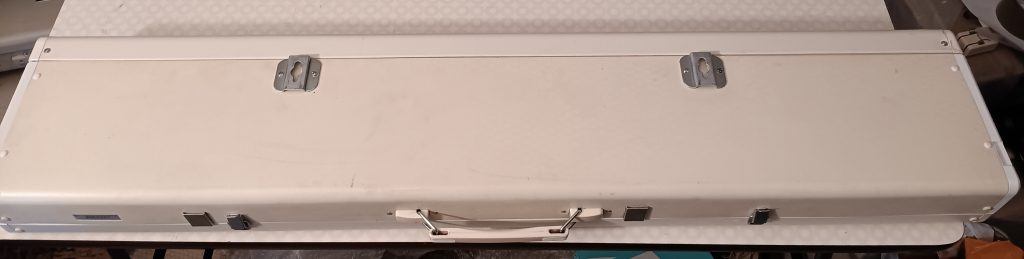
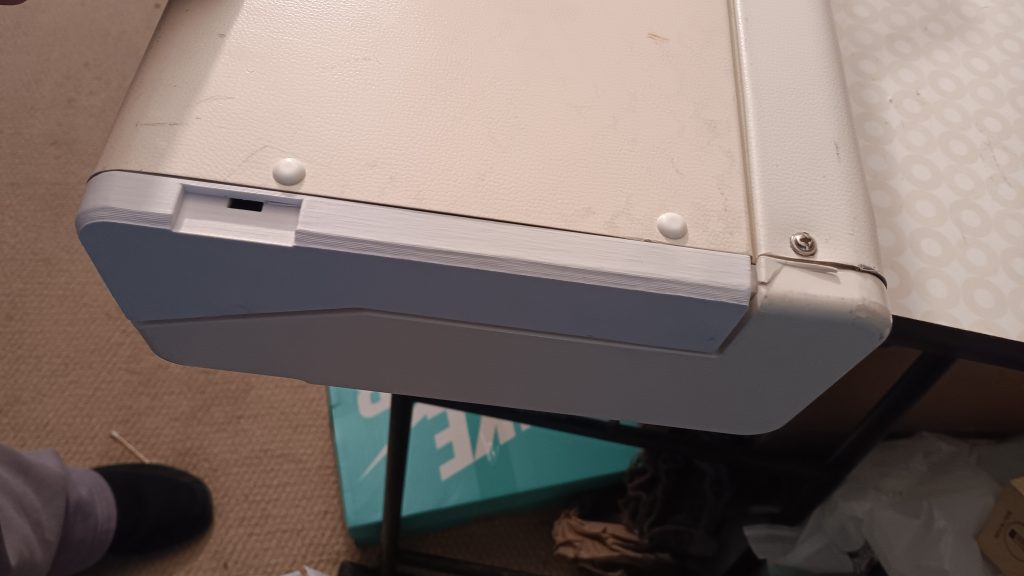
The machine did not come with the original lid case. But I found one in pretty good shape, but from Brother KH836e. Its color is whiter than the case.
The original end-caps were cracked, and I replaced them with 3D printed (from a strong UV-resistant material) ones. Thus, you will see more discoloration.
Other imperfections:
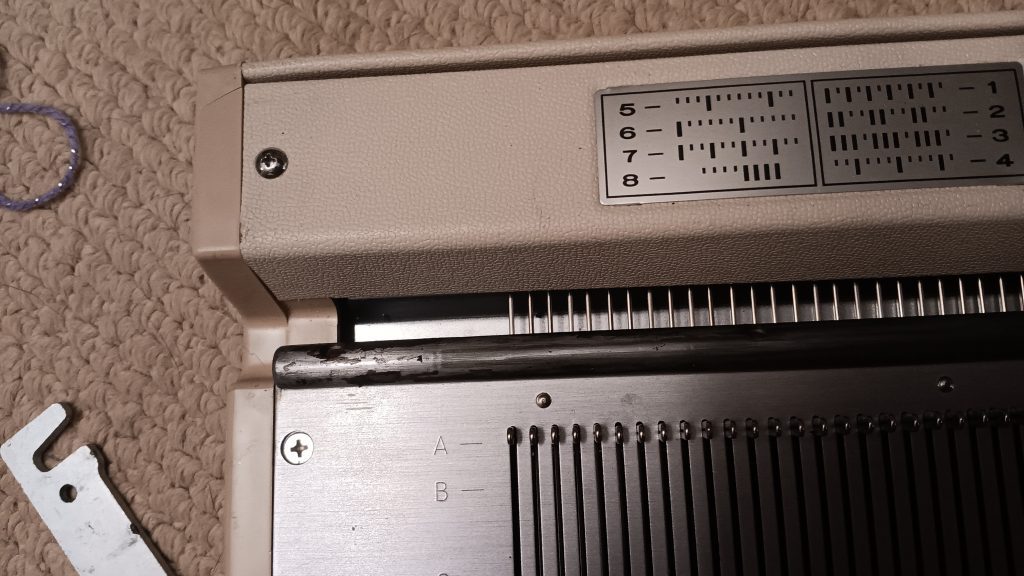
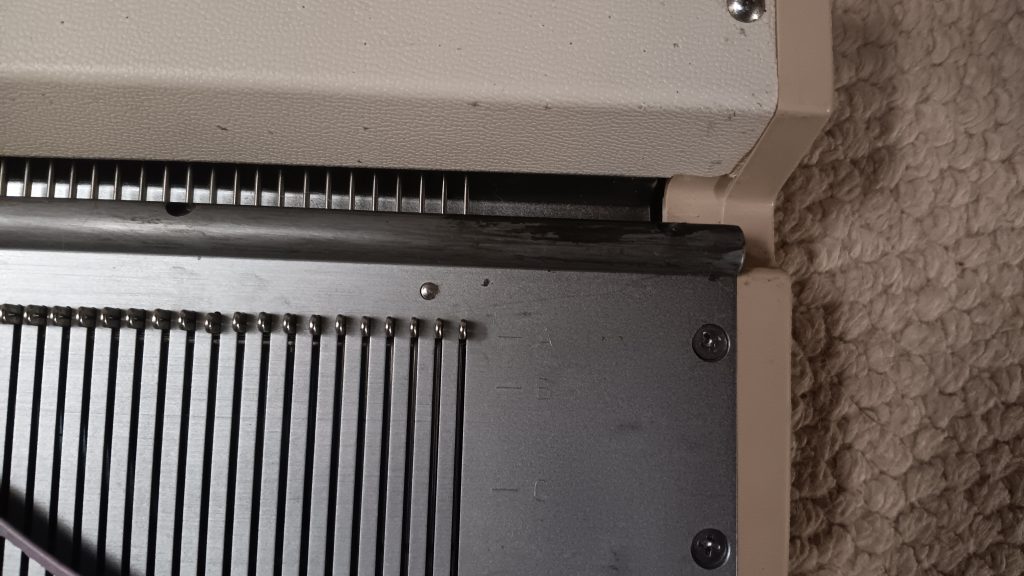
- Because the lid did come with this machine, its color is a bit off. The lid has some minor bends, scuffs, and scratches, which I documented. Some are shown below. They are very minor to worry about.
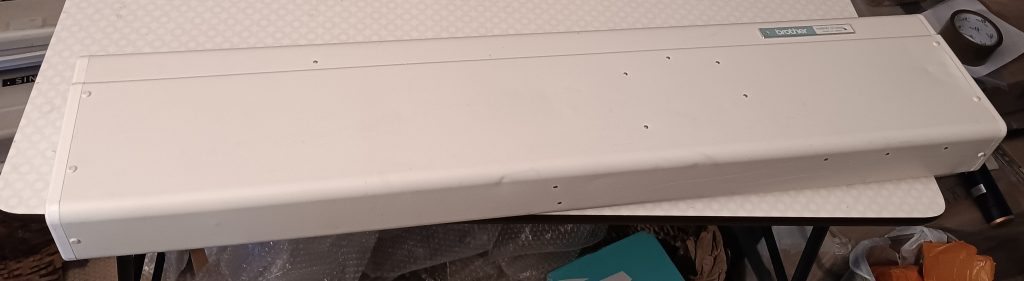
- The case has some sunlight damage and discolorations as well. Unfortunately, this is pretty typical for these vintage machines. Cover it with a light curtain or a sheet when not in use.
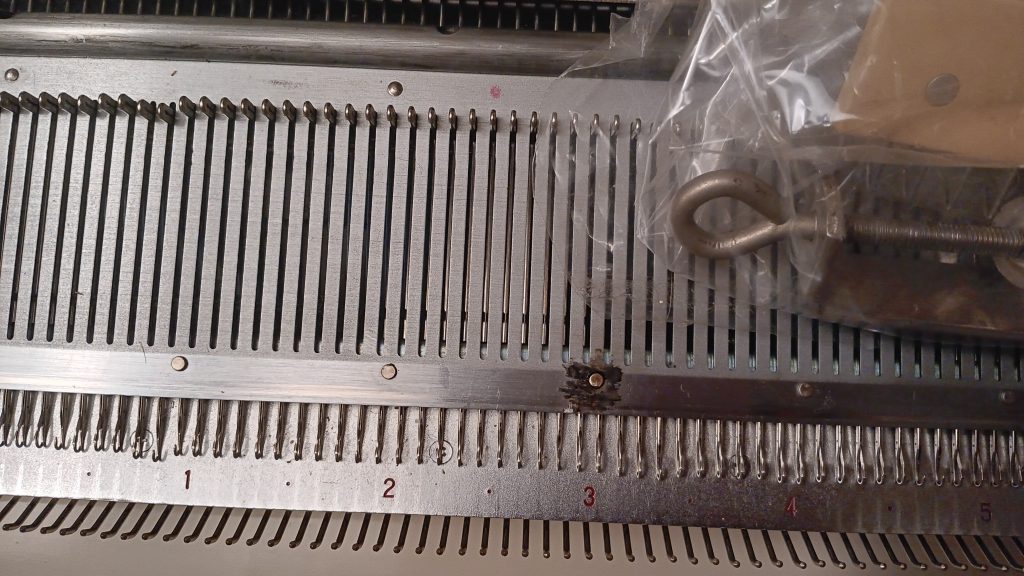
- Because the machine comes with 75% of the original needles, you will see some visual imperfections in them. However, the needles are smooth to the touch, and during my full bed tests and afterwards, they did not show any flaws.
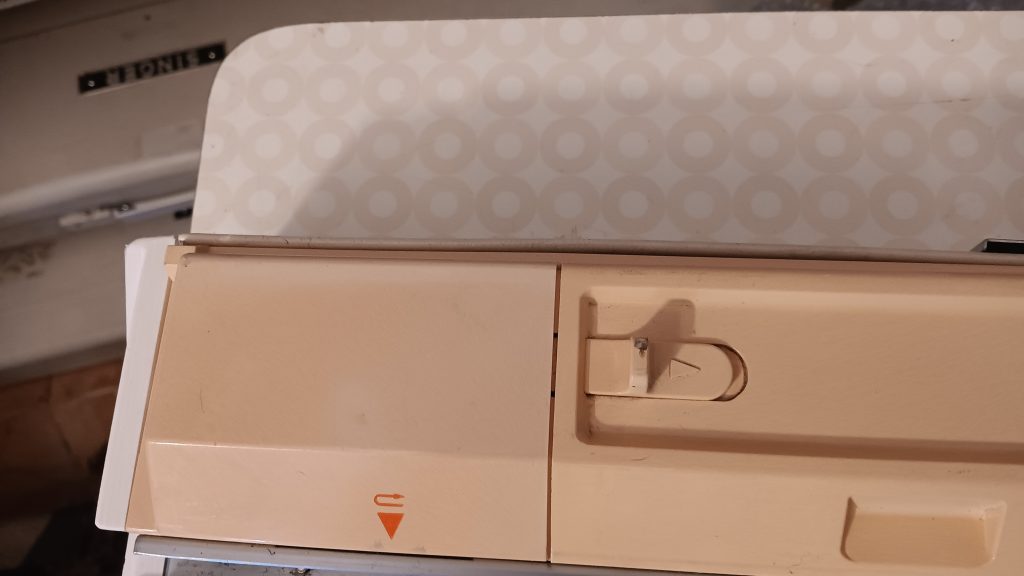
- In addition to a color mismatch on the carriage, it has a small blob on the side. I decided not to touch it to risk damaging the plastic cover.
- There is one minor discolored spot on the undercarriage. It does not look like rust, but I still treated it with a special oil. I did not notice extra static on the carriage (which is sometimes typical for machines with moderate rust).
- Because I used cleaning oils, the carriage might still bleed some of it. Just wipe with an absorbing towel.
- The needle bed also has some minor discolorations. I treated some of the with silver Rustoleum
I was very pleased with how this machine worked. With the right yarn and tension, it will work flawlessly, like it did for me.