
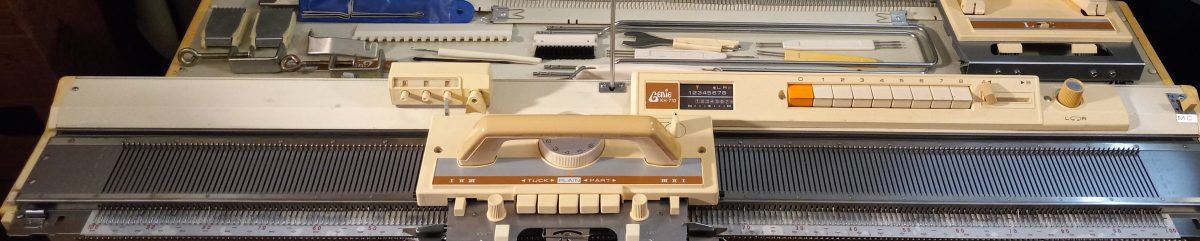
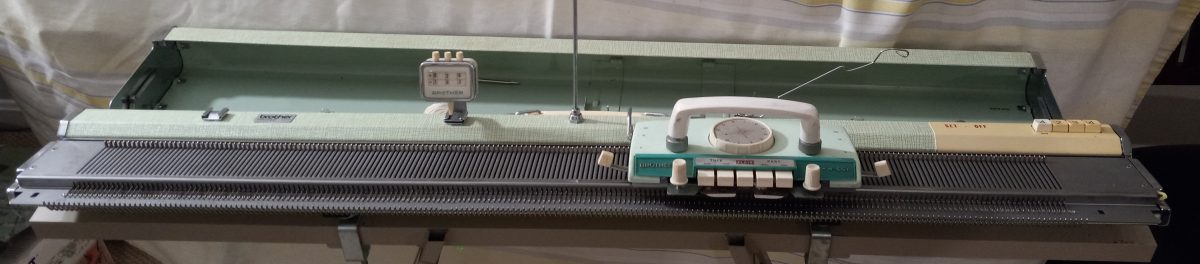
Brother KH551 is a standard gauge knitting machine with 4-pushbutton-based patterning mechanism. This blog is dedicated to one specific machine I serviced. If you want to know more about the Brother KH551 knitting machine model, refer to my Knitting Machine Encyclopedia article.

The machine (including carriage and all needles) was cleaned and serviced. All levers and the buttons on the carriage were checked and they moved and worked without problems. These levers were also tested while knitting. All needles were also checked while knitting on a full bed. No faulty needles were detected.

The 15 needles on each side (30 total) came from my refurbished stack. Thus, when I was knitting on the full bed, I was inspecting the edges especially closely to make sure all these refurbished needles worked well. Also, because of such a high number of refurbished needles, I am including the set of 5 spare needles (instead of usual 3).

The machine comes with all major assesories.
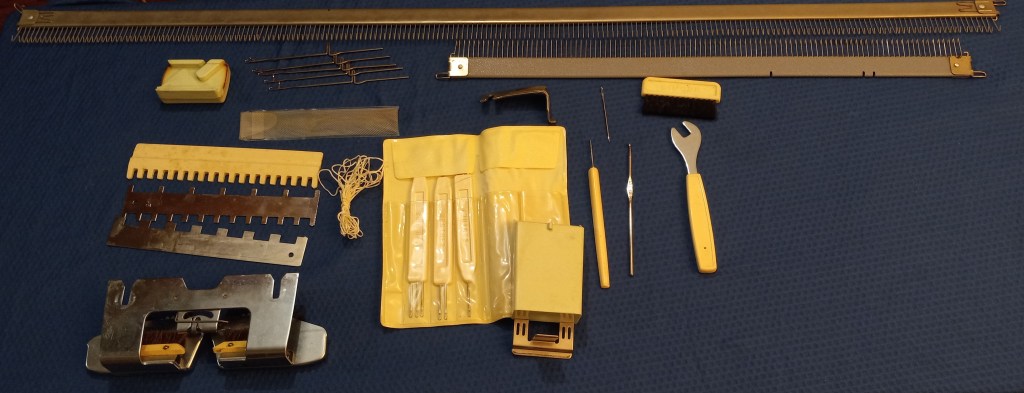
Several missing minor assesories are:
- A hard copy of the manual is not included but can be found online.
- Sinker plate yarn hangers, left and right. It can honestly be replaced with a regular paper clip (just unbent them to a desired shape). The manual describes their usage on p. 18. manual
- The tool storage box is not included
- Oil is not included also but I recommend Hoppe’s Elite Gun Oil.

Additionally, the small cast-on comb is not all metal – I pulled it out from my own stash.
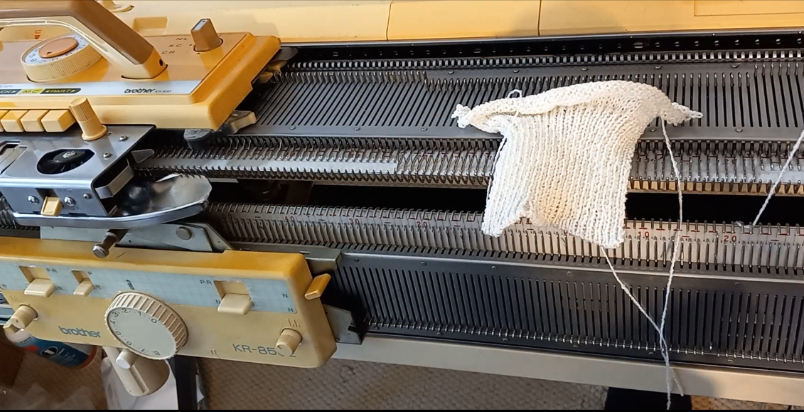
On the full bed, I knitted stockinet, tuck, slip and hold patterns (see the video of tests – all went well). Butterfly stitch is my favorite on this machine.

Now about flaws and imperfections:
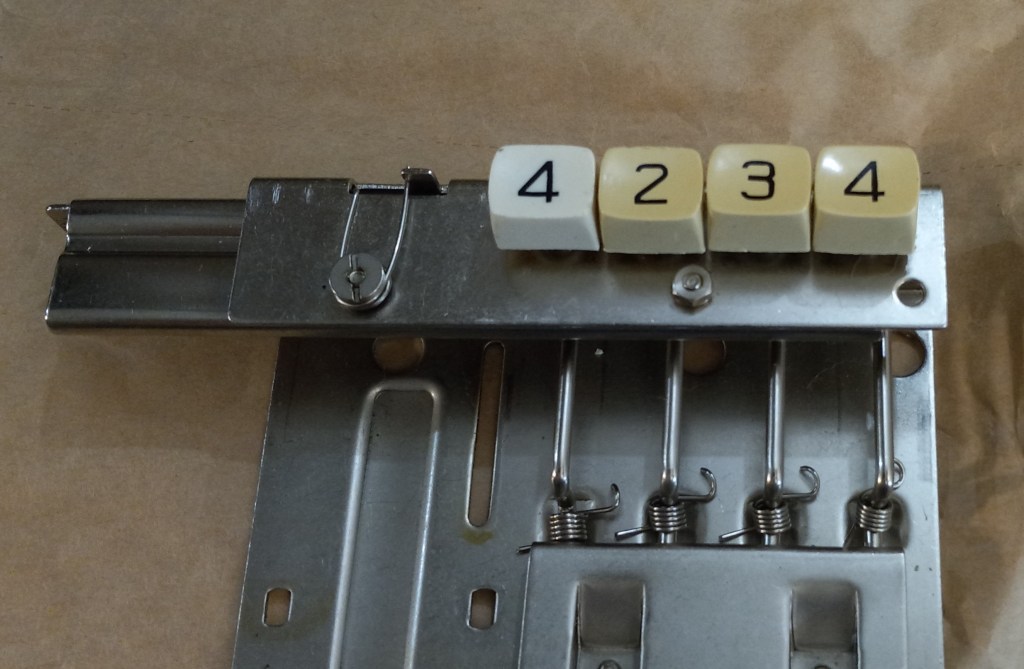
I had to replace the push-buttons but I did not have a part for the button marked #1. So, I replaced it with the button marked as #4 but it is of different shade of white. If you want, you can put a sticker on it with “#1” (I prefer not to put stickers on machines since it damages and stains the vintage plastic).
Despite being vintage, this machine will still serve your craft needs for many years especially if regularly serviced.
Happy Knitting!




 Â


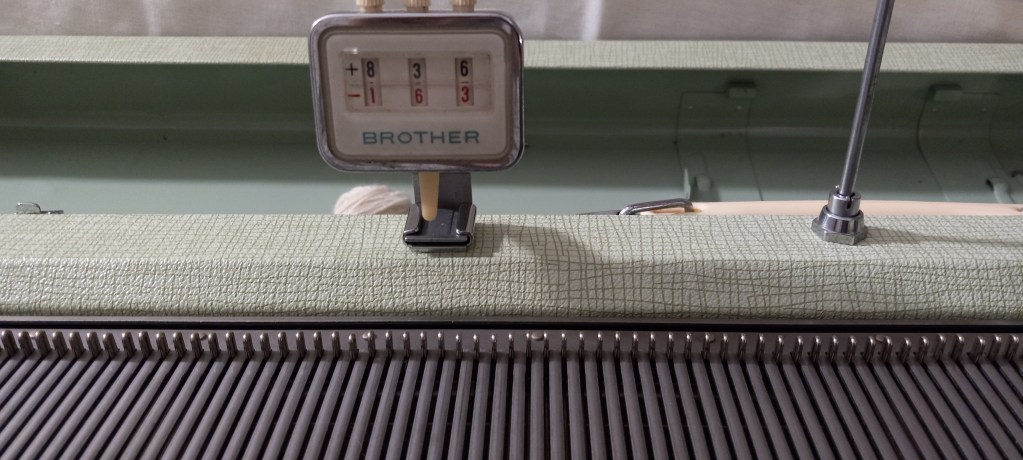
 Brother Profile KH500 Knitting machine is a lightweight machine with manual-only needle manipulation capability. It looks very similar to 4-push button machine, like Profile KH 551. But since it has a more advanced row counter, I assumed that it was manufactured after it – maybe in the very early 1970-ies. A could not find any specific information anywhere on the web or in printed brochures. Other indications that this machine was a later but simplified version of push-button machines is KH500 still has slots for the extension rail (but does not come with the lace carriage) and slots to attach a ribber. The original cardboard box still shows the older version of the row counter….


 .
.
 This machine is simple but offers tremendous potential for those who want to continue to feel the satisfaction of knitting manually. This machine is excellent for those transitioning from hand-knitting to machine knitting, for those who are not quite ready to give up control over stitch manipulations to the machine, for those who like simple knits but can’t quite get the stitches even, and for fiber artists.


 The two round pillars to screw the handle onto the carriage are a bit discolored. I decided not to polish it not to remove even more of a protective coating. The handle still crews on without problems.