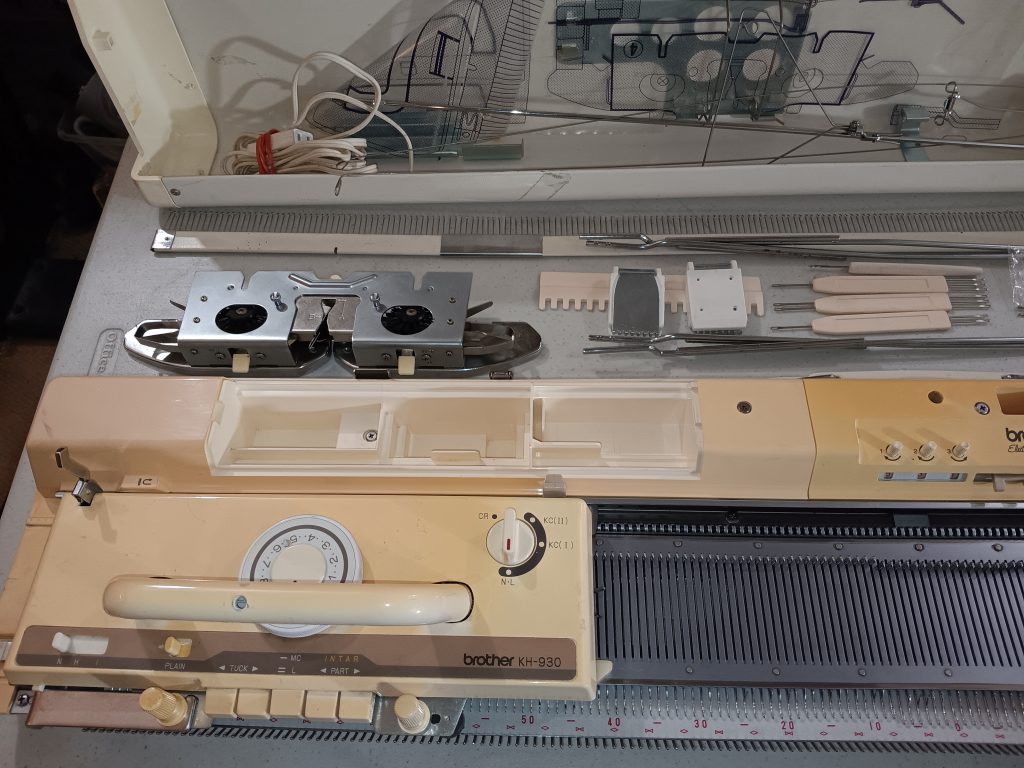
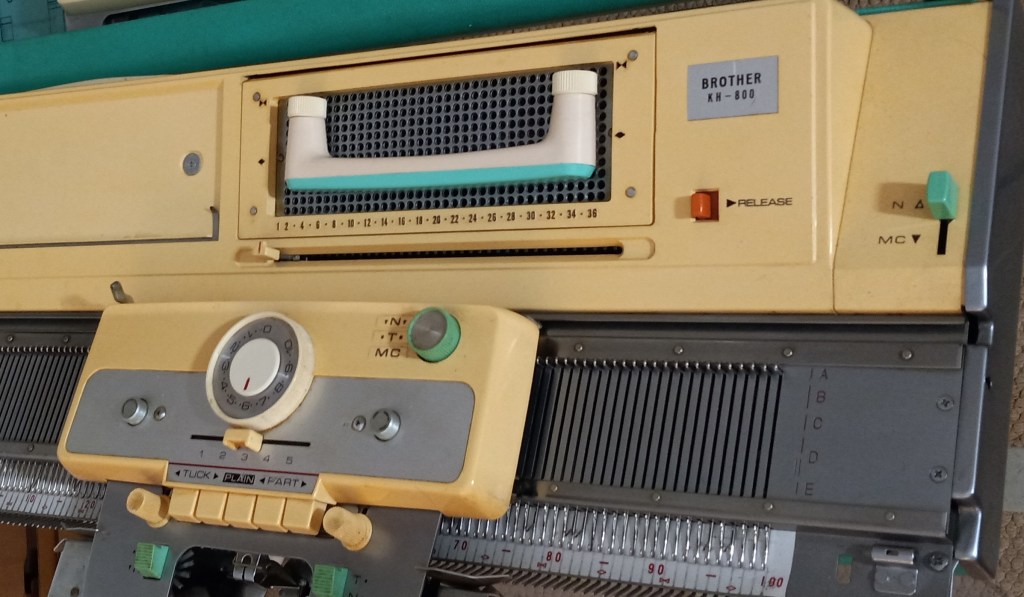
Brother KH260 is a bulky (9 mm gauge) knitting machine with 114 needles. Read about this model, as well as the pros and cons, in my Knitting Machine Encyclopedia. All information below is about a specific machine service in my shop in August 2024.

I cleaned and inspected the machine. I removed, cleaned, and inspected all needles. The needles and the patterning (including the punch card reader) were inspected with various cards. All of these features were also tested on all needles and with various cards. Watch the video of these tests here. This machine was also tested with a matching ribber, Brother KR260. watch the video of those tests here. The machine behaved very well during all those tests by itself and without the ribber. It was easy to adjust the proper distance between the machine and the ribber, which implies no warping of the metal beds.

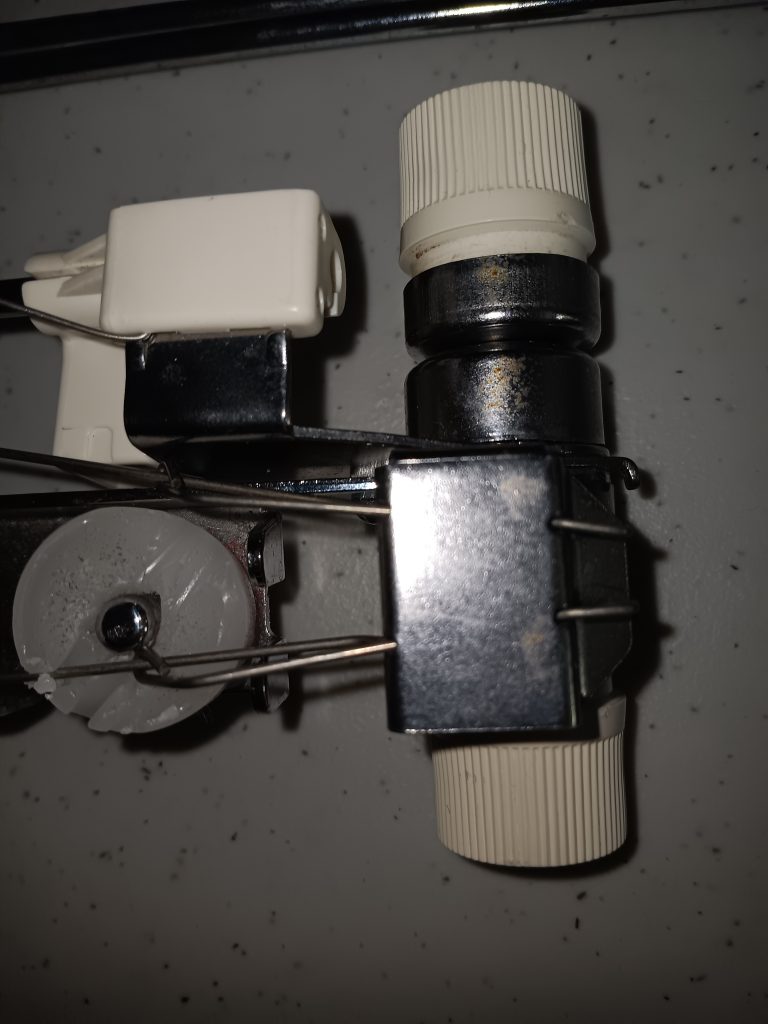
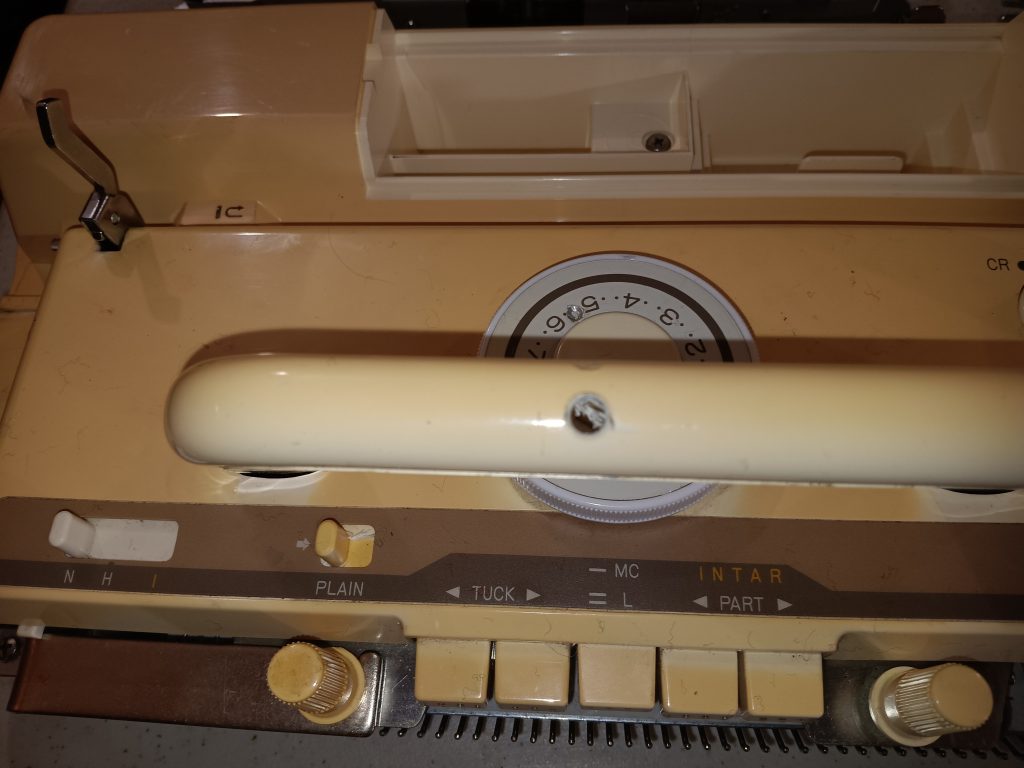
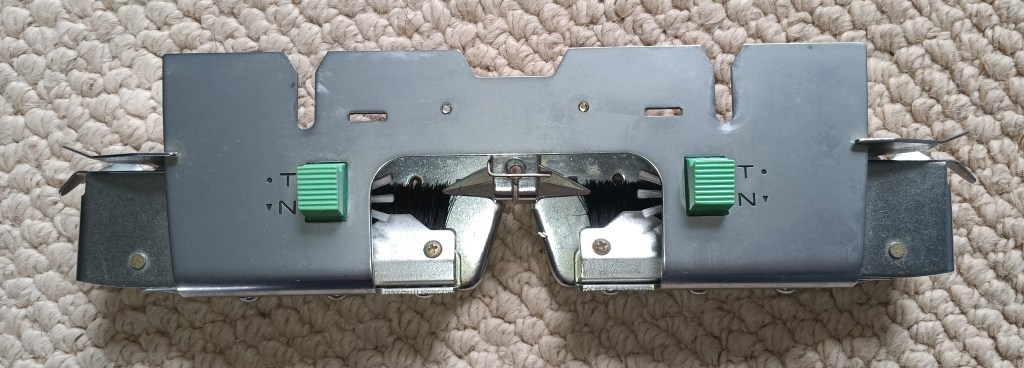
The rubber wheels on the sinker plate are in great condition. The wheels for tuck-knitting move freely.

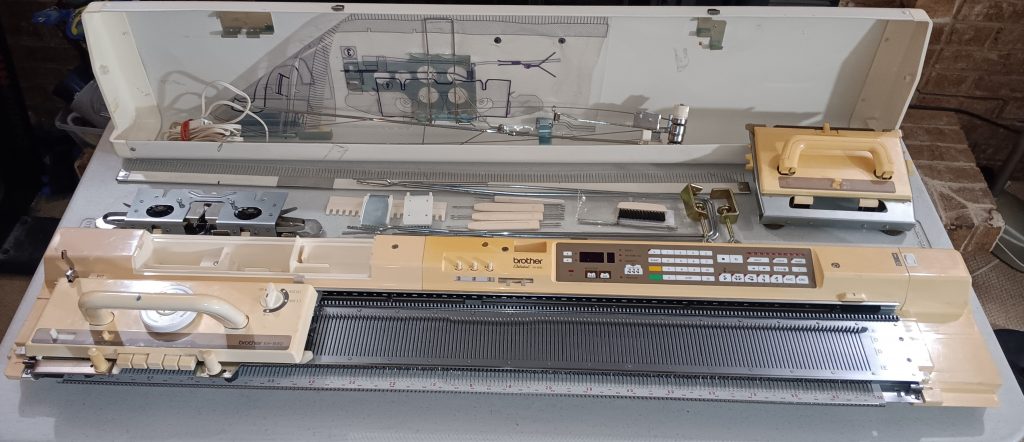
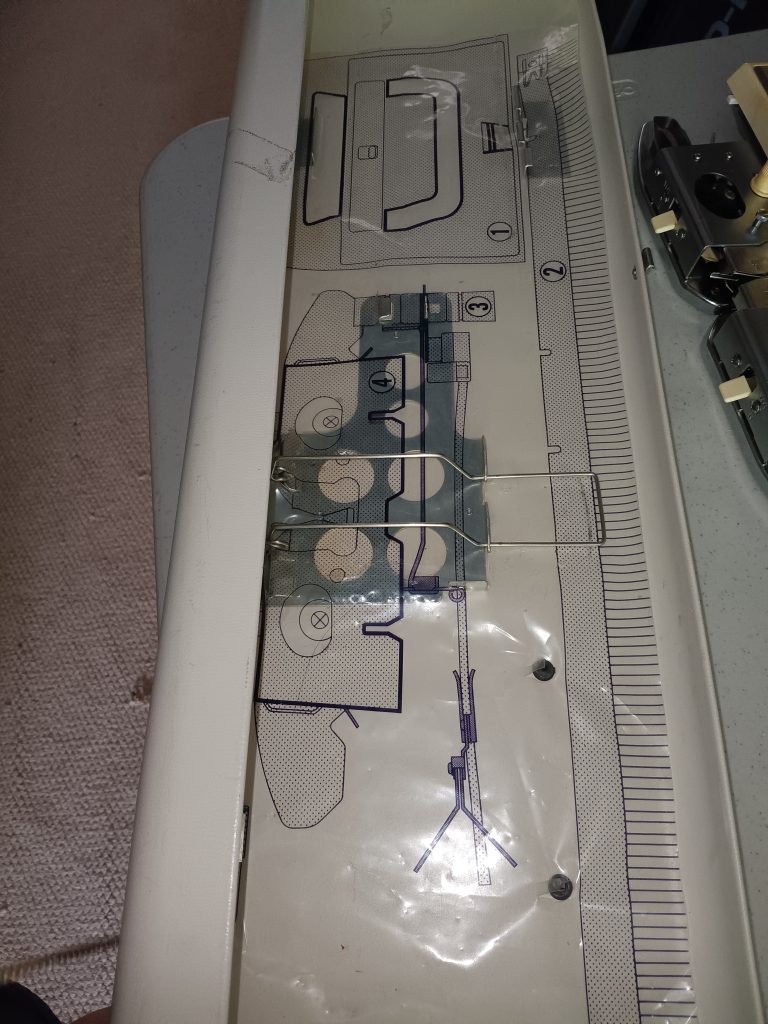
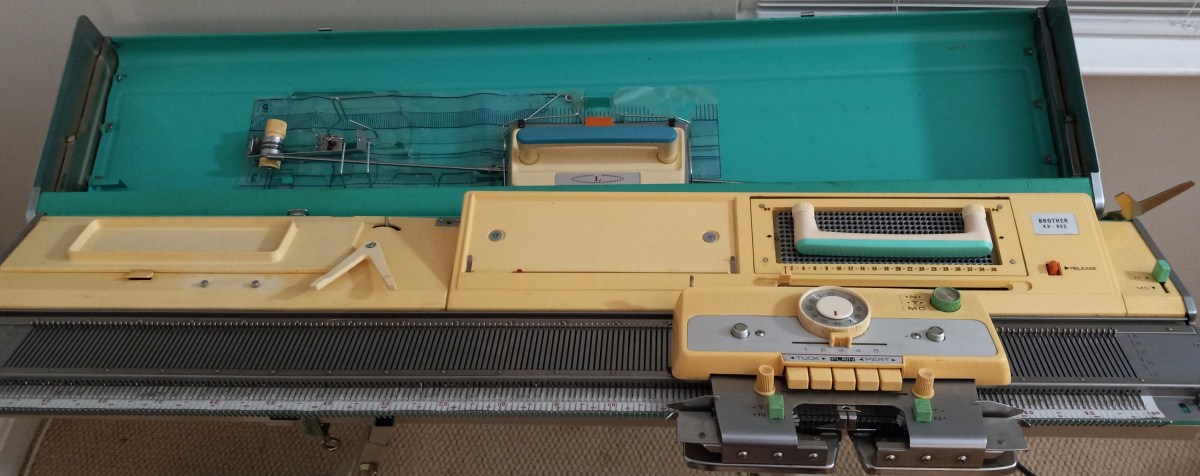
The machine will come with all major accessories: sinker plate, cast-on combs (short and long ones, attached together by the metal clip), tension mast (not shown in the picture above – forgot to include it, sorry) and a detachable row counter.
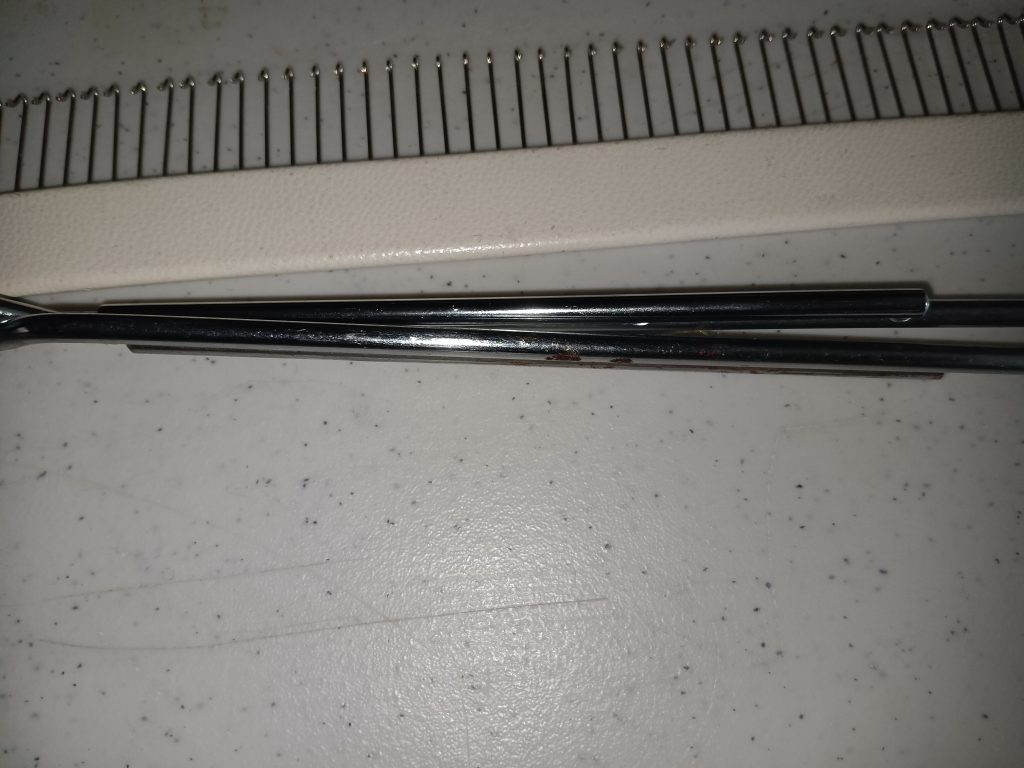
I also replaced the retaining bar: I inserted a completely new retaining bar + sponge bar (typically, I attach a new sponge to the existing retaining bar).
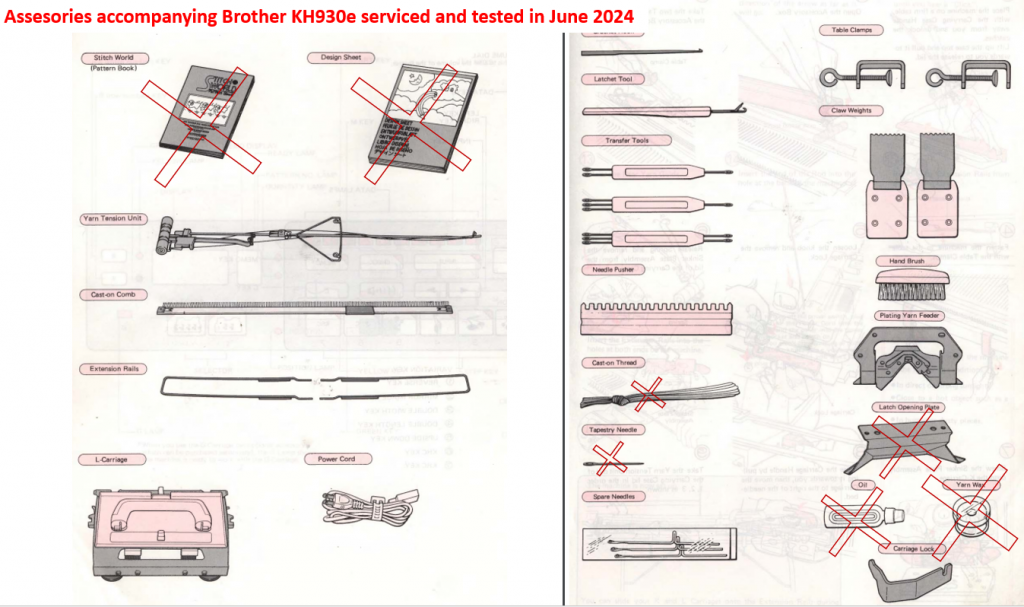
The machine will come with most minor accessories, including a hard copy of the manual (which is in decent condition).

The only accessories that are included are the cast-on thread (you can use any strong, silky yarn/thread) and a punchcard holder pin (all the tests in the video were done without that pin and all worked great).


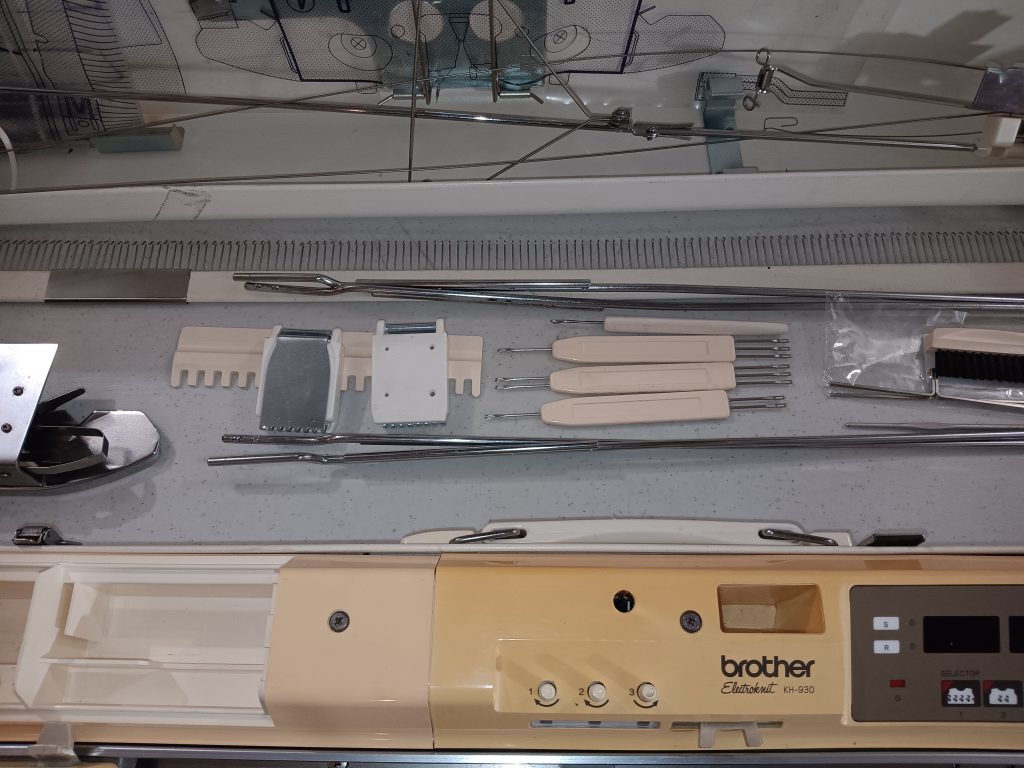
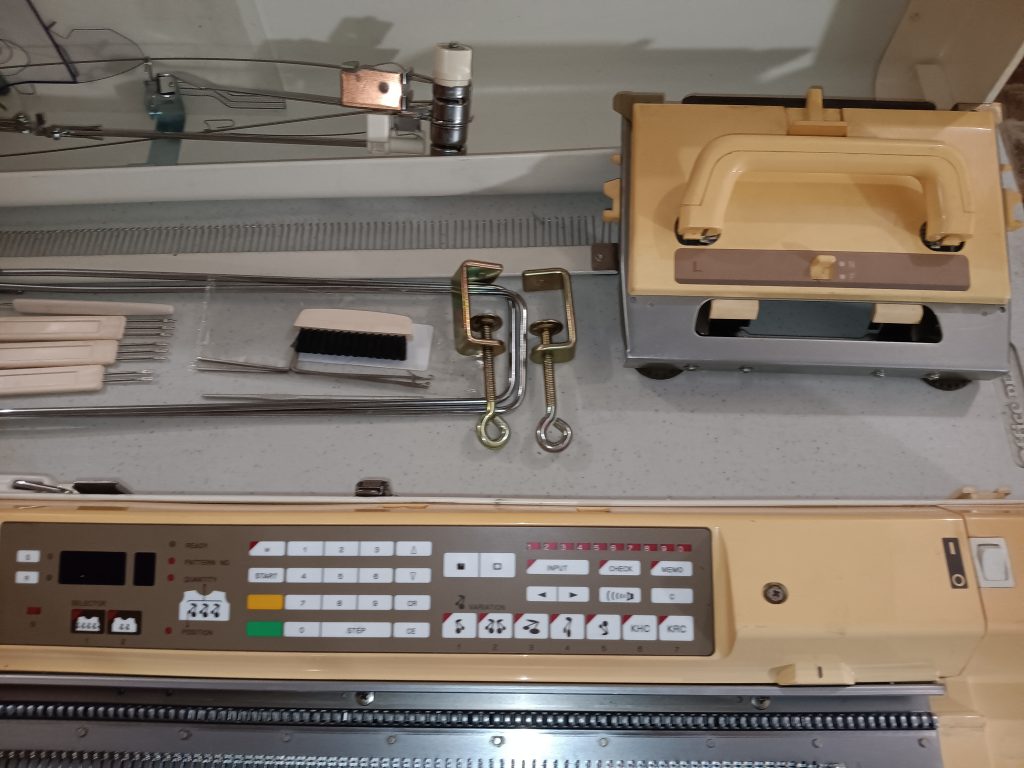
Table clamps, stitch-measure scales, punchcards, and claw weights are brand new, from the new stock.


All minor accessories fit inside the toolbox.


The carriage lock is not the original (the machine did not come with one). I attached the machine with the carriage lock from the ribber (because I left the setting plates in after testing the ribber). But I am including a white plastic replacement carriage lock in case the machine is sold in the future without the ribber.

Since the machine came without the punch cards, I had to purchase them. The punchcard set included is marked with the letter P (as it is supposed to be for the KH260 models) but it is not an original set. It is brand new but the paper/plastic is a bit thinner than the original set. However, I checked and the card corresponds to those in the manual.
The machine came with the wax and oil in decent condition. Thus, those will be included as well. The mast still contains a piece of wax I used when I tested the machine (some yarn was a bit more staticky than the other but only when tested with the ribber).
The machine originally came without the carriage. I have included a substitute carriage (which was fully serviced and tested) this is why the color is a bit different from the main bed.
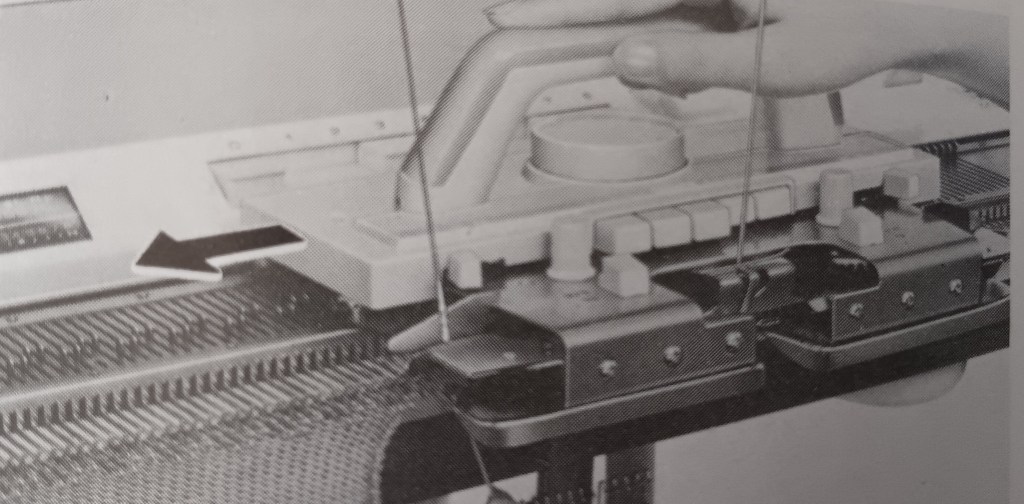
When selecting needles, make sure that the needle buds are as close to the marked B position as possible otherwise the carriage might have trouble. It is true for all knitting machines but bulky machines are especially “sensitive” to misaligned needles probably because the needle buds are so much bigger.
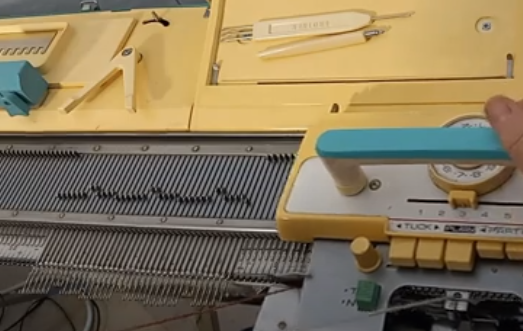
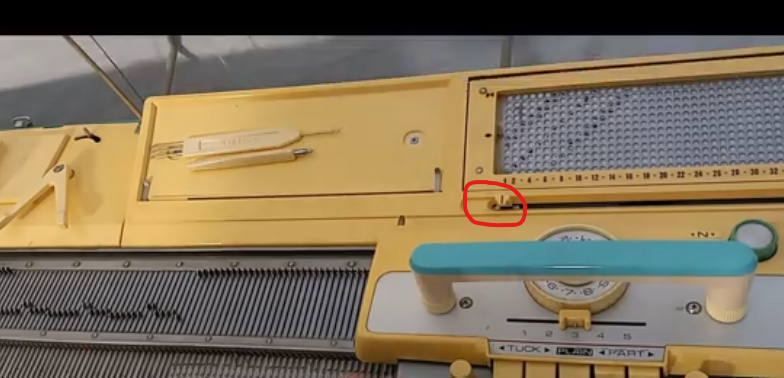
A couple of other very individual things for this machine: if the numbers in the row counter do not get triggered reliably, two things can be done. 1. Gently shift the plastic cover on which the row counter sits towards you. Even a little bit of movement will shift the row counter enough to make it more reliable. I installed it properly but the top cover can shift during the shipping/transport a little bit, enough to increase the distance between the tripper on the carriage and the row counter lever. 2. Pass the carriage slowly next to the row counter. If the carriage is moved quickly, the row counter is still triggered but the number does not increase. I thought it was the problem with the row counter, but I tried several. The best thing that works is to slow down around the row counter. The slower motion triggers it better so the number changes.
Imperfections:
- the end caps have minor cracks. Those are super minor – I’ve seen machines in much worse conditions.


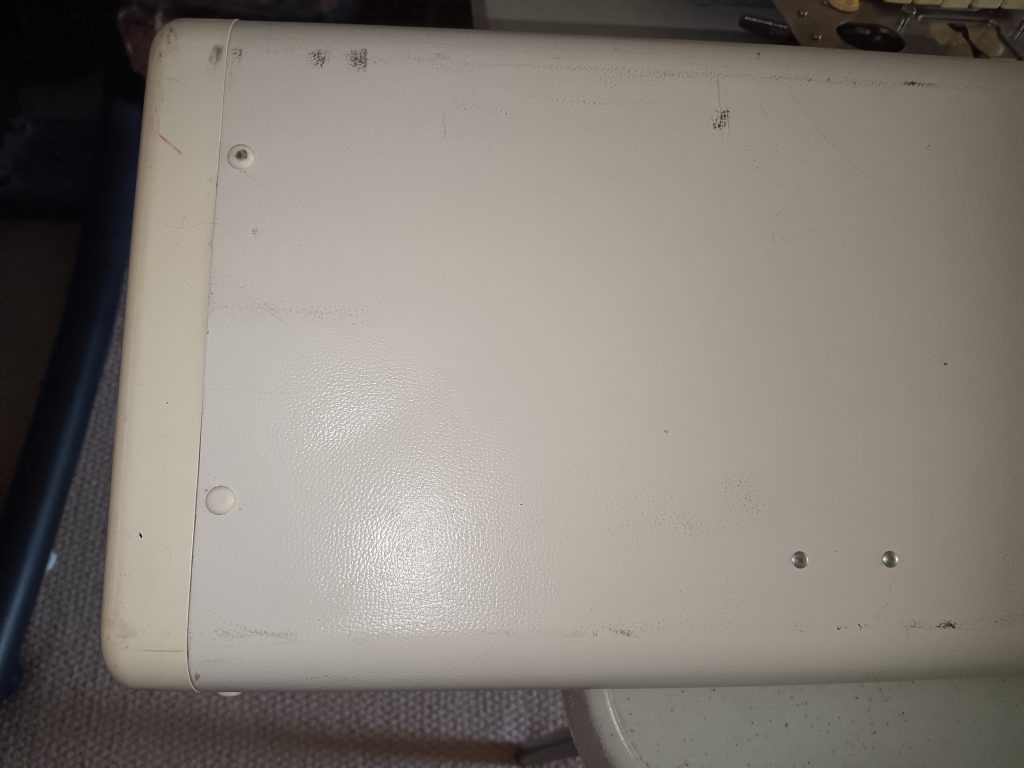
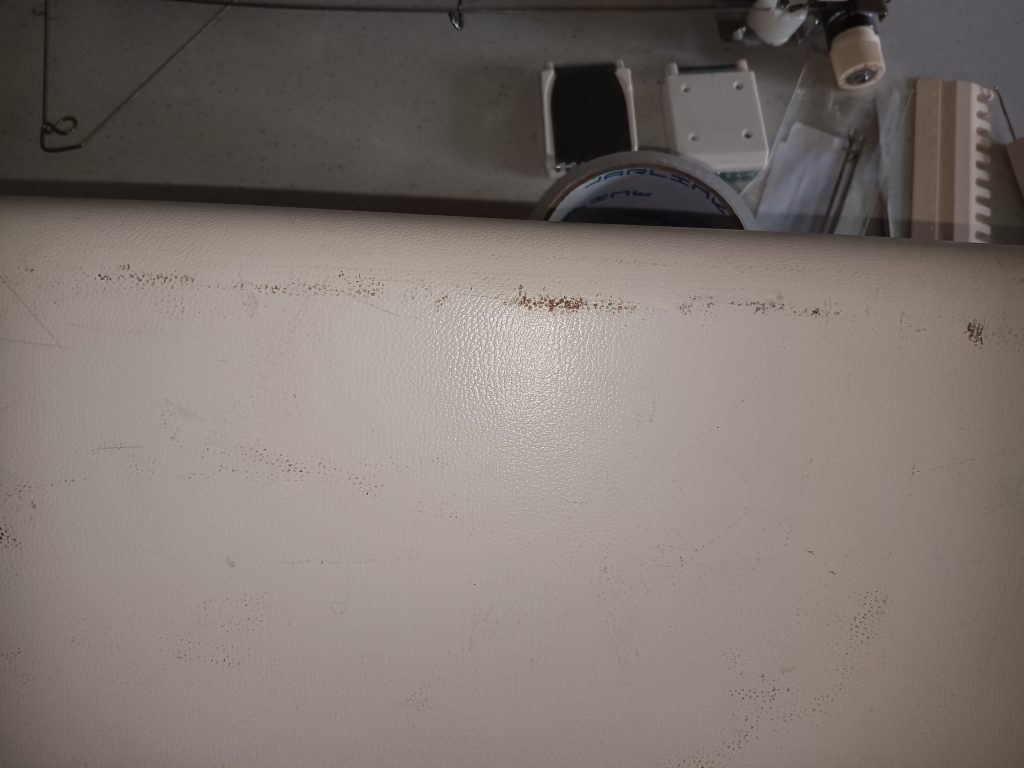
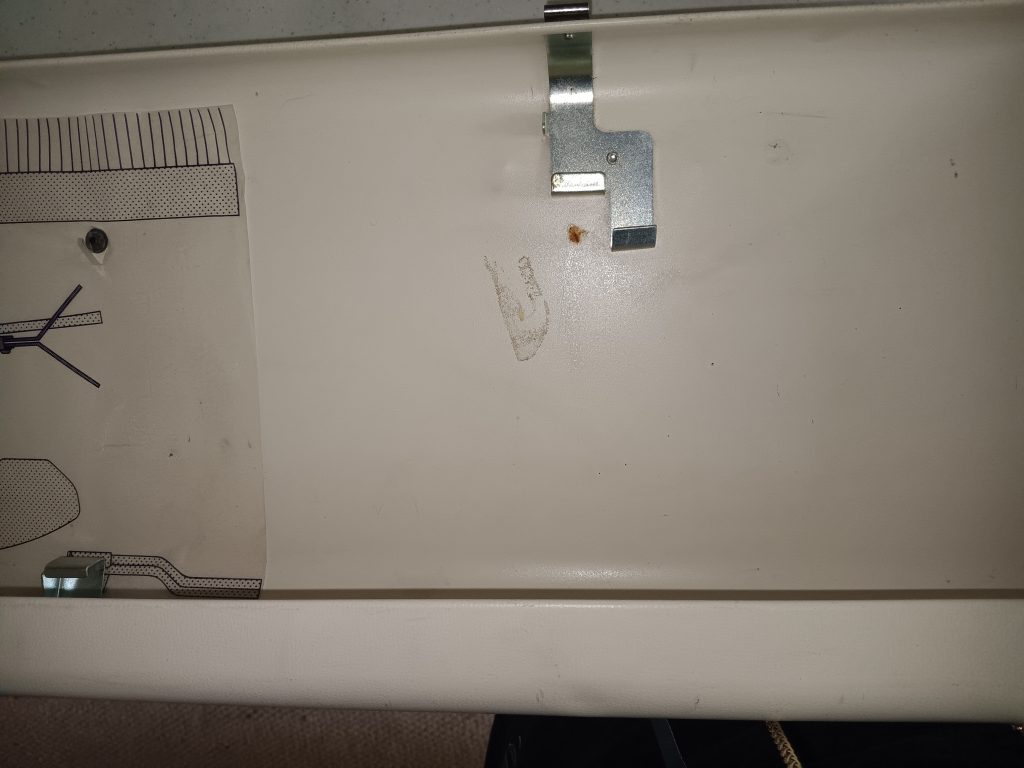
- the lid and the case have some staining from scotch tape. I will be washing them off with soap and water but not with strong solvents (as it might severely damage the coating). Sometimes some especially sticky residues remain.


- The case and the lid have minor scratches. Below is an example of the biggest one. Other minor scratches are not shown.