Brother KH860 is a standard-gauge knitting machine with punchcard reading capabilities to select needles according to the pattern of the punchcard. Brother KH860 is a wonderful machine. Read more about its pros and cons in my Knitting Machine Encyclopedia. This blog entry is dedicated to a particular Brother KH860 knitting machine, cleaned, serviced, and tested in my shop in August 2024.

The machine was cleaned, all needles were removed and inspected for bends, faulty latches, and sticky latches…. The needles were cleaned, and polished where needed. The faulty ones were replaced with the new stock.
The sponge in the retaining bar was replaced. The machine was cleaned on the inside (without any major disassembling: I removed the end caps and the top plastic panel). The carriage was deep cleaned. All buttons and levers on the carriage move freely. The sinker plate was also cleaned and inspected. The tuck wheels move well. The brushes are in good shape.
Additionally, I tested the patterning (AKA needle selection) as well as the needle-in-action while knitting on the full bed. The video of these tests is here. The full bed tests included stockinet, tuck- and slip-stitches. I did not test weaving and lace.
I typically like making something when I test these machines just to be able to show something from these tests. And if it is a wearable item, I donate it to charity. So, I converted the knitted fabric into a beret and a Christmas gift bag.


The lace carriage was not tested but all buttons and levers move freely. It is a very simple carriage and extensive testing is typically not needed.
Typically, I use card #1 for patterned tests. It is the card where every other needle (EON) is selected and the position of these EON needles alternates every row. In this case, any mispatterning will be immediately visible. Check out the video: all stitches formed beautifully. Also, for fair isle tests, I use very contrasting yarns where ANY mispatterning will be immediately noticeable.


The machine handles two kinds of yarn types very nicely (one an acrylic blend and 100% acrylic) and no static formed.
Some sources claim that Brother KH860 typically does not come with built-in garter carriage rails. Well, this is already the third KH860 that I came across that had them. Built-in garter carriage rails are great for future accessorization with a Garter carriage.
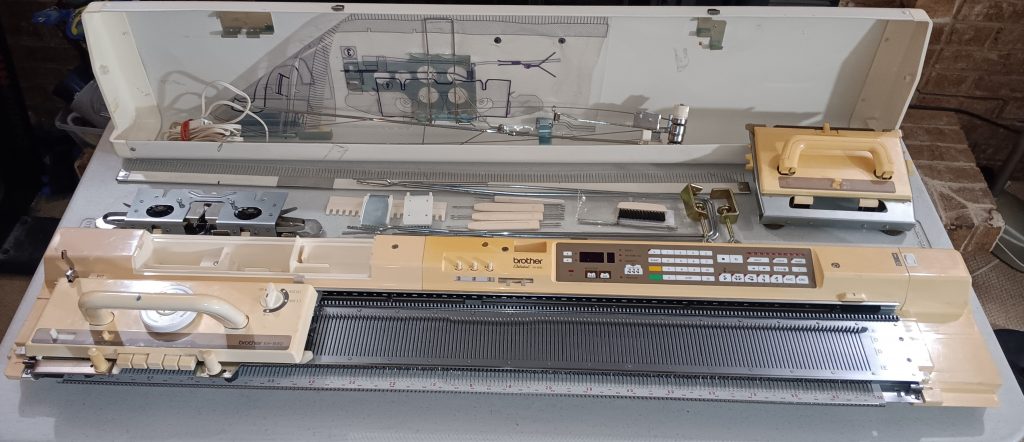
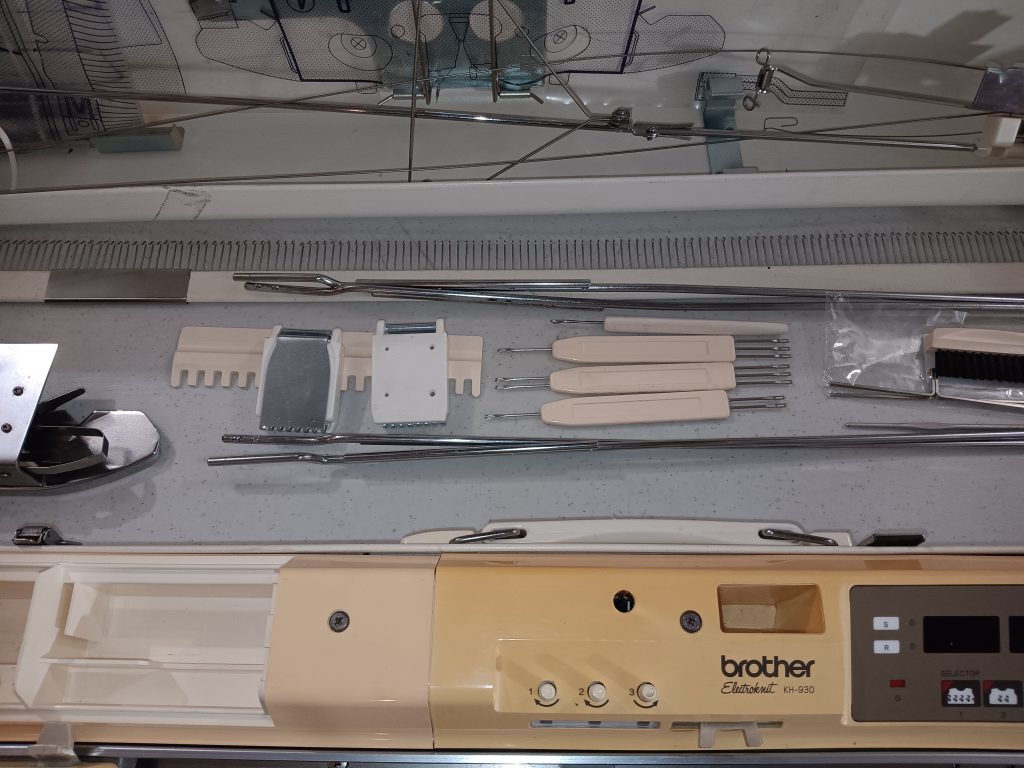
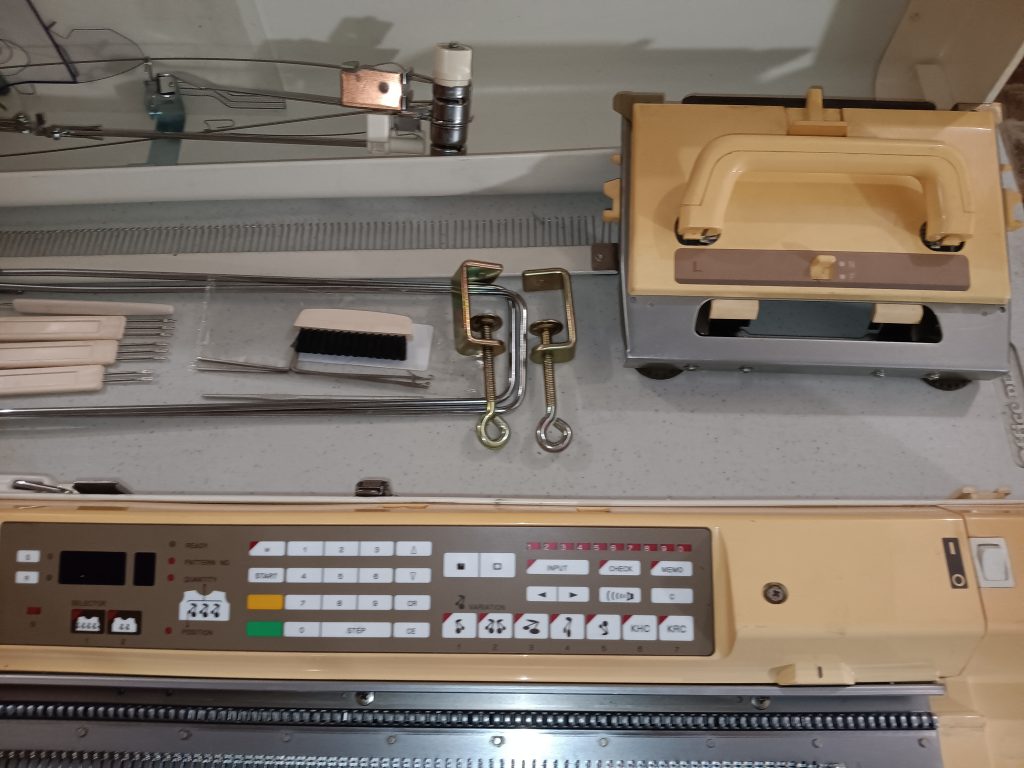
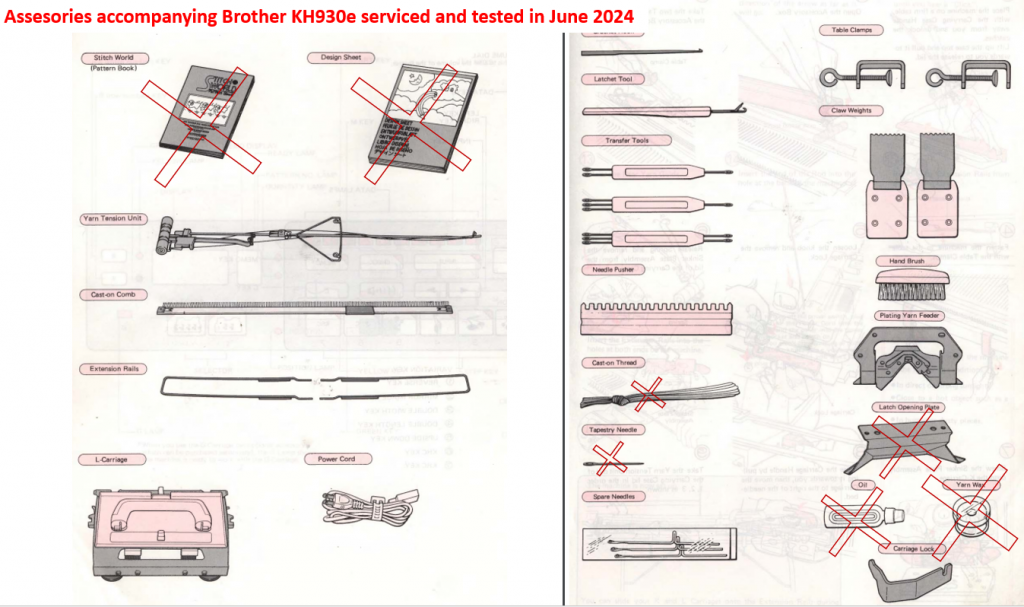
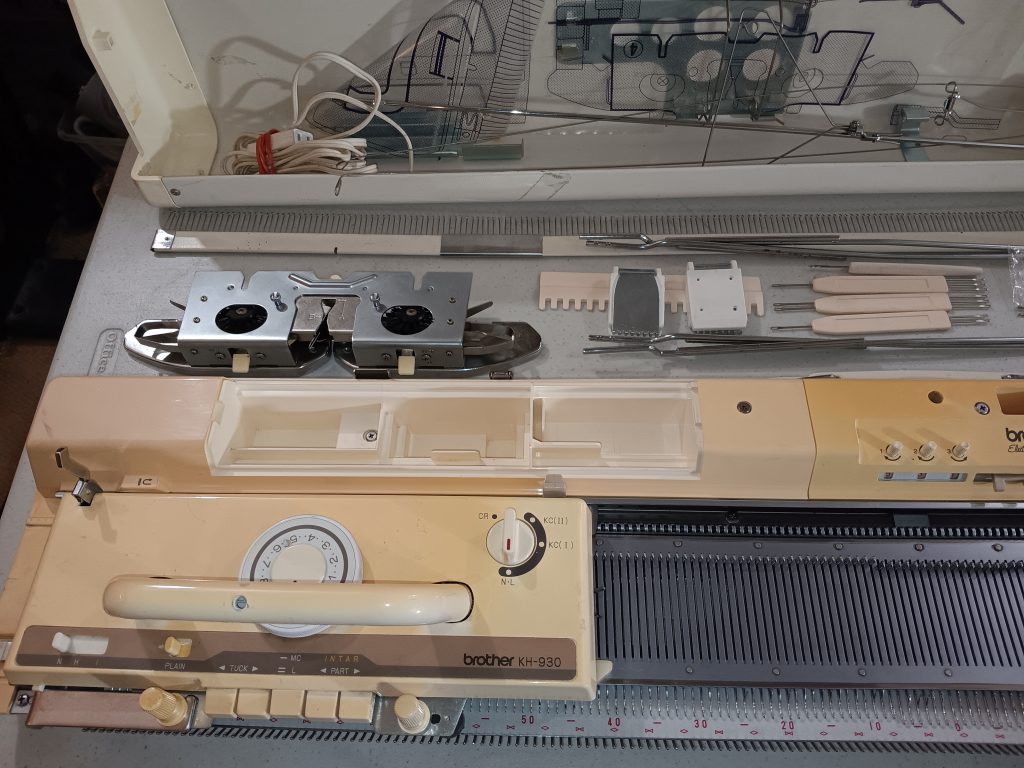
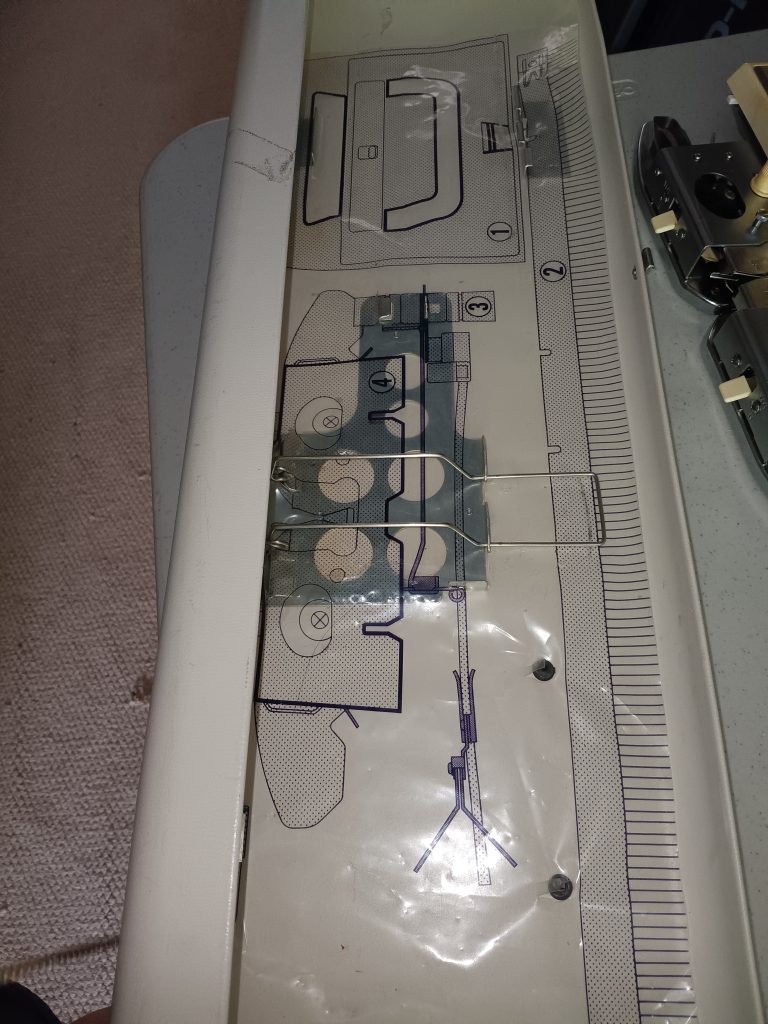
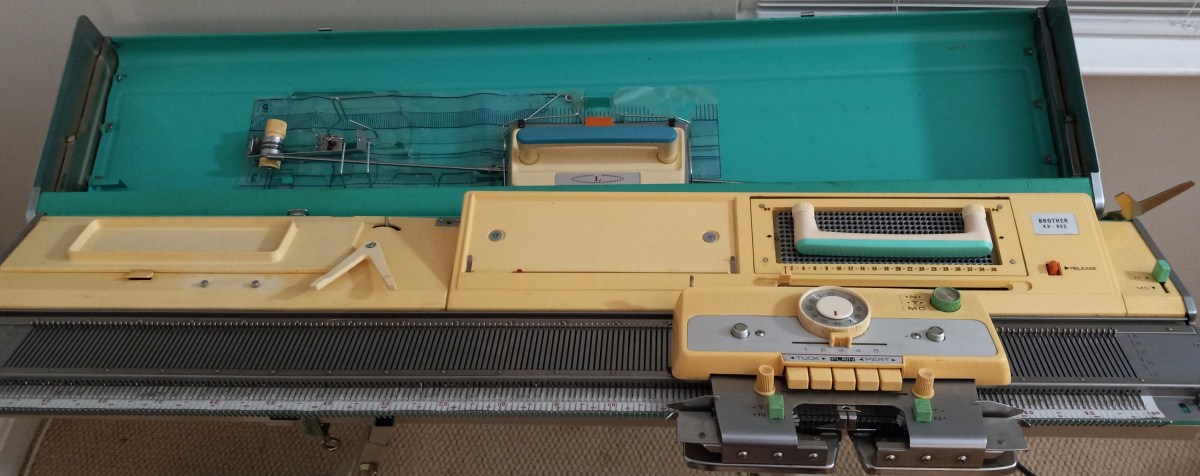
The machine had all major accessories (I only had to get cast-on combs from my stash – they are shown below in a disassembled state): lace carriage, extension rails, sinker plate, tension mast and of course the main carriage. They all fit into the lid of the case.
The machine came to me with very few minor accessories but I was able to find and collect the replacements.

The claw weights, transfer tools (with 2×1, 3×1, and 2×3 pegs), table clamps, set of motif cams, and the needle indicator strip are all new from the old and new stocks (yeah, new stock is probably a knock-off but serves the purpose).

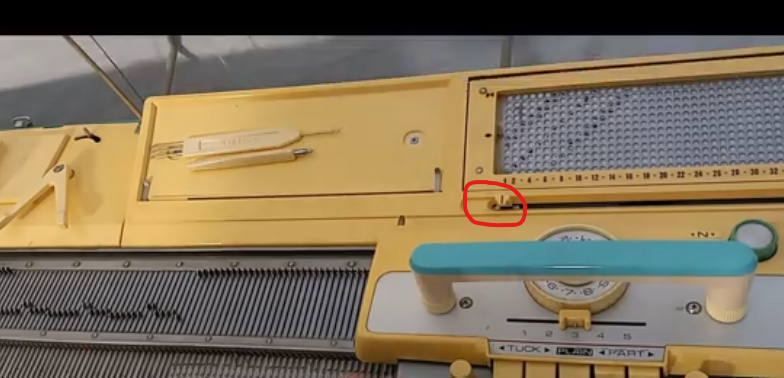
The missing accessories are wax (it was so old it crumbled), a punchcard holder (a rod that is inserted into the small hole behind the punchcard reader) a tapestry needle (any needle will work – I like plastic needles), oil (get a gun oil on Amazon), and a cast-on thread (I use a strong silky thread or a thin acrylic yarn as my cast-on three).

The absence of these accessories did not affect the functioning of the machine. For example, all the tests shown in my video were performed without them: I did not need to insert a punchcard holder rod into the slot and the punchcards advanced without problems.

The punchcard set that came with this machine is not the original set. The original cards should have been marked with the letter J. Those included with this machine will be marked with the letter S. These cards correspond to those in the manual for the KH868 knitting machine (available for free here).
The hard copy of the manual for the KH860 model will also not be included with this machine but it is available online for free here.
Now about imperfections:
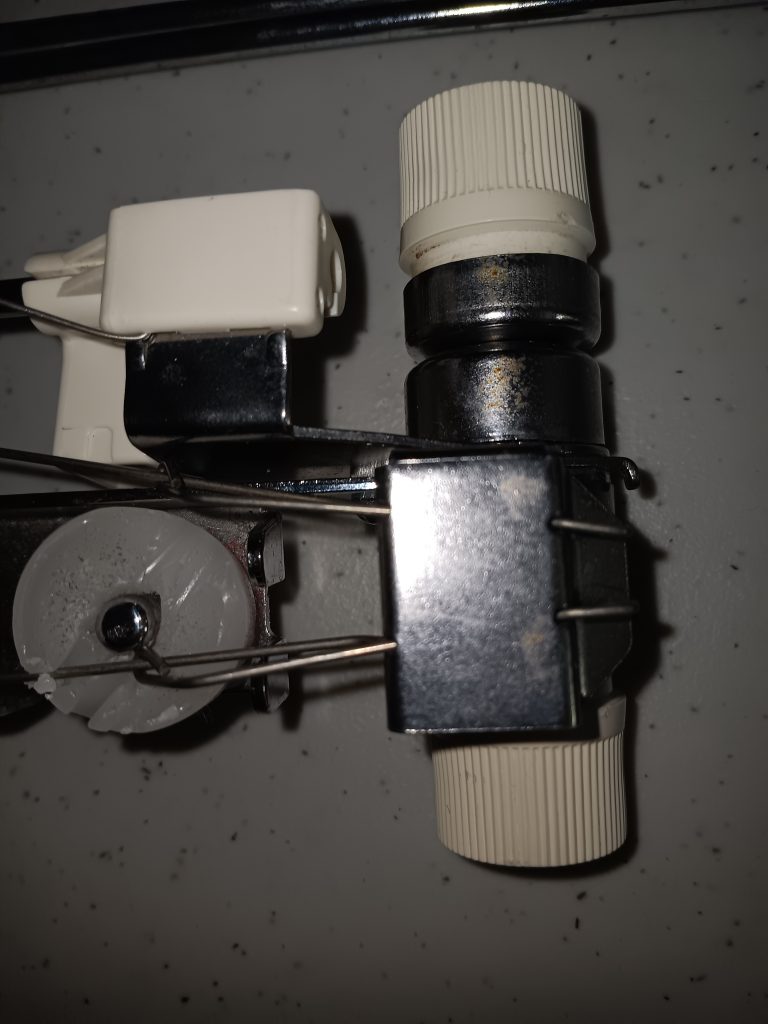
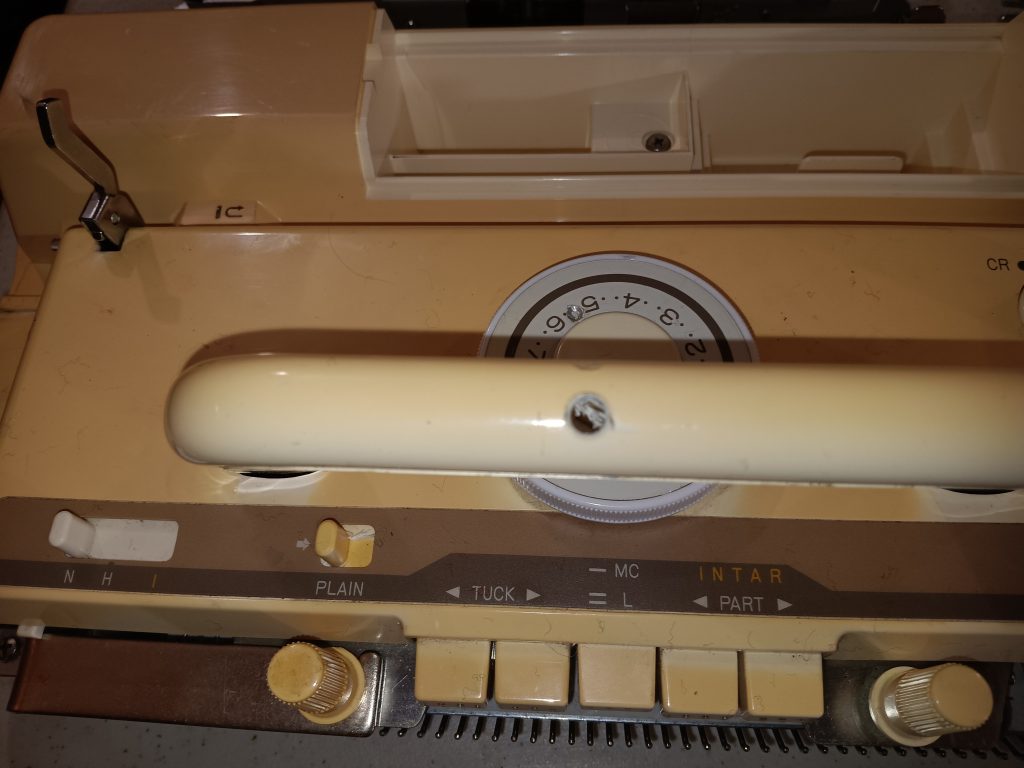
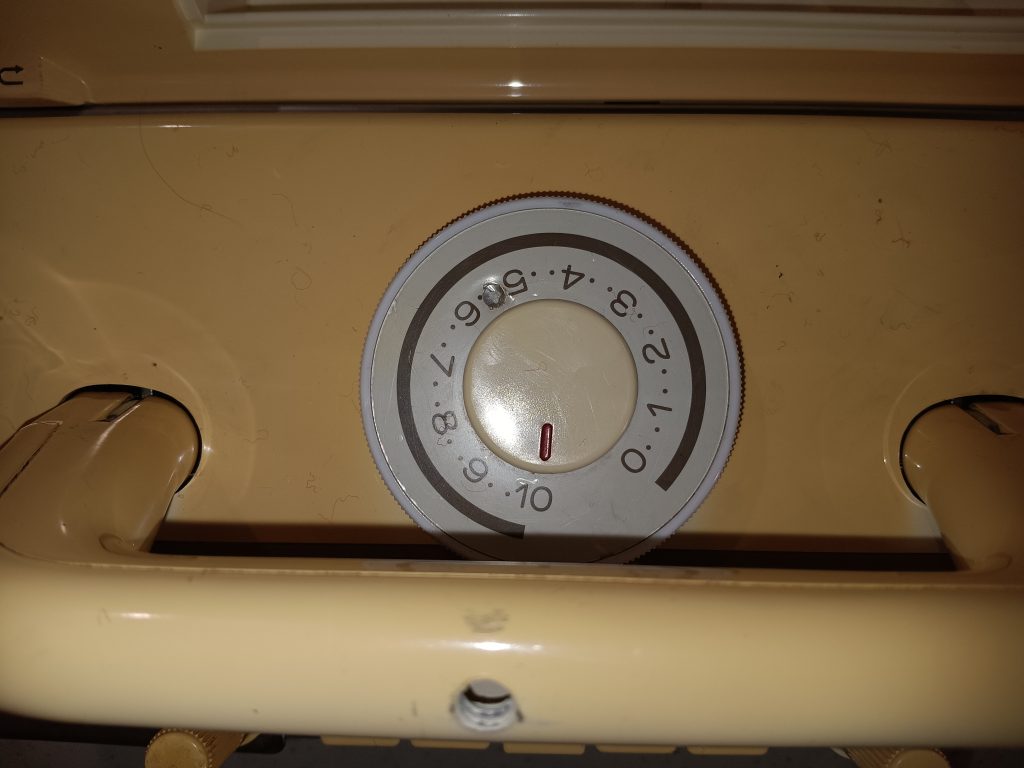
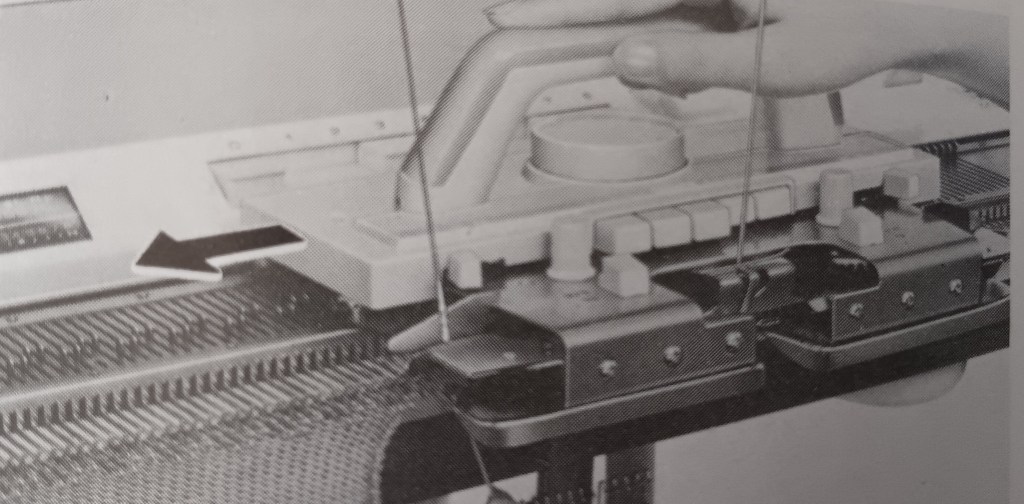
- Crack on the plastic near the knob for the punchcard reader. Although cosmetically not pleasing, it did not affect the functioning of the machine and/or the punchcard reader.


2. Because of the garter carriage rails and the carriage stoppers on each end of the needlebed, the carriage gets a bit stuck when pulled too far to the right or to the left (see the last couple of minutes of the video). It is just something that you’ll need to get used to.
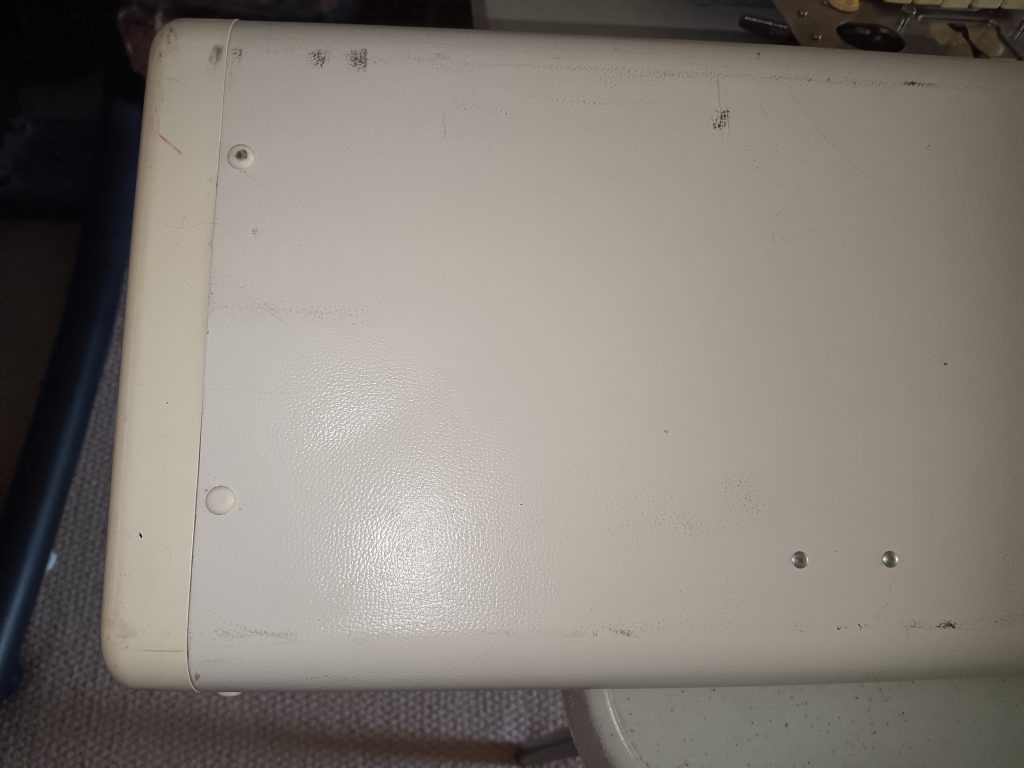
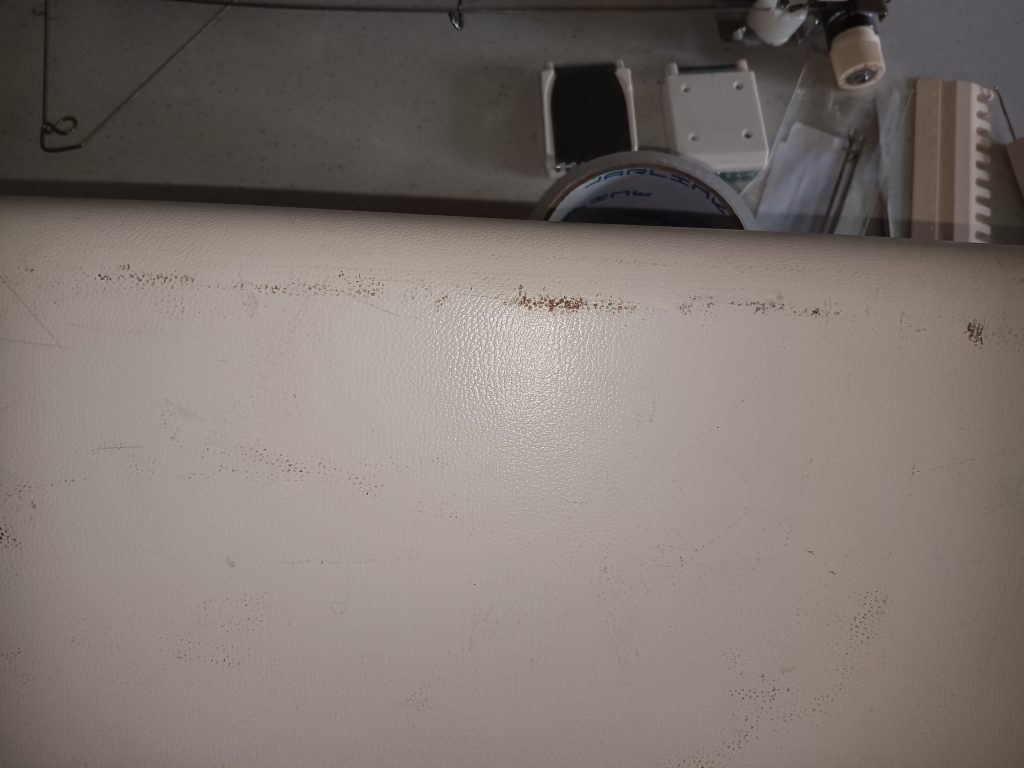
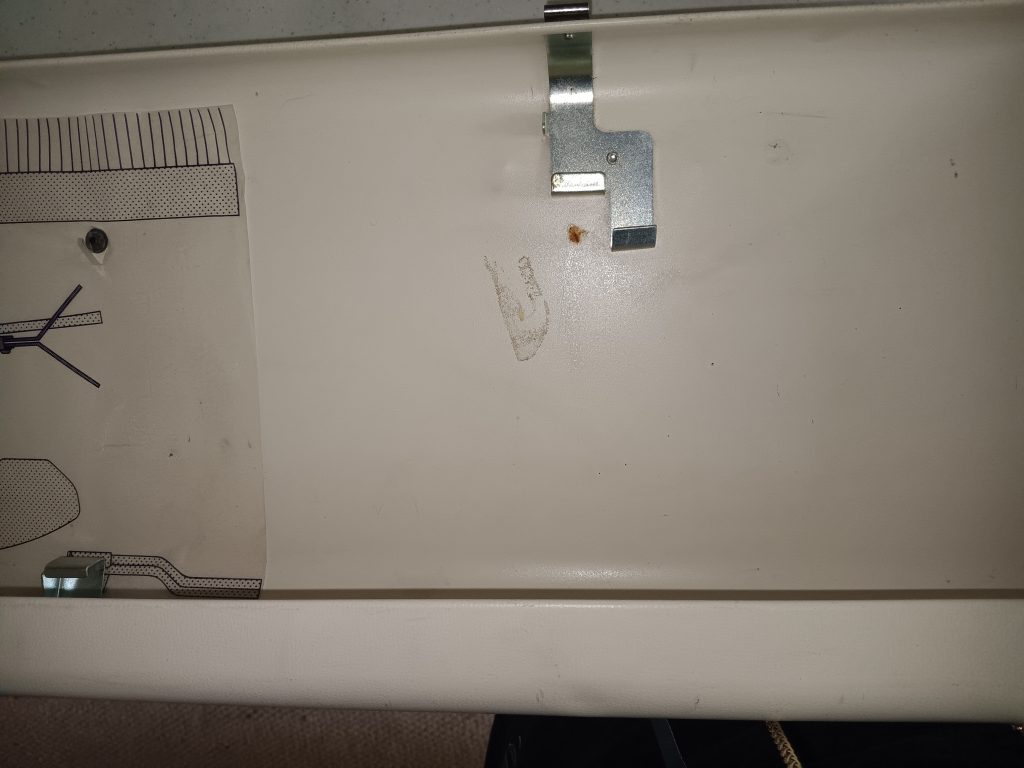
3. The lid and the case have some minor stains, scratches, and scruffs. Below are the pictures of some of them. Despite these minor cosmetic imperfections, the overall states of the case and the lid are pretty good. One of the best ones I’ve seen.
Happy Knitting!