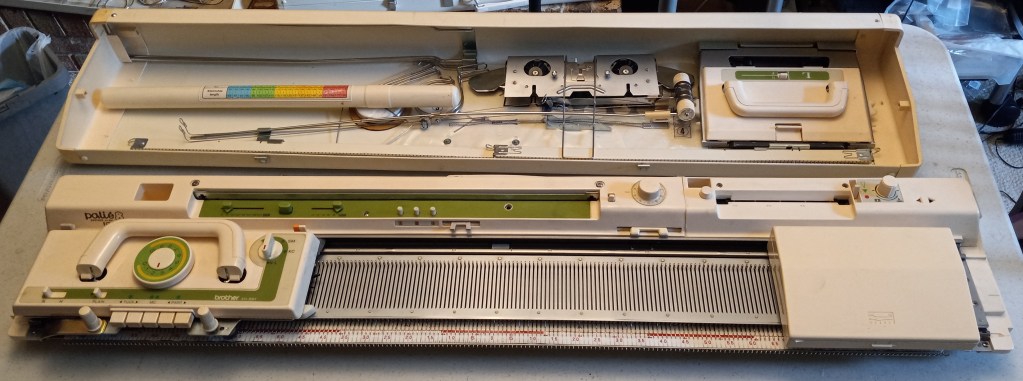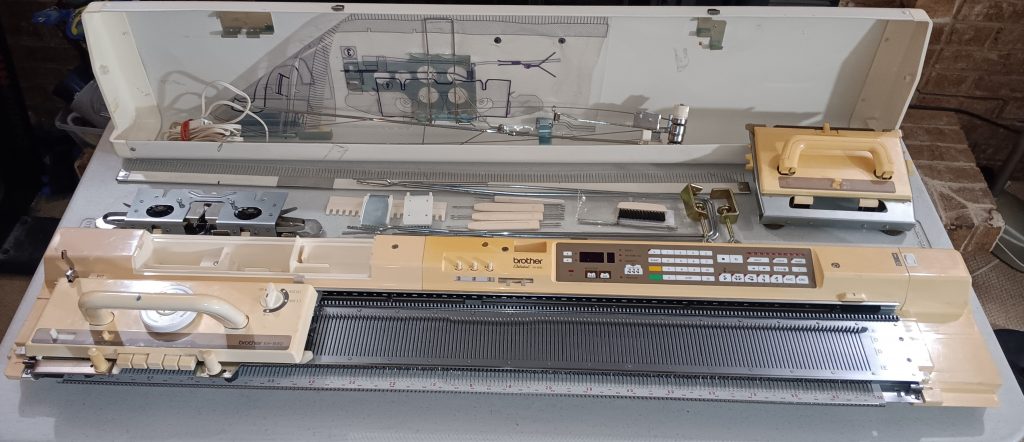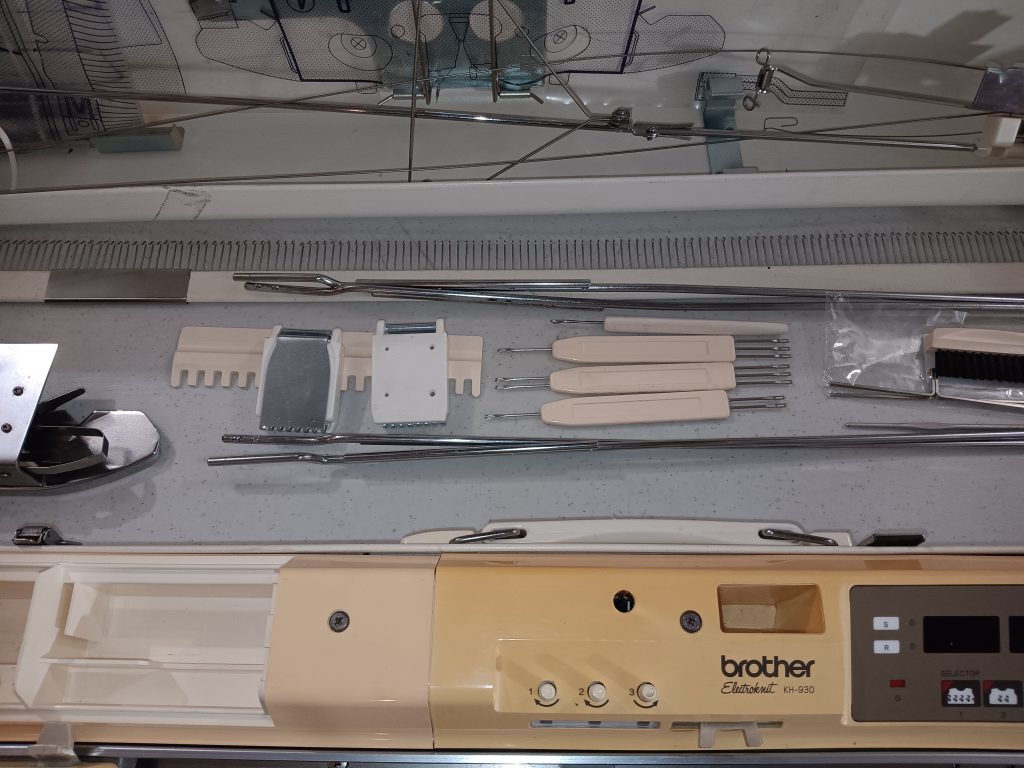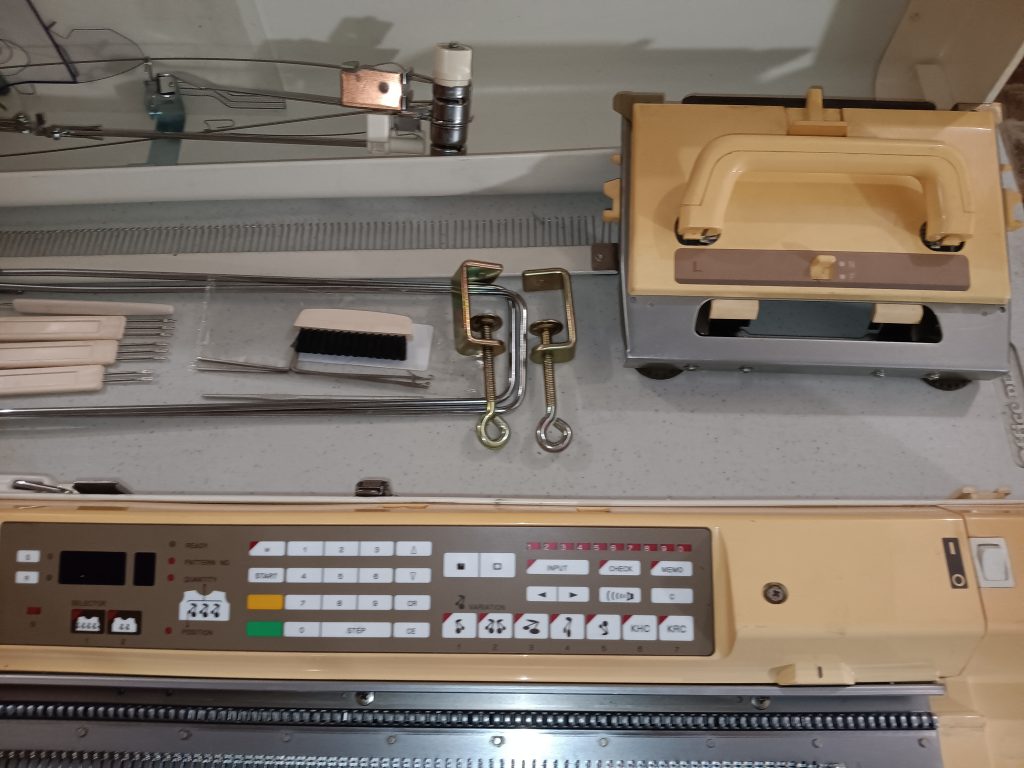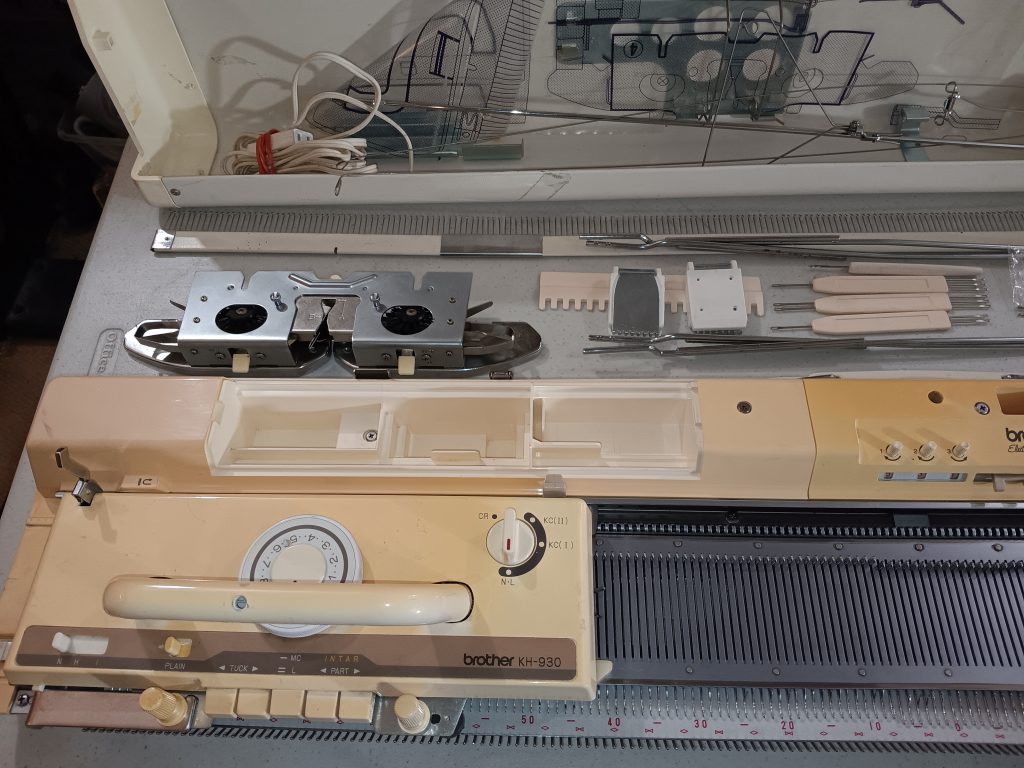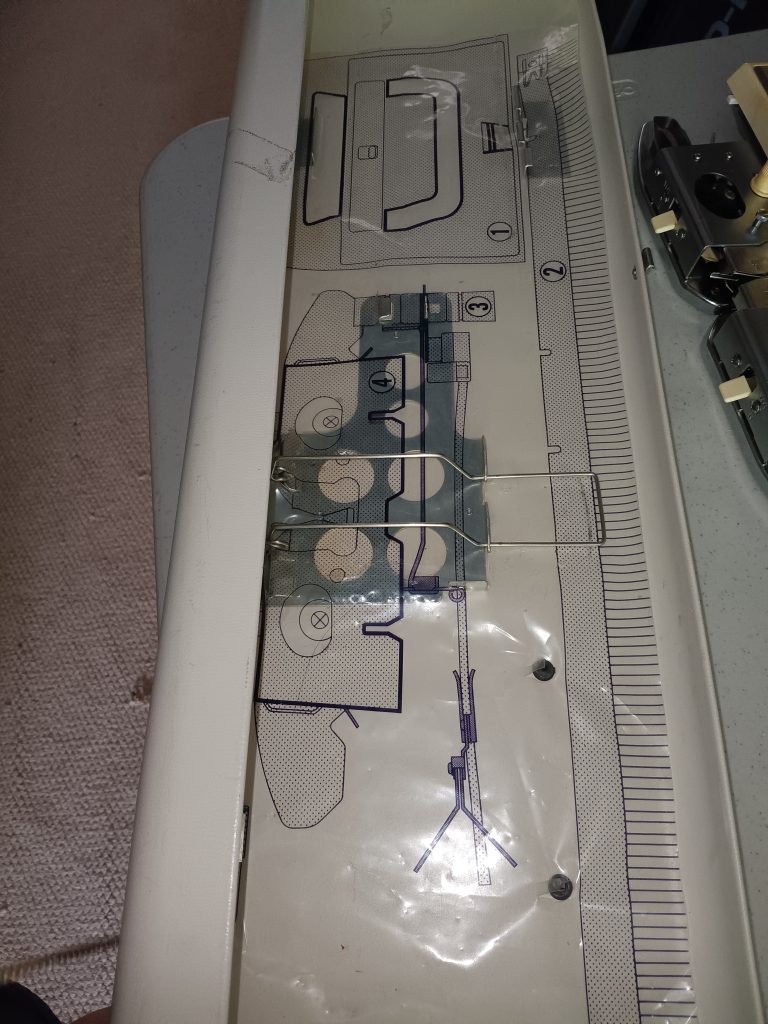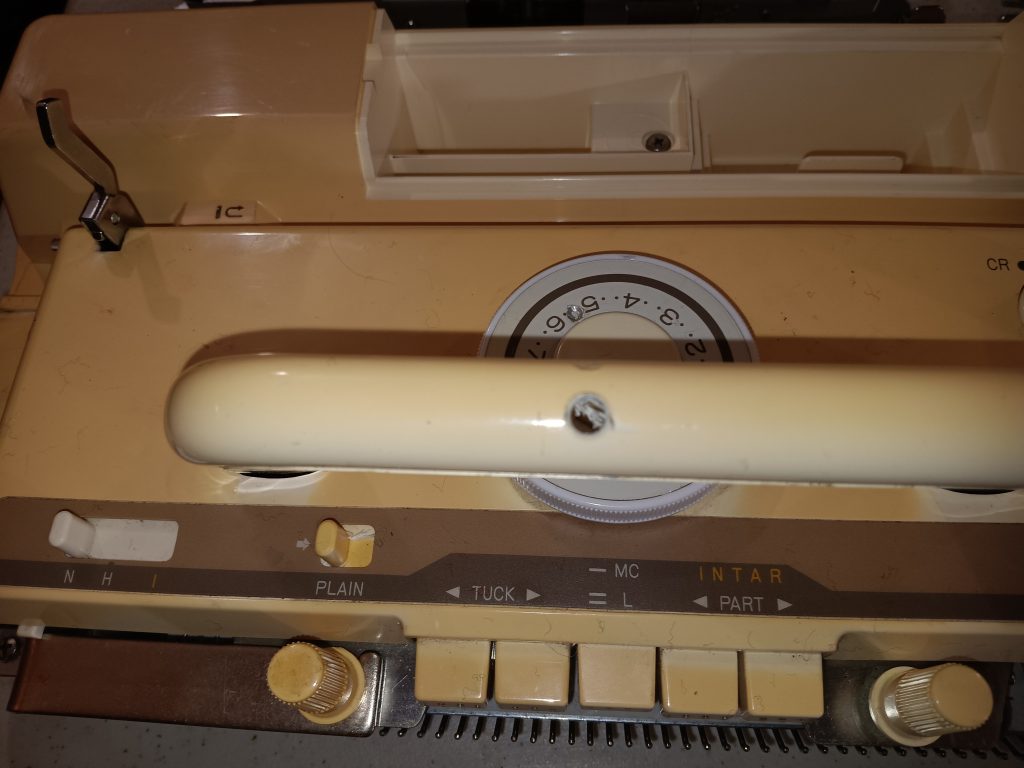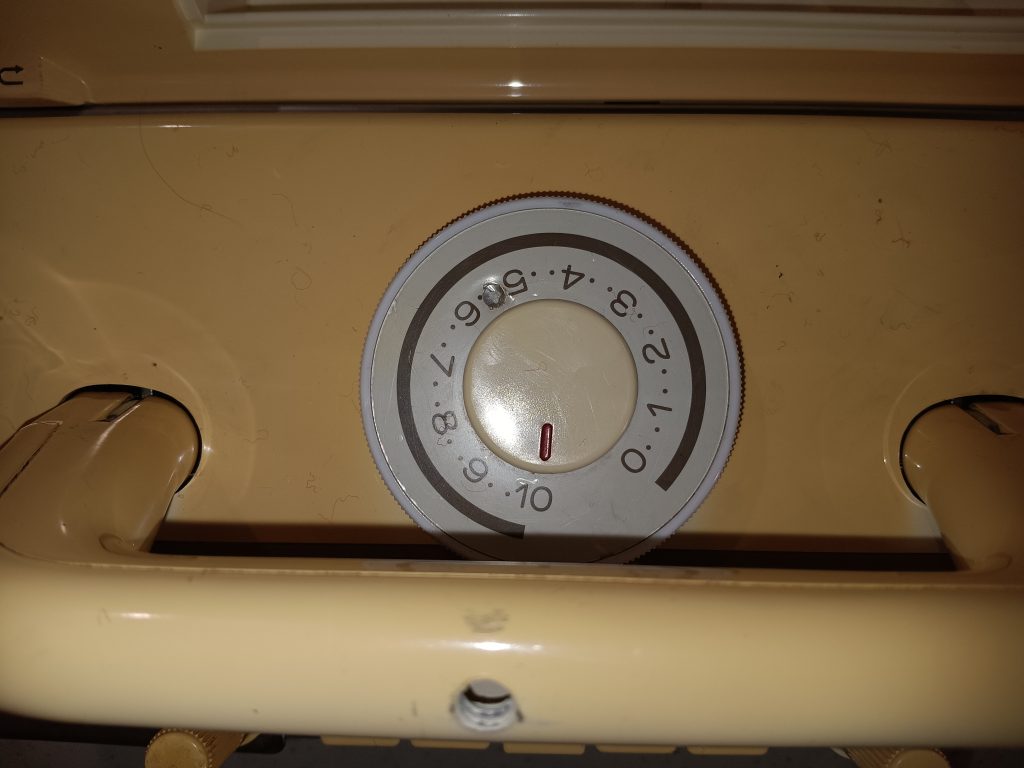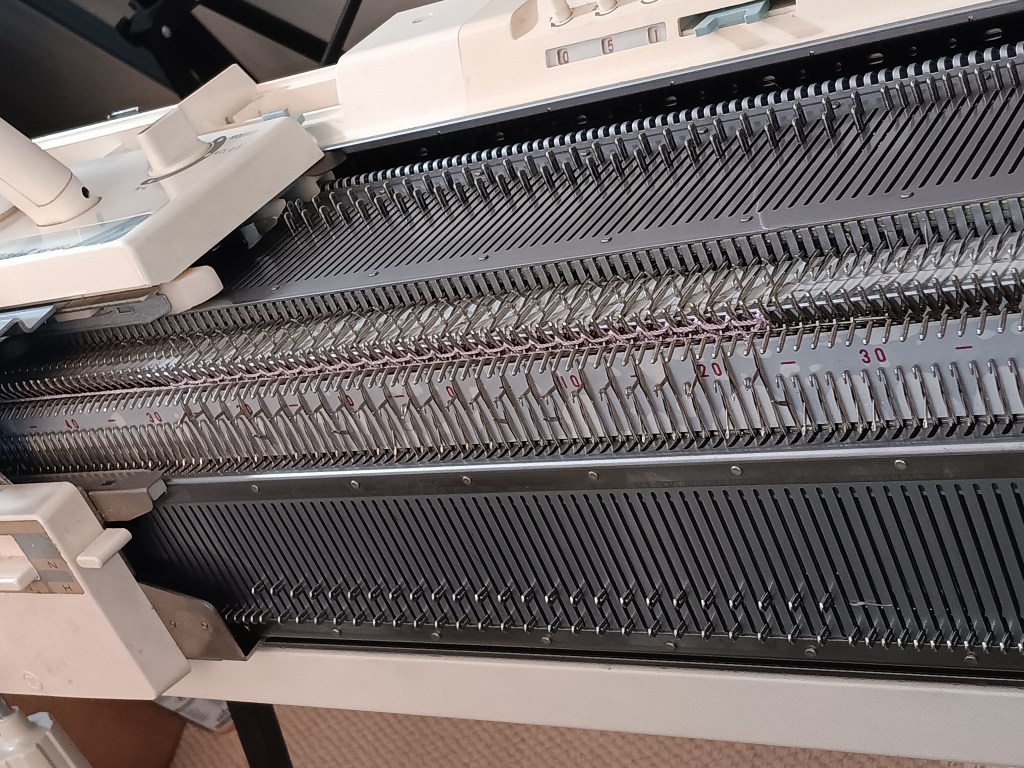
Brother KR830 refurbished in May 2024

Brother KR830 ribbing attachment is typically used with Brother Knitting machines, with model numbers KH8XX and KH9xx. To learn more about the pros and cons of the Brother KR830 ribber, refer to my Knitting Machine Encyclopedia.

This article is dedicated to a specific ribbing attachment, serviced and tested in May 2024 for Mercedes.

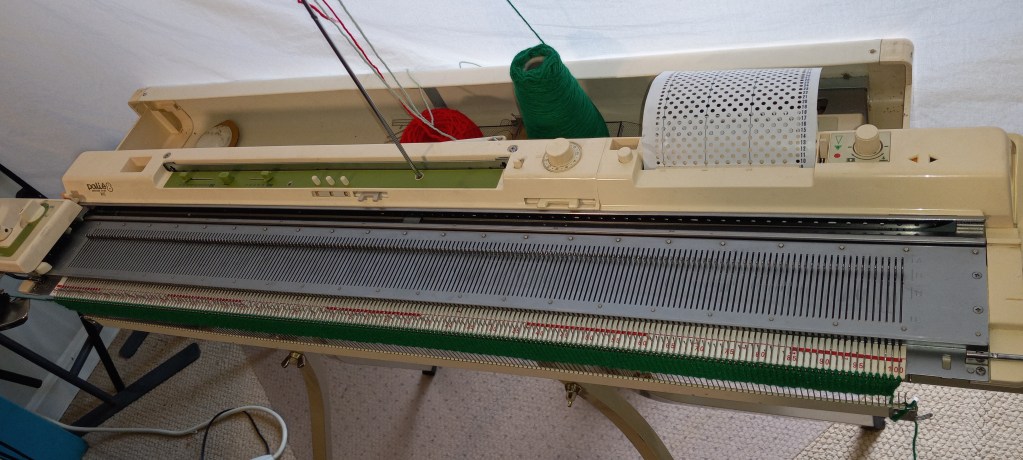
The machine was cleaned, all needles were inspected and then tested by knitting a 1×1 ribbing on the full bed. I did it in two different needle configurations to ensure I tested all needles. I also used two different yarns. Watch a video of all my tests.

I used my own Brother machine to test the ribber and to set up an optimum distance from the main bed.

You will need to do it on your own machine. I like this video, which explains really well how to do it.

The levers, brackets, knobs and buttons on the ribber and on the carriage move really well.

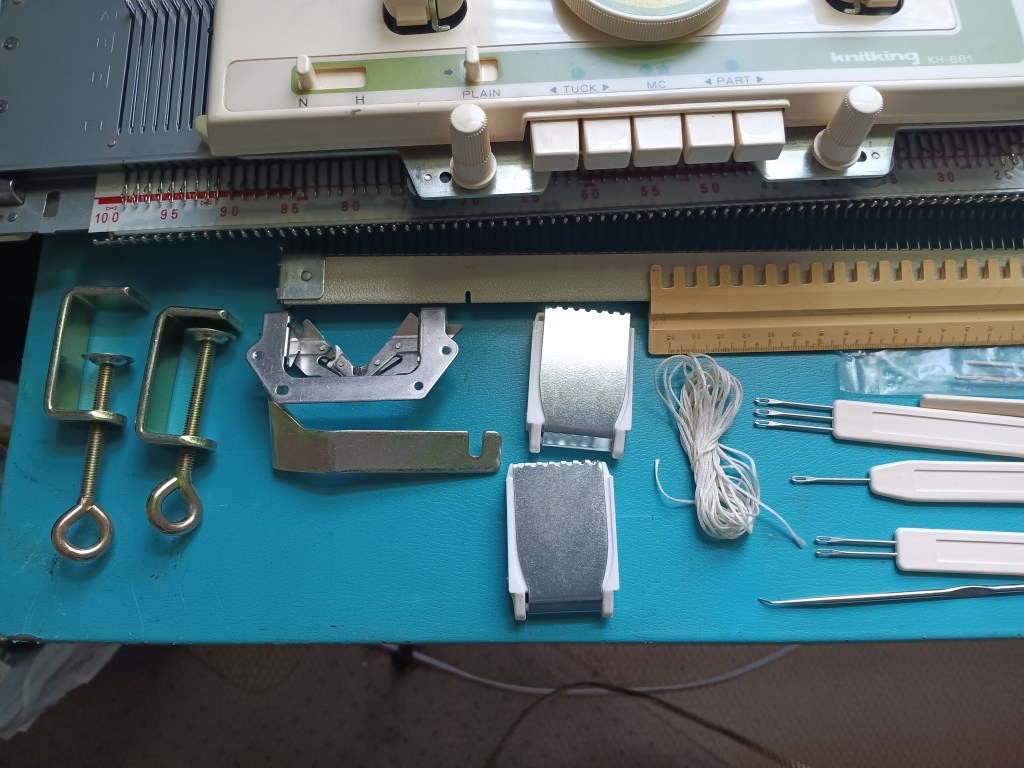
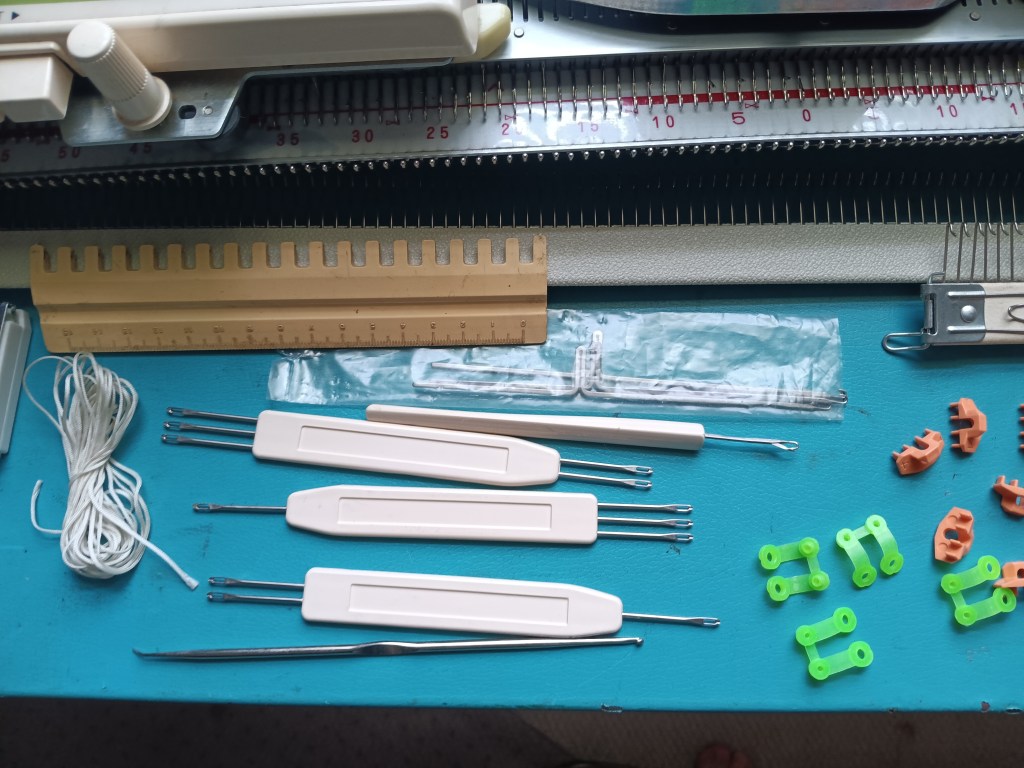
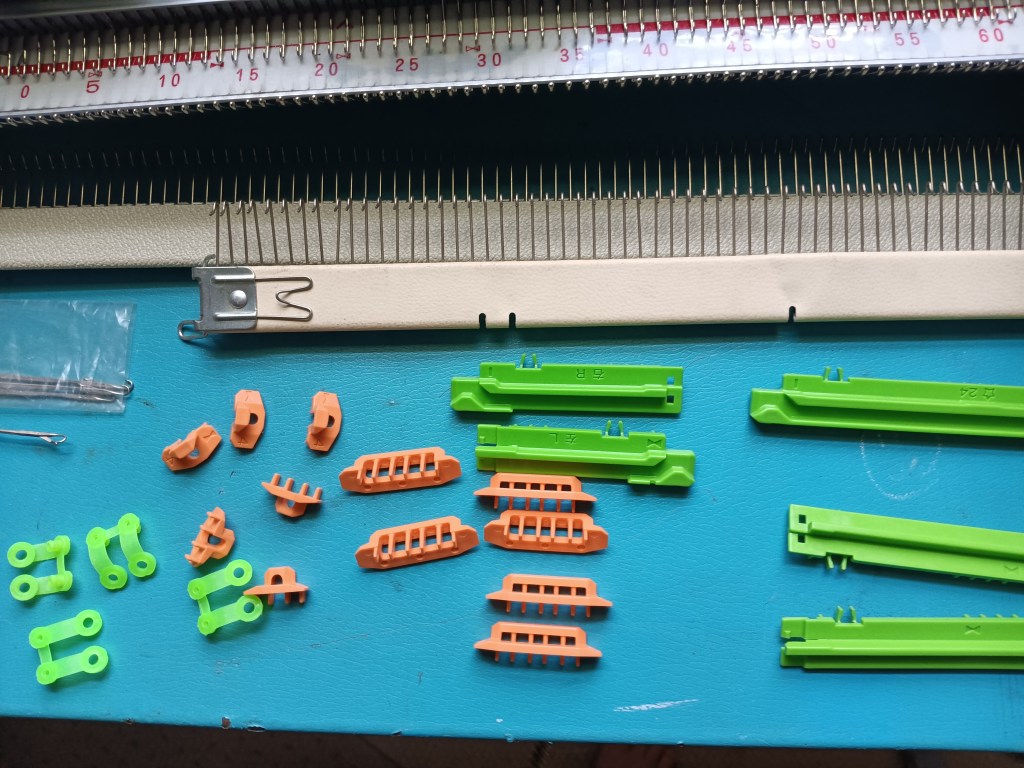
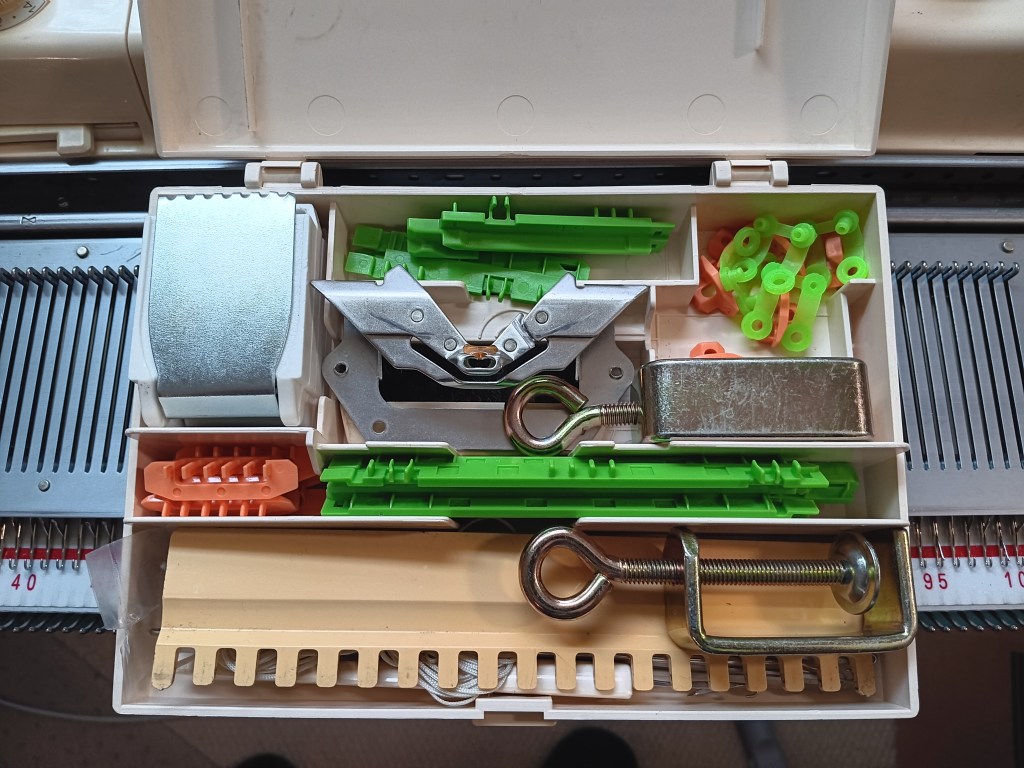
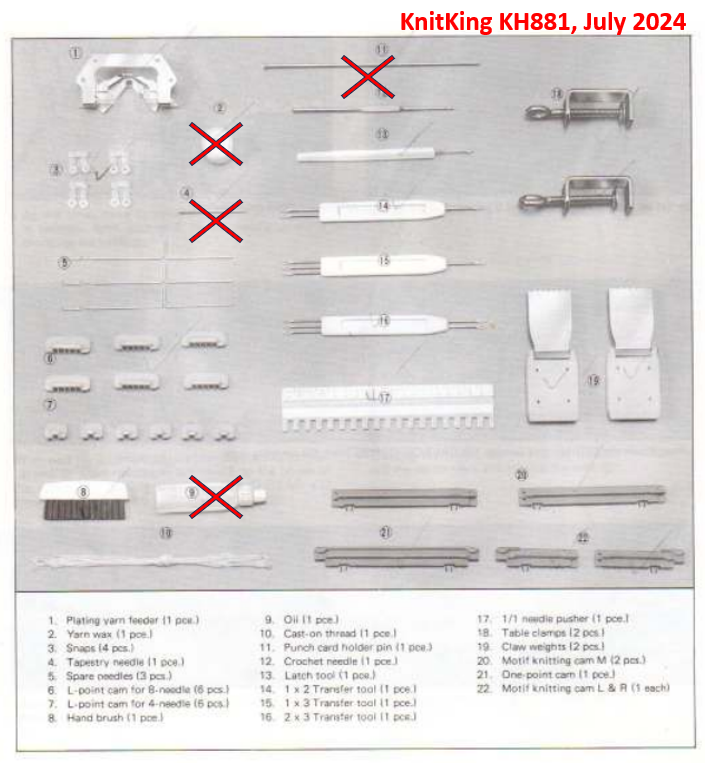
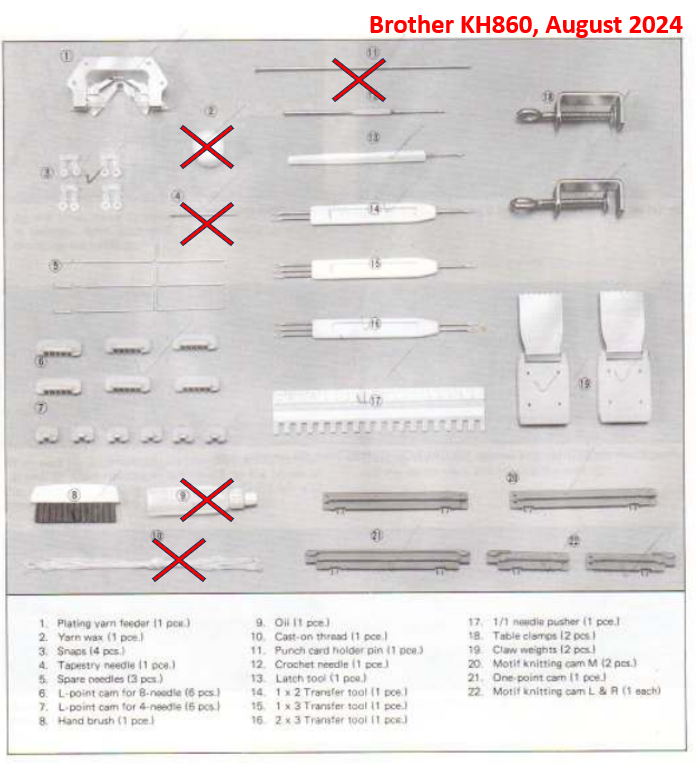
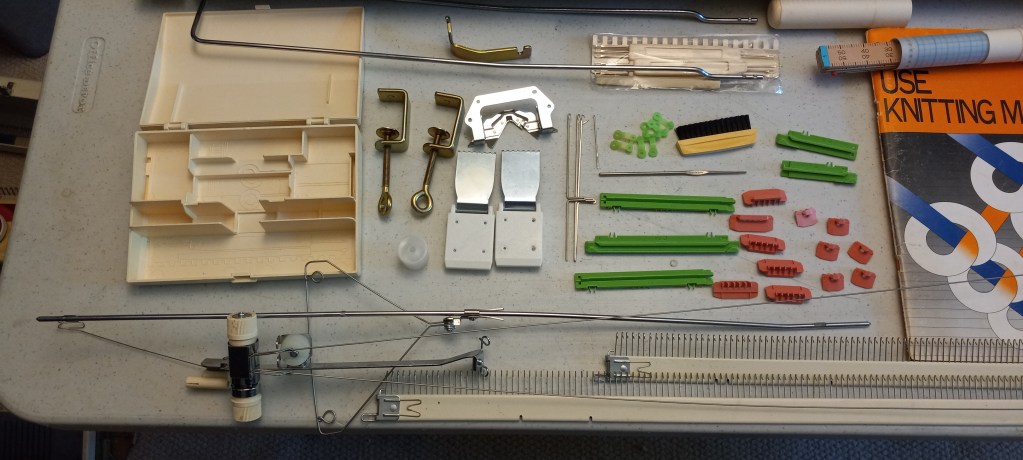
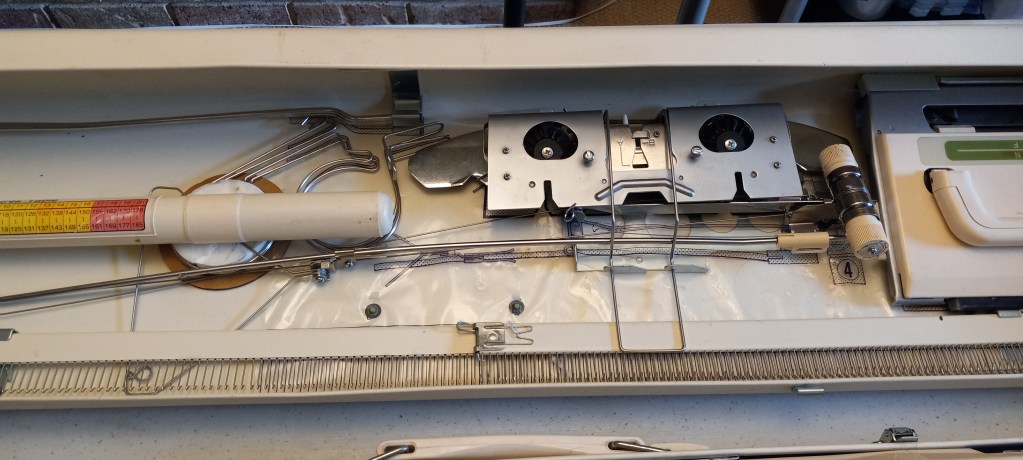
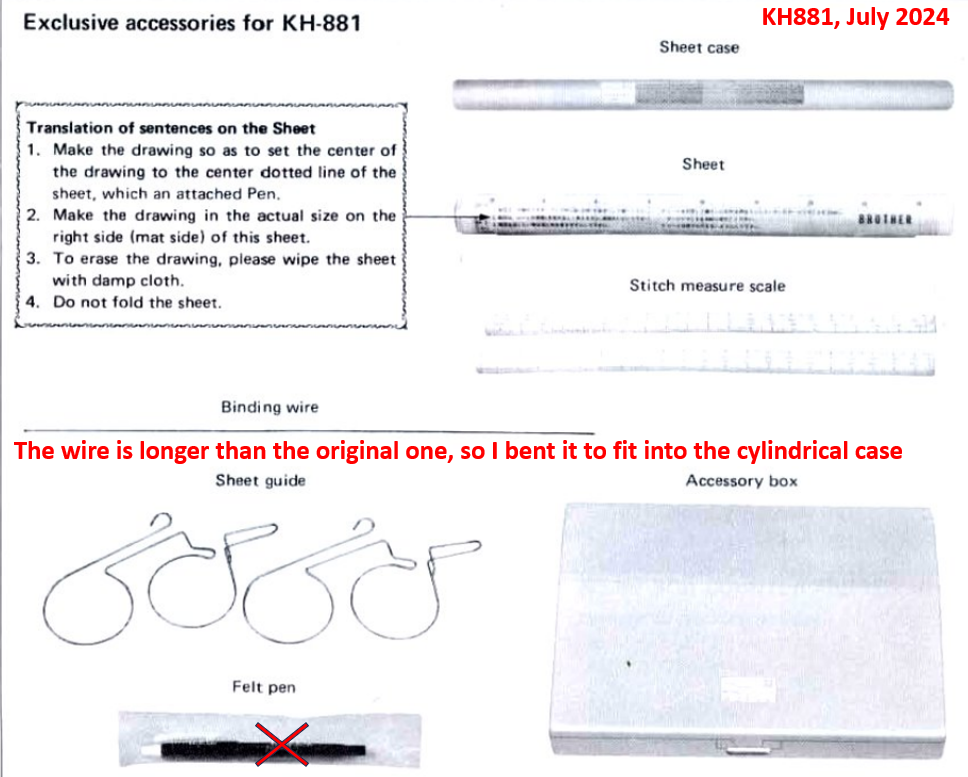
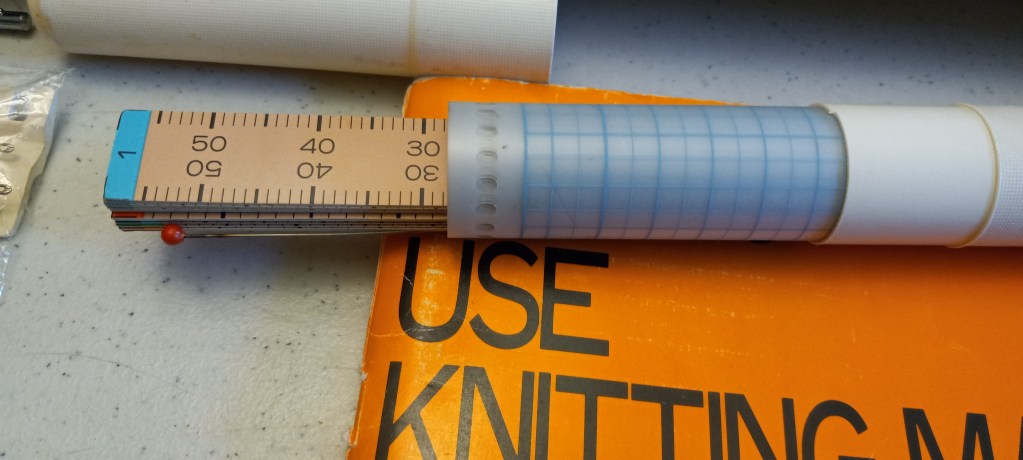
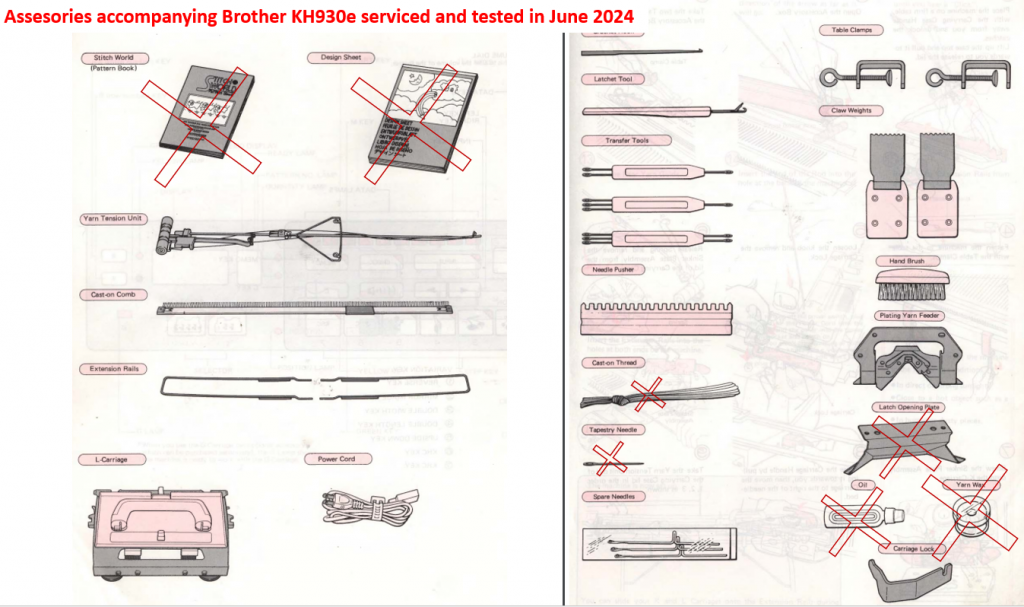
The ribber will come with all the accessories mentioned in the manual:

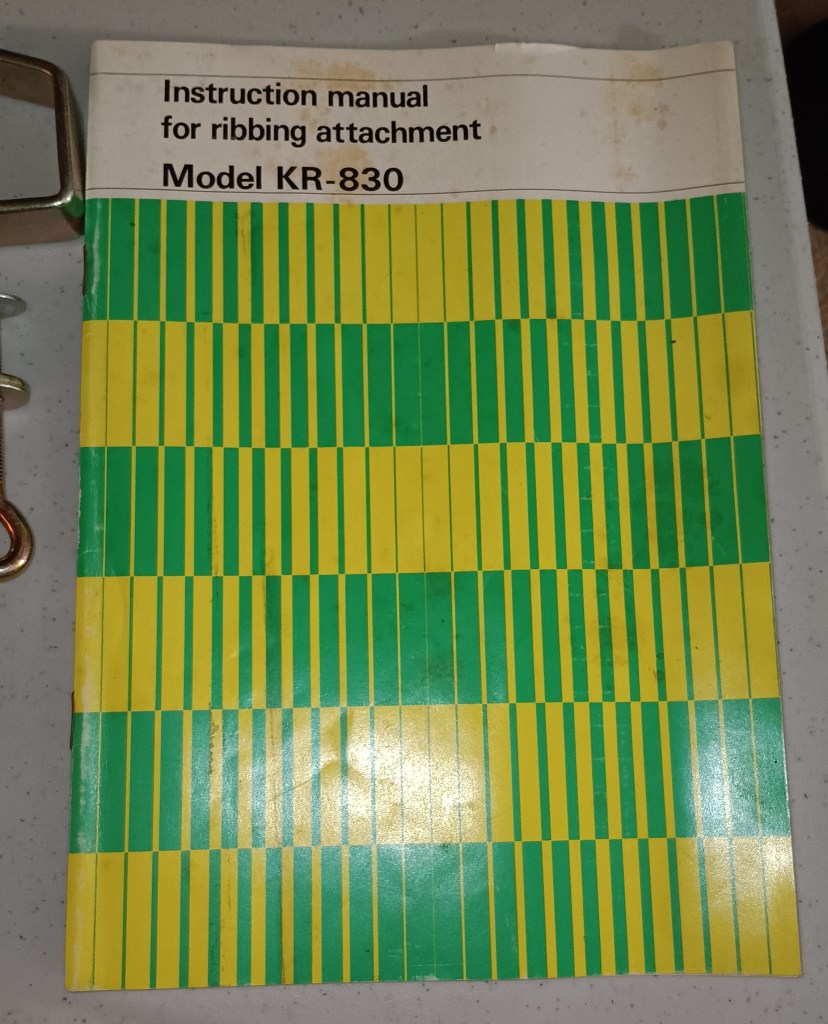
A hard copy of the manual (in English) will be included as well.

The ribber managed two different yarns (smooth and fuzzy) wonderfully. Again, refer to the video of all my tests. Just make sure you establish the correct distance between the ribber and the main bed as well as use the correct yarn tension. additionally do not forget to oil your machine and maybe even wax the yarn if you experience static or hear grinding sounds of your ribber.

When I tested the ribber, the last 3-5 needles sometimes were left in the non-working position. I did that so I could insert the wire hangers. You will see in my video that if I did not have any space to the side of the knitted panel, it would be hard to insert these changes. And they are absolutely needed to create neat edges and to ensure the yarn does not hang on the pegs.

The carriage slides very smoothly across the ribber. If you start knitting and the carriage is not moving smoothly, check the distance between the ribber and the machine, check if the connecting arm is attached correctly, wax your yarn, and decrease the tension of the yarn.

The ribber will be packed in the original cardboard packaging with the original Styrofoam inserts. They are in pretty rough shape (a bit dirty) but they still do a good job protecting the ribber and the parts.

Now about imperfections:

  • The hard copy of the manual shows some discoloration. But the pages are not damaged and the text is still clear.
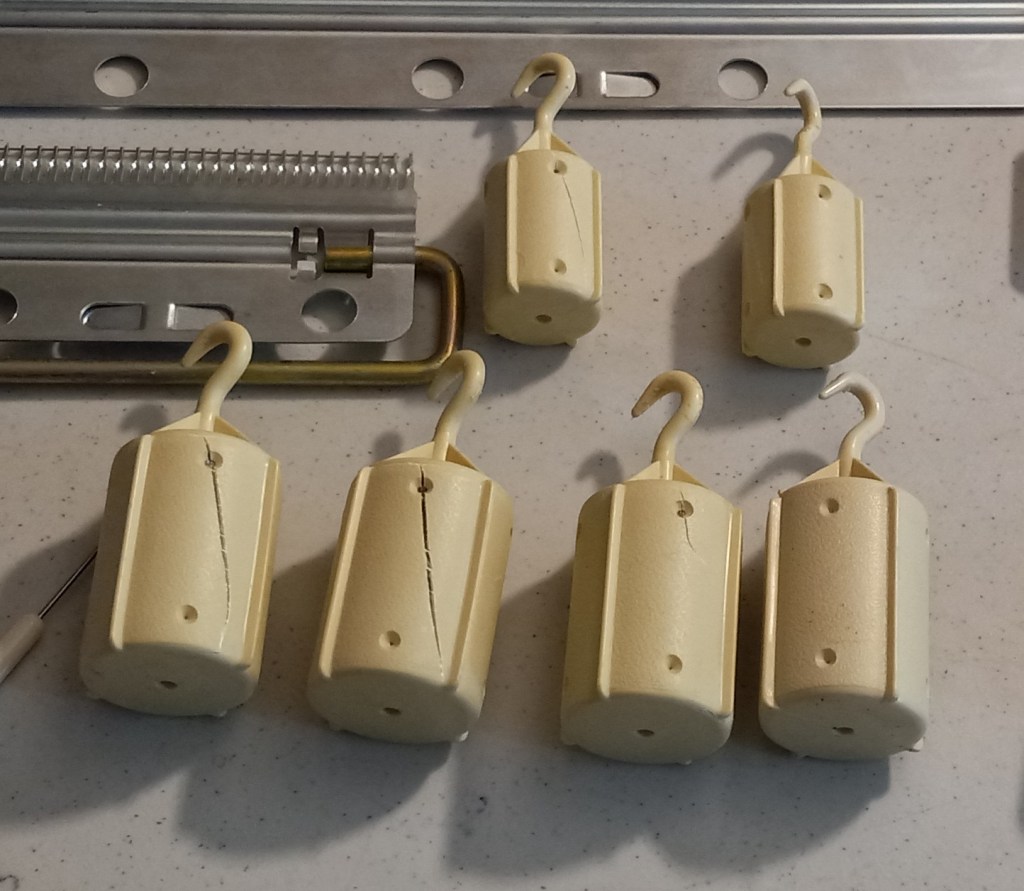
  • Some of the barrel weights have cracks but it does not affect their functioning.
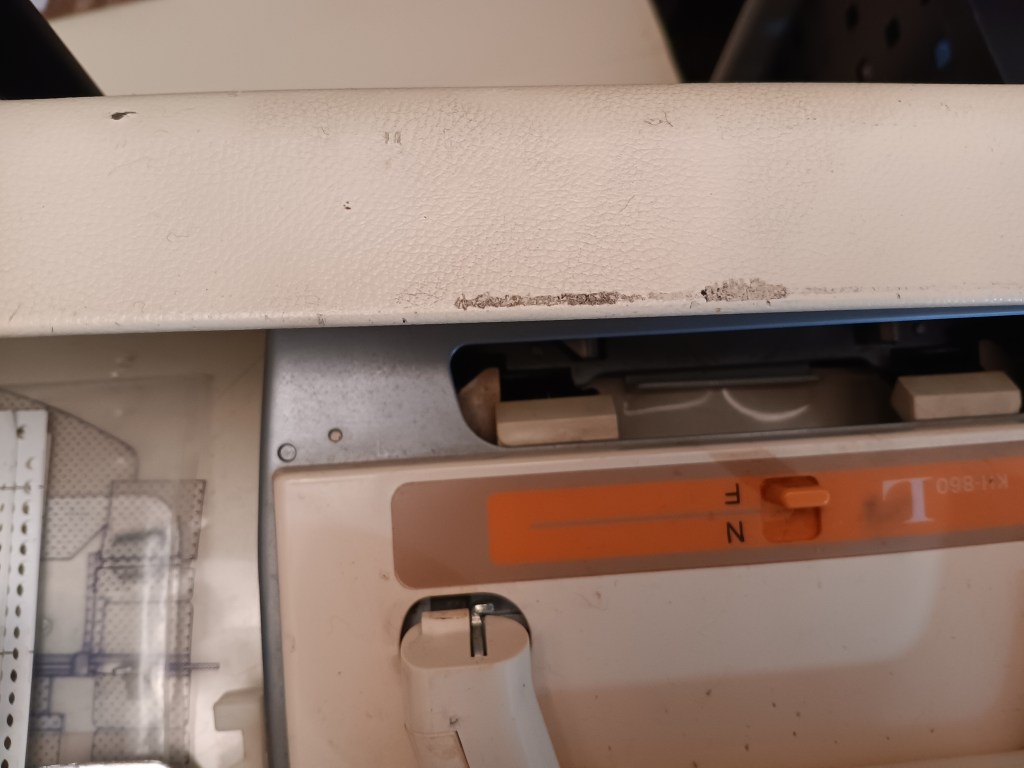
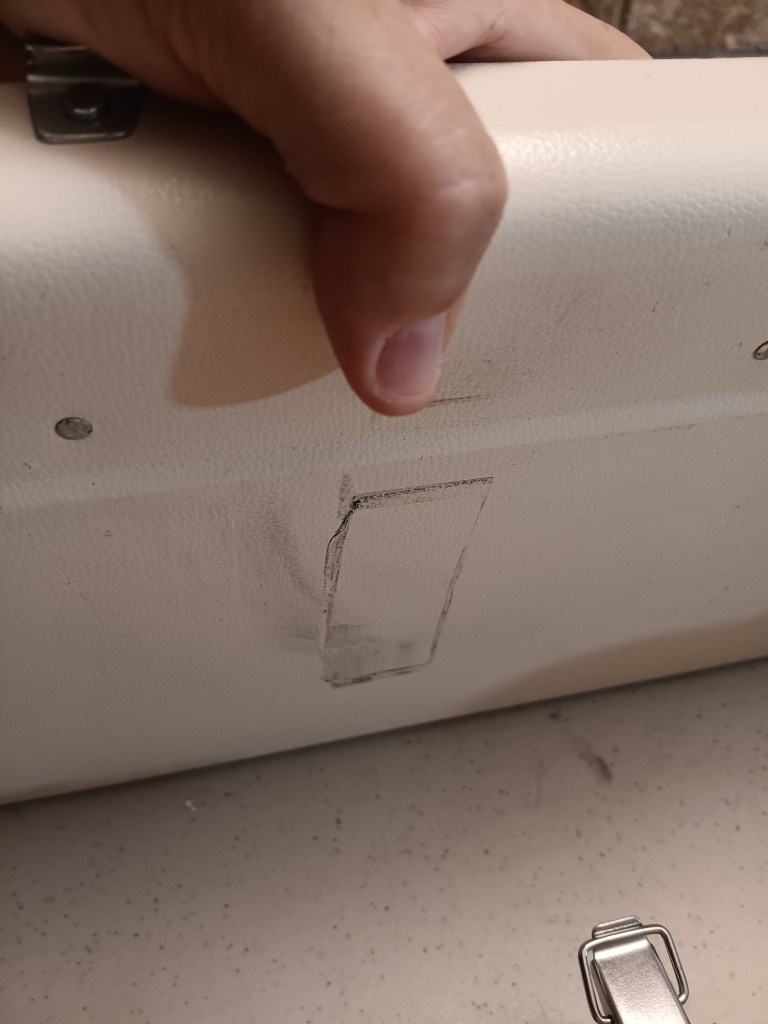
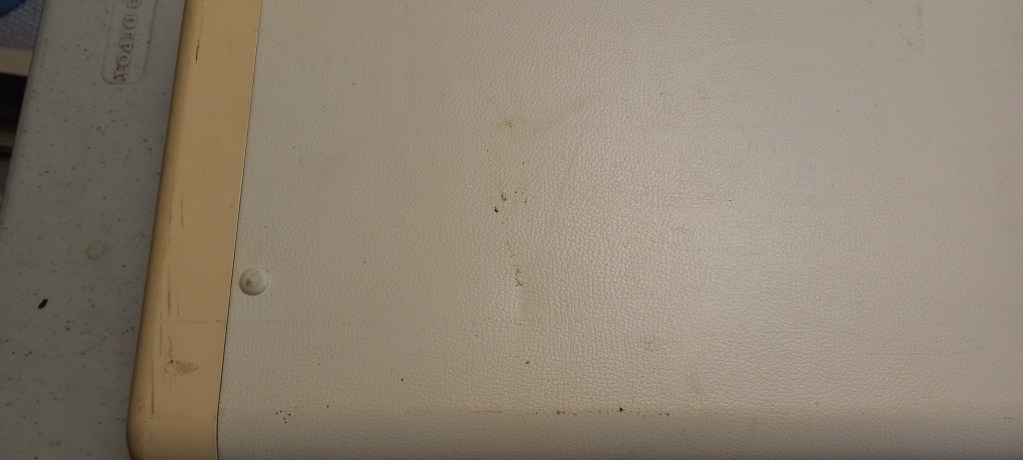
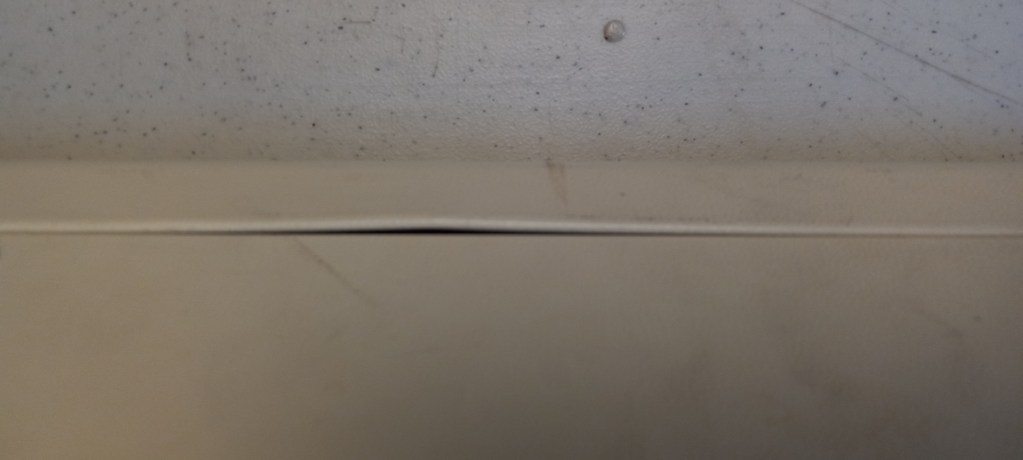
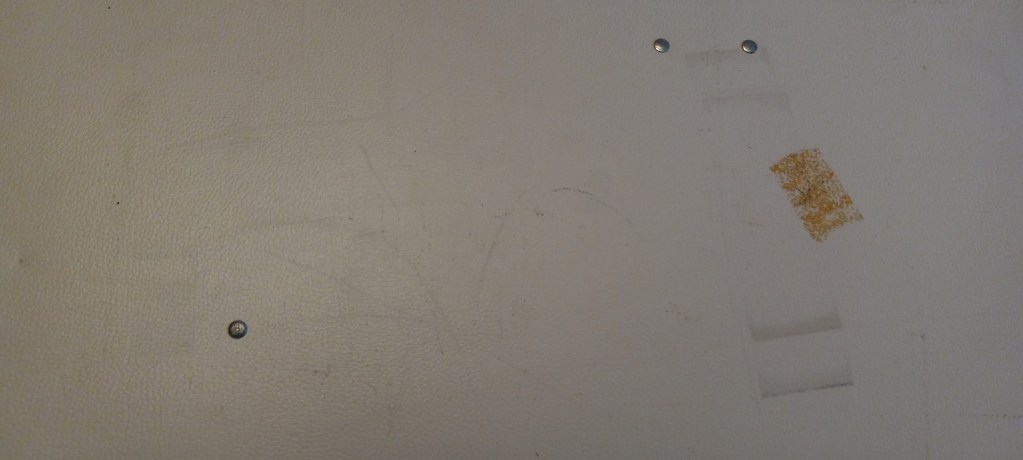
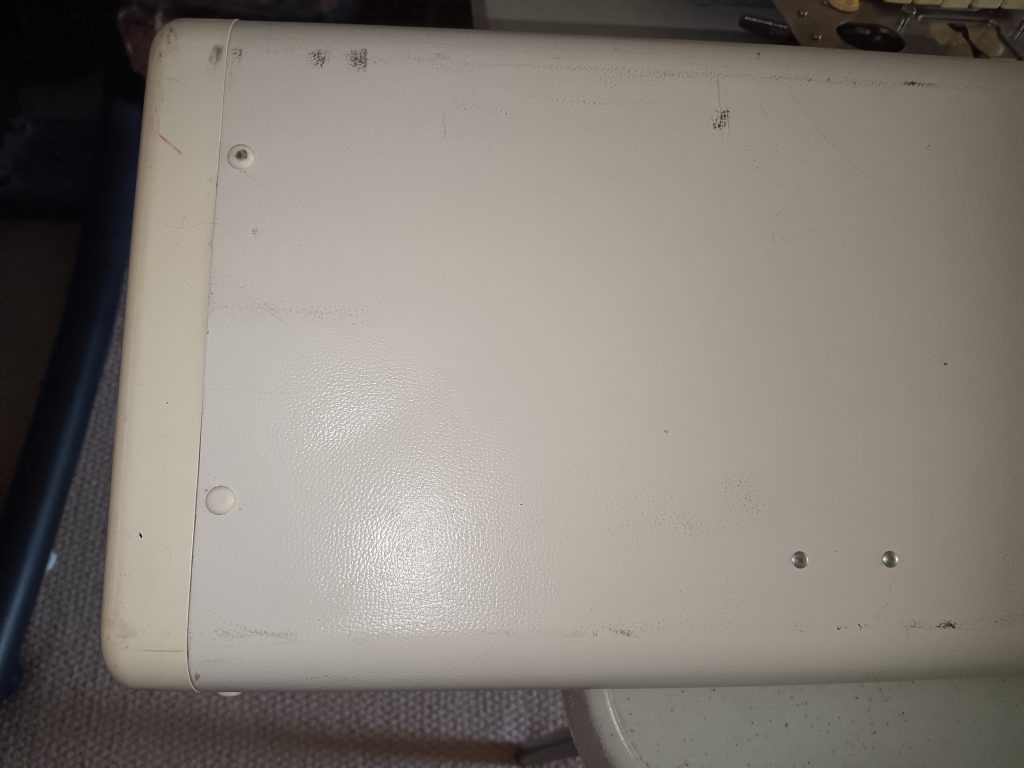
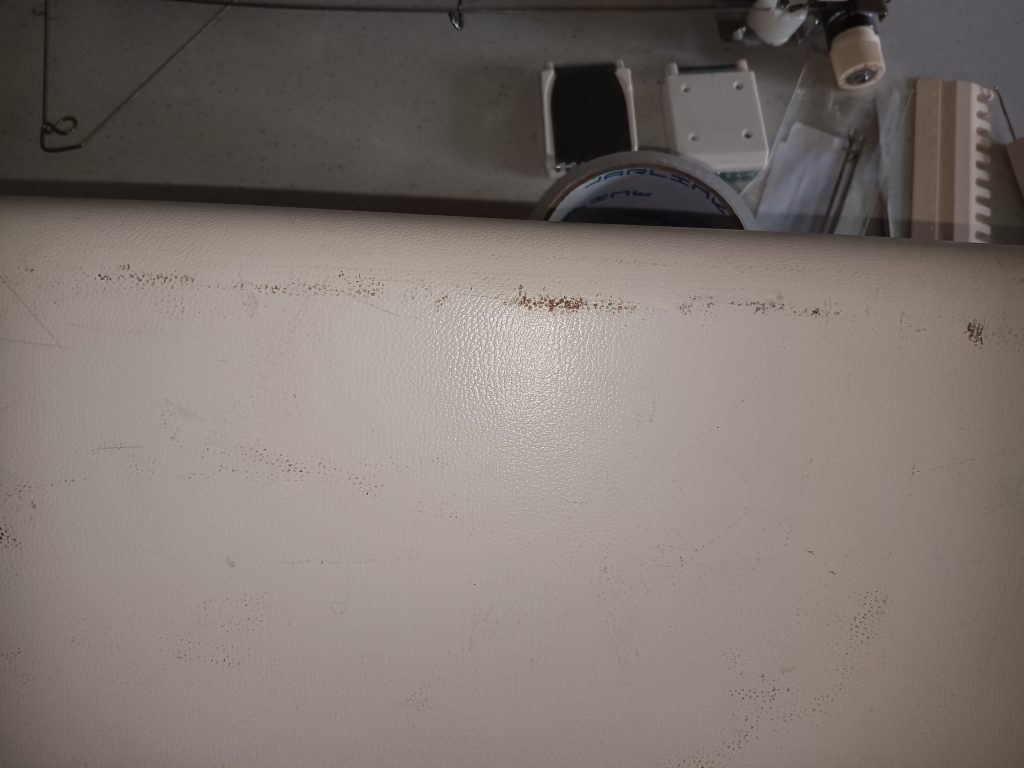
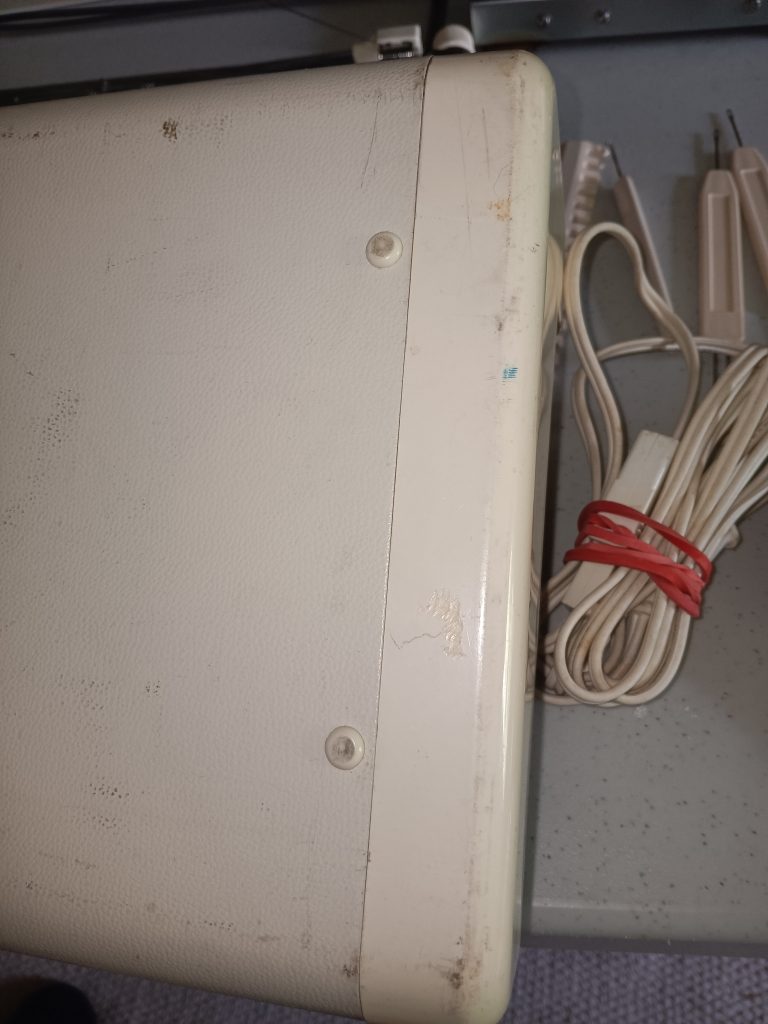
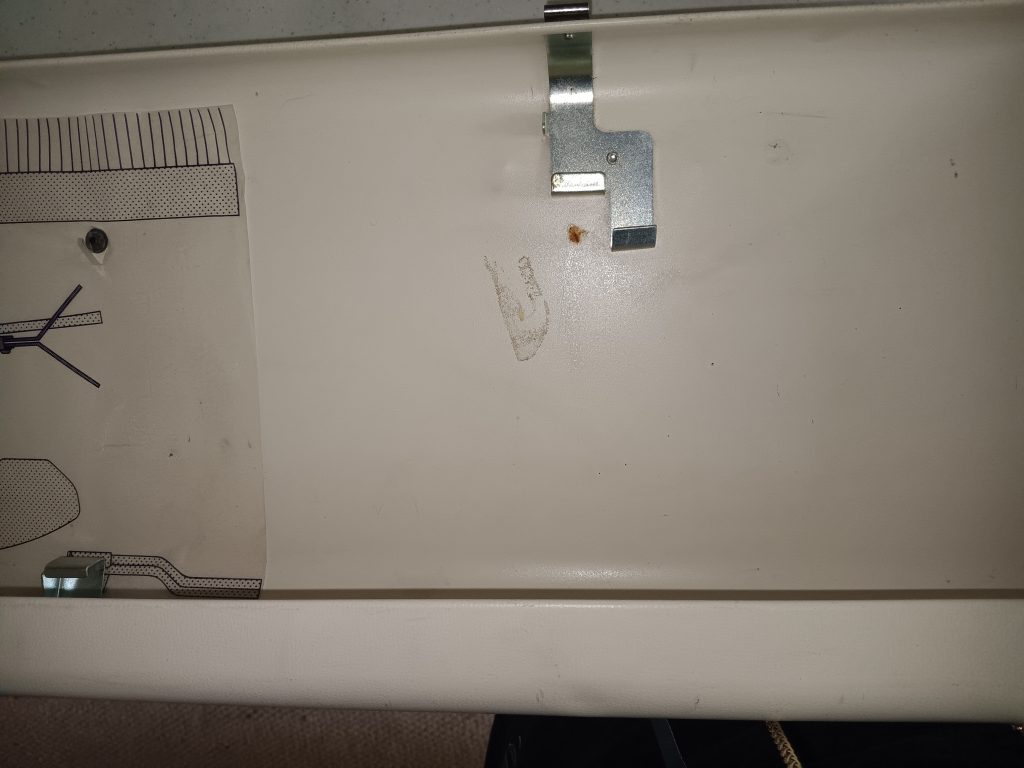
  • There might be some spots and staining on the plastic of the ribber. I typically do not rub too much on the plastic to remove the dirt spots because I do not want to damage the old brittle plastic by excessive rubbing. Some scratches are present too. None of this affects the functioning of the ribber.
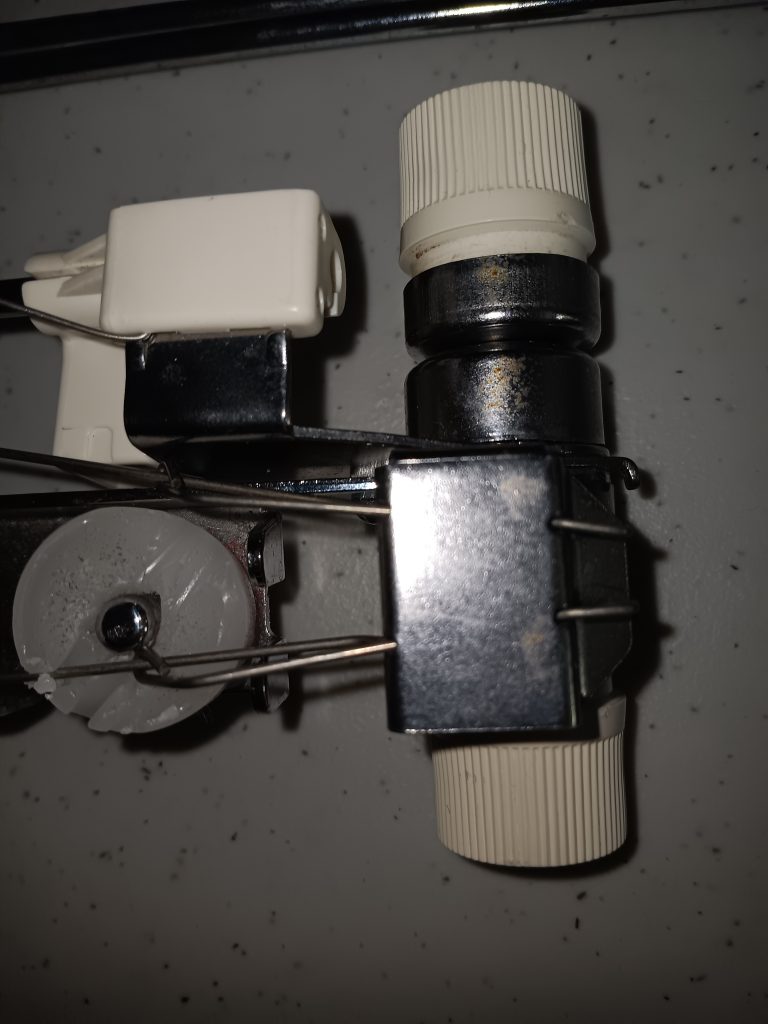
  • I greased and lubed all the parts so you will see some residual freeze/lubricant remaining.
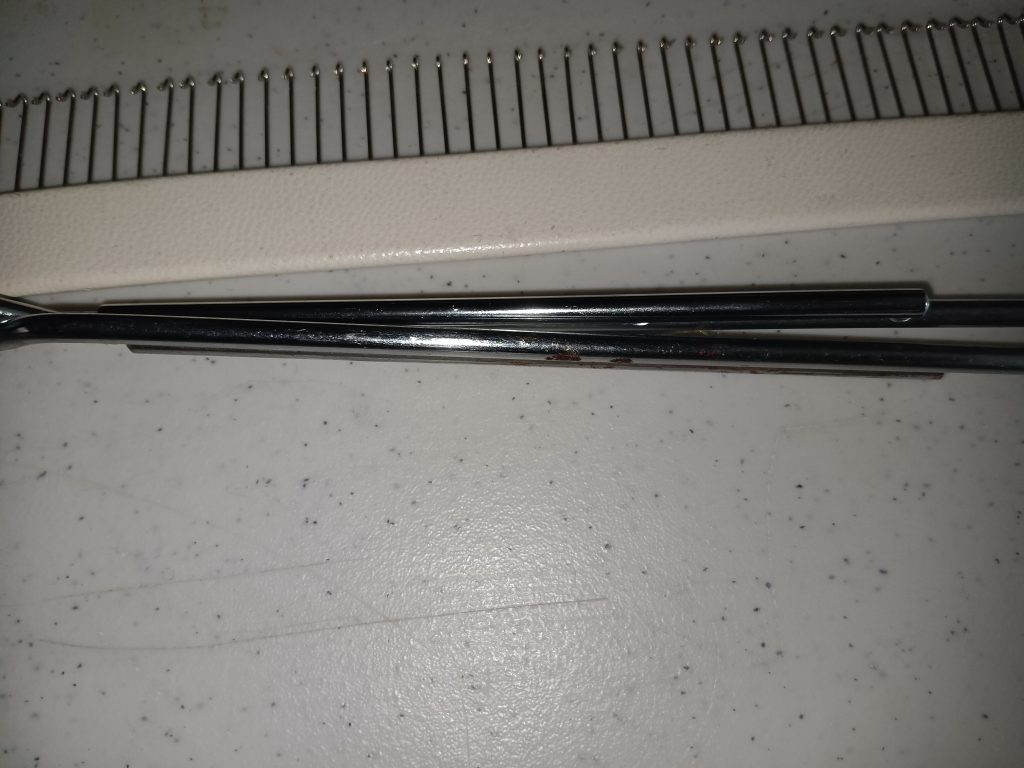
  • Cast-on combs have some minor rust spots but it does not affect their functioning.

I enjoyed working with this ribber! Hope you will too! Happy Knitting!
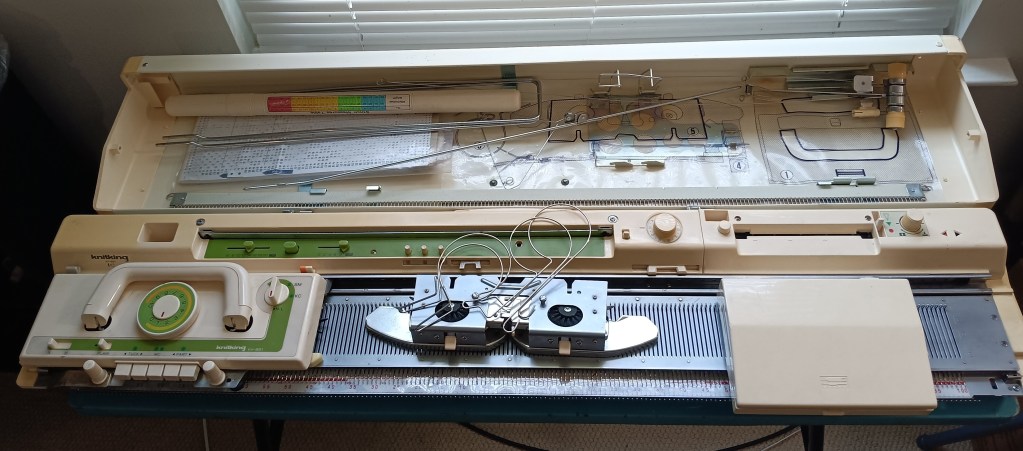
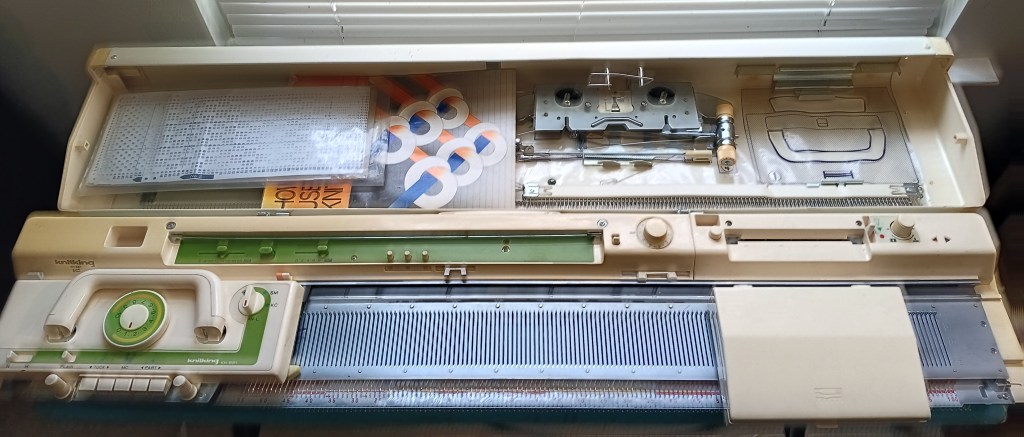
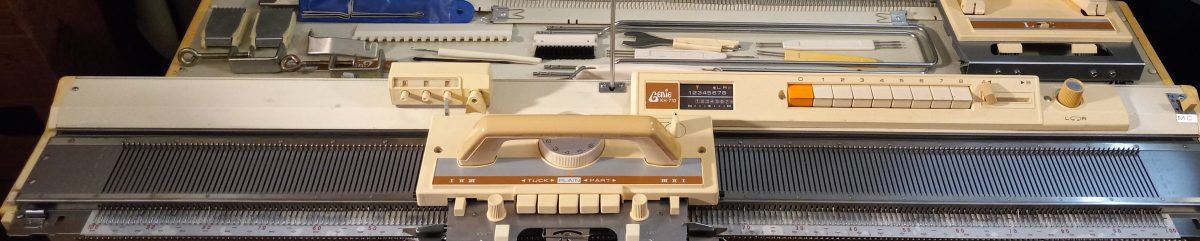
Brother KH601 knitting machine serviced in May 2024

Brother KH601 knitting machine was released by Brother in the 1970s. It is a standard-gauge knitting machine with the needle selection performed by the pattern center and the 8-push buttons. Read more on pros and cons of this model in my Knitting Machine Encyclopedia.

The machine discussed in this blog was refurbished by me in May 2024. I lenjoyed working with this model and learning its mechanisms.

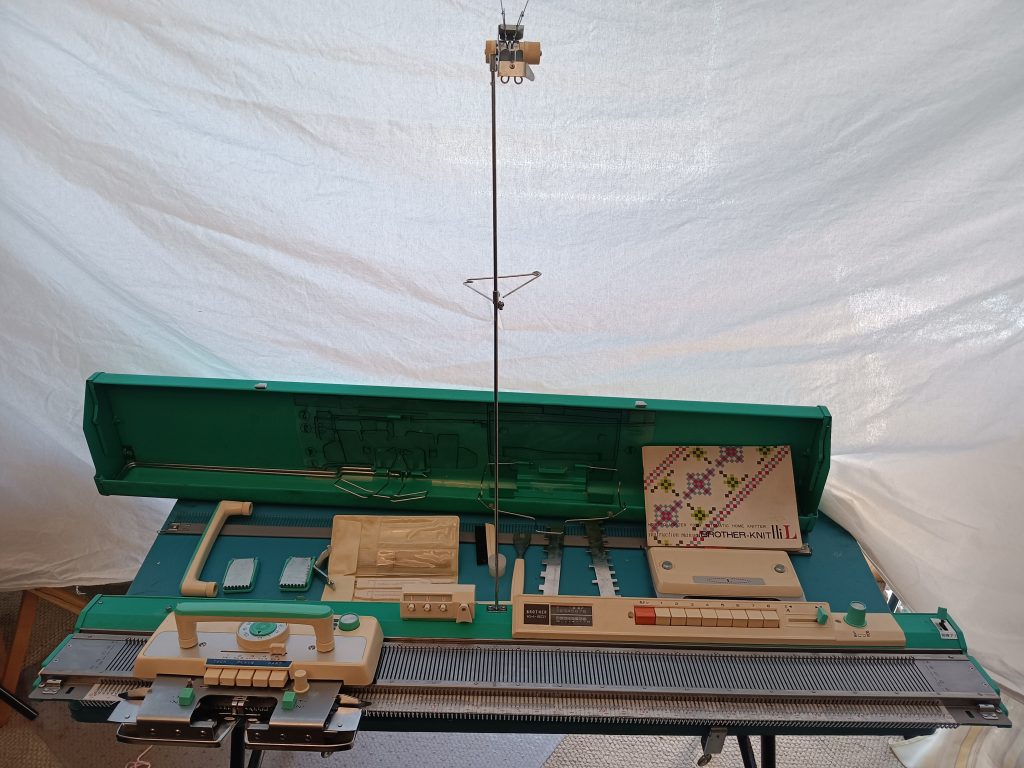
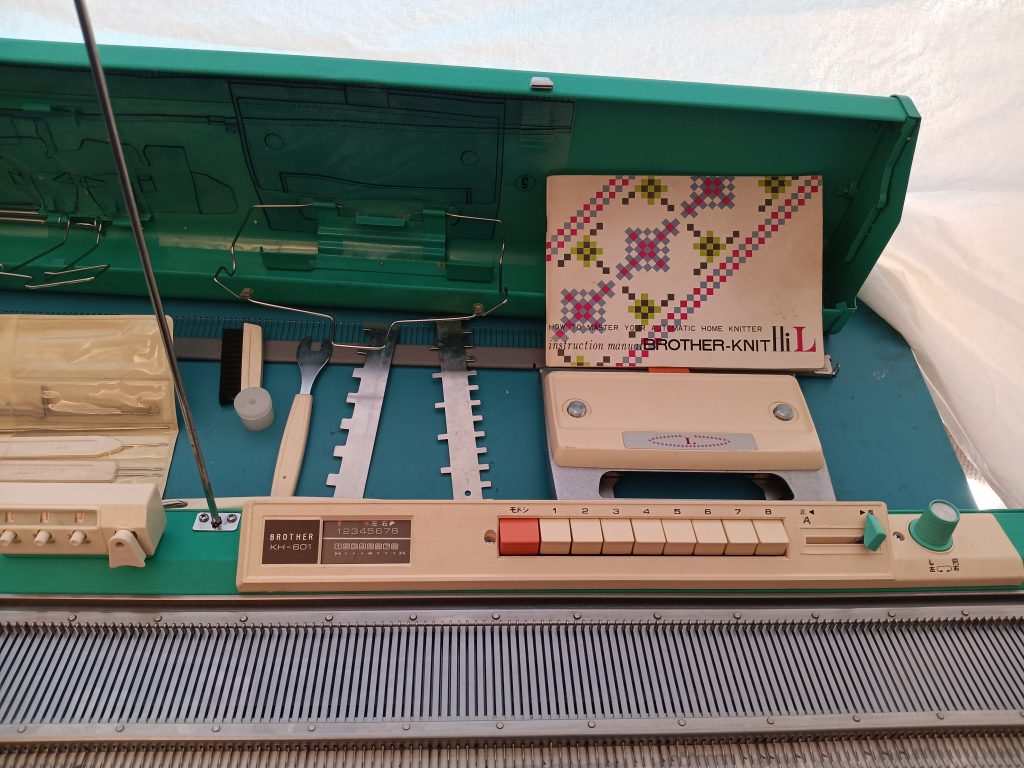
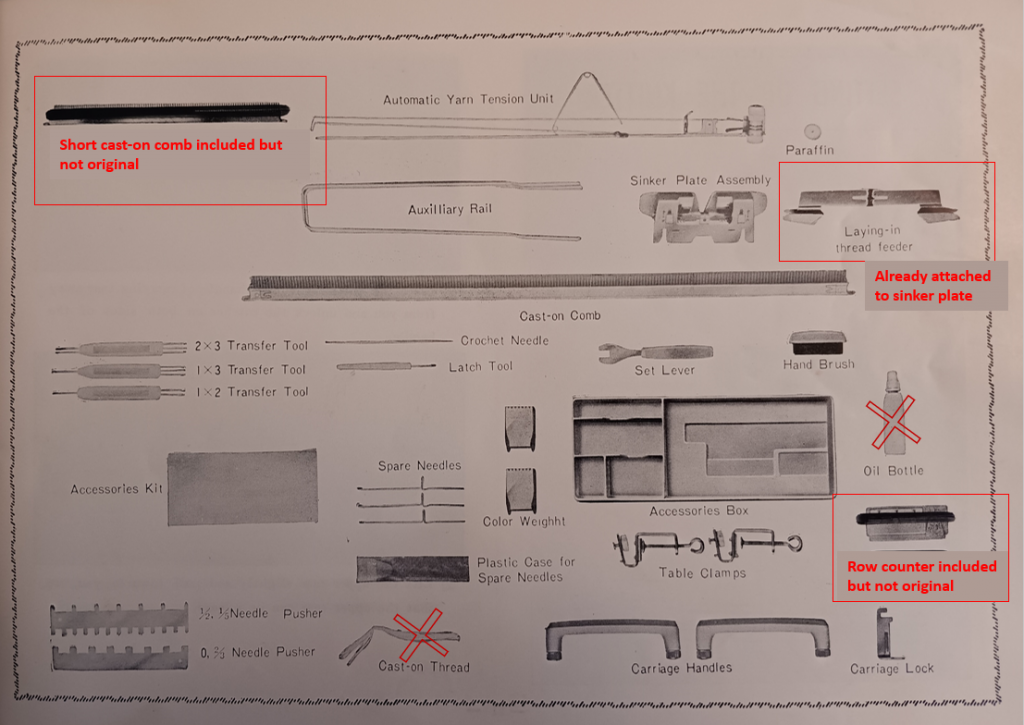
The machine comes with all major accessories (lace carriage, cast-on combs, extension rails, tension mast). The standard set includes one long cast-on comb (for the full bed) and one short one. The short one did not come with this machine so I will include a cast-on comb from my stash but its color is slightly different: greenish (while the original is greyish).

Most minor accessories are included as well. The row counter is not the original one (the original emerald-color one was missing – so I included a brand new cream-colored row counter from my stash). A hard copy of the manual will be included as well.

The accessories that are NOT going to be included are: cast-on thread (any strong thin yarn will work) and a bottle with oil (use Gun Oil instead). Laying-in thread feeders are already attached onto the sinker plate. Also, the machine did not come with the 1×1 needle ruler and I think this is such a basic tool that I included one from my personal stash. It is not metal like the original needle selection rulers but does the job.

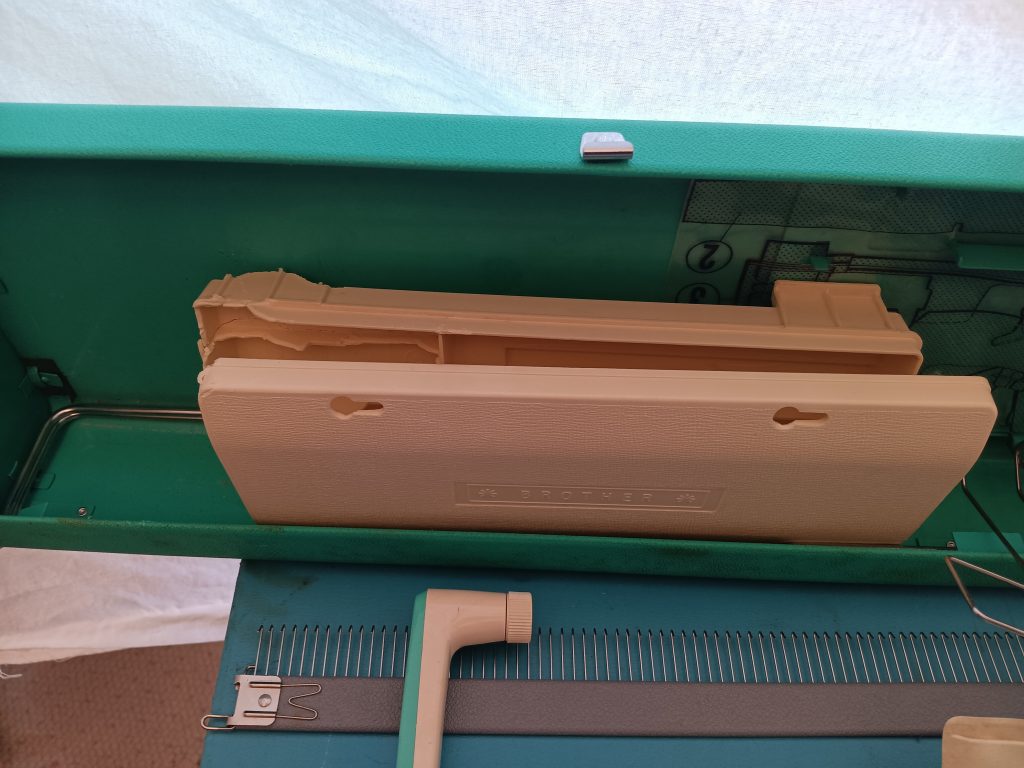
All minor accessories fit into the toolbox. Unfortunately, the old plastic became fragile and the box has several cracks and misses pieces that cracked. It still holds all the tools well and will be included with the machine.

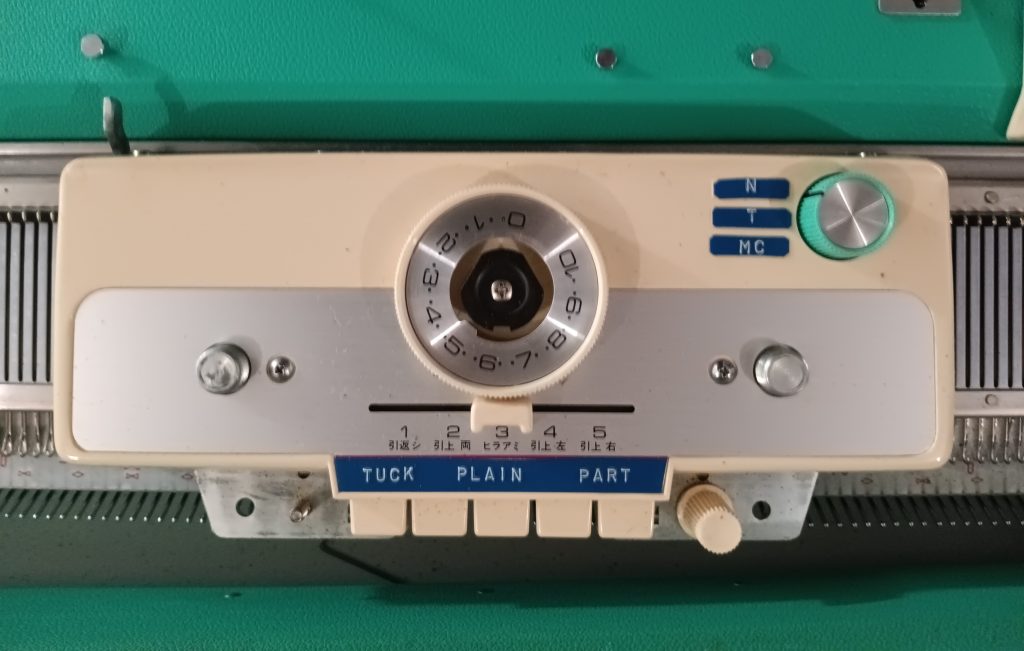
The carriage of KH601 differs a bit from all other 8-pusbutton machines I knitted on (KH5552-KH588-KH710): it has a sliding hold cam lever in the middle of the carriage right under the tension dial instead of two levers on the side.

The writings on the carriage and on the pattern center are in Japanese. But the previous owner left some marks in English – so it will be easy to understand and follow the manual.

The hard copy of the manual that came with this machine shows a slightly different carriage (a more standard for 8-pushbutton machines – with side levers rather than with a slide lever above the buttons on the carriage). There is a one-page insert (provided by the manufacturer, I believe) that shows the setting for this particular carriage.

I recommend using the manual for the KH800 to guide you on the HCL position (the sliding lever above the TUCK, PLAIN, and PART buttons) during patterned knitting.

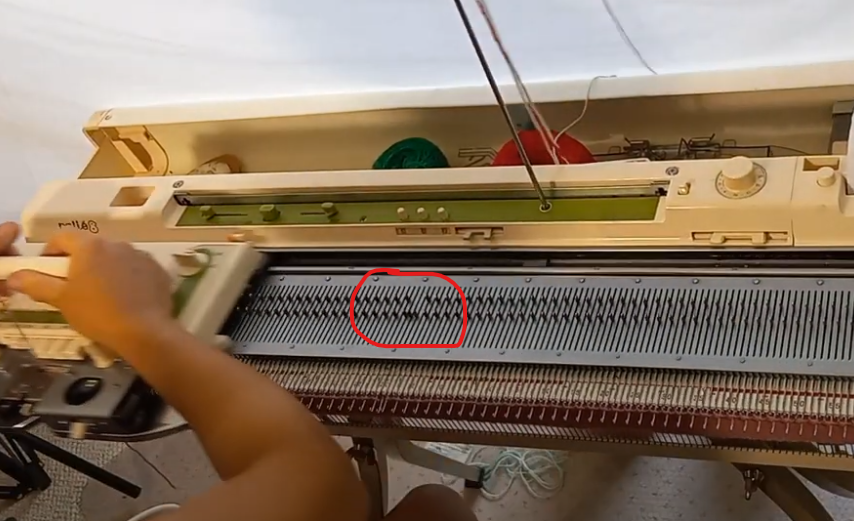
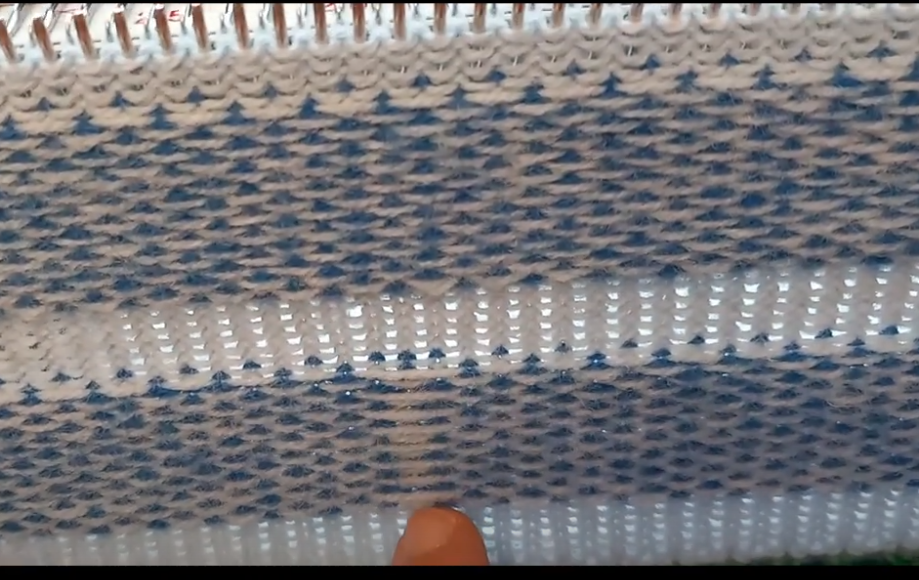
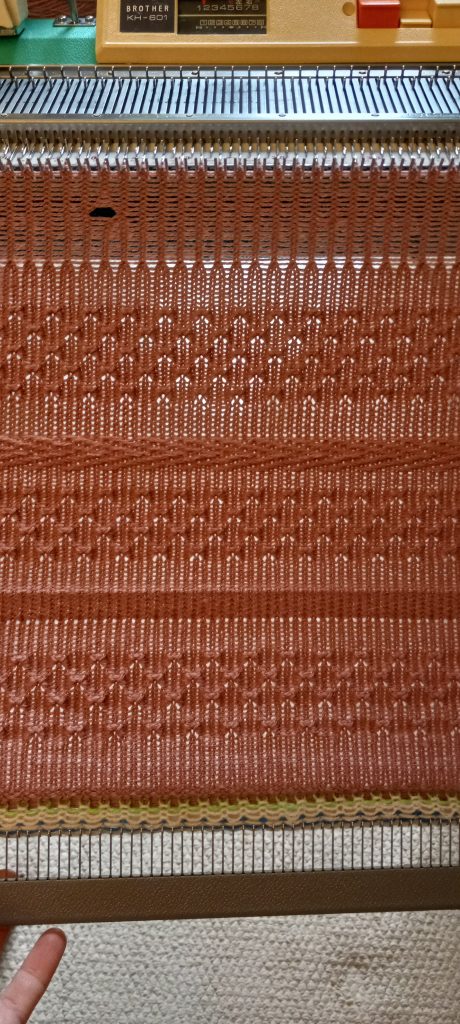
I thoroughly cleaned the machine, inspected and cleaned all the needles, replaced the sponge in the retaining bar, and cleaned and serviced the carriage (ensured all the levers, knobs, and buttons move freely). I then tested the needles by knitting various patterns on a full bed watch the video of these tests here).

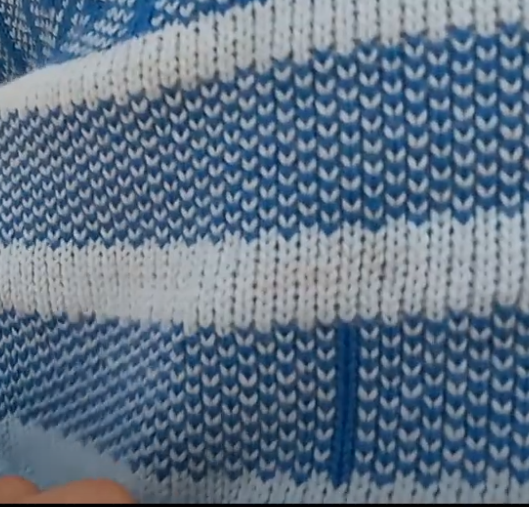
All tests were passed with flying colors! The patterns I tested were the “butterfly” pattern with needles being held and then knitted, a 1×1 tuck pattern (the trickiest to execute out of all tuck-pattern, in my opinion) and a slip-stitch siz-zag pattern. All neeles worked great!

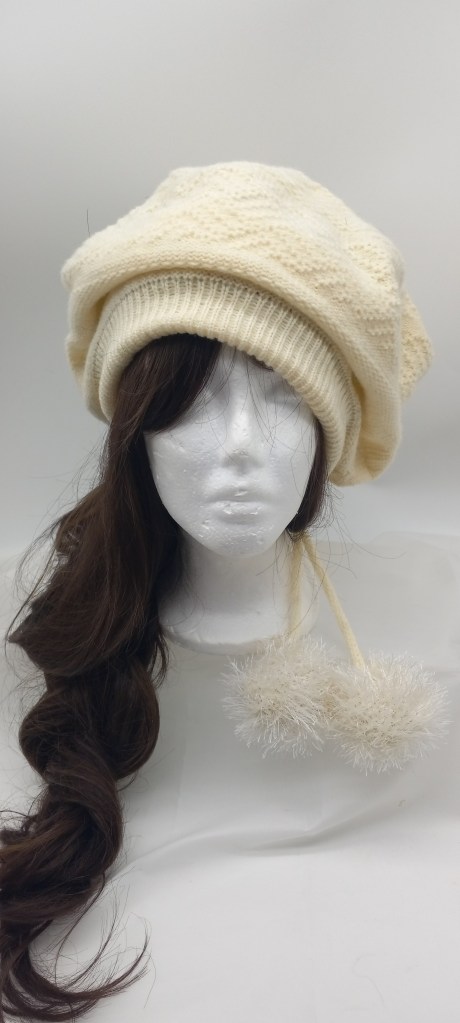
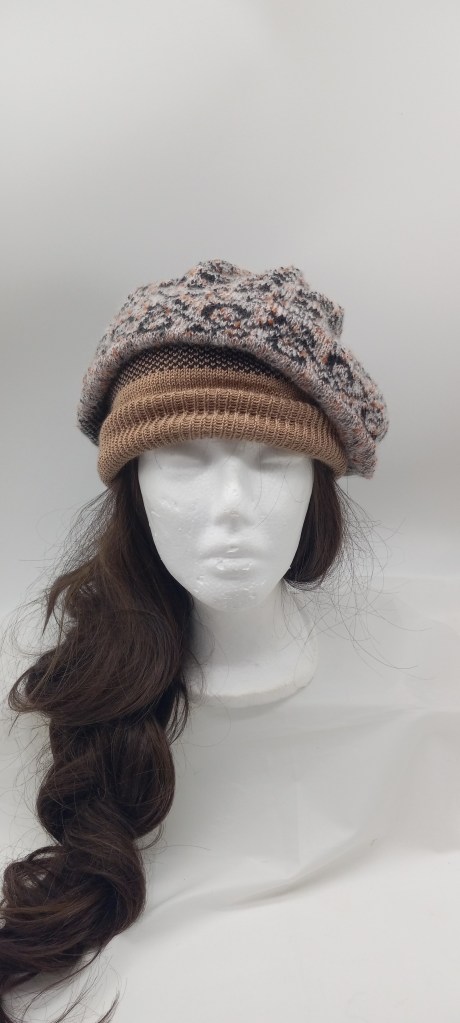
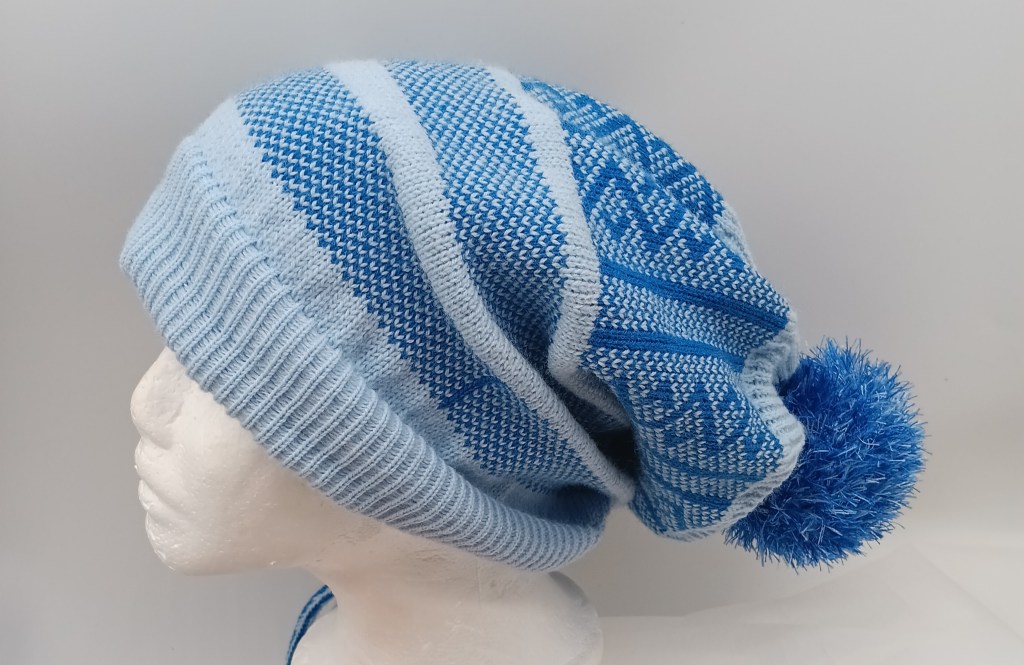
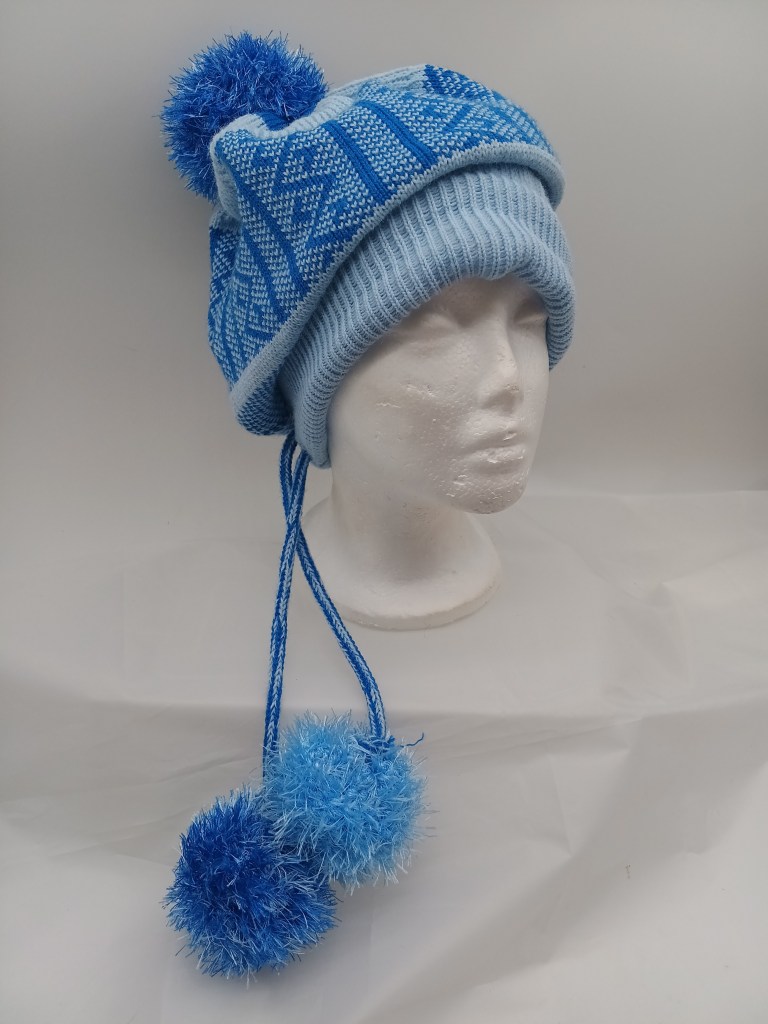
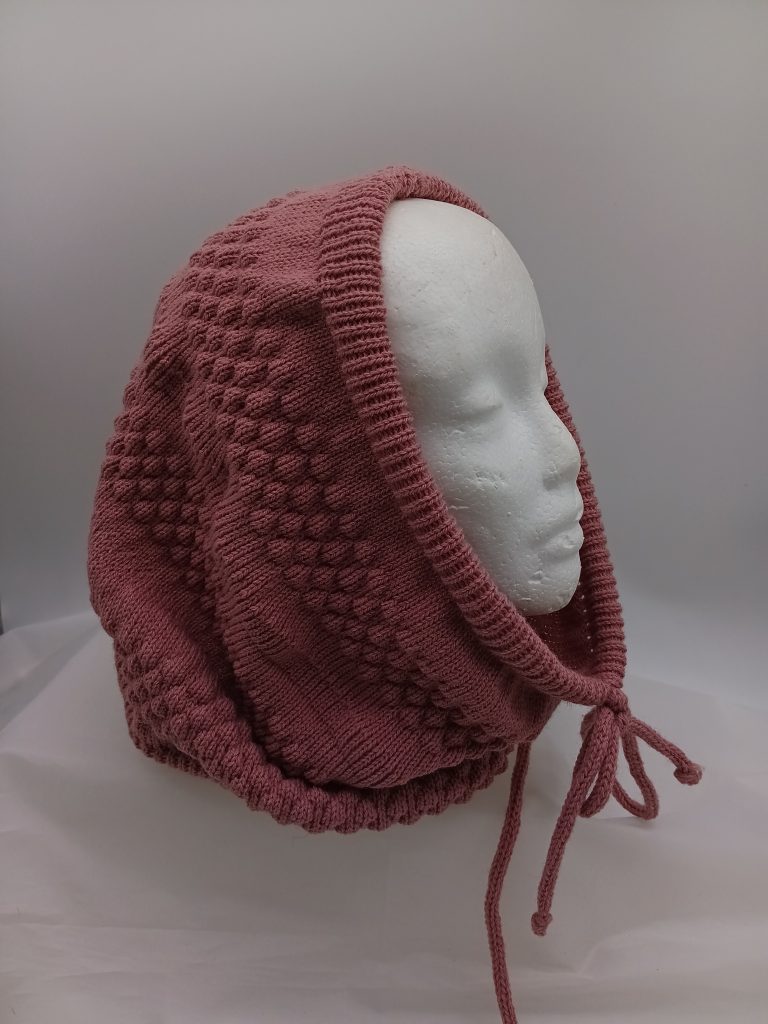
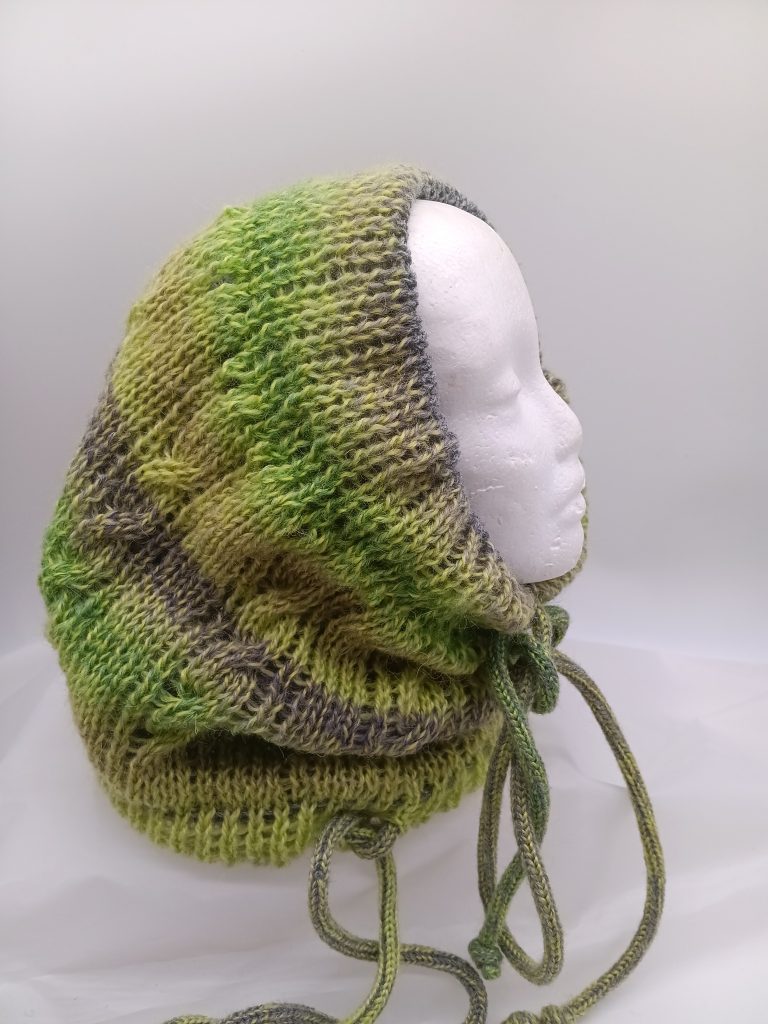
The knitted fabric was then converted into a reversible cowl/neck warmer/hood.

Now about imperfections:

  • Buttons #6 and #7 in the pattern center are a bit sluggish when are revered to the unpushed position. But only if they are unpushed by themselves. When pushed and then unpushed together, they are pretty perky. My video shows this flaw at the end but it did not affect the patterning or the knitting of the machine.
  • There are some minor scratches, stains, and bends on the case and the lid (not shown here but I will document them when I pack the machine).
  • The cracked tool storage box, with some especially fragile cracked areas, is missing. The lid for the storage box is a bit cracked too (not shown).
  • The greenish cover for the tension dial has a small broken nugget that holds it in place. It sometimes gets loose. I did not glue it completely because it needs to be removable in case the carriage requires disassembling. It does not affect the functioning of the carriage or the tension dial.
  • The carriage has minor rust and metal discoloration spots. It did not affect the functioning of the carriage.

Overall, this machine behaved very well. With regular oiling and cleaning, it will serve your knitting needs for many years!

This machine as well as other machines with punchcard patterning capabilities can be purchased from my Etsy store, or in my independent shop (for less).

Not sure which machine is right for you? Read how to choose the right machine for your needs. Regardless of the machine you choose, check out easy-for-beginners projects for your first knitting machine. Also, check my website for a blog article on the first steps with your new-to-you knitting machine.

Have questions? Get in touch with me through FaceBook: https://www.facebook.com/MightyKnittyMachines

Silver Reed SK120 knitting machine refurbished in May 2024

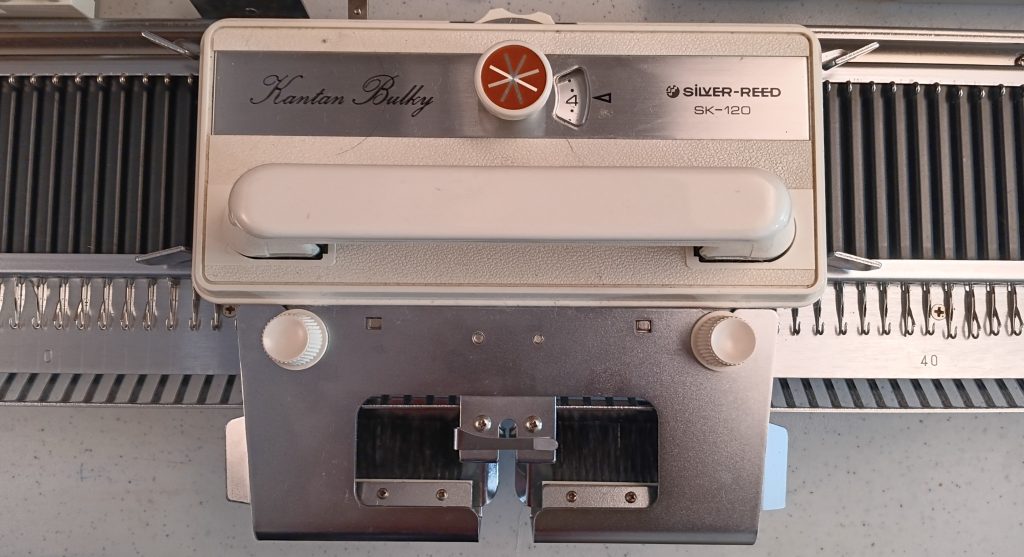
Silver Reed SK120 knitting machine is a flat-bed metal knitting machine with needles 8.0 mm apart. The bed contains 120 large needles. Read more about this model in my Knitting Machine Encyclopedia, including its pros and cons. The rest of the blog is dedicated to a specific Silver Reed Sk120 machine I serviced and tested in May 2024.

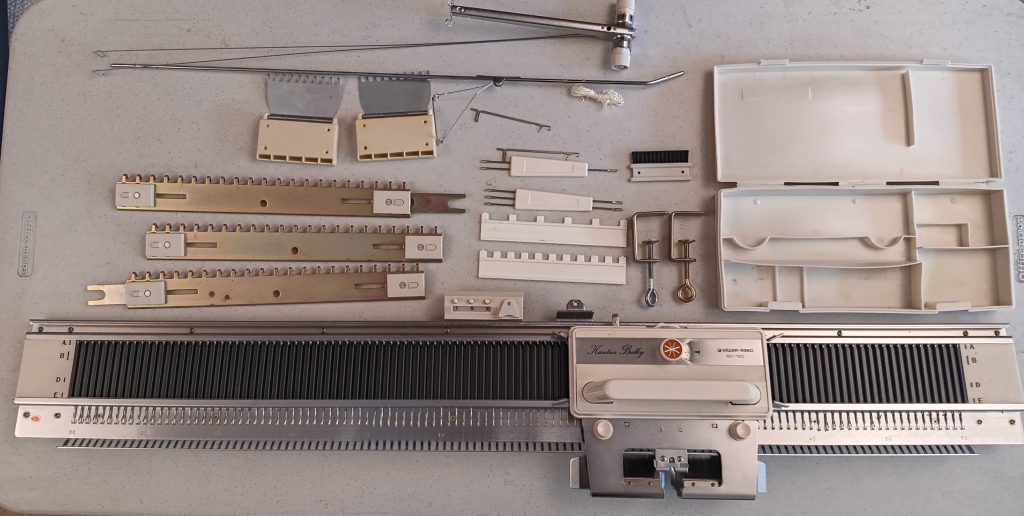
I loved working on this machine especially because of its simplicity. The machine I worked on was also marked as Kantan Bulky. This machine comes with all accessories except oil (use gun oil instead). All minor accessories fit into a toolbox, with an attached lid. The box is in great shape.

A hard copy of the manual will not be included but it can be found online for free.

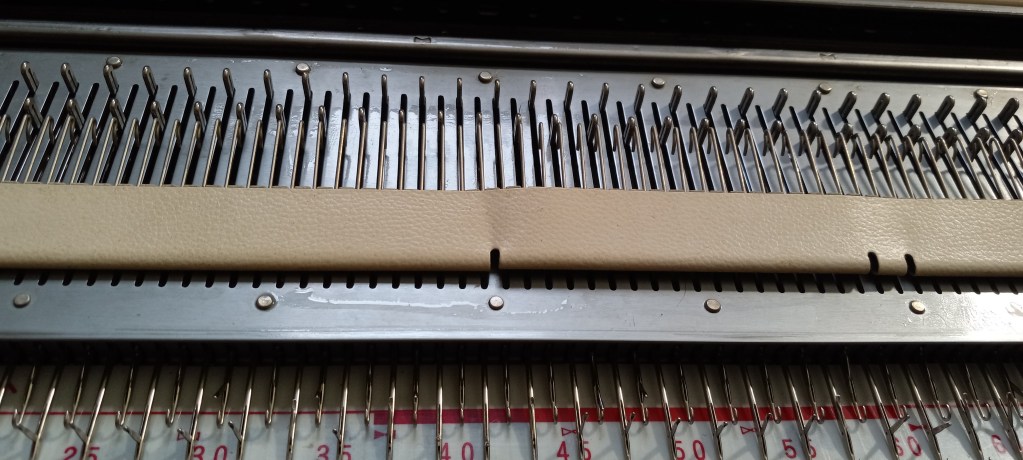
I cleaned and inspected all needles and then tested them by knitting on a full bed (to ensure all needles form nice stitches). I replaced a sponge bar. The retaining bar is very narrow for this machine. Thus, it was a challenge to find such a narrow sponge. After a long online search and consultation with numerous online chats and forums, I settled on a window seal strip with the glue on one side. It is more rubbery than spongy. It was also somewhat hard to insert but I finally got a hang of it (used a thin plastic knife and gently stuck it one inch at a time. Check out a short video I created to help other knitters insert the sponge into an unusual retaining bar of Silver Reed SK120.

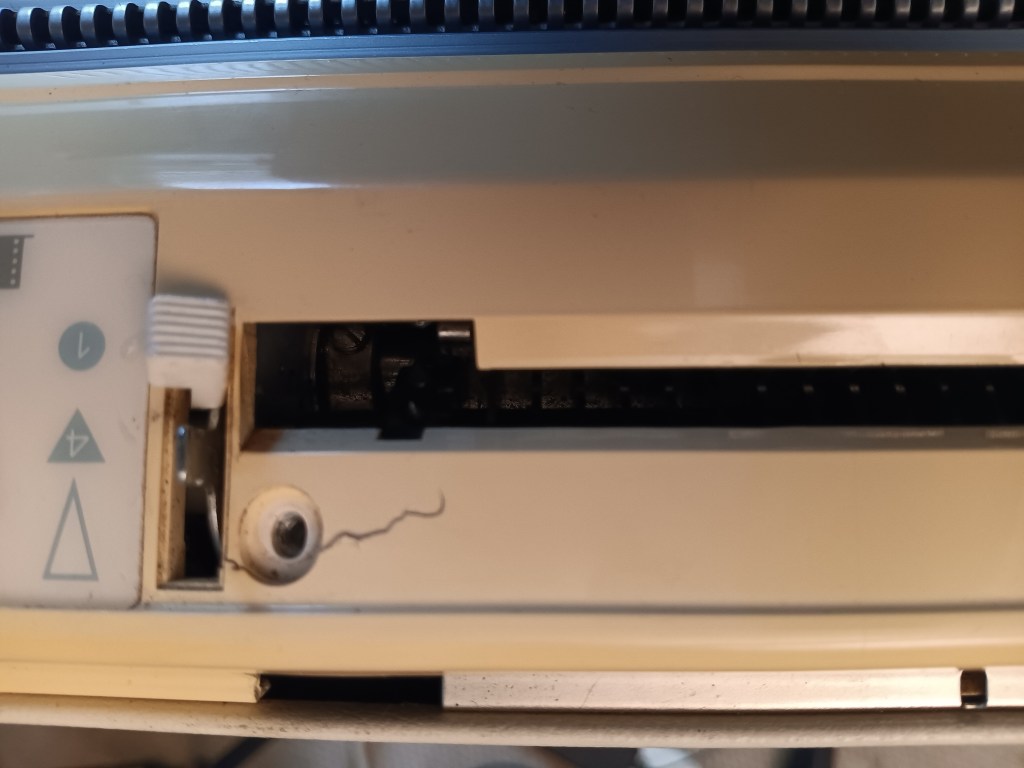
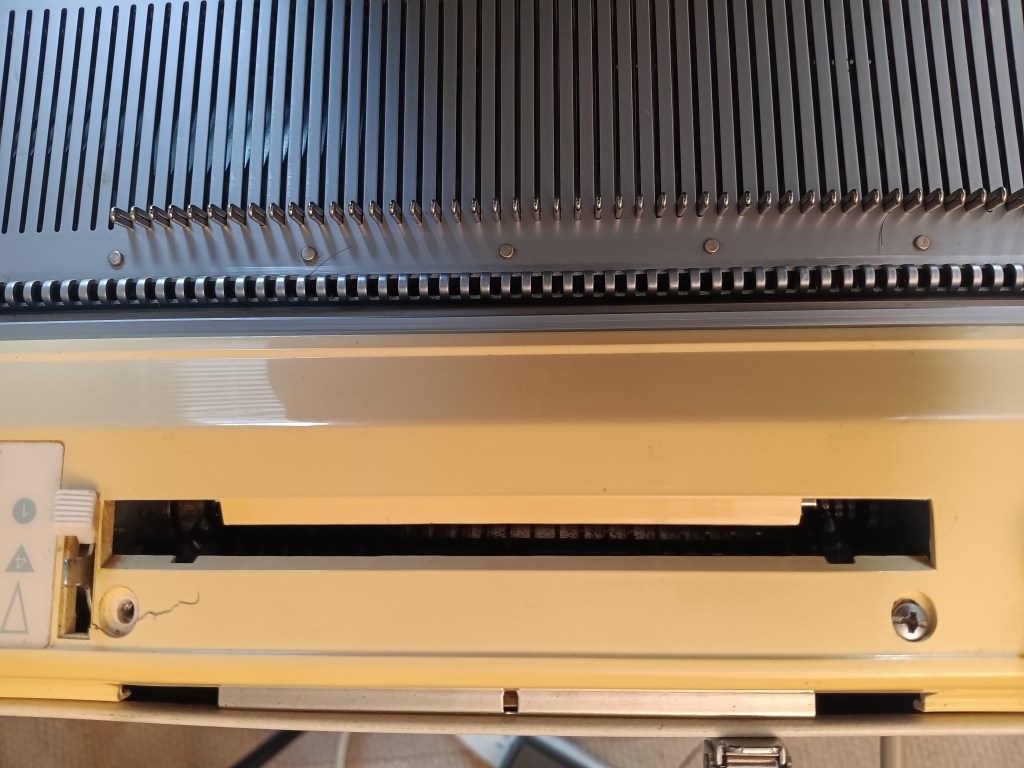
Although not ideal, this rubbery strip did a good job. Why not ideal: it seems that the needles rub against it and remove small chunks (see the picture below). Because of this, I feel the rubbery strip will need to be replaced a bit more often than on other knitting machines. But I will include the extra strip that I have left – enough for 2-3 more replacements. Additionally, the machine needs to be cleaned after each use. I gently vacuum it with the soft brush of my regular vacuum to remove these things after each use.

The machine handled thick yarns very well. The yarns I tried on this machine are:

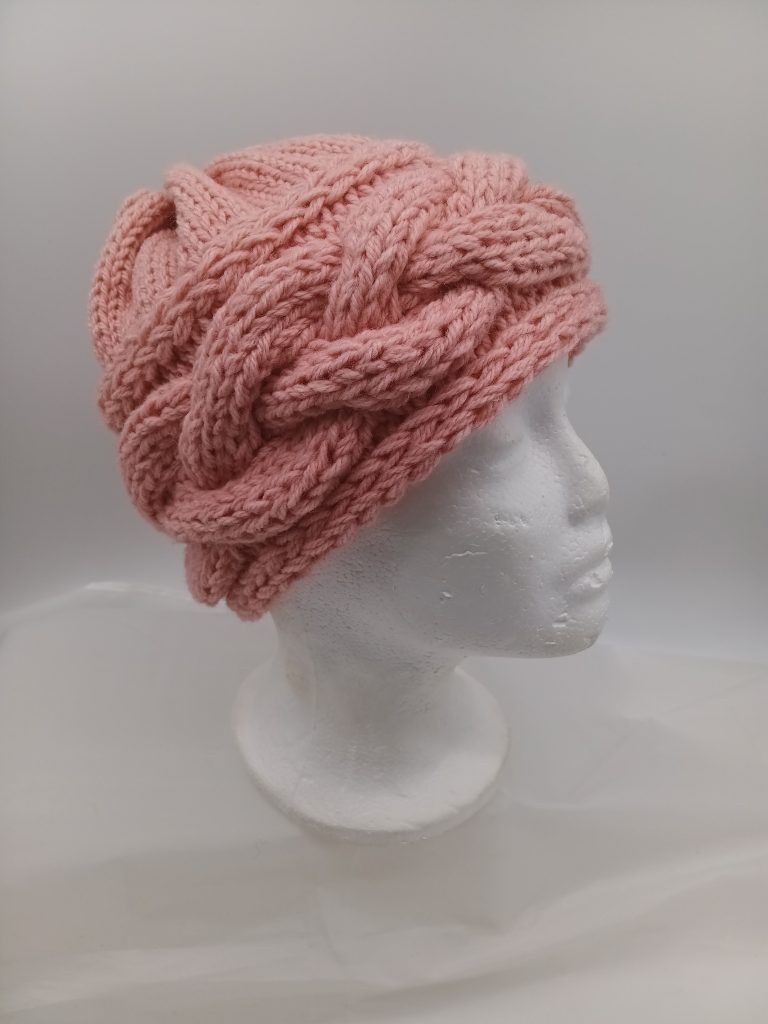
  • Alara 50% acrylic/ 50% merino worsted yarn (50 g/ 100 m). I knitted a top of a hat.
  • Think, sport-weight like, 100% acrylic yarn. Those yarns often cause lots of static, which causes carriage jams.
  • Textured acrylic blend
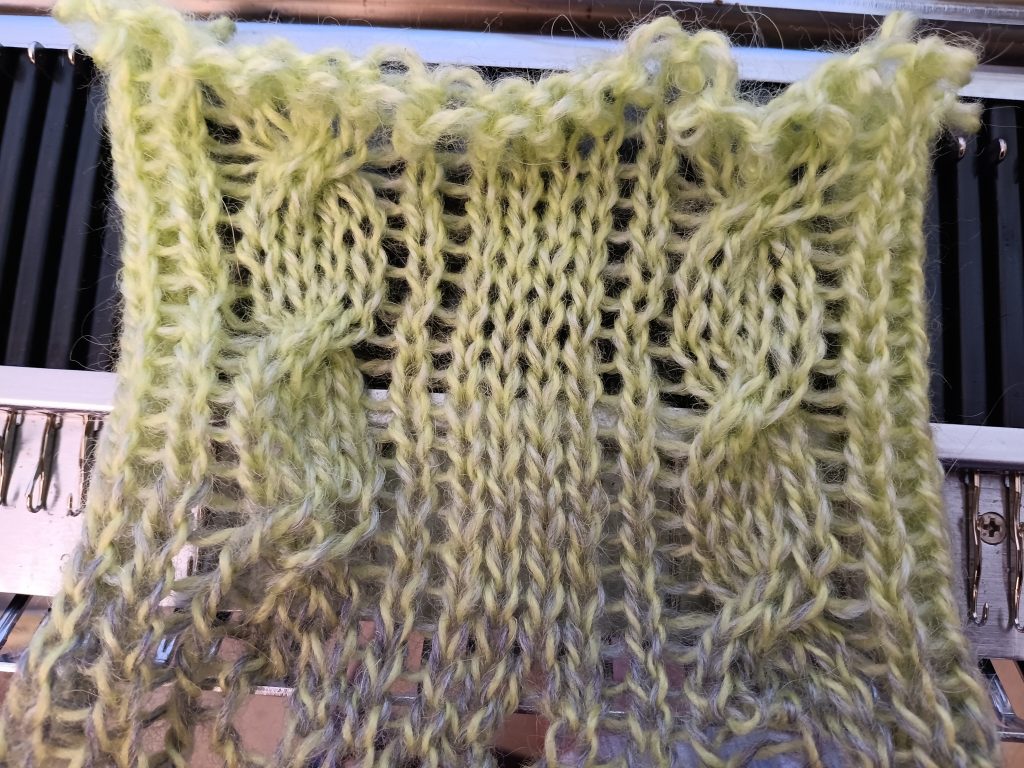
  • Mohari-blend fuzzy yarn – made a two-layered neck warmer, transferrable to hood/cowl.

The machine handled all these yarns well (see the video of these tests). In some cases, I needed to apply extra wax and oil the machine well. The sturdy table will help a lot when operating on this machine with thick yarns on a full bed. I strongly recommend using every other needle on worted yarns.

Below are the things I made while testing this machine:

If you are considering purchasing this wonderful machine, do not forget to read in my Knitting Machine Encyclopedia about pros and cons of the Silver Reedk Sk120 bulky knitting machine.

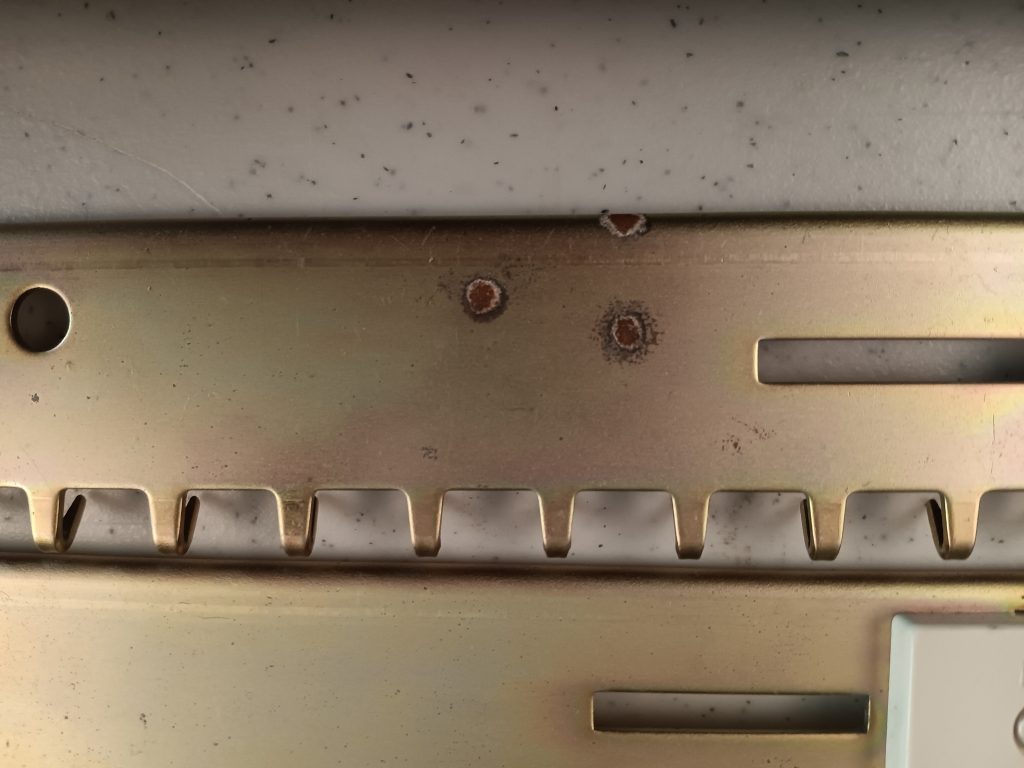
The only imperfection about this machine was a minor rust spot on the cast-on comb.

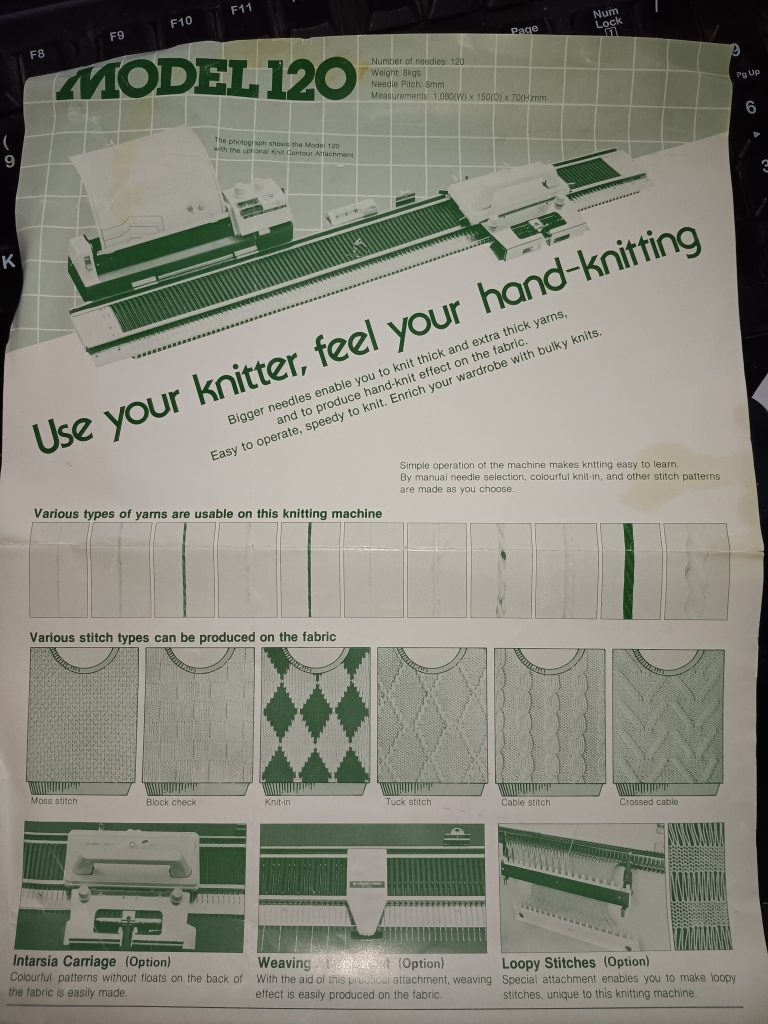
In conclusion, the most exciting feature of this machine is that it creates a fabric that looks and feels like hand-knitted. This personal observation is even supported by the marketing brochure from the 1970s I found in my stash.

Needle positions of various flat-bed knitting machines and ribbers

Brother Knitting machines

A – non-working position

B – standard working position

C, DI, DII – patterning positions

E – holding position

Machine Model number
Needle Positions
Basic (manual) knitting machines
KM100, KH355, KH360, KH370, KH380, KH390, KH395ABCD
KH210, KH220, KH311ABCDE
KX350, KX395ABDE
KX355unknown
4-Pushbutton machines
KH35, KH212, KH218no indicators
KH511ABCDE
KH521, KH531, (Profile) KH551ABCDIDIIE
8-Pushbutton machines
KH110, KH120, KH552, Profile 585, KH587, KH588, KH705,
(Genie) KH710, KH601
ABCDIDIIE
KH561, KH571, KH581, (Profile) KH583, (Profile) KH585ABCDE
KH811 (also 24-stitch punchcard)ABDE
12-stitch punchcard machines
KH800, KH801ABCDIDIIE
24-stitch punchcard machines
Bulky: KH260
Standard: KH810, KH811, KH820, KH821, KH830, KH831, KH836, KH840, KH850, KH851, KH860, KH864, KH871, KH881, KH890, KH891, KH893, KH894
ABDE
Electronic machines
KH900, KH910, KH920, KH930, KH940, KH950, KH965, KH970ABDE
Ribbers
KR551ABC
KR110, KR120, KR586, KR710, KR810, KR830, KR840, KR850, KR890, KR900, RK900ABDE
KR582unknown

KnitKing Knitting machines

A – non-working position

B – standard working position

C, DI, DII – patterning positions

E – holding position

Machine Model numberNeedle Positions
24-stitch punchcard machines
Bulky:
Standard: KH881, KK91
ABDE
Electronic
Compuknit IV,ABDE

Silver Reed Knitting machines

Machine Model number
Needle Positions
SK120,ABDE

Two-color Fair Isle patterning on Brother KH800 and KH801 knitting machines.

These unique knitting machines, Brother KH800 and KH801, make it super easy to make punch cards and knit various patterns.

However, as I started to explore the steps on how to knit these various patterns, I discovered that the manual does not really present all the steps clearly, especially for the two-color fair isle knitting. So, a combination of researching manuals of similarly (with a ratchet) working push-button machines and my own trial & error, will be presented to you below as an attempt to ease up your learning of how to operate these wonderful machines. I also made a video of how I knitted a fair isle on my own Brother KH800 machine.

Before you even start, take a look at your main carriage. Find the N/T/MC knob in the top-right corner (we’ll need the MC settings). Please find the button on the carriage (we’ll need to push both PART buttons in). The slide lever on the carriage is on the settings “3”.

The change lever on the right-hand side of the needle bed in the top corner should be moved to MC.

These are the components we need to pay attention to to change to knit fair isle on Brother KH800 and KH801 knitting machines.

Preparation: knit several rows of stockinet in the main color. The second yarn is threaded into the left-hand side wire of the tension mast.

Step 1. The carriage is on the left side. On the carriage, set the change knob to MC and establish the desired tension (a two-color fair isle is recommended to knit at higher tension numbers). MC change lever is also at the MC setting. Holding cam lever (HCL) is at the setting “3”. Insert a desired punchcard and pull the step indicator up (“unlock” position) so it advances every time we knit one row.

Step 2. Move the carriage to the right. All needles will shift to DI position. Push both PART buttons on the carriage. Double-check your tension. Guide/insert the second yarn into the slot on the left side of the sinker plate.

The manual for the KH800/KH801 knitting machines does a very poor job of showing how to insert/guide the second yarn into the slide slot of the sinker plate. I found an excellent demonstration in the manual for the KH710 knitting machine, which has very similar steps to the knitting fair isle. Also, watch my video on how I did it.

Step 3. Move the ratchet tool to move the needles according to the punch card. Notice they will split into the DI and DII positions. The needles that will knit with the second yarn remained in the DI position. The needles that will knit with the main yarn will move to the DII position. Move the carriage to the left while holding the second yarn gently (watch the video).

Step 4. Before moving the carriage back to the right, activate the needle selection for the second row: move the ratchet tool. As you move the carriage to the right, place the contrasting yarn onto the right-hand side guide of the sinker plate. Also, make sure that the row indicator moves after you pass the V-shaped trigger. If the row indicator does not move, pull it upwards.

Continue these steps.

The same approach can be used on fair isle patterning on pushbutton machines, like Brother KH585, KH588, KH581, KH552, KH601, etc. The carriages for the pushbutton machines and for the 12-stitch punchcard models KH800 and KH801 are the same (except for the slide lever – the 8-pushbutton machines have side levers for the same purpose). Thus, after the needle selection, all consequent actions are very similar for all these machines.

Happy Knitting!

First steps of testing and learning a new-to-you knitting machine.

…this post is a collection of tests and tricks I use when I test knitting machines I refurbish. It is a continuous work in progress as I learn more about various knitting machines. LAST updated: June 2026.

Preparation for the knitting:

  1. After you have fully serviced your machine (read the list of steps I follow in here – sponge bar section is especially important), place the carriage onto the need bed (while ALL needles are in non-working position A) and move it across the needle bed (without the sinker plate attached). Ensure that the carriage runs smoothly on the needle bed. Apply oil if necessary according to the instructions if you feel that your machine does NOT run smoothly. Also, check the contact points (between the carriage and the needle bed) for gunks/rust/debris since they can contribute not only to poor movement of the carriage but also to static accumulation and other problems down the road. Some Brother machines have a lip on the carriage. Make sure this lip hugs the needlebed and not on top of it.
  2. Attach the sinker plate to the carriage according to the instructions. Run the carriage + sinker across the bed (the needles are still in non-working position A).
  3. Using a 1×1 needle selection comb (AKA ruler) move 20-30 needles to the B position (15 needles from the left of the “0” mark and 15 needles to the right). You will have every other needle in the B position. Run the carriage over the needles first, without the sinker plate. You will see how the needles move while you run the carriage. If everything goes well, run the carriage with the sinker plate attached to the carriage.
  4. Move the remaining needles to B position. You will now have 30 needles next to each other, all in B position. Run the carriage and then the carriage+sinker over these needles. Watch the needles move freely. If the needles move freely with only the carriage but not with the carriage+sinker, you might have a damaged sinker plate.
  5. If your machine has a patterning mechanism (pushbutton-, turn-knob-, punchcard- or electronics-based ones) , you could do the same (run the carriage and then carriage+sinker plate) when the patterning is activated. Passing the carriage back and forth without yarn while the patterning is activated will demonstrate if there are any patterning issues. I recommend using a simple card, where every other or every two other needles are selected.
  6. If steps 1-5 did not give you any trouble, you are ready to knit your first swatch.

Knitting a first swatch:

  1. Review the manual to determine which yarn is best for your machine. When choosing yarn for your first swatch, stay on the thinner side – we want to have our first knitting steps go smoothly and not go wrong because of the poor yarn choice. Once you learn to know your machine, you will know which yarns it can handle (and what to do so the machine can handle these yarns). For standard machines, I recommend sock-yarn-thickness and even thinner, for bulky and medium gauge machines – use sport-weight yarn.
  2. If your yarn came in a cone or a cake – you can skip this step. If your yarn is in a skein or a ball, you need to use a yarn winder to rewind your yarn into a cake or onto a cone. The reason is that during machine knitting you want as even yarn tension as possible.
  3. Bring 20-30 needles upfront and select every other needle (move them to the working position B). Run the carriage back and forth to even out the needles.
  4. Cast-on: I recommend using a cast-on method with a cast-on comb. Most Brother knitting machines have cast-on combs. Silver/Silver Reed/Studio cast-on combs do not typically come with cast-on combs. Cast-on combs can be purchased online. Or you can use an e-wrap cast-on method. Refer to the instruction manual of your machine for the recommended cast-on method.
  5. Once the first initial row is knit, knit several rows on every other needle. It will give you a good feel for the yarn thickness, tension and carriage behavior. Adjust tension as needed. The carriage needs to run smoothly.
  6. Bring the remaining needles to the working position. Increase the number on the tension dial. On all needles, the yarn tension needs to be looser than on every other needle. Knit several rows.

If all these tests are successful, you can now start experimenting with patterning as well as knitting on a full bed.

Brother KH800 knitting machine, serviced and tested in March 2024

Brother KH800 knitting machine

$625 machine + $110 shipping (with insurance)

$735.00

Click here to purchase.

This blog is about a specific Brother KH800 knitting machine, which I cleaned, serviced, and tested in March 2024.

To learn about the Brother KH800 model, with all its pros and cons, read my Knitting Machine Encyclopedia.

All needles were removed, cleaned, serviced, and inspected. The sponge in the retaining bar was replaced. The case and the lid were wiped thoroughly but I did not subject the case and the lid to excessive rubbing to remove all staining. So some stains remain. The same applies to the plastic panel: I was able to remove most of the dirt and grime but some minor staining might still be visible.

I installed new weaving brushes (it is typically a pain in the butt to do it – so take good care of them). The old ones completely fell apart. They are not black as the original ones but white with strong bristles.

The machine will come with all major accessories (which fit inside the knitting machine case lid):

  • extension rails (to accommodate the lace carriage if you are using one or to accommodate the main carriage when you are knitting on the full bed)
  • tension mast
  • lace carriage
  • big and small cast on combs

Most critical minor accessories are included too:

  • metal 1×1 needle pusher
  • claw weights (greenish. like the machine)
  • latch and transfer tools as well as crochet needle
  • set of 3 spare needles
  • carriage lock
  • puncher
  • table clamps
  • set lever (also known as ratchet tool)
  • cleaning hand brush (good for cleaning carriage and removing some lint between the needles)
  • two carriage handles (one for the main carriage and one for the lace carriage)
  • row counter (I specifically looked for a greenish row counter to match the machine)

The minor accessories that are NOT included are marked below. These minor accessories do not affect the functioning of the machine. But read below about the punch and pattern cards.

The parafin is only needed for the yarns that are prone to static. The pen is actually for the knit leader and not for the machine. The greaze was old and I tossed it away. Any gun oil will work to service this machine. Any strong thin yarn can serve as a cast-on or waste-yarn thread.

All minor advisories are stored inside the built-in box with the lid.

The handles for both carriage are screw on and are also stored in this storage box. The carriage moves very smoothly on the needlebed.

The machine did not come with the original hard copy of the manual. It can still be found online for free. I can include a printed copy that came with this machine – just let me know but it might add to the weight (1-2 lbs) of the shipping package.

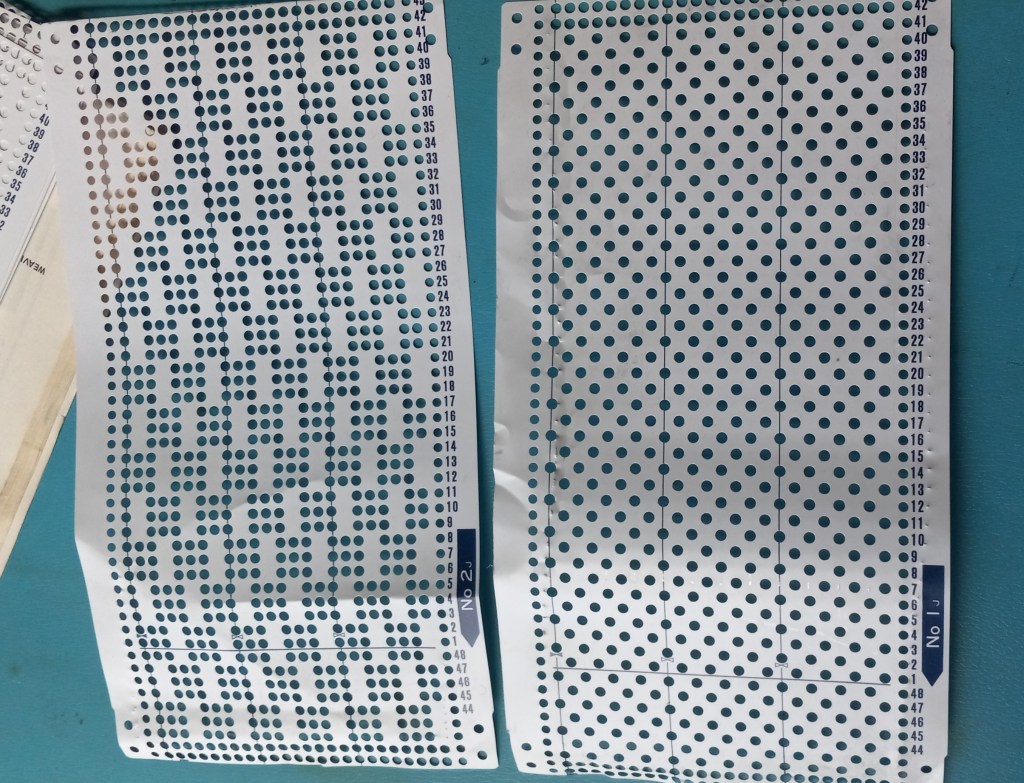
Even though the original pattern and punchcards are missing, it is very easy to make your own cards. I made a video on how to do it and described it in another blog. Follow the links for free pdf-files for the blank and pre-patterned cards. In my video, I printed out and used those cards.

Also, the cards are very easily to make (punch). Simply insert the cut-out of a new card into the punchcard reader and punch the wholes either using the punch provided or using a simple pencil. I describe it in my other blog and show it in my video as well.

The machine can be easily attached to a knit leader using the triangular tripper and the rod above it. Read on the manual of a specific knit leader on how to attach the machine to it.

I knitted several swatches (tuck, slip, stockinet and fair isle) on this machine to ensure the carriage functions properly. I also knitted on the full bed to ensure all needles form proper stitches and that the patterning mechanism works well on the whole needlebed. Watch the video of all tests. The picture below shows the tuck-stitch fabric knitted during these tests.

Check out my blog and a video (…coming soon) on the fair isle patterning on this machine. It was quite interesting.

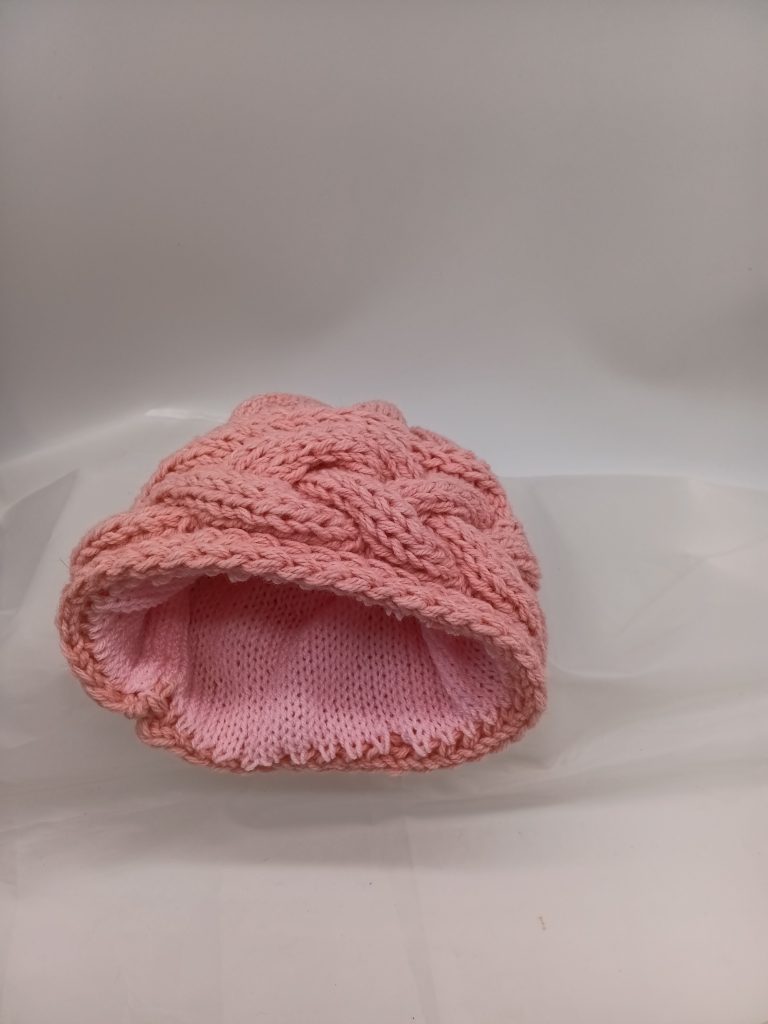
The panel I knitted during all these tests was converted to this 3-in-1 berett/cowl/hood shown below.

Turned out pretty good!!

Now about imperfections:

The most obvious imperfection is the scratches on the main carriage. They seem to be just cosmetic and did not affect the functioning of the machine.

All other impefections are also cosmetic. Like some minor dents and scratches on the lid and the case (not shown).

Vintage KnitLeader KL111 prepared for Sheryl, April 2024

KnitLeader KL111 + customer’s ship label

$44 + customer provides shipping label

$44.00

Click here to purchase.

KL111 knitleader has all major accessories, including a good-looking hard copy of the manual, mylar sheets, scales, ruler and very important triangular brackets. The post below is about a particular knit leader but to know more details about the KL111 model, refer to my other post.

I did not test the knit leader on the machine but all the buttons, knobs and levers move freely. I inspected it thoroughly and wiped easy-to-remove dust and grime. Some stains remained – I do not like rubbing the plastic parts too extensively out of fear of damaging this old plastic even more.

The ratchet with the white handle is missing. So I will include the ribber spanner that fits well although is not as ergonomic as the original one. The handle can be improved a bit by applying several layers of tape.

The long scales seem like were never used. The mylar sheet also looks in great shape.

The knit leader tripped will be included if your carriage did not come with one.

The control center is in great shape also:

Below are some imperfections I noticed when preparing the knit leader. Most are the different degrees of staining on the boxy of the knit leader.

Patterning mechanism of Brother KH800 and Brother KH801 knitting machines.

Brother knitting machines with model numbers KH800 and KH801 have a very unique patterning mechanism: a combination of a punchcard reader with the ratchet tool activating the needle being pushed forward (also known as “needle selection”)

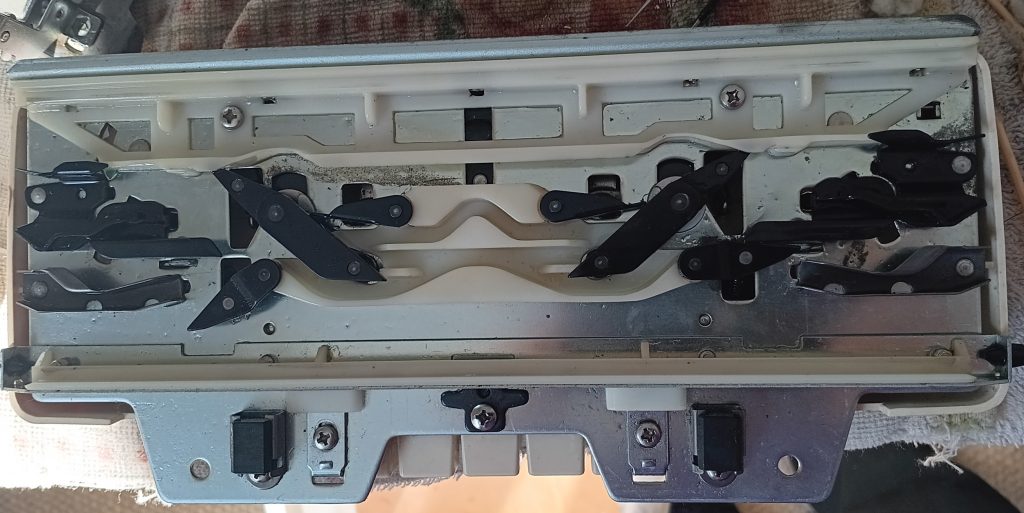
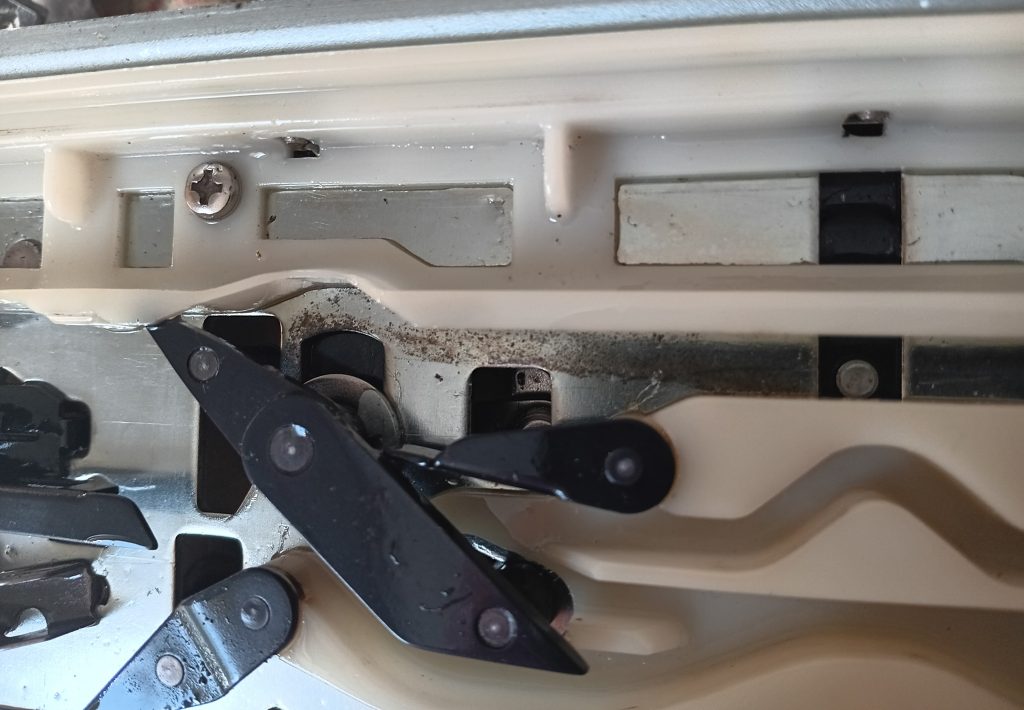
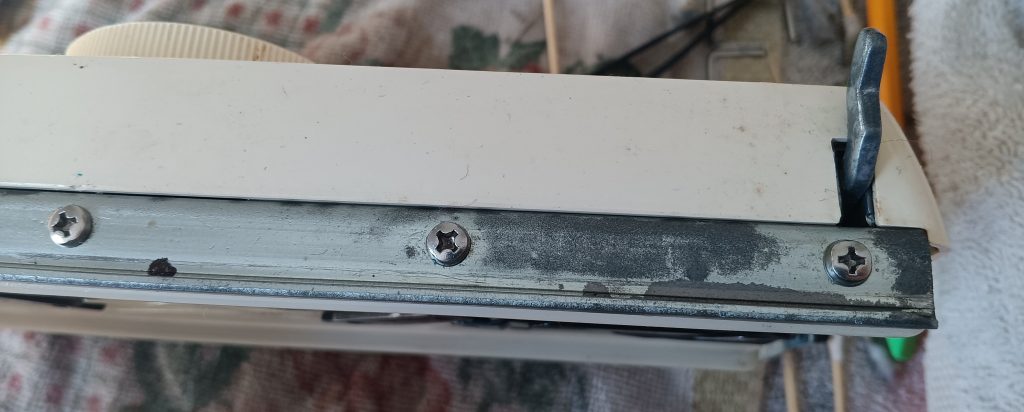
When I was refurbishing a Brother KH800, I had to open the case up to see why the machine was mispatterning. I, thus, had a lot of fun looking at how the patterning works. (By the way, mispatterning was due to the selection strips/plates being tucked together – nothing that a good layer of Kroil oil can’t fix).

Brother KH8000 and KH801 accept punchcards with 12 holes. There are also twelve selection rods.

Punchcard-reader pins poke through the holes in the punchcard when the ratchet tool is moved.

This pattern is then transferred to the patterning rods, which move according to the holes in the punchcard (see the video).

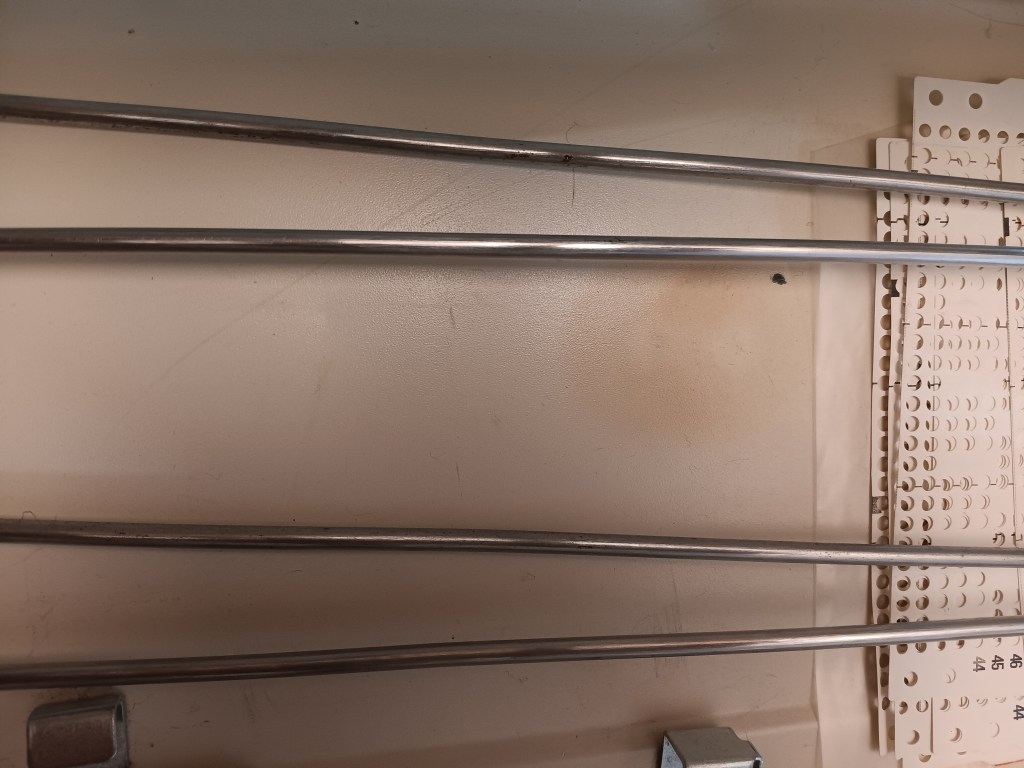
Notice in the picture below how the distance between the rods is no longer even because some of the rods were activated and some were not. This “activation selection” is determined by the punchcard pattern. I was testing this machine with the punchcard with every other hole unpunched.

These rods determine which tabs are pushed towards the needles.

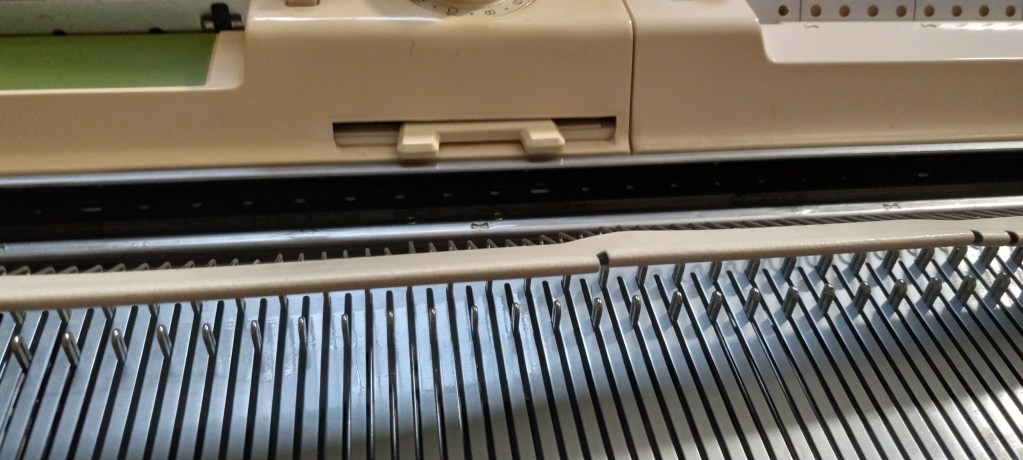
Notice below how these tabs push forward only every other needle….

…according to our punchcard pattern.

Here is a closer look at these patterning tabs. Notice they are grouped in twelve.

Another view from a different angle:

So, if your machine mispatterns, it is very likely due to this mechanism. The good news is: it is probably easy to fix since everything is 100% mechanical.

Although I did not really open up any of the pushbutton machines (4-button like KH551 or 8-button like KH581, KH585, KH588, KH710, etc.) to watch their needle selection mechanism, I suspect that it is performed the same way as on Brother KH800 and KH801.

Even 24-stitch punchcard-reading knitting machines (KH8XX series, like KH840 and KH891) have similar patterning rods.

Simple projects for absolute beginners in flat-bed machine knitting.

This article lists several short overviews of projects very friendly for machine knitters who are just beginning to knit on their machines and are tired of just making swatches. Each project builds on the skills introduced in the previous one.

Enjoy, and let me know how it went!

1. Cord

Knitting a cord on your flatbed knitting machine is very easy and fast. These cords can be used for a variety of projects. I use them to insert into hats, bags, and socks as strings but also for decorations.

Read step-by-step instructions here.

2. Cowl/neck warmer.

This project can be done on a full bed of any flat-bed machine (mid, standard or bulky gauge) with or without patterning capabilities. No swatches are needed. While working on this project, you will learn how to 1) cast on with waste yarn, 2) create mock-ribbing, 3) fold the knitted fabric over, 4) cast off, 5) knit a cord (also a skill from the previous tutorial), and 6) make a buttonhole. You will need to know on your own how to sew panels together (mattress stitch or whatever stitch you feel comfortable with). You will also learn about how 1) your machine knits across the full bed, and 2) how all your needles function (whether you have sticky latches or badly forming stitches). It is a fun project and can be done with any yarn of your choice (as long as it knits on the machine of your choice).

Read the full description here.

3. Vintage girl’s hat, bandana- or headscarf-like shape, with cables

With this simple project, you will learn increases/decreases, buttonhole making, and simple cables. Optional ribbing on the front can be done by hand, on the ribber, or left as is. It can be done on standard, mid-gauge, or bulky knitting machines in a similar way. No gauge calculations are needed.

4. Mock-ribbing, mock-purl stitches double-sided blanket.

This is a very simple project, but it requires a lot of yarn. So it is good for destashing. You will use the skills from the previous projects (making cord, mock-ribbing, and folding the fabric on the machine as well as making cables). It can be done on any machine using ALL needles. If you are using the same two contrasting yarns, no swatch is needed: just keep track of how many rows you knit. If using yarns of a different weight, a swatch is recommended to calculate the appropriate number of rows.

Read the full description here or watch a video tutorial.

3. Simple 1 x 1 rib hat.

For this project, you will need a flatbed knitting machine and a ribber attached to it. By doing this project you will learn how to operate your machine with the ribber, how to adjust/attach side weights, and how to cast on and cast off. It is a fun and very easy project to do. The knitted panel can be finished as a hat or as a neck warmer

5. Christmas Bag for presents and decor.

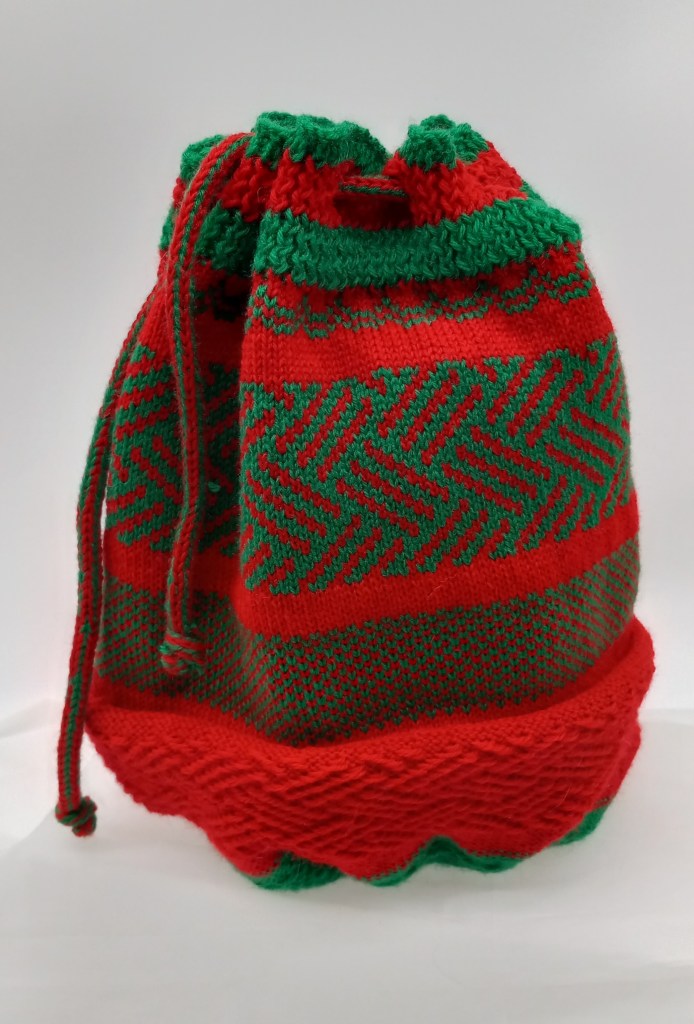
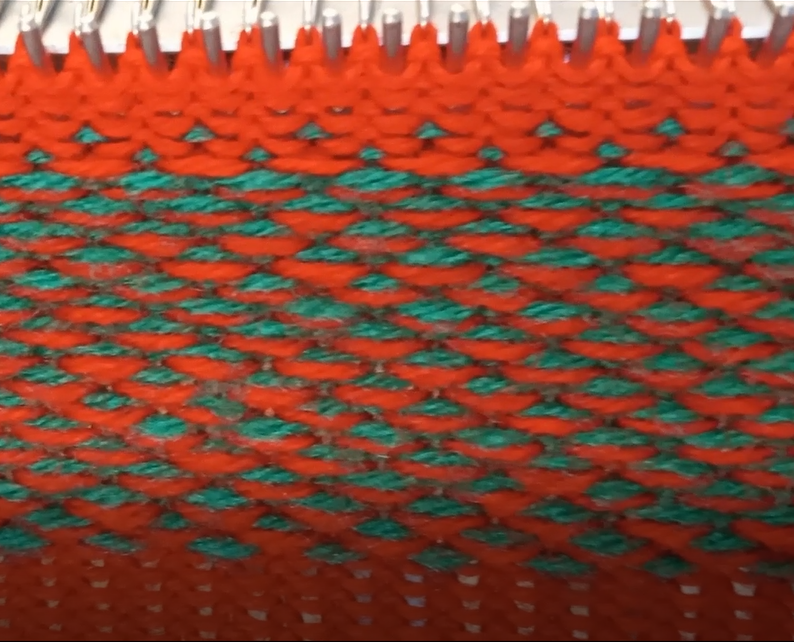
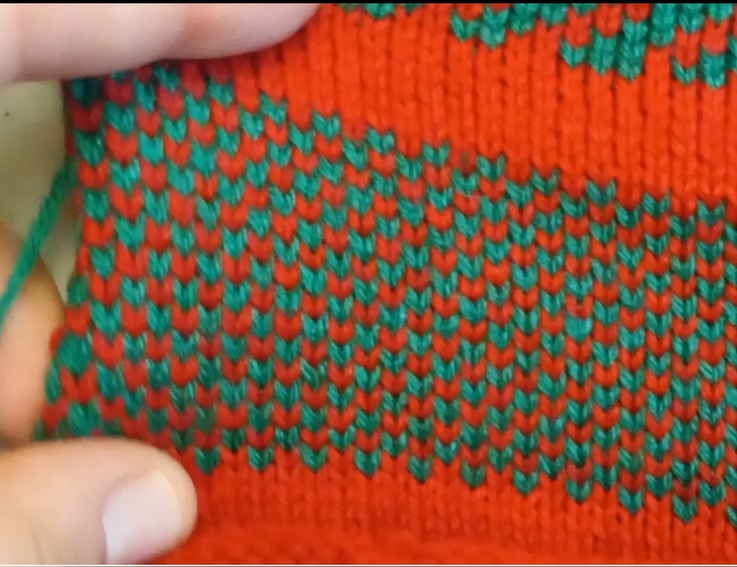
With this project, you will learn how to make a two-color cord, knit mock-ribbing, to make a buttonhole, basic fair-isle patterning, as well as optional tuck- and slip-stitch patterning, cord making, as well as optional usage of garter bar (but can be done without it as well). You will need to know how to insert the cord into the folded fabric, and how to sew panels together (using basic stitching like back-stitch or mattress stitch).

Best if done on a punch card or electronic knitting machine for faster fair-isle patterning with two colors.