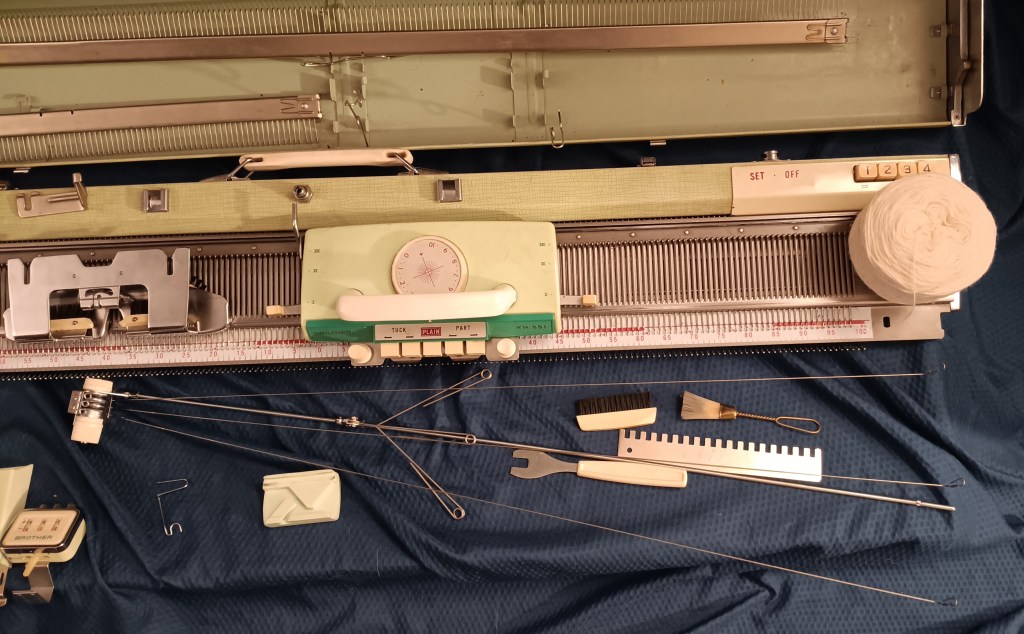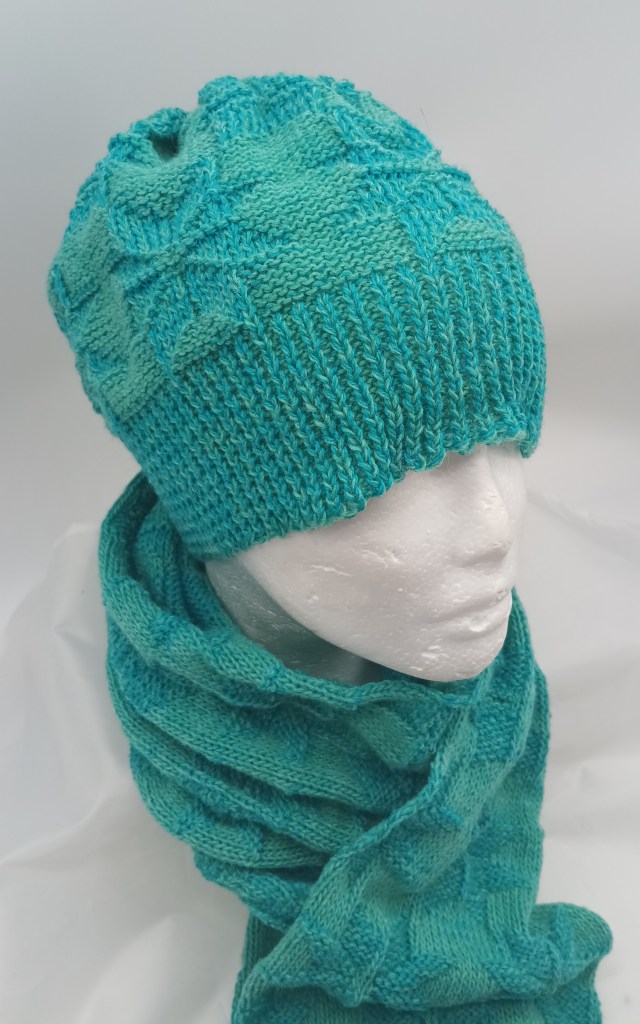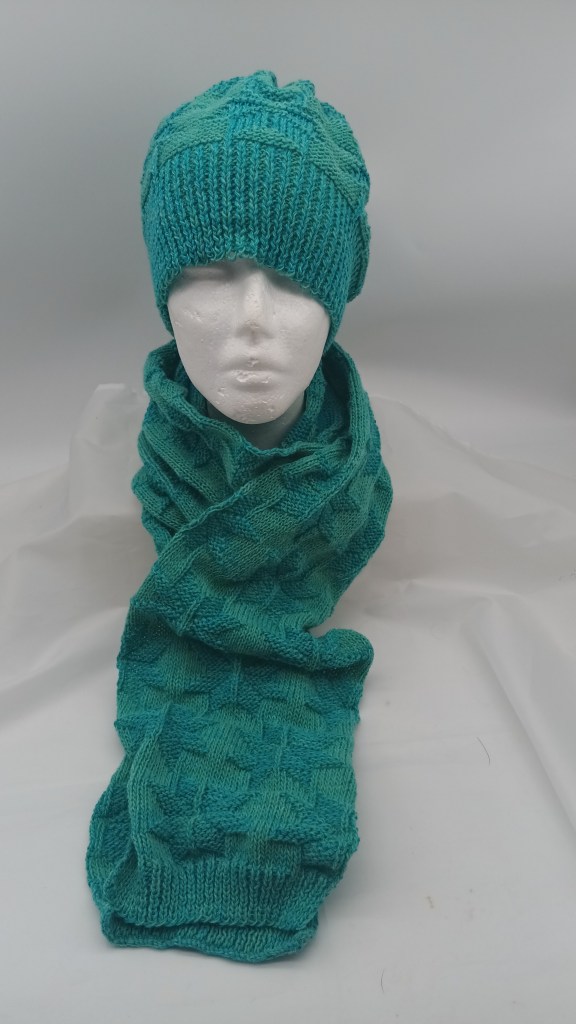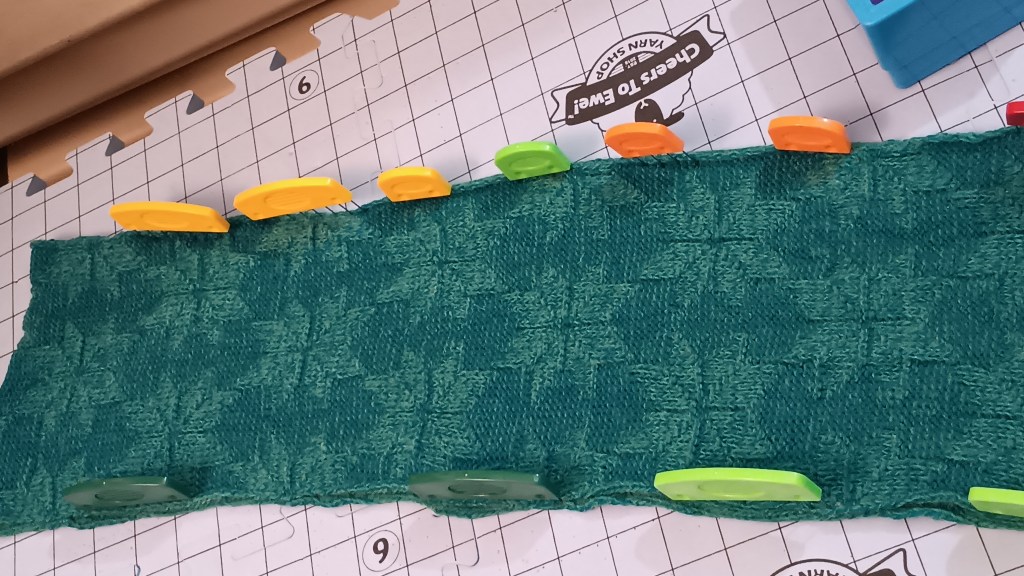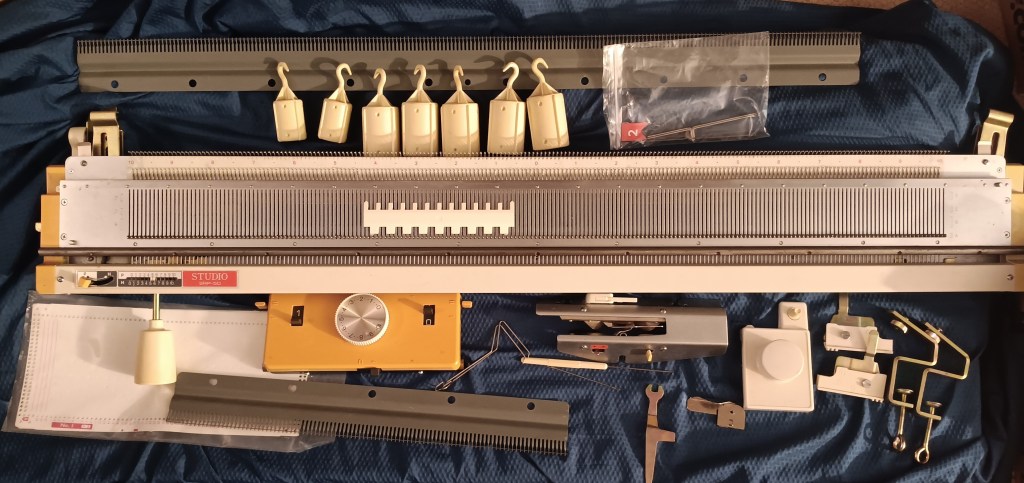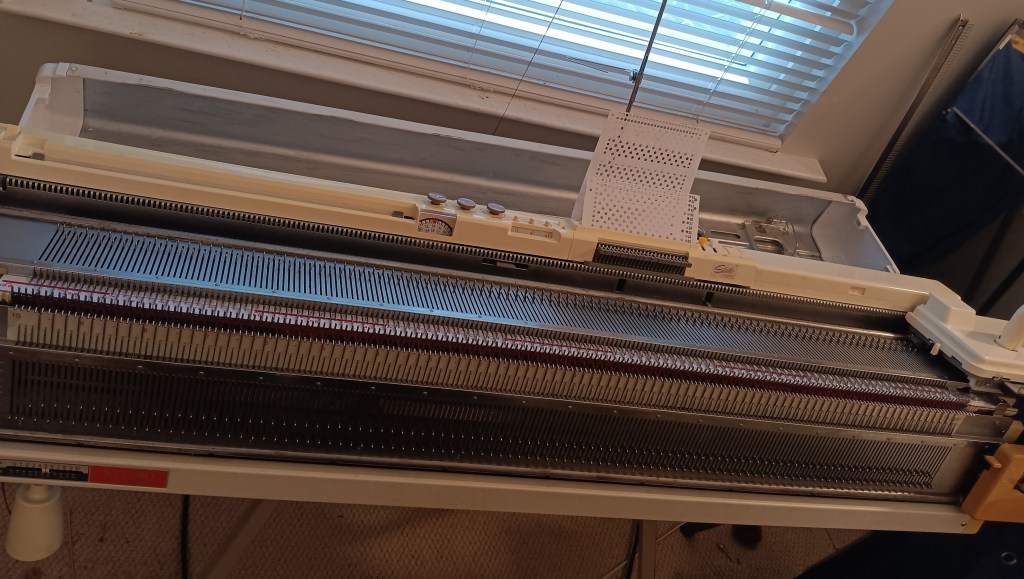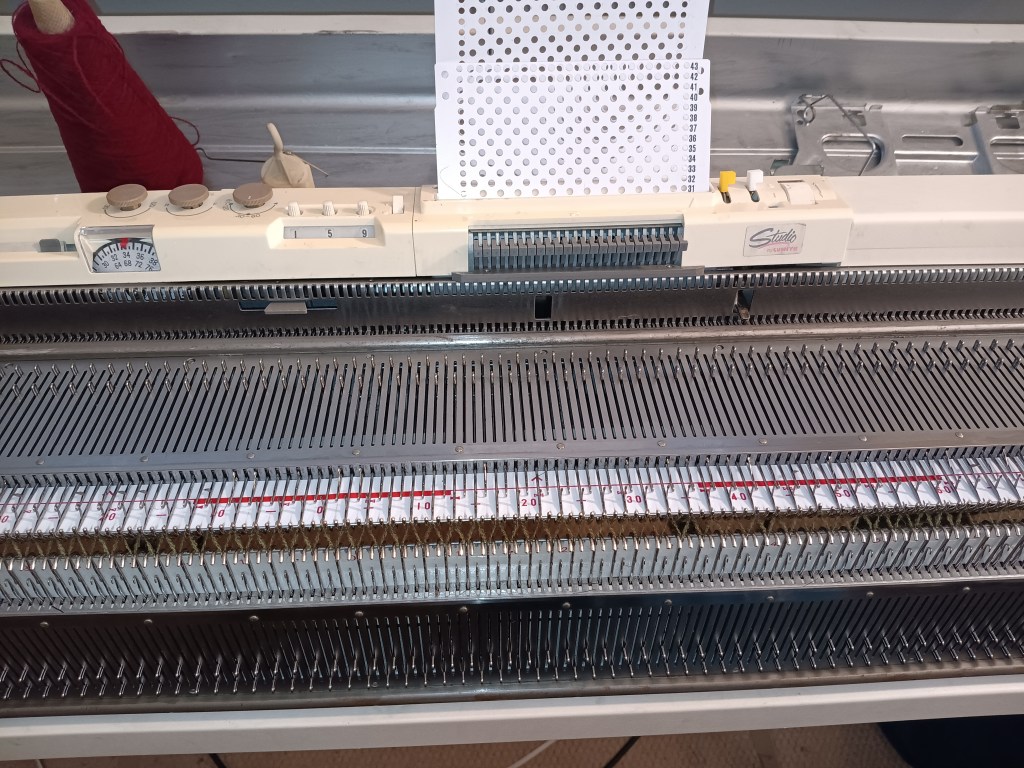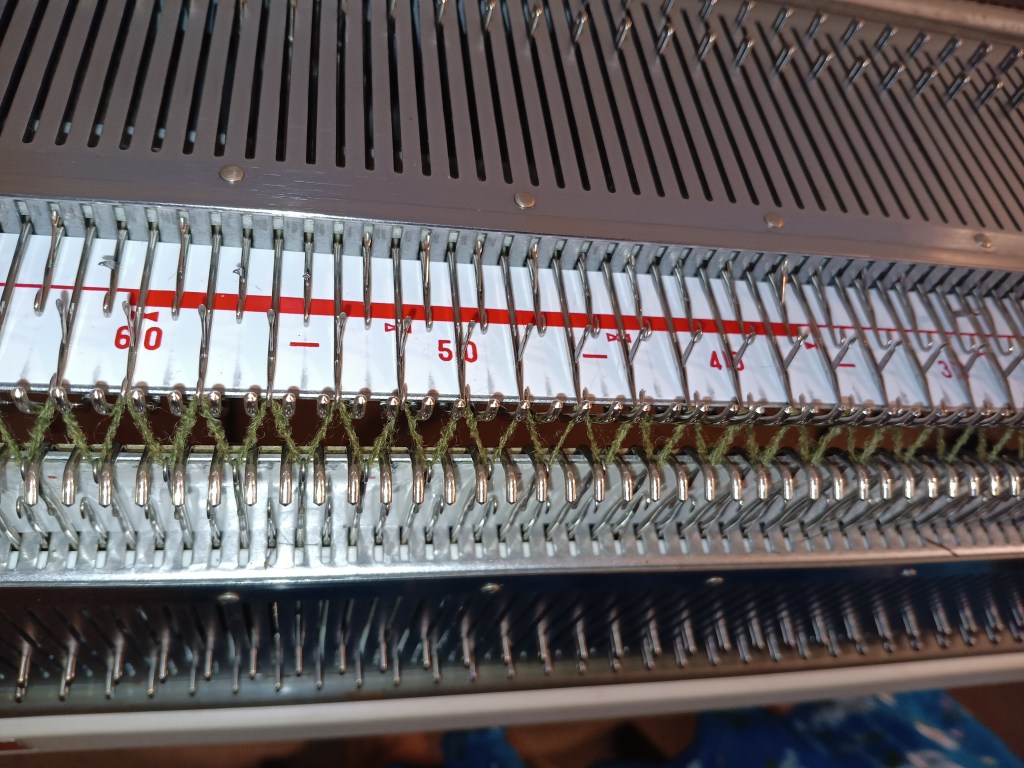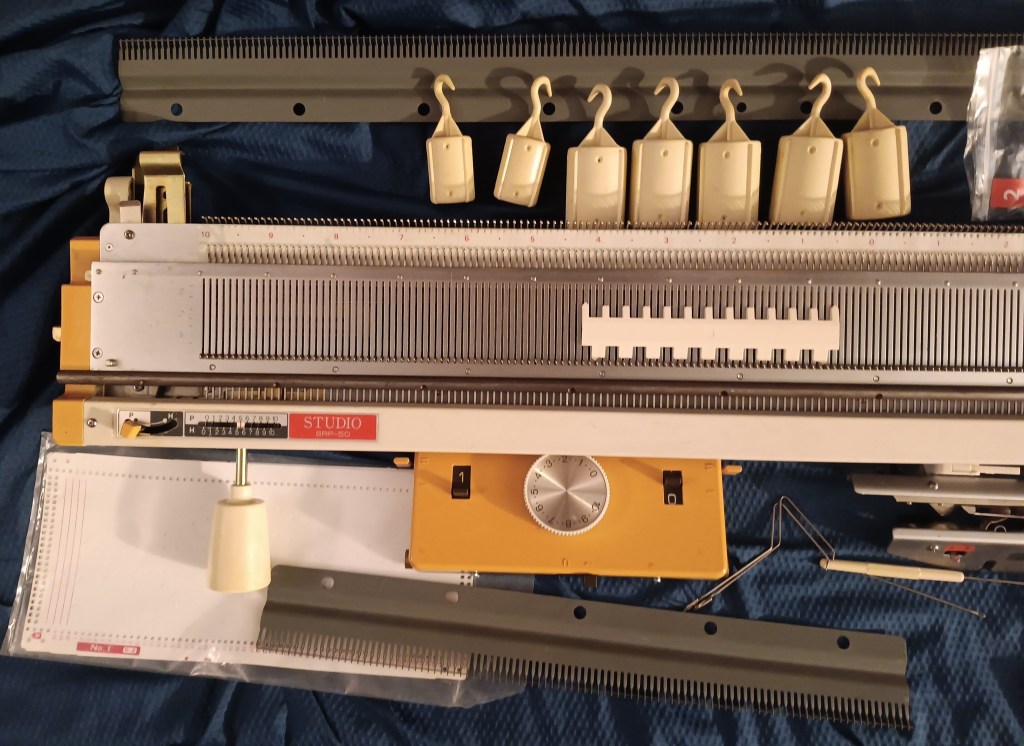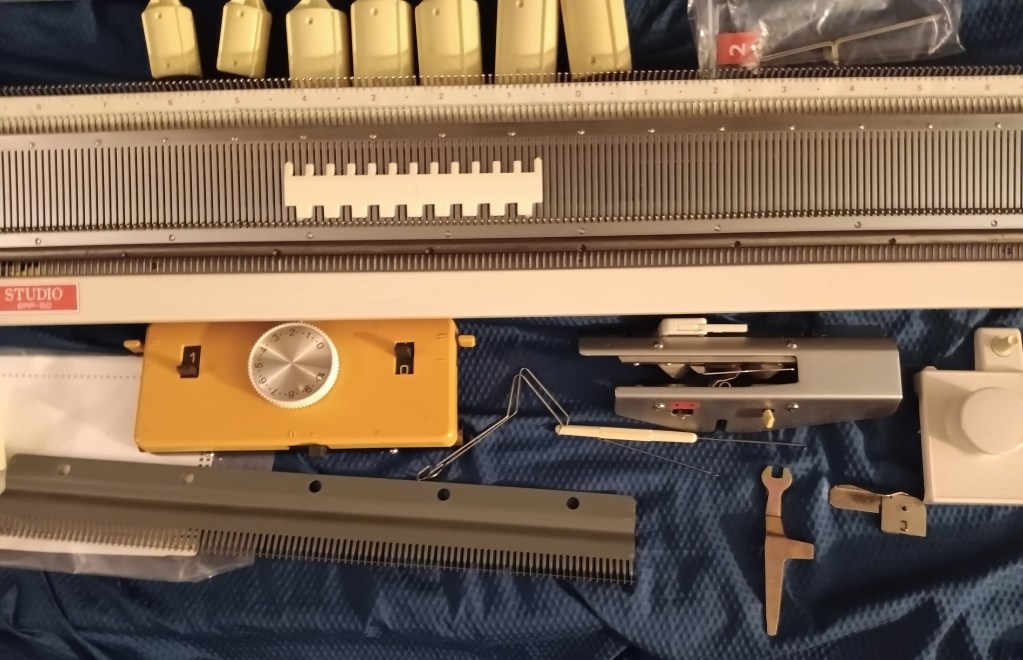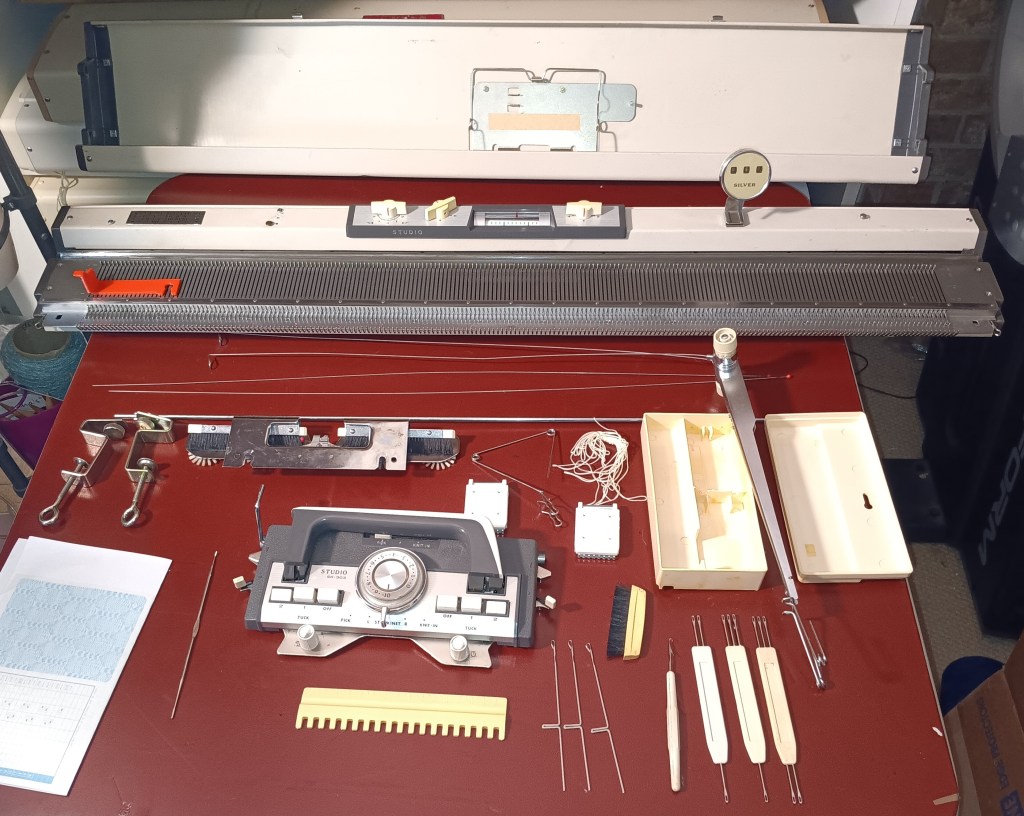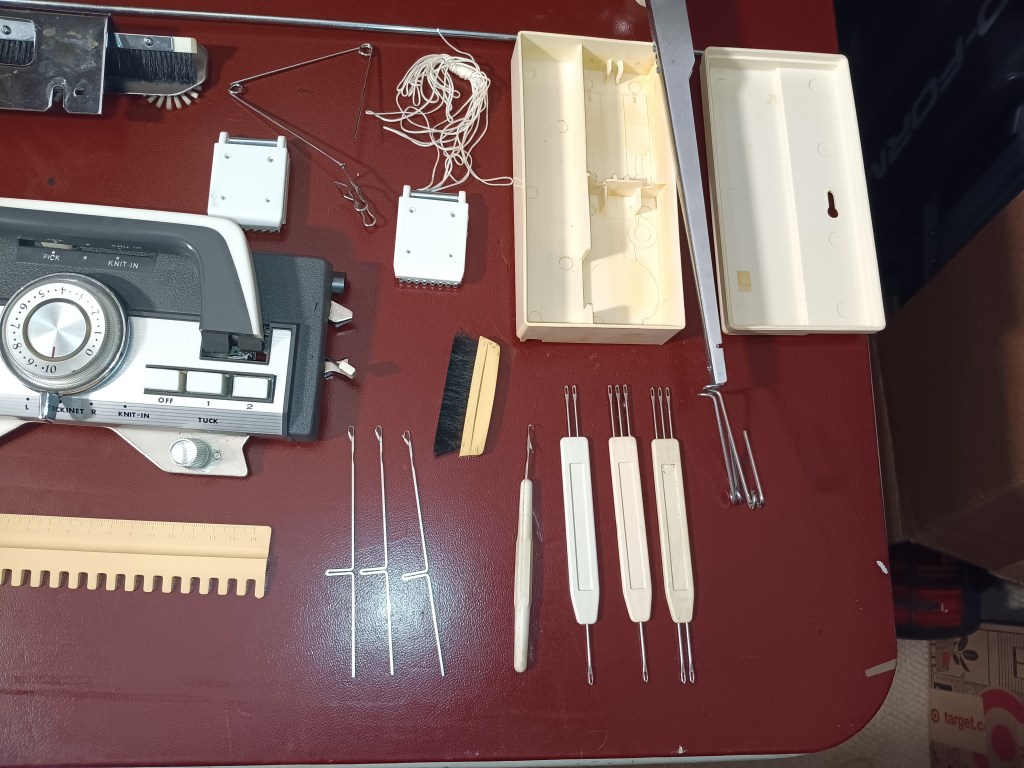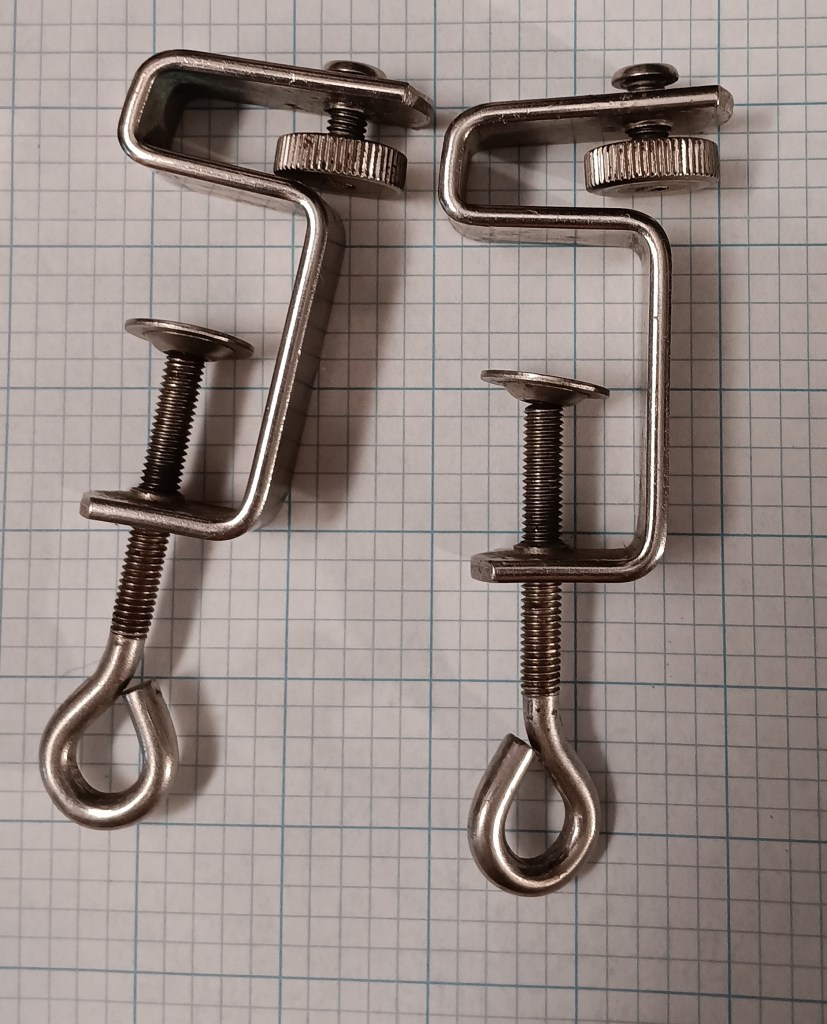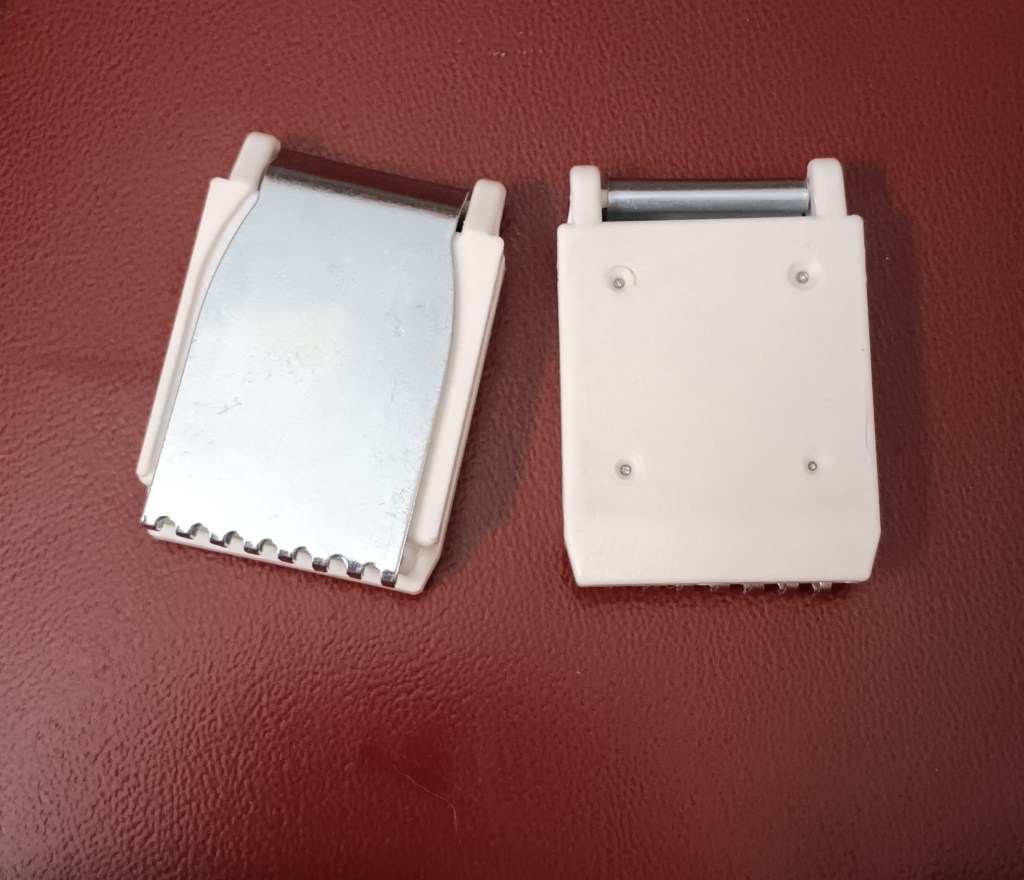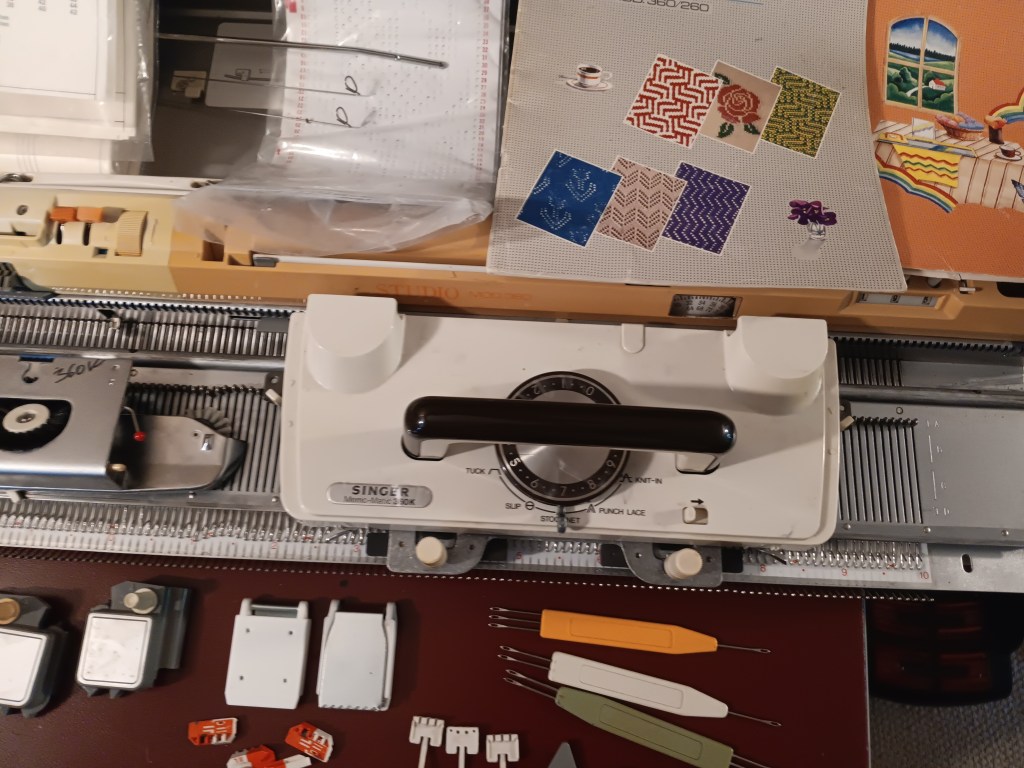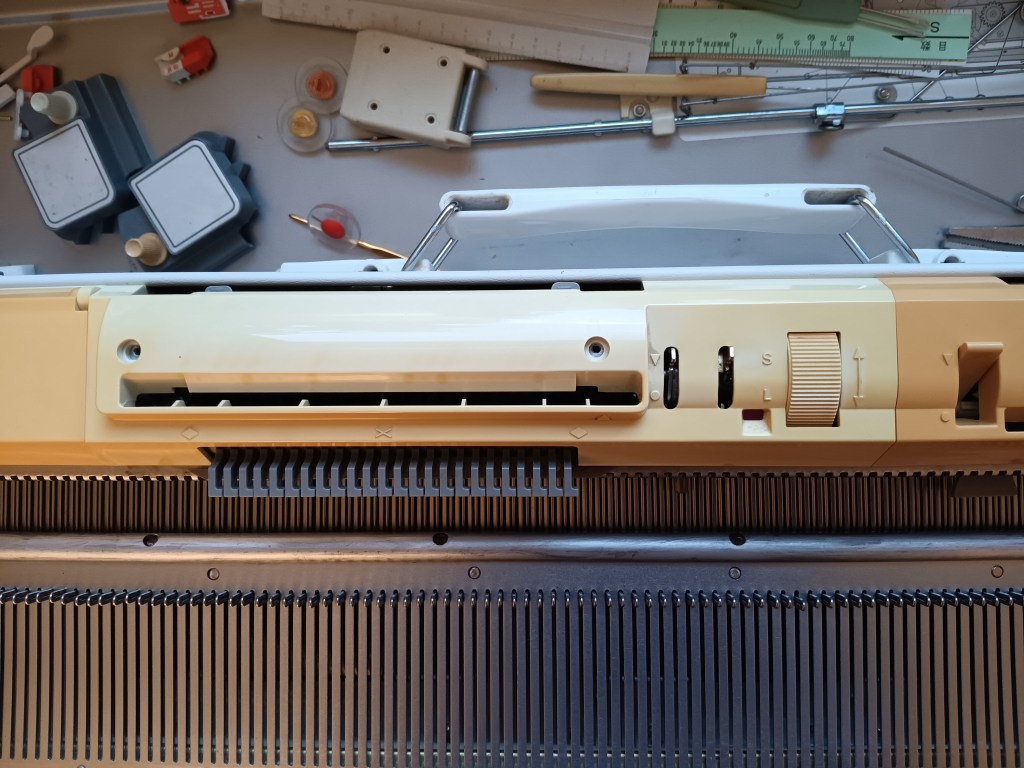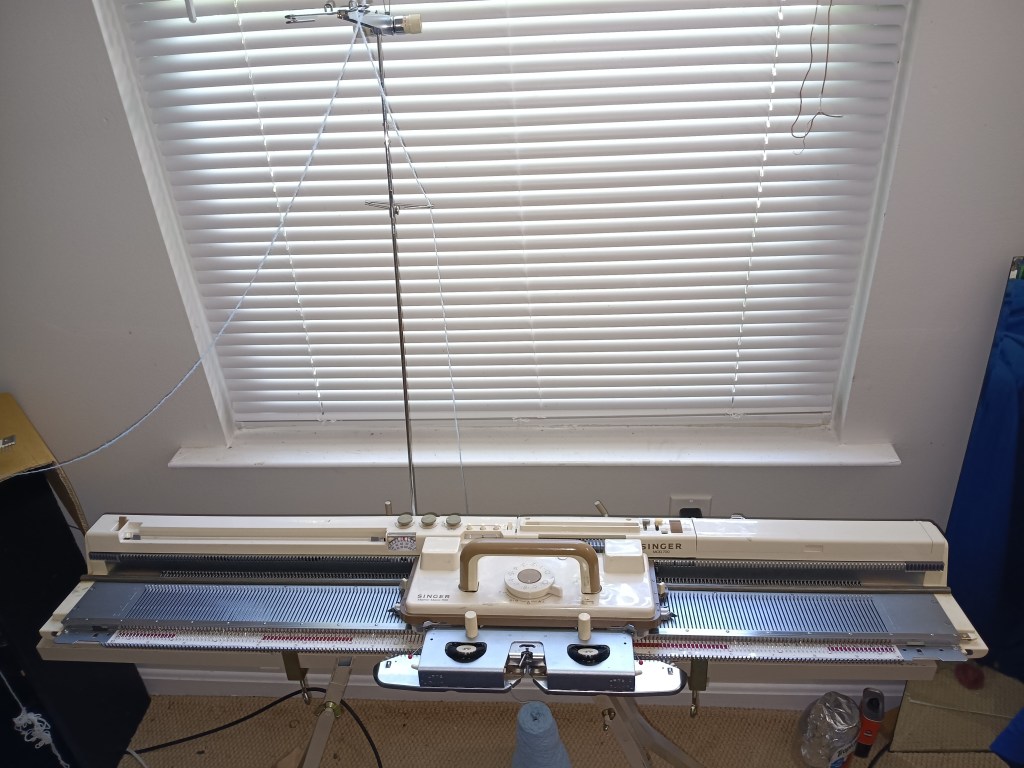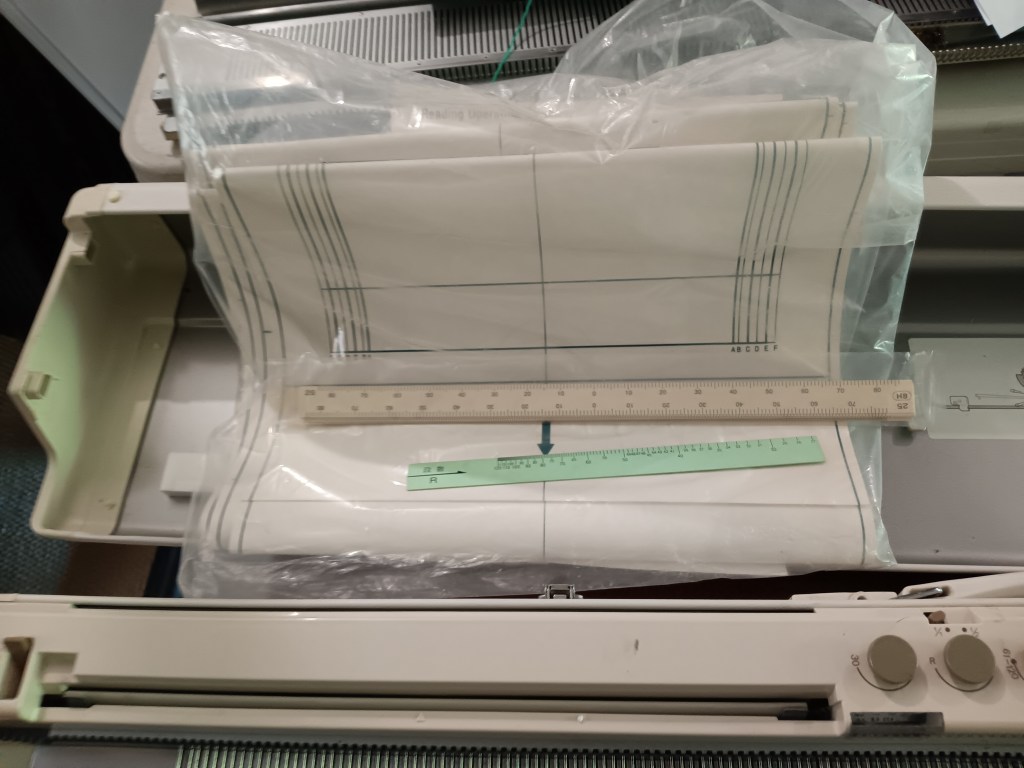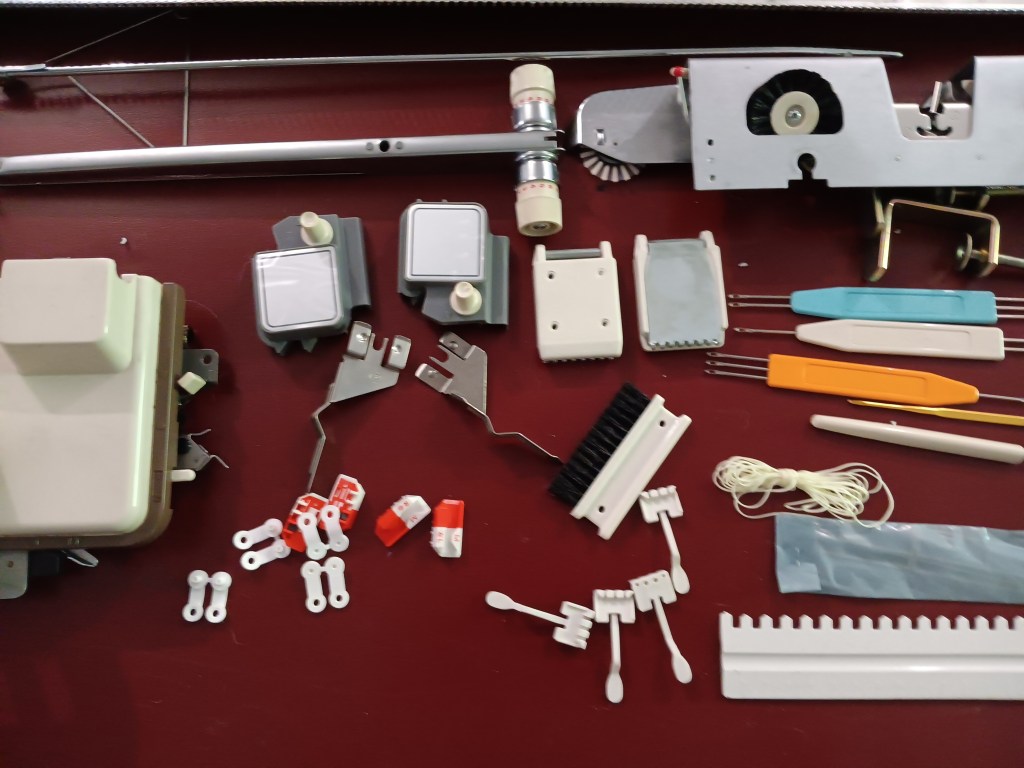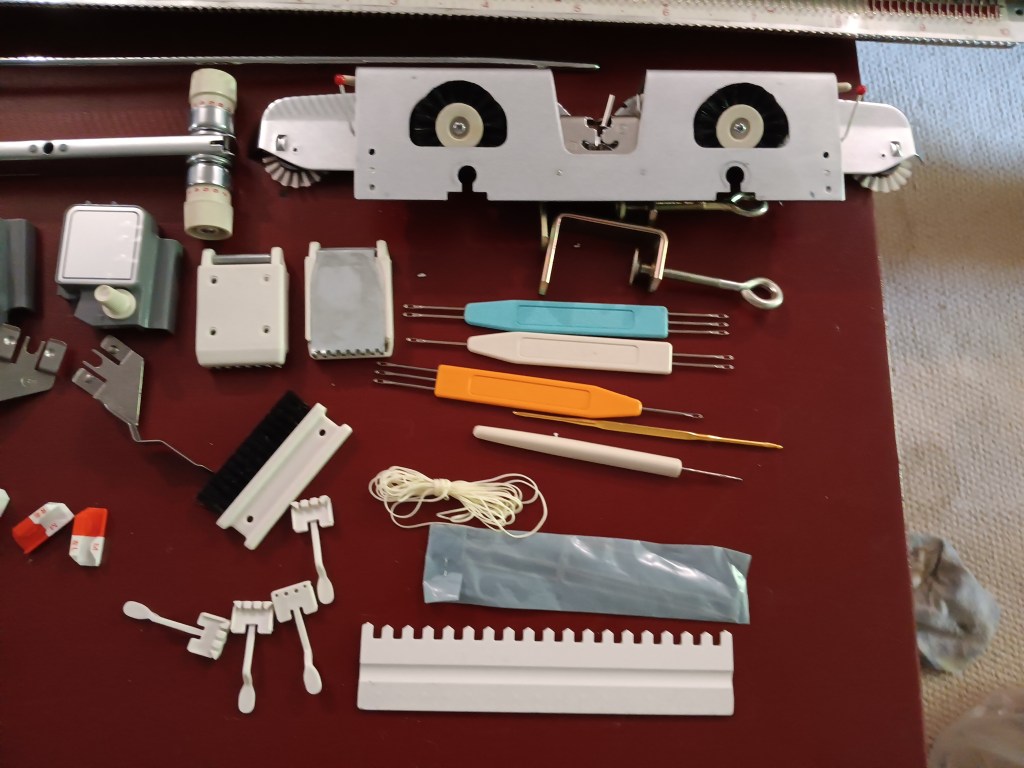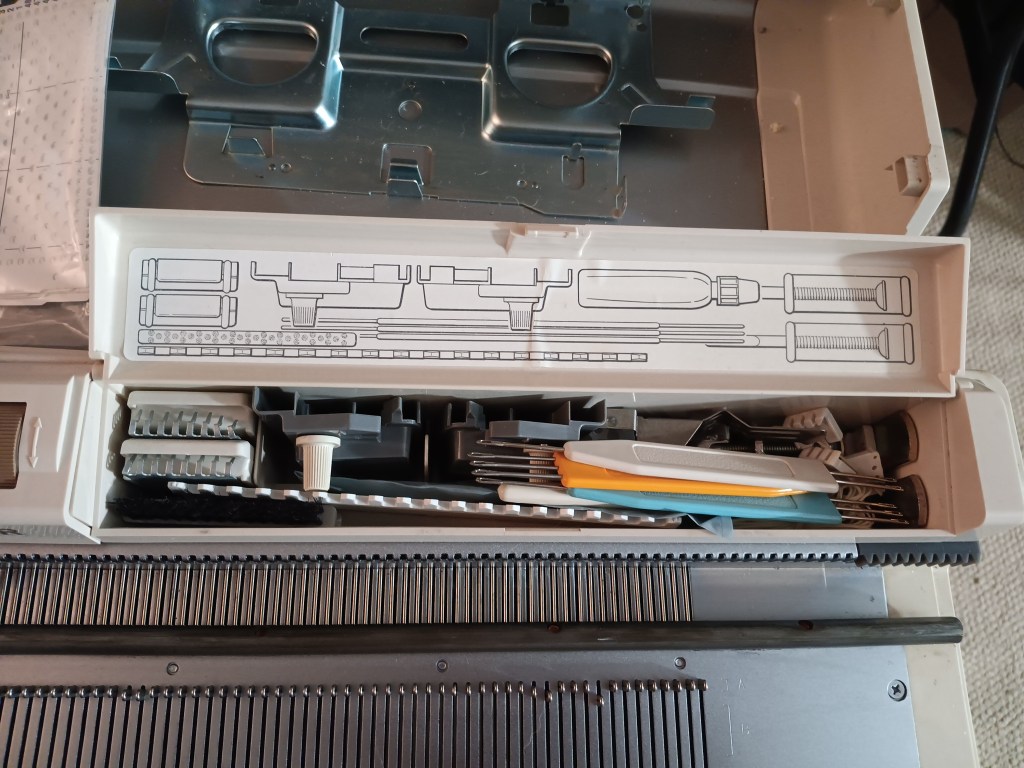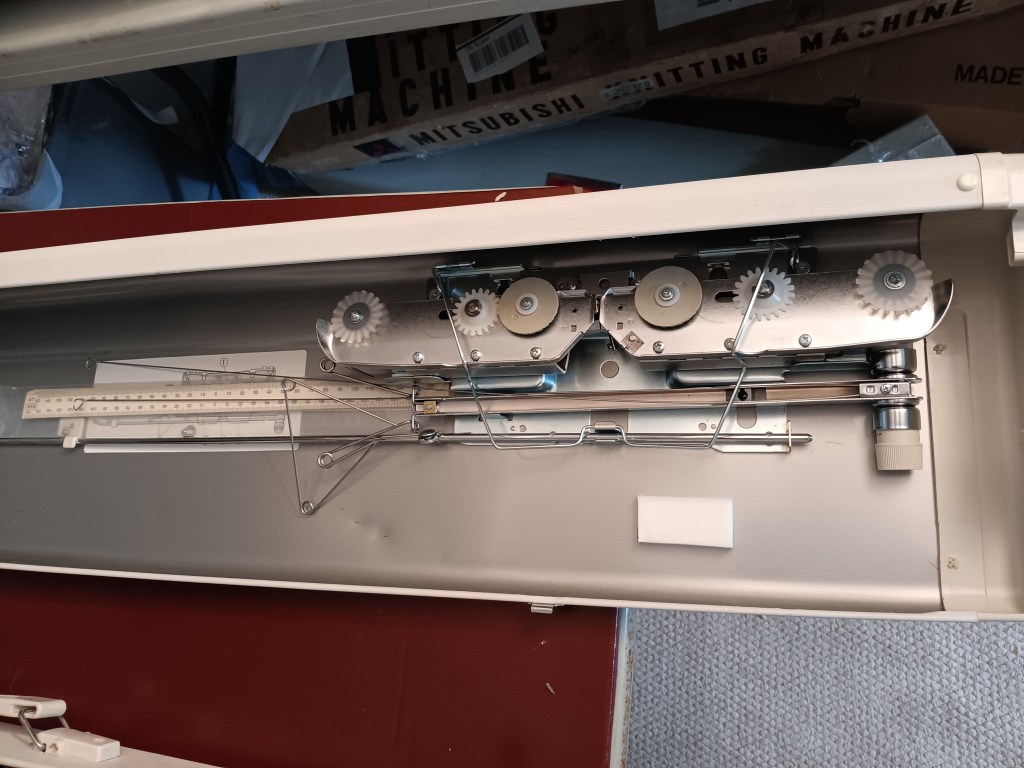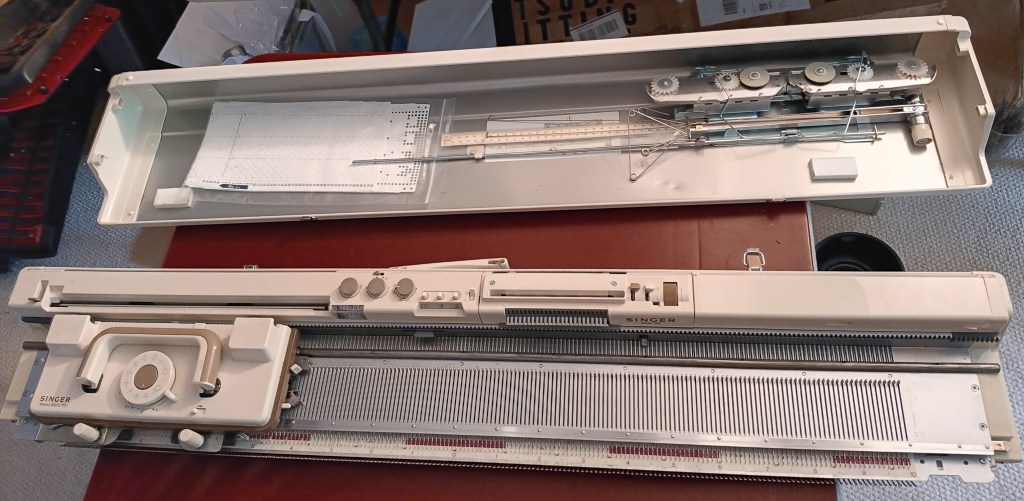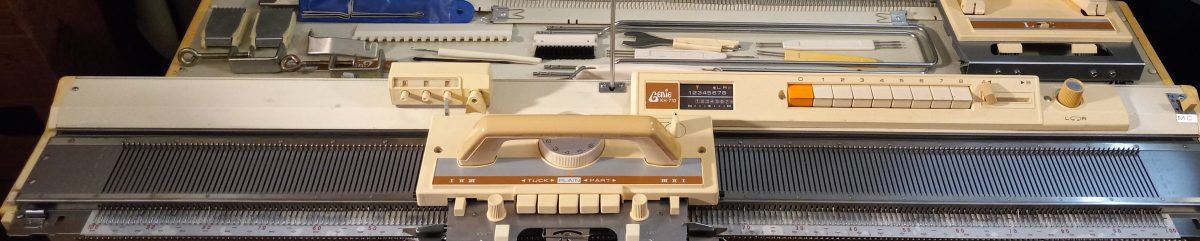
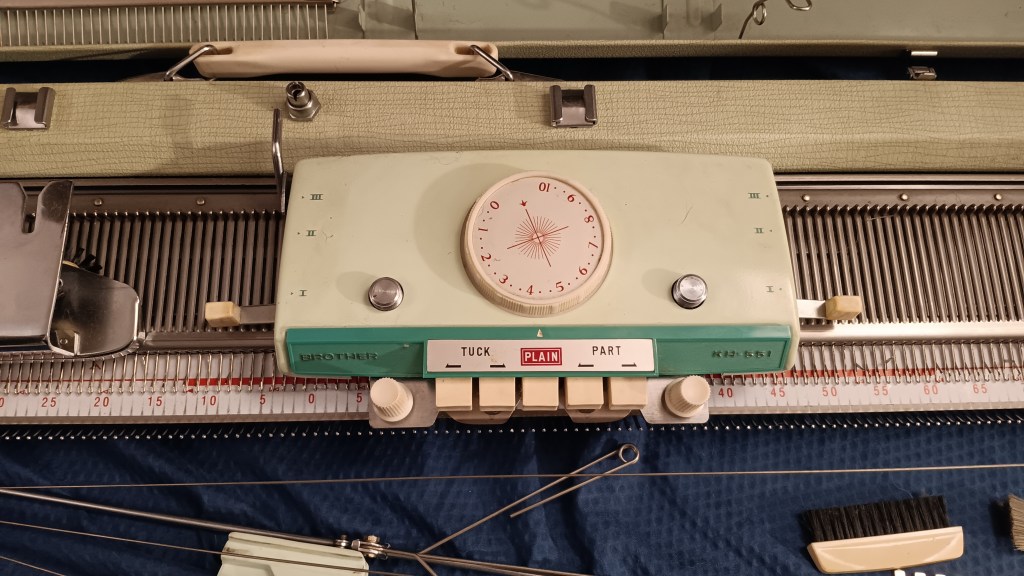
Brother Profile 551 tested and serviced in my shop in October 2025

Brother Profile 551 (Or KH551) knitting machine is a standard-gauge knitting machine with 200 needles, 4.5 mm apart. Read more about the pros and cons of this model in my Knitting Machine Encyclopedia.

The article below is dedicated to a specific machine tested and serviced in my shop in October 2025.
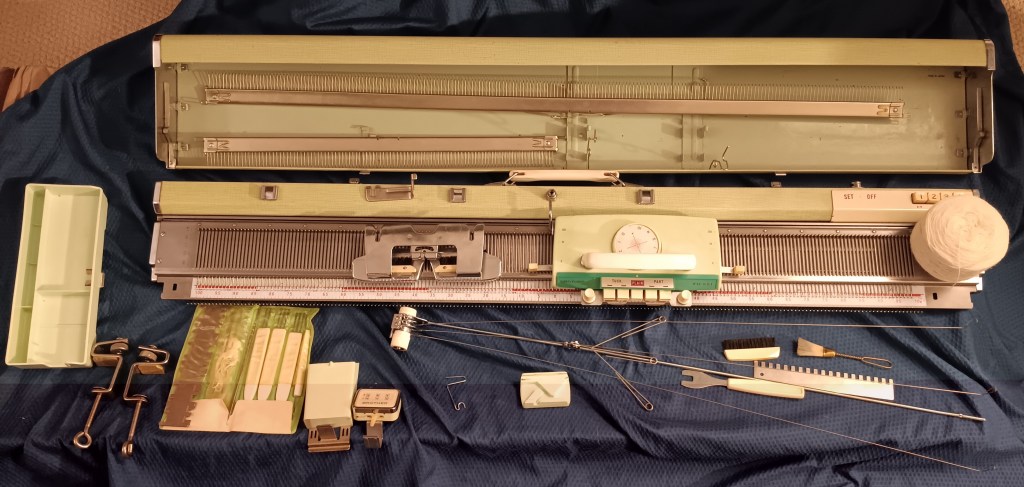
The machine was cleaned and oiled. All needles were removed, cleaned, and inspected individually. Their latches and straightness were checked and confirmed. The carriage was cleaned and serviced (oiled and inspected). The sponge in the metal retaining bar was replaced with a new one.
I first knit a swatch while testing the machine to demonstrate that the carriage, all its levers, buttons and knobs as well as the needle selection mechanism, work well.
Additionally, I tested the machine on all needles to ensure the needles form correct stitches. The video of these tests is posted on my YouTube channel. I used several different yarns. All tests went really well. I tested the machine using several different yarns. I will include a skein of one of the yarns I used and liked the most for this machine.

In the video, you will see that I first checked how smoothly the carriage runs on the needlebed. I moved forward (to B position) one section of needles at a time and ran the carriage in different settings across these needles. Thus, I ran the carriage across the needlebed after moving the Russel levers to I, II< and III positions and pushed the “tuck” and “part” buttons on the carriage.

When knitting the “butterfly” pattern (the very first “holding” pattern) I deviated from the pattern and instead of alternating between pressing buttons 1 and 3, I pressed 1 and 3 and then 2 and 4 to demonstrate that machine, buttons and needle selection function properly.

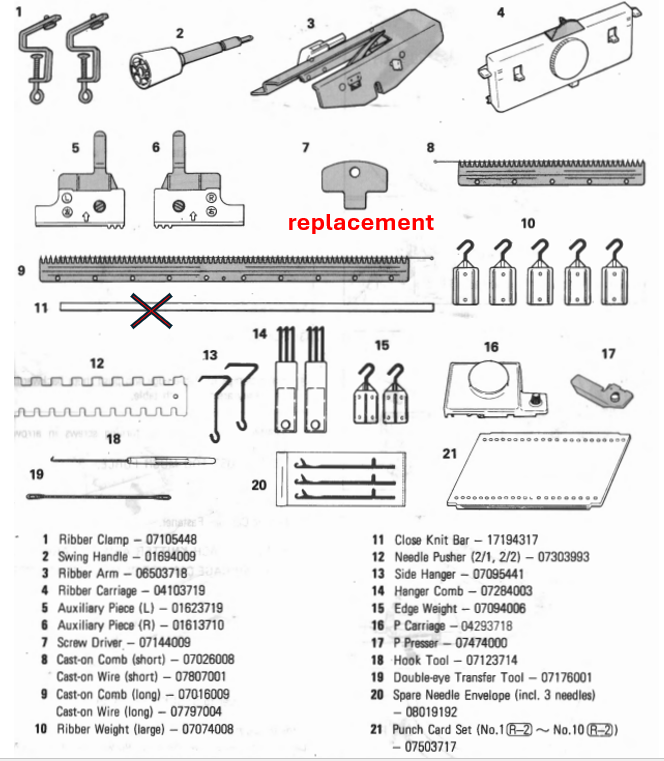
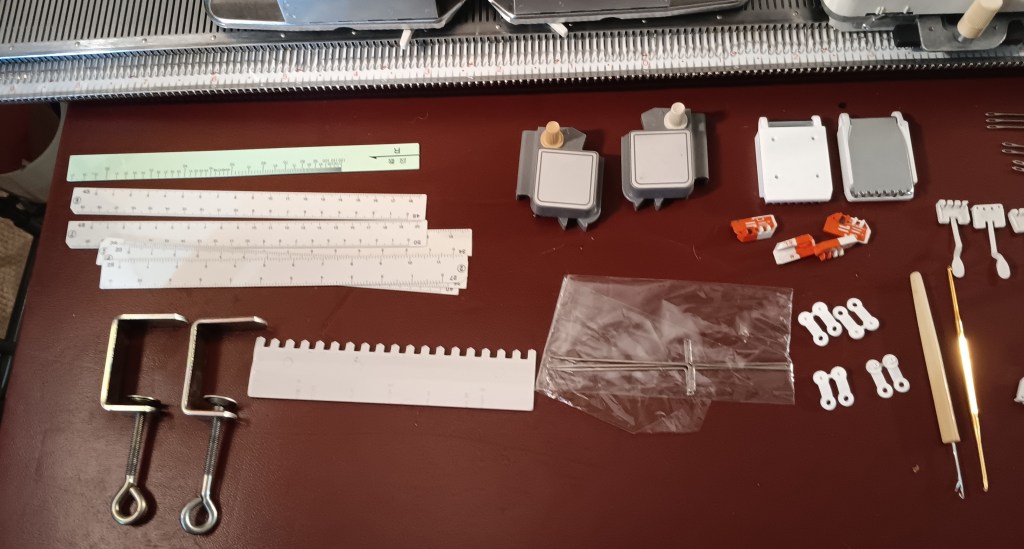
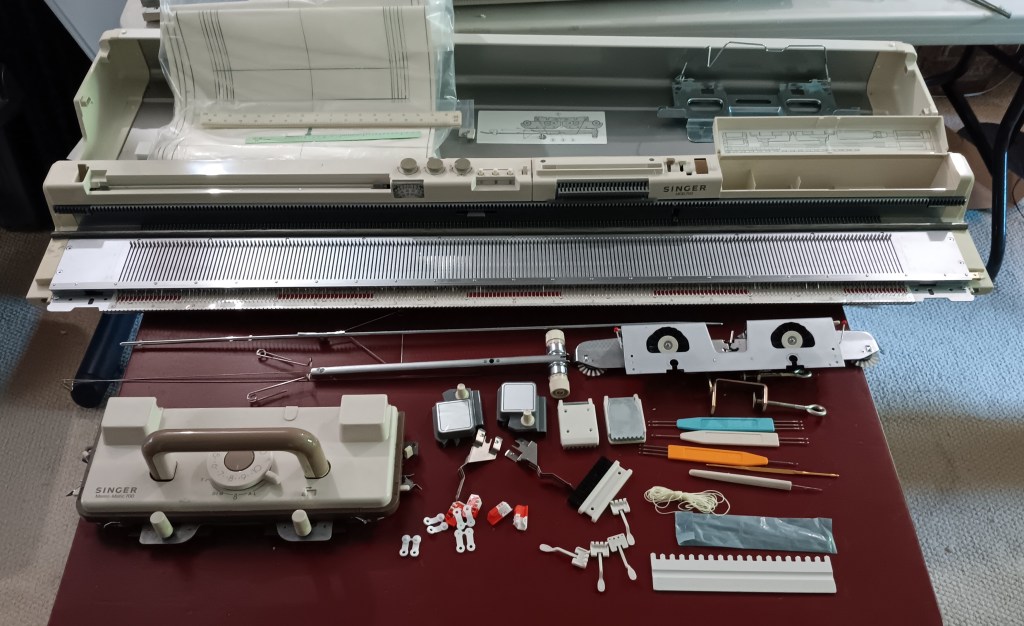
The machine will come with all major accessories and almost all minor.
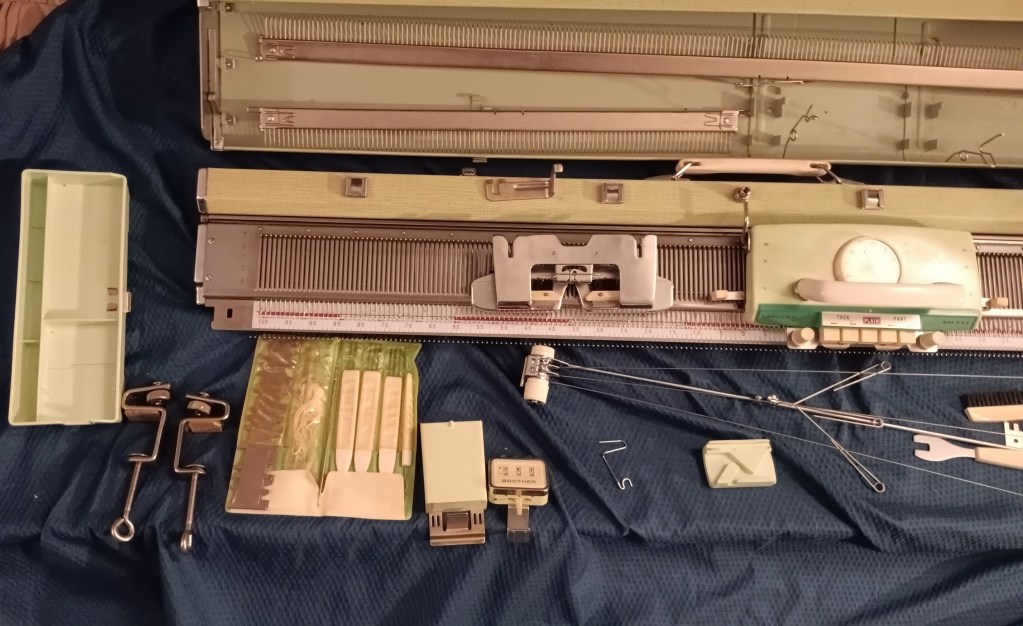
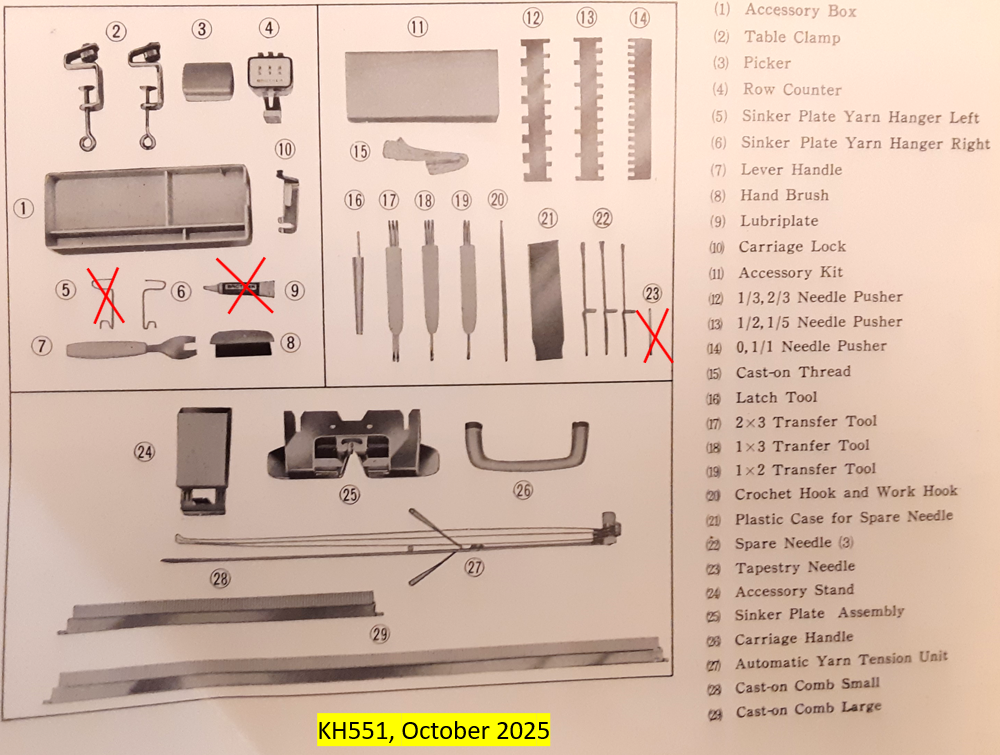
The accessories that are not included are:

  • one of the yarn hangers, used in the plating type of knitting (page 19 in the manual). On one of the previous machines, I used a paper clip. My experience also shows that knitters rarely use these.
  • oil. It was too old and I discarded it. Use Hoppe’s gun oil available on Amazon.
  • A tapestry needle was rusty and I discarded it as well. Any needle will suffice.
  • A hard copy of the manual will not be provided.
The original manual can be found online, but the resolution is poor. For patterns, it is better to use this manual, which is for the 8-pushbutton machine, but the functions of the carriage are all the same. When converting those patterns, in the pattern table, cut the number of buttons by half and just follow the rest of the directions.
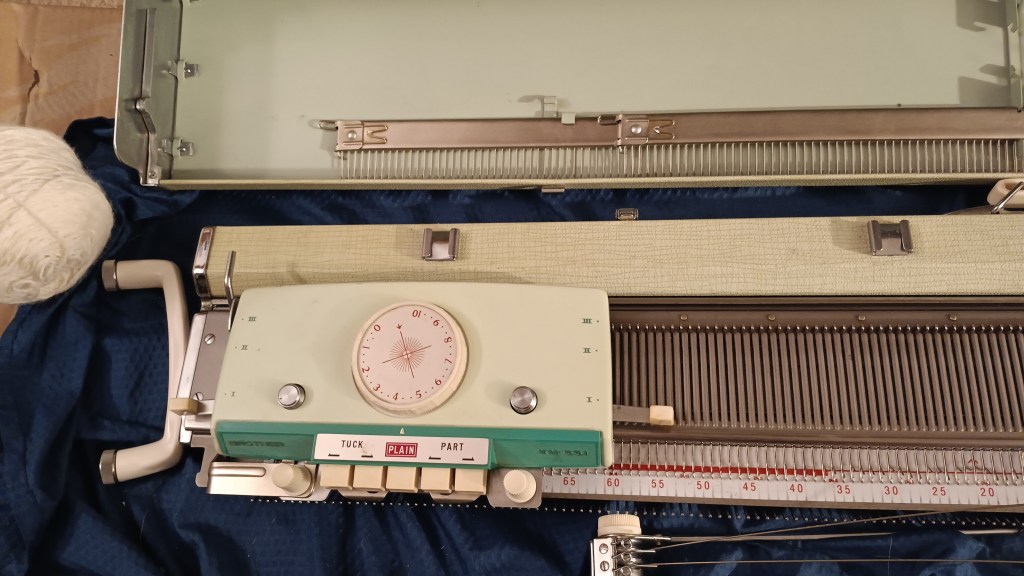
I noticed that the claw weights do not come with this machine. But you can easily order them on Amazon (as well as a smaller cast-on comb for swatches). The price on Amazon is even better than I would offer.

When knitting tuck patterns, especially on every other needle, watch that the stitches come off the round section of the needles. Always remember that the tuck (other stitches too, but tuck especially) is always an interplay between the correct yarn, tension, carriage settings, and static, among a few aspects. I will include a skein of yarn I used for my tets to use as a reference yarn.

A couple of hints to avoid mistakes with the set lever and pushbuttons:

  • Make sure the ratchet tool goes ALL THE WAY to the left when activating the needle selection and all the way to the right (to the OFF position); otherwise, incorrect (or incomplete) selection might happen.
  • general rule of thumb: tuck requires higher tension (smaller number on the tension dial) than stockinet. So does slip/part.
  • Notice in the video that I am adjusting the tension as I am going from stockinet to tuck/slip.
  • For consistency, I recommend the very last two needles (on each side) to be in B position. For example, in the video when i was knitting tuck stitch, I was checking if the last needles are in B or C position. I like my last needles to be in B position, so I moved the needles pushed to C position up.

PROS:

  • Overall the machine is in great shape with no visible rust
  • cast on combs are in great shape: all teeth are straight, and there are only a couple of minor scratches
  • Most of the tools are original

Imperfections:

  • couple of missing minor accessories and a hard copy of the manual
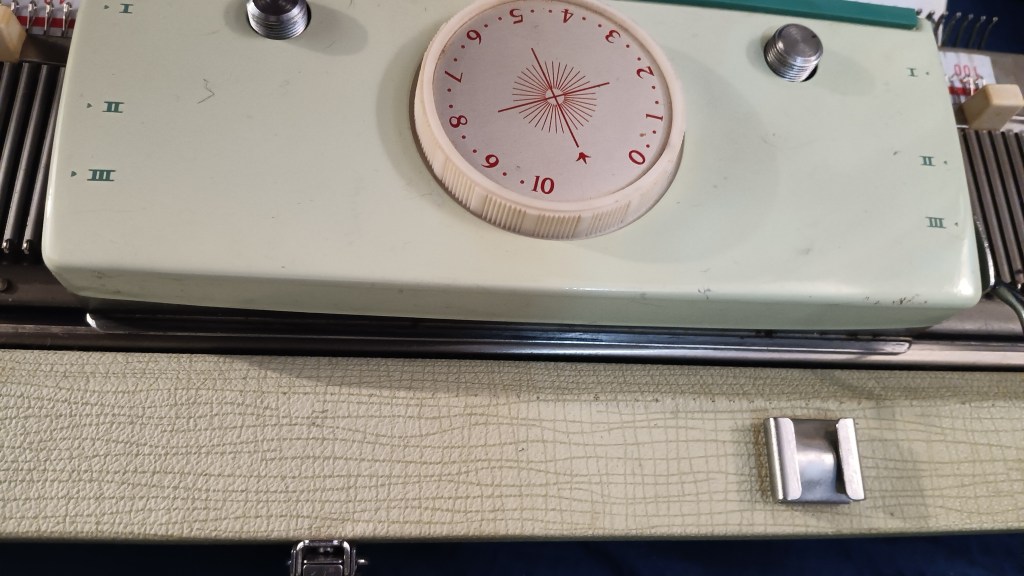
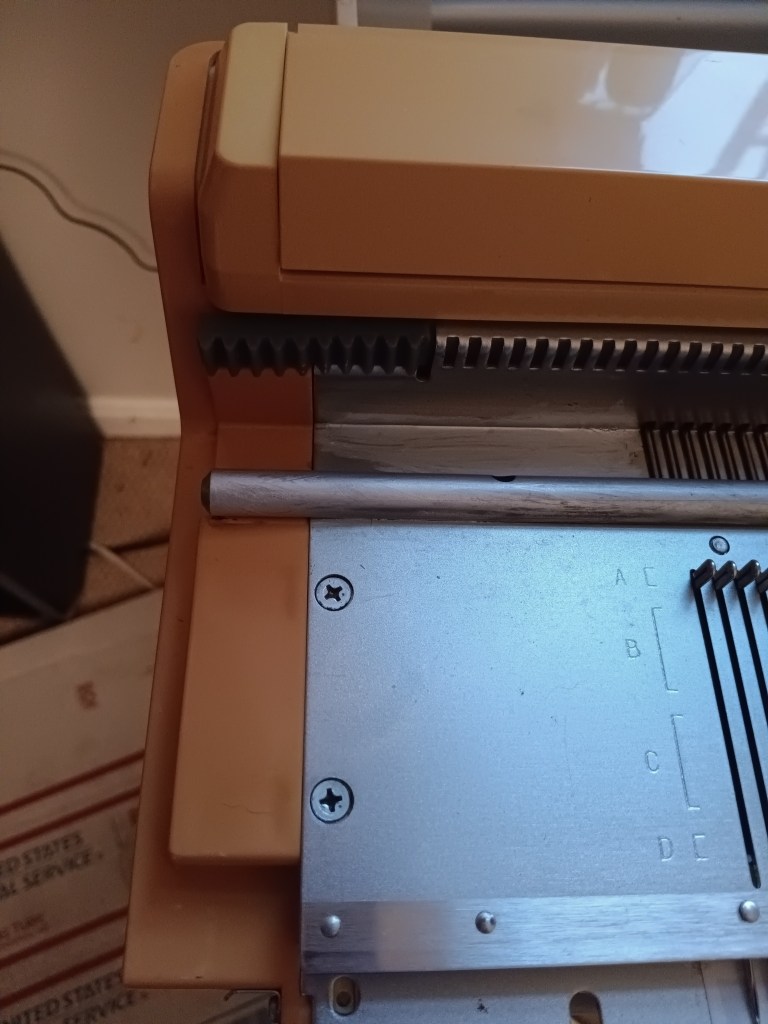
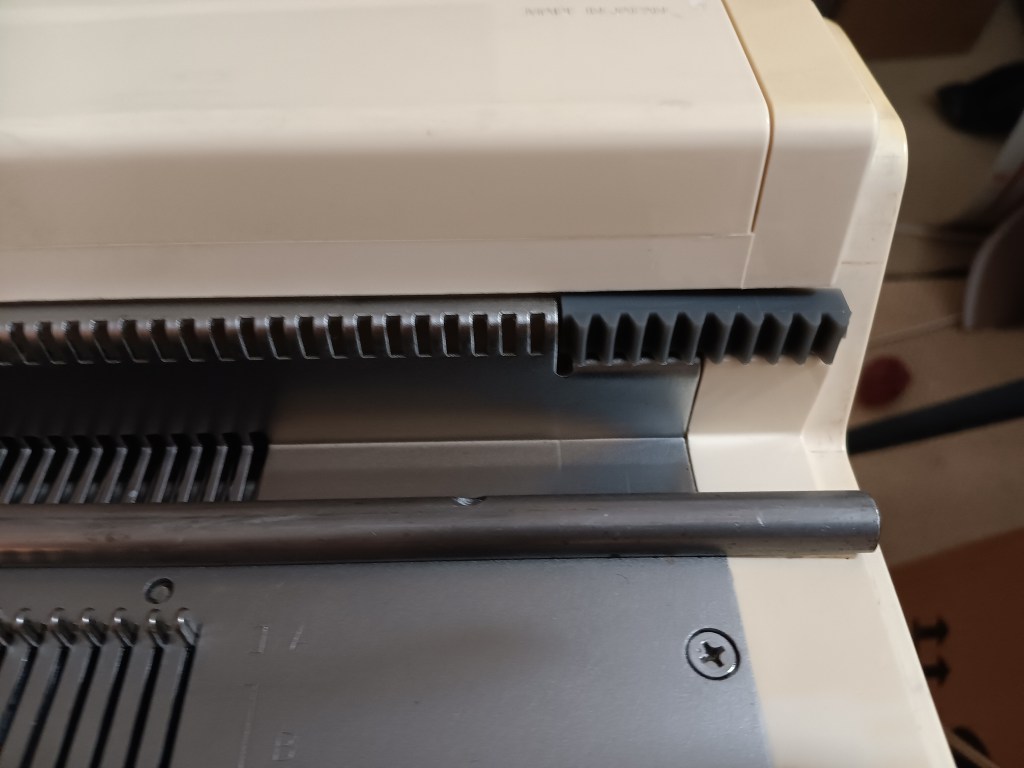
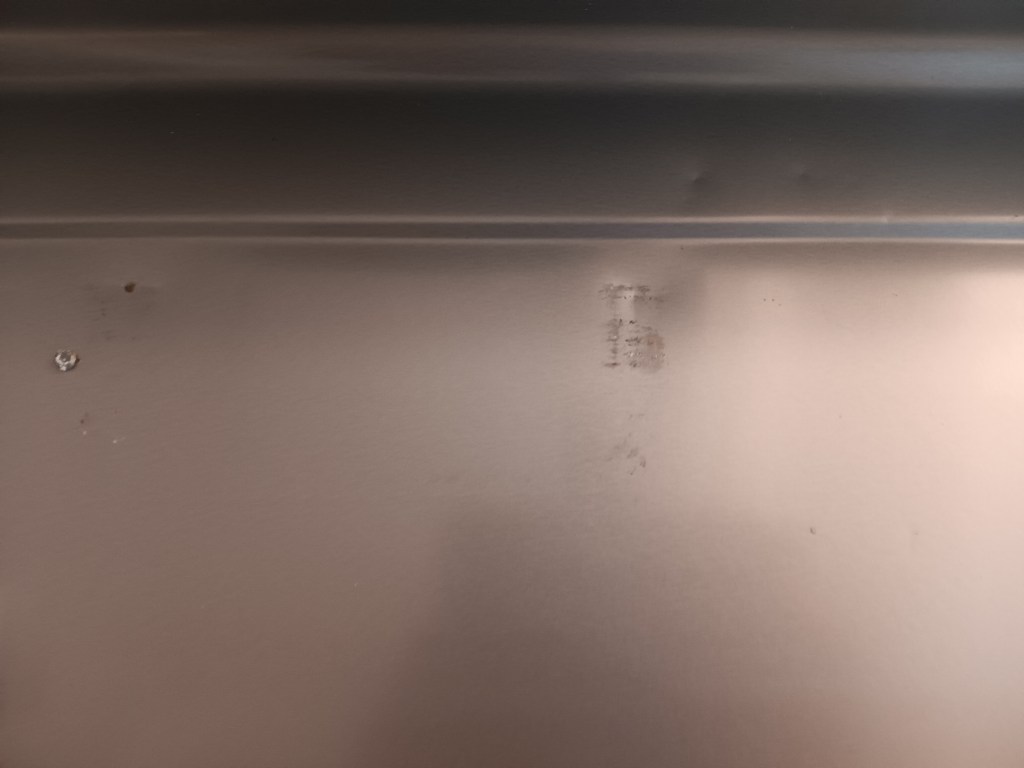
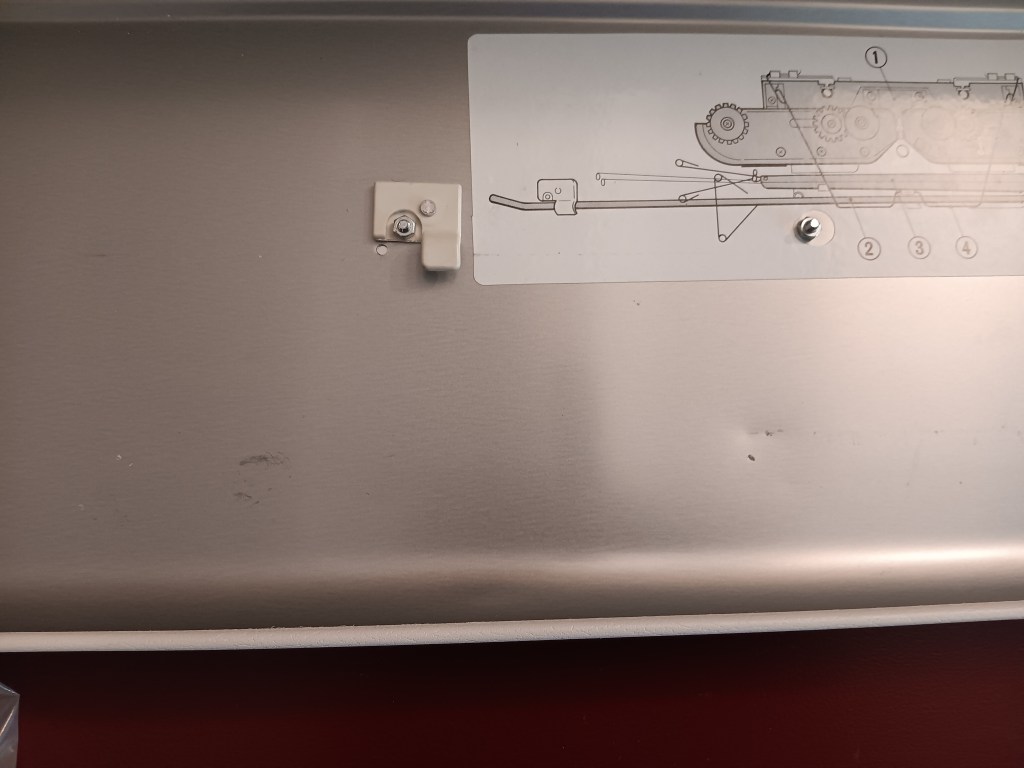
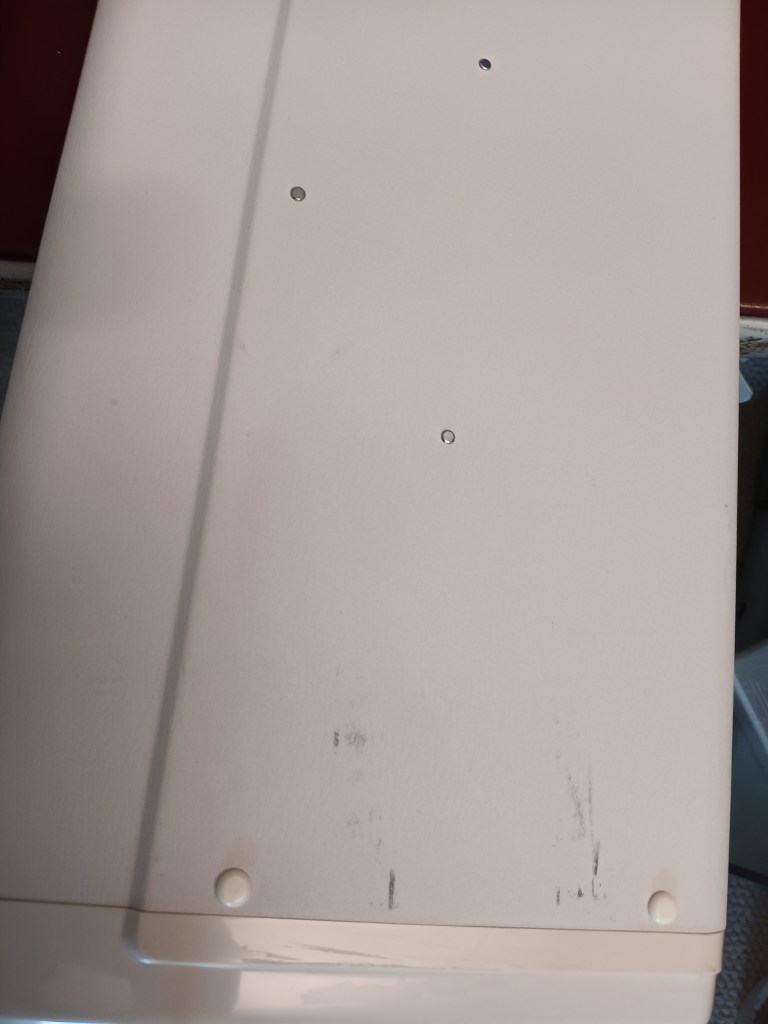
  • minor scratches (some of them are shown below)
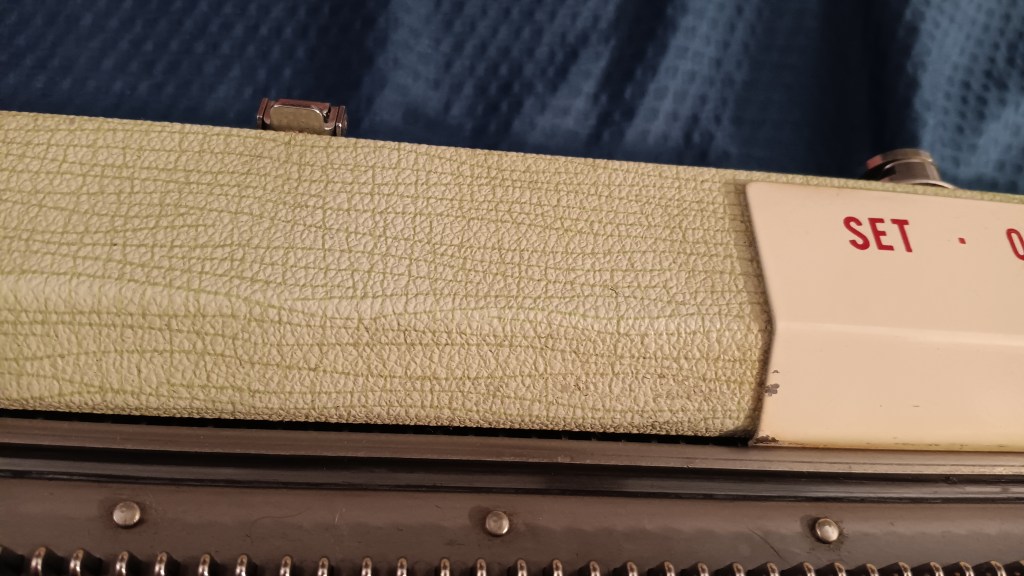
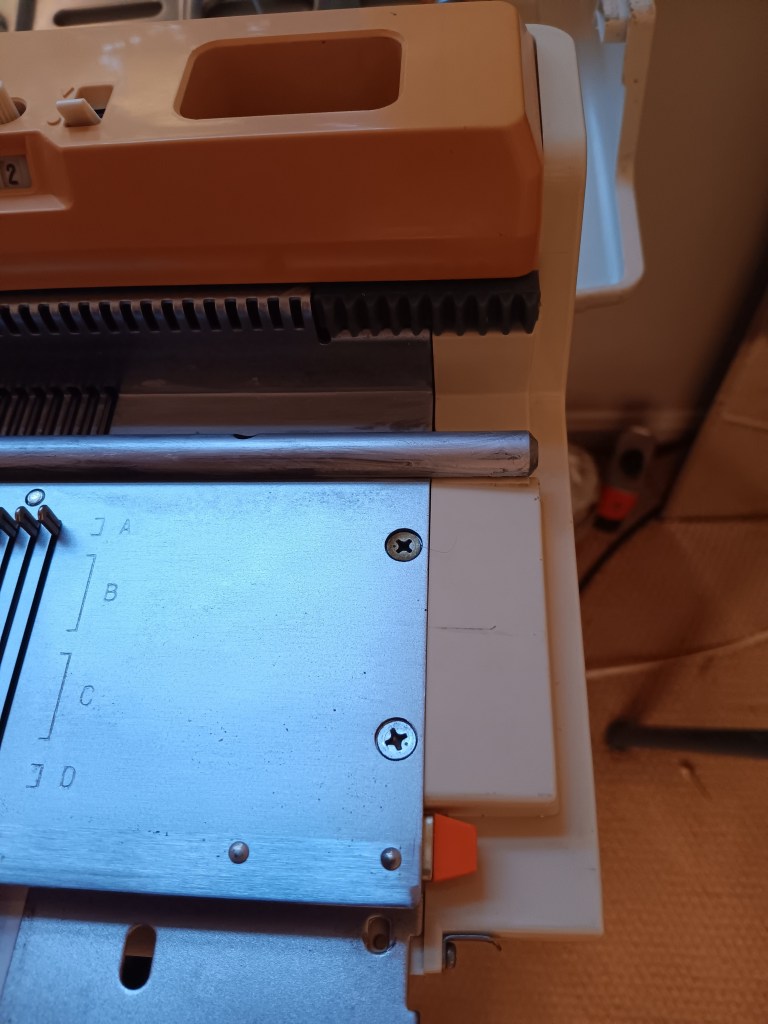
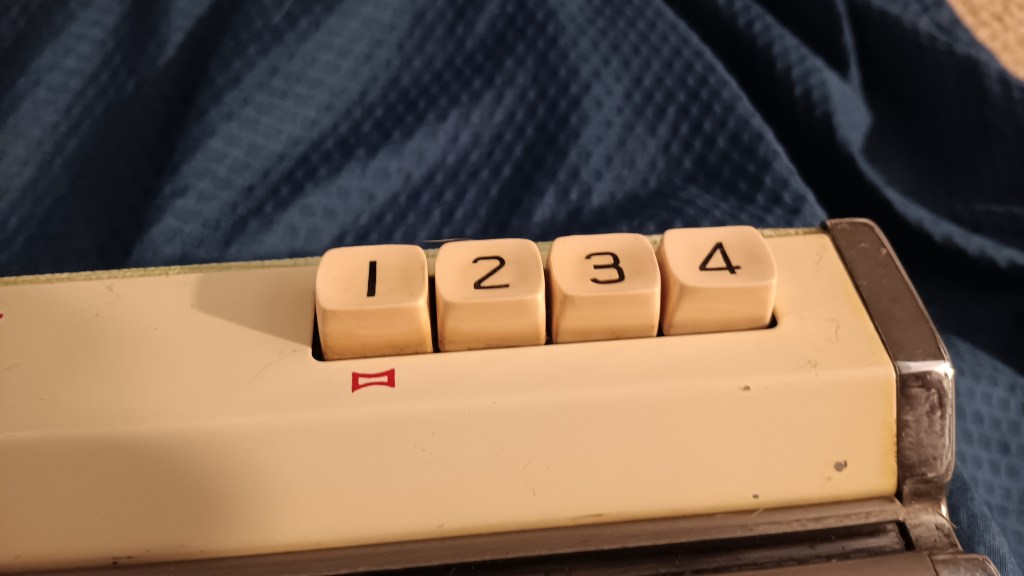
  • some minor discoloration on the pushbuttons (shown below)
  • cast on combs have just couple of minor scratches (not shown)
  • The case and the lid are in great shape with only minor, barely noticeable, scratches (not shown)

Picture showing minor scratches on the carriage:

Picture showing pushbutton up close to demonstrate the minor discoloration and minor scratches:
Please keep in mind that my house is a dog-friendly household, so some dog hair is unavoidable.

Hope all looks good and if it does – Happy Knitting!
Diary of my two-color garter carriage projects

What the two-color garter carriage did for me is hard to put in words. My journey with knitting machines started when i realized i had too much yarn on hand. After experimenting the crap out of Addi (I knitted sweaters with cables, after NUMEROUS hats, scarves, and fingerless gloves) and Brother KX350 (also sweaters with cables and socks), I needed more challenging projects. I could not decide which machine to choose, so to try them all I ended up buying multiple second-hand knitting machines… All kinds… So many that I started running out of space so I had to pass along all those machines. I cleaned them, tested them, figured out what I like about them, and what I didn’t. Moved on to the next one. … But I still really never had a chance to sit down and experiment and craft with all that yarn I accumulated…

Then I discovered Garter carriage. Thank god, out of a dozen garter carriages I picked up along with the machines, one was fully operational (I am still fixing 11 others). The minute it created the perfect 1×1 ribbing, without curse words and snags that I was getting on the ribber, I was in love. I immediately knitted a blanket, and, as usual, multiple scarves and hats. I would not say I got bored (there were so many patterns and projects still to experiment with). But I saw the wonderful effects that two-color garter carriages created, so I wanted to continue to experiment (and along the way, to use all that yarn I have). So, I got the adapter.

After overcoming the initial learning curve, I started enjoying watching my two-color garter carriage make various fabrics so much that I would bring my coffee into the room and just watch it knit. I would be combing impossible yarn. Consult with my son, who is an artist on colors and designs. Create my own designs… Oh boy. I finally had that long-awaited creativity and experimentation that I was yearning all this time. I still fix my machines and pass them along, but I also create these new designs, combine colors, test new patterns, create my own patterns…. The level of satisfaction it brings is just indescribable. Being creative and crafting, according to smart scientists, increases the levels of dopamine… These levels are now spilling to other areas of my life. Double benefits. Thanks, two-color garter carriage. I cherish and appreciate you!!

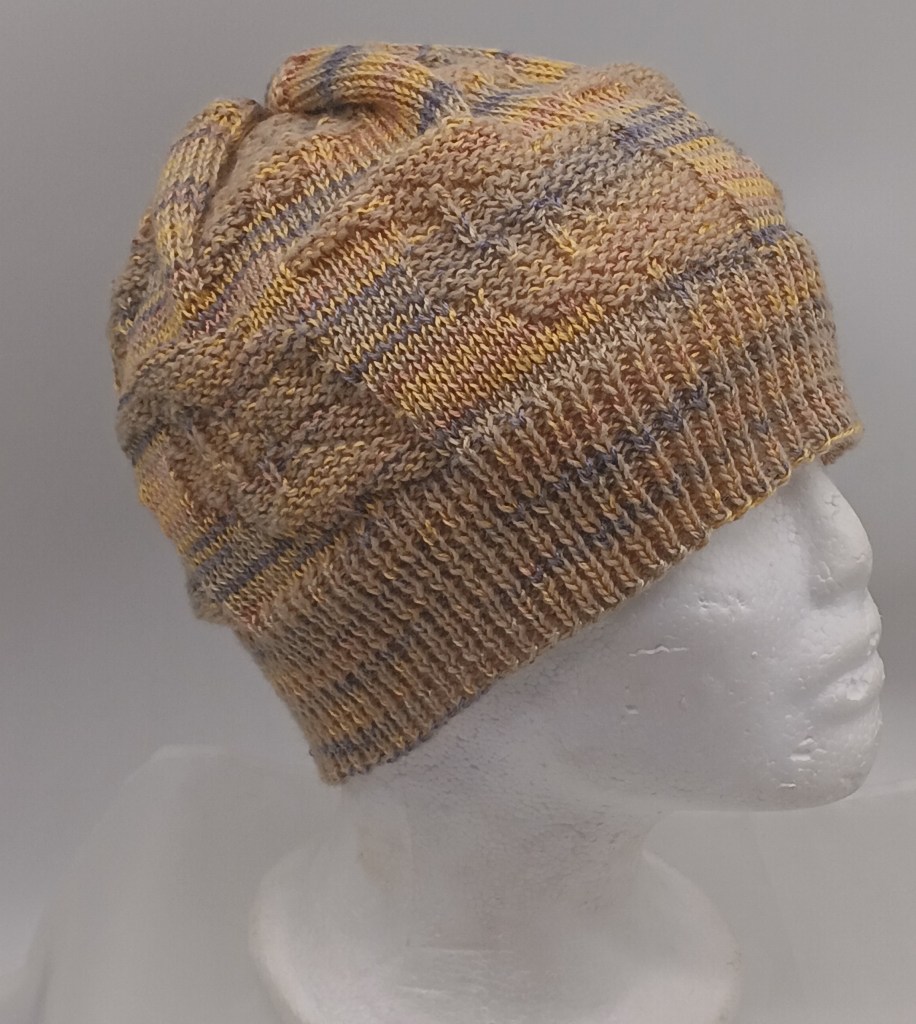
Hats with leaves

Hats with snowflakes.

Brother Garter carriages: thoughts and observations

… in progress as I am still learning and discovering …

I’ve spent the last two weeks fixing, disassembling, servicing, and cleaning all kinds of Garter carriages. I went through a mix of emotions: from the agony of trying to identify the problem to fix to make the garter carriage work to complete awe watching the garter carriage knit a whole baby blanket just after I pressed all the necessary buttons.

In fact, it was so relaxing to watch Garter Carriage knit that my family would find me drinking coffee in front of it (instead of TV or a FaceBook page). Check out my pages with my projects, advice/notes, and patterns.

While being enthralled, I knitted swatches, hats, custom patterns, multicolor (just stripes, not using a true 2-color GC), blankets on all 200 needles…. So, below are my observations and notes.

Garter carriage is a bulky (meaning, big) carriage, but unlike a main machine carriage, it knits on its own but slowly. Garter carriages are temperamental. In fact, VERY! So below I am compiling a list of commonly appearing questions, my observations, and knowledge (acquired by making a LOT of mistakes).

The garter carriage moves too slowly.

If you want you GC to move faster, adjust the dial on its power supply. Right (“H”) is to increase the speed. If this does not change the speed, it is very likely that either the motor is malfunctioning or there is gunk in the carriage preventing it from moving faster.

The garter carriage stopped and is not moving.
  • The service manual describes some of the possible reasons:
  • Check if the power supply is actually working. My carriage stopped working literally in the middle of a project, and i could not figure out what was going on until I decided to try a different power supply. Well, the previous power supply decided to die without a warning.
  • The motor is not running. There are several reasons for that: bad motor, incorrect connection to the electrical outlet, yarn sensor is down, your row counter is at zero, a knot in the yarn feeder… Refer to the service manual for more detailed information.
What might cause garter carriage to randomly drop stitches?
  • bad (bent needle): it might have a sticky latch, be bent, misaligned or stuffed with lint. Check this first.
  • yarn is too thick. Solution: decrease tesion (increase the number on the dial) or switch the yarn. I was able to use yarns on garter carriage that a regular standard-gauge machine cant. BUt there is always a limit.
  • problematic yarn: fuzzy, or with boucle, or staticky, or stretchy yarn, or simply yarn that does not want to knit on the garter carriage (it happened to me; I put it in a bag and marked “GC cannot knit”).
  • check sponge bar: the spongy part needs to be about 1 cm above the metal sides. also: is it still spongy? is it even across the length of the retaining bar?
  • gate pegs might be bent or out of line. Check gate pegs from different angles.
  • clean the brushes from fluff and dust.
  • insufficient or too much weight

Overall, Garter carriages are quite temperamental.

Why does my garter carriage turn in the wrong place?

There are actually a lot of reasons for that, and they depend on the situation.

  • old grease and gunk. Solution: open up your carriage and clean it up.
  • if you recently disassembled your garter carriage, check if the turning cams are installed correctly
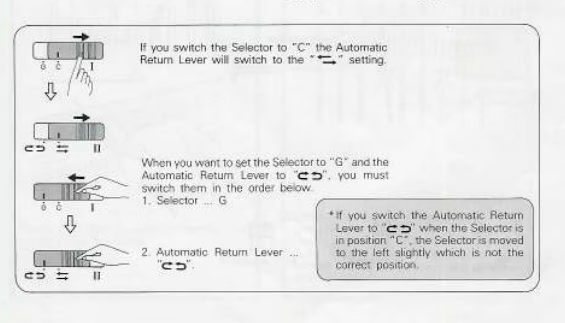
  • check the manual: it says for the automatic “turn” function, the slider needs to be moved to “G” first otherwise it causes problems.
  • make sure your needlebed DOES NOT miss any needles. It will trigger the turning cams incorrectly.
Are extension rails necessary?

It depends on the width of what you are knitting and also on your comfort level. It also depends on your machine. For example, the needlbed of the Brother KH930 is pretty wide (beyond where the needles are nested). In addition, the end cap on the right-hand side is wide too. So, even if you are moving the garter carriage past the sensor (to activate the “GC ON” light on the machine), rails are not necessarily. Thus, even if you are knitting on the full bed (like shown in this video), rails are not all that necessary.

What are good yarns to use with the garter carriage?

Garter carriages can handle yarns thicker than the standard machines can. Mostly because it knits one stitch at a time and pulls the yarn to form one stitch at a time. A couple of examples: For example, I made a wonderful blanket with “we love yarn” (400 g/1312 m; 100 g/328 m) per ball) which is considered pretty thick for standard-gauge machines. This yarn creates beautiful texture and is machine washable at 104 F. I made a blanket with the cream yarn with tension 9 for the border and 10 for the main body. One skein of Mega Ball was enough. Two-color garter carriages will need thinner yarns (for both feeders). But in both cases, knitters need to experiment with yarns and tensions. The golden rule: if the machine struggles, increase the number on the tension dial (which loosens the tension). Still struggling: the yarn is not compatible with your garter carriage.

Do I need to remove the ribber bracket to use the GC on my machine?

Just the brackets should not affect GC functioning. However, some believe that the best angle for GC to work properly is when the machine is flat. Thus, use the flat table clamps, not the S-curved ones (those that we use to attach our machines to ribbers).

Do I need to use cast-on comb?

Yes and no. Some knitters like to hang the cast-on comb on the 3rd or further rows. Some knit without it. I found that with thicker yarns and for two-color carriage, cast-on combs benefit me. Again: try and see for yourself.

Why are GC needles so expensive?

Simple answer: supply and demand.

My garter carriage is mispatterning.

Again, there are several reasons, including a gunked-up machine. But also:

  • you forgot to activate the GC light on the machine (if your machine is electronic)
  • bad garter carriage needle: replace it
  • not a super fresh sponge in the retaining bar
  • bent or defective main bed needles


Studio SRP50 ribber tested on Studio by White SK740 knitting machine in my shop in August 2025

Studio SRP50 ribber fits a vast majority of standard-gauge Singer/Silver/Silver Reed/Studio/Empisal Knitmaster/Riccar knitting machines.

Read about Studio SRP50, Empisal Knitmaster SRP50, Silver SRP50 and Singer SRP50 ribbers (which are the same, just different branding) in the Knitting Machine Encyclopedia. The post below is dedicated to a specific ribber I serviced and tested in my shop.

This Studio SRP50 ribber was tested on Studio by White SK740 standard-gauge knitting machine with punchcard reading capabilities.

I performed the usual cleaning routine: took out all needles, cleaned and inspected each, replaced bent or those with sticky latches; cleaned and serviced the needlebed. I spent a lot of time making sure that the distance between the main and ribber beds is optimum for my knitting. I used very thin and medium-thin yarns. If you use slightly thicker yarns or thinner ones, you might need to adjust the distance. There are a lot of online resources on how to do it.

This image has an empty alt attribute; its file name is 20250802_215450-1024x768.jpg

The correct distance between the beds is one of the most critical aspects of successful knitting.

This image has an empty alt attribute; its file name is 20250805_180339-1024x768.jpg
This image has an empty alt attribute; its file name is 20250805_180348-1024x768.jpg

I cleaned the carriage and cleaned the retaining bar (which is a plastic strip; no sponge).

The ribber will come with all major and most minor accessories.

The missing accessories are:

  • close-knit bar. It is a narrow (1 x 910 mm) piece of plastic. According to the forums and even the manual itself, it gets misplaced and lost very often. The same forums mention that it is rarely used – maybe for very fine yarns.
  • The “screw driver” did not come with this setup either. I am adding a ratchet tool instead. I used it for all adjustments of the ribber. For some adjustments, a regular flat-head screwdriver might be needed.

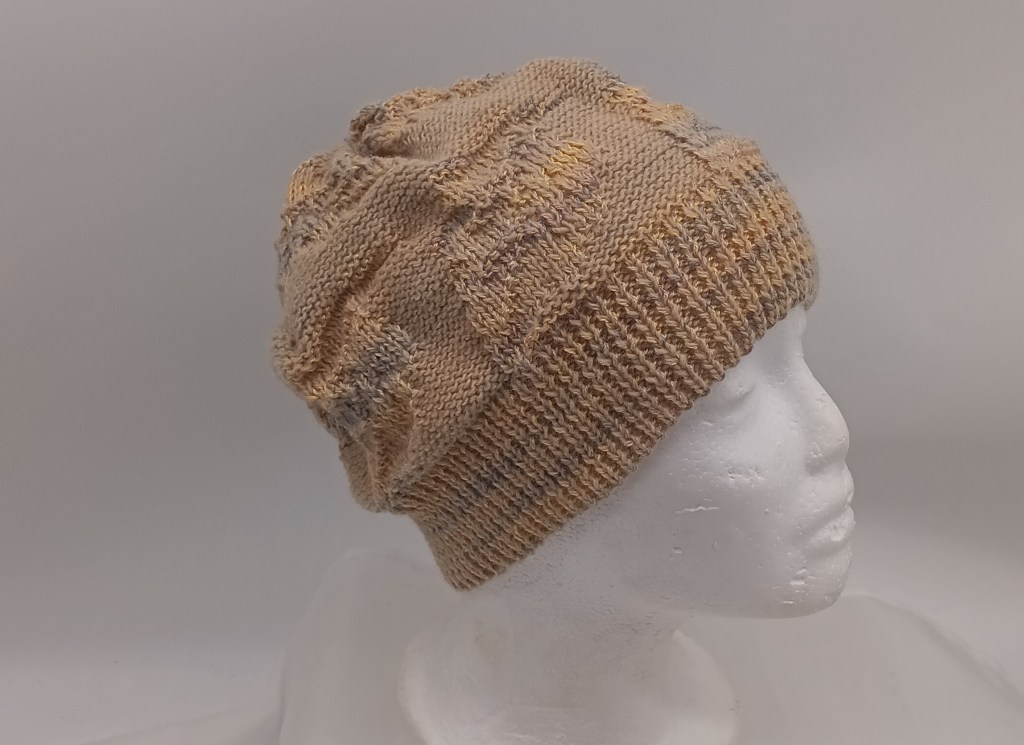
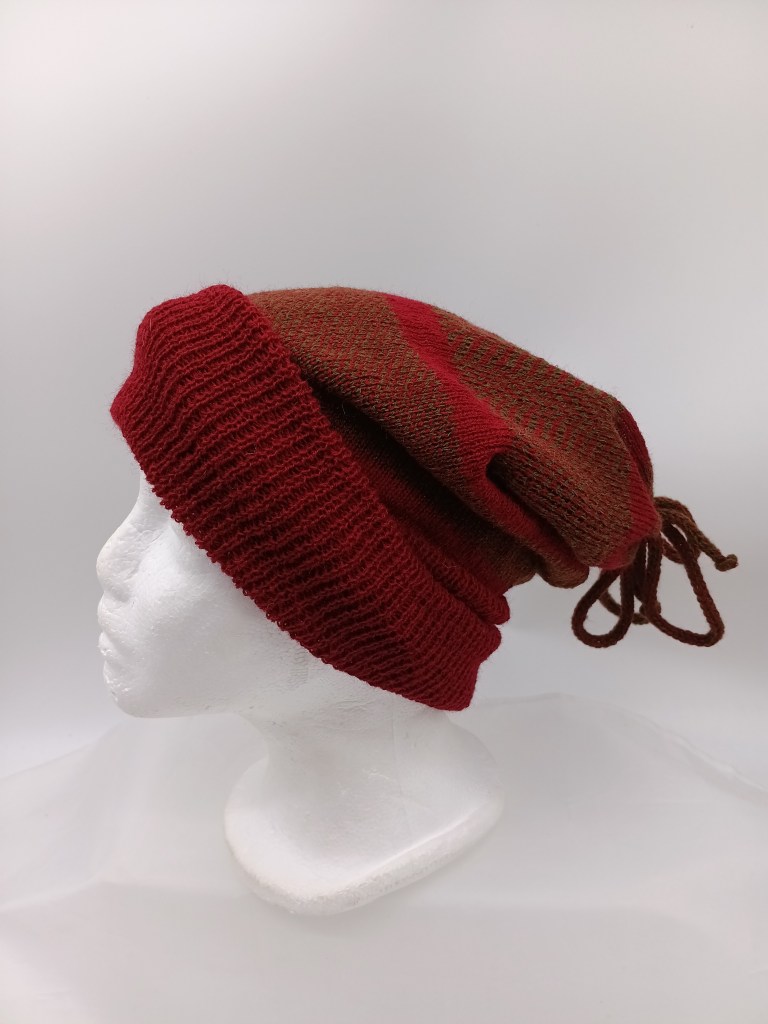
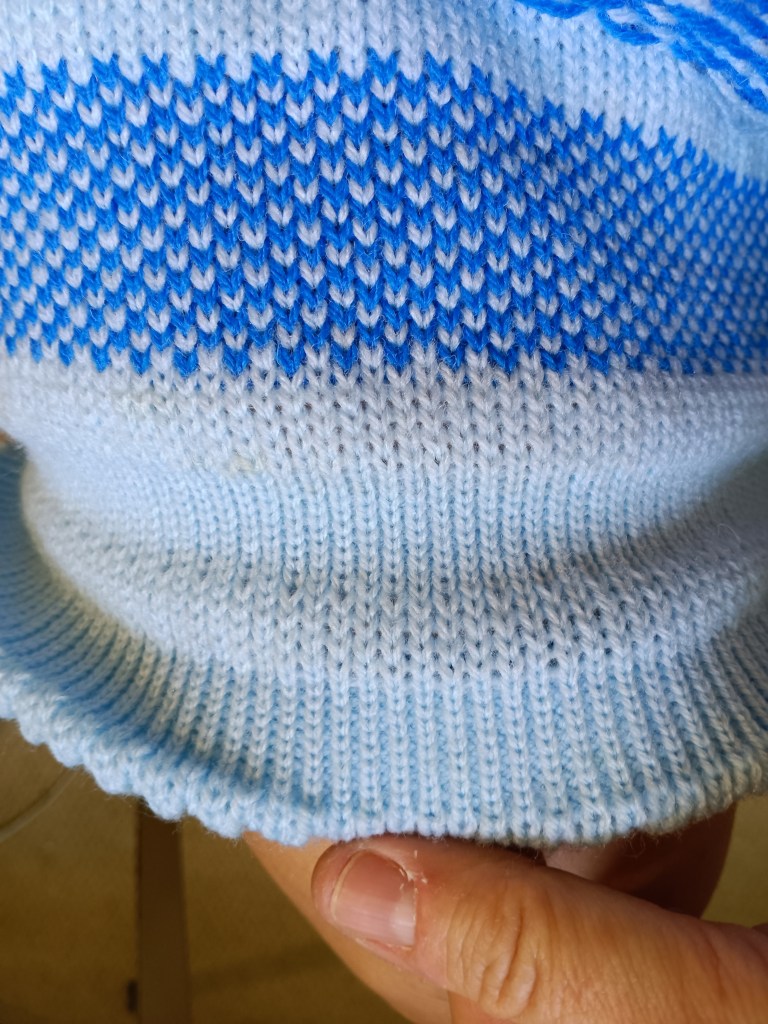
I recommend first swatch tests to be on every other needle and/or with a very thin yarn to get to know your machine without worrying about yarn adjustments. This is what I did when I tested this ribber. The knitted fabrics were then converted to hats, a band (made from a swatch) and a neck warmer below.

I knitted on every other needle but used two different combinations to ensure that I knit on ALL needles. Combination one was three needles on the left of the ribber not selected, and combination two was two needles on the left of the ribber not selected. See the video of those tests. The tests on a full bed are also important not only to assess how smooth the carriage runs, how well the needlebed is oiled, but also to ensure that all needles form correct stitches. Check out the video to see that all needles indeed knitted well.

This image has an empty alt attribute; its file name is 20250827_132033-768x1024.jpg
This image has an empty alt attribute; its file name is 20250827_131955-3-768x1024.jpg
This image has an empty alt attribute; its file name is 20250827_132120-3-768x1024.jpg
This image has an empty alt attribute; its file name is 20250827_132305-768x1024.jpg

Studio SK-303 knitting machine serviced and tested in my shop in July 2025

Studio SK303 is a metal flat-bed knitting machine with 200 needles, 4.5 mm apart, which makes it a standard-gauge knitting machine. Studio SK303 is capable of creating patterns with automatic needle selection governed by the turn-knob control center and buttons and levers on the carriage.

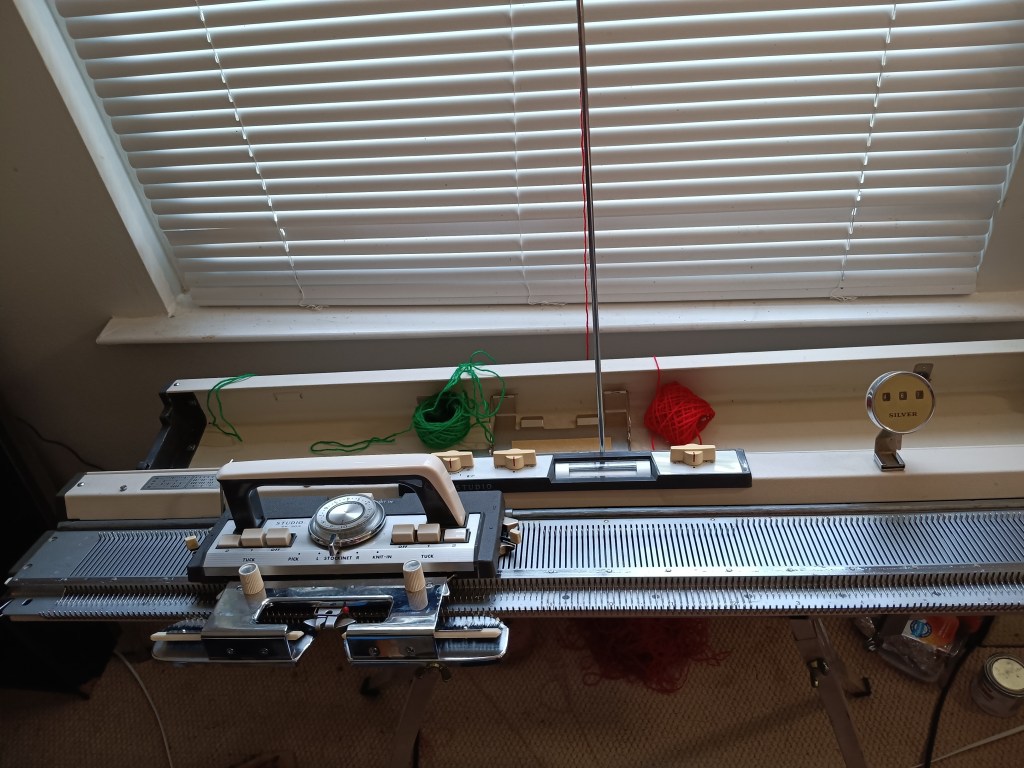
This post is dedicated to a specific machine serviced and tested in my shop in July 2025. To learn all the pros and cons of the Studio SK-303 model, refer to a post in my Knitting Machine Encyclopedia.

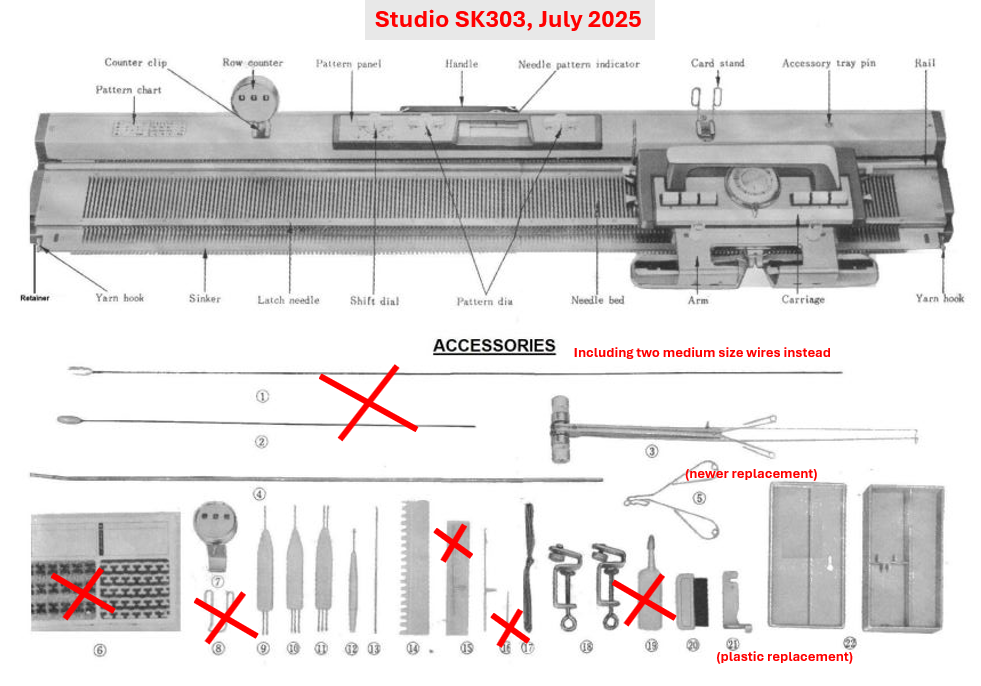
The machine will come with almost all major and most minor accessories.

The toolbox (and its lid) is pretty sturdy (normally, those boxes become so fragile with time and exposure to elements that they just crumble apart).

The S-shaped table clamps are original. I am also including two brand new claw weights (which are not even part of the original setup) because they are very useful, especially for beginners, to put on the edges of the fabric or to assist with the cast-ons.

The missing minor accessories/tools are:

  • hard copy of the manual. You can refer to a manual available online for free.
  • card copy of the pattern cards. They can also be downloaded for free. The manual also has some basic patterns. The pattern shown in my video for a blanket is a variation of the pattern in the manual. I also include patterns that I printed out from that pdf file.
  • original metal carriage lock is not included but I am including a 3D printed plastic replacement
  • clips to hold the cards did not come with the machine, and since there are not cards, they are not really necessary.
  • the case for the spare needles was falling apart and thus will not be included
  • oil was too old and I discarded it. I use Hoppe’s gun oil available on Amazon.
  • the yarn tension guide will be included but it is not the original one: it does not look like two bunny ears but more like a triangle.
  • the cast-on wires also did not come with this machine but I will include two identical medium (in between the short one and long ones shown above) wires.

I did all standard maintenance on this Studio SK303 machine: cleaned the retaining bar from the old gunk, replaced the sponge strip in the retaining bar, inspected all needles, cleaned inside and oiled the machine as well as the turnknob and patterning mechanisms.

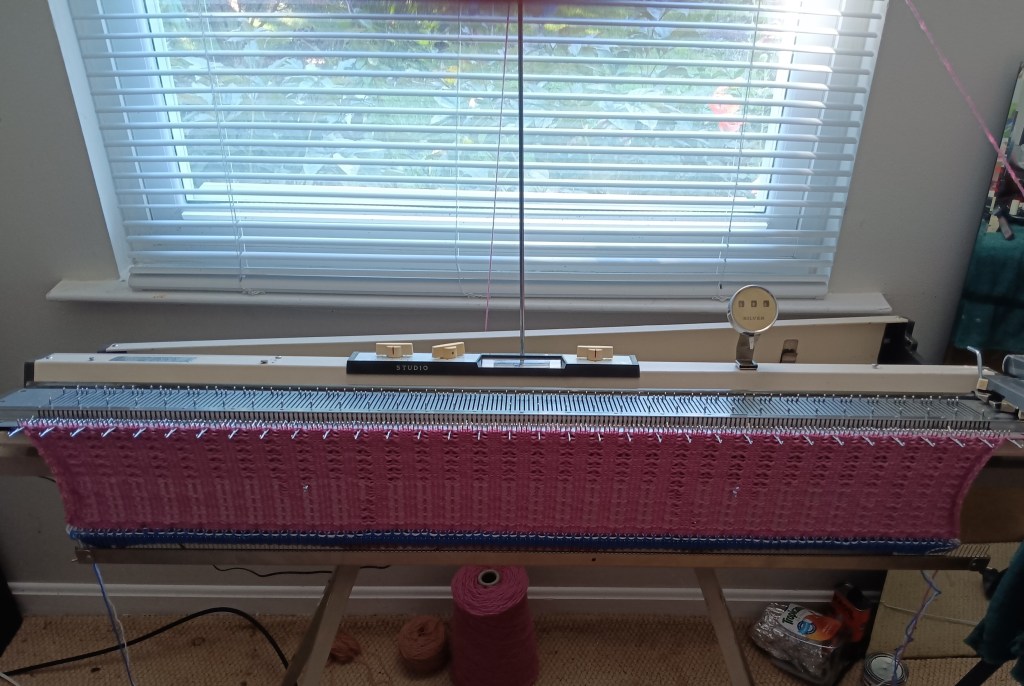
I tested several acrylic yarns with this machine (just small swatches and also on the full bed), from super smooth to a textured wool yarn to a relatively thick one. Smooth fibers are sometimes problematic because a lot of static might form. The machine handled the slightly thicker (than I normally use on standard-gauge machines), almost sport weight, very well, although there were some hiccups. Additionally, it handled a two-thread 2-color fair isle pretty well, too. Textured wool yarn was not ideal – I should have selected every other needle, but still knitted a decent-sized swatch. All the tests are shown in the video I put together. The machine behaved pretty well, especially with thinner yarns. I tested two-color fair isle, tuck- and slip-stitches and all stitches and knitted fabric looked great.

The full bed tests are necessary because very often faulty needles might not show up during just visual inspection. In fact, I did discover a needle with a bad latch – it formed tucked stitches (shown in the video as well). After I replaced it, no more bad stitches formed on the full needlebed.

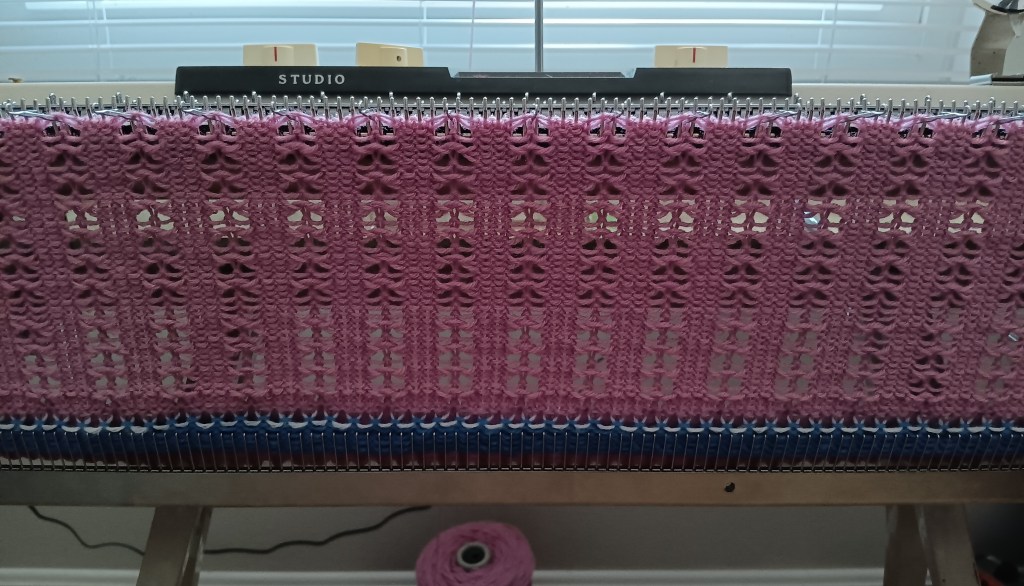
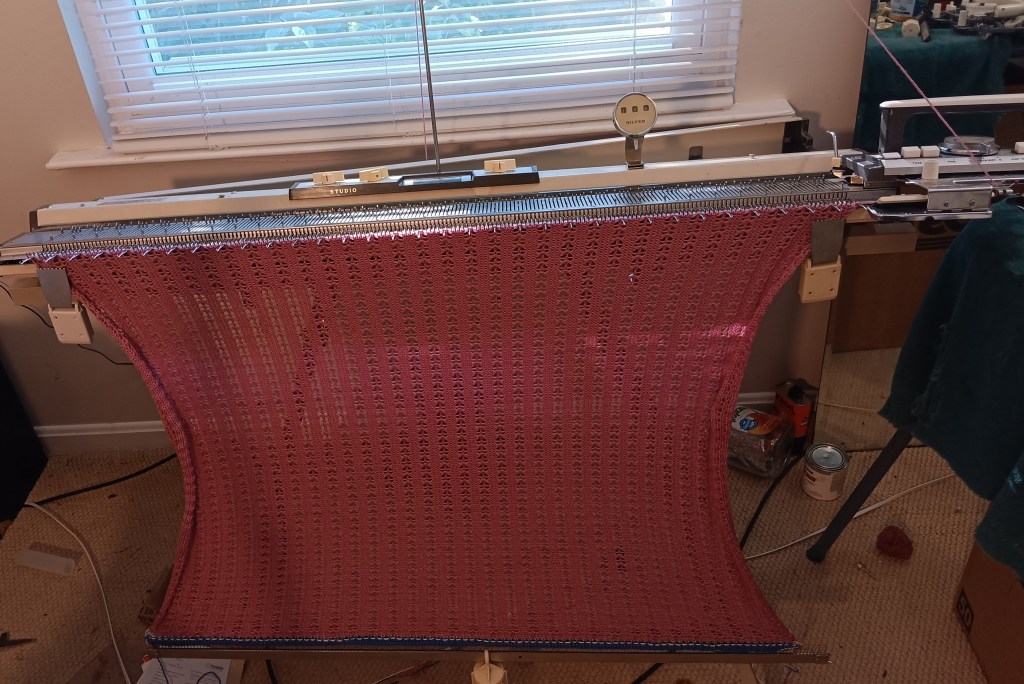
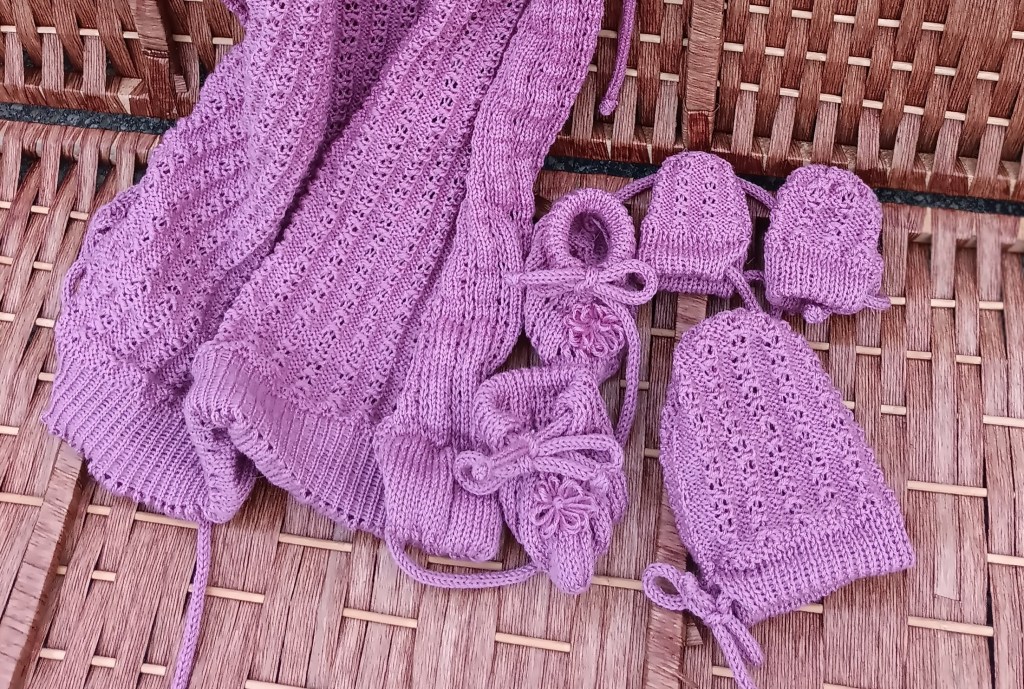
Below is a picture of a pattern I accidentally discovered while testing this machine. It is a combination of needles in A position (to create a lacy opening) and a hold-tuck combo.

I converted this knitted panel to a blanket (the pattern is coming soon). I like the look of it so much that I knitted little booties, hat and mittens to make it a matching reversible set.

Now, about imperfections:

One of the metal slide-ins (where the row counter or the card holder are attached) is missing.

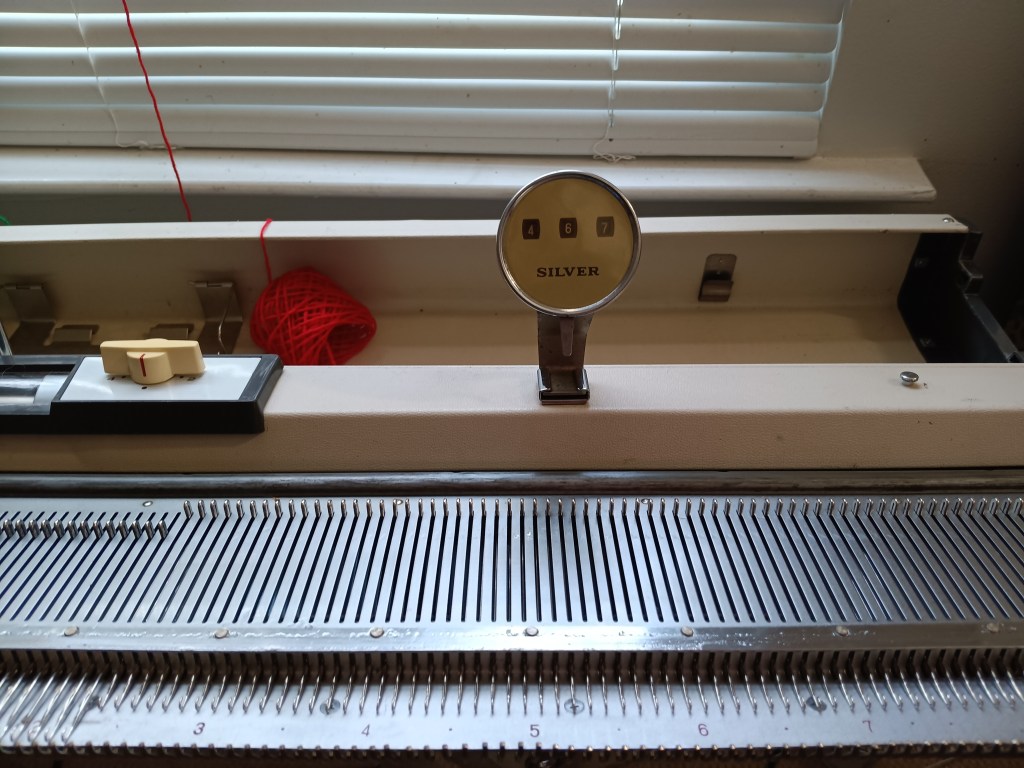
The row counter is similar to the original ones but branded as “Silver”, not “Studio”. There is an identical knitting machine model but branded as Silver SK303.

The row counter has some minor staining but it does not affect its functioning.

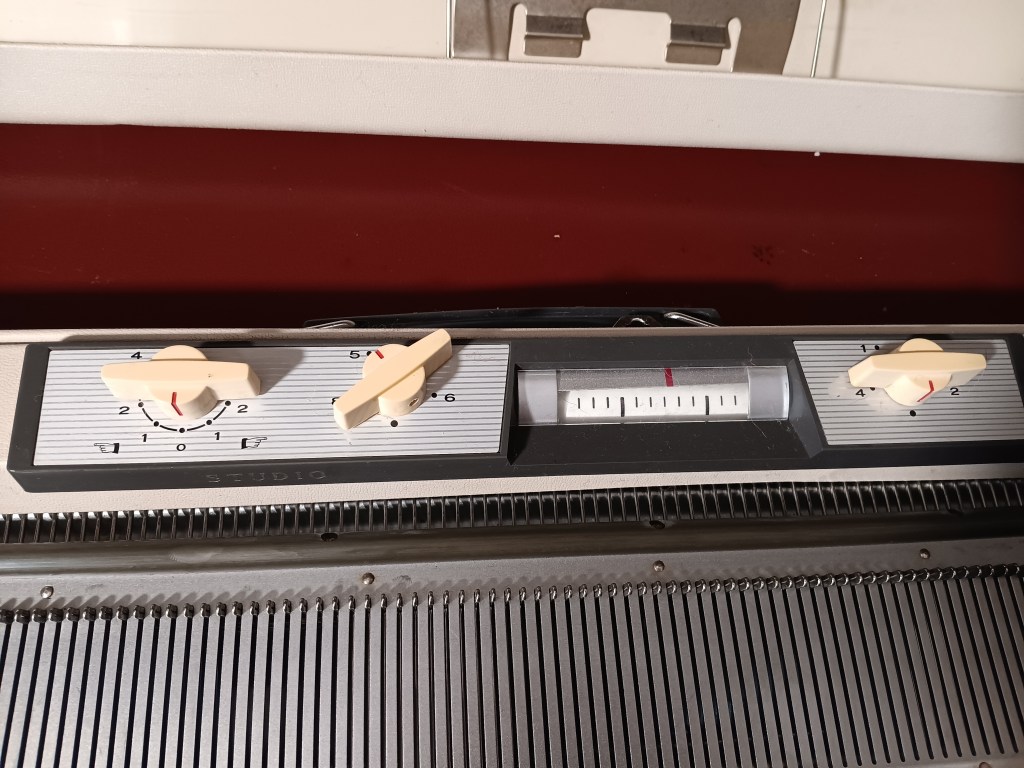
The turn-knobs have some minor discoloration but still feel solid (they will not crumble easily).

The case has some minor stains and scratches but nothing too major (not all are shown). The scratches do not affect the functioning of the case.

Pros and Cons of turn-knob knitting machines

So far, I’ve been able to become very familiar with the Silver/Empisal Knitmaster/Studio/Singer turn-knob knitting machines: Empisal Knitmaster mod. 305, Knitmaster ES-302, Riccar RK-601, Silver SK-301, Silver SK-302, Silver SK-303, Silver SK-305, Singer 666, Singer 888, Studio SK-301, Studio SK-303. Thus, the pros and cons below are applicable to the following models:

PROS:

  • light weight
  • compact
  • needles similar to the ribber (easy to find)
  • The carriage is very easy to remove from the needlebed if it is jammed
  • manual and pattern cards are available online for free
  • sturdy end caps
  • excellent for those who like the satisfaction of manual stitch manipulations
  • excellent for beginners
  • it is significantly faster to perform needle selection than manually and than the Brother pushbutton knitting machines (which involves the lever movement every time the needles need to be brought forward)
  • no ratchet tool is required to move the needles forward (like in Brother push-button machines)
  • needle selection pattern versus turn knob combinations is show on the front panel: no need to constantly refer to the manual
  • ribbers were available to convert the machines into double-beds

CONS:

  • bunch of knobs, buttons and levers might at first seem confusing
  • vintage row counter if mispalced is hard to find
  • somewhat limited patterning capabilities: manual needle selection is needed for complex patterns and patterns with more than 8 needle repetitions
  • colored fair isle requires manual yarn manipulation (the knitter will need to lay the yarn onto the needles with open latches; might seem tedious on larger projects, but makes it easy to knit single motif patterns)
  • limited number of add-ons: only ribber (no knit leaders, no color changers, no lace carriages, etc).

If you are new to machine knitting on flatbed machines and you just got a machine, consider the beginner-friendly projects I recommend to all my students and customers. These projects can be done on any machine with any gauge. Also, if you are unsure how to choose a knitting machine, check out an article I put together.

…stay tuned for more insights as I test other turn-knob knitting machines.

Working, mechanism, pros and cons of drums-based knitting machines (sold under the Silver Reed, Singer, Studio, Empisal model names) with punch card capabilities.

… in progress. Last update: June 2026

Knitting machines with punchcard capabilities have carriages with drums that glide on the back rail and also assist in needle selection when they are passed over a punchcard reading mechanism pegs.

Well, since these patterning drums are such a prominent feature (which also makes these machines stand out from Brother punchcard knitting machines), a lot of cons and pros are associated with them.

PROS:

  • needle selection is localized to drums/carriages, thus fewer (theoretically) things can go wrong;
  • Drums assist the carriage in sliding on the needle bed
  • I find knitting tuck-stitch on these machines is much less problematic than on Brother machines.
  • Patterned knitting occurs starting with the first passage of the carriage.

CONS:

  • Yarn and debris can’t tangle around these drums
  • These drums often freeze up when the machine is not in use for a prolonged time due to solidified old grease/oil.

Here are my other observations/feedback so far:

Pegs on the drums pass the needles to either B position or C position.

When the patterning dial is in the fair isle position, the mani yarn goes onto the needles in C position.

I see blog posts stating that some of the clanking noise might be due to the static in the yarn. To solve this issue, attach wax to the tension mast so the yarn passes through it.

But some knitters experience that noise even when there is no yarn in the carriage. Sometimes, if the carriage was not recently serviced or the sponge in the retaining bar is old, you might hear some clanking noise. I am discussing this issue (as well as how to address/minimize it) in my video.

When the ribber connecting arm is attached (from SRP50 ribber – maybe others, still researching), the carriage cam dial does not turn from L to Stockinet freely. You will need to disconnect the connecting arm, and the problem will be solved.

Brother: anniversary edition machines machines and accessories

I found a brochure in my stash showing which knitting machines and their accessories were released as anniversary editions (which means the machines had a slightly different color combination but the same functions as their non-anniversary sisters).

Brother KH-930E knitting machine and Brother KR-850E ribbing attachment:

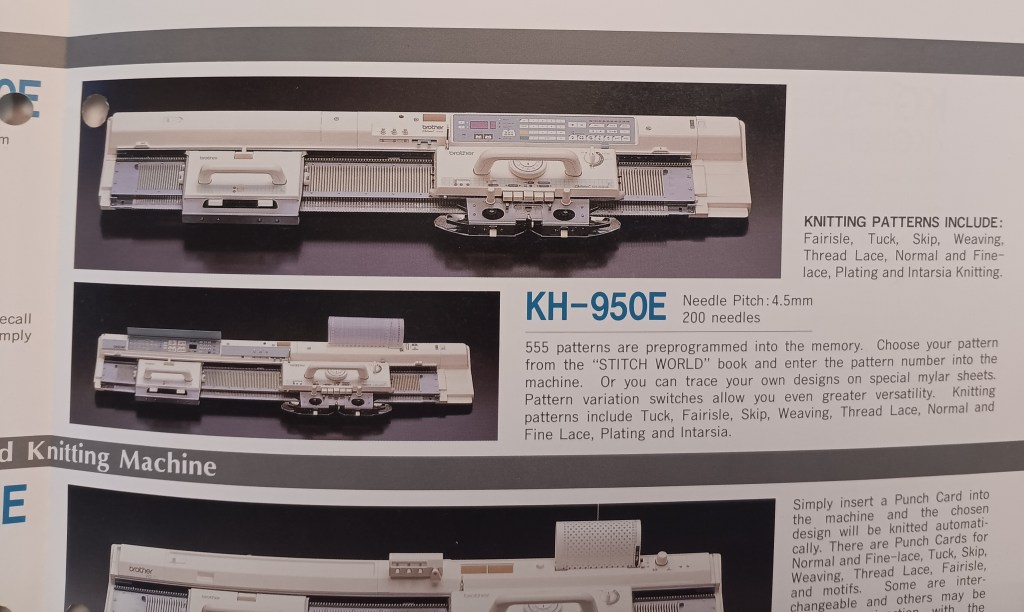
Brother KH-950E knitting machine.

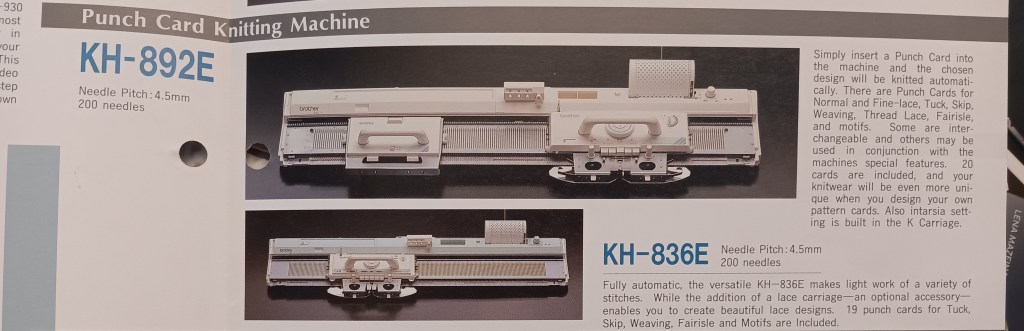
Brother KH-892E and KH-836E knitting machines

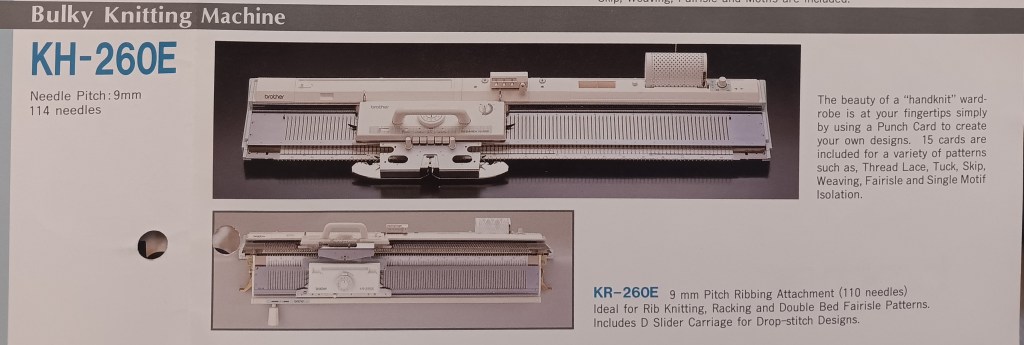
Brother KH-260E knitting machine and Brother KR-260E ribbing attachment

Garter carriages KH-93E and KG-89II

Knit leader KL-116E and Color changers KRC-900E and KHC-820AE

Although the color combination is not seen very well in this brochure, all anniversary editions have baby-blue color: buttons, electronic panel, logo, etc.

Studio 360K serviced in my shop in May 2025 for Sabine.

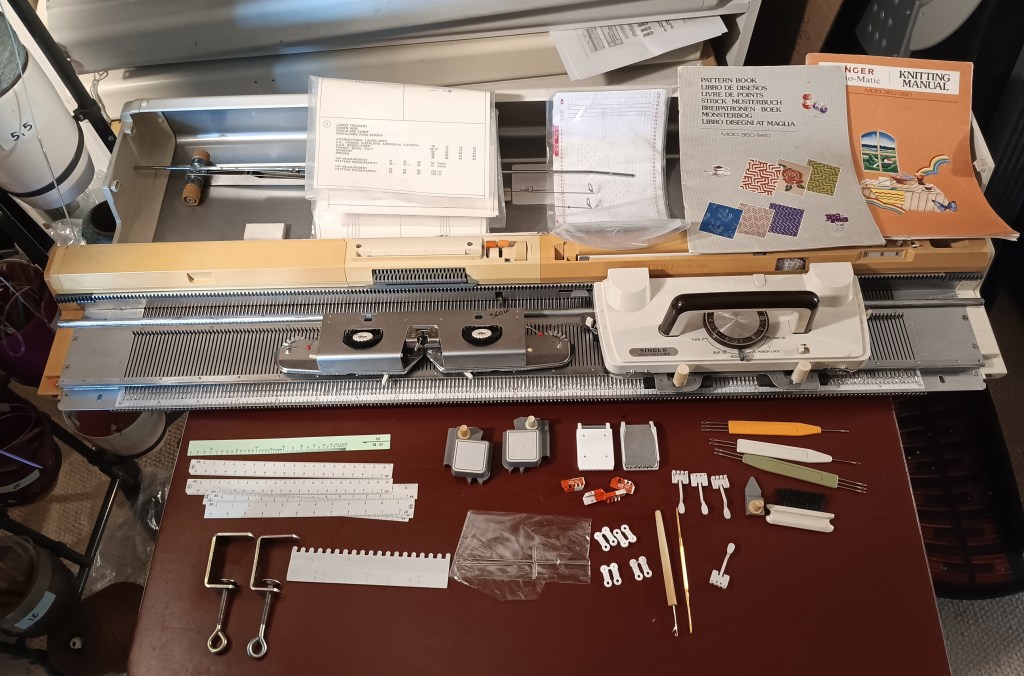
Knitting machine Studio mod. 360 coupled with the Singer MemoMatic 360K carriage, was serviced and fully tested in my shop in May 2025. To read the pros and cons of the Studio mod. 360 and Singer MemoMatic 360K read the corresponding posts in the Knitting Machine Encyclopedia. The post below is dedicated strictly to this specific machine and not the model overall.

This girl was manufactured in the 1980s (45 years ago) so it comes with its own character (read below in Imperfections).

The machine was thoroughly cleaned. I removed all plastic panels and cleaned them. I removed plastic end caps and clean inside the needlebed with the brush until not more lint and dust as coming out. The needlebed was vacuumed from inside and outside. All metal parts were oiled. The punchcard reading mechanism was tuned and cleaned with oil. Same for the carriage. All needles were removed and inspected and then tested on the full bed (knitted on all needles). I identified one faulty needle (the video shows the incorrectly formed stitches) and replaced it.

In fact, tests on full bed were performed using tuck-, slip- and fair-isle stitches. All stitches formed as they are supposed to. There was no mispatterning (see the full video). The video also shows that all buttons, levers and wheels move freely on the knit leader and the paper advances accordingly. Read the manual carefully when setting the knit-leader parameters as some of the knobs move at certain settings. The video also shows that the row counter work great as well.

I replaced bent plastic heel protectors (plastic circles around each wheel with soft brushes on the under side of the sinker plate – now shown). They bent kinda easily when the yarn is tangled around the wheels on the sinker plate.

Installed new end racks. I replaced the sponge in the retaining bar. The retaining bar sits a bit tight so if it needs to be removed, initially use pliers to get the bar the first tug.

The drums on the carriage move freely (see the video). The carriage with and without sinker plate moves freely on the carriage across the needles in A and B positions. Read below about some accompanying clanking noise.

The machine will come with all major accessories.

Those that are not included are:

  • unravel cord (any smooth and strong thread or yarn will work);
  • tapestry needle (any needle will work)
  • punchcard rod (all tests i performed and shown in the video were done without it and it worked well).
  • oil (I get oil for my knitting machines on Amazon: Hopp’s gun oil)
  • punchcard set has all 20 cards and they are original Singer/Studio punchcards but some are somewhat different than in the Pattern Book
  • A hard copy of the machine instruction manual will not be included but it can be downloaded online for free. The hard copies of the knitting manual and the pattern book are included.

Despite some discloration of the plastic and metal of the main bed, the case lid, and the needle bed are in overall good shape.

Imperfections:

  1. There was some yellow discoloration, which could be potential rust spots. I covered them with a couple of protective coatings. The covered spots are not as noticeable in real life as shown in the pictures below. In fact, when I am looking at the machine right now, I can’t even see it (but I know it was there).

2. One of such spots is actually the railing itself (I needed to be 100% sure that there will be no further degradation due to rust). So I applied a thin layer of protective coating as well.

In some places, the coating comes of, which comes across as some minor debris. Just be aware of it (and not alarmed). Include cleaning the debris and carriage rail in your regular knitting machine cleaning routine.

3. It seems that either the plastic panels (including the end caps) were replaced by the previous owner, or the machine was exposed to the sunlight unevenly. Regardless, you can see that some panels show a different degree of yellowing (discoloration of the old plastic due to exposure to the UV light/rays). However, the plastic does not seem fragile (I’ve seen a LOT of weakened (due to UV) plastic parts). So the difference is only visual/aesthetic.

4. When I first started testing the machine by moving an empty carriage on the needlebed (with all needles in A, non-working, position), there was some clanking noise in some areas. I tried various carriages on this machine and they all sound like this. After troubleshooting this issue, I was able to improve it (watch this video on this issue) but due to the nature of this noise, it is not completely eliminated. This video discusses how to prevent/minimize that clanking noise. However, with regular maintenance and paying attention as well as moving the carriage in one smooth motion, this will not be an issue.

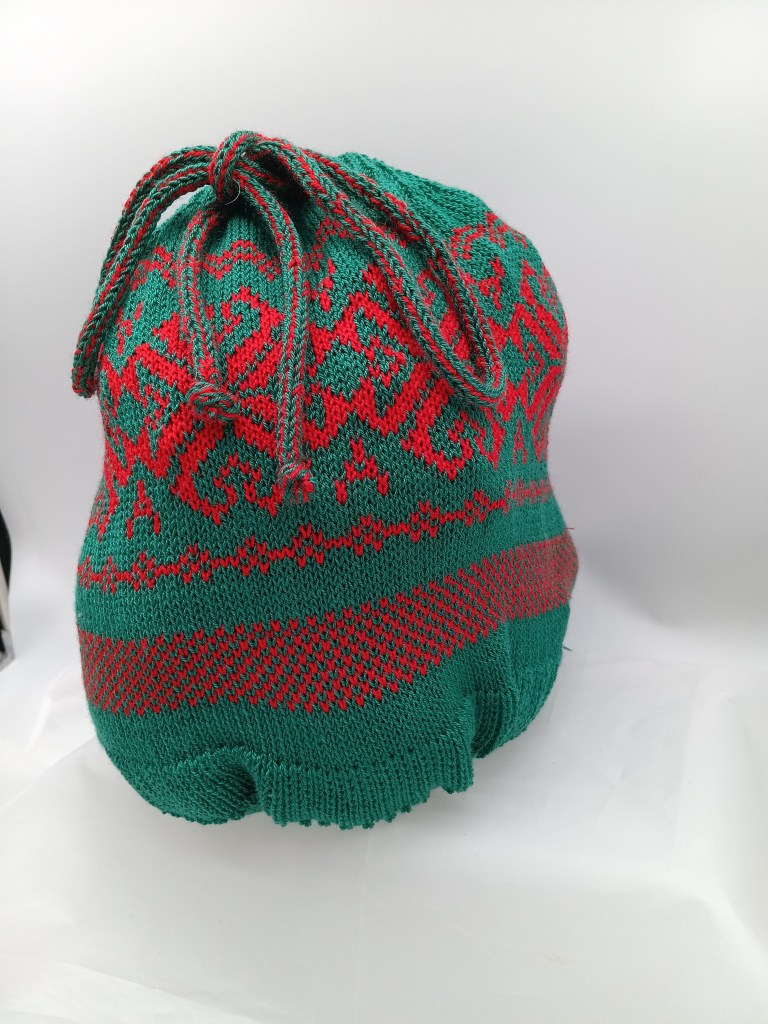
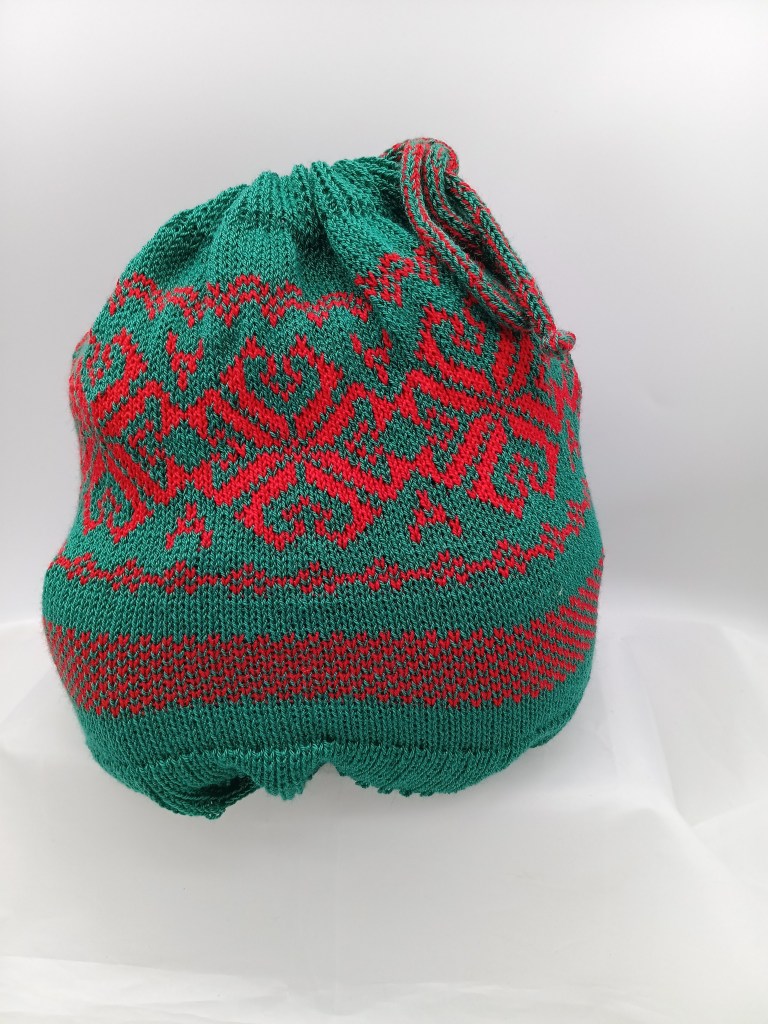
Despite all these imperfections, I enjoyed working with this machine. I made the gift bag below using various stitches shown in my test video (working on the pattern now).

Singer 700 mod. knitting machines serviced and tested in my shop in April 2025.

Singer MemoMatic 700 is a standard-gauge knitting machine with 200 needles, 4.5 apart. It has a punchcard reader (on the machine body) and patterning drums (on the carriage) which allows the machine to automatically select needles and knit patterns, like tuck, slip/part, fair-isle, weaving, lace, etc. Read more about this model in my Knitting Machine Encyclopedia. The rest of the post below is dedicated to a specific Singer MemoMaic 700 machine serviced and tested in my shop.

The case (including the end caps and the lid) is in great shape with minium scaffs and scratches. The plastic panels are in great shape too, with minimum discoloration due to the exposure to UV.

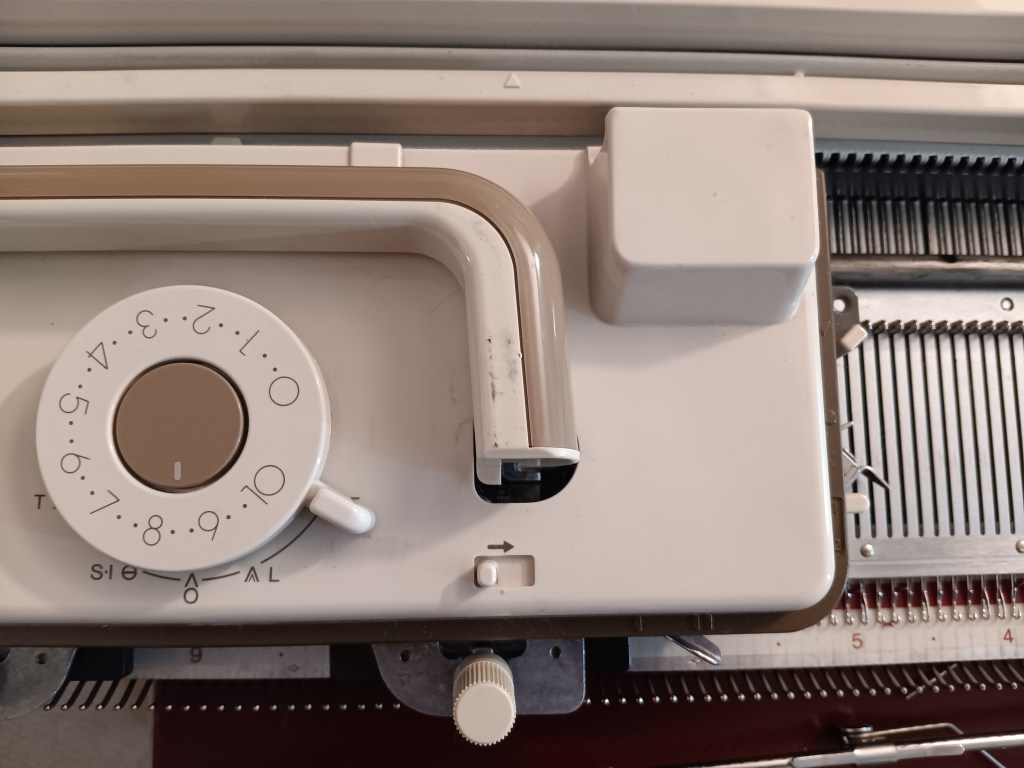
I cleaned the surface of the machine and the inside of it as well. I serviced and cleaned the punchcard mechanism and fine-tuned it to ensure flawless patterning. I opened the carriage and cleaned it thoroughly too, to ensure the drums and all other internal mechanisms move freely. The rubber wheels on the sinker plate were too fragile, so I replaced them with the old stock.

Installed new end racks (new stock).

I replaced the sponge strip in the retaining bar. I cleaned and inspected all needles to ensure they are not bent, latches move freely, and form correct stitches. Then I knitted on the full bed (i.e., on all needles) using tuck, skip/part, and two-color fair-isle to ensure that all needles indeed form correct stitches. I used several different kinds of yarns (you will even see in the video that the machine handled a couple of minor knits pretty well). I was very pleased by these tests, as the machine indeed handled well all the various yarns and all stitches formed correctly. The video of these tests is here.

The machine comes with all original accessories for the knit leader.

Knit leader was not tested in action but I checked all buttons, levers and knobs: they all move freely.

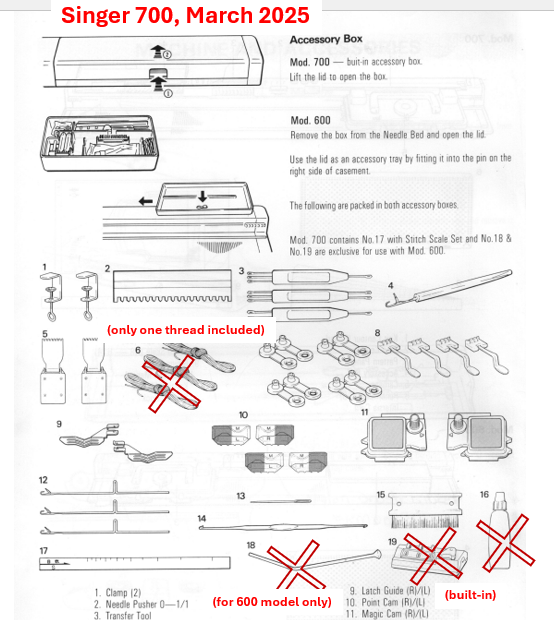
It comes with almost all the machine’s accessories.

The accessories fit nicely into a built-in box.

The standard accessories that are missing are: two cast-on threads (only one is included) and the oil (Hoppe’s Gun oil from Amazon is an excellent substitute).

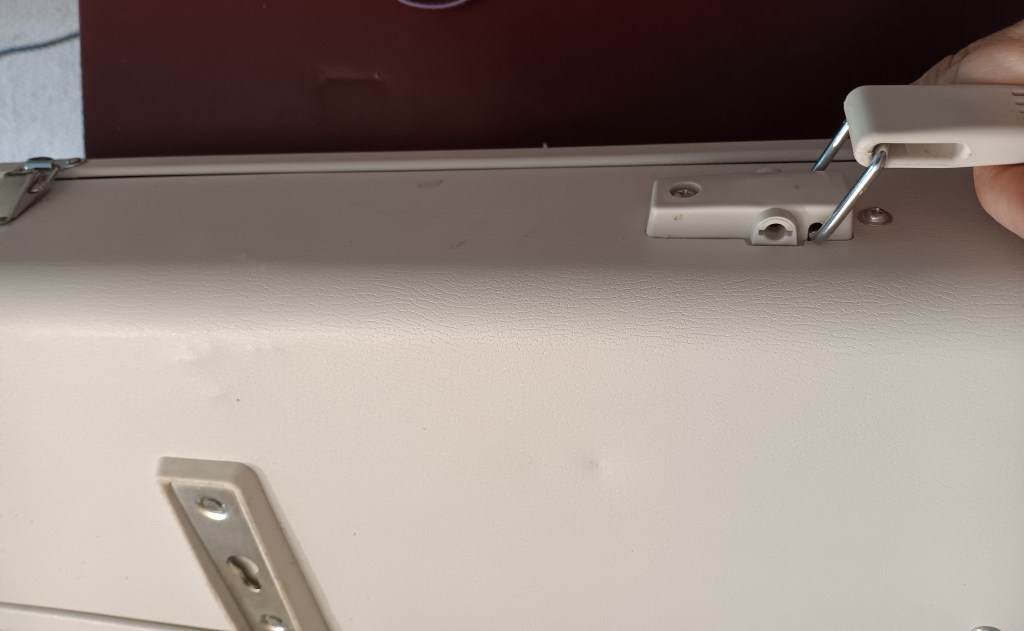
The carriage lock is now shown in the list of accessories but the original metal carriage lock is included.

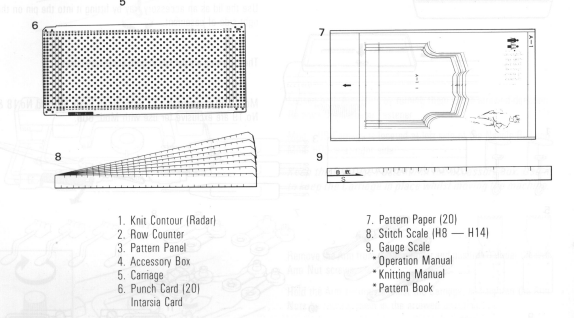
Note: The machine did not come with the original punch cards. I am including a generic set of 15 punch cards. Also, hard copies of the manuals are missing as well. But they are available online for free: pattern book, knitting manual, and operation manual.

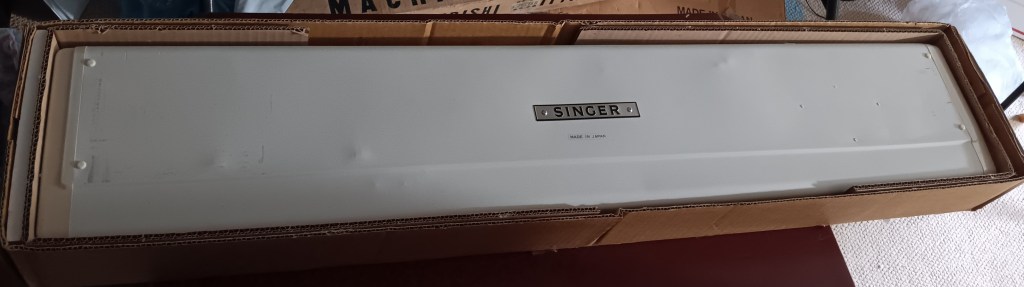
The machine is lucky enough to come with its own cardboard box as well (with a lid).

Now, about Imperfections:

– Because I applied cleaning oils during cleaning, you might notice that some of the oil might bleed out of the carriage (especially when moved back and forth several times), leaving some black-ish residue on the main bed. Just wipe it with a towel and continue knitting. This is not unusual as the oil becomes thinner as the carriage becomes warmer as it moves back and forth.

– when the lid sits on top of the main bed, there is a small lip. It is pretty typical for these old machines and does not affect the works of the machine. However, precuations will be needed when the machine is in storage: put it in a plastic bag when stored for a long time.

– The carriage handle has some minor scratches.

– The case also has some minor scratches and dents. But it is overall in very good shape.

I typically include pictures of an item I made while testing this machine. I indeed made a small blanket and a gift bag, but due to the time contains, they are not quite finished yet.

I think the new owner of this machine will be very pleased with it because it not only looks good, but it works fantastically and has some advanced functions other punchcard machines don’t: like built-in intarsia.