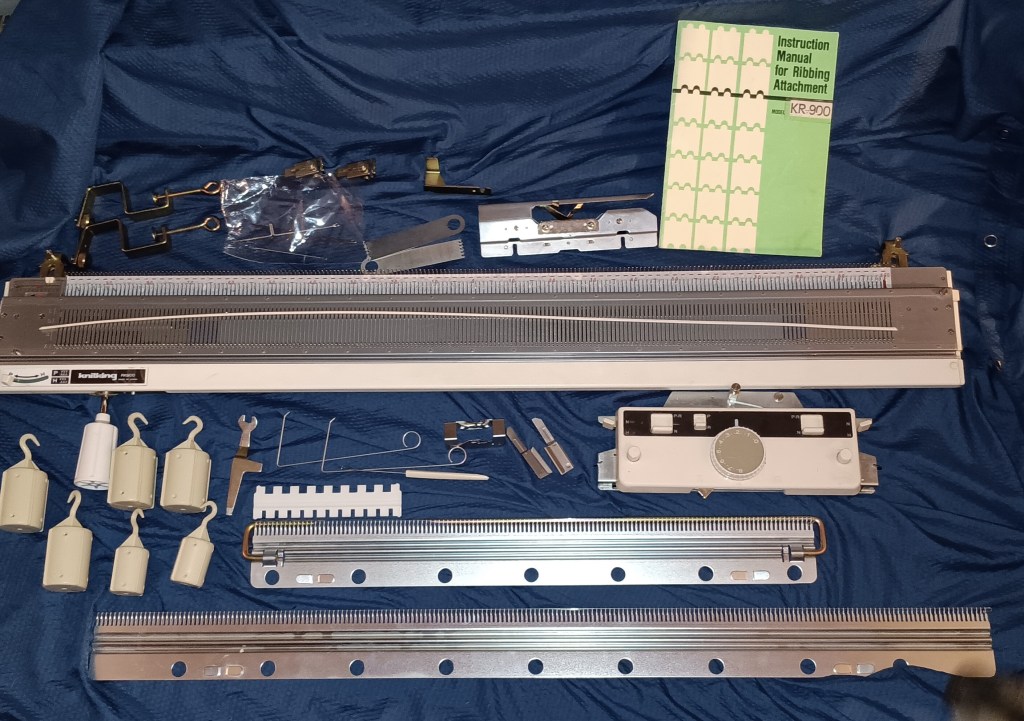
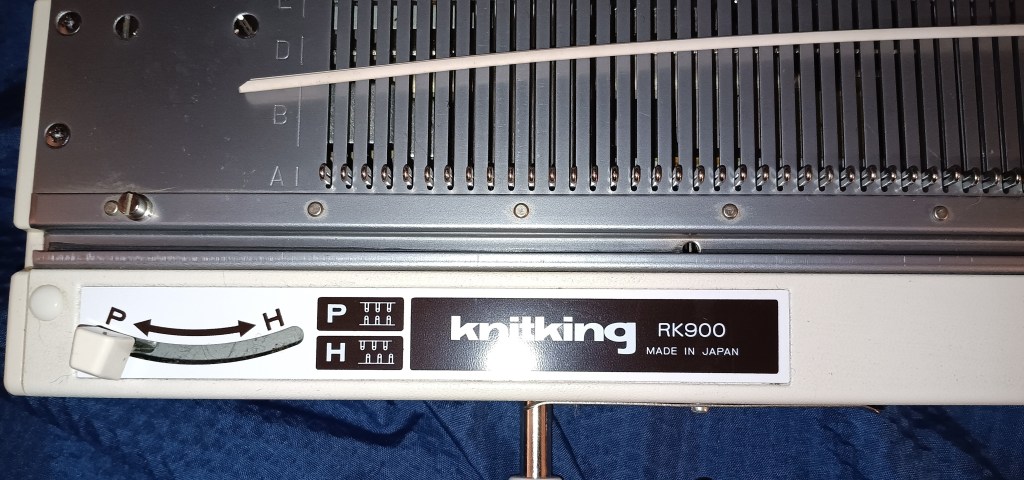
KnitKing KR880 ribbing attachment fits standard-gauge Brother, Defendi and KnitKing punchcard and electronic knitting machines. It is identical to Brother KR830 ribber. Read more about KnitKing KR880 and Brother KR830 ribbers in my Knitting Machine Encyclopedia. The rest of the post below is dedicated to a specific ribber serviced and tested in my shop in March 2026.

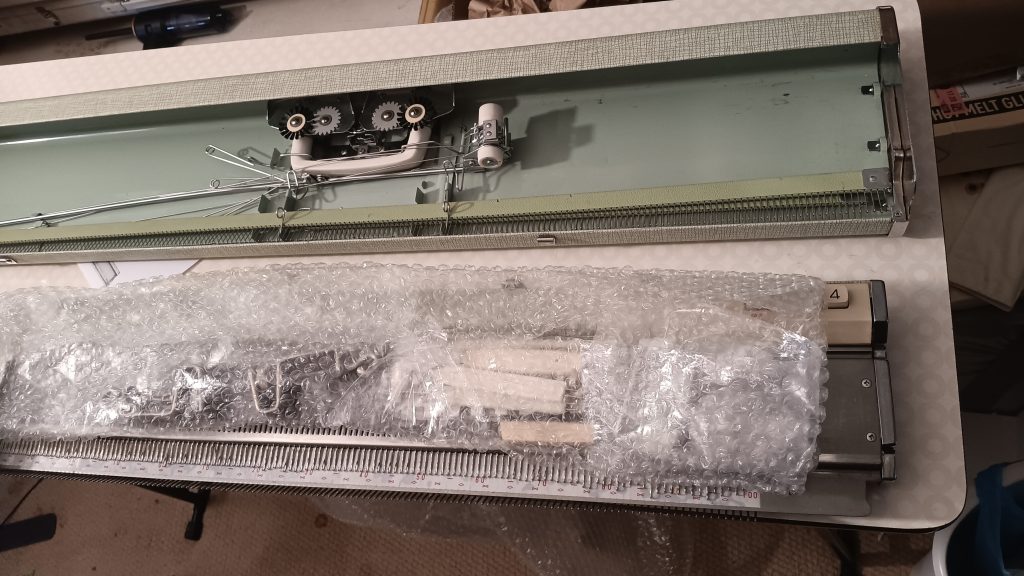
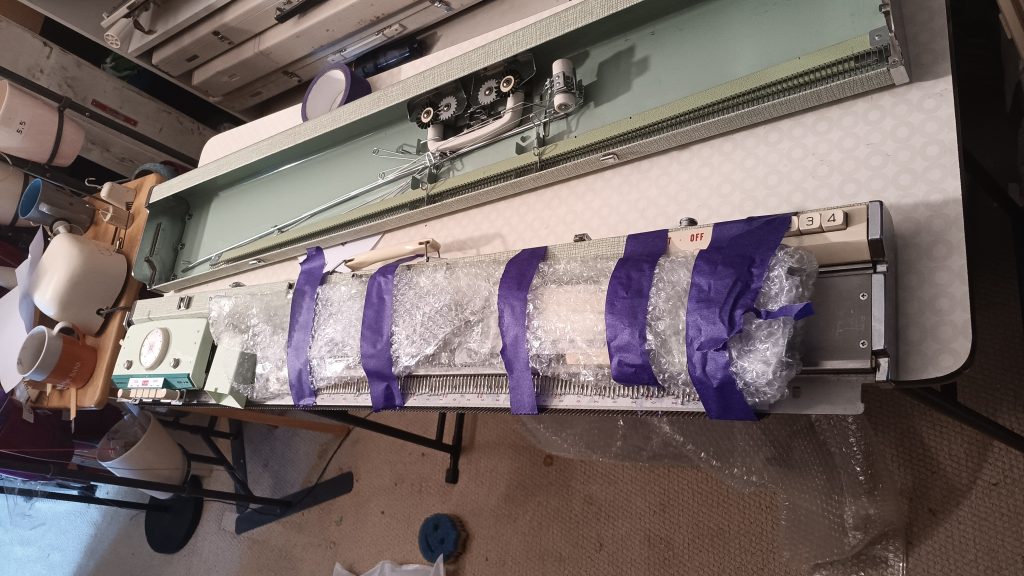
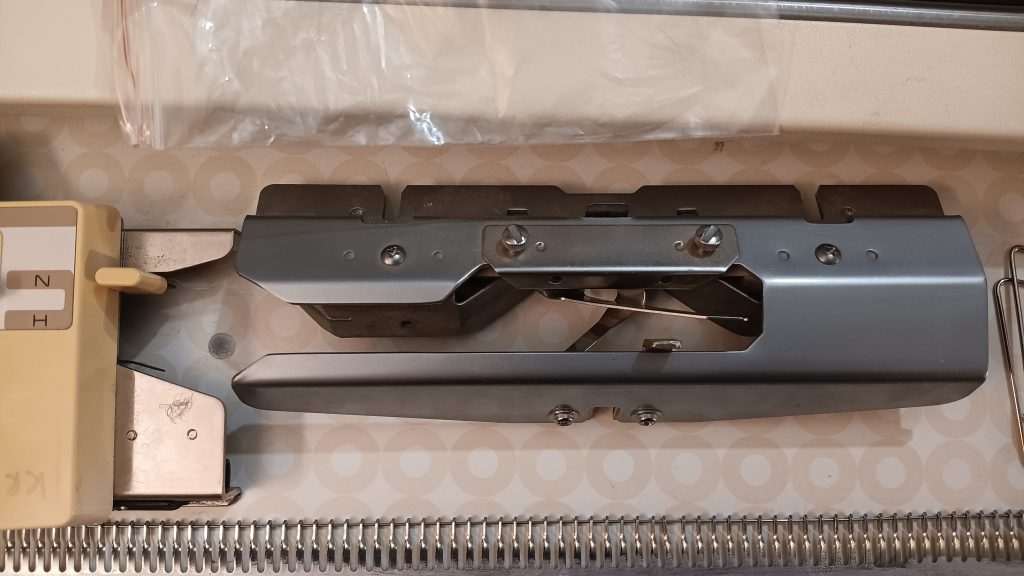
The carriage of the KnitKing KR880 ribber was cleaned and serviced. All buttons and levers move freely and function properly. All needles were removed, cleaned, and inspected. The connecting brackets are new (read more on that below).
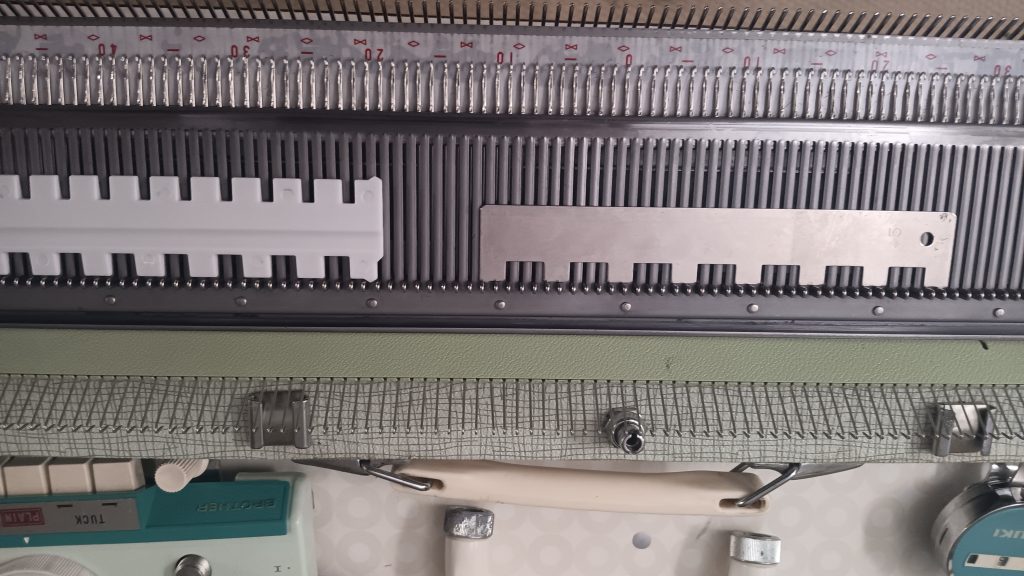
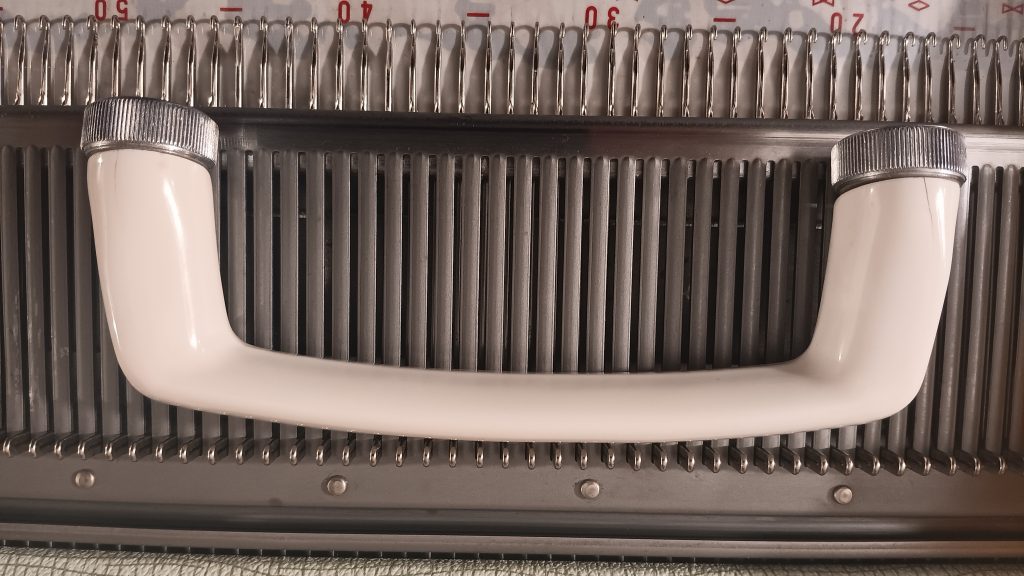
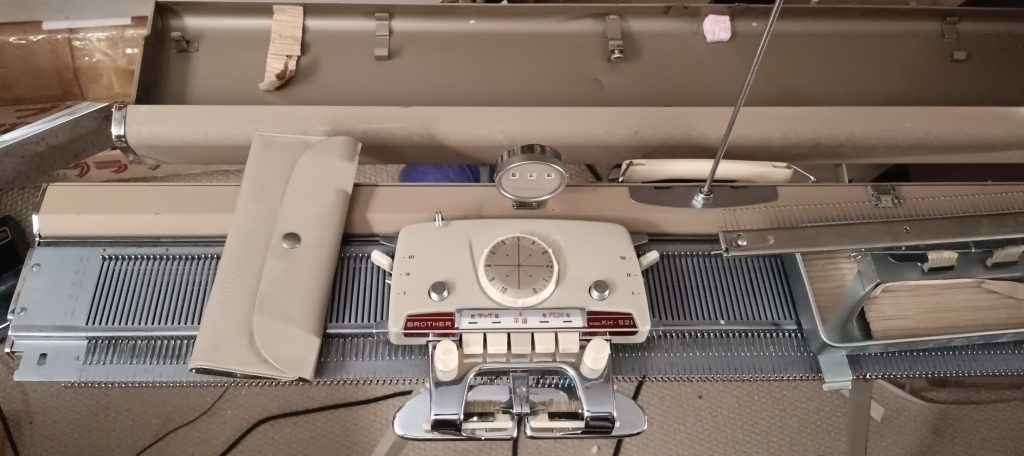
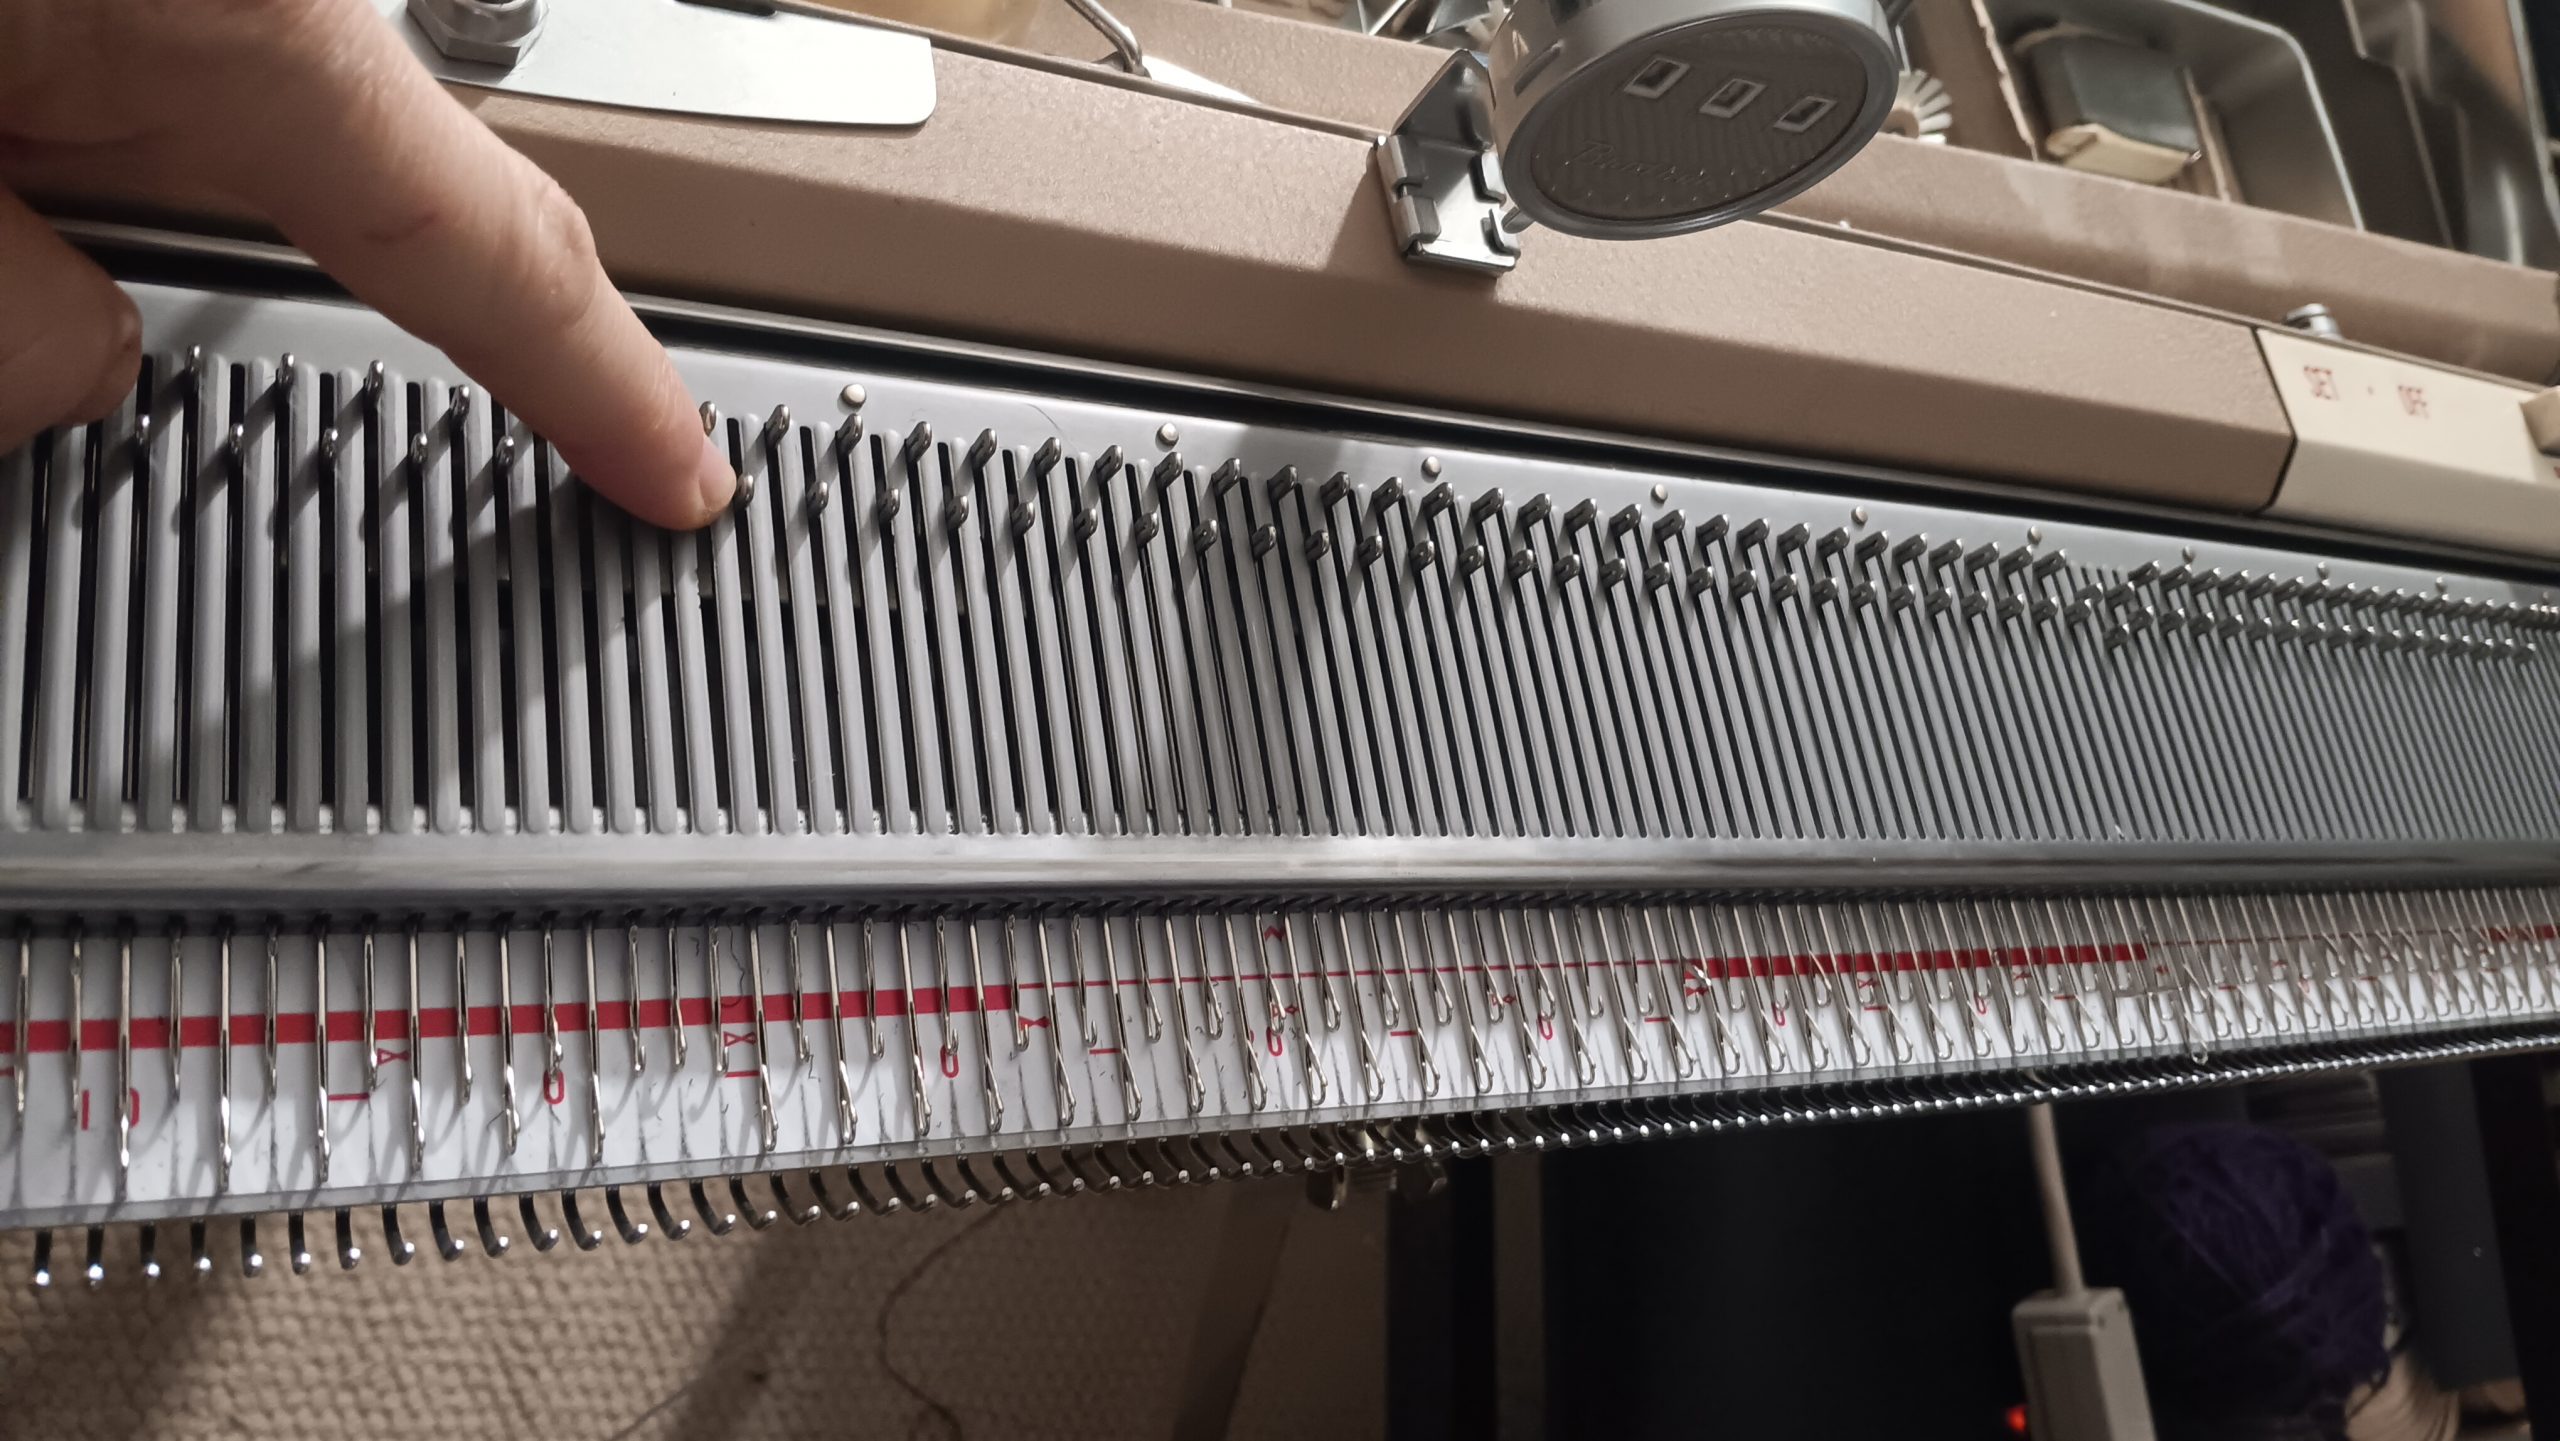
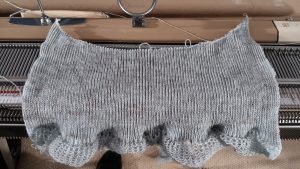
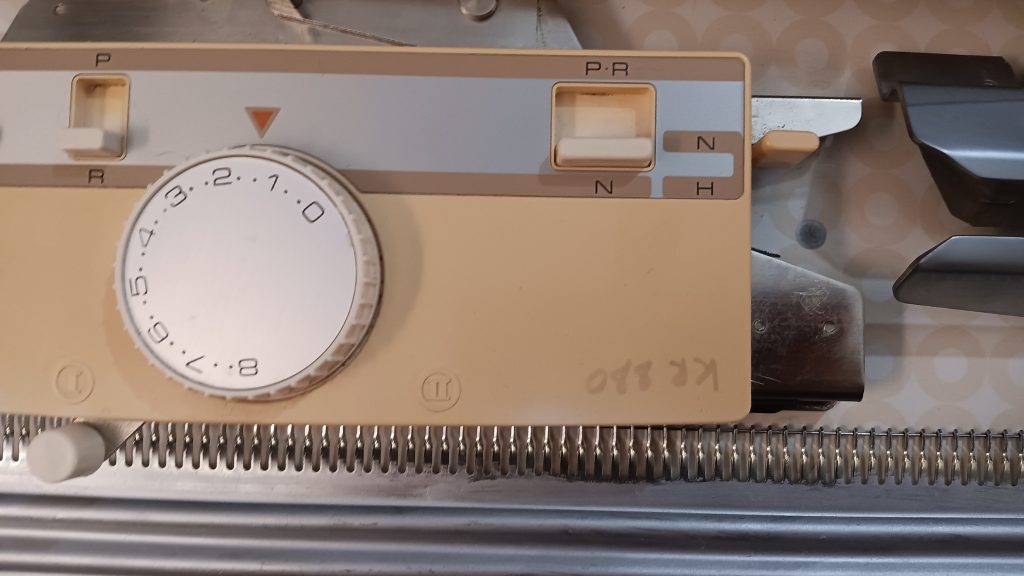
The ribber was tested on the Brother KH860 machine. I’ve spent a good amount of time making sure the correct distance between the ribber and the main bed. The zig-zag cast-on row looked even across the full bed (see the picture below) with no dropped stitches.
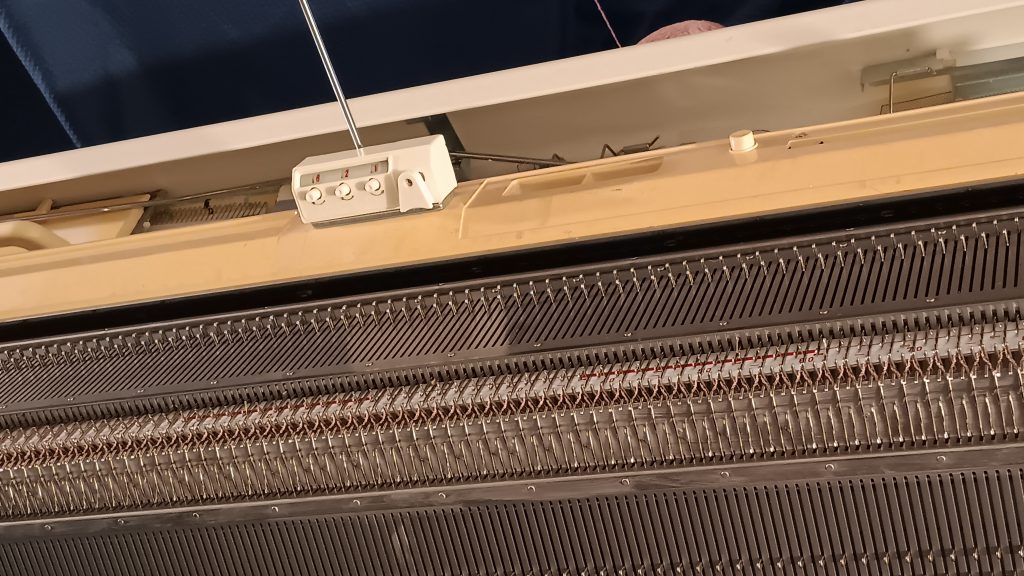
When you get this ribber, I recommend using my settings first, and if the ziz-zag does not look even or the stitches on the first row do not form, only then adjust the distance. In general, the zig-zag might not form necessarily due to incorrect distance but due to yarn issues (if too thick, a wider distance might be needed and vice versa), type of knitting, etc.
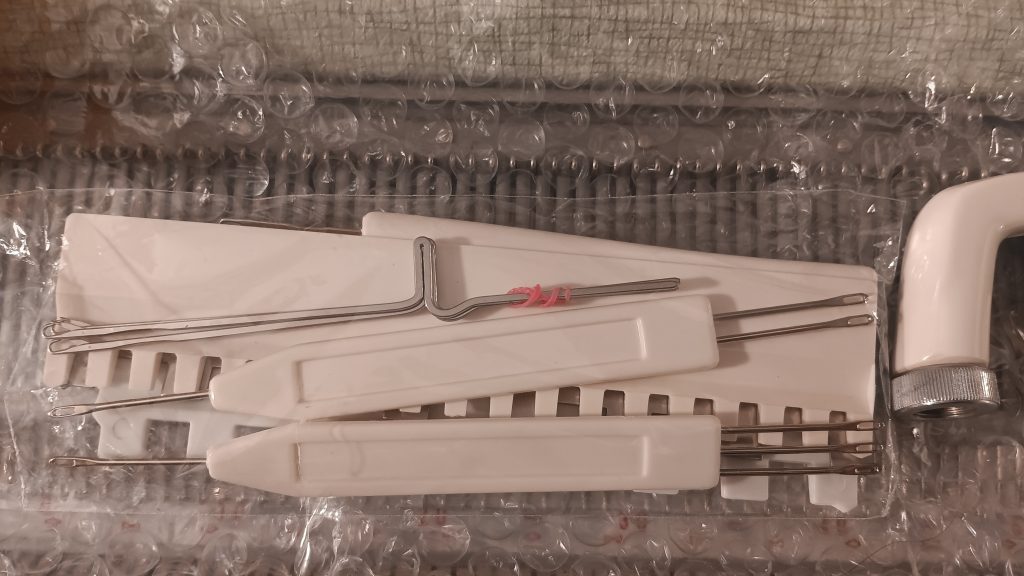
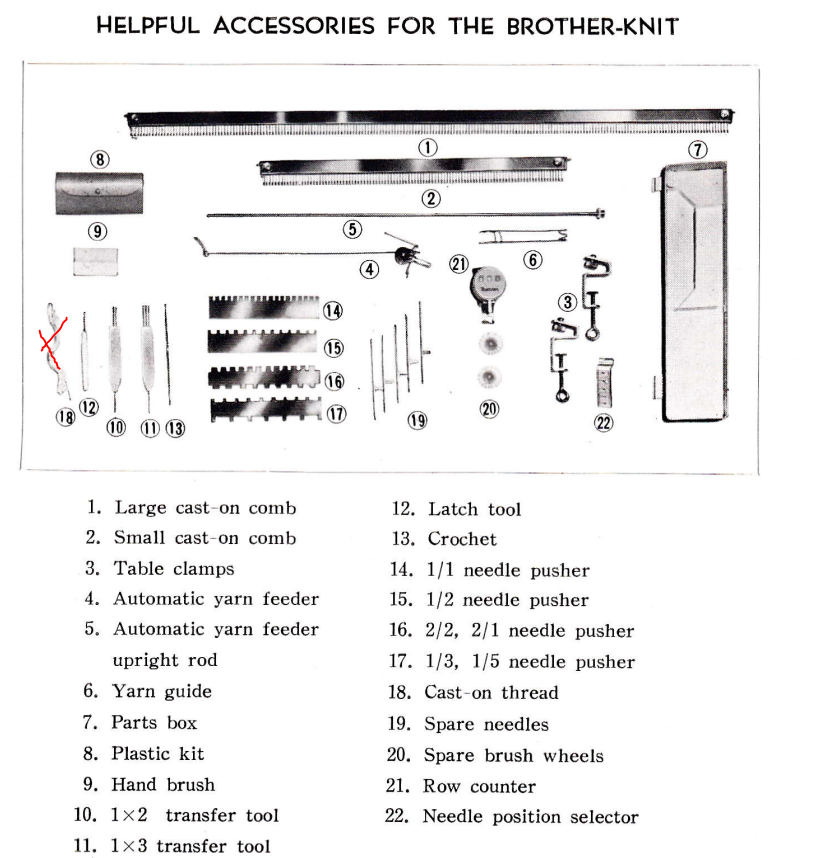
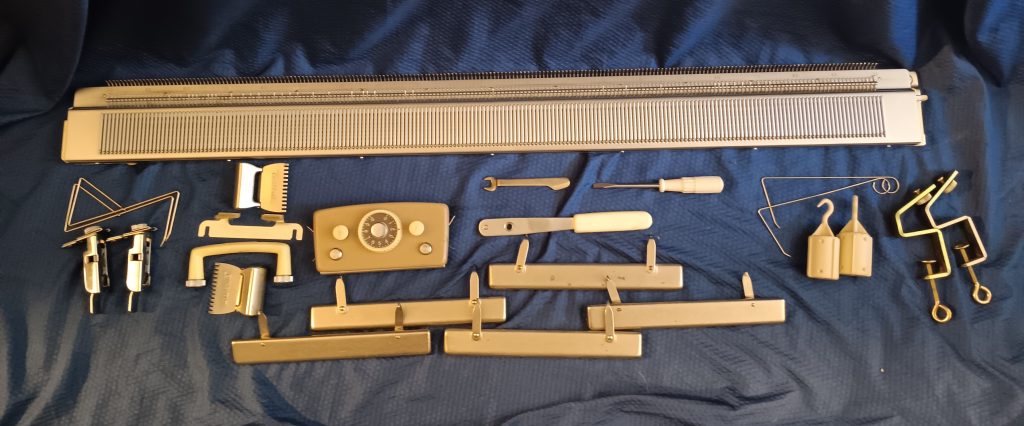
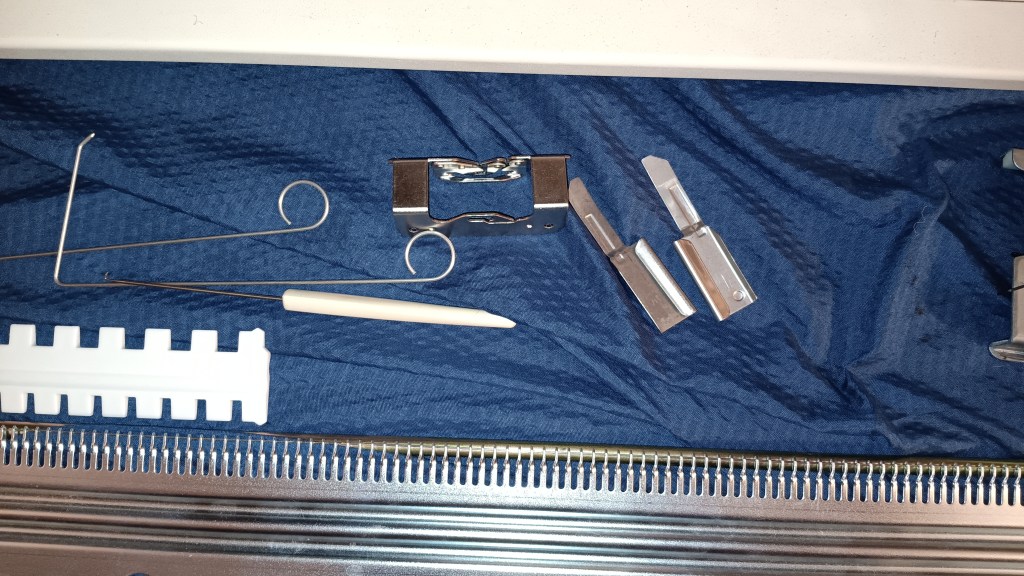
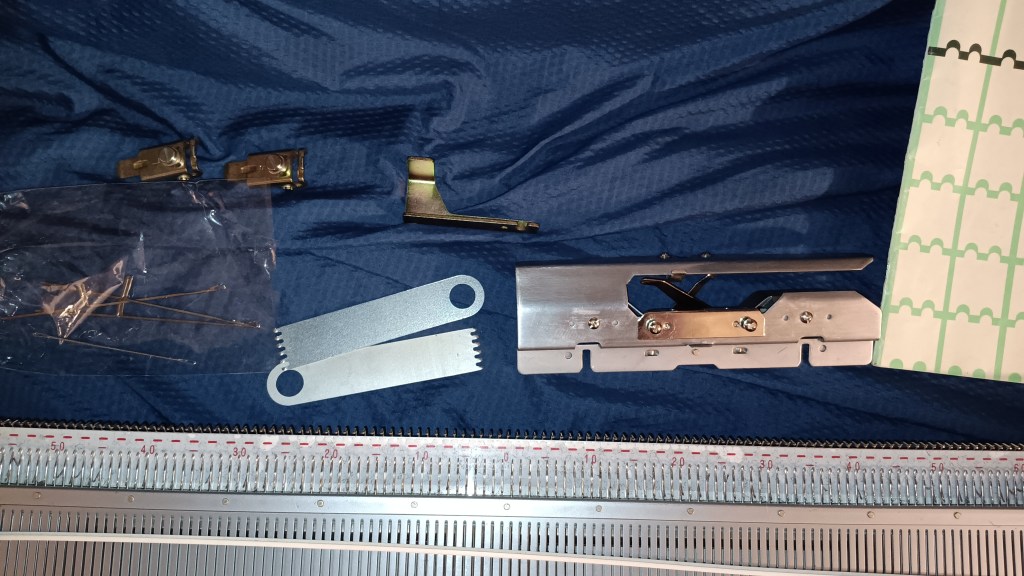
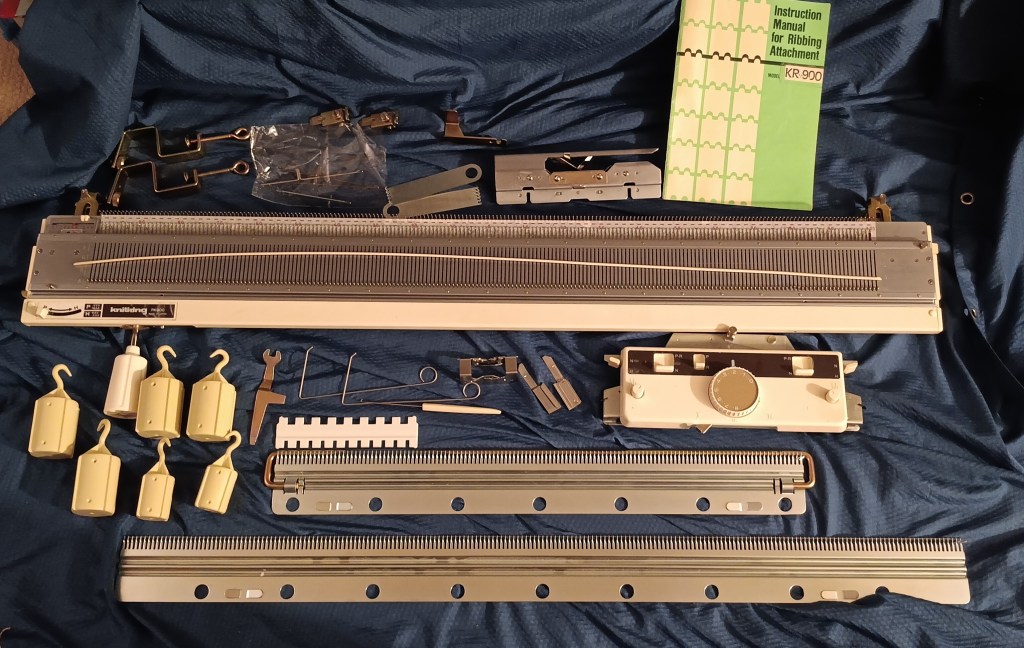
The machine will come with all accessories but one: the fine bar. The one that came with the machine is in rough, unusable shape and I don’t have a spare one. It is absolutely not the main accessory (a lot of knitters posting on social media that they don’t even use it).
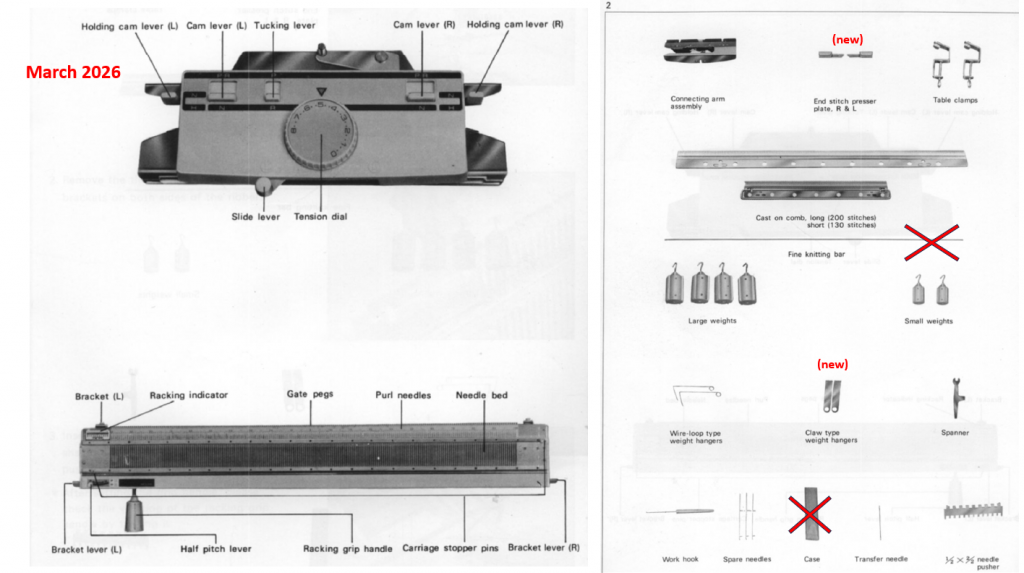
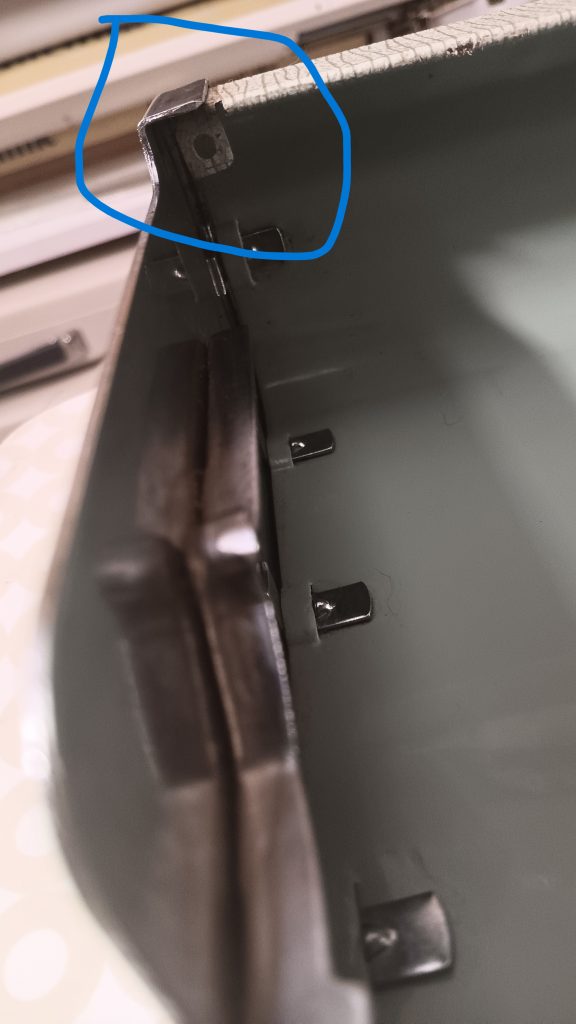
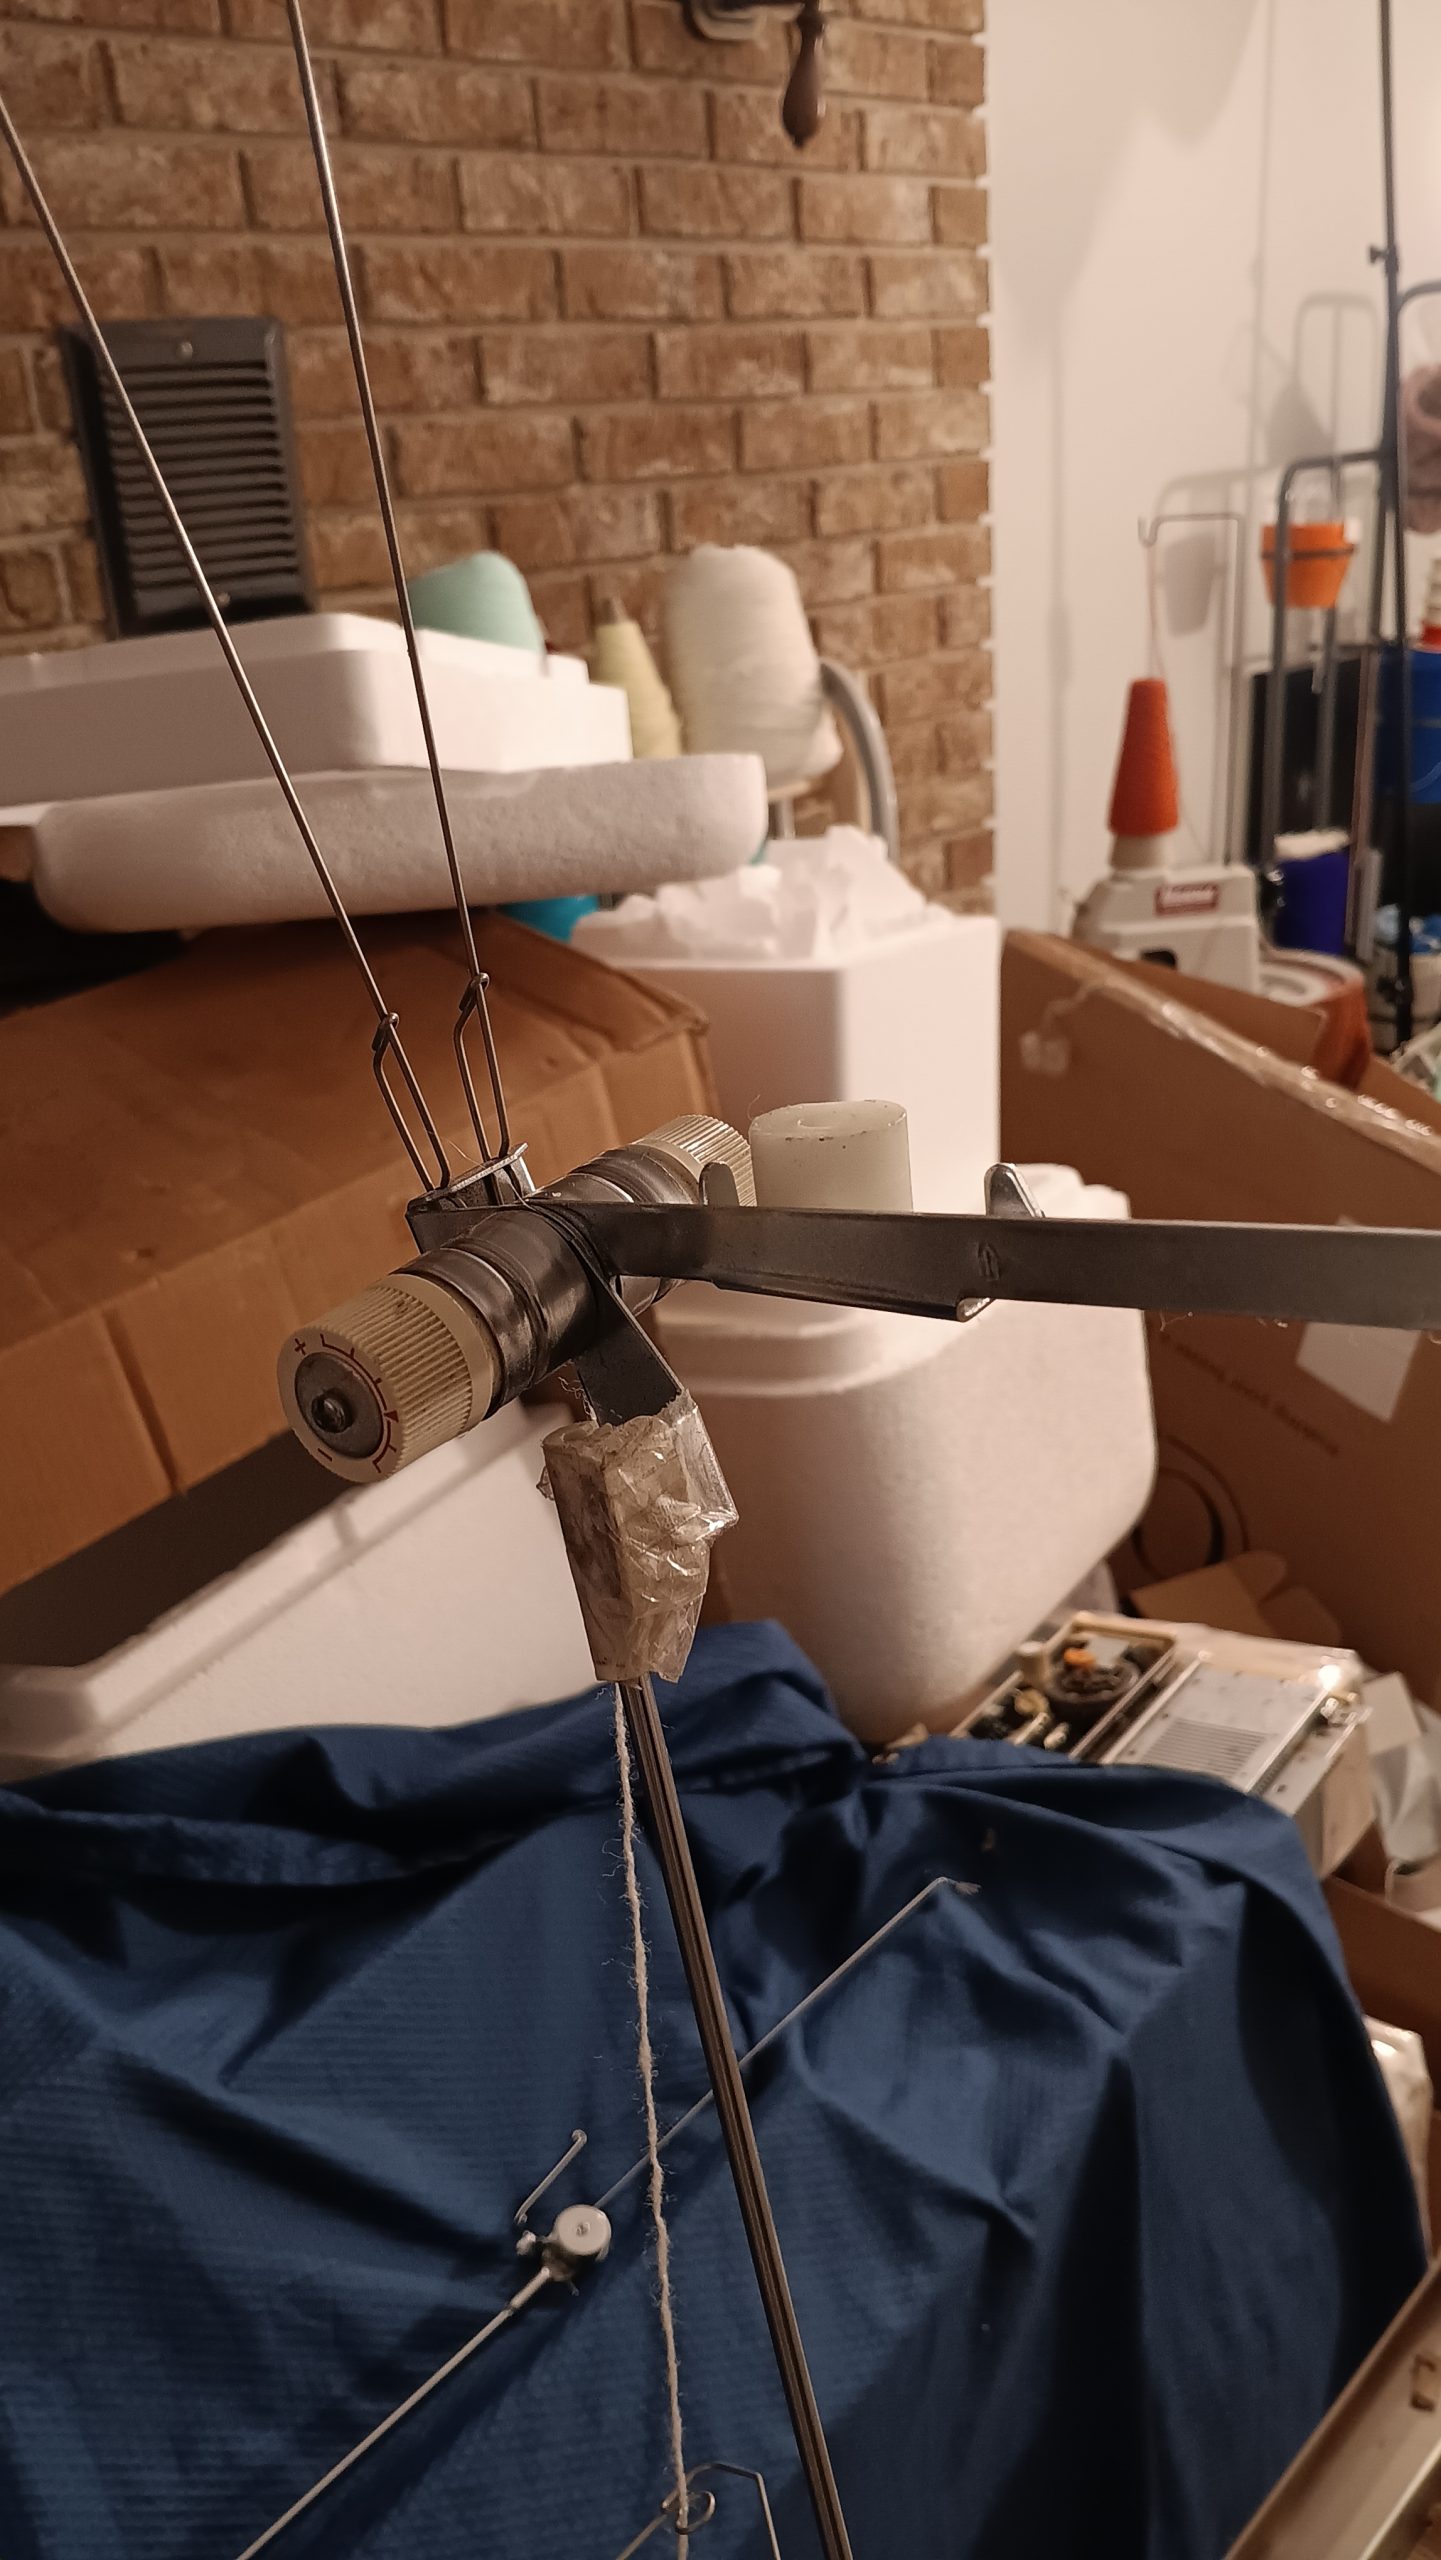
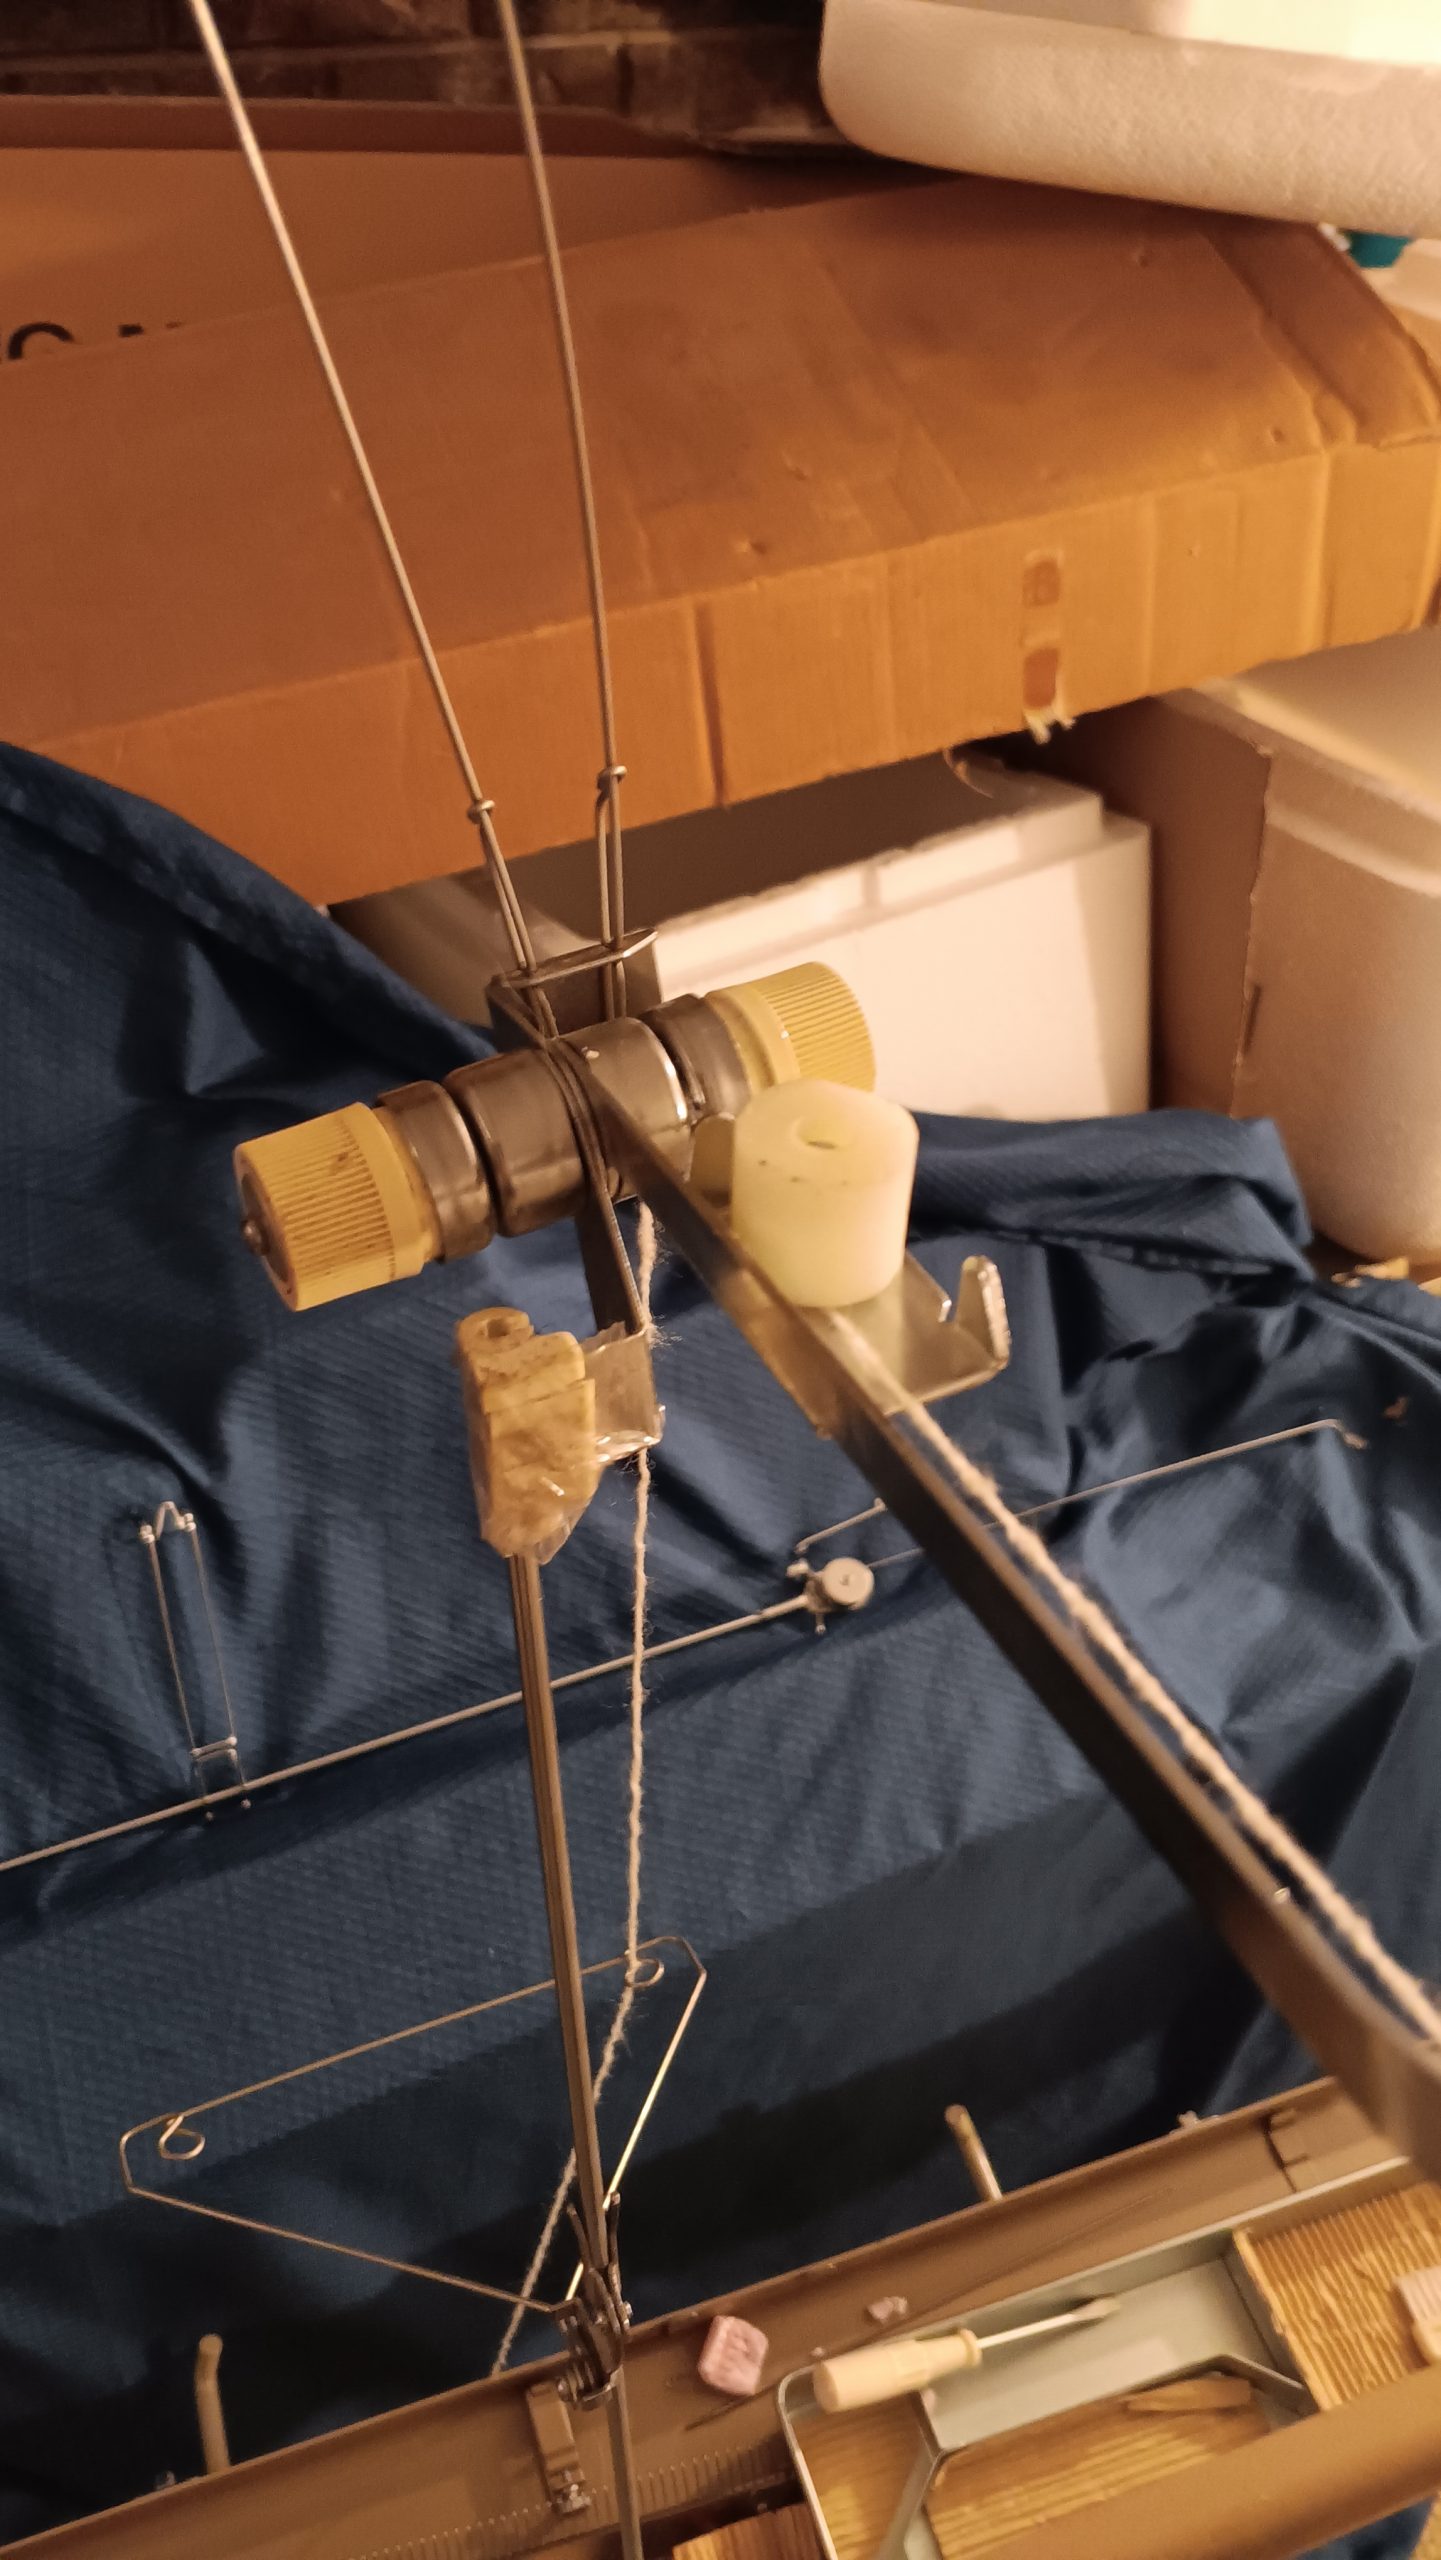
The connecting arm is not the original one to KR880 but a replacement from the Brother KR850 ribber. That connecting arm is a bit more “advanced” since a plating attachment can be added if desired. I do not have one at the moment to spare, otherwise I would have included it. The hard copy of the manual will not be included as well, but its free pdf copy is available online for free.
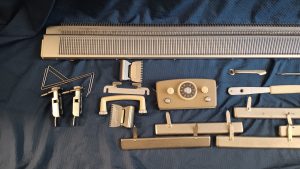
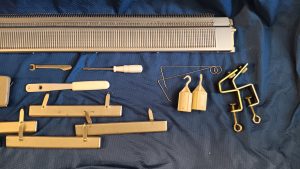
End-stitch presser plates, the racking lever and replacement needles are new.
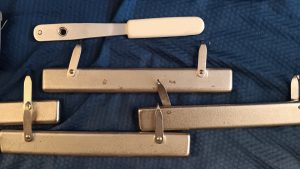
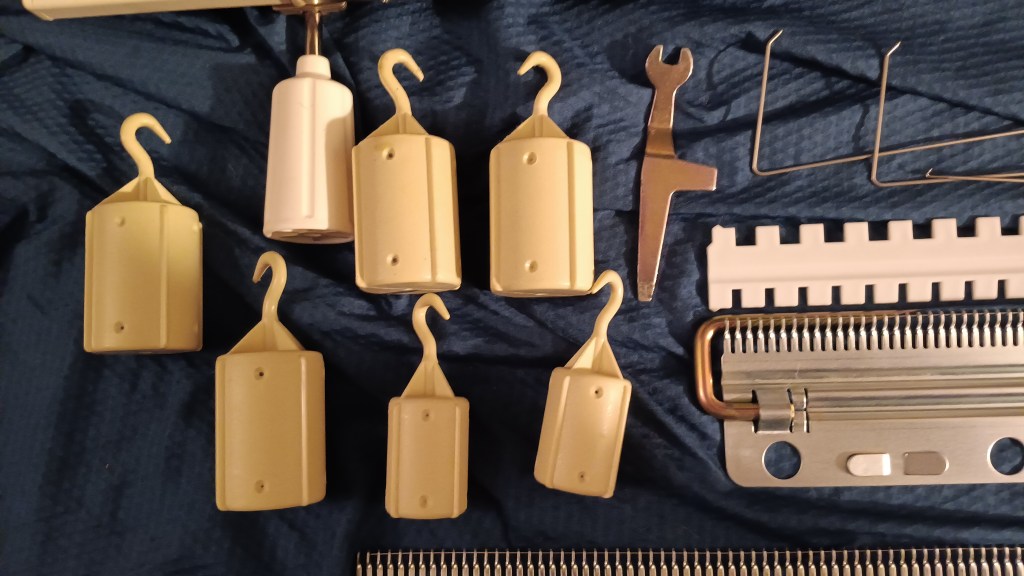
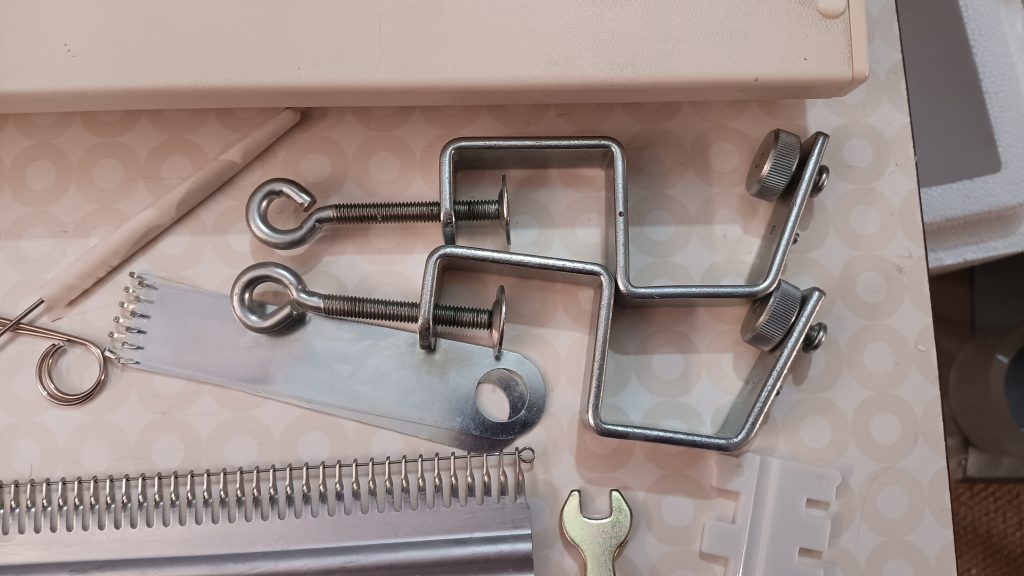
The cast-on combs and the table clamps are original, but they had some discoloration. I cleaned and polished them and covered them with silver Rustoleum.

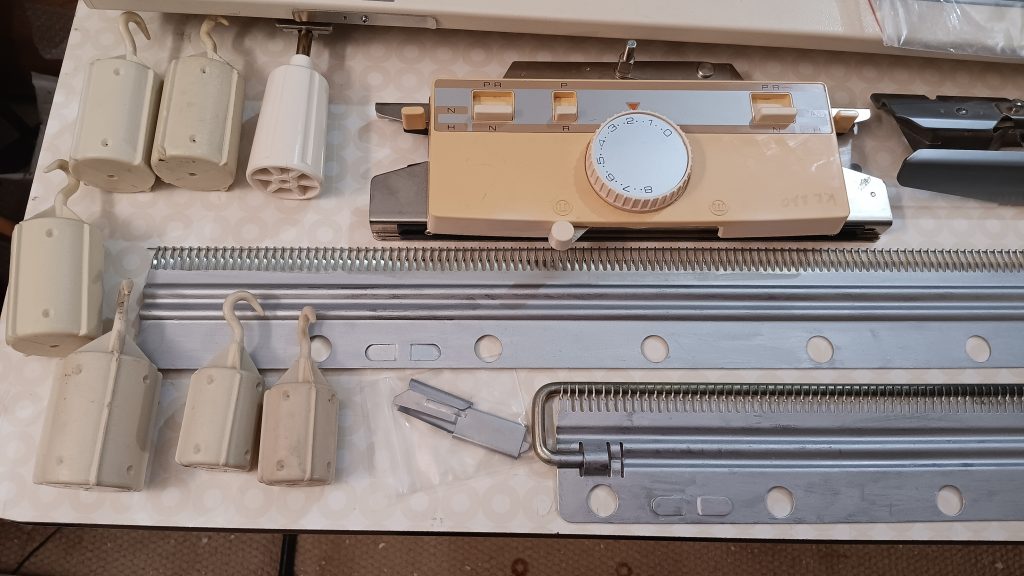
Aluminum claw weight hangers are new as well.
Imperfections:
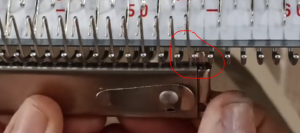
- Even though I oiled the machine and the brackets, since the brackets are new, they are a bit resistant when moving the bed up and/or down. Thus, practice lowering the ribber needlebed before knitting. I’ve had ribbers in the past that were too easy to lower, and it was somewhat inconvenient. So, I’d rather have a ribber that is a bit resistant to lower than a ribber that can drop down without a warning.
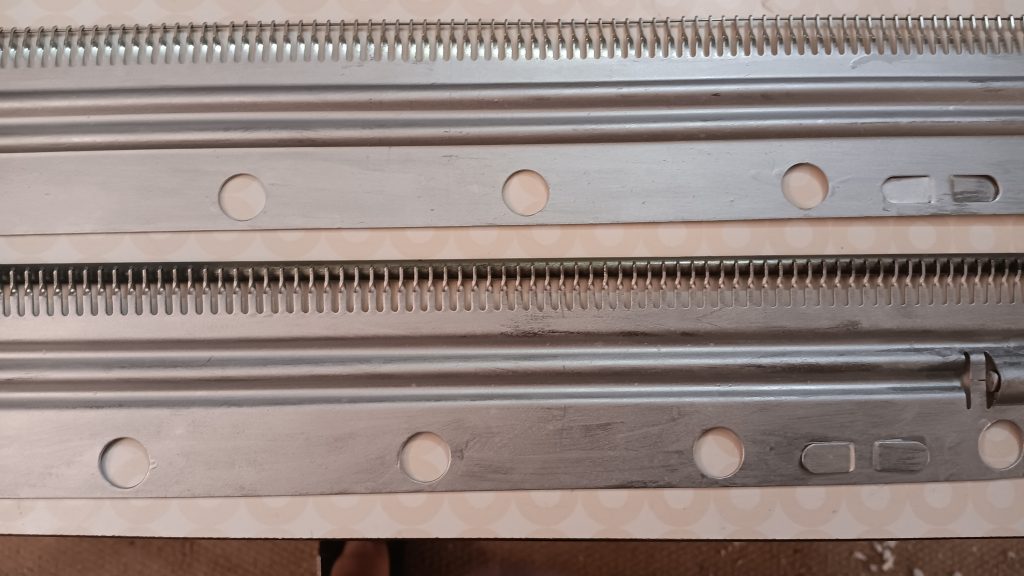
- Rustoleum does not always cover the surfaces that are smooth. I did not want to roughen the cast-on combs just to get an even coat of paint. Thus, you’ll see some unevenness in my paint job.
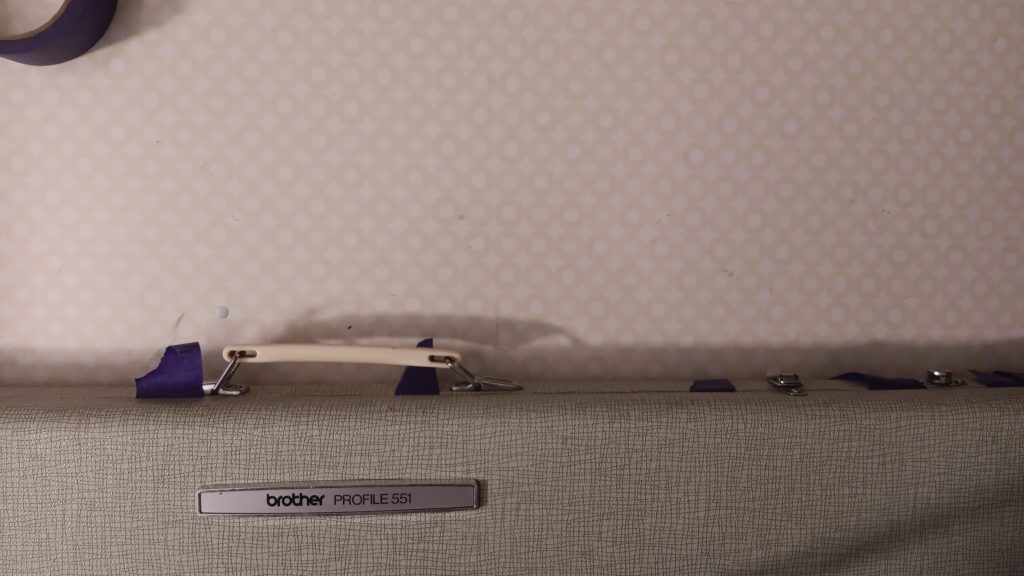
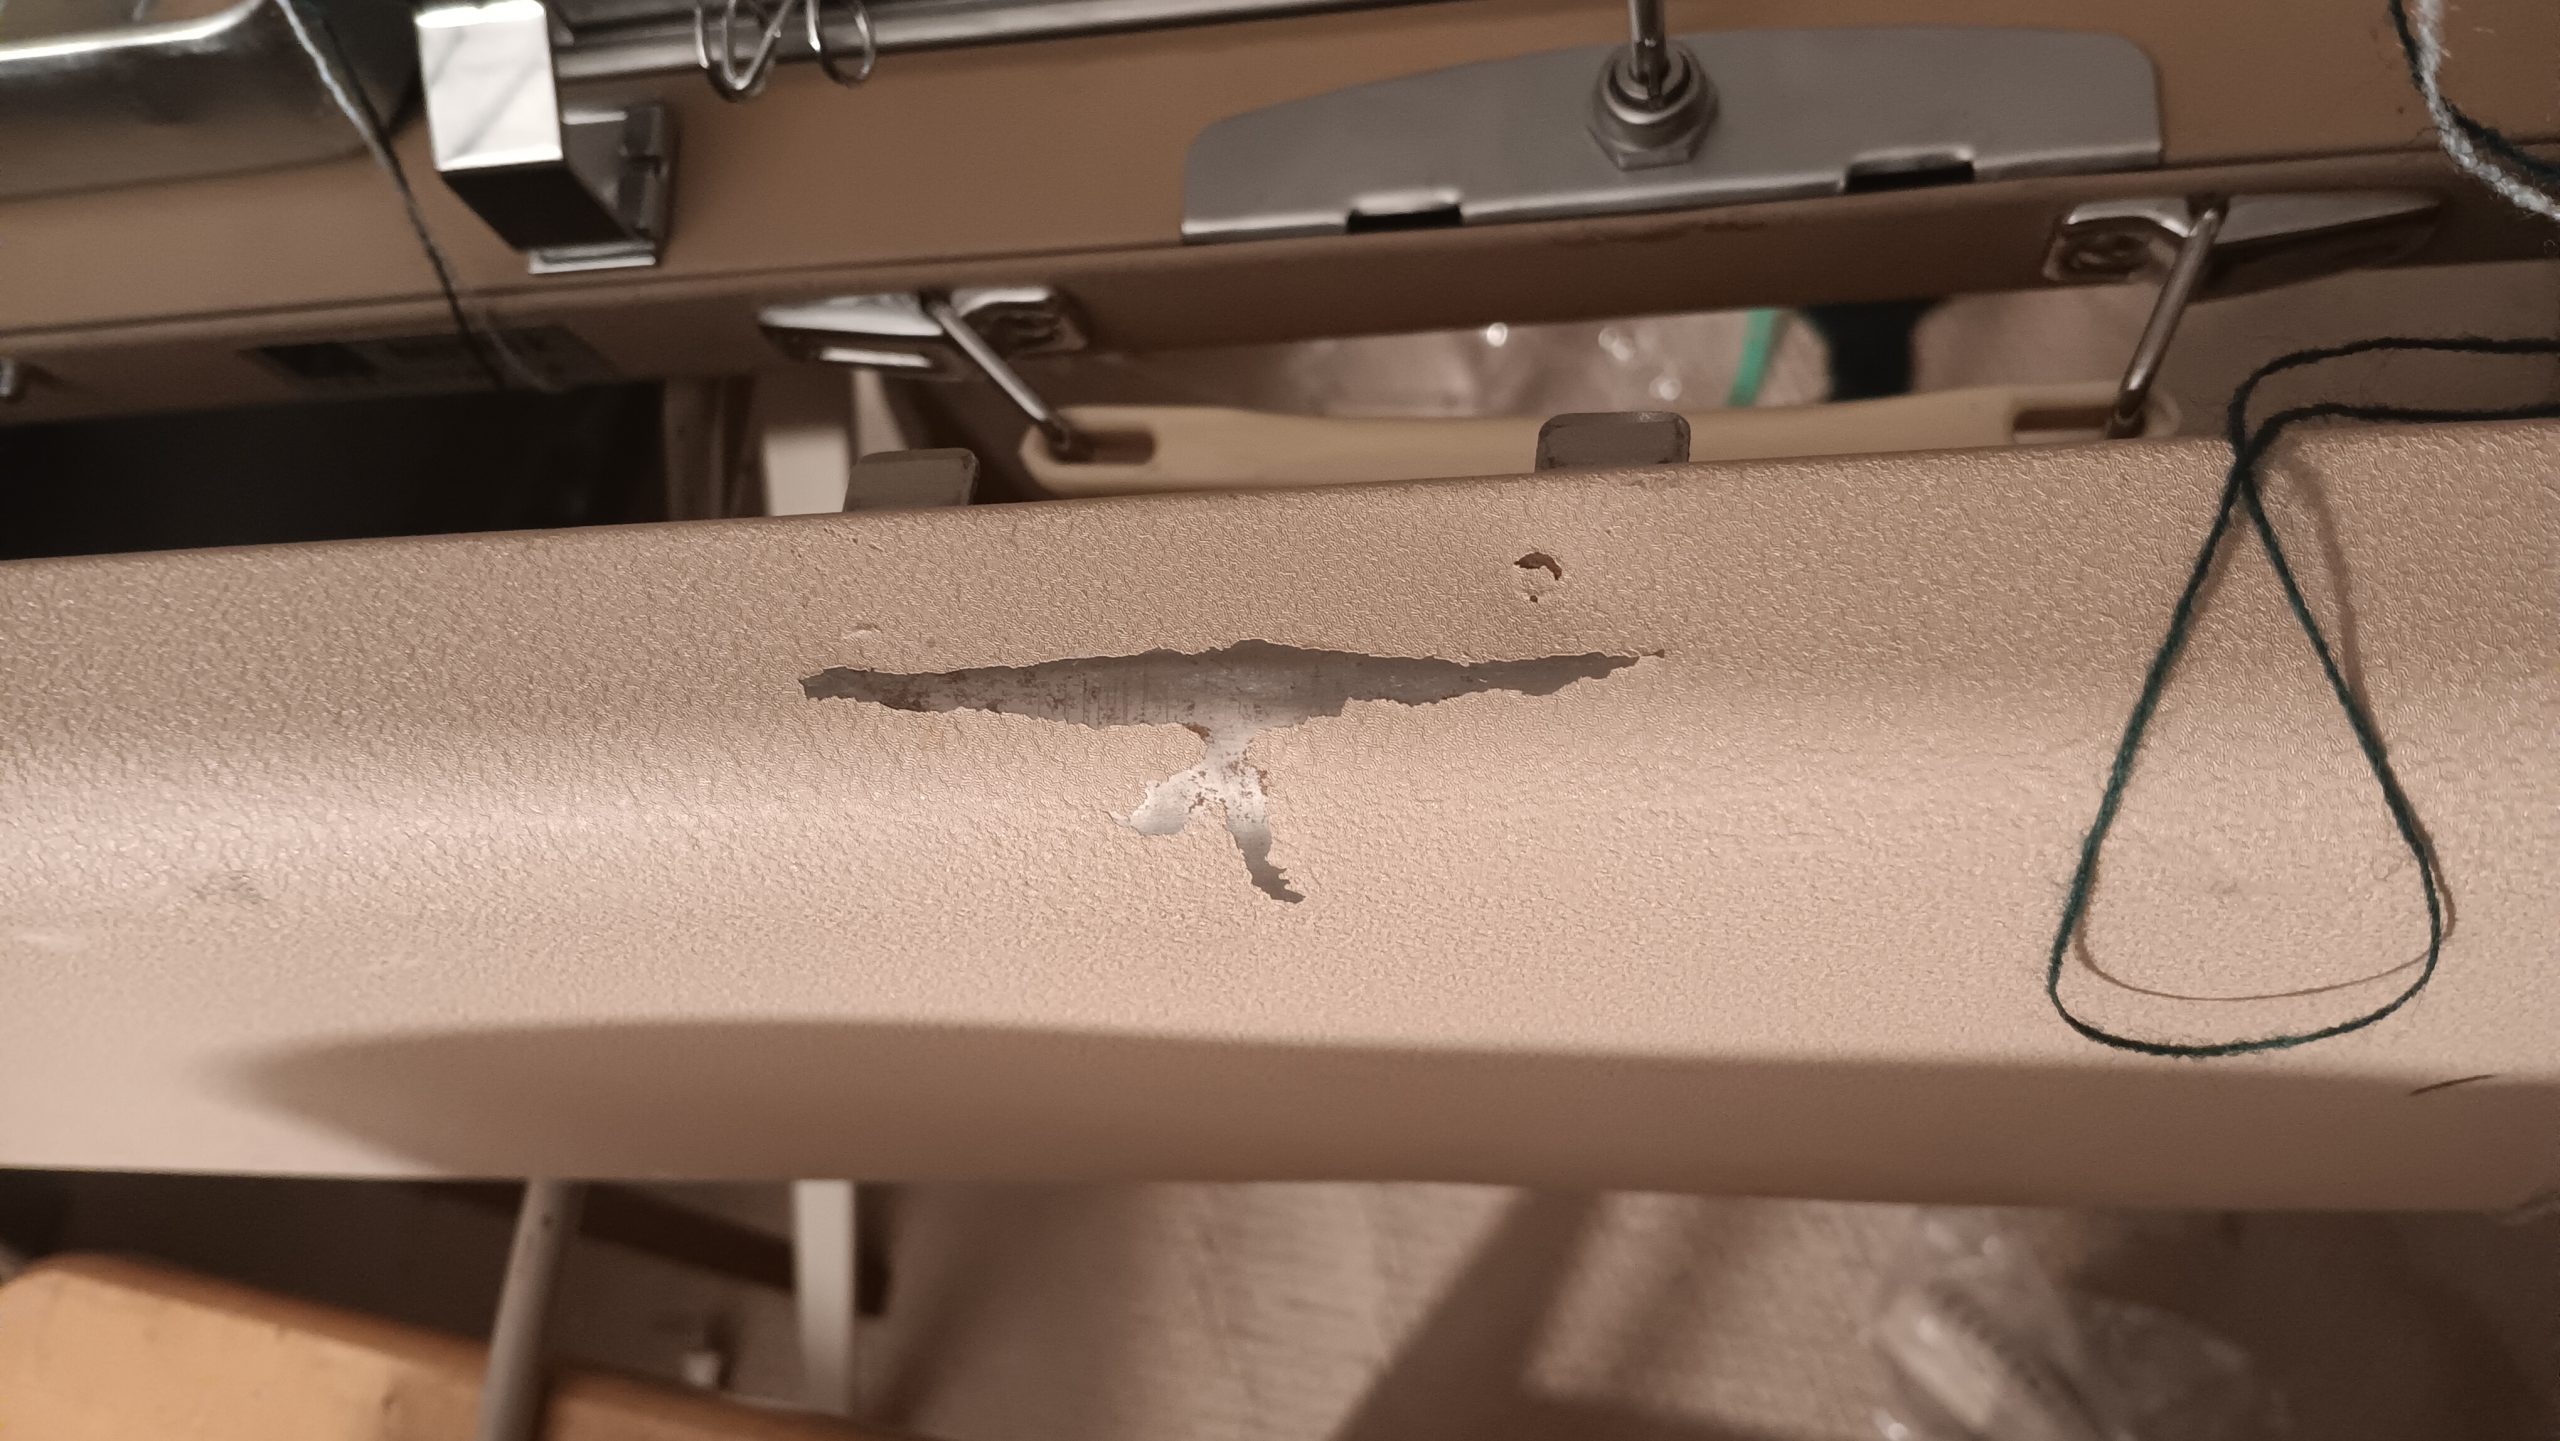
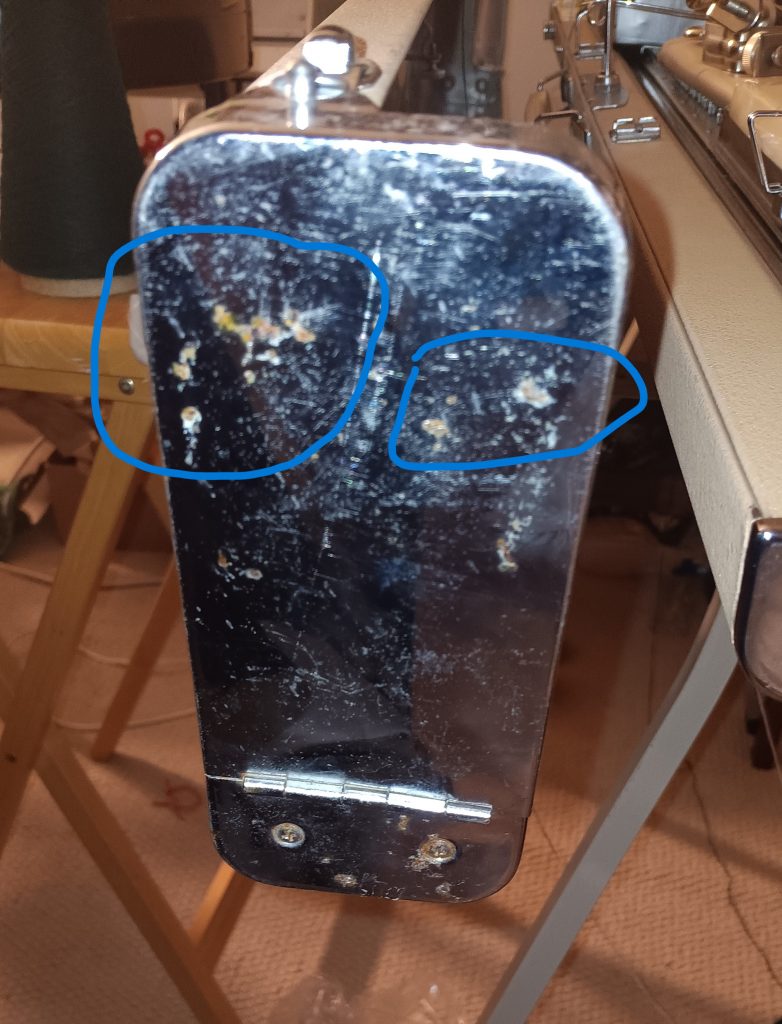
- The carriage has a Sharpie marking and typical sun-related yellowing/discoloration
To ensure that the carriage functions well and that all needles form correct stitches, I knitted on a full bed but on every other needle. Thus, I tested two sets of every other needle position. Everything went great: watch the video of my tests here.
Happy knitting!!