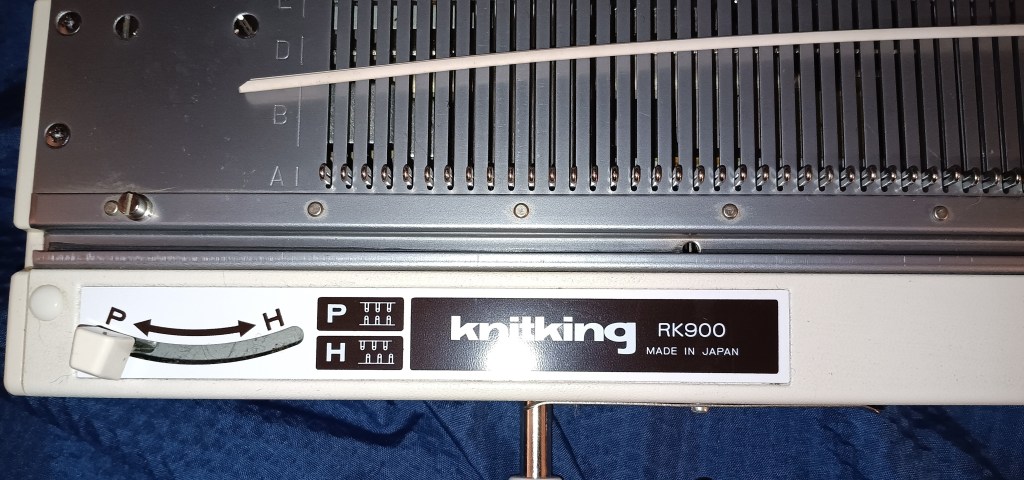
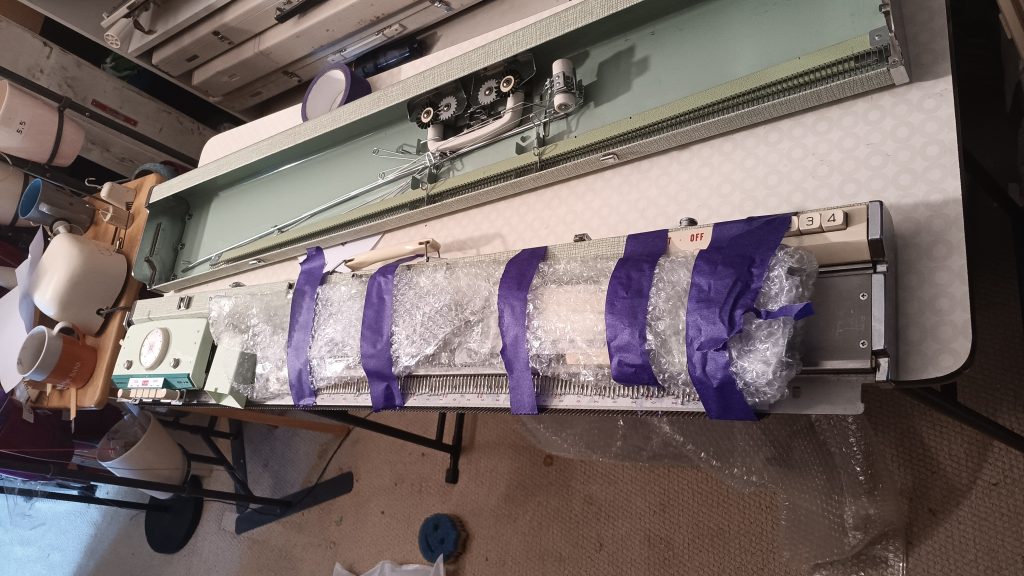
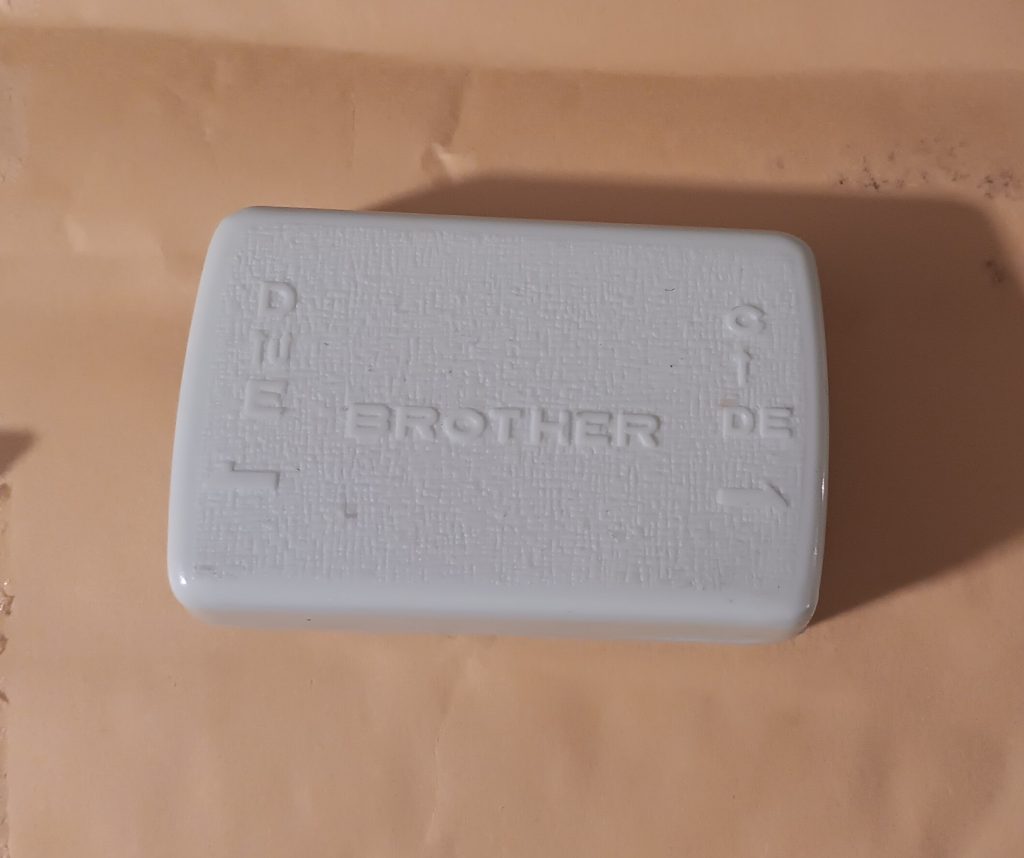
Brother Profile knitting machine is a standard-gauge machine with 200 needles, 4.5 mm apart. It has a push-button needle selection mechanism that allows to knit patterns. Read more about the pros and cons of this model in my Knitting Machine Encyclopedia. This post is dedicated to a specific Brother Profile 551 serviced in my shop in February 2026.

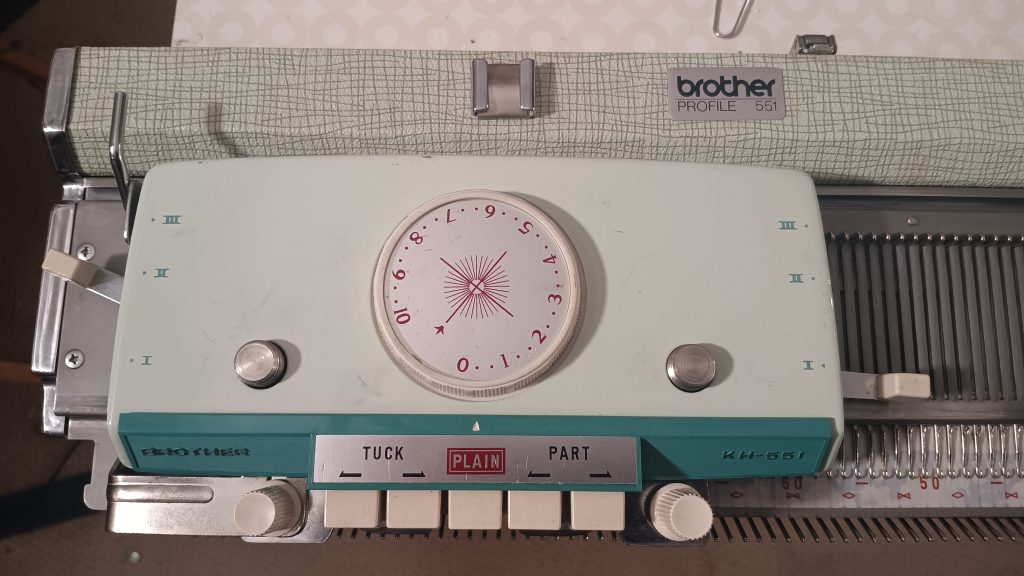
The carriage was cleaned and serviced (oiled as well). All levers and buttons move freely.
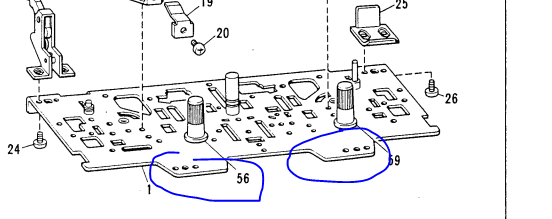
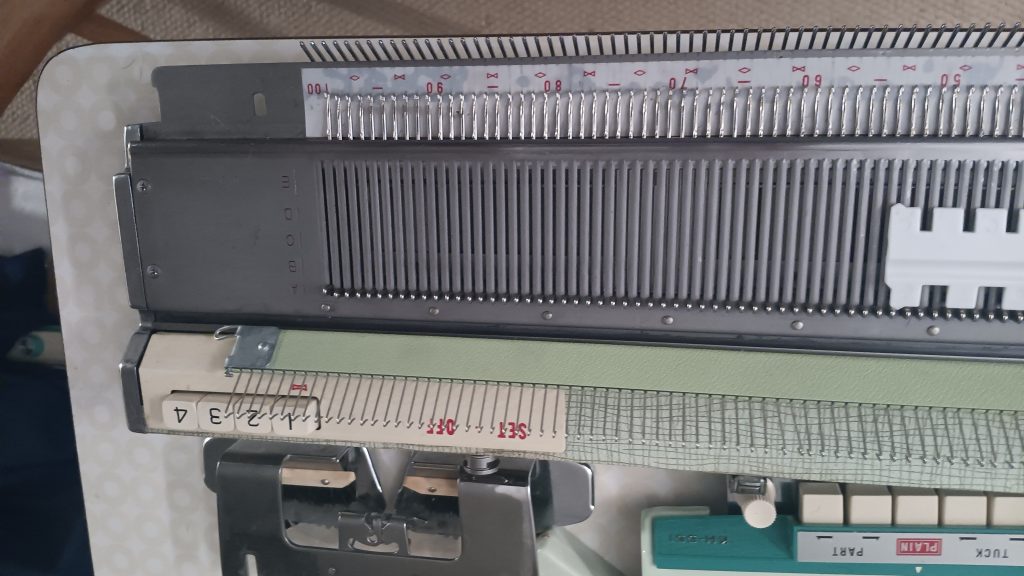
The machine was cleaned and oiled. The sponge strip in the retaining bar was replaced with a new one. The retaining bar is the original.
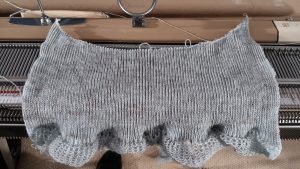
All the needles were inspected; first visually while I cleaned them, and then by knitting on all of them. I did discover a couple of faulty needles (one ofthe “finds” is shown in the video), which were replaced. To test all needles, I knitted several different patterns: plain stockinet, slip (or part) stitch with the patterning on every other needle as well as tuck-stitch. See the video. All needles formed correct stitches (but read below more on tuck).
I included a new needle indicator strip.
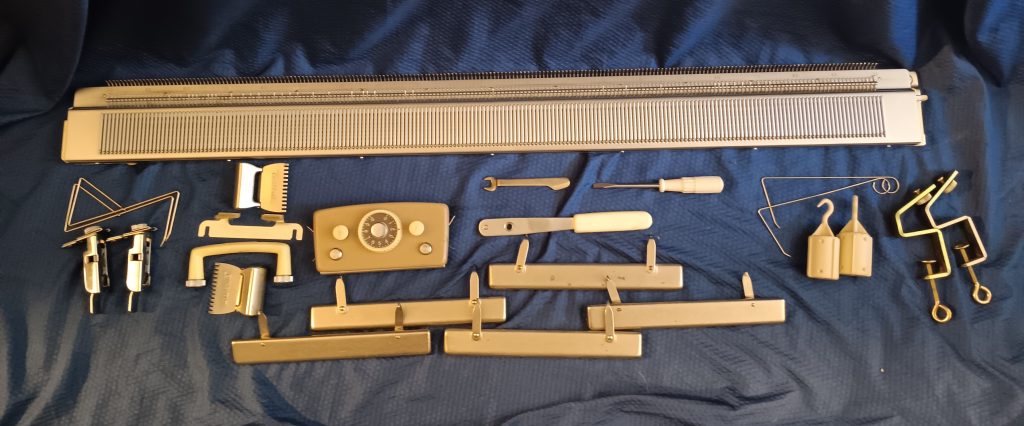
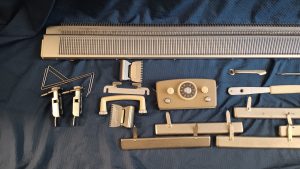
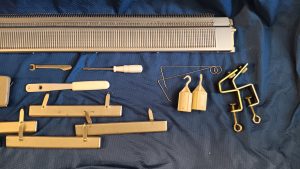
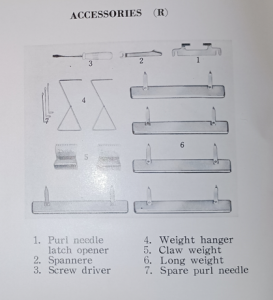
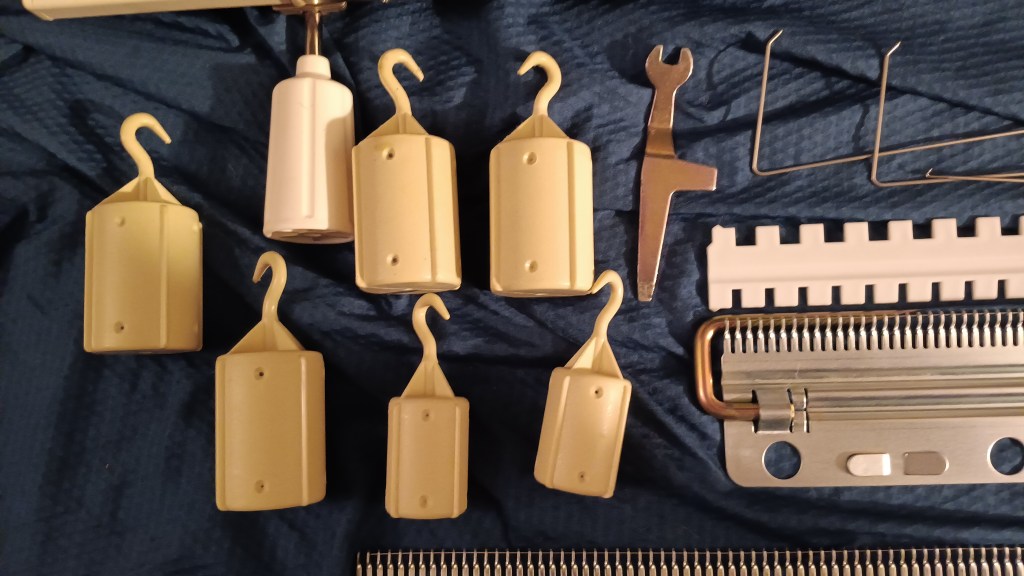
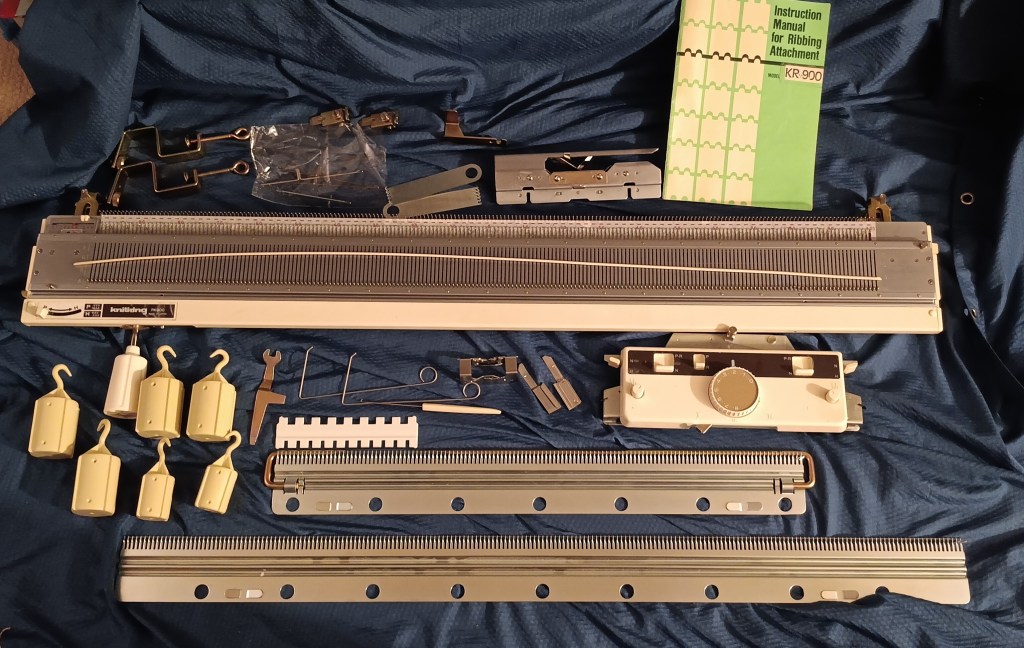
The machine comes with all major and most minor accessories.
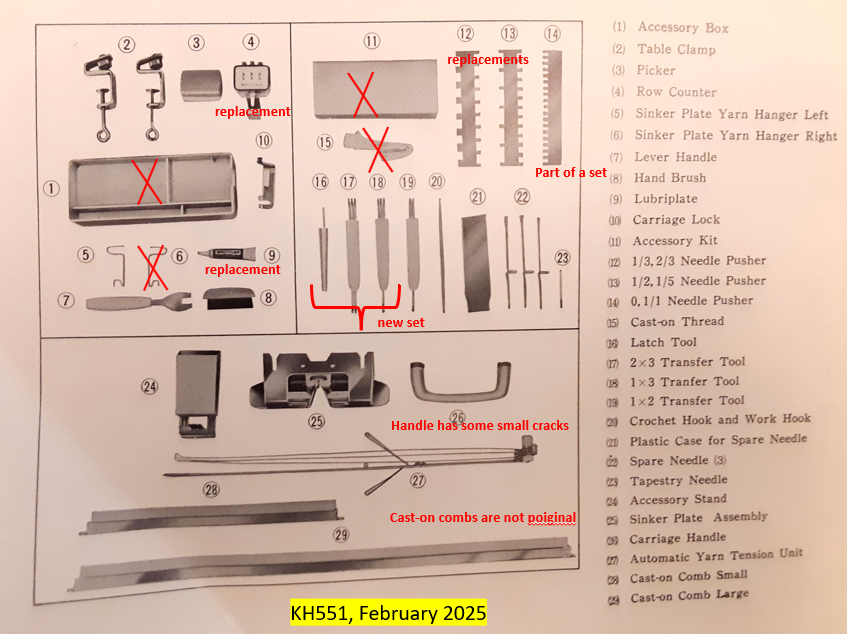
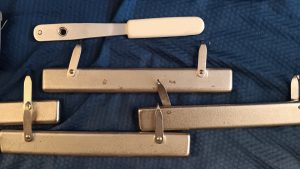
Among the major accessories, the tension mast, the ratchet lever (it the video I used a different one but later replaced it with the original one), and the table brackets are original. The missing minor accessories are 1) one of the sinker plate yarn hangers (I am including the second one and if needed, one of a similar shape can be made from a paper clip. These are only needed for fair isel and/or weaving (refer to the manual)); 2) tool box, 3) case for the minor accessories and 4) the unravel cord (any silky strong thread will work as well). I forgot if I included a tapestry needle (sorry 🙁 ) but any needle of your choice with a wide eye works. I even included a small tube of good lookingmoriginal knitting machine oil. But for future lubing, order Hope’s gun oil on Amazon.
A hard copy of the manual, unfortunately, will not be included. I don’t even have my own copy. But it is available online for free.
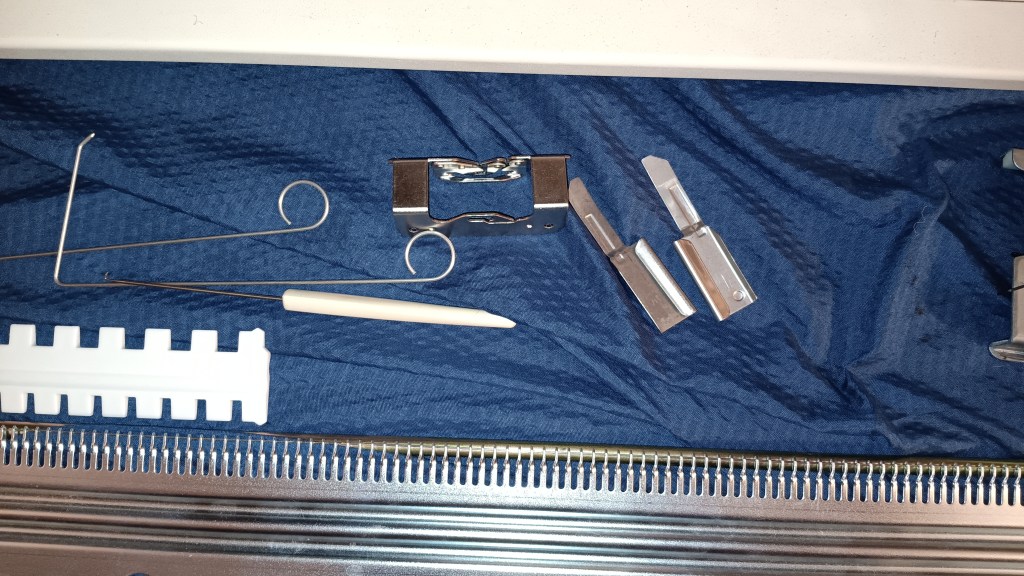
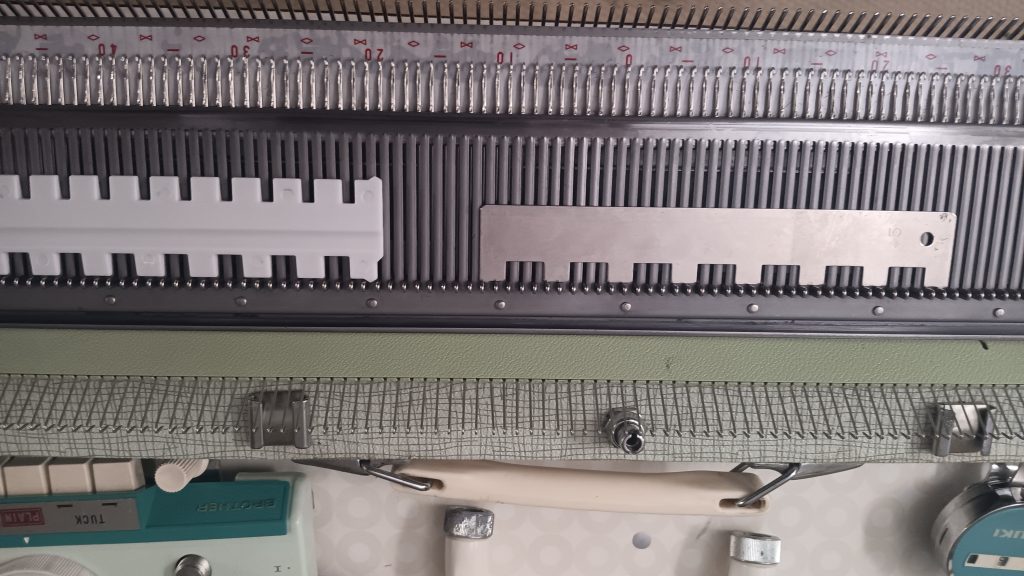
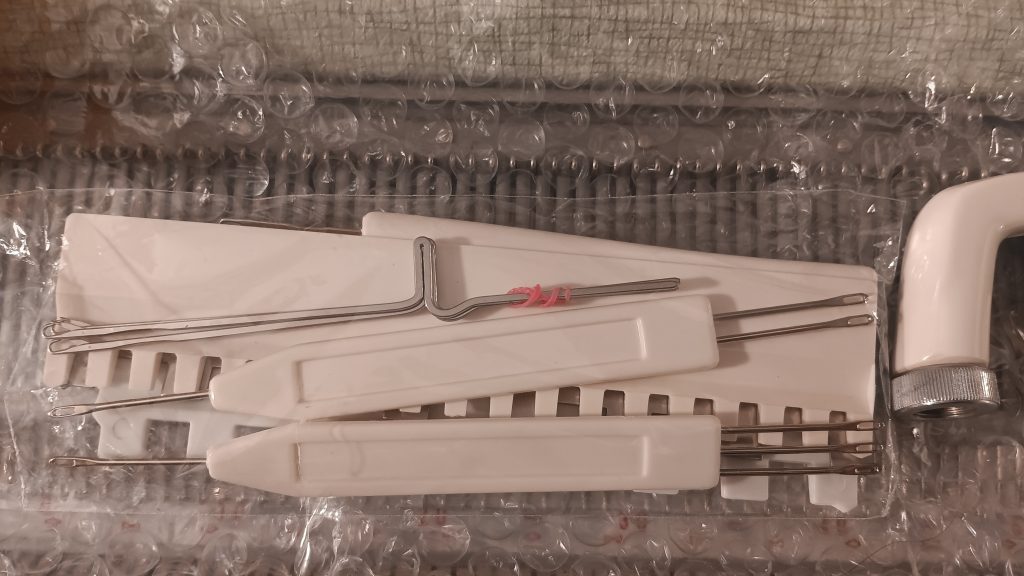
The transfer tool set is not original (the original one has metal needle pushers/combs), but it is brand new. It includes the transfer tools, latch hook, and the 1×1 needle selection comb. The two other combs are not original either, but in great shape, and the selection-“teeth” correspond to those mentioned in the manual.
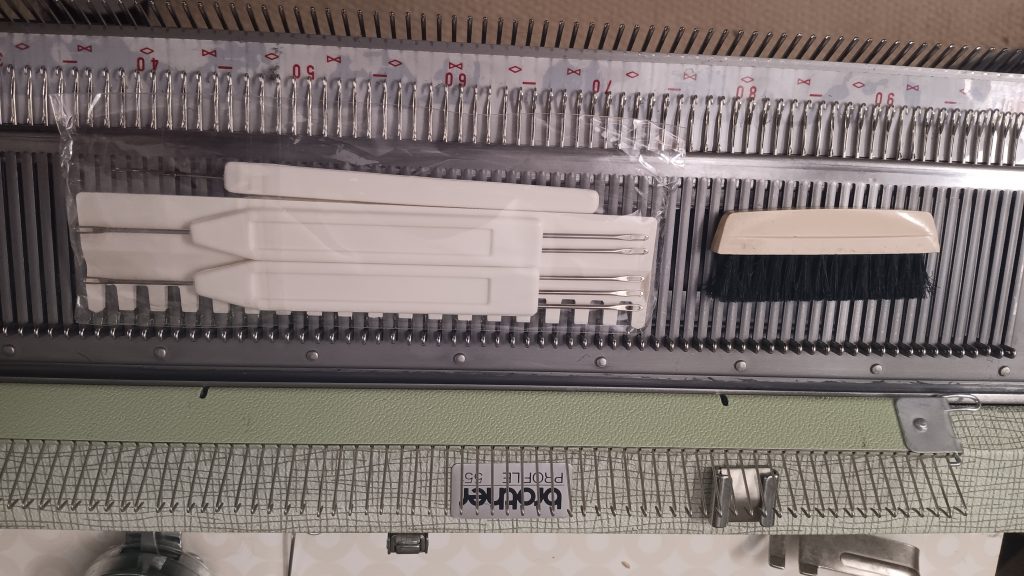
The replacement needles are not in the picture, but they are indeed included (I placed them inside the kit).
Things to pay attention to:
- When removing the retaining bar to inspect the sponge strip or to replace the needles, the tape on its ends might come off. Securing the sponge strip ends with some sort of tape is a typical way of replacing these sponge strips. Just apply a fresh section of medical tape. Make sure not to wrap too much around: not even once, but just enough to attach the sponge and leave the top surface of the retaining bar exposed.
- Check the position of the row counter once in a while. Because I had to loosen up the sliding bracket, it might become loose if the machine is not fastened strongly enough by the table clamps and vibrates a bit.
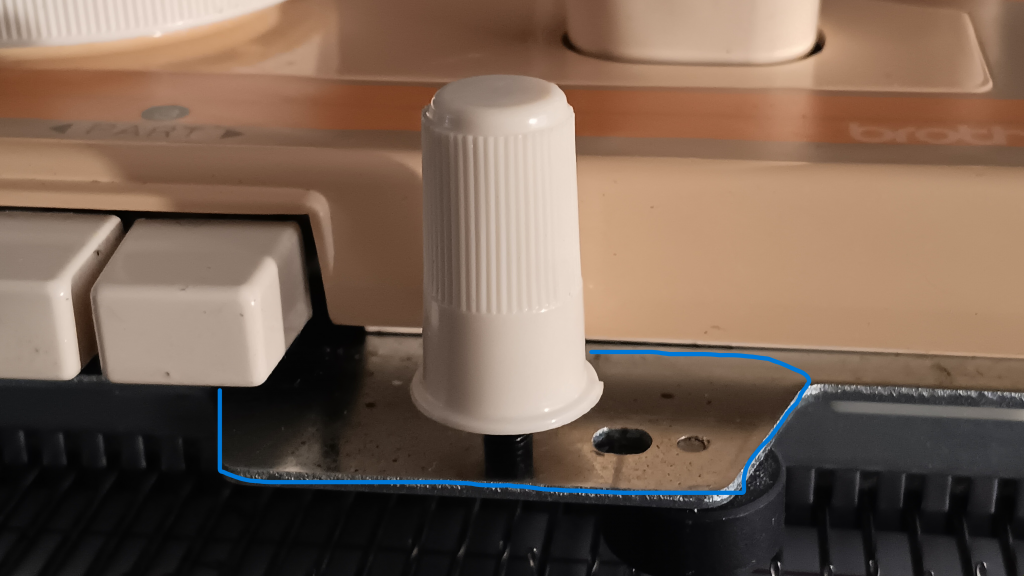
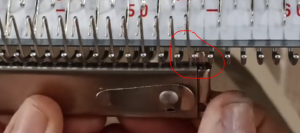
- If the carriage starts making strange noises, check the sinker plate positioning (described in the video).
- The manual online has a poor resolution. There are a couple of pdfs for the manuals for other pushbutton machines on that website. The position of the levers is the same. So, when uncertain: refer to those or message me.
- If the cast-on comb teeth are slightly bent, apply gentle pressure (just with your hand) to bent them back. No extreme bent please so they dont snap.
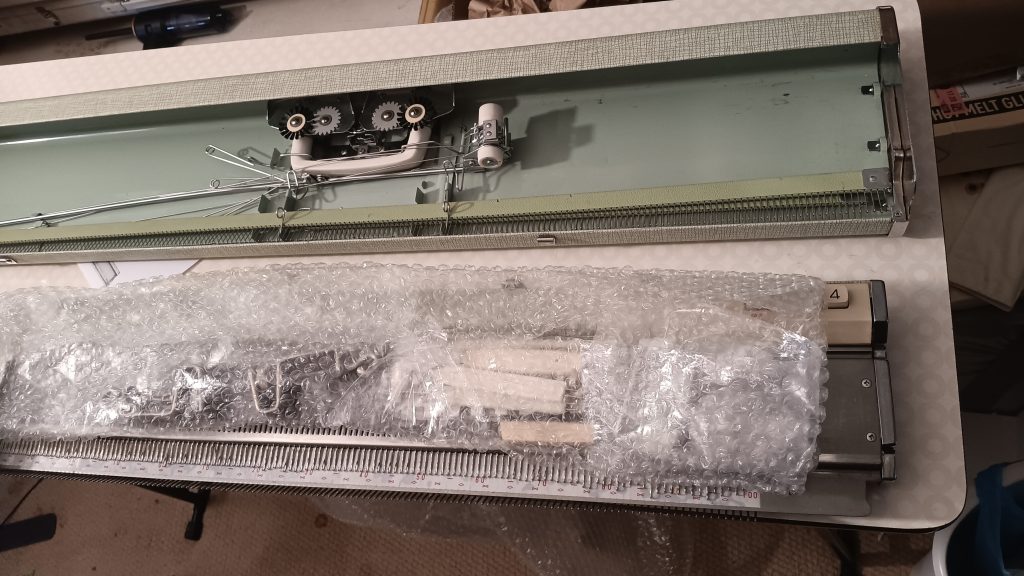
- Since there is no toolbox, I placed the tools inside the bubble wrap and placed it on the needlebed. They might fall out when you open the lid. I fastened the bubble wrap with purple masking tape. So if you see this tape, it is not to secure the lid and the case but to prevent the bubble wrap from sliding inside.
Imperfections:
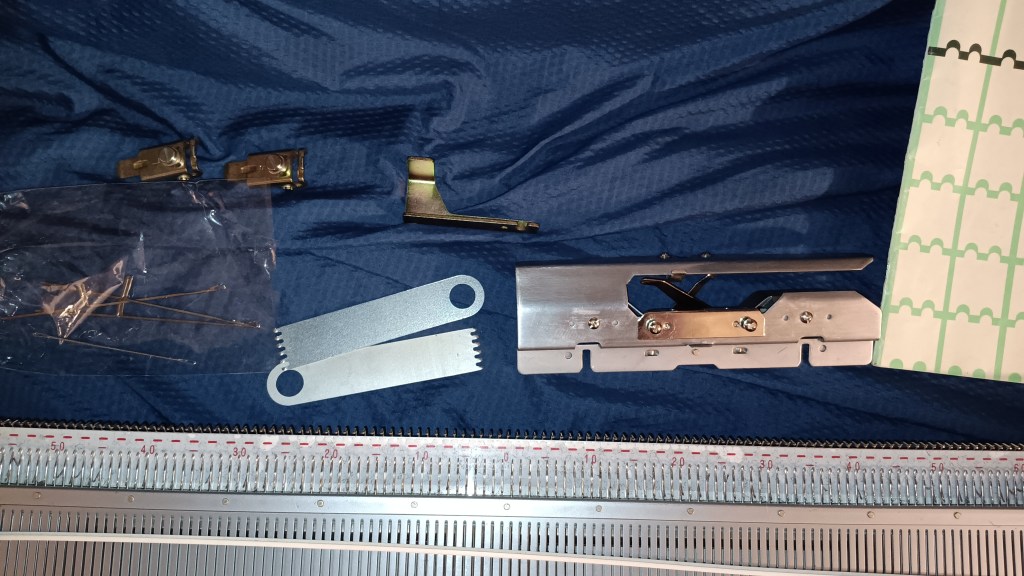
- it turned out that the cast-on ruler set that came with this machine is not the original one (the original ones are metal). They do not quite fit inside the lid’s brackets. But they are in such a great shape and match the color that I felt they should go with this machine. So, it might be quite frustrating to put them back into the lid, but this is the best way they are stored/travelled.

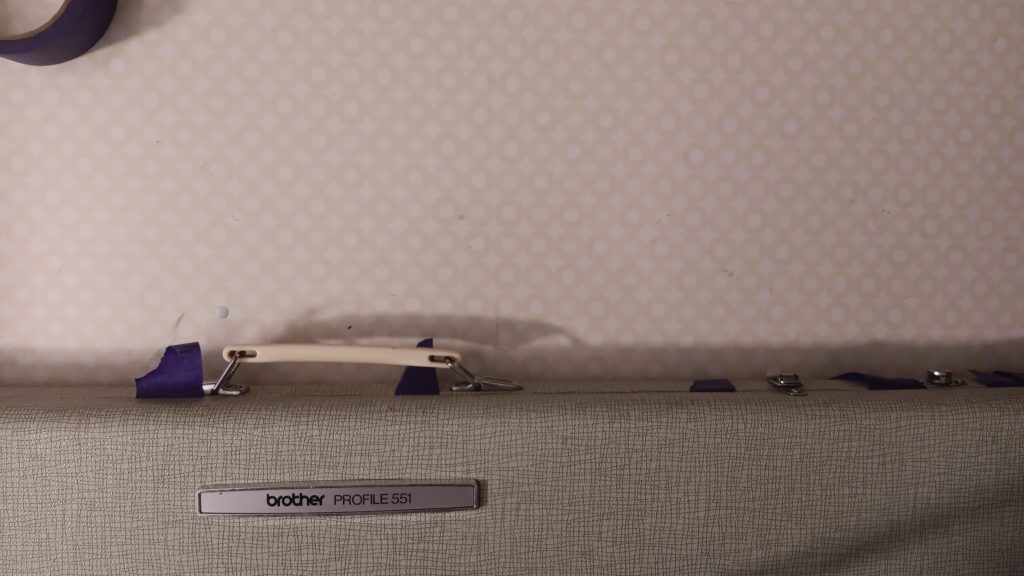
- The handle has some minor cracks.
- The row counter is not the original one, but it works great. I had to expand the socket a bit to accommodate its wider base so it will only go inthe middle position. The left- and right-hand rail-like placement slots can accommodate the tool holder. One in a while
- Needle picker has some age-related discoloration but works fine. Watch a video I put together on how to use it.
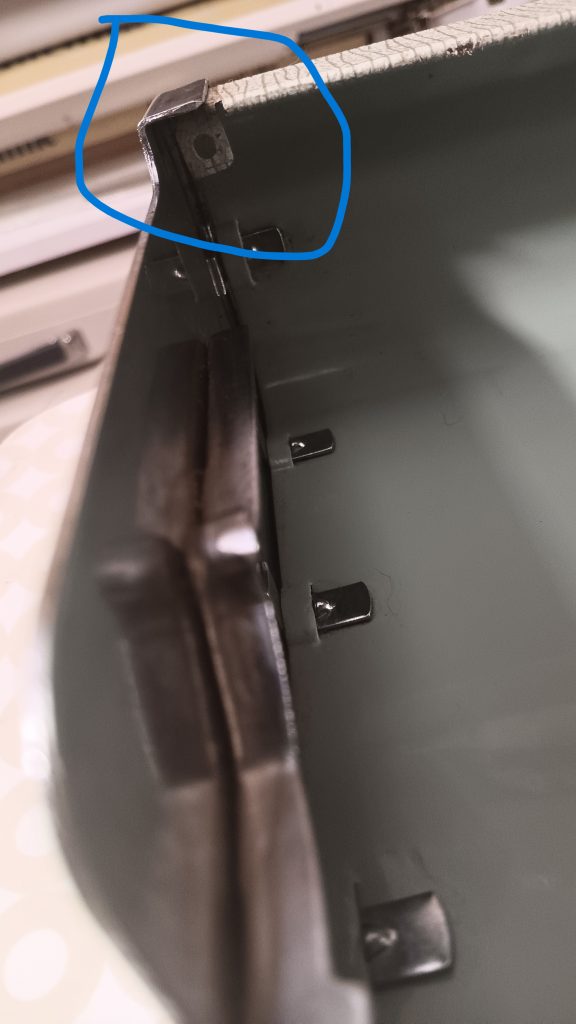
- There is a small section on the lid where a small connecting plate broke off. It was either glued or soldered on. It is such an awkward place and I just let it be. The lid is a tiny bit loose in that area but nothing too bad.
- Other than that, the lid and the case are in great shape. There was some staining on the outside, which I cleaned, but some minor stains are still there (or maybe I am just seeing them after spending so much time trying to remove them 🙂 )
General advice on knitting, which is applicable to any machine:
- pull the yarn up a bit when knitting on a large number of needles and turning the carriage to knit in the opposite direction; it will help to avoid looping on the edges and dropped stitches due to the tension change.
- also, to avoid looping and dropped stitches on the sides, especially when a lot of needles are active, apply claw weights. I just realized that they are not in a typical setup but I’ll throw a couple into the package. Please, look for them.
- Tuck-stitch might be a steep learning curve (see above) but with patience, you can do it!! General advice, especially when just learning your machine: when knitting tuck stitch, move the carriage slowly, watch for any signs of incorrect tension, watch for stitches that did not slide correctly, apply weight for tension on the fabric, and pull the yarn up when turning the carriage. All this might not be needed for some yarns but for some, it is a must, especially at the beginning of familiarizing yourself with your machine and its likes and dislikes. In the video, I made a mistake during yarn switching and some of the needles dropped stitches. This is why the tuck with pink yarn was not on all needles. But notice that I am not adjusting the stitches as I did with the grey yarn. Tuck overall is finicky: certain tension is needed, low static, oiled needles… just to name a few “issues”. The video shows some tricks.
Happy knitting!