Brother KH521 knitting machine is a standard-gauge machine with 200 needles and four pushbuttons to activate the needle selection mechanism with an automatic 4-stitch repeat pattern. Read more about the pros and cons of this machine in my Knitting Machine Encyclopedia. The article in the Encyclopedia was put together using a lot of information I got while testing a specific machine described further in the post.
This post is dedicated to Brother KH521, serviced and tested in my shop in January 2026 for a customer.
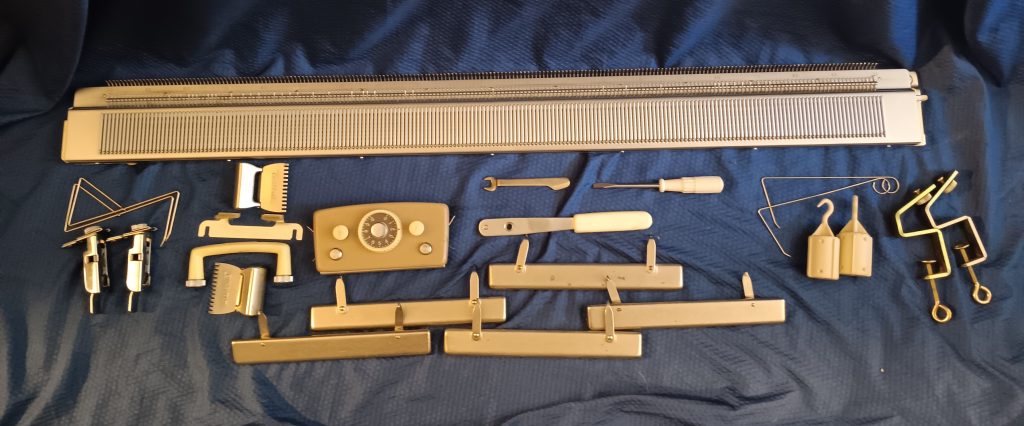
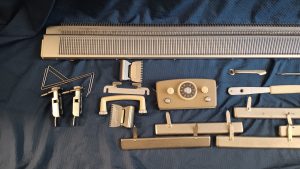
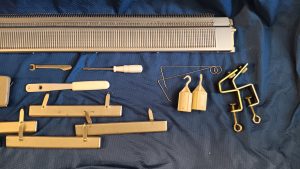
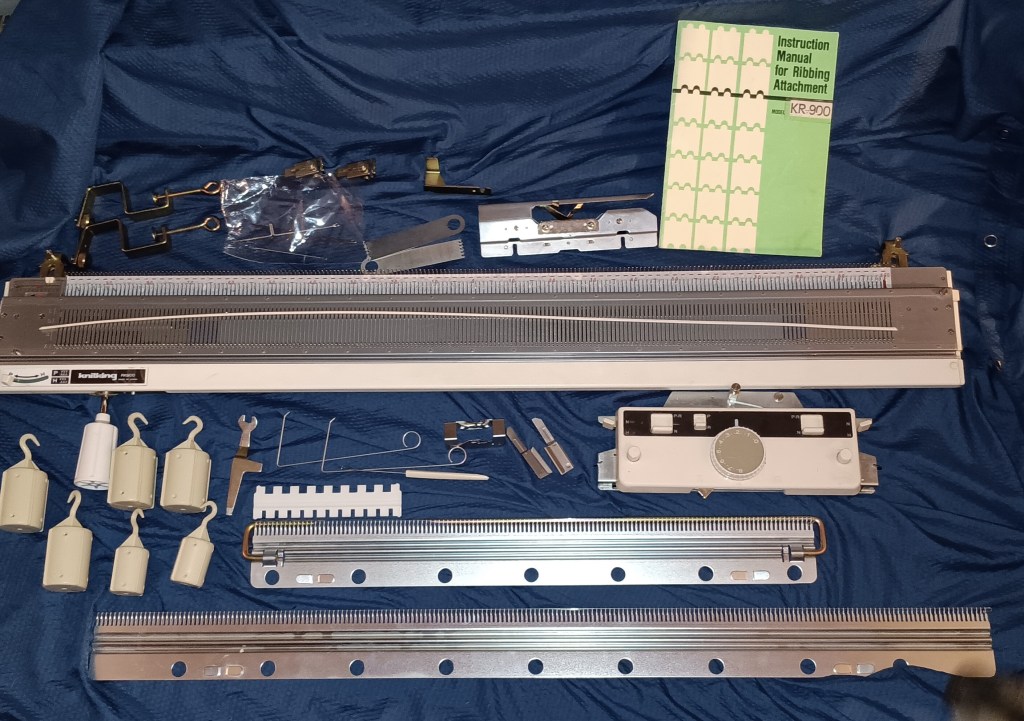
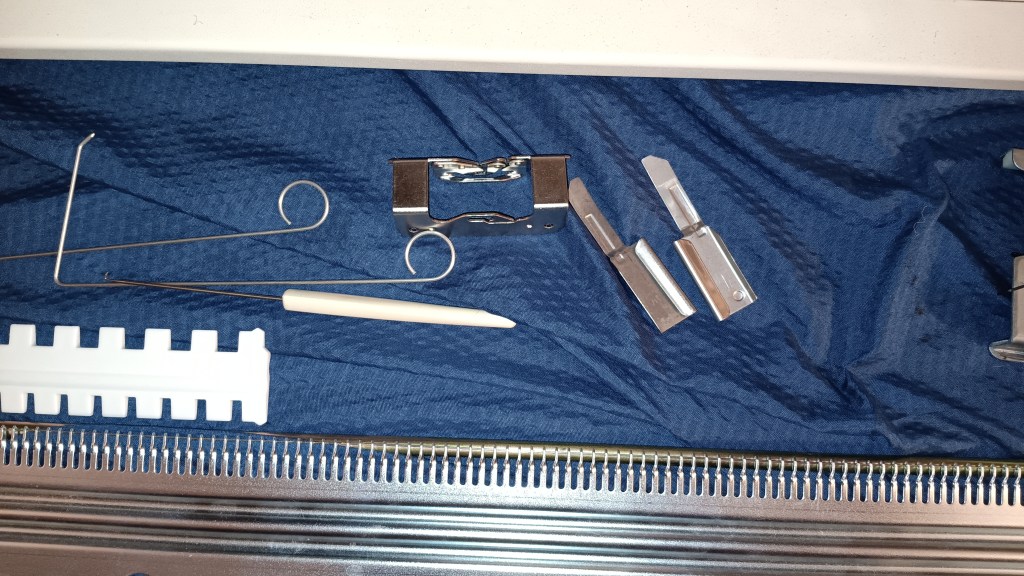
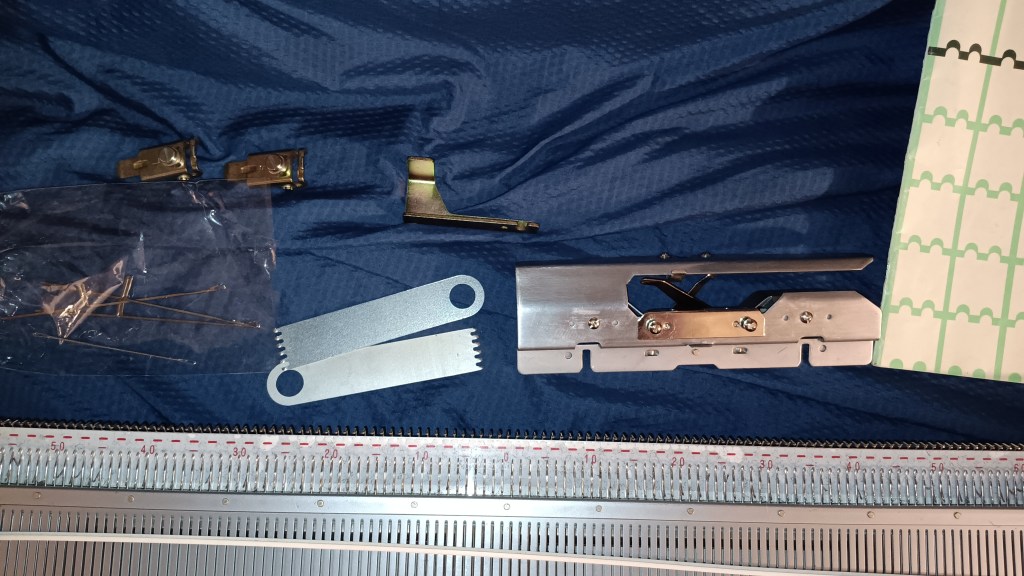
First of all, this machine is so cute, and even though it looks vintage, it works like a trooper! It is overall in great shape, no rust, and has most of the accessories. The picture below shows accessories for the Brother KH511 machine. The setups between KH511 and KH521 are identical, with the exception of the carriages: they look different but work under the same principle and are interchangeable. So are their corresponding sinker plates.
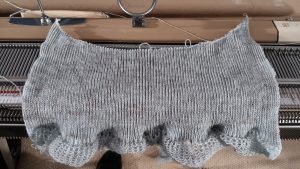
After the usual maintenance (cleaned, inspected, and oiled the needlebed, needles, and carriage; replaced sponge in the retaining bar), I ran numerous tests on a small number of needles and on a full bed to make sure all the needles form correct stitches, and the machine operates over the whole needlebed correctly. All the tests are documented in this video. Sometimes needles knit stockinet stitch OK, but struggle with tuck. Therefore, I want to make sure ALL needles form correct stitches. The main stitches are: stockinette, slip and tuck. fair isle is knit as slip/part and was not tested.
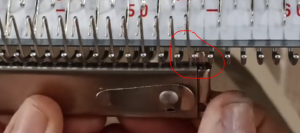
Plain (stockinet) and slip-stitch were very easy and straightforward to knit, on both swatches and a full needlebed. However, please, still pay attention to the tension on the mast: if after finishing the row, two or more needle butts are pushed forward due to the yarn tension, the tension is very likely too high. Adjust it accordingly. If only one or none, the tension is ok. If the loops are forming on the sides, the tension is too loose. Paying attention to the yarn on tension on the mast is especially (and extremel important) when knitting on a full bed with a tuck-stitch or with more than just a swatch number of needles.
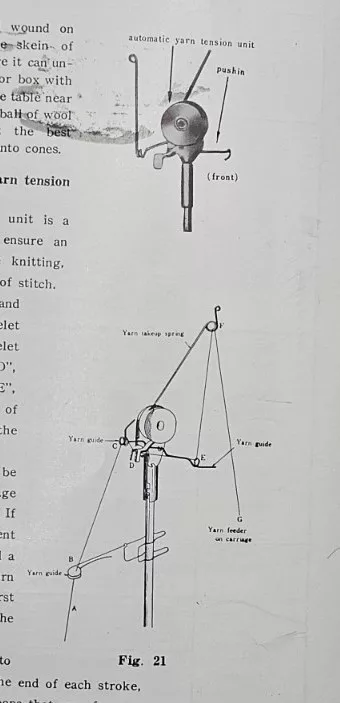
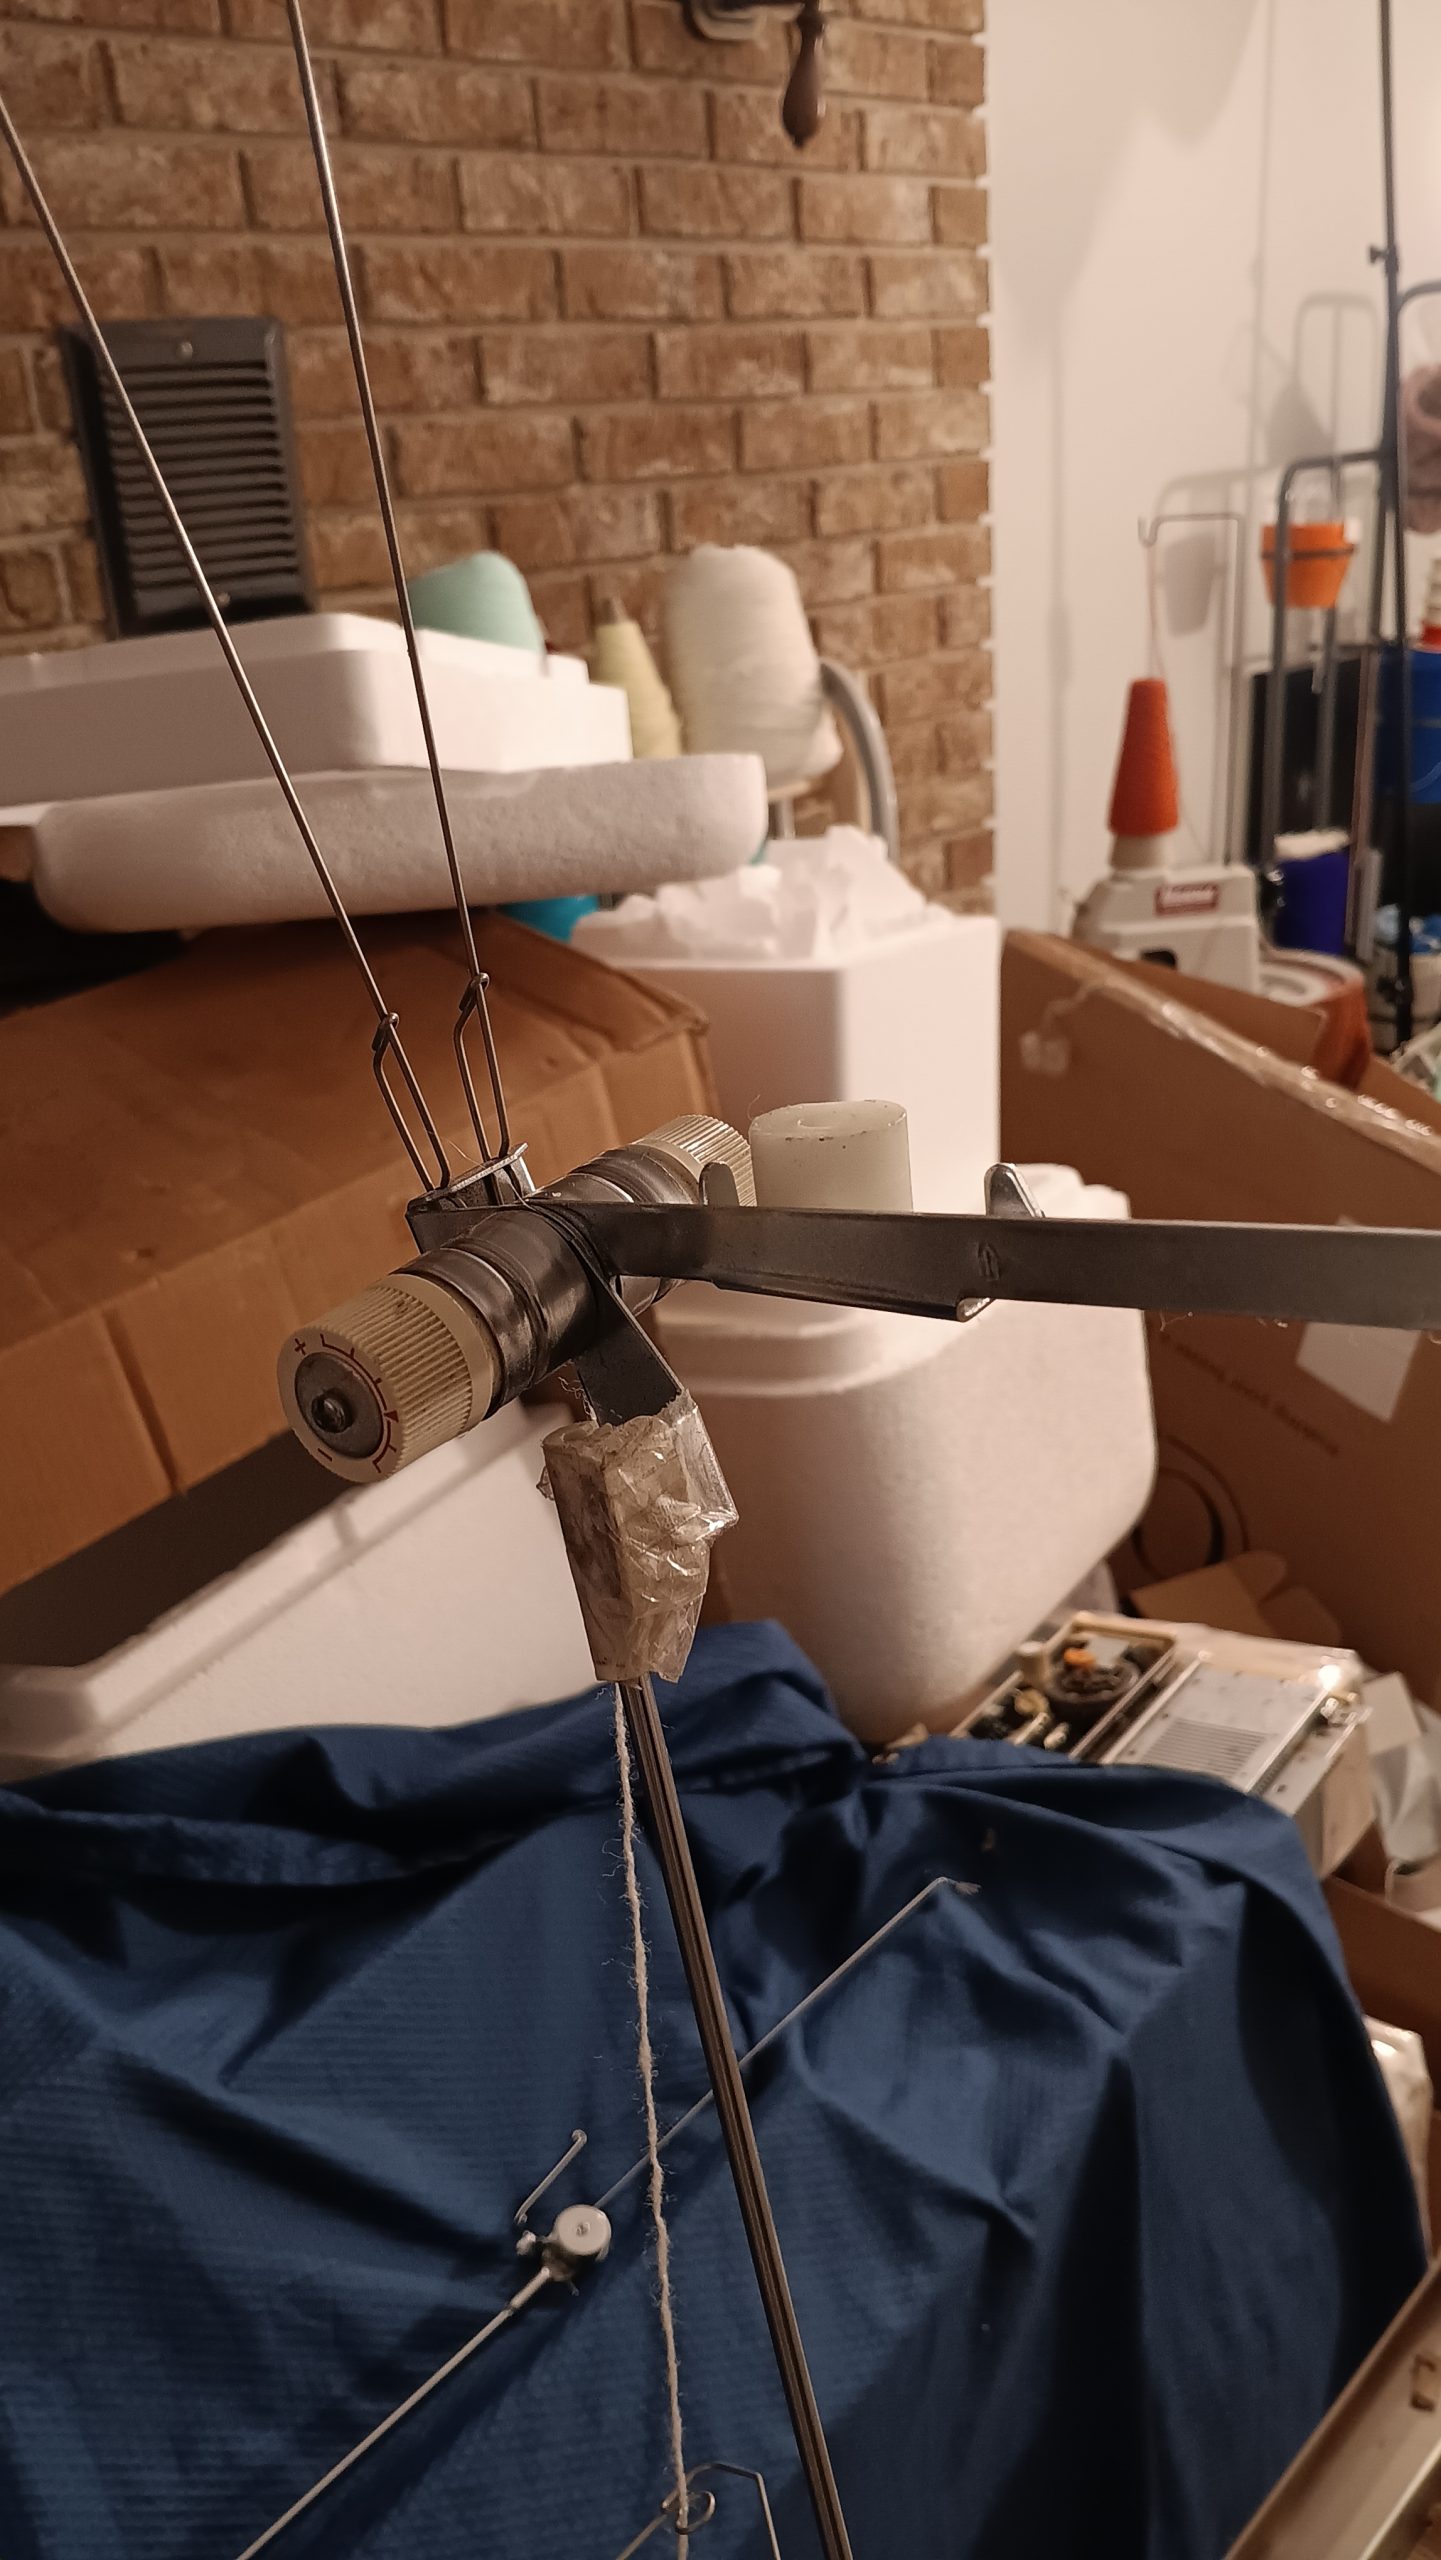
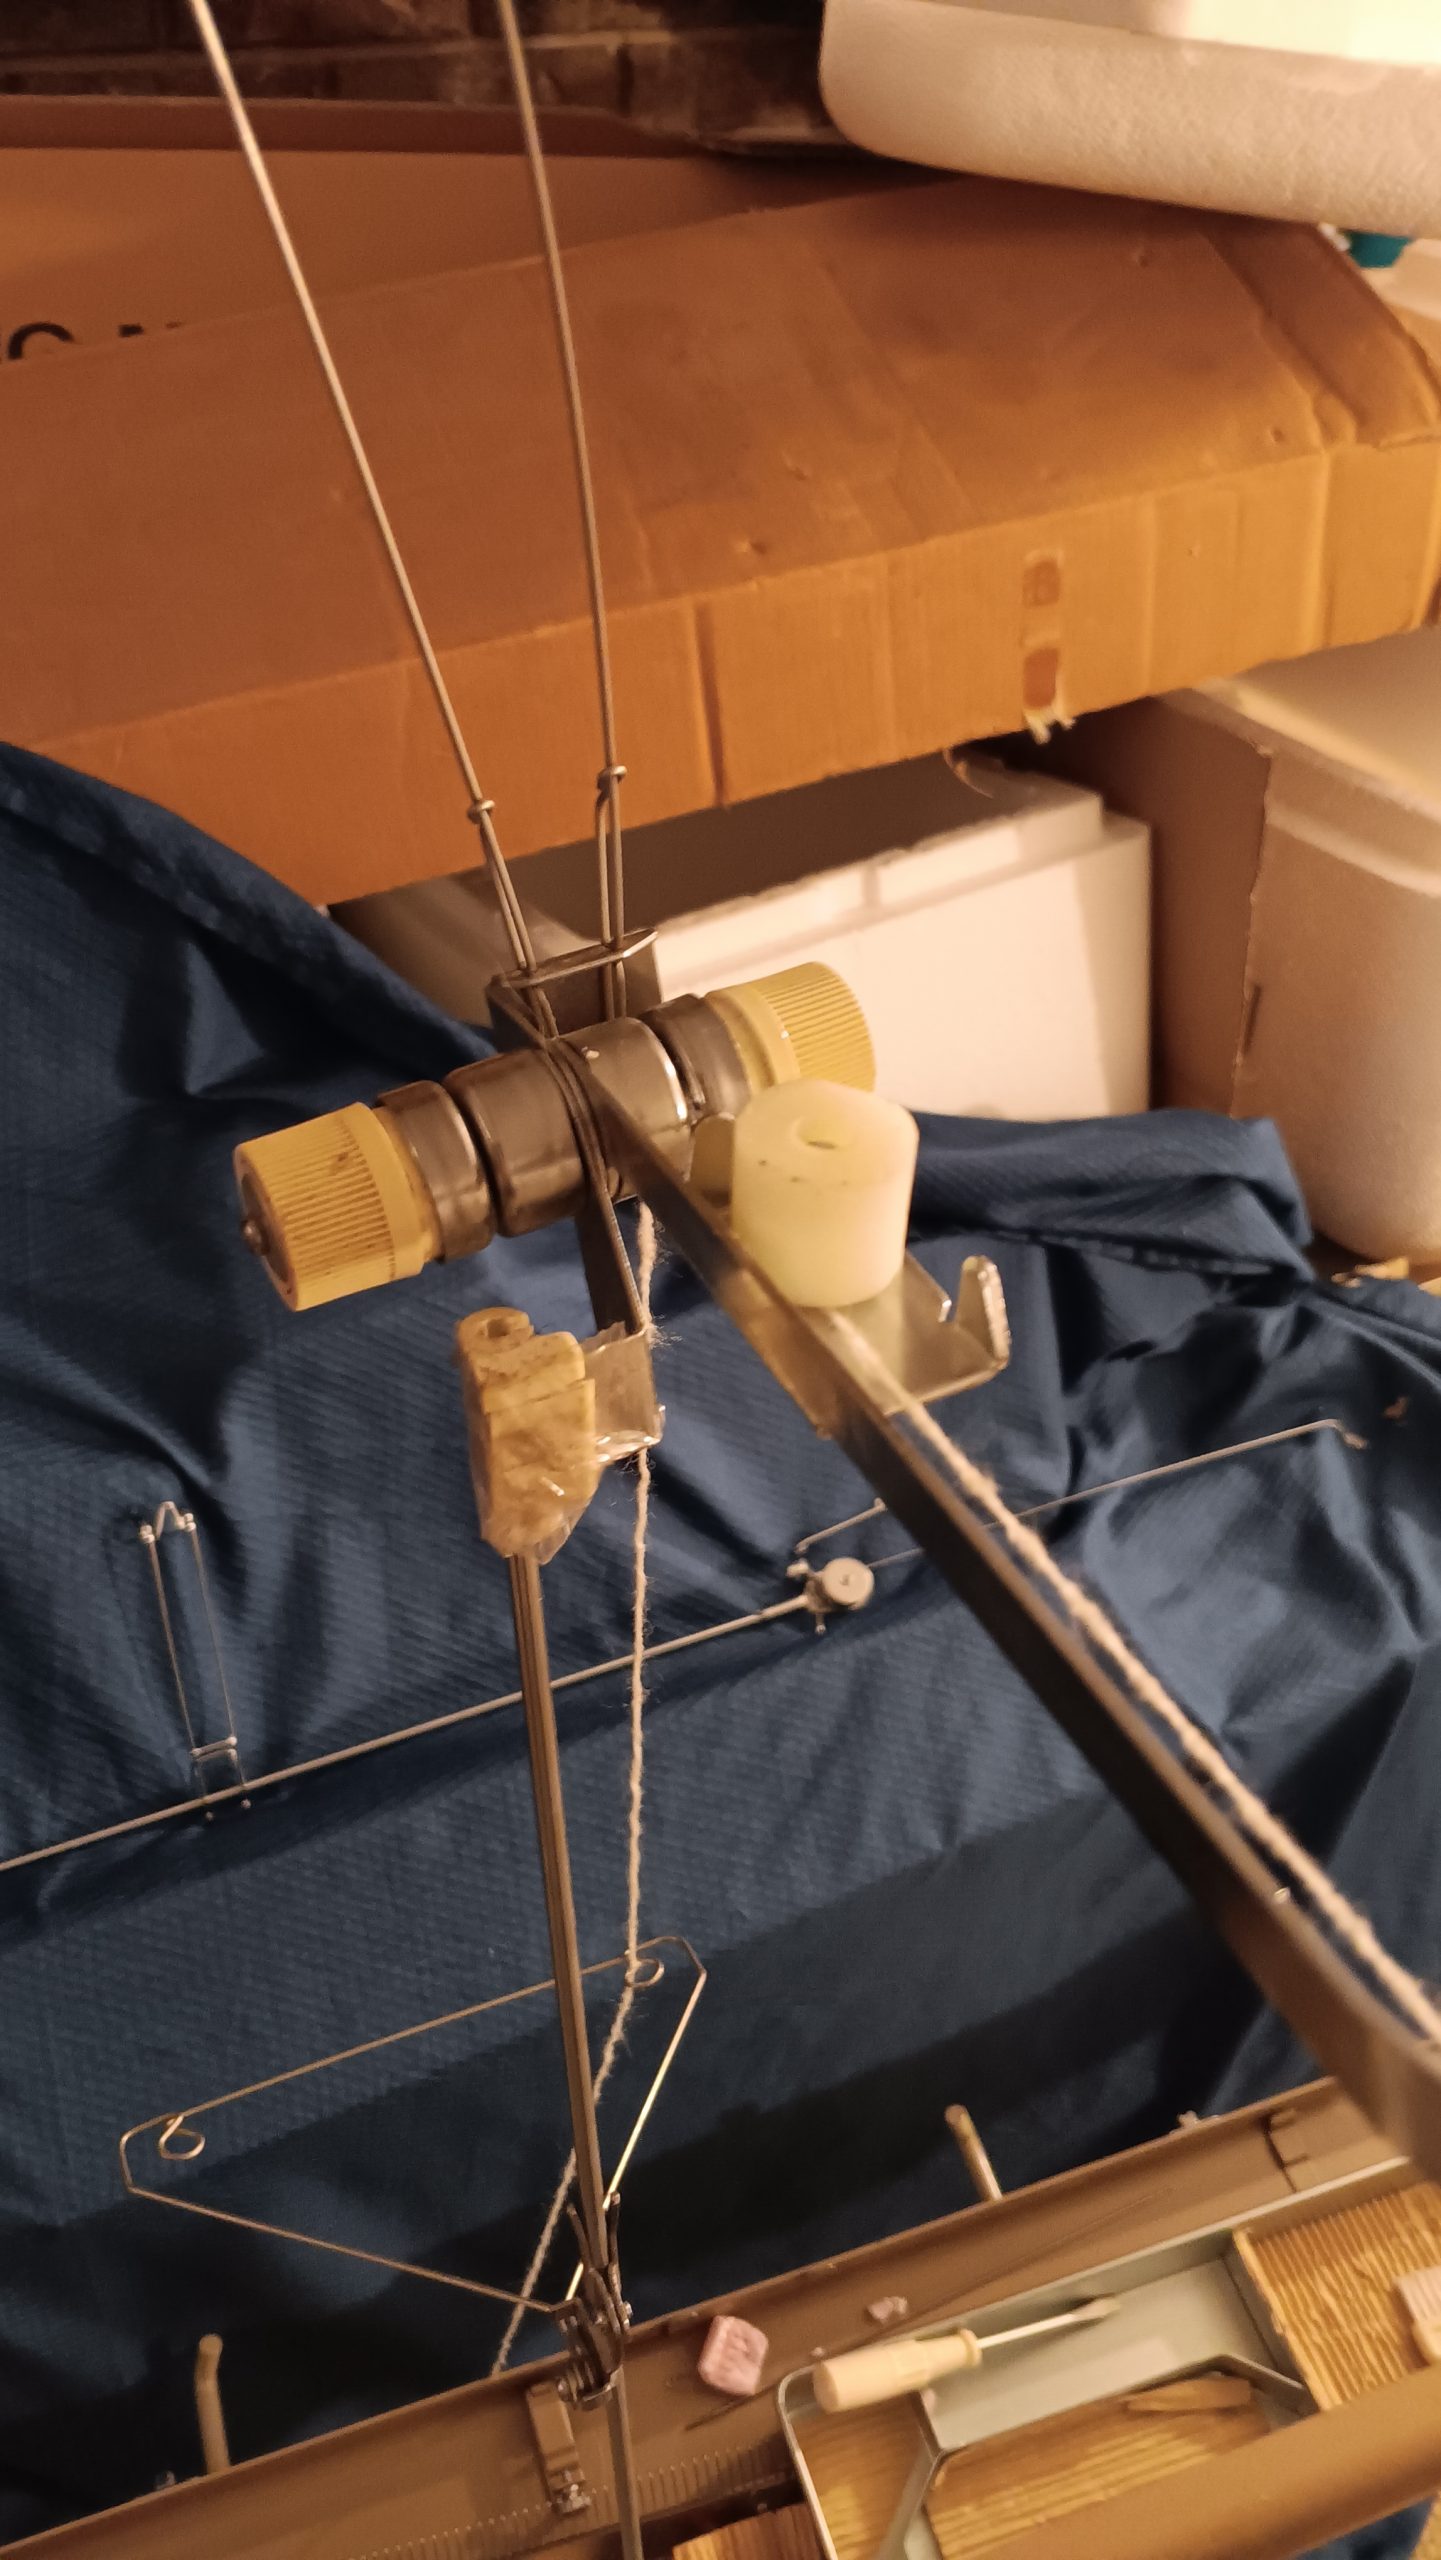
To adjust tension, experiment with how the yarn is fed through the steps shown in the manual. For example, if the tension is too high, skip step D, or pass the yarn on different sides of the small lever in D. At the end of my tests video, I briefly show how I threaded skipping step D becuase the tension was too high and the mast bent too much.
If the tension is still problematic, use the extra tension mast I am providing (see below).
In fact, when I knitted tuck-stitch on the full bed, I could not achieve an even enough tension with the original mast but had no problems when I used the replacement mast. Its adjustable tension cylinders provide more even tension even if the carriage is moved to the far left or far right sides.
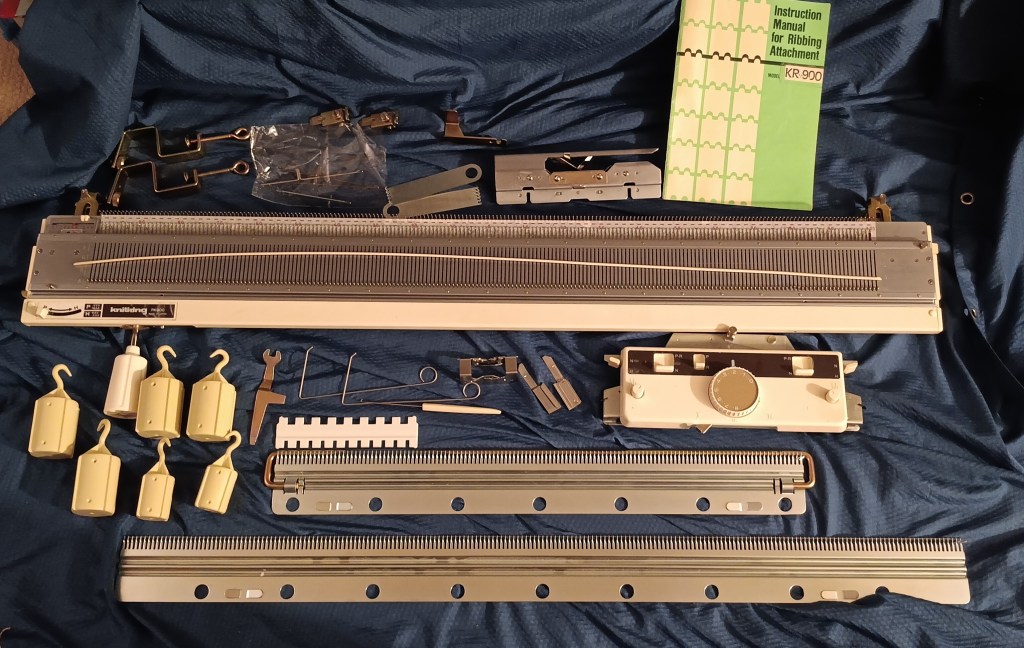
The machine came with a full set of all original accessories. Cast on combs are in great shape. In fact, all accessories are in great shape.
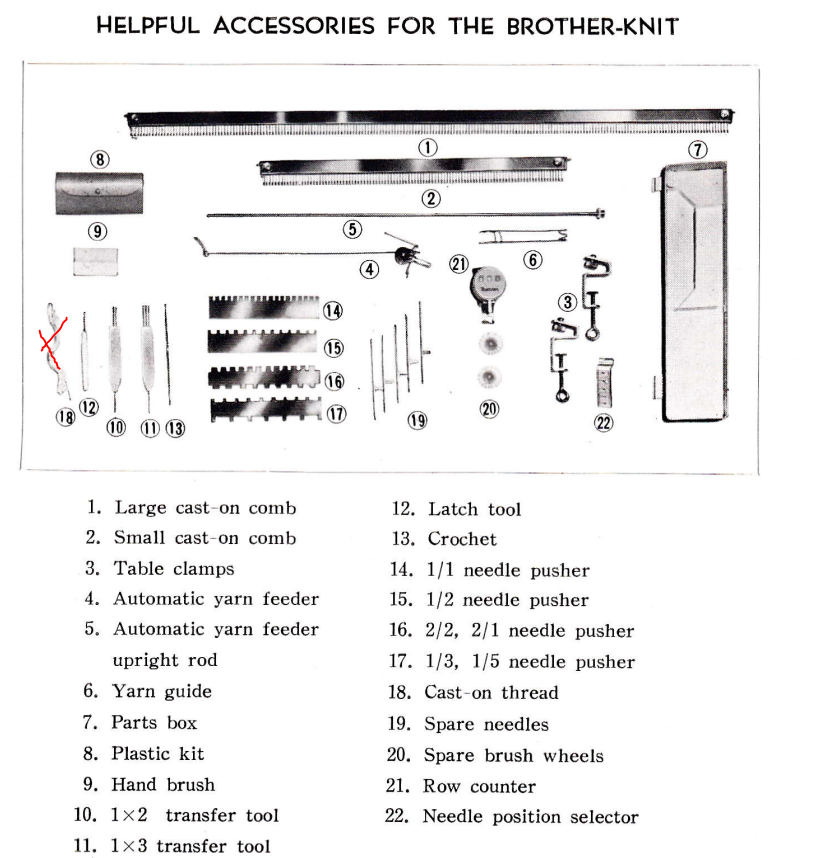
The accessories that will not be included are:
- hard copy of the manual. Use the combination of the manuals: KH531, and KH551 for patterning and setup. For general tips, manuals for other 4- and 8-pushbutton machines are useful too.
- Cast-on thread is not included. Use any silky, and strong yarn/thread.
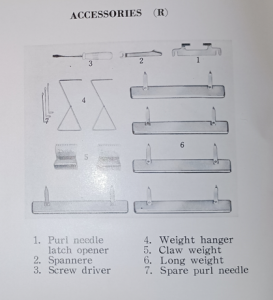
- Although not shown in the diagram above, the original setup contained an oil bottle, but it is too old to use. Use Hoppe’s oil available on Amazon.
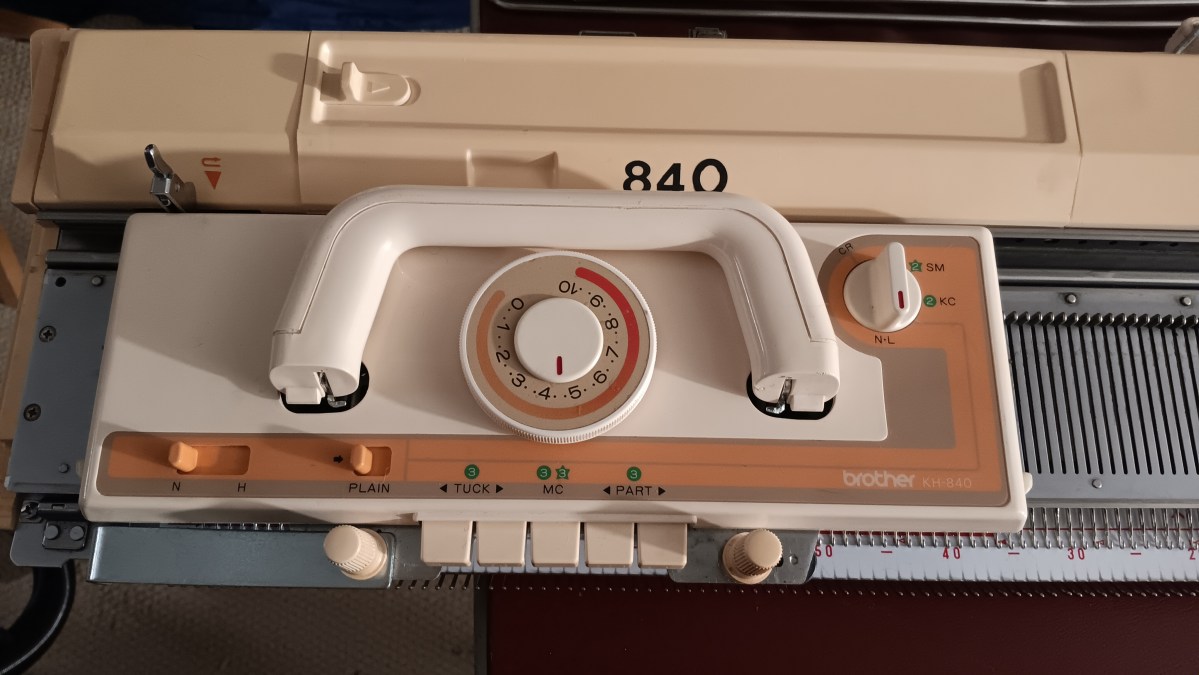
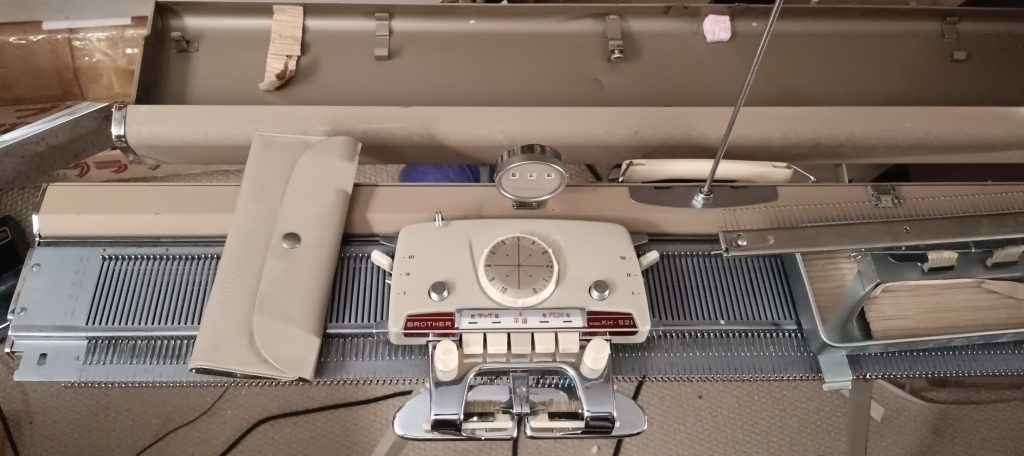
The writing on the carriage is in Japanese. Refer to the manual for details. As a quick reference, the two left-hand side buttons are “tuck”, the middle button is “plain” knitting or to reset the buttons and the right-hand side buttons are “part” or “slip”.

The row counter works great. Since it is a bit on the super vintage side, the knobs on the back (to change numbers) move only in one direction. So, to rezero, simply keep rotating the knobs until you reach zero. (In later models, the knobs on the row counters rotate in both directions). I kinda like it because I never remember in which direction to rotate to faster achieve zero… and then if I move in the wrong direction, the second dial switches…. Well, it turns out to be the same number of rotations 🙂
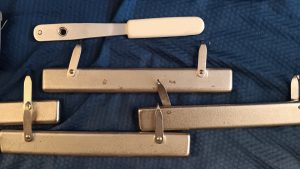
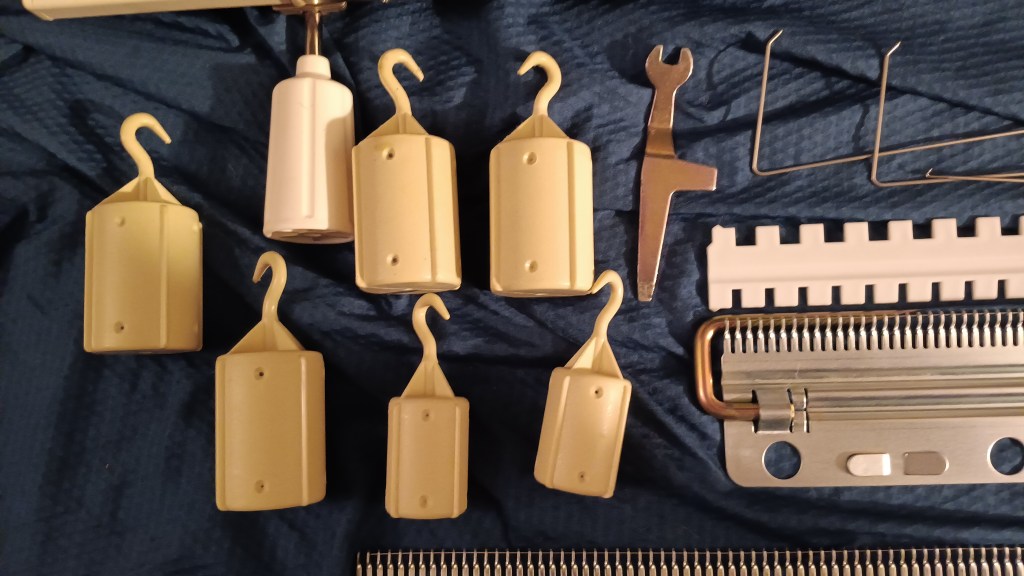
I included a new needle indicator (the strip under the needles showing the needle numbers). I will also include (new-stock) light-weight claw weights as I think they are important to have (put them on the edges of the fabric). The matching ribber Brother KR321 will have claw weights but they are somewhat heavy-duty and might be too heavy for knitting on just a single bed.
I will include an additional tension mast: it is not perfect but it is what I can spare at the moment so you will have the original tension mast and an additional tension setup to avoid problems with tension like I did when knitted tuck. The wax disk on the tension mast below will come with it too. It is not new but still has a lot of life in it.
A couple of words of wisdom.
- When learning how to work with this machine (all machines are so different and all have their own temperaments), experiment with different speeds and how you shuttle the carriage back and forth. Sometimes is moving too fast, the carriage drops stitches. Moving too slowly might create loose tension and loops on the ends of the knitted fabric
ABOUT IMPERFECTIONS:
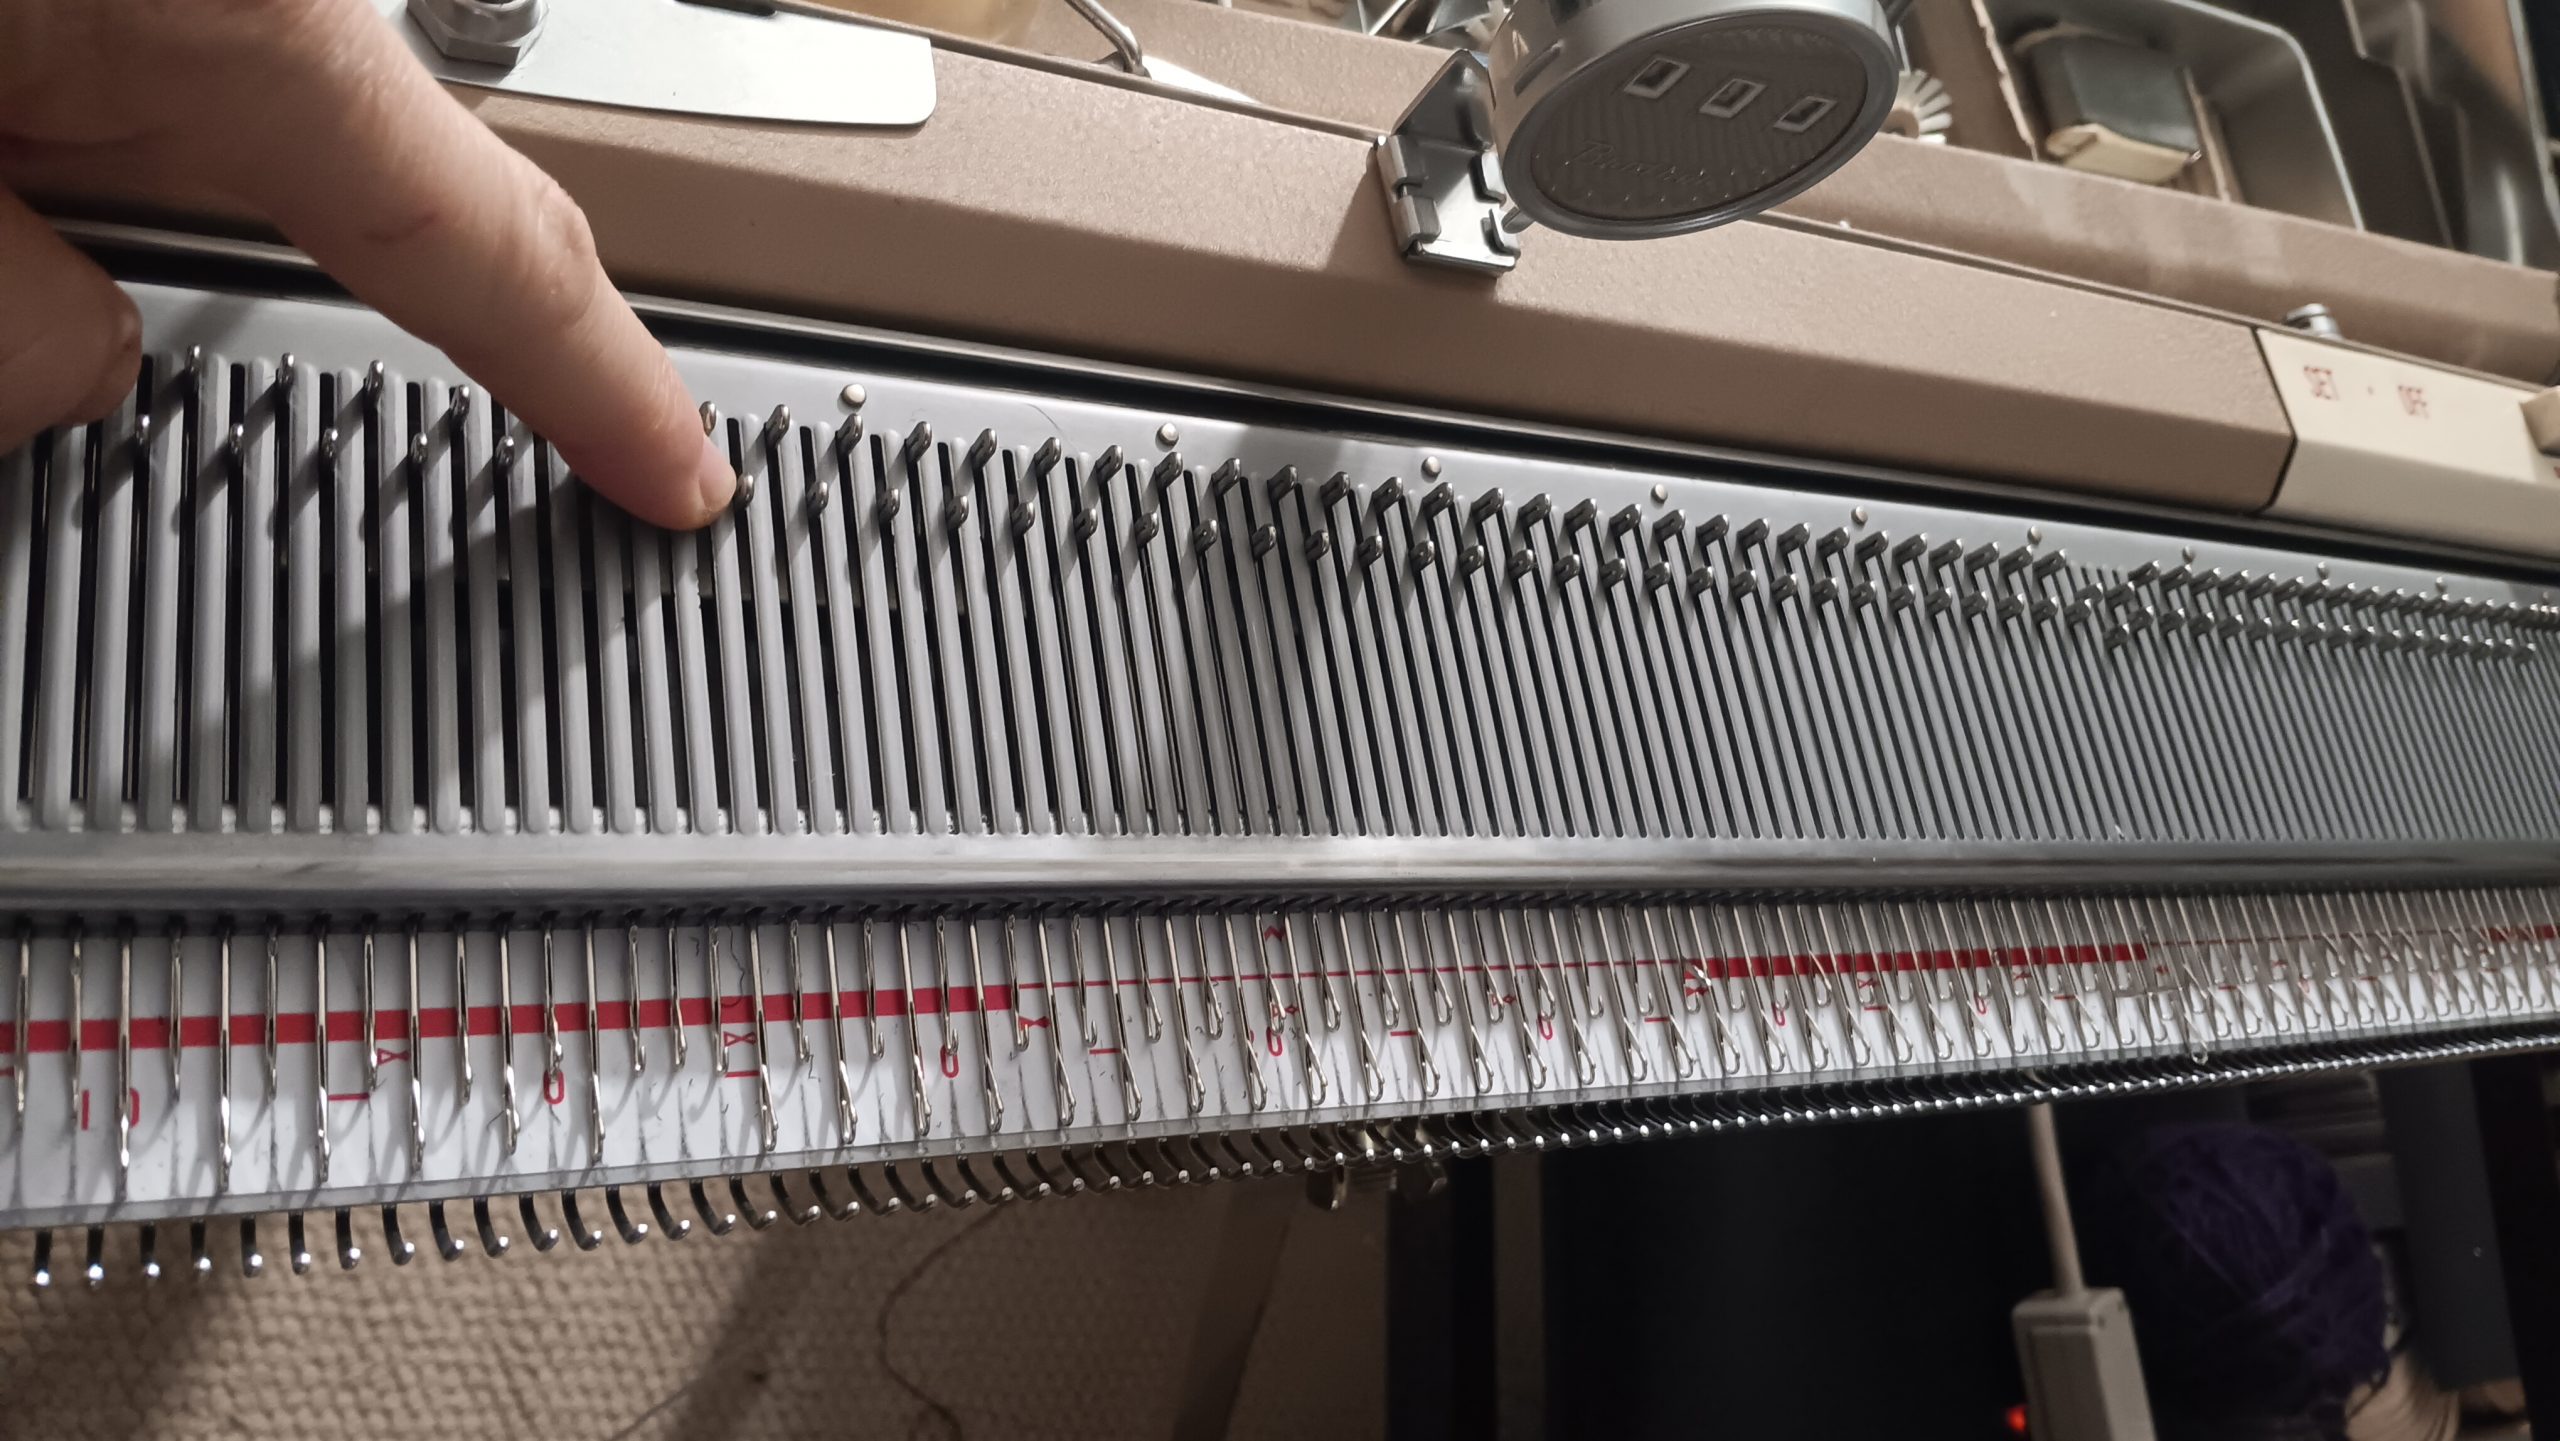
- there are a couple of uneven spots on the needlebed (you see them in the video and in the pictures below, although it is hard to see). I see a lot of those in these vintage machines. It does not interfere with quality knitting.
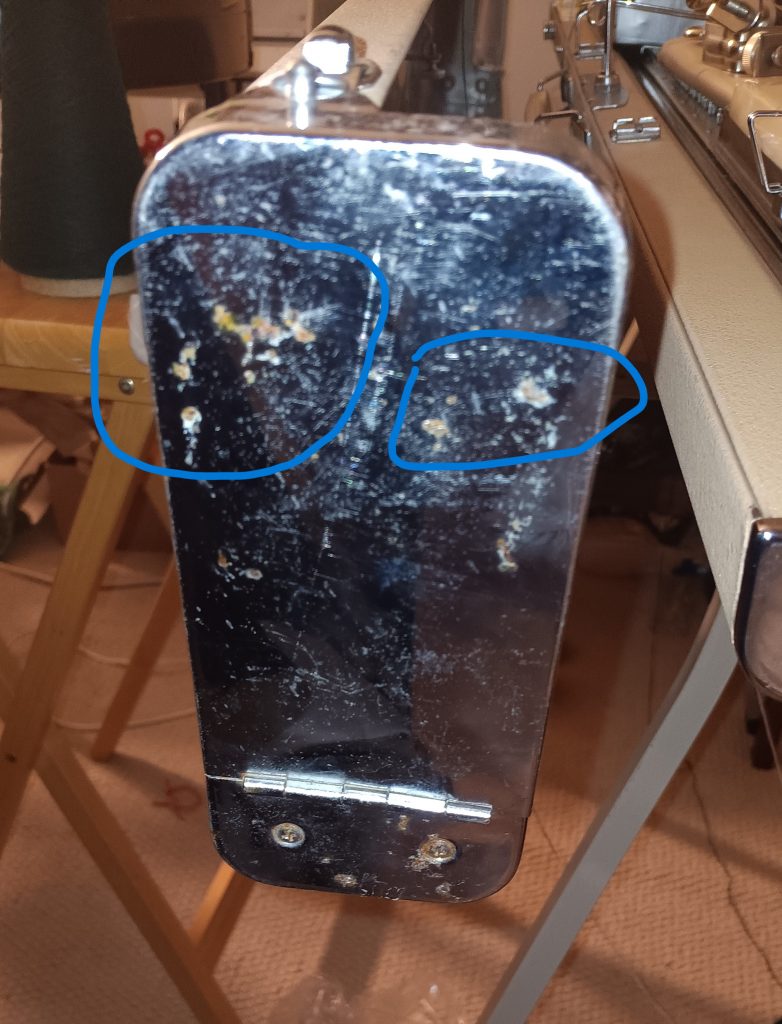
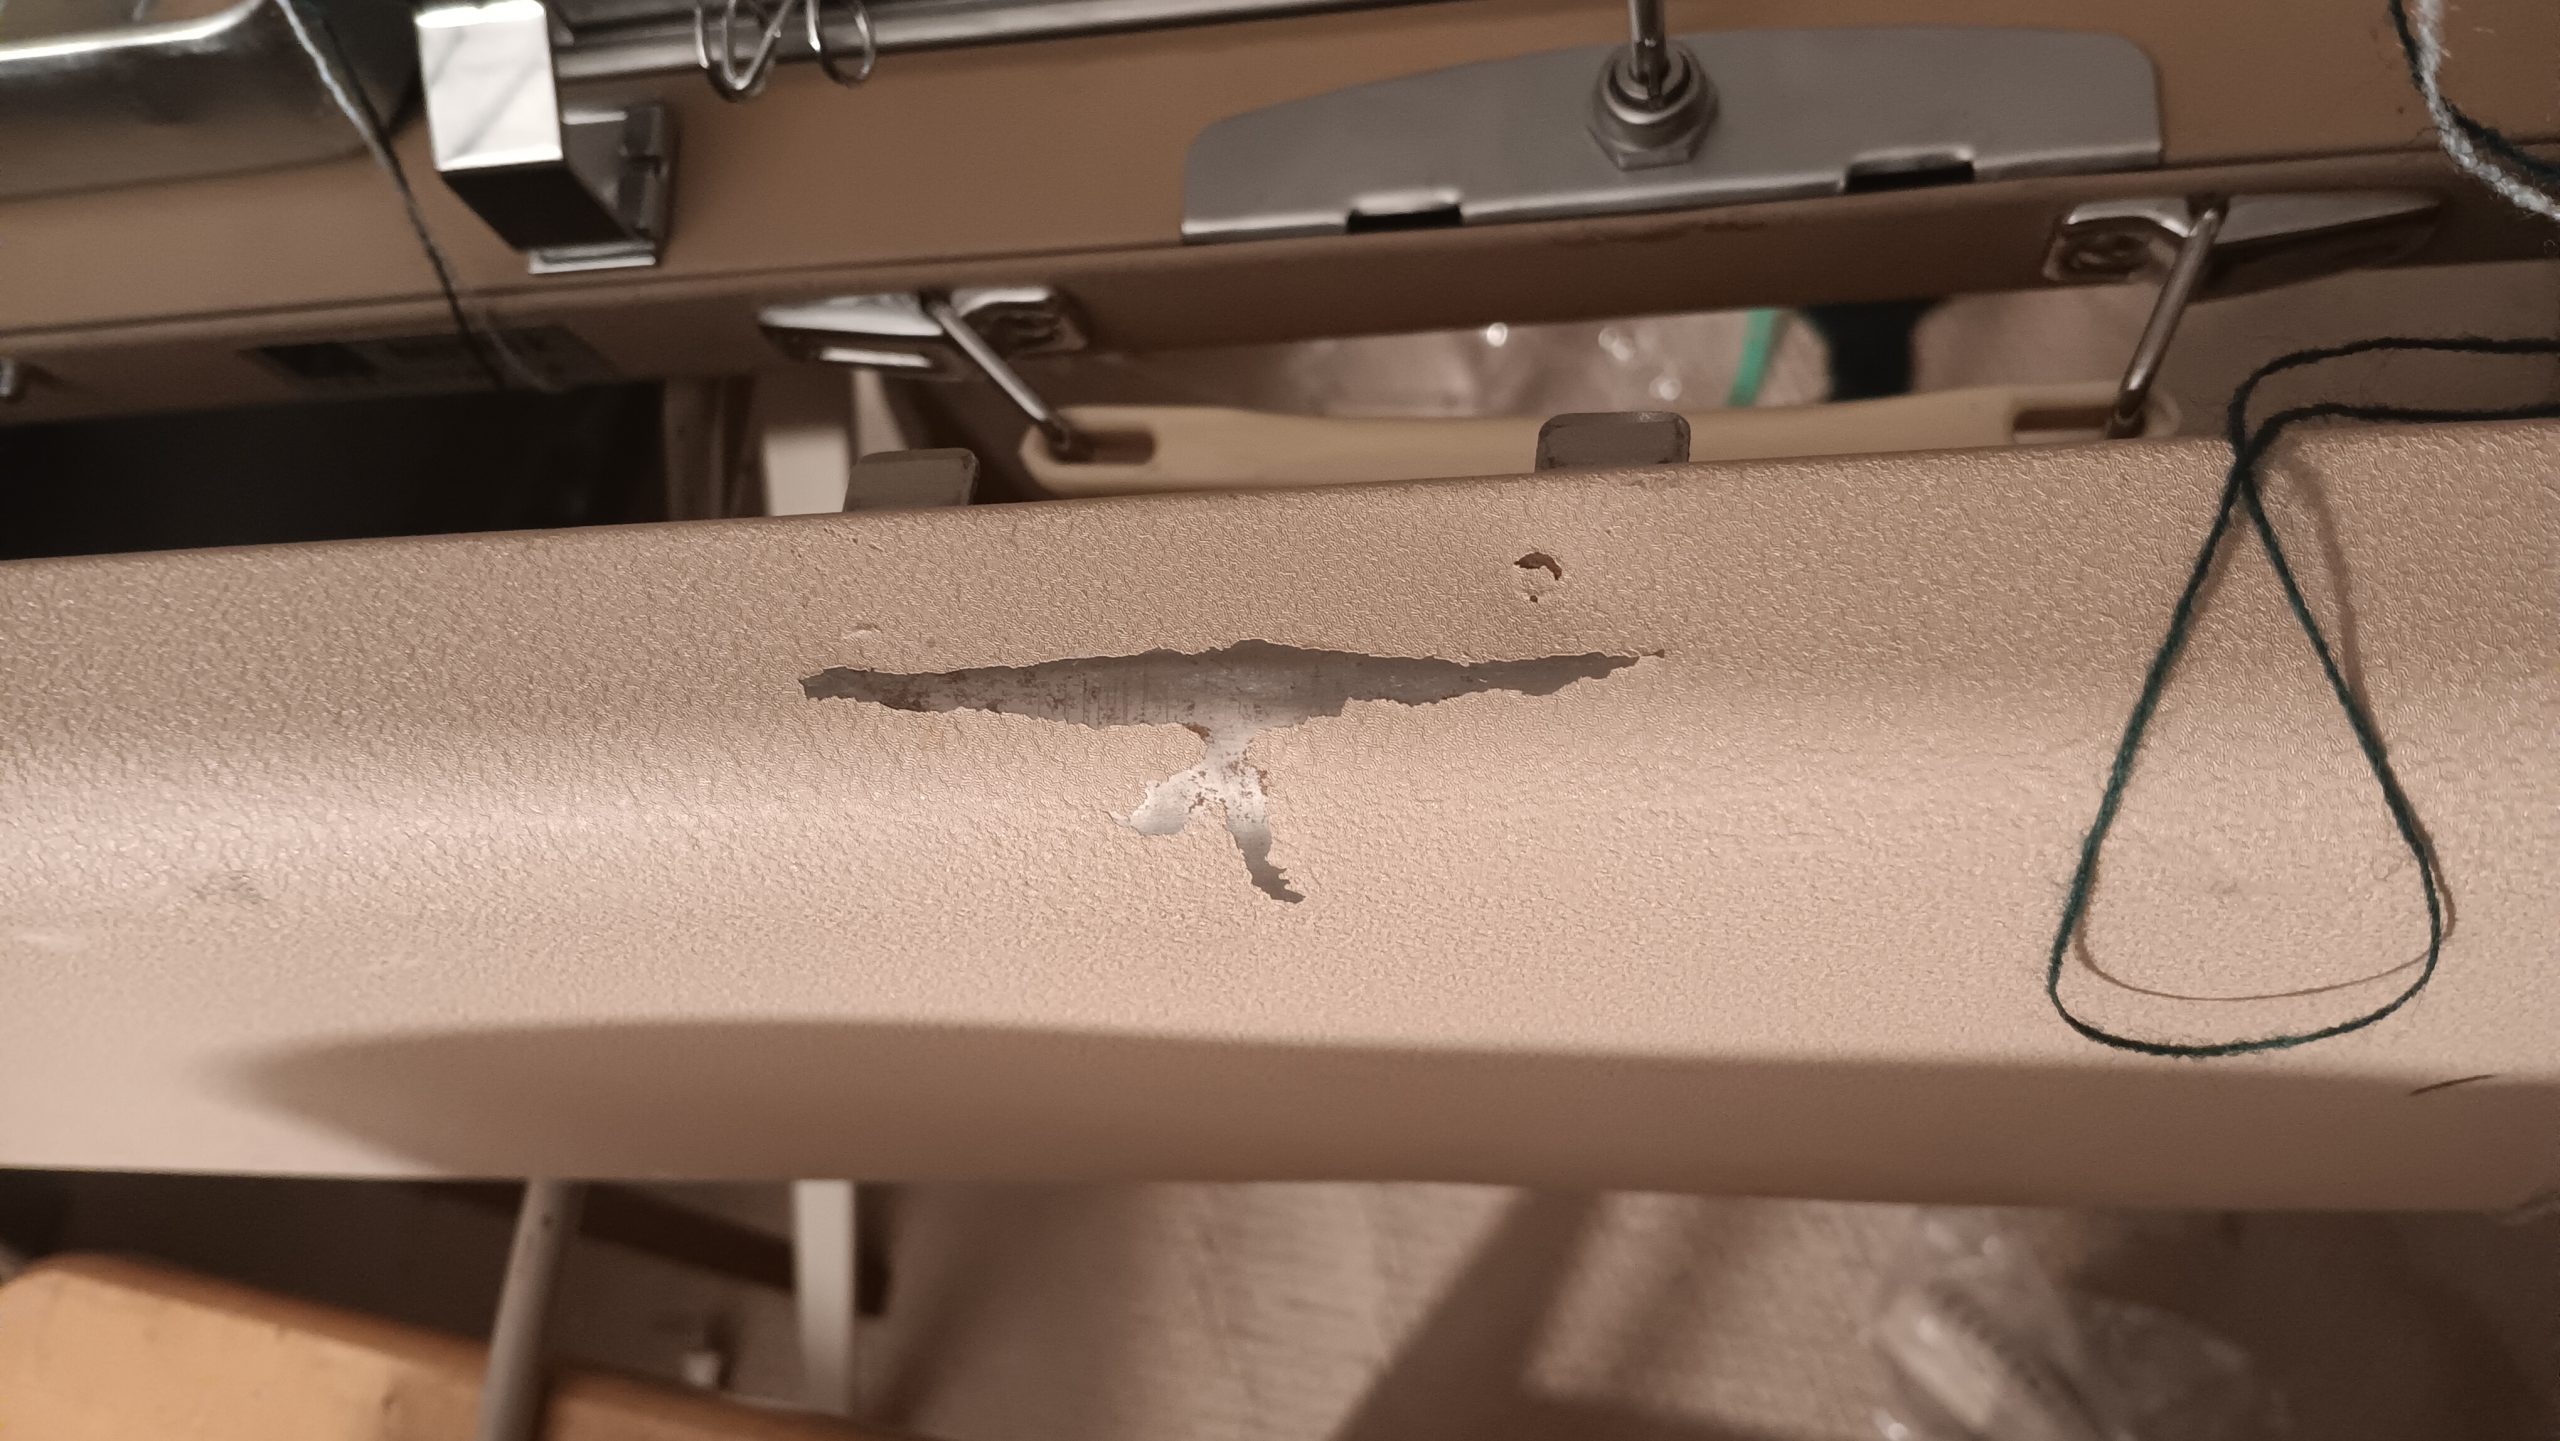
- the lid has some spots where the paint came off. However, it is in great conditions otherwise especially considering the age of the machine: no major bumps or scratches.
- One end cap has some rust spots. I typically cover those with silver Rustoleum, but this time I feel it would damage the authenticity of the machine. The endcaps are smooth and shiny, and a layer of Rustoleum would ruin it. The other end cap is in much better shape.