… this article is a constant work in progress as I accumulate more experience (personal) and based on what other people write about their problems and their fixes…
Last update: January 2026
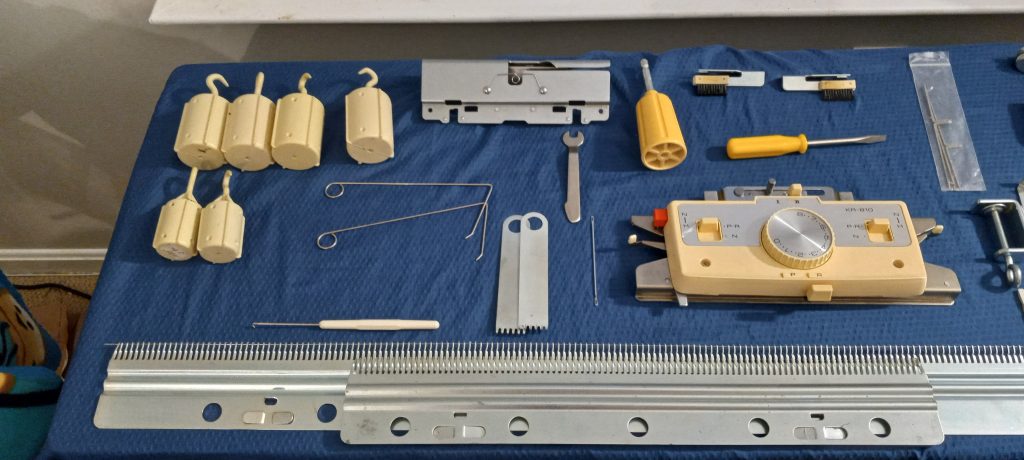
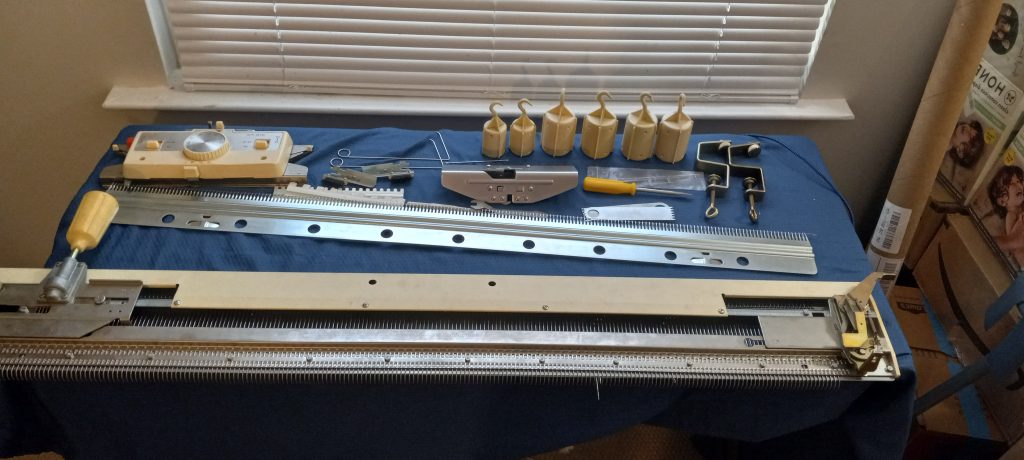
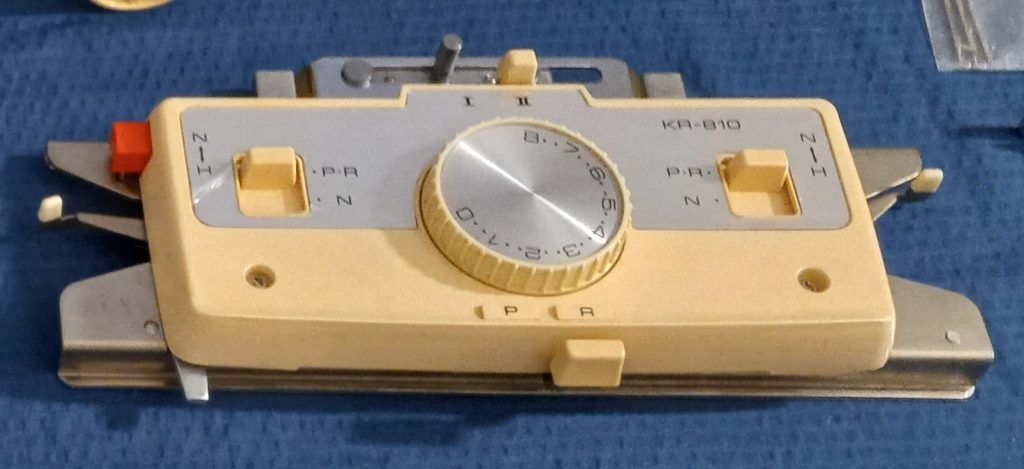
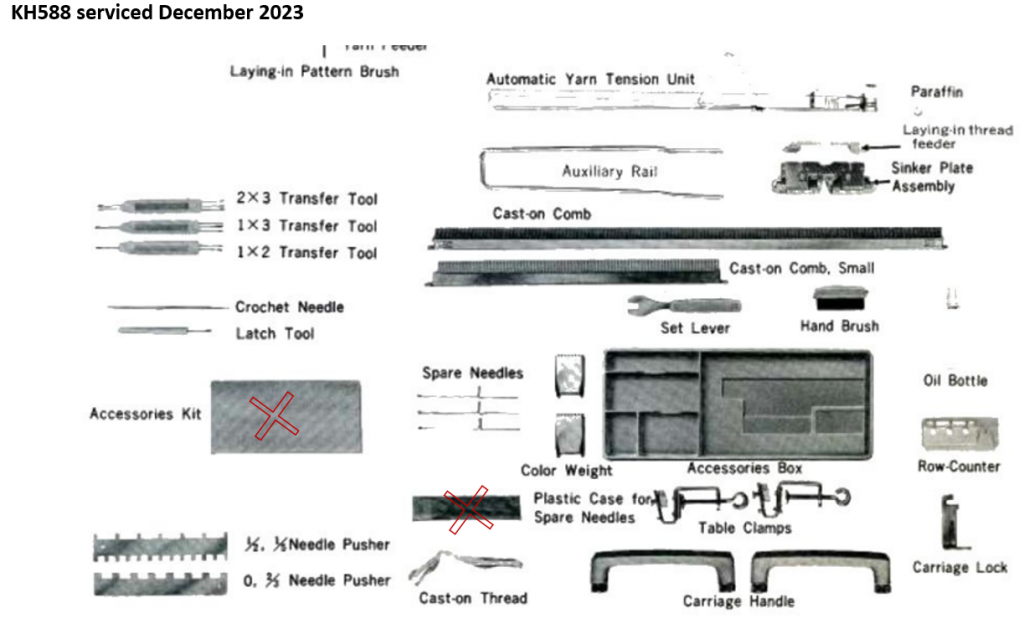
The working mechanisms of Singer/Silver/Silver Reed/Studio/Empisal Knitmaster/Riccar knitting machines (you can read about them here) are unique and different from the most popular Brother knitting machines (check out their differences here). Thus, sometimes a different approach is needed.
Problems with the knitting machines related to the carriages often manifest themselves as:
- carriage moves smoothly on the needlebed from left to right, but NOT from right to left (and vice versa).
- carriage gets stuck on the bed
- buttons/levers/knobs/dials on the bed, which do not move freely, move slowly, or do not retract sharply, as they are supposed to be
- mispatterned stitches or/and not correctly selected needles
Below are possible reasons and a brief explanation of how to fix them. More detailed explanations on how to fix these problems are available on the Internet.
- If your machine has patterning drums and they are not moving freely or are stuck completely, it might be because of the old oil/grease, old lint, and/or some yarn wrapped around the moving parts. SOLUTION: visually inspect the drums on the sides and remove any visible junk. Apply Kroil Oil first to the drums and see if they start moving freely. I typically try to rotate the drums every 2-4 hours after applying (generously) the Kroil oil around them.
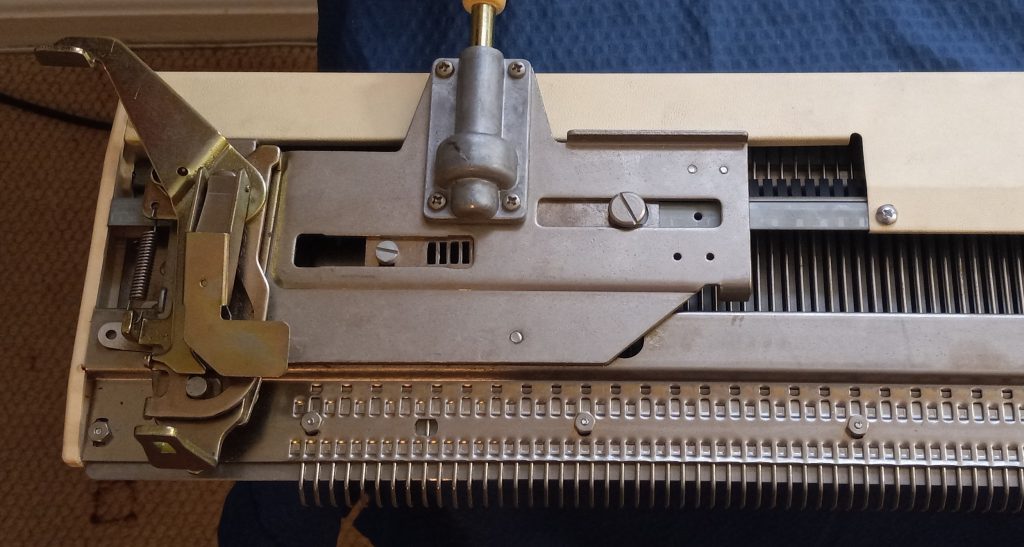
- Due to the old gunk and dried-up oil, some of the moving levers (responsible for guiding the needles through the intricate passages of the carriage) get stuck. If you suspect a lever does not move, check against the same lever on the mirror side of the carriage: compare its movement, how fast it retracts, etc. SOLUTION: Apply Kroil oil around the lever to remove the old gunk.
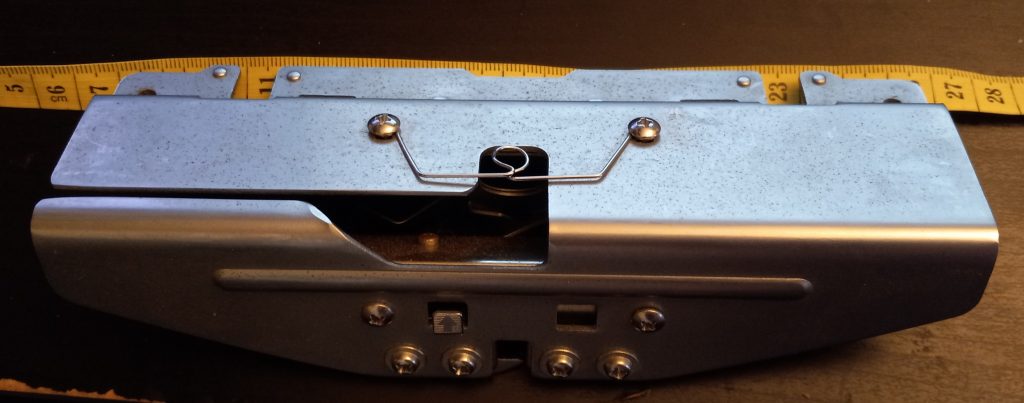
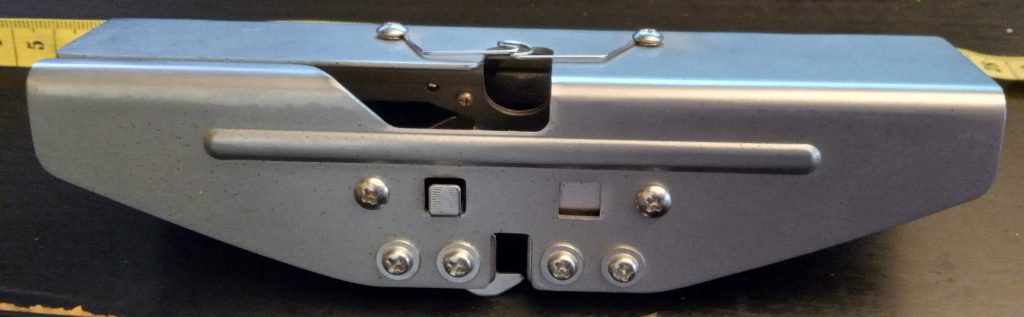
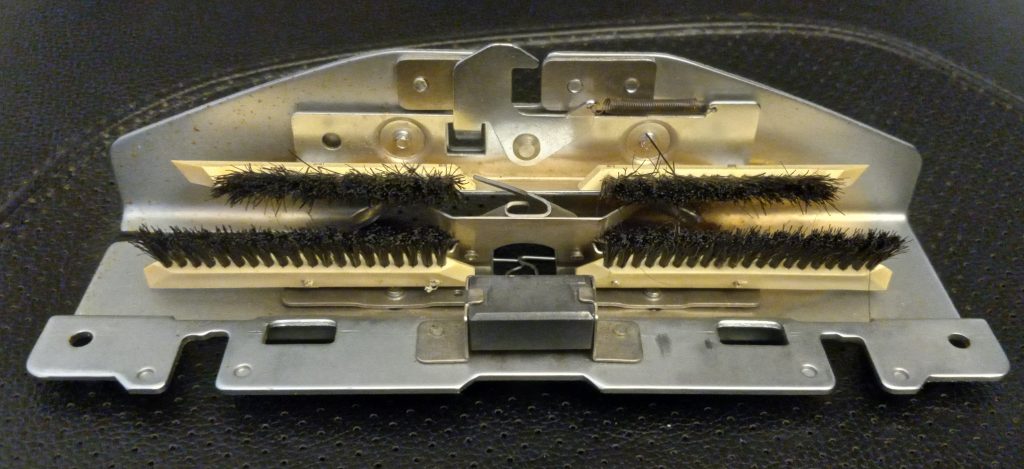
- The carriage might have too much old grease and lint to move freely. SOLUTION: Clean the undercarriage with 100% alcohol, a ton of Q-tips, and UPS greaseless lubricant.
- Springs inside the carriage disconnected from their corresponding posts. This might happen because the springs lost their tension/torque, but also due to the impact (the machine or the carriage was dropped). SOLUTION: Check for any dangling springs. Compare the springs on both sides of the carriage to make sure the springs are attached correctly. Or refer to the manual or pictures on the Internet on how to attach the springs. One of such tutorials (but for the Brother knitting machine) was published by me and is also available as a video.
If you think none of these problems/solutions apply to you, it might not be a problem with the carriage. It might be an incorrect position of the carriage on the needle bed, bent needles, incorrect yarn threading through the mast, incorrect tension of the yarn, static, too-thick yarn, or (the culprit of almost all problems with knitting machines) an old sponge in the retaining bar.
If your carriage works ok and moves smoothly but the mechanism is mispatterning, it could be related to:
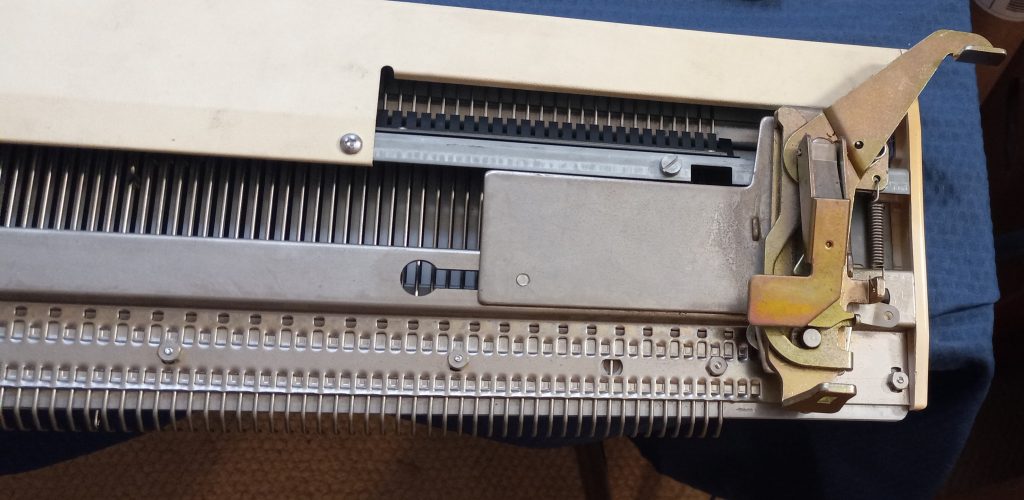
- misaligned punchcard reader. I had a machine where the punchcard reader was slightly off-center: the left side was a bit closer to the needlebed than the right side. As a result, the patterning drum did not touch the pins on the reader strongly enough to engage the pegs. Watch the video on how to troubleshoot it and fix it.
If you have a Brother machine, you might have some specific problems, which are described in another article.