

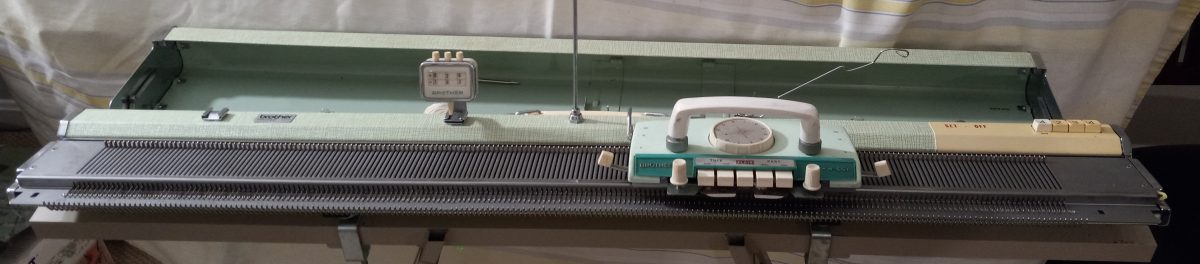
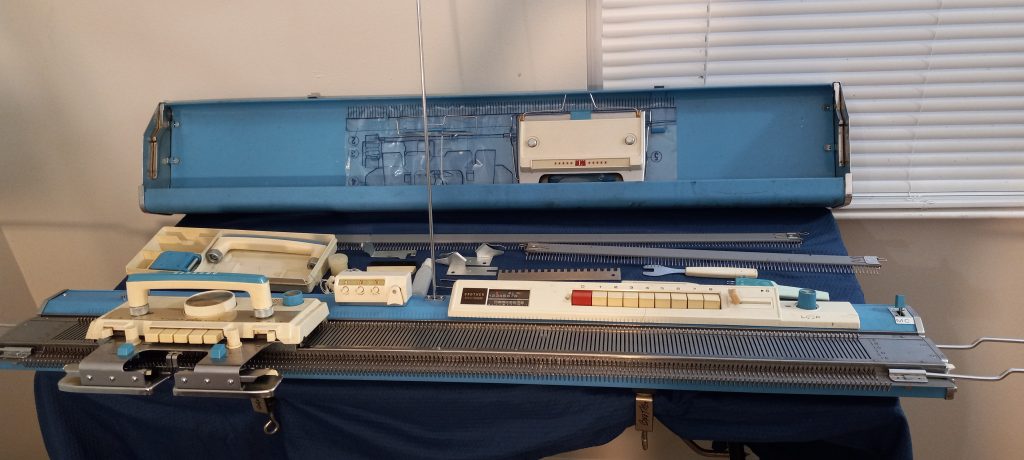
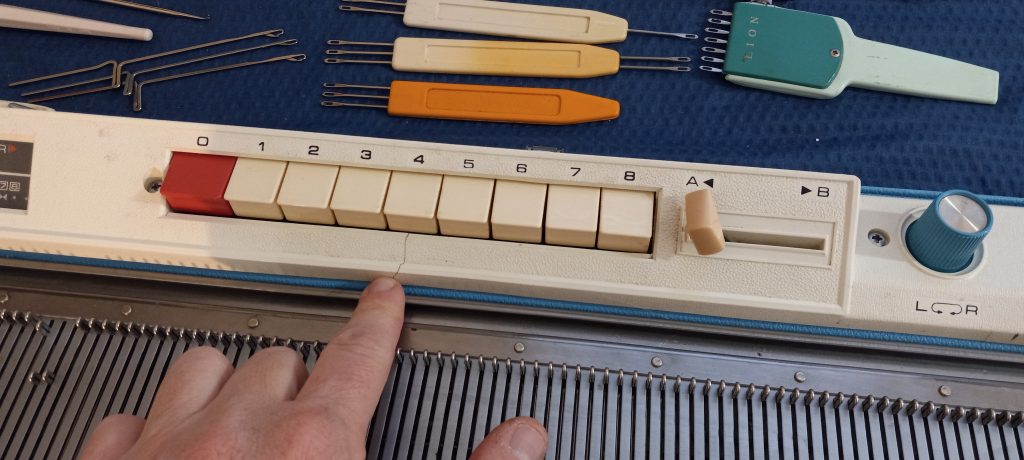
Brother KH800 and KH801 knitting machines have unique designs for needle selection: they accept 12-stitch punchcards that are positioned flat on the special panel on the machine (called “card presser”).

If your machine came with original punchcards, you are super lucky! If you did not get the punchcards, or you want to make more cards for your own custom patterns, it is very easy to do.
Below are step-by-step instructions. You can also watch a video I made with these steps.
You need to cut a piece of paper, 20.5 x 6.5 cm (8 x 2.5 inches). Regular printer paper will work. Or print this file which shows blank cards for KH800. Another option is to print a standard set of cards (from the file downloaded here) and then punch the holes using the steps I will describe below.

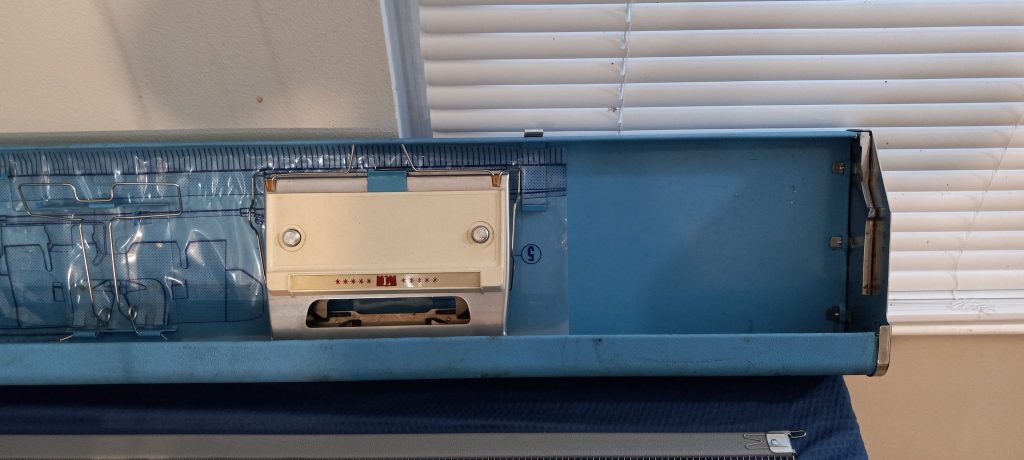
Insert the cut-out punch card into the pattern card cassette holder. The manual describes all the steps of inserting the card really well. The only difference from the manual is that you will have to push the paper through the setting pins.

If your machine comes with a special puncher, you are again lucky. You can now use it to punch your pattern through the holes. If your machine did not come with it, you can use a marker with a relatively thick end. Ideally, find a marker that no longer draws (dried up or broken) so it does not draw on the machine.

Continue punching holes according to your desired pattern.

The holes do not have to be fully complete: they just need to be open enough for the patterning rods to go through upon activation.

Watch in the second half of my video how I tested and ensured that the rods indeed went through.
Happy punching and Happy knitting!
Also, read or watch about the patterning mechanism of Brother KH800/801.


 Â


