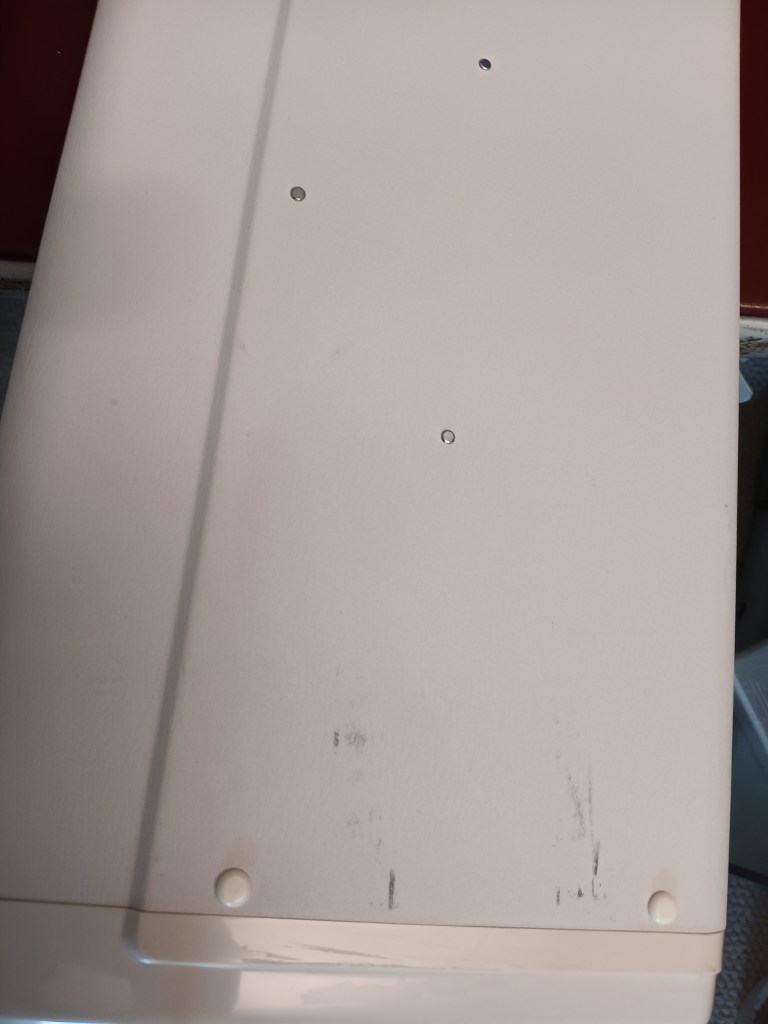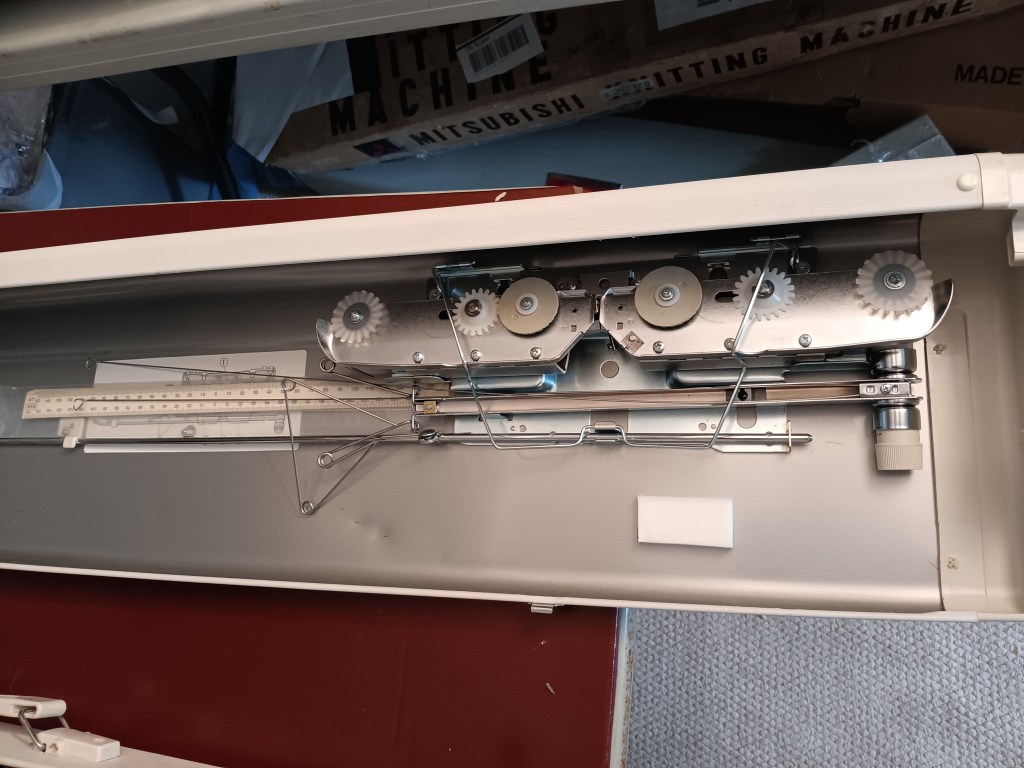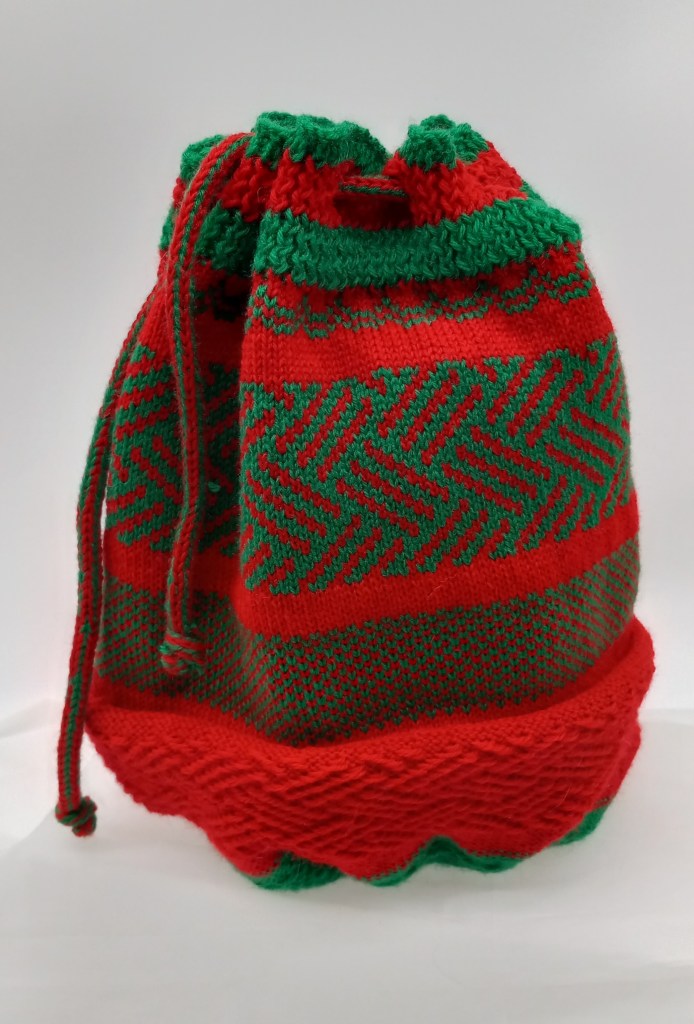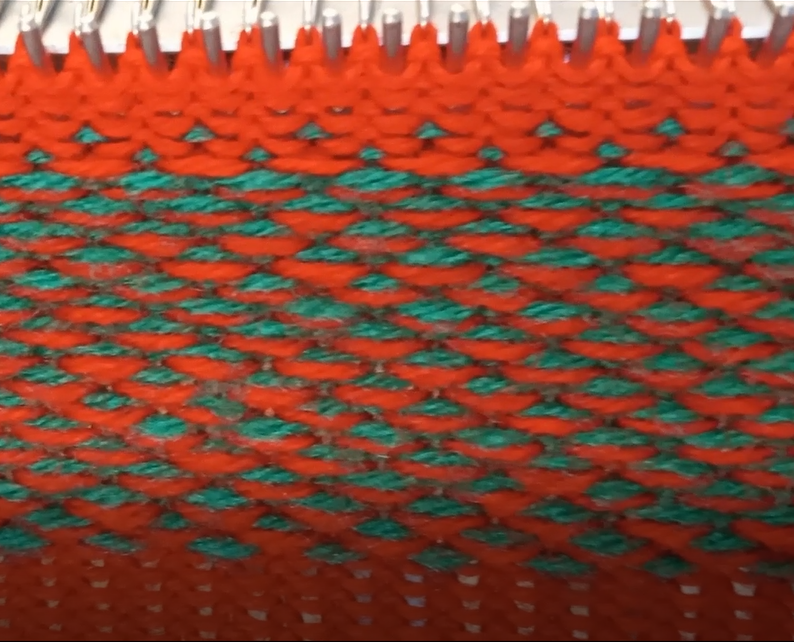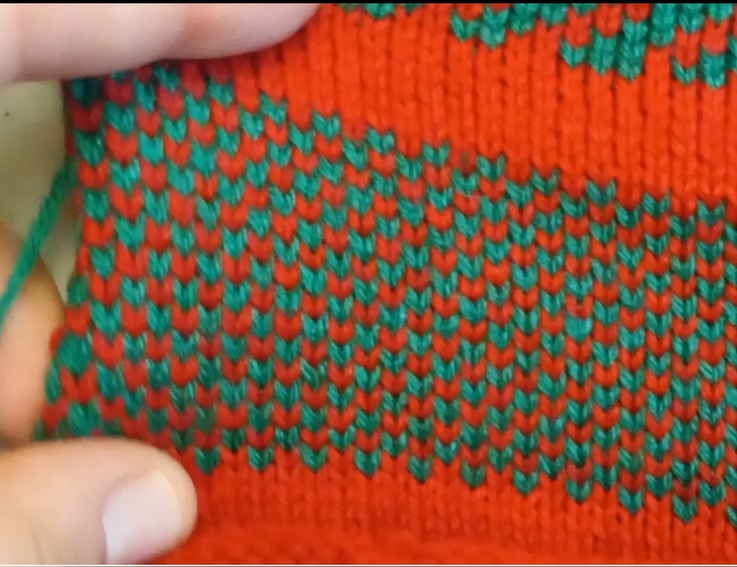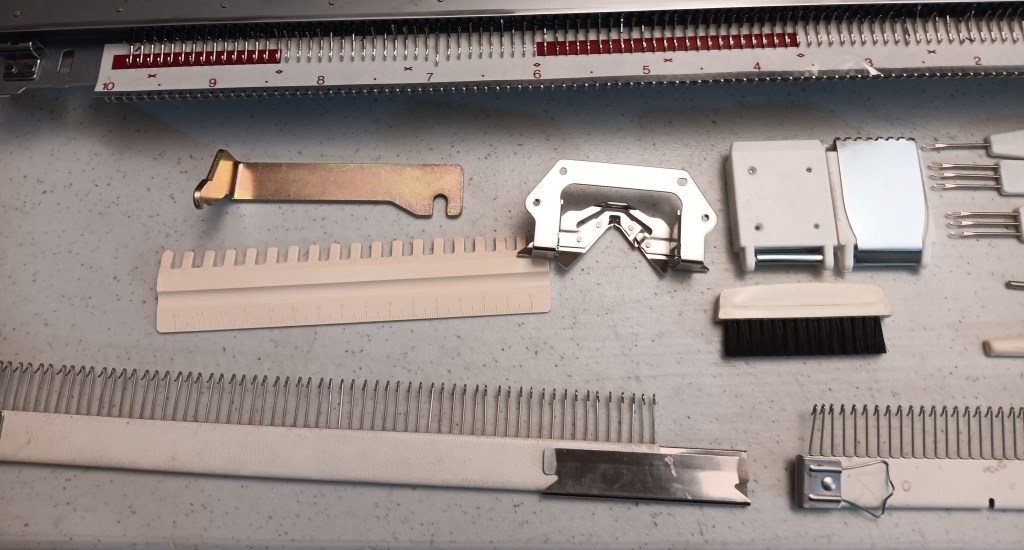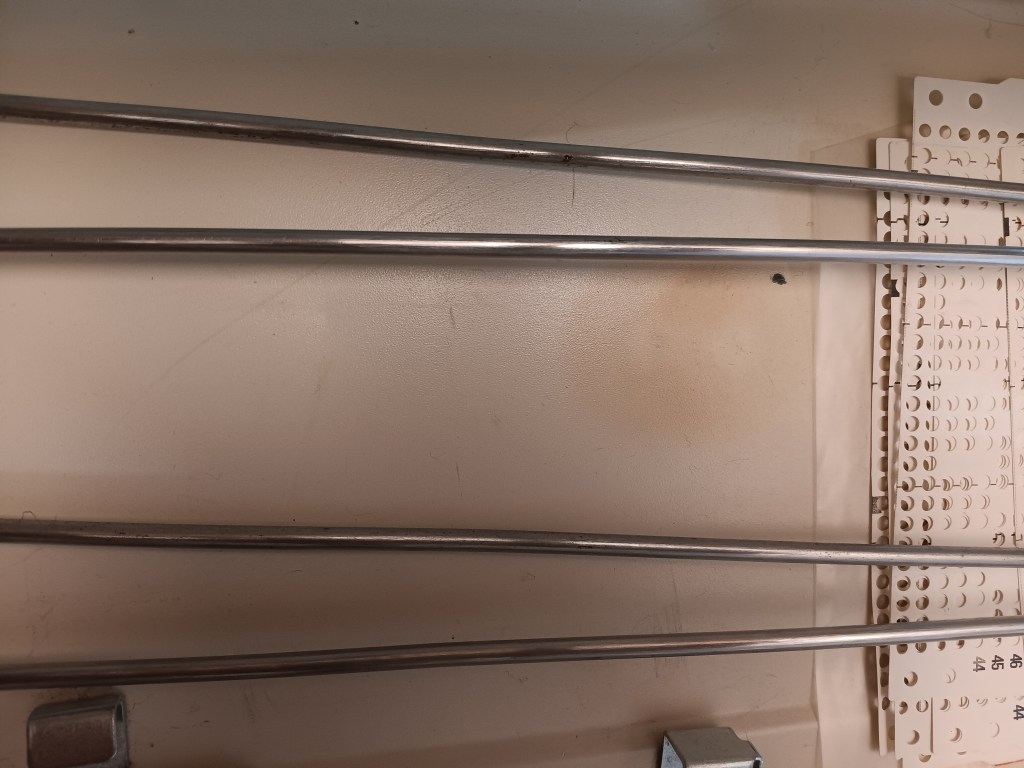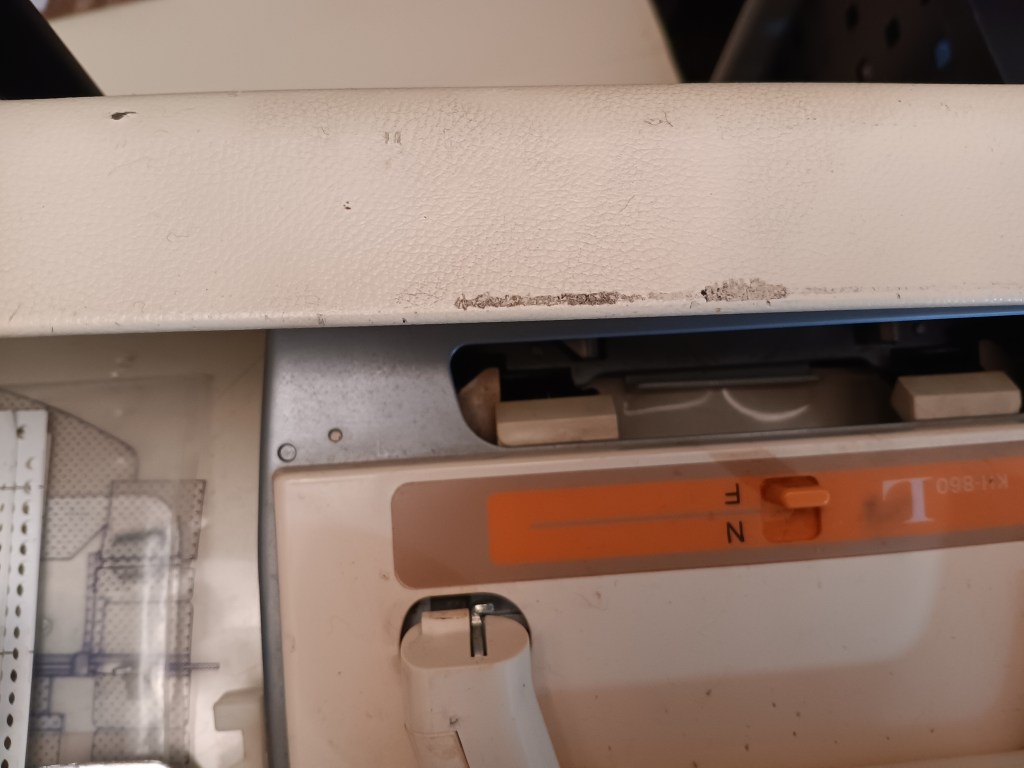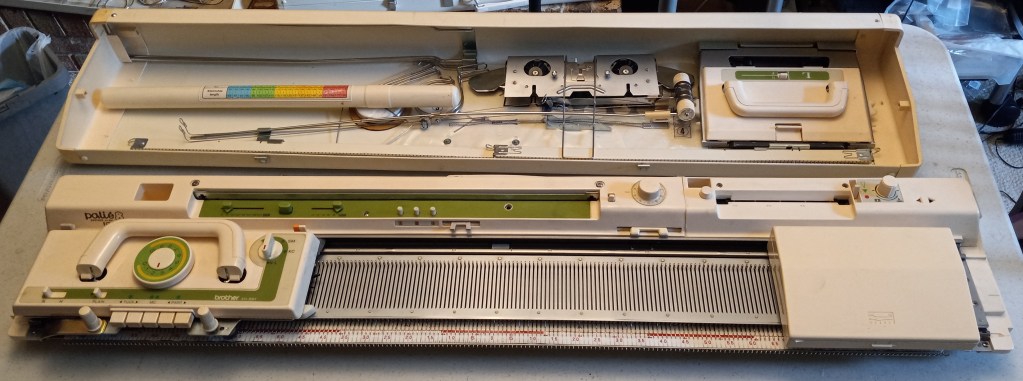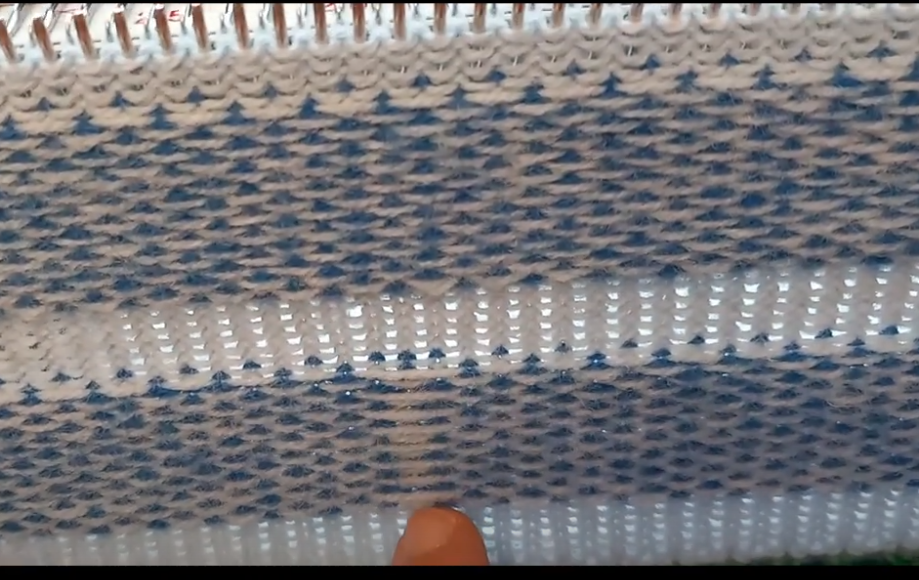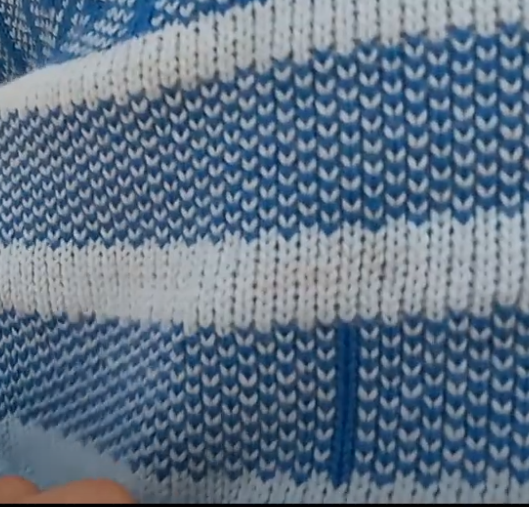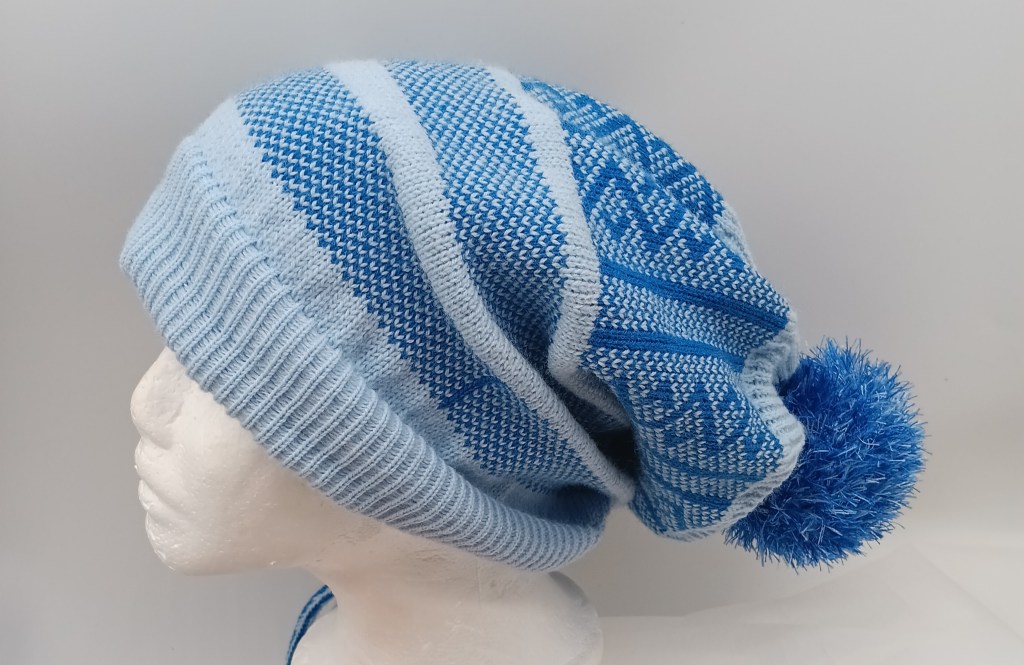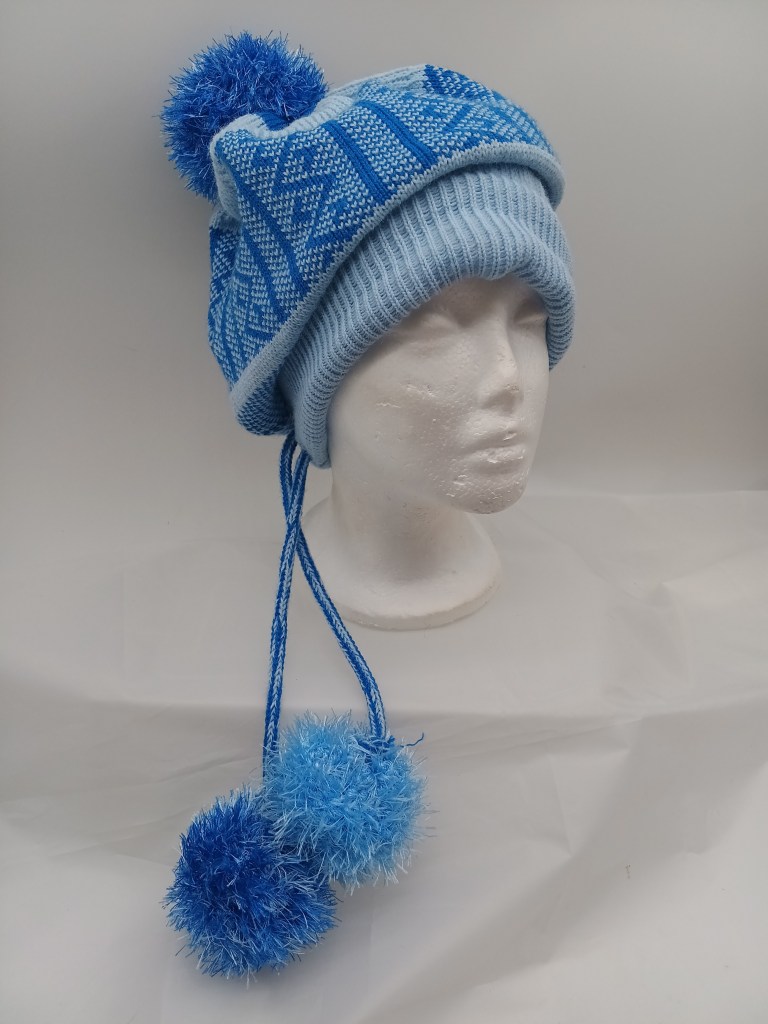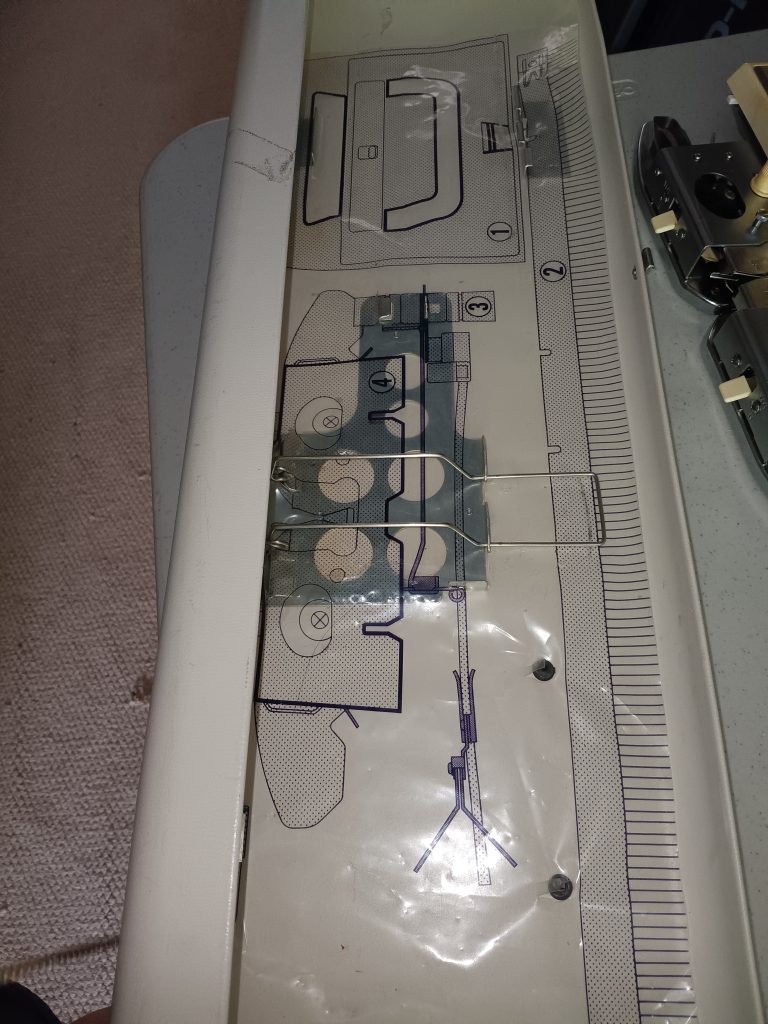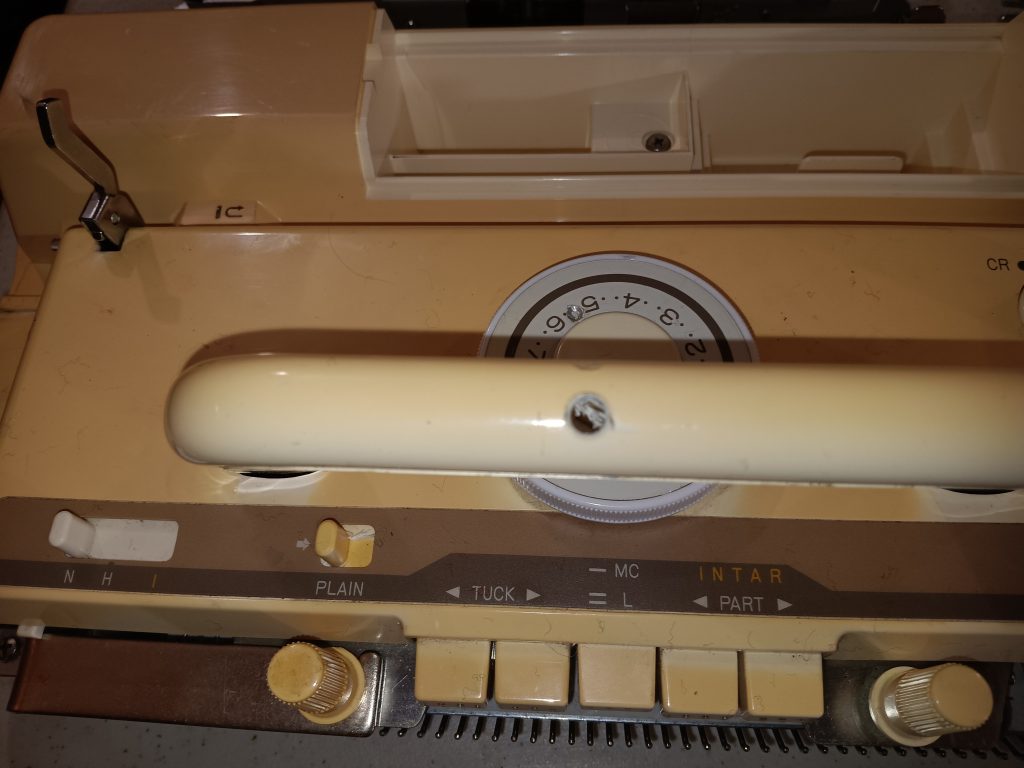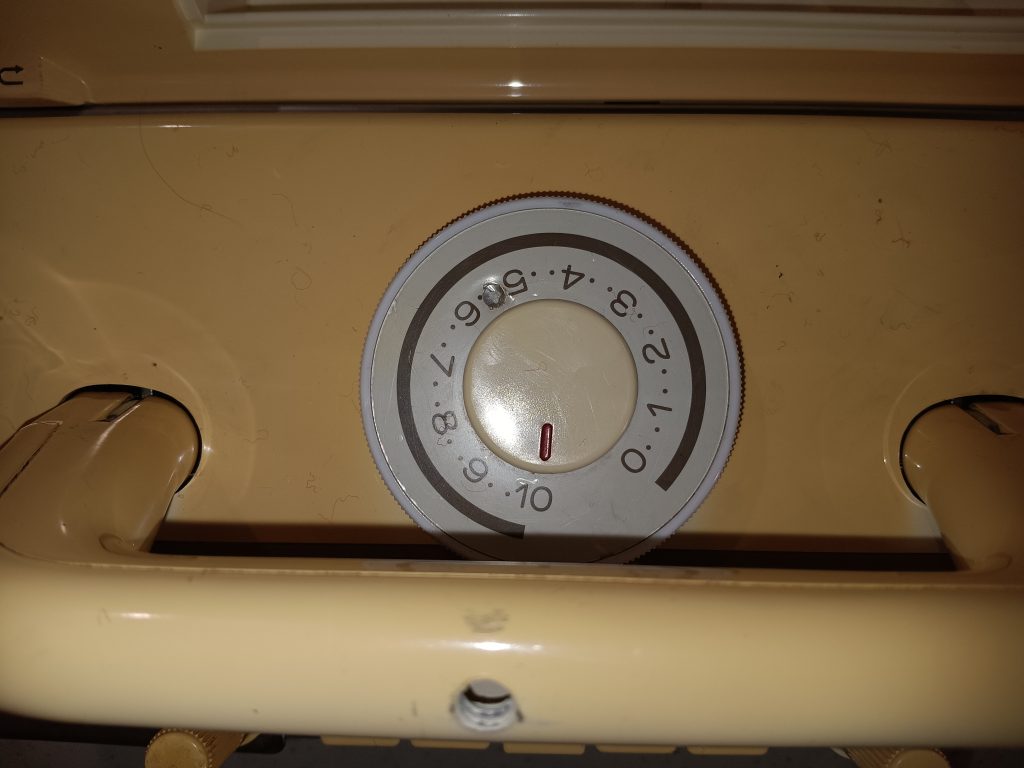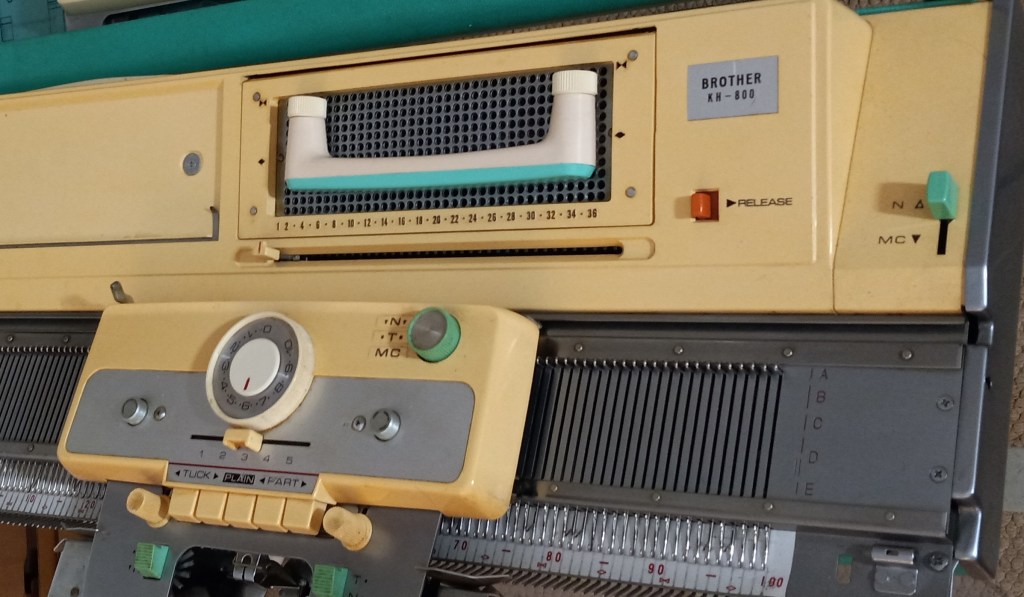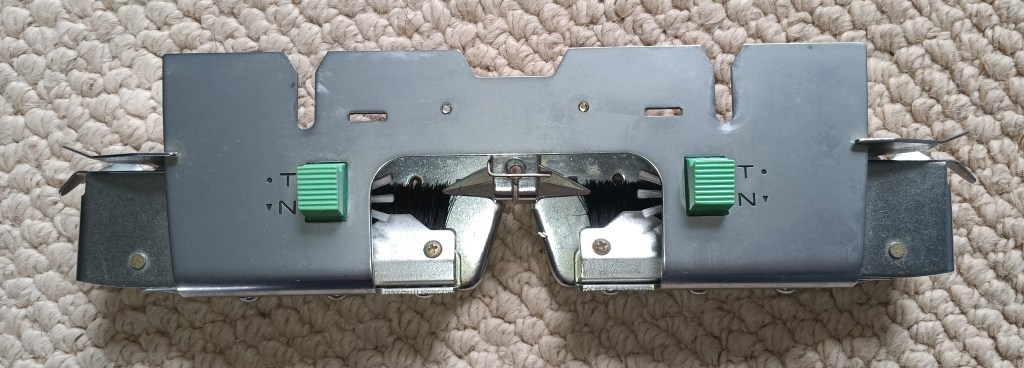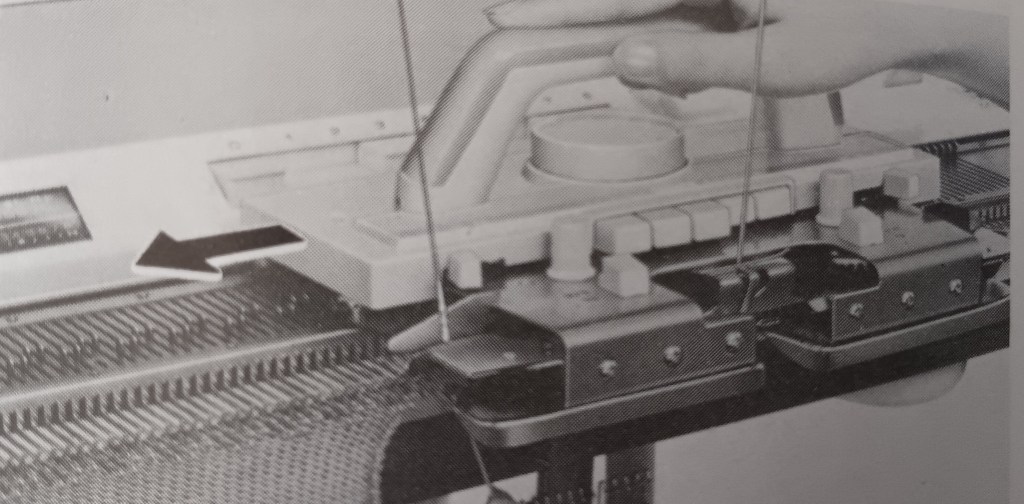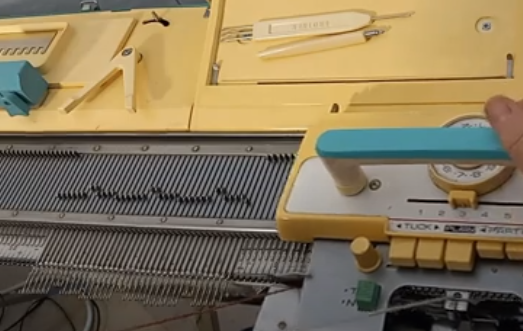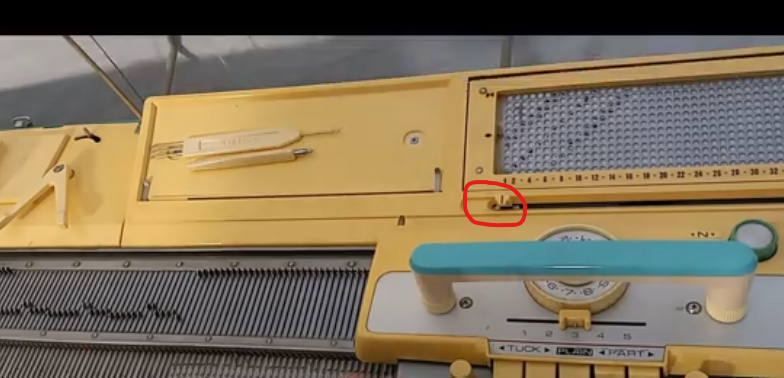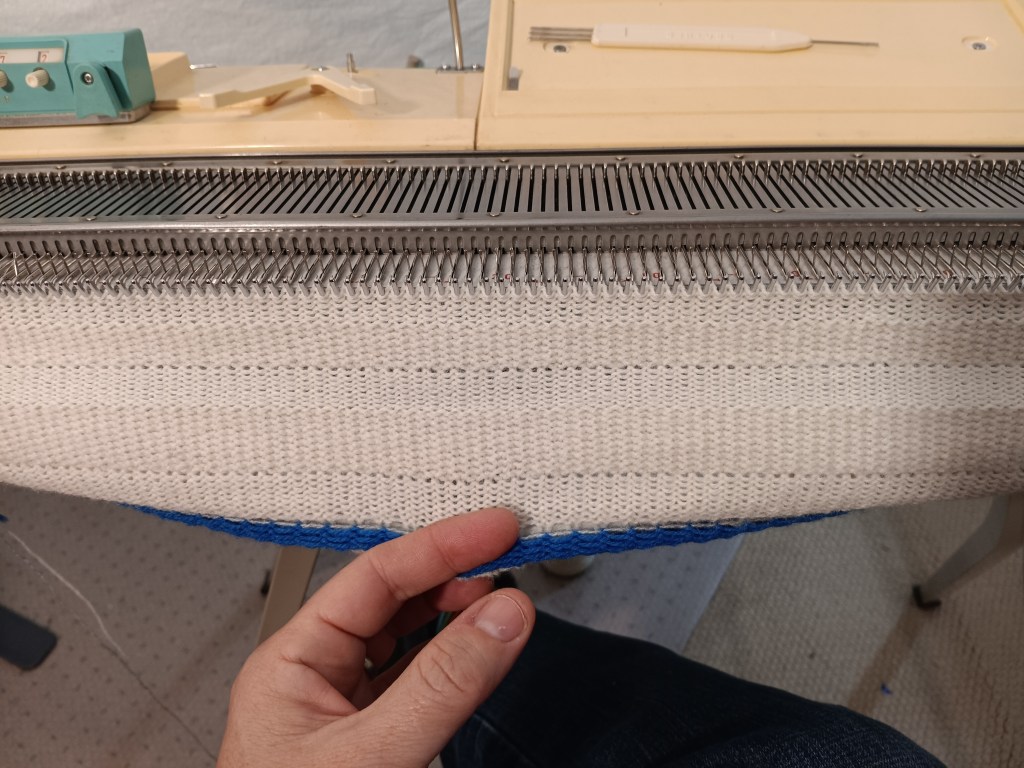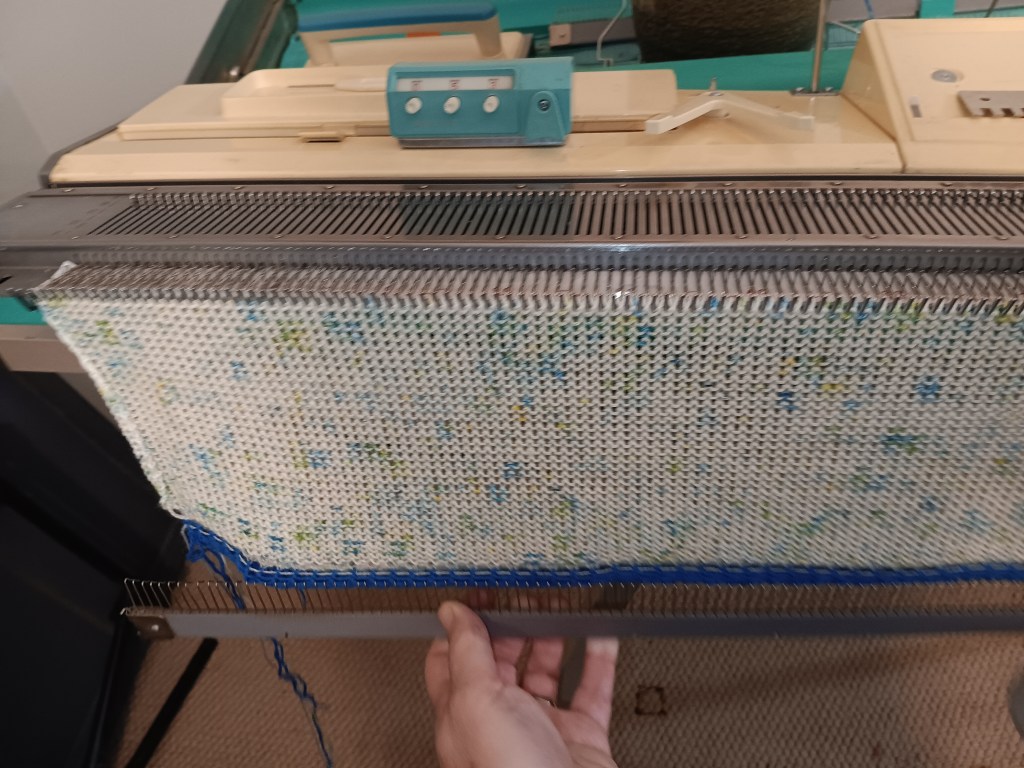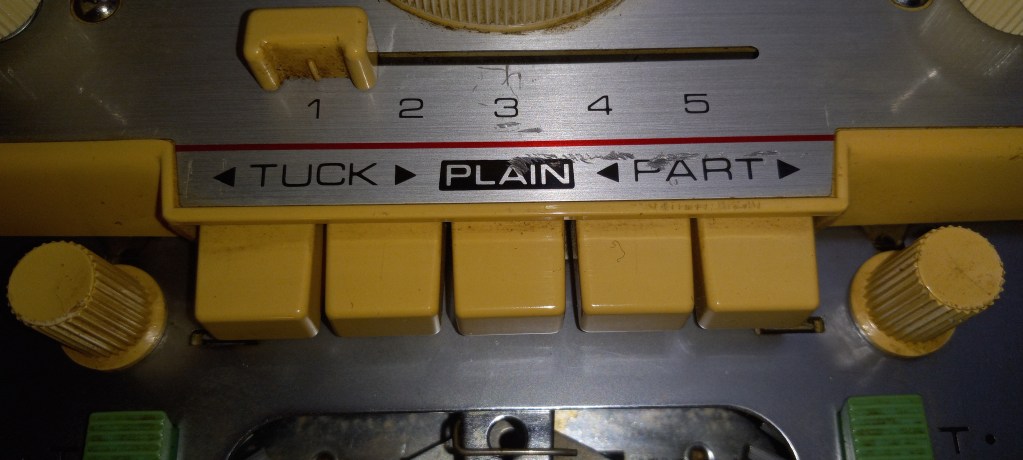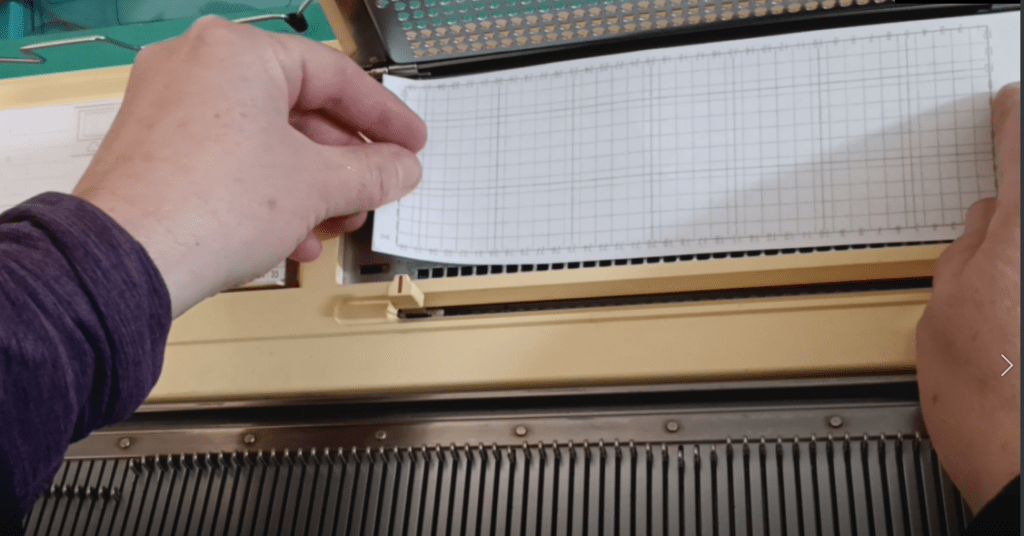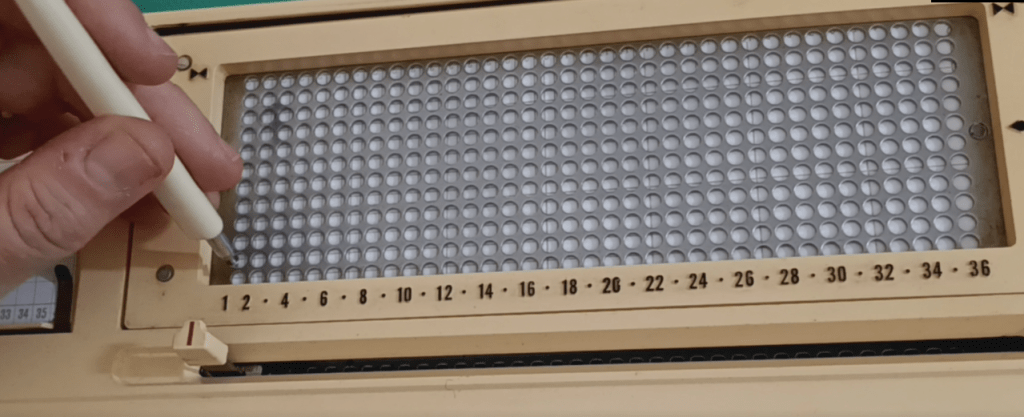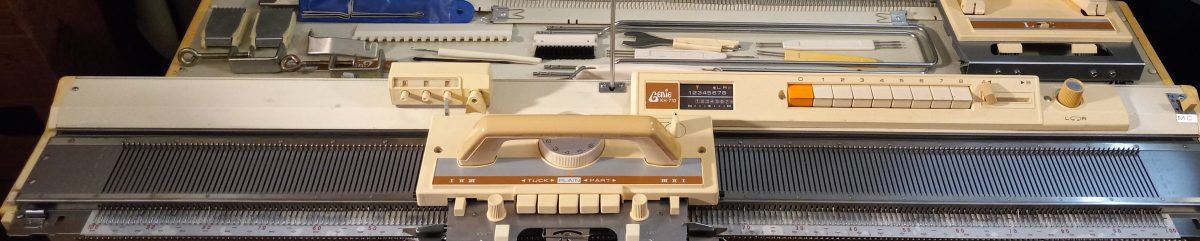
Singer 700 mod. knitting machines serviced and tested in my shop in April 2025.

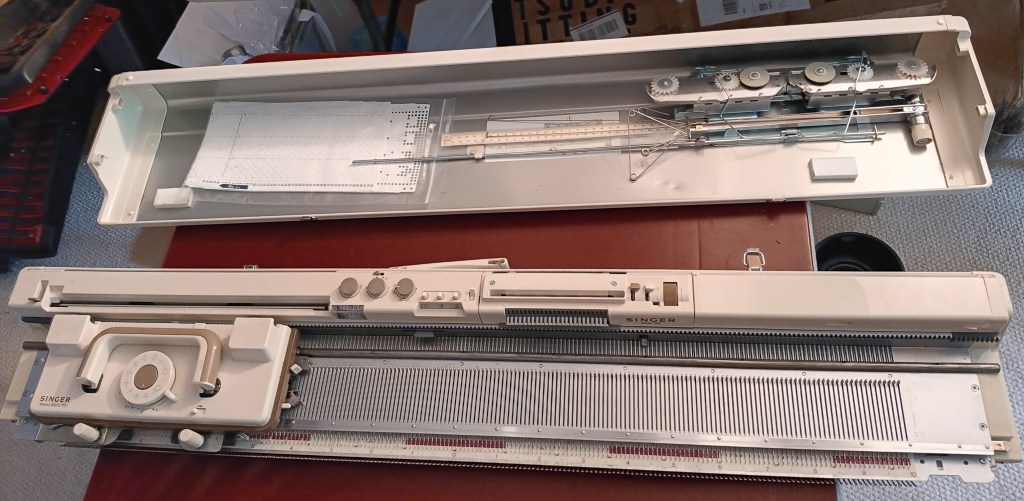
Singer MemoMatic 700 is a standard-gauge knitting machine with 200 needles, 4.5 apart. It has a punchcard reader (on the machine body) and patterning drums (on the carriage) which allows the machine to automatically select needles and knit patterns, like tuck, slip/part, fair-isle, weaving, lace, etc. Read more about this model in my Knitting Machine Encyclopedia. The rest of the post below is dedicated to a specific Singer MemoMaic 700 machine serviced and tested in my shop.
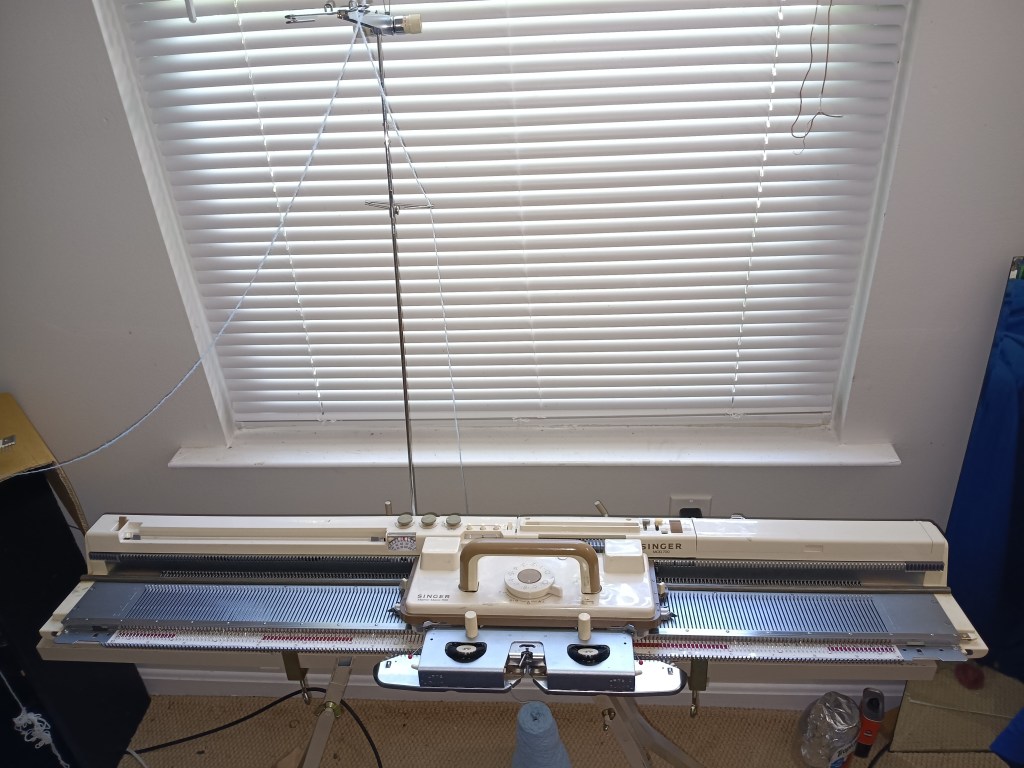
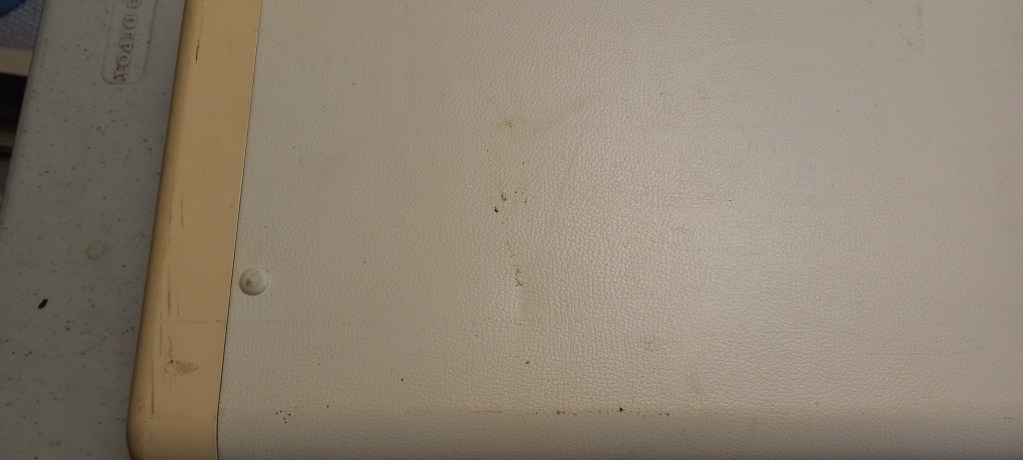
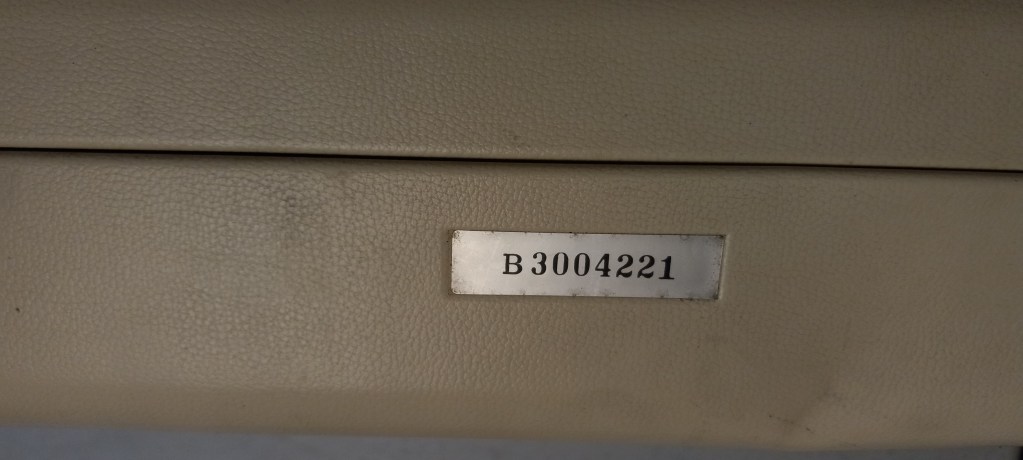
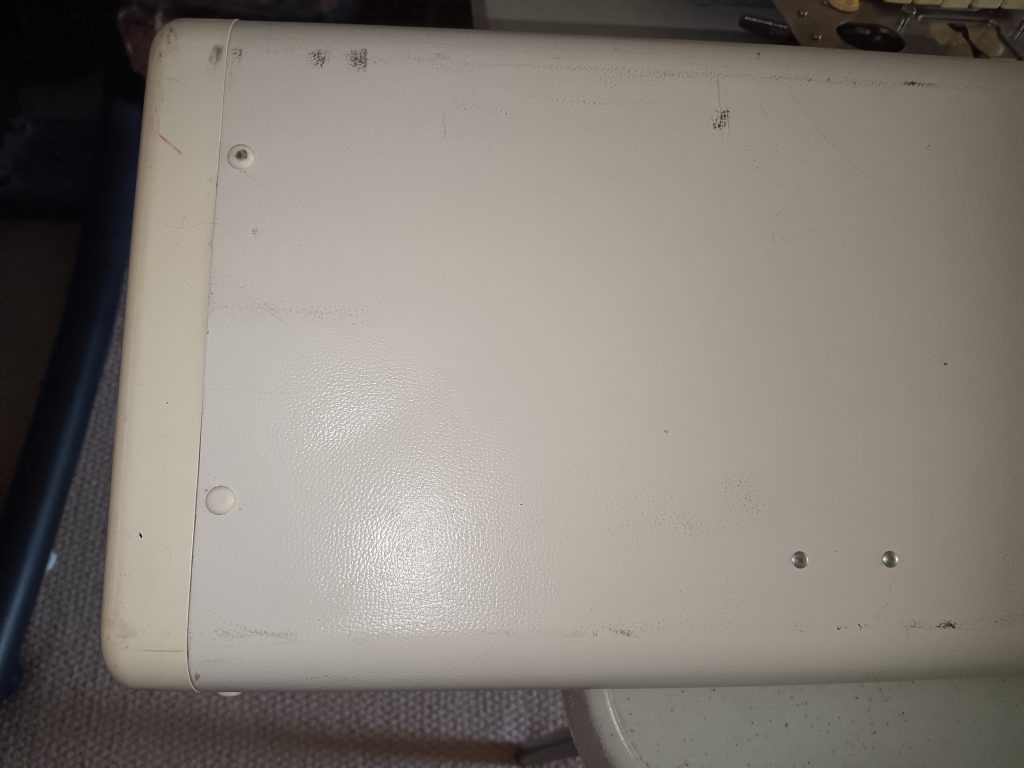
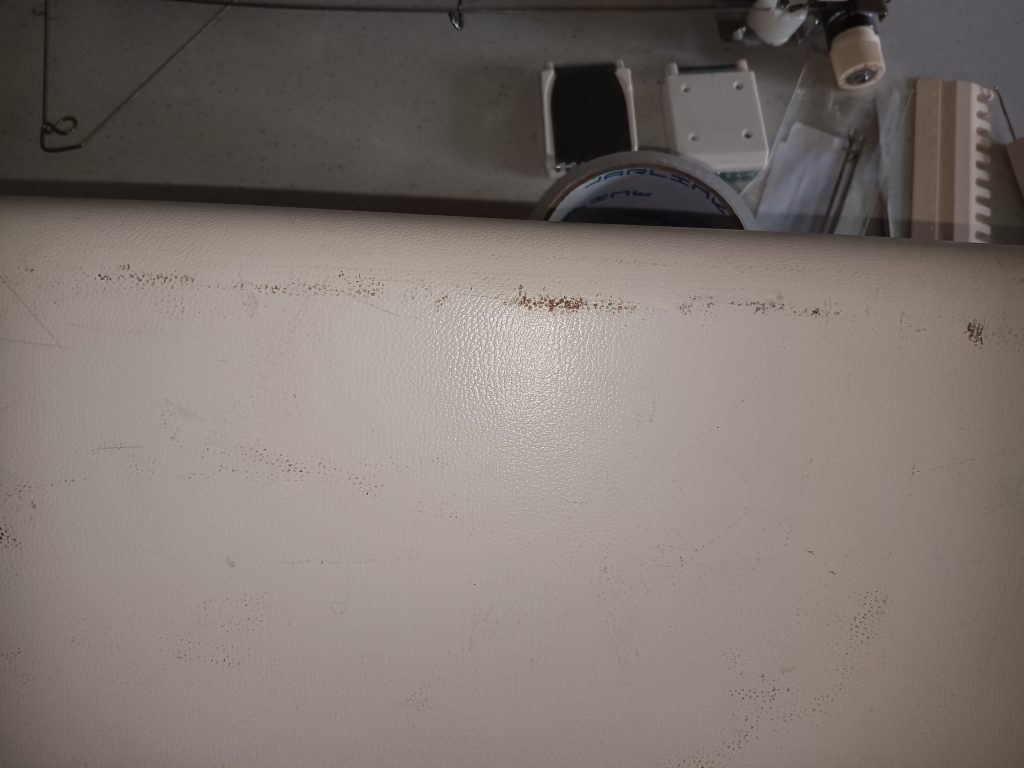
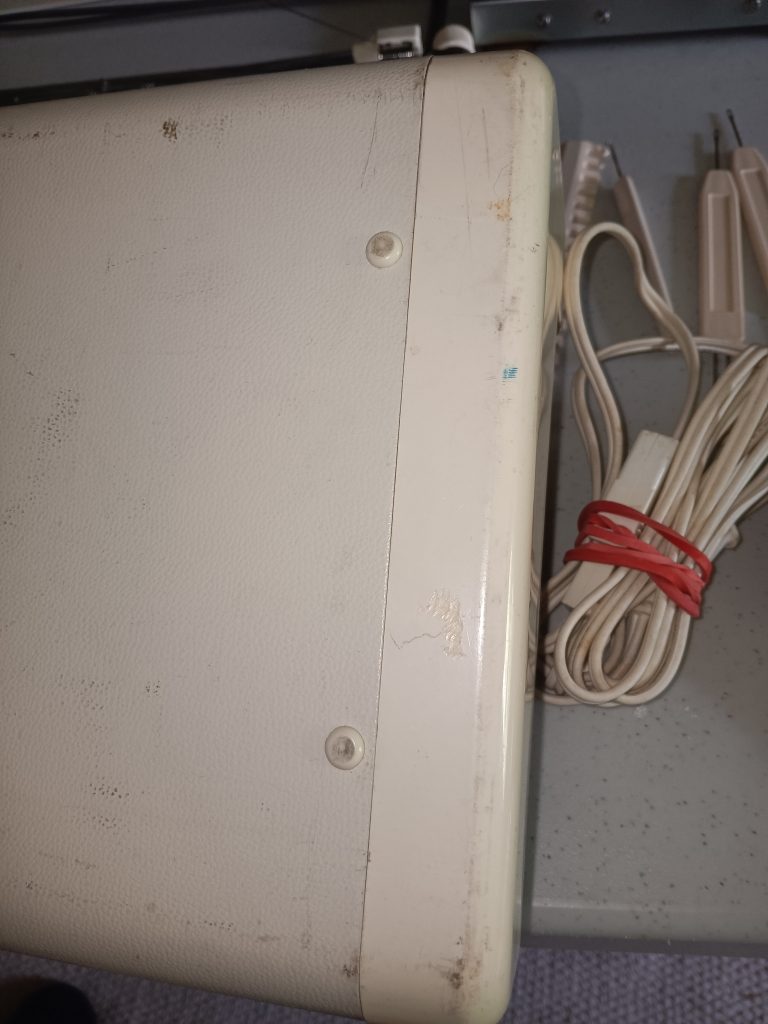
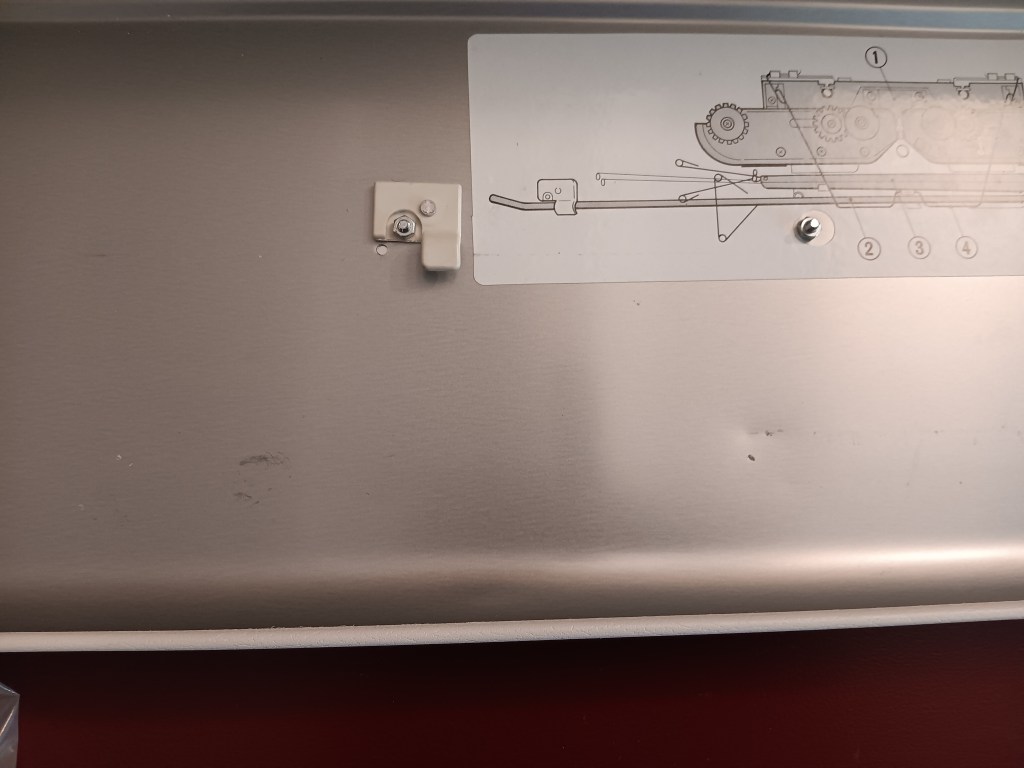
The case (including the end caps and the lid) is in great shape with minium scaffs and scratches. The plastic panels are in great shape too, with minimum discoloration due to the exposure to UV.
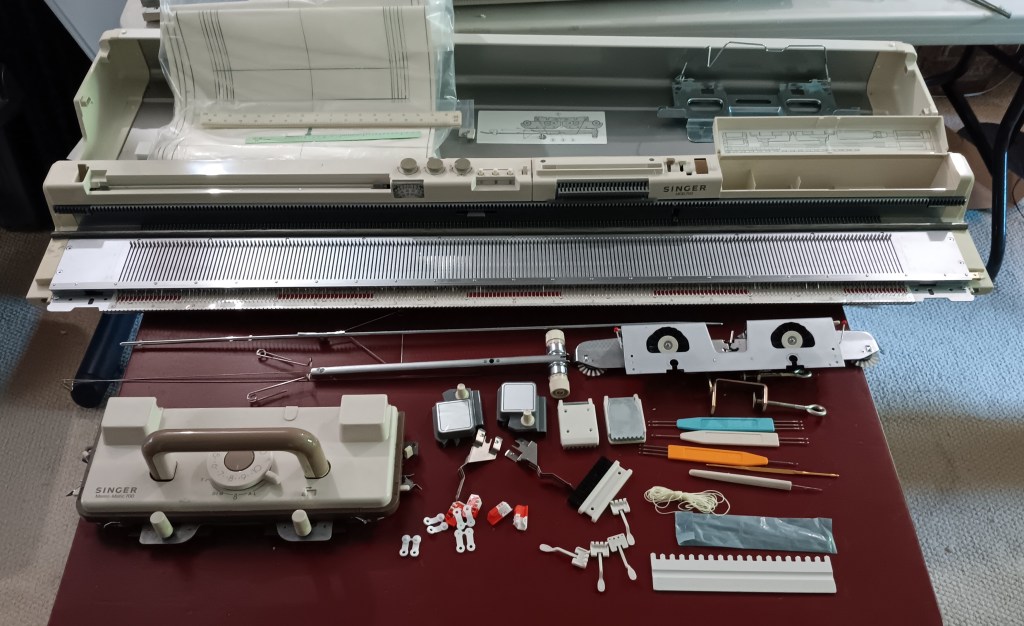
I cleaned the surface of the machine and the inside of it as well. I serviced and cleaned the punchcard mechanism and fine-tuned it to ensure flawless patterning. I opened the carriage and cleaned it thoroughly too, to ensure the drums and all other internal mechanisms move freely. The rubber wheels on the sinker plate were too fragile, so I replaced them with the old stock.

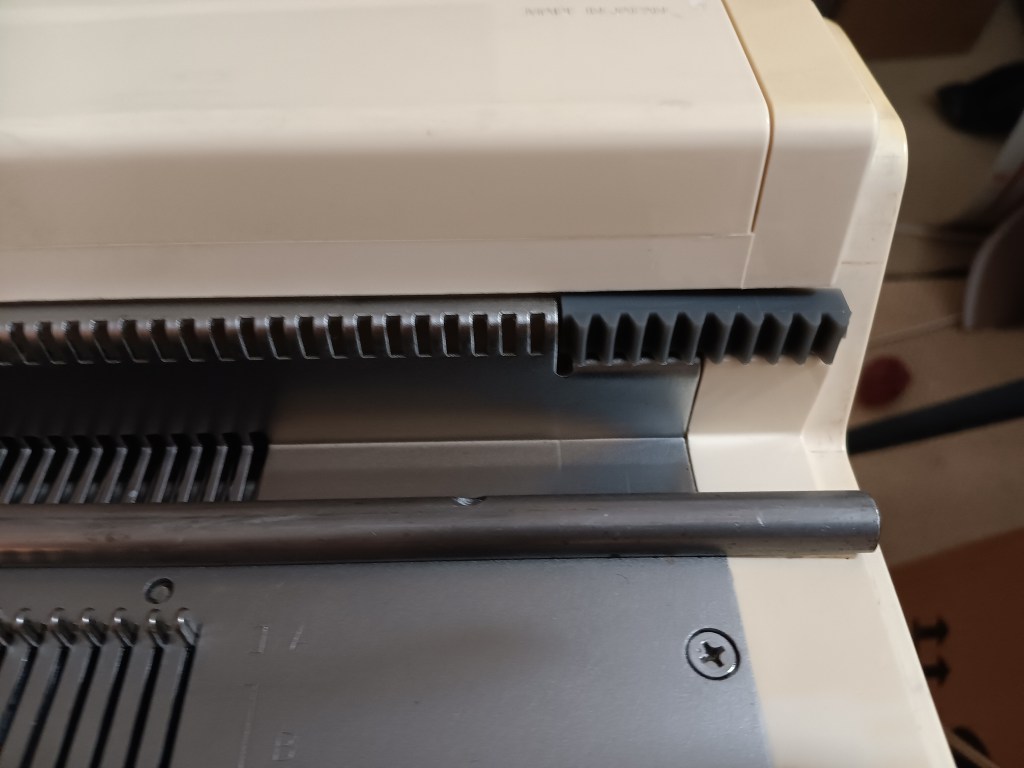
Installed new end racks (new stock).

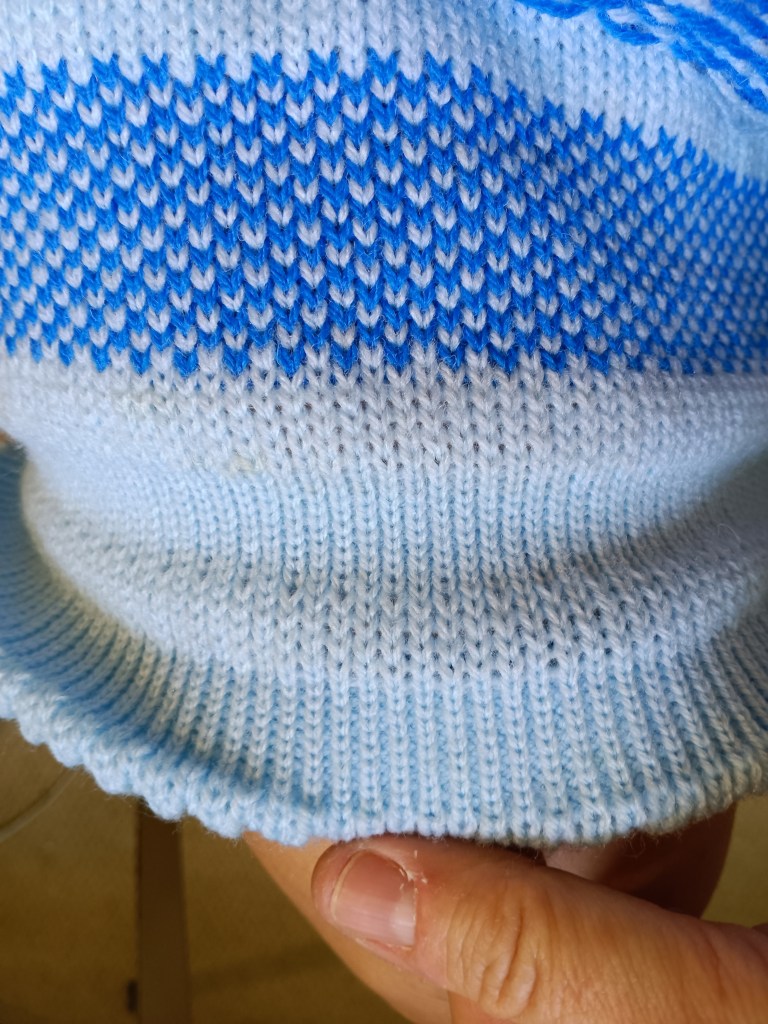
I replaced the sponge strip in the retaining bar. I cleaned and inspected all needles to ensure they are not bent, latches move freely, and form correct stitches. Then I knitted on the full bed (i.e., on all needles) using tuck, skip/part, and two-color fair-isle to ensure that all needles indeed form correct stitches. I used several different kinds of yarns (you will even see in the video that the machine handled a couple of minor knits pretty well). I was very pleased by these tests, as the machine indeed handled well all the various yarns and all stitches formed correctly. The video of these tests is here.
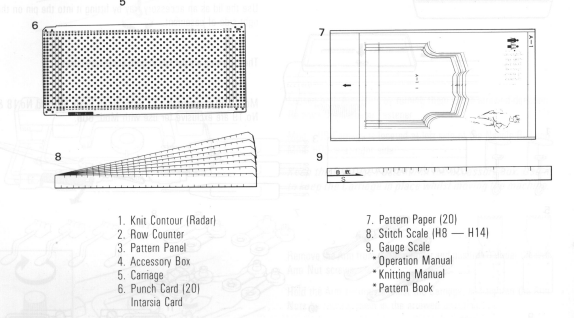
The machine comes with all original accessories for the knit leader.
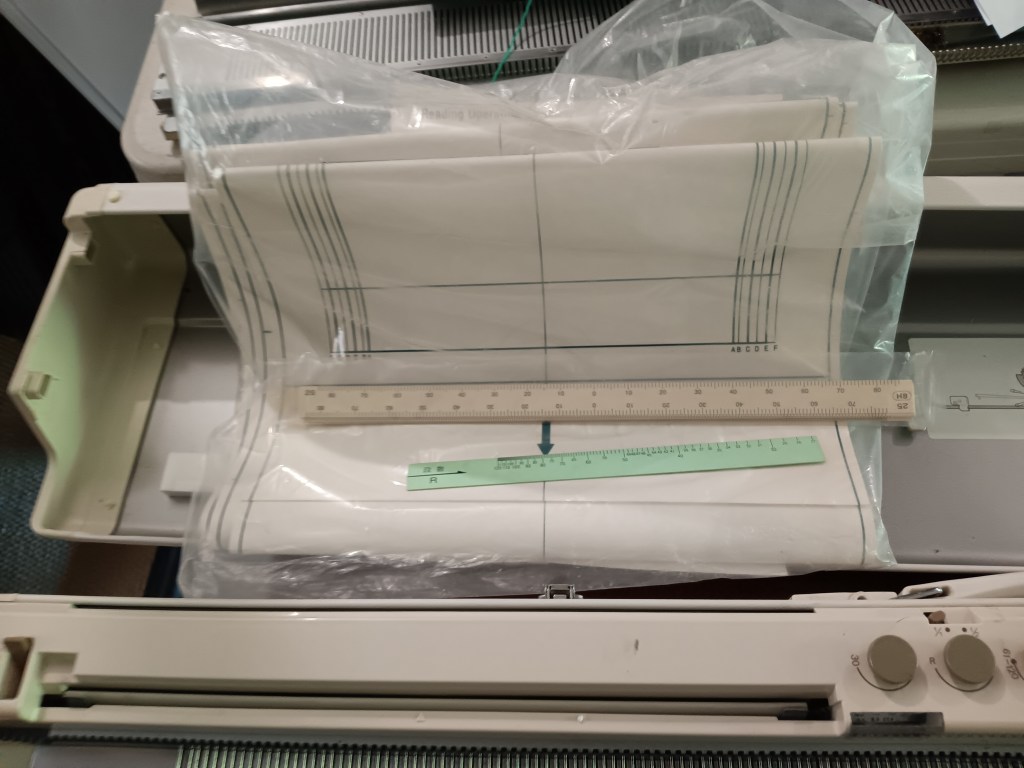
Knit leader was not tested in action but I checked all buttons, levers and knobs: they all move freely.
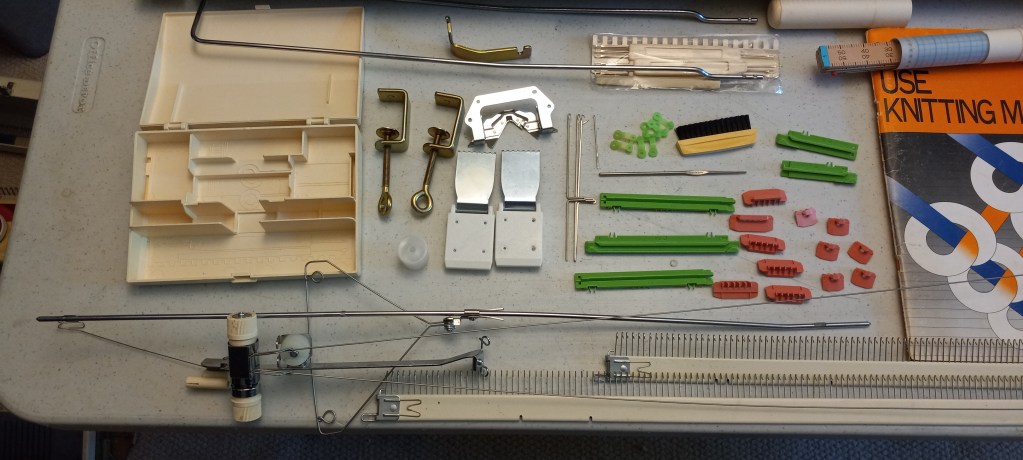
It comes with almost all the machine’s accessories.
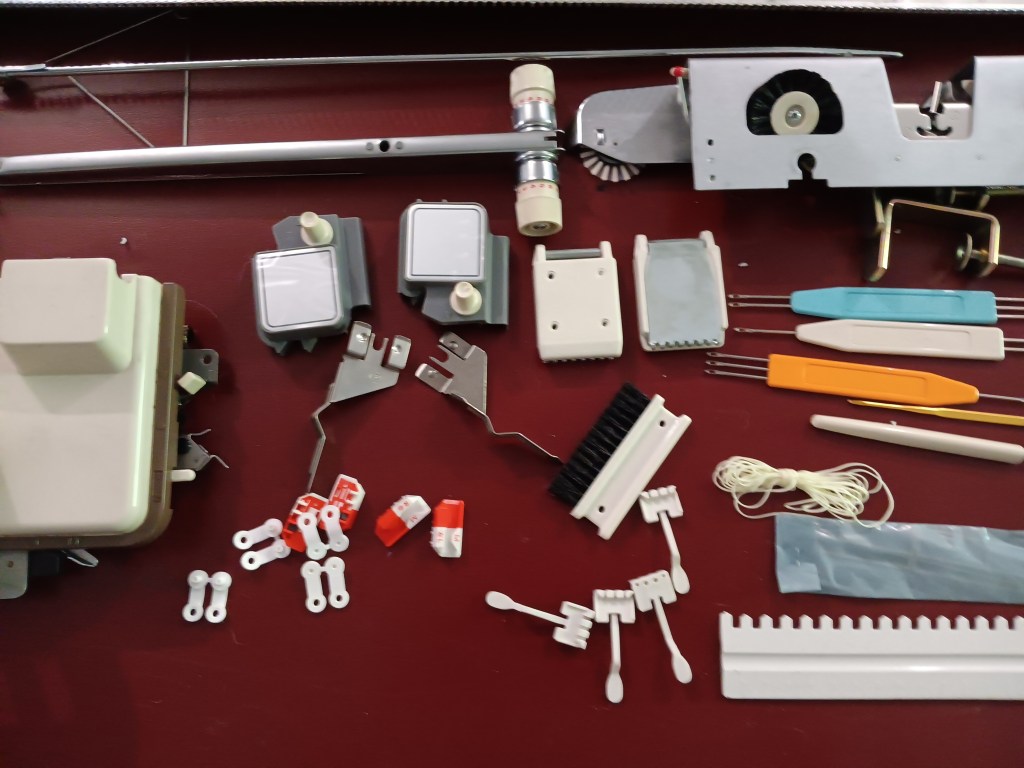
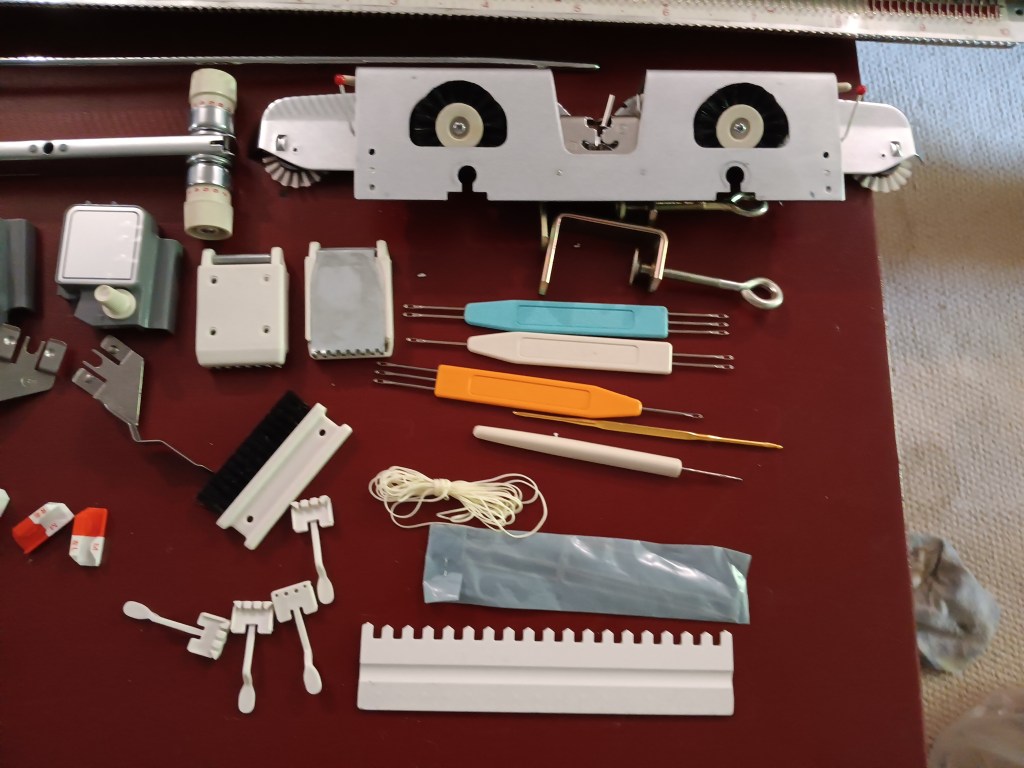
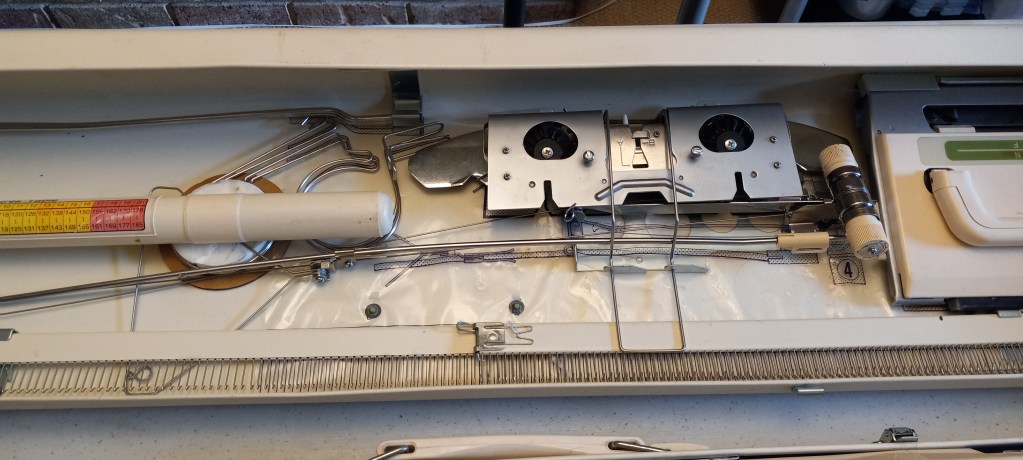
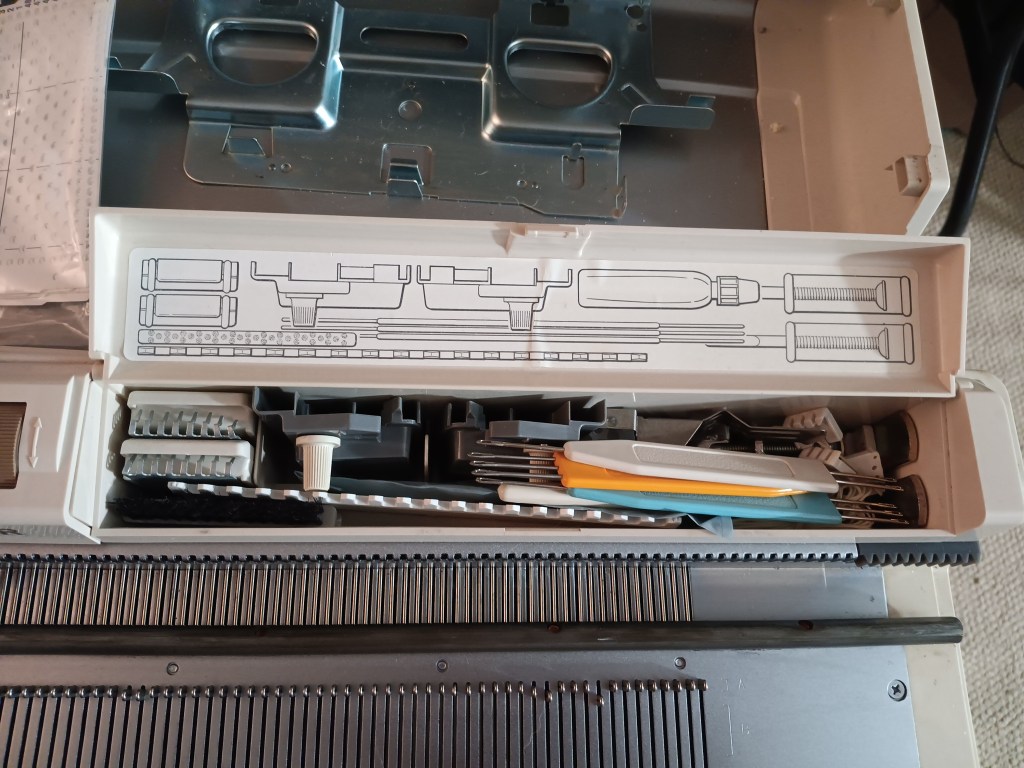
The accessories fit nicely into a built-in box.
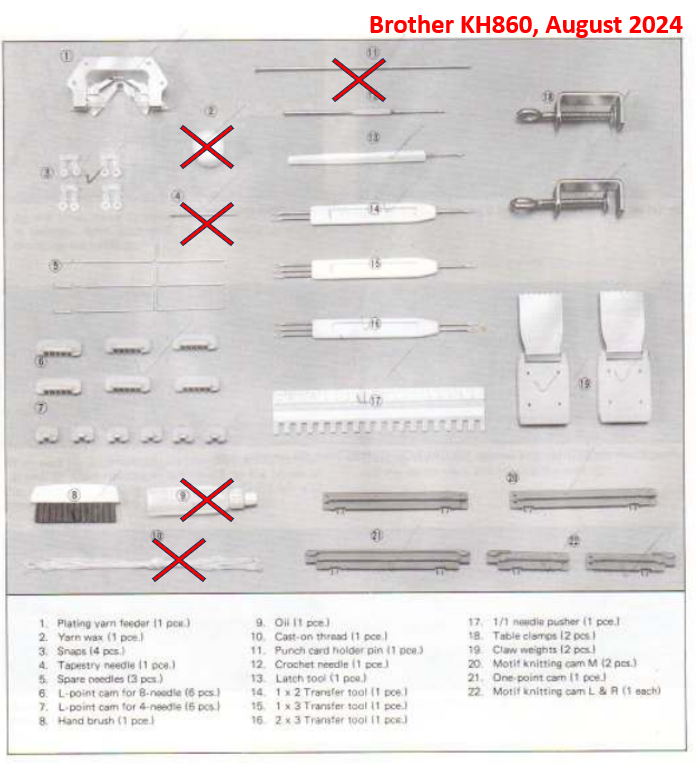
The standard accessories that are missing are: two cast-on threads (only one is included) and the oil (Hoppe’s Gun oil from Amazon is an excellent substitute).
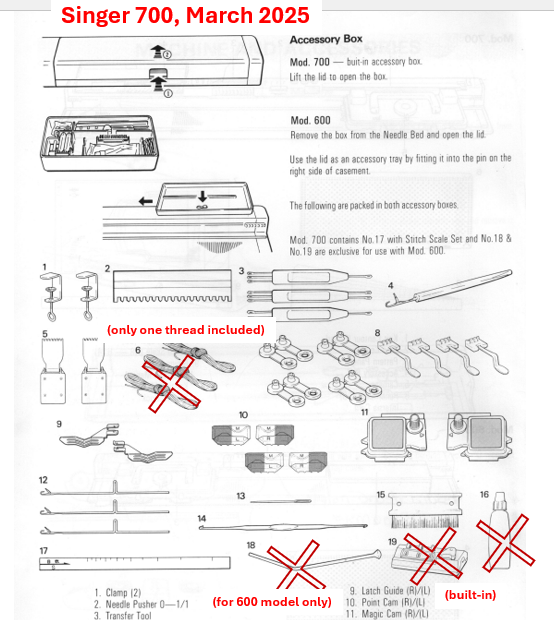
The carriage lock is now shown in the list of accessories but the original metal carriage lock is included.

Note: The machine did not come with the original punch cards. I am including a generic set of 15 punch cards. Also, hard copies of the manuals are missing as well. But they are available online for free: pattern book, knitting manual, and operation manual.

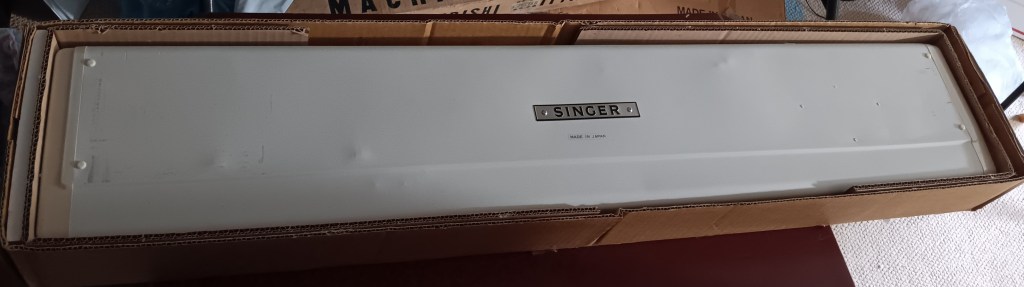
The machine is lucky enough to come with its own cardboard box as well (with a lid).
Now, about Imperfections:

– Because I applied cleaning oils during cleaning, you might notice that some of the oil might bleed out of the carriage (especially when moved back and forth several times), leaving some black-ish residue on the main bed. Just wipe it with a towel and continue knitting. This is not unusual as the oil becomes thinner as the carriage becomes warmer as it moves back and forth.

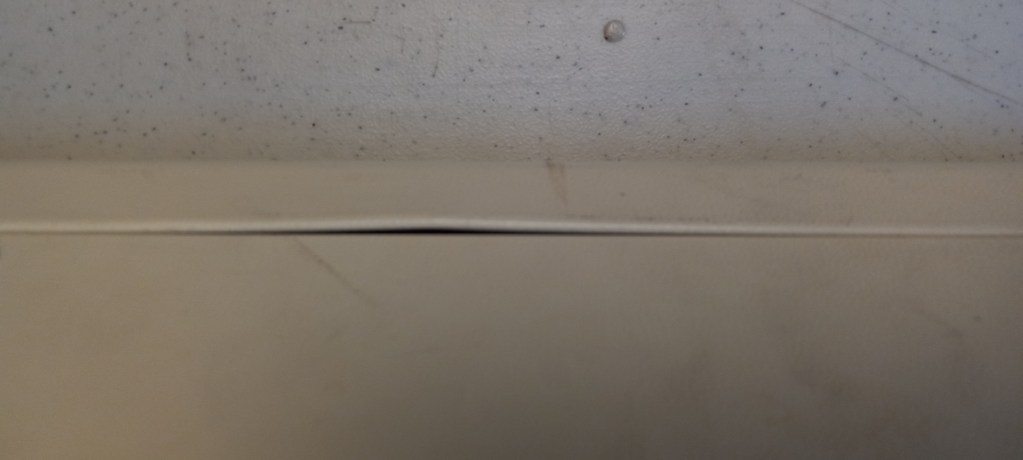
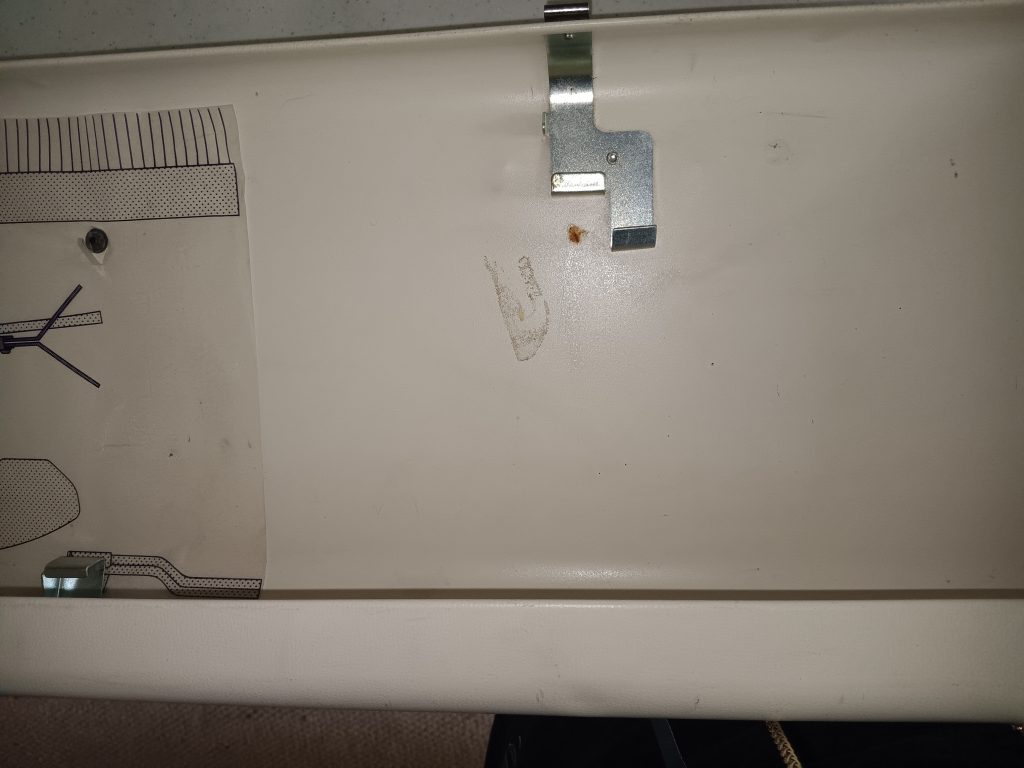
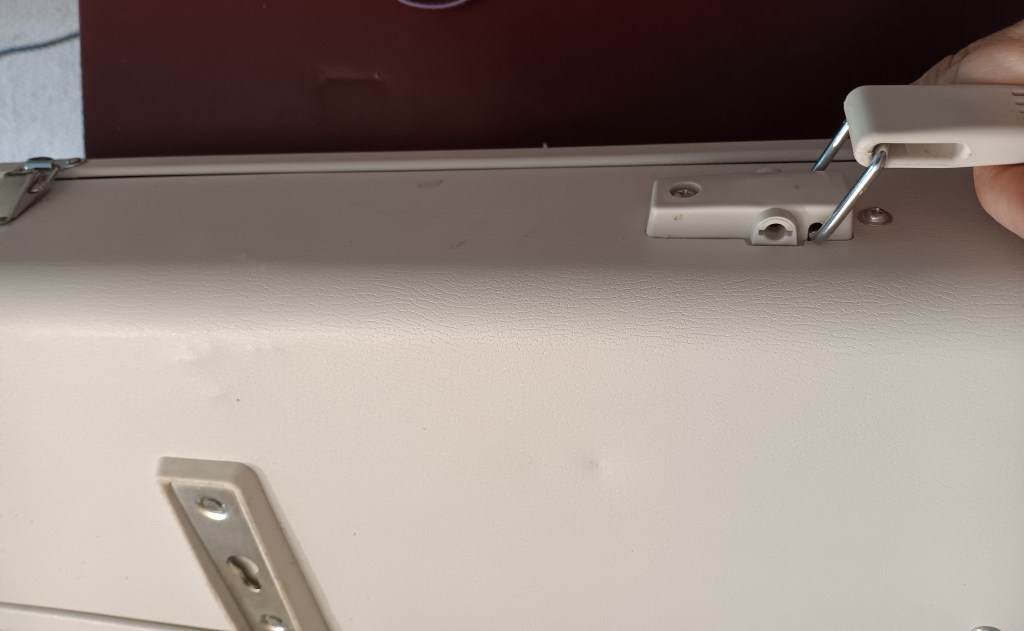
– when the lid sits on top of the main bed, there is a small lip. It is pretty typical for these old machines and does not affect the works of the machine. However, precuations will be needed when the machine is in storage: put it in a plastic bag when stored for a long time.
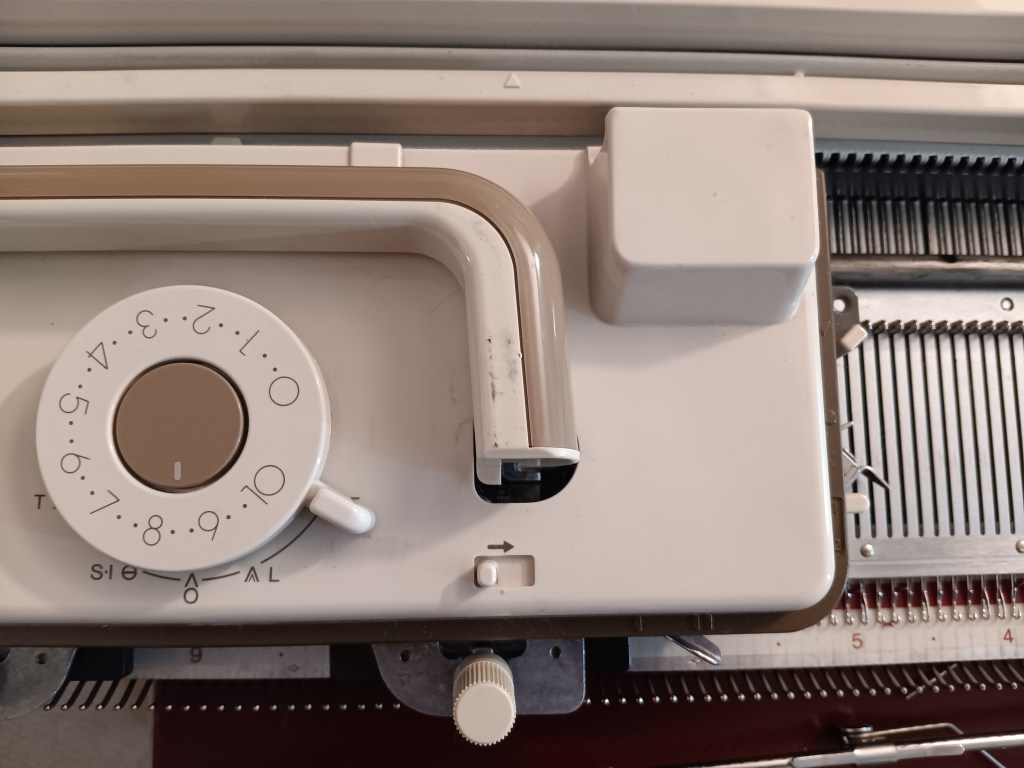
– The carriage handle has some minor scratches.
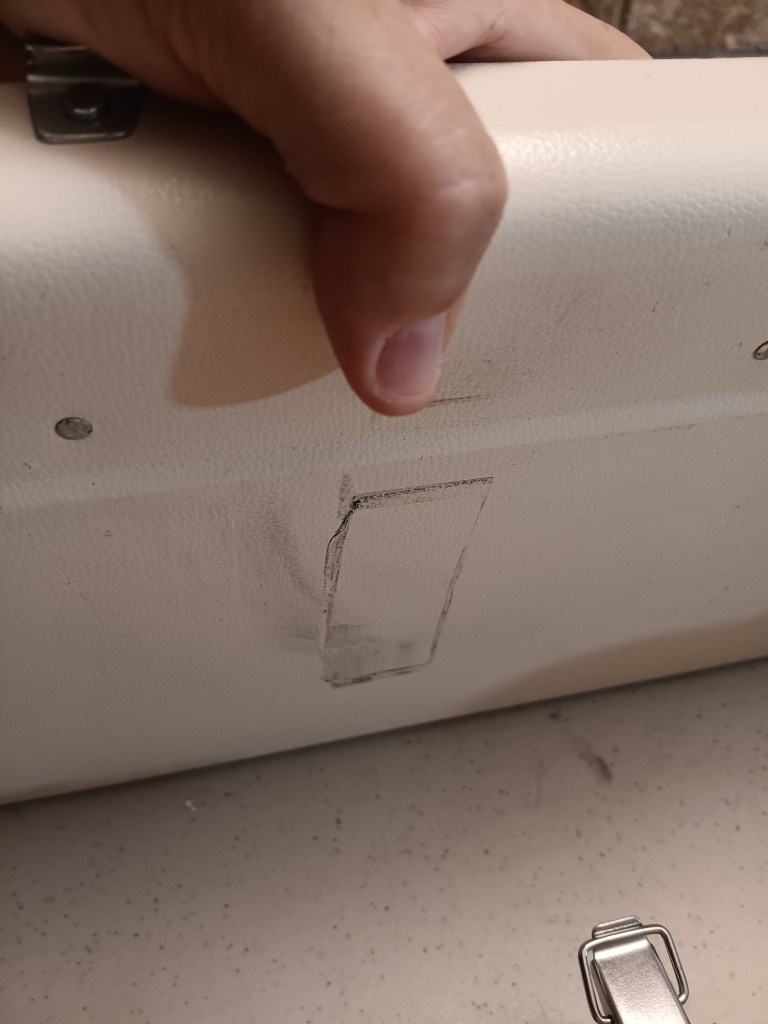
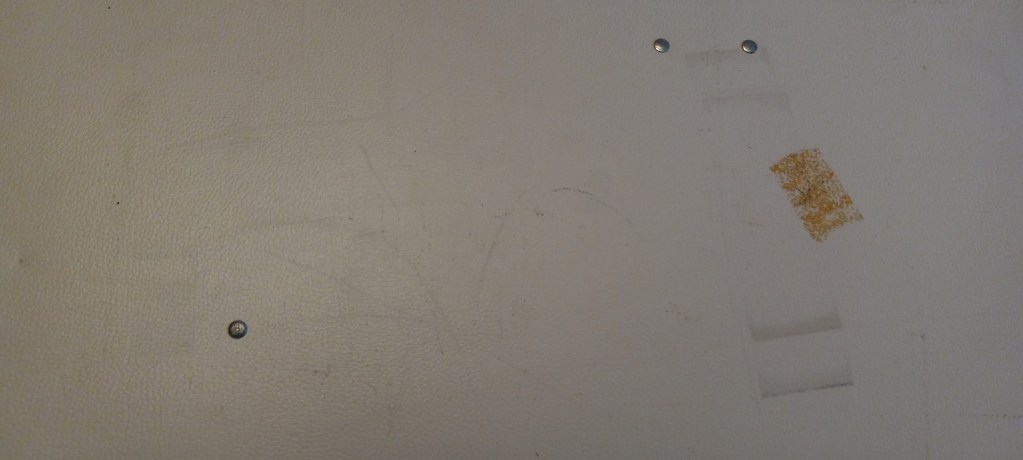
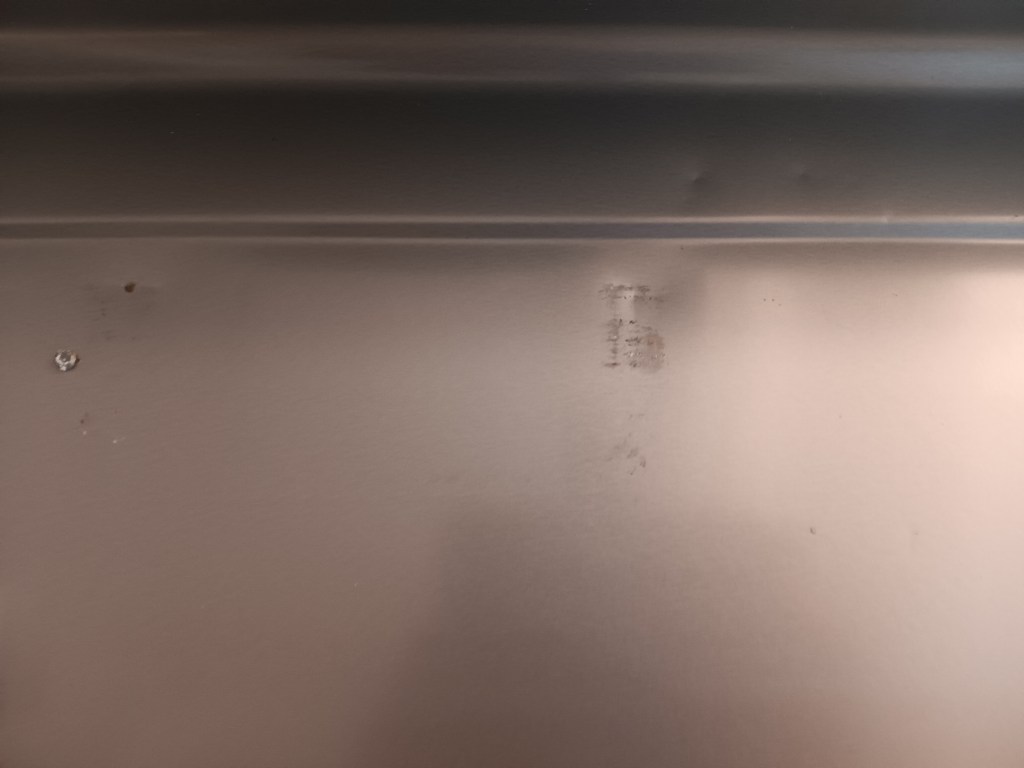
– The case also has some minor scratches and dents. But it is overall in very good shape.
I typically include pictures of an item I made while testing this machine. I indeed made a small blanket and a gift bag, but due to the time contains, they are not quite finished yet.

I think the new owner of this machine will be very pleased with it because it not only looks good, but it works fantastically and has some advanced functions other punchcard machines don’t: like built-in intarsia.
Brother KR830 ribber serviced for Tyan

This Brother KR830 ribber was prepared (cleaned, serviced, and tested) in January 2025. This post is dedicated to this specific ribber. Refer to my Knitting Machine Encyclopedia to learn the pros and cons of Brother KR830 ribbers.

The ribber did not come with a carriage. Thus, I used a carriage from my stash. However, the carriage is from Brother KR850 ribbing attachment (which is a bit more advanced – read here): you can see “lili” buttons on the carriage picture, which are specific to KR850 ribbers only.

However, as shown in my video, KR830 needle bed, KR830 sinker plate, and KR850 carriage worked well in tandem with my Brother KH940 knitting machine. In fact, the carriage slides easily even with the yarn fed through it (as also demonstrated in my video).

Despite being not for the KR830 machine, the carriage works great and is in great shape. All levers, knobs and buttons move on both sides of the carriage.

The ribber came without some other accessories. I put together a set of accessories. All major accessories will be included.

The original cardboard box will not be included. Regardless, the machine will be packed for shipping really well.

The table clamps are exactly those used during the tests. So the angle between the ribber bed and the main bed will be the same. The needle selection ruler is new stock as well.

The aluminum claw weights are new. The rack lever is new (thus, it is lighter in color than all other plastic components).

The hard copy of the manual for the Brother KR830 will be included as well.

Refer to a free manual available online to learn about the functions of the KR850 carriage.

I cleaned the ribber, thoroughly oiled it, and removed old grease. I inspected all needles (individually and then by knitting on the full bed) and replaced the bent and faulty ones with the needles from a new stock.

I dedicated a lot of time to adjusting the distance between the main bed and the ribber. It is one of the most important parameters during knitting.

Knitting on a machine attached to a ribber is often an interplay between the yarn the knitter is using, tension, and the angle between the ribber and the main bed. The distance was adjusted for the thin yarn (boucle) and slightly thicker than the sock-yarn-thickness yarn (see my video).

During the tests, while the tension was chosen too loose for my first yarn, I was losing stitches (shown in my video – see a clip starting at 2 min 30 s). But as I adjusted the tension, the knitting became flawless.

I knitted on the full bed to demonstrate that all needles form nice stitches. If the latches did not work well or if the needles were bent, it would manifest itself as tucked or missed stitches.

Typically, it is challenging to need a full ribbing on the full bed (All needles are in working positions). Thus, I chose an every-other needle ribbing pattern and knitted on two different sets of every other needle.

I would not recommend beginners to start knitting on the full bed since there are several challenges associated with it:

  • hard to insert the side hanging weights when all (or almost all) needles are in their working positions (you can see of bit of this struggle in the video);
  • the knitter needs to pay especially more attention to the carriage position on the edges of the needle bed and to the yarn tension to avoid side floaters (I experienced them – see my video)

Pattern one (see video) had three needles NOT selected on the ribbing attachment. It used slightly thicker yarn. Pattern two had two needles not selected on the left-hand side of the ribber bed. I used thinner but boucle yarn. Both yarns produced wonderful fabrics. I made two great hats out of the knitted panels.

Imperfections:

1. The main bed has two minor rust spots underneath that I covered with the rust-stopping liquid. It is not pretty but at least it prevents further corrosion.

2. The cast-on combs, both small and long, had rust spots that I also covered with Rustoleum. I know it does not look pretty after i applied to liquid but it stops further corrosion. I did not have problems with the yarn catching on the rust spots. These are mostly cosmetic defects.

One cast-on comb side has more spots than the other (on both combs).

The yarn holder looks a bit rusted too but is relatively smooth to touch:

The plastic fine knitting bar is packed inside the ribber itself:

BTW, the hats were donated to a woman, who hand-embroiders the textiles ( as a hobby) and then donated to the women who lost hair due to the alopecia.
Overall, I am very pleased with the performance of this ribbing attachment. Hoping you will be too!

Brother KH860 knitting machine cleaned, serviced and tested in my shop in August 2024

Brother KH860 is a standard-gauge knitting machine with punchcard reading capabilities to select needles according to the pattern of the punchcard. Brother KH860 is a wonderful machine. Read more about its pros and cons in my Knitting Machine Encyclopedia. This blog entry is dedicated to a particular Brother KH860 knitting machine, cleaned, serviced, and tested in my shop in August 2024.
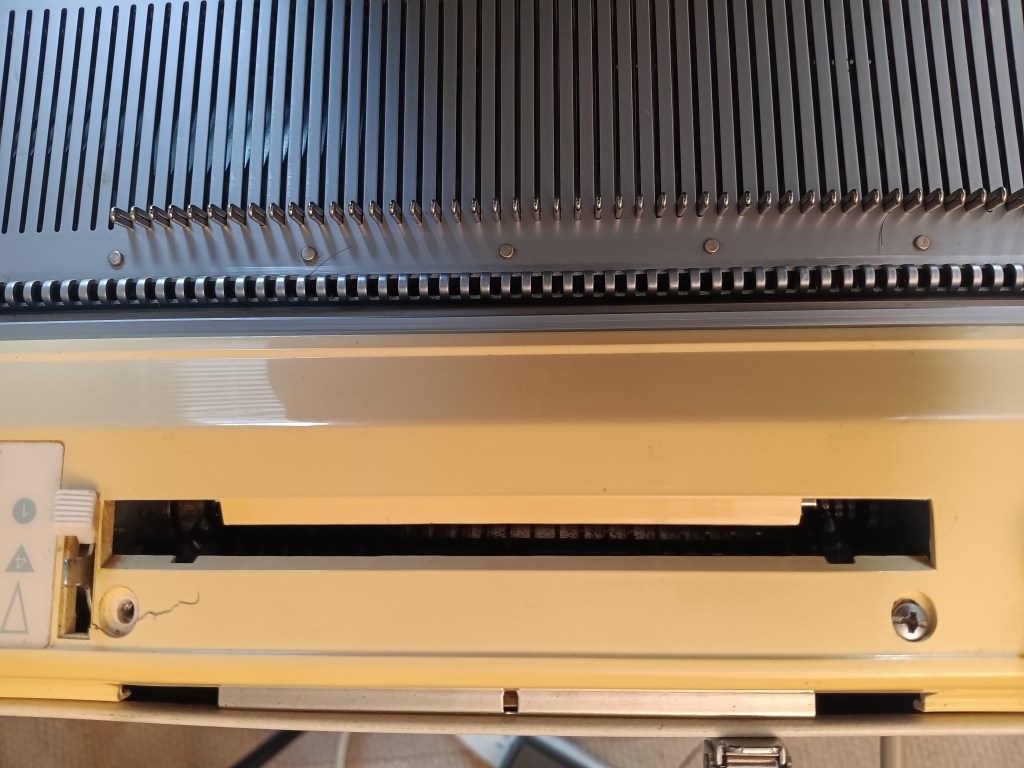
The machine was cleaned, all needles were removed and inspected for bends, faulty latches, and sticky latches…. The needles were cleaned, and polished where needed. The faulty ones were replaced with the new stock.

The sponge in the retaining bar was replaced. The machine was cleaned on the inside (without any major disassembling: I removed the end caps and the top plastic panel). The carriage was deep cleaned. All buttons and levers on the carriage move freely. The sinker plate was also cleaned and inspected. The tuck wheels move well. The brushes are in good shape.

Additionally, I tested the patterning (AKA needle selection) as well as the needle-in-action while knitting on the full bed. The video of these tests is here. The full bed tests included stockinet, tuck- and slip-stitches. I did not test weaving and lace.

I typically like making something when I test these machines just to be able to show something from these tests. And if it is a wearable item, I donate it to charity. So, I converted the knitted fabric into a beret and a Christmas gift bag.

The lace carriage was not tested but all buttons and levers move freely. It is a very simple carriage and extensive testing is typically not needed.

Typically, I use card #1 for patterned tests. It is the card where every other needle (EON) is selected and the position of these EON needles alternates every row. In this case, any mispatterning will be immediately visible. Check out the video: all stitches formed beautifully. Also, for fair isle tests, I use very contrasting yarns where ANY mispatterning will be immediately noticeable.

The machine handles two kinds of yarn types very nicely (one an acrylic blend and 100% acrylic) and no static formed.

Some sources claim that Brother KH860 typically does not come with built-in garter carriage rails. Well, this is already the third KH860 that I came across that had them. Built-in garter carriage rails are great for future accessorization with a Garter carriage.

The machine had all major accessories (I only had to get cast-on combs from my stash – they are shown below in a disassembled state): lace carriage, extension rails, sinker plate, tension mast and of course the main carriage. They all fit into the lid of the case.

The machine came to me with very few minor accessories but I was able to find and collect the replacements.

The claw weights, transfer tools (with 2×1, 3×1, and 2×3 pegs), table clamps, set of motif cams, and the needle indicator strip are all new from the old and new stocks (yeah, new stock is probably a knock-off but serves the purpose).

The missing accessories are wax (it was so old it crumbled), a punchcard holder (a rod that is inserted into the small hole behind the punchcard reader) a tapestry needle (any needle will work – I like plastic needles), oil (get a gun oil on Amazon), and a cast-on thread (I use a strong silky thread or a thin acrylic yarn as my cast-on three).

The absence of these accessories did not affect the functioning of the machine. For example, all the tests shown in my video were performed without them: I did not need to insert a punchcard holder rod into the slot and the punchcards advanced without problems.

The punchcard set that came with this machine is not the original set. The original cards should have been marked with the letter J. Those included with this machine will be marked with the letter S. These cards correspond to those in the manual for the KH868 knitting machine (available for free here).

The hard copy of the manual for the KH860 model will also not be included with this machine but it is available online for free here.

Now about imperfections:

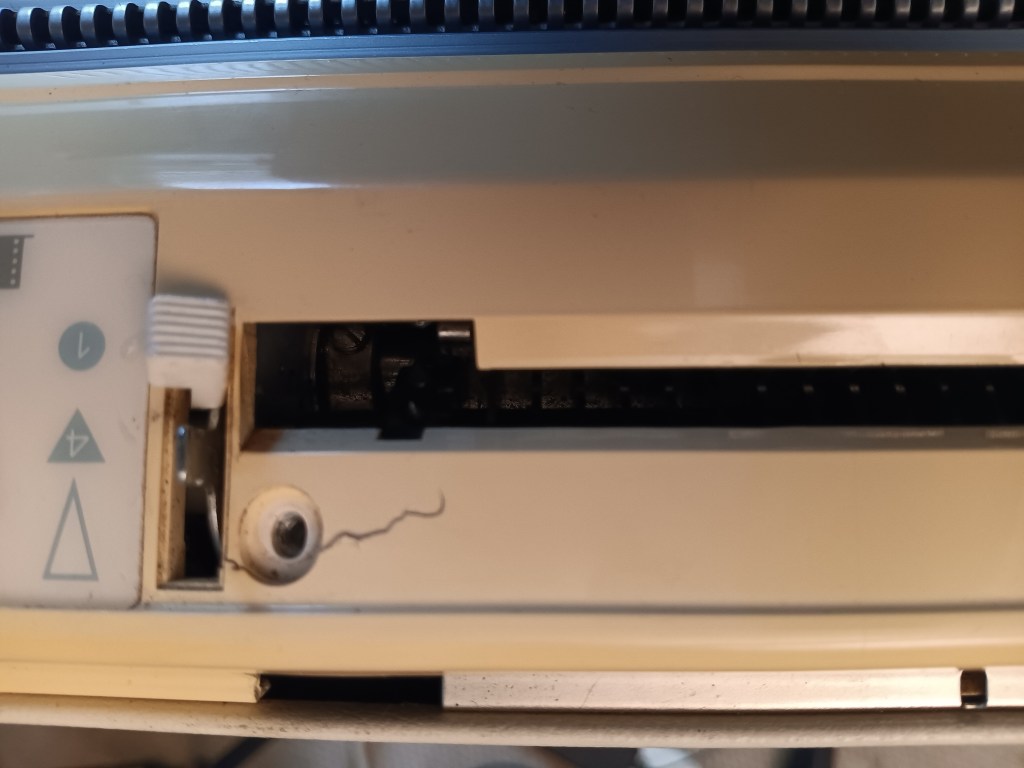
  1. Crack on the plastic near the knob for the punchcard reader. Although cosmetically not pleasing, it did not affect the functioning of the machine and/or the punchcard reader.

2. Because of the garter carriage rails and the carriage stoppers on each end of the needlebed, the carriage gets a bit stuck when pulled too far to the right or to the left (see the last couple of minutes of the video). It is just something that you’ll need to get used to.

3. The lid and the case have some minor stains, scratches, and scruffs. Below are the pictures of some of them. Despite these minor cosmetic imperfections, the overall states of the case and the lid are pretty good. One of the best ones I’ve seen.

Happy Knitting!

Brother punch-card knitting machines: quick reference

All Brother punch-card knitting machines have 200 needles. Except for the Brother KH260 model, all other punch-card Brother knitting machines are standard gauge (4.5 mm distance between needles).

Below is a summary of which punchcards were released for specific machines. Keep in mind that all these cards are interchangeable.

Miscellaneous
Card Set, letter
Standard-gauge machines
Brother KH830-836D
Brother KH840G
Brother KH860,881J
Brother KH890,891M
Brother KH864/868S
KnitKingKK93/KH893R
Bulky-gauge machines
Brother KH260P
Miscalleneous
Garter CarriageB-KG
Ribbers

Needle positions for Brother and KnitKing knitting machines.

Machines/Ribbers Model numbers
Needle Positions

12-stitch punchcard machines
KH800, KH801ABCDIDIIE

24-stitch punchcard machines
Bulky: KH260
Standard: KH810, KH811, KH820, KH821, KH830, KH831, KH836, KH840, KH850, KH851, KH860, KH864, KH871, KH881, KH890, KH891, KH893, KH894


A


B


D


E

Ribbers matching the Brother and KnitKing punchcard knitting machines
KR810, KR830, KR840, KR850, KR890, KR900, RK900ABDE
A – non-working position
B – standard working position
D, DI, DII – patterning positions
E – holding position

More summary information on punchcard knitting machines is coming up.

Brother KH881 serviced and tested in July 2024

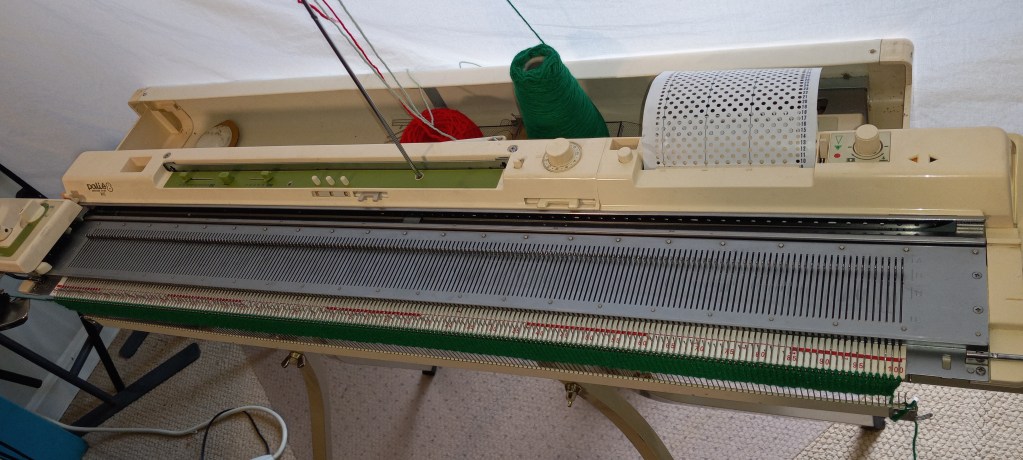
Brother KH881 is a standard-gauge knitting machine with 200 needles and a built-in knit leader. Read more about the pros and cons of the Brother KH881 knitting machine model in a separate blog post. This post is specifically about Brother KH881 serviced and fully tested in my shop in July 2024.

Brother KH881 came to me without a lot of accessories and even without a carriage. I found a replacement carriage and all minor missing accessories.

Most of the other major accessories were present with the machine and almost all accessories will be included.

The still missing minor accessories are:

  • oil: it was old and I had to toss it away (use a Gun oil available on Amazon instead)
  • cast-on thread (you can use any silky and strong yarn)
  • the wax is technically not included but there was a piece still attached to the tension mast and it worked well while I knitted. I will include the plastic case for the wax.
  • A punchcard holder pin is also not included. All the tests shown in my video for this machine were performed without this rod.

These minor accessories are stored in a special toolbox.

The toolbox sits on the needle bed when the machine is stored away.

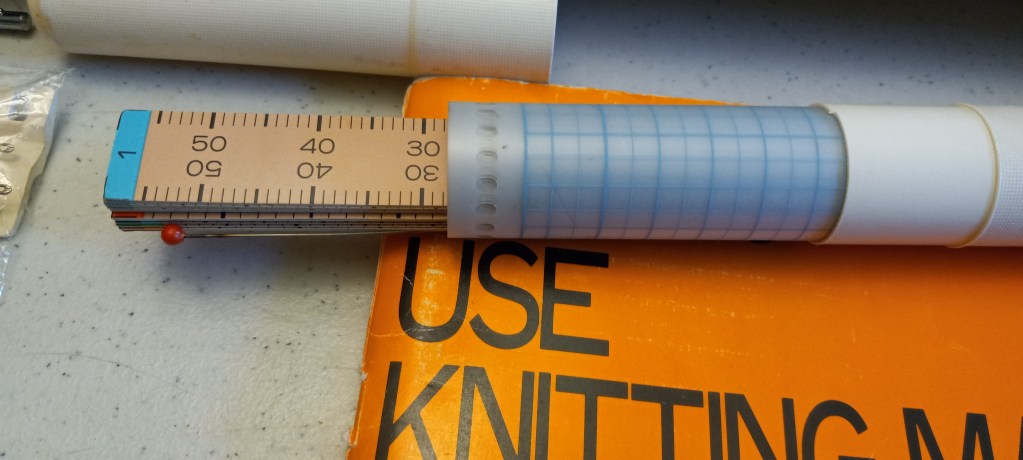
All major accessories are included as well: lace carriage, tension mast, knit leader sheet guides, row counter, cast-on combs, and extension rails. The major accessories fit nicely into the lid. The lace carriage was not tested but it is much simpler than the main carriage, so no problems are anticipated and I checked that all buttons move freely.

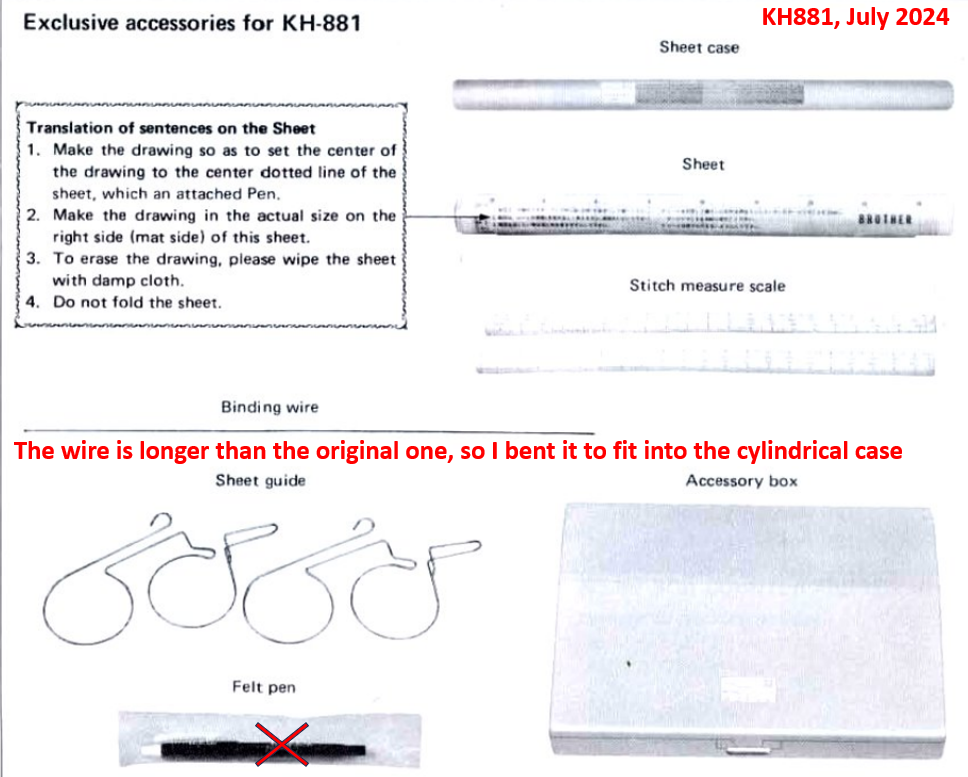
For the knit leader, the only missing accessory is a felt pen (it didn’t write – too old, so I also tossed it away). I read in the online forums that washable Crayola markers work as well as whiteboard markers. To remove, machine knitters advise to use a gum eraser. Depending on the pen, rubbing alcohol on a cotton swab works well too.

The binding wire was originally missing but I included a binding wire from a set from the KL116 knit leader.

The wire I included is a bit longer than the wire that came with KH881. So I bent it to fit into the sheet case. It is very easy to unbend it. The purpose of this wire is to temporarily “seam” the knitted panels together.

So, the punchcard set is brand new – never used. It contains 20 cards, 6 of which are for lace knitting. The machine will come with the original hard copy of the knit leader manual and the hard copy of the instruction manual as well.

THE WORK DONE ON THIS MACHINE:

The machine was deeply cleaned, all needles were inspected, and faulty needles were replaced. The sponge it replaced in the retaining bar. This machine was given a lot of TLC, in particular to the punch card reader and the needle replacement mechanism to ensure they function well. I then ran tests on a full bed to again ensure needle selection on the full bed and that all needles form stitches as they are supposed to.

The knit leader was not tested but I checked and all the buttons and levers move freely and advance when triggered.

Now about the tests:

I tried 4 different yarns on this machine: one blend, and three acrylic yarns. The thicknesses varied too. The machine formed stitches wonderfully with all these yarns. I knitted on a full bed using tuck-stitch, slip-stitch, and fair isle. I used card #1 and other cards (with a 24-stitch repeat pattern) too. I like using card#1 (which has a 2-stitch repeat pattern and thus, every other needle is selected) because it immediately shows incorrectly selected needles. Additionally, any errors will be shown on the fabric (especially in Fair Isle).

Watch the full video of these tests.

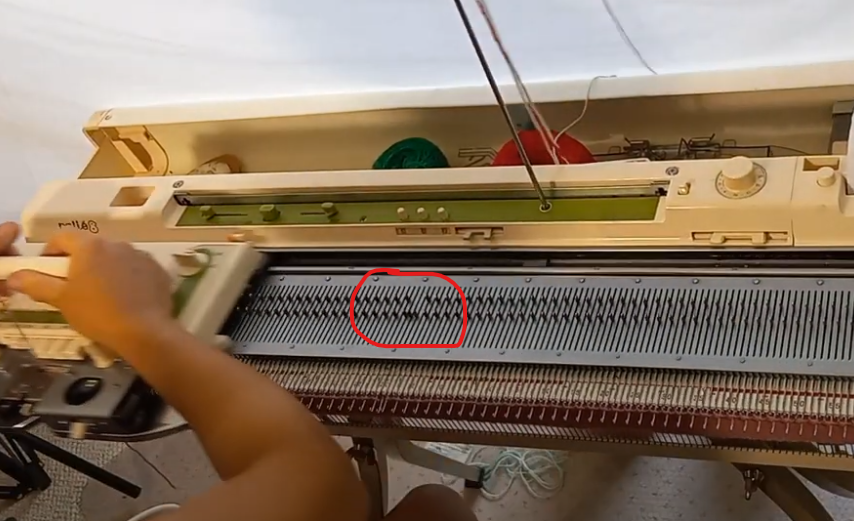
There was only one hick-up during these tests. When I was knitting tuck-stitch with the 2-stitch repeat pattern (using card #1), I did not notice right away that in one place, one needle is selected incorrectly. There was a 3-needle cluster (around left-hand side needle #20) that I did not catch.

Three-needle cluster due to the faulty (and not correctly selected) needle during the tuck-stitch knitting on the full bed.

… And the knitted fabric did not show this flaw (tuck stitch hides the errors well – see the picture below).

Even though the needle was NOT selected correctly around needle #20, the error did not translate in the pattern: all stitches look the same.

So, when I started knitting fair-isle with the same punchcard and 2-stitch repeat pattern, the same needle was not being selected correctly.

… But this time, I was able to clearly see the incorrectly formed stitches (due to the color contrast of the two yarns).

The reason for mispatterning was a bent needle: the end of the needle that gets pushed by the selection plates was out of place due to this bent. After the faulty needle was replaced, I encountered no more problems with the needle selection.

The top pattern was knitted after the faulty needle was replaced: notice long floats around needle #20 are no longer present.

Below is the image showing how the incorrectly-selected needle manifested itself in the pattern.

Below are the things I made from the panels I knitted while testing this machine with various yarns.

Now about imperfections: they are mostly related to the case (minor stains, scratches, and slight bends). See the pictures below.

Additionally, there were some very minor rust spots on the case, which I covered with a special coating to inhibit the corrosion and to cover it up as well (not shown) These rusty imperfections are not visible.

I hope you will consider this machine for your knitting needs.

Happy Knitting!

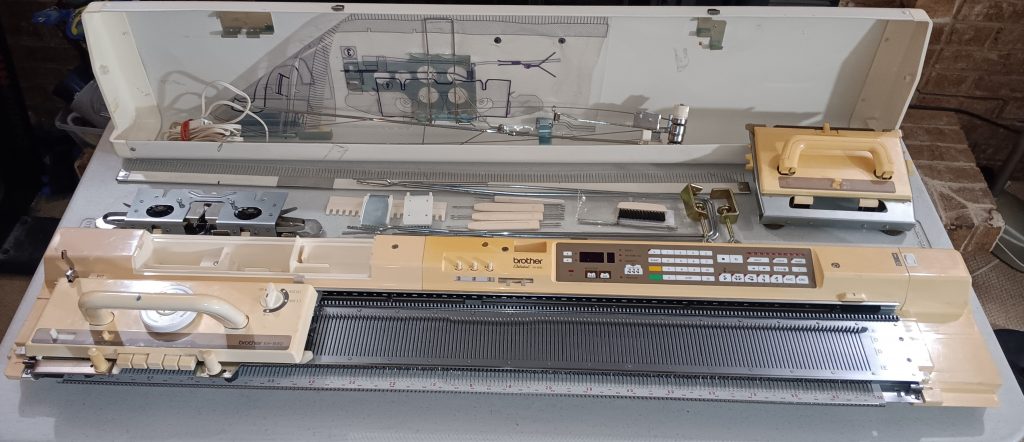
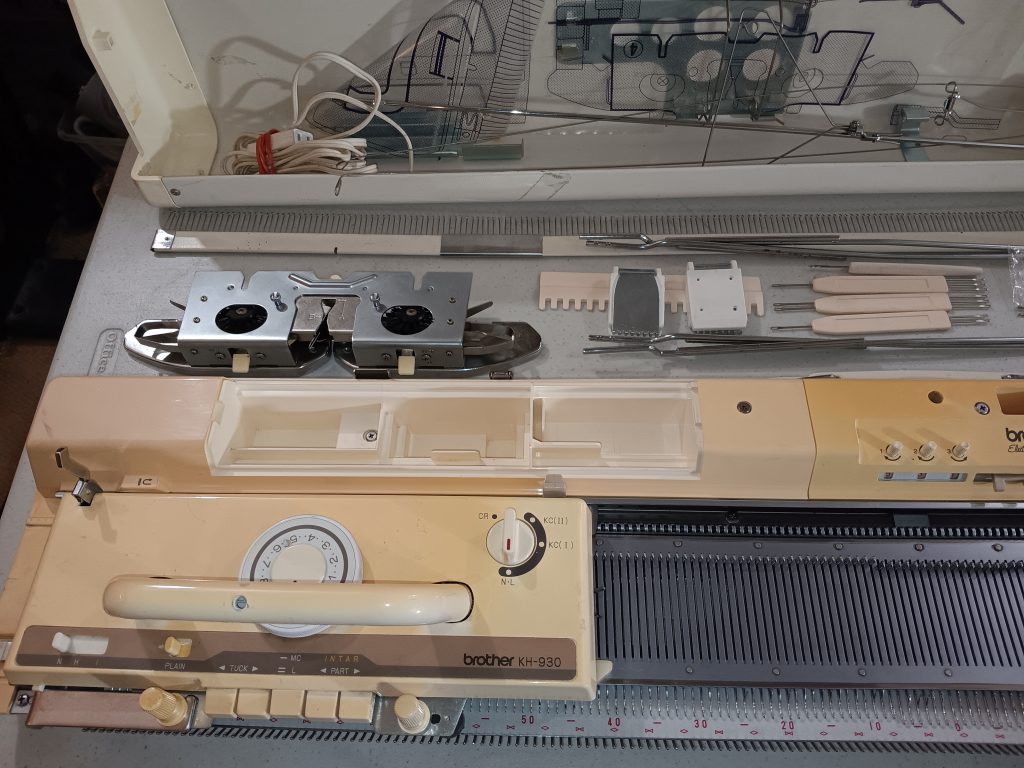
Brother KH930 serviced and tested in June 2024

Brother KH930 is a wonderful knitting machine with electronic patterning and needle selection capabilities. Read more about this model in my Knitting Machine Encyclopedia. This post is about the Brother KH930 machine serviced and tested by me in June 2024.
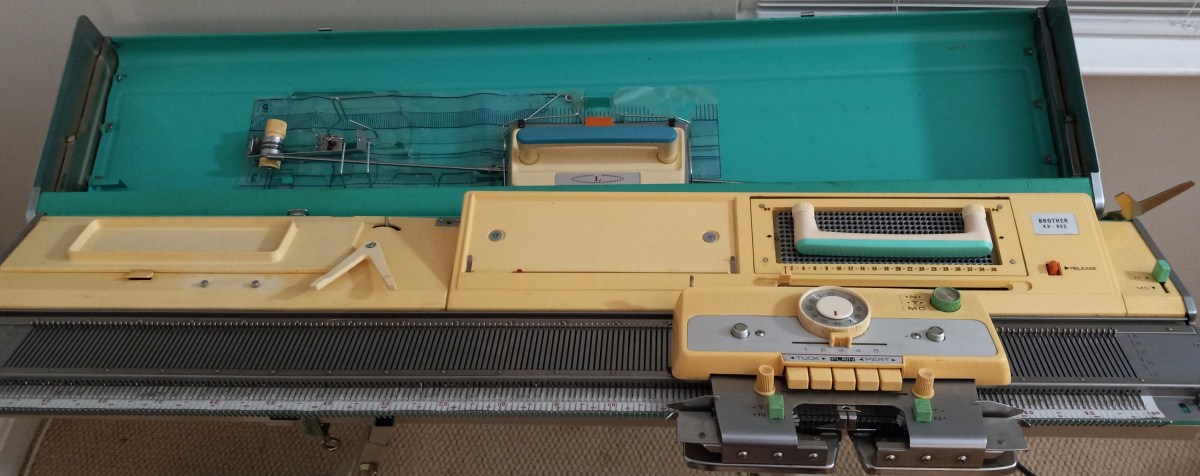
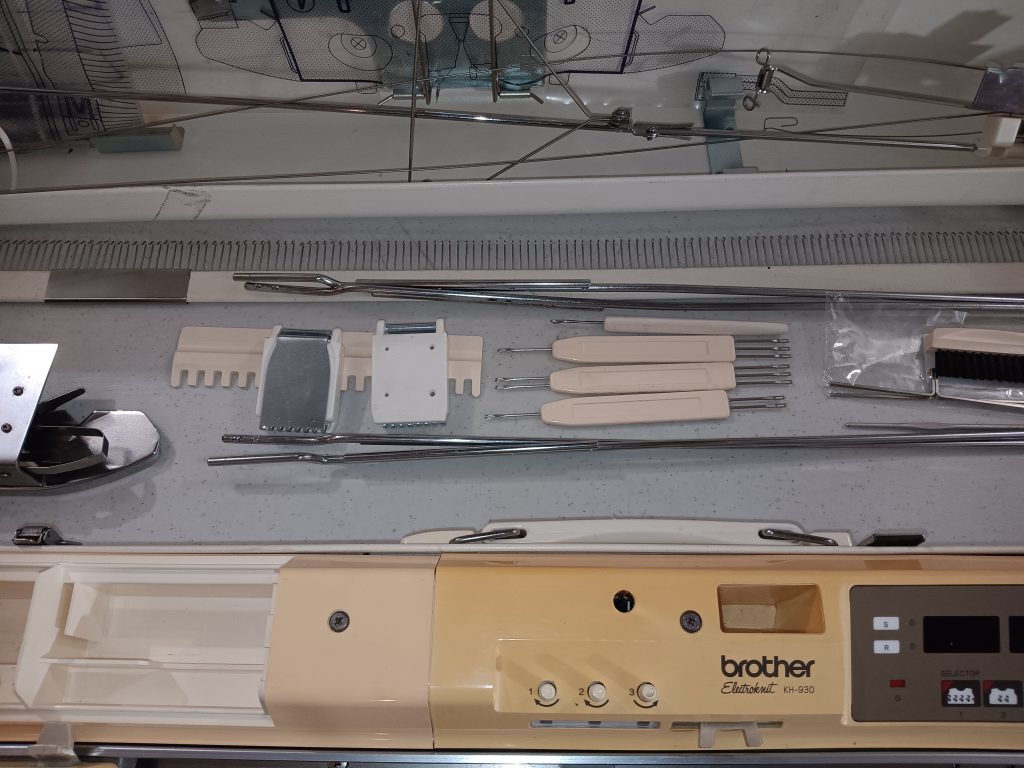
I cleaned the machine. I removed, cleaned, and inspected all needles, and replaced faulty ones. Replaced the sponge in the retaining bar. Assembled a set of accessories (read more on that below).

I then tested the machine on a full bed. I knitted slip- (part), tuck- and fair isle patterns on all 200 needles (to ensure all needles form correct stitches). I used built-in patterns in the machine’s memory. See the video of these tests. All stitches formed wonderfully. The carriage moved very freely.

Lace carriage was not tested but all buttons move freely.

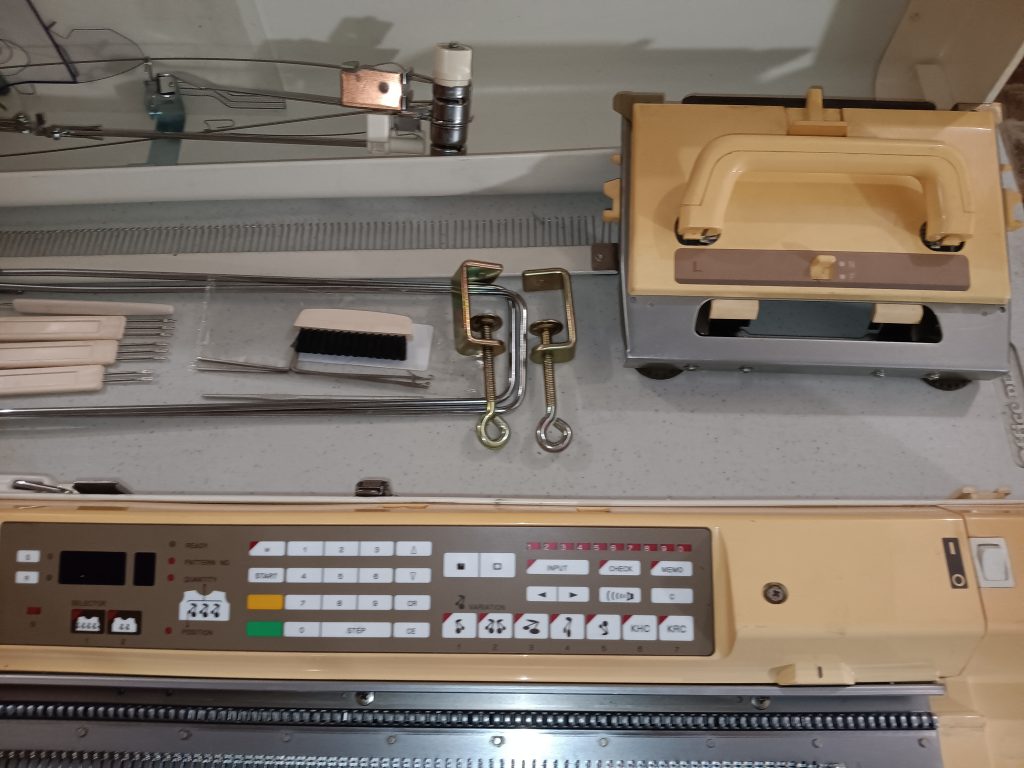
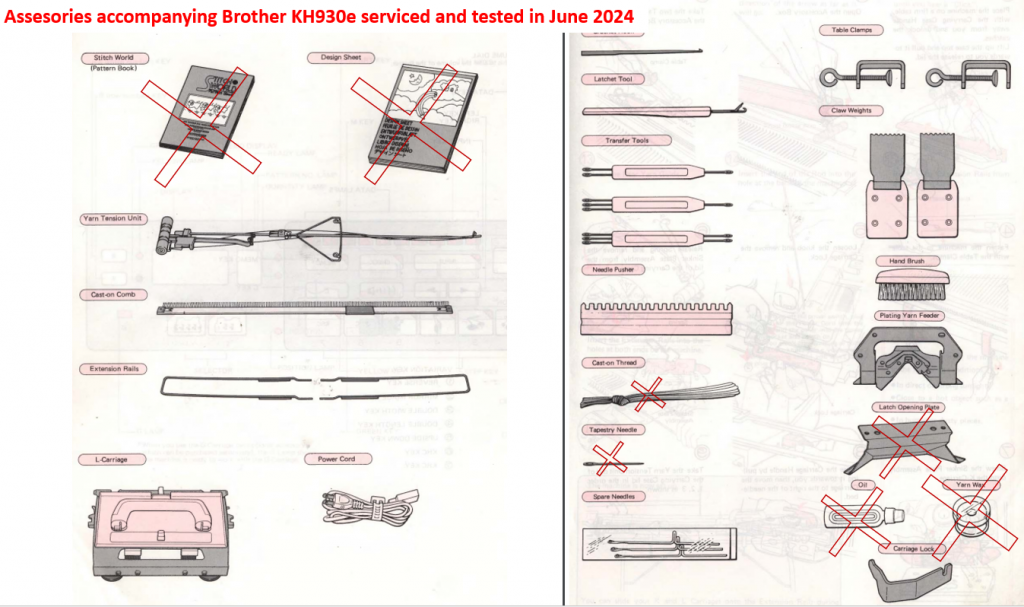
The machine came without most accessories so I put together the set from my stash. So a lot of minor accessories are brand new. All major accessories are included. Some minor accessories are missing.

The missing tools are:

  • unravel cord (any smooth and strong yarn will do; I often use thin acrylic yarn).
  • wax for the yarn (but the tension mast came with some wax already attached to it. I’ll pass it on on the mast).
  • oil (buy gun oil on Amazon instead)
  • tapestry needle (any needle will work)
  • latch opening tool (you can substitute it easily with a thin piece of plastic – cut a credit card/grocery rewards card in two triangles and use it instead).
  • hard copy of the manual (but can be downloaded for free)
  • stitch book (a pdf copy is available for free)
  • design paper (it is simply a large graph paper – any graph paper will work if you want to draw your own pattern).

None of the missing minor accessories are critical. The machine can fully function and be used without them.

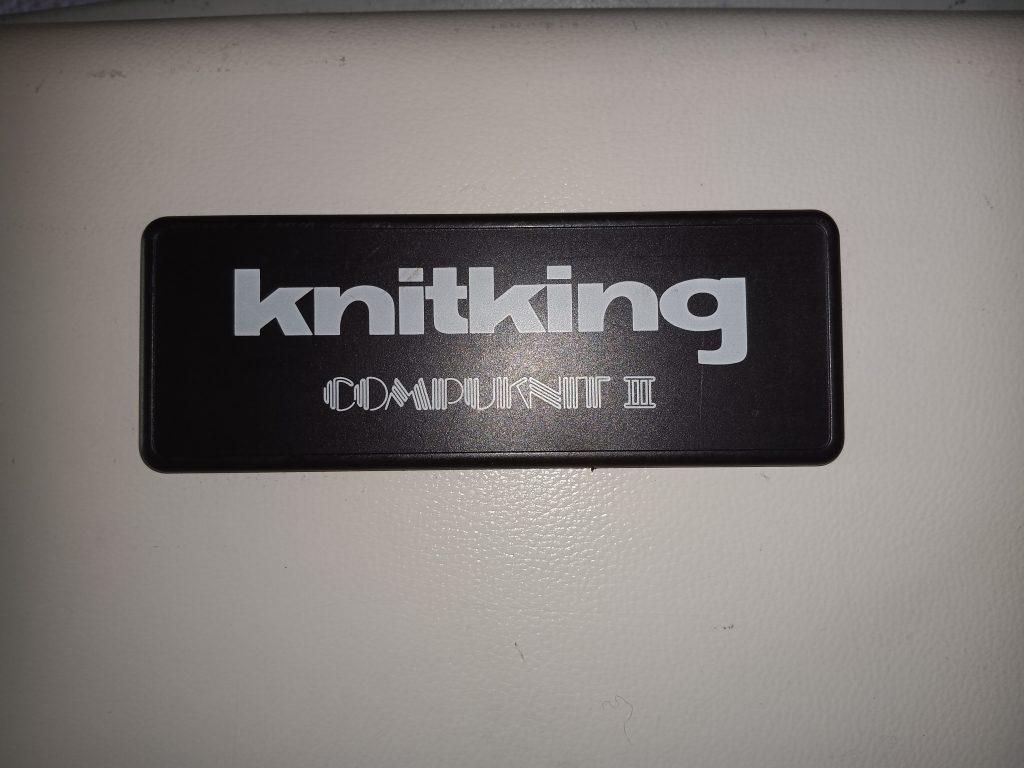
A brand new set of needle transfer tools and selection ruler as well as brand new claw weights are included. The machine also came without a lid. The case lid that will come with this machine is from a KnitKing CompuKnit III model (which is the same machine). So, please, do not be confused about the name when you see it on the lid.

The other minor imperfections of the machine are:

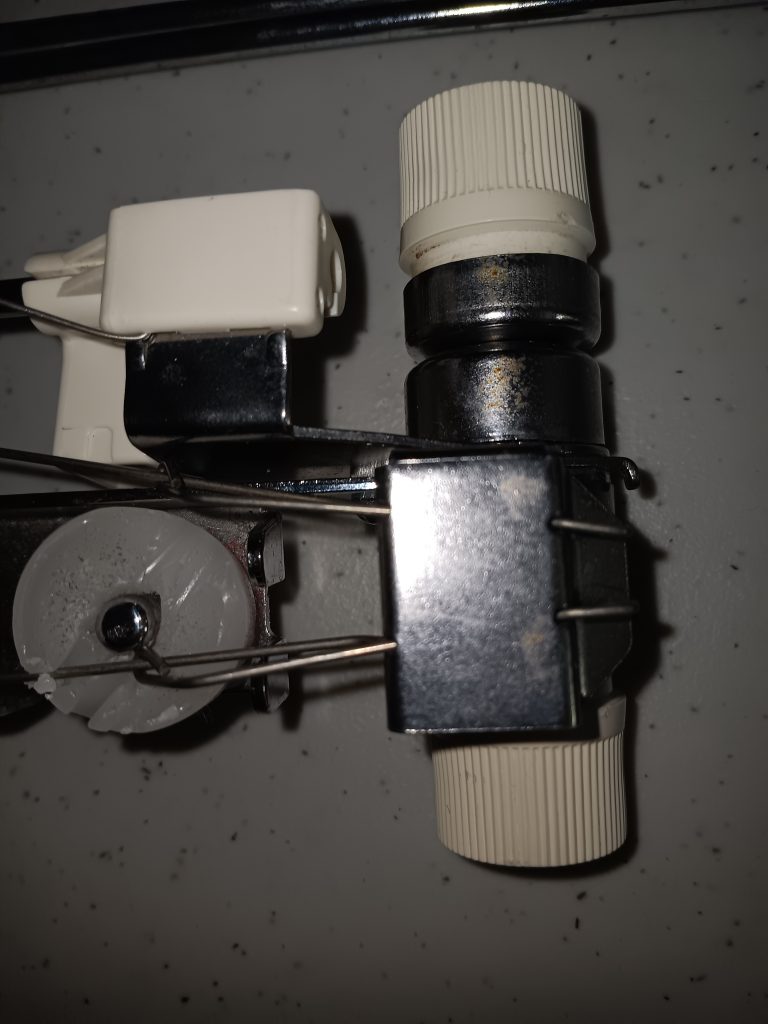
The tension mast has very minor rust spots.

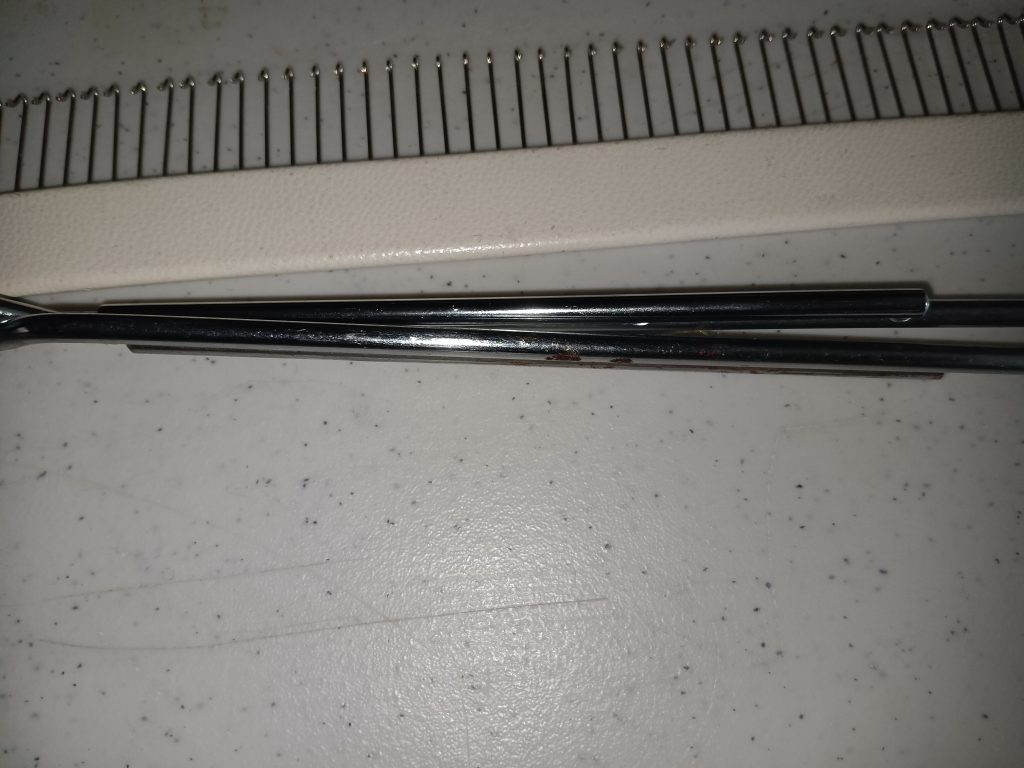
There is very minor rust on the extension rails.

The case has some minor bumps, scratches, stains and one medium-size dent. The case itself has also lots of minor scratches and some stains (too many to show).

The handle on the main carriage has a hole – probably the machine was attached to the motor by the previous owner. The tension dial has an indent between numbers 5 and 6.

None of these minor flaws affected the working of the machine. Do not wait – purchase this hard-working beauty before it is gone!

Needle positions of various flat-bed knitting machines and ribbers

Brother Knitting machines

A – non-working position

B – standard working position

C, DI, DII – patterning positions

E – holding position

Machine Model number
Needle Positions
Basic (manual) knitting machines
KM100, KH355, KH360, KH370, KH380, KH390, KH395ABCD
KH210, KH220, KH311ABCDE
KX350, KX395ABDE
KX355unknown
4-Pushbutton machines
KH35, KH212, KH218no indicators
KH511ABCDE
KH521, KH531, (Profile) KH551ABCDIDIIE
8-Pushbutton machines
KH110, KH120, KH552, Profile 585, KH587, KH588, KH705,
(Genie) KH710, KH601
ABCDIDIIE
KH561, KH571, KH581, (Profile) KH583, (Profile) KH585ABCDE
KH811 (also 24-stitch punchcard)ABDE
12-stitch punchcard machines
KH800, KH801ABCDIDIIE
24-stitch punchcard machines
Bulky: KH260
Standard: KH810, KH811, KH820, KH821, KH830, KH831, KH836, KH840, KH850, KH851, KH860, KH864, KH871, KH881, KH890, KH891, KH893, KH894
ABDE
Electronic machines
KH900, KH910, KH920, KH930, KH940, KH950, KH965, KH970ABDE
Ribbers
KR551ABC
KR110, KR120, KR586, KR710, KR810, KR830, KR840, KR850, KR890, KR900, RK900ABDE
KR582unknown

KnitKing Knitting machines

A – non-working position

B – standard working position

C, DI, DII – patterning positions

E – holding position

Machine Model numberNeedle Positions
24-stitch punchcard machines
Bulky:
Standard: KH881, KK91
ABDE
Electronic
Compuknit IV,ABDE

Silver Reed Knitting machines

Machine Model number
Needle Positions
SK120,ABDE

Two-color Fair Isle patterning on Brother KH800 and KH801 knitting machines.

These unique knitting machines, Brother KH800 and KH801, make it super easy to make punch cards and knit various patterns.

However, as I started to explore the steps on how to knit these various patterns, I discovered that the manual does not really present all the steps clearly, especially for the two-color fair isle knitting. So, a combination of researching manuals of similarly (with a ratchet) working push-button machines and my own trial & error, will be presented to you below as an attempt to ease up your learning of how to operate these wonderful machines. I also made a video of how I knitted a fair isle on my own Brother KH800 machine.

Before you even start, take a look at your main carriage. Find the N/T/MC knob in the top-right corner (we’ll need the MC settings). Please find the button on the carriage (we’ll need to push both PART buttons in). The slide lever on the carriage is on the settings “3”.

The change lever on the right-hand side of the needle bed in the top corner should be moved to MC.

These are the components we need to pay attention to to change to knit fair isle on Brother KH800 and KH801 knitting machines.

Preparation: knit several rows of stockinet in the main color. The second yarn is threaded into the left-hand side wire of the tension mast.

Step 1. The carriage is on the left side. On the carriage, set the change knob to MC and establish the desired tension (a two-color fair isle is recommended to knit at higher tension numbers). MC change lever is also at the MC setting. Holding cam lever (HCL) is at the setting “3”. Insert a desired punchcard and pull the step indicator up (“unlock” position) so it advances every time we knit one row.

Step 2. Move the carriage to the right. All needles will shift to DI position. Push both PART buttons on the carriage. Double-check your tension. Guide/insert the second yarn into the slot on the left side of the sinker plate.

The manual for the KH800/KH801 knitting machines does a very poor job of showing how to insert/guide the second yarn into the slide slot of the sinker plate. I found an excellent demonstration in the manual for the KH710 knitting machine, which has very similar steps to the knitting fair isle. Also, watch my video on how I did it.

Step 3. Move the ratchet tool to move the needles according to the punch card. Notice they will split into the DI and DII positions. The needles that will knit with the second yarn remained in the DI position. The needles that will knit with the main yarn will move to the DII position. Move the carriage to the left while holding the second yarn gently (watch the video).

Step 4. Before moving the carriage back to the right, activate the needle selection for the second row: move the ratchet tool. As you move the carriage to the right, place the contrasting yarn onto the right-hand side guide of the sinker plate. Also, make sure that the row indicator moves after you pass the V-shaped trigger. If the row indicator does not move, pull it upwards.

Continue these steps.

The same approach can be used on fair isle patterning on pushbutton machines, like Brother KH585, KH588, KH581, KH552, KH601, etc. The carriages for the pushbutton machines and for the 12-stitch punchcard models KH800 and KH801 are the same (except for the slide lever – the 8-pushbutton machines have side levers for the same purpose). Thus, after the needle selection, all consequent actions are very similar for all these machines.

Happy Knitting!

Brother KH800 knitting machine, serviced and tested in March 2024

Brother KH800 knitting machine

$625 machine + $110 shipping (with insurance)

$735.00

Click here to purchase.

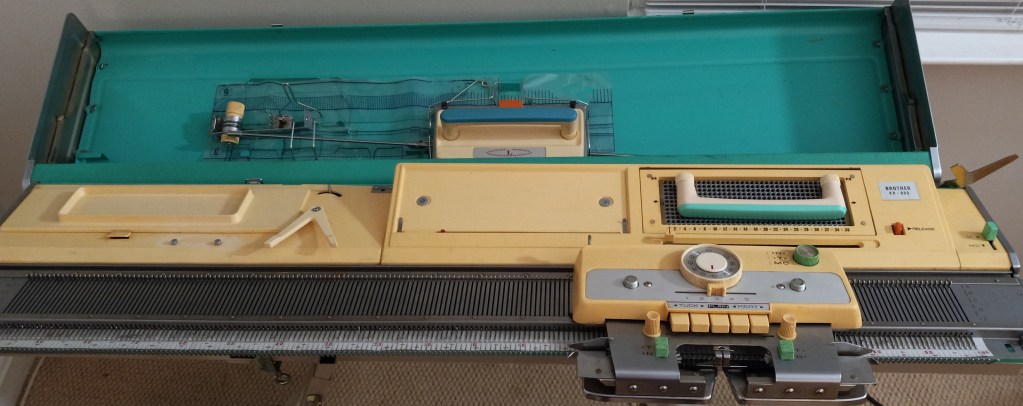
This blog is about a specific Brother KH800 knitting machine, which I cleaned, serviced, and tested in March 2024.

To learn about the Brother KH800 model, with all its pros and cons, read my Knitting Machine Encyclopedia.

All needles were removed, cleaned, serviced, and inspected. The sponge in the retaining bar was replaced. The case and the lid were wiped thoroughly but I did not subject the case and the lid to excessive rubbing to remove all staining. So some stains remain. The same applies to the plastic panel: I was able to remove most of the dirt and grime but some minor staining might still be visible.

I installed new weaving brushes (it is typically a pain in the butt to do it – so take good care of them). The old ones completely fell apart. They are not black as the original ones but white with strong bristles.

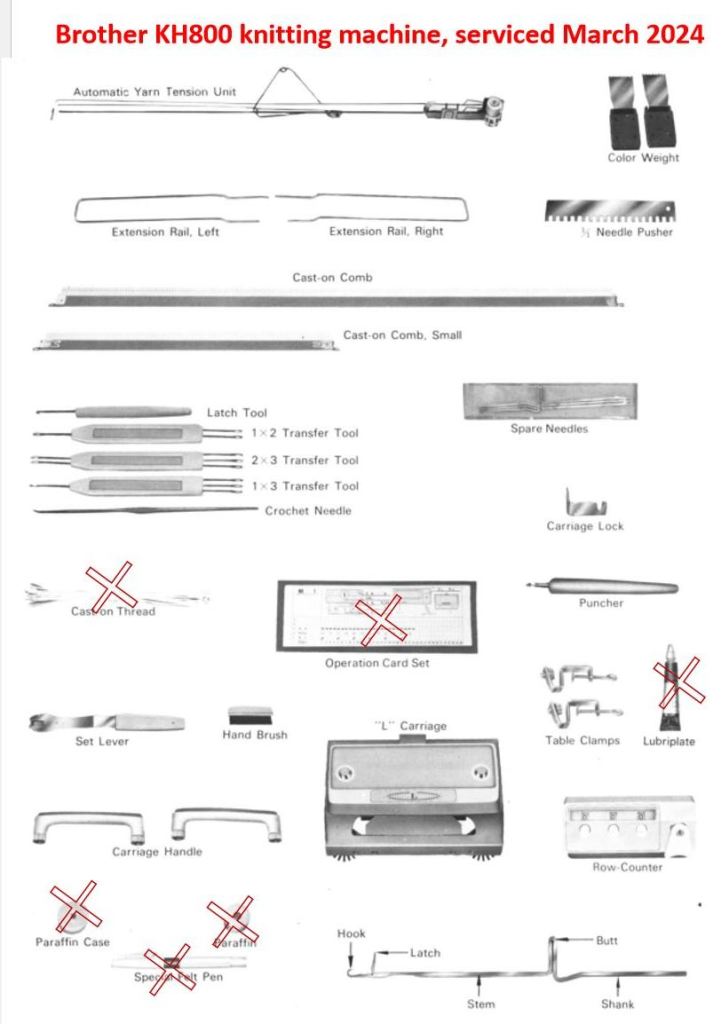
The machine will come with all major accessories (which fit inside the knitting machine case lid):

  • extension rails (to accommodate the lace carriage if you are using one or to accommodate the main carriage when you are knitting on the full bed)
  • tension mast
  • lace carriage
  • big and small cast on combs

Most critical minor accessories are included too:

  • metal 1×1 needle pusher
  • claw weights (greenish. like the machine)
  • latch and transfer tools as well as crochet needle
  • set of 3 spare needles
  • carriage lock
  • puncher
  • table clamps
  • set lever (also known as ratchet tool)
  • cleaning hand brush (good for cleaning carriage and removing some lint between the needles)
  • two carriage handles (one for the main carriage and one for the lace carriage)
  • row counter (I specifically looked for a greenish row counter to match the machine)

The minor accessories that are NOT included are marked below. These minor accessories do not affect the functioning of the machine. But read below about the punch and pattern cards.

The parafin is only needed for the yarns that are prone to static. The pen is actually for the knit leader and not for the machine. The greaze was old and I tossed it away. Any gun oil will work to service this machine. Any strong thin yarn can serve as a cast-on or waste-yarn thread.

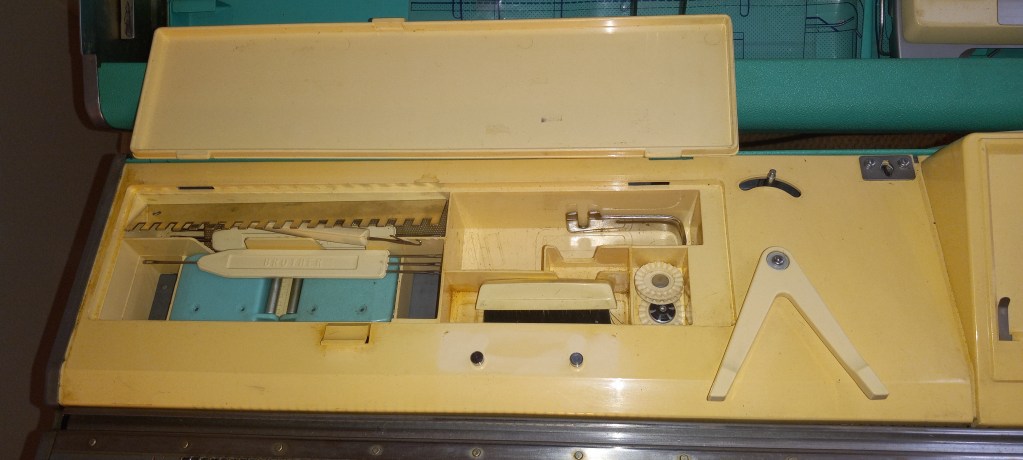
All minor advisories are stored inside the built-in box with the lid.

The handles for both carriage are screw on and are also stored in this storage box. The carriage moves very smoothly on the needlebed.

The machine did not come with the original hard copy of the manual. It can still be found online for free. I can include a printed copy that came with this machine – just let me know but it might add to the weight (1-2 lbs) of the shipping package.

Even though the original pattern and punchcards are missing, it is very easy to make your own cards. I made a video on how to do it and described it in another blog. Follow the links for free pdf-files for the blank and pre-patterned cards. In my video, I printed out and used those cards.

Also, the cards are very easily to make (punch). Simply insert the cut-out of a new card into the punchcard reader and punch the wholes either using the punch provided or using a simple pencil. I describe it in my other blog and show it in my video as well.

The machine can be easily attached to a knit leader using the triangular tripper and the rod above it. Read on the manual of a specific knit leader on how to attach the machine to it.

I knitted several swatches (tuck, slip, stockinet and fair isle) on this machine to ensure the carriage functions properly. I also knitted on the full bed to ensure all needles form proper stitches and that the patterning mechanism works well on the whole needlebed. Watch the video of all tests. The picture below shows the tuck-stitch fabric knitted during these tests.

Check out my blog and a video (…coming soon) on the fair isle patterning on this machine. It was quite interesting.

The panel I knitted during all these tests was converted to this 3-in-1 berett/cowl/hood shown below.

Turned out pretty good!!

Now about imperfections:

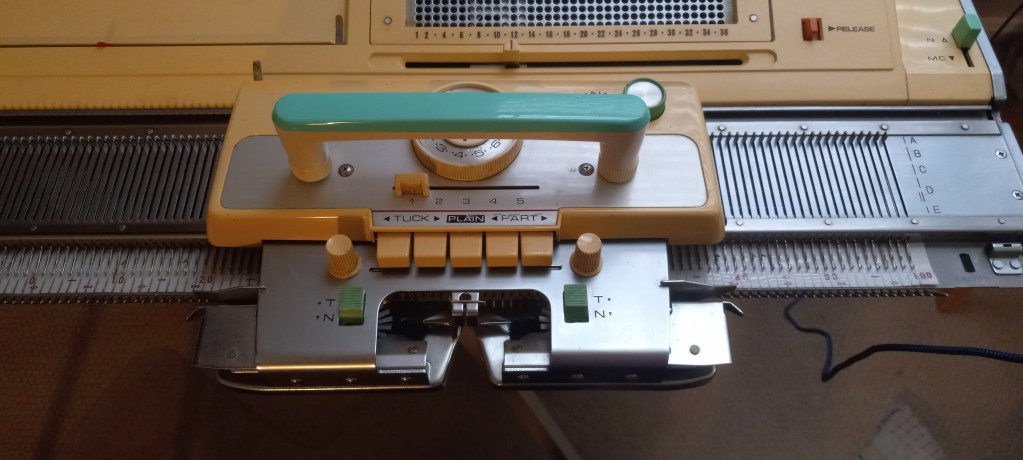
The most obvious imperfection is the scratches on the main carriage. They seem to be just cosmetic and did not affect the functioning of the machine.

All other impefections are also cosmetic. Like some minor dents and scratches on the lid and the case (not shown).

How to make punchcards for Brother KH800 and KH801 knitting machines.

Brother KH800 and KH801 knitting machines have unique designs for needle selection: they accept 12-stitch punchcards that are positioned flat on the special panel on the machine (called “card presser”).

Brother KH800 pattern center with the 12-hole card pressure in the middle.

If your machine came with original punchcards, you are super lucky! If you did not get the punchcards, or you want to make more cards for your own custom patterns, it is very easy to do.

Below are step-by-step instructions. You can also watch a video I made with these steps.

You need to cut a piece of paper, 20.5 x 6.5 cm (8 x 2.5 inches). Regular printer paper will work. Or print this file which shows blank cards for KH800. Another option is to print a standard set of cards (from the file downloaded here) and then punch the holes using the steps I will describe below.

Insert the cut-out punch card into the pattern card cassette holder. The manual describes all the steps of inserting the card really well. The only difference from the manual is that you will have to push the paper through the setting pins.

If your machine comes with a special puncher, you are again lucky. You can now use it to punch your pattern through the holes. If your machine did not come with it, you can use a marker with a relatively thick end. Ideally, find a marker that no longer draws (dried up or broken) so it does not draw on the machine.

Continue punching holes according to your desired pattern.

The holes do not have to be fully complete: they just need to be open enough for the patterning rods to go through upon activation.

Watch in the second half of my video how I tested and ensured that the rods indeed went through.

Happy punching and Happy knitting!

Also, read or watch about the patterning mechanism of Brother KH800/801.